My current server consists of my old MacBook Pro (2009 model) running OS X Lion Server connected to an OWC Mercury Elite Pro Qx2 RAID enclosure. This works really well, but I wanted to make a switch to software based RAID and I wanted to have one device for it all.
This is part 1 of the series of posts that shows what I've done to the original SGI.
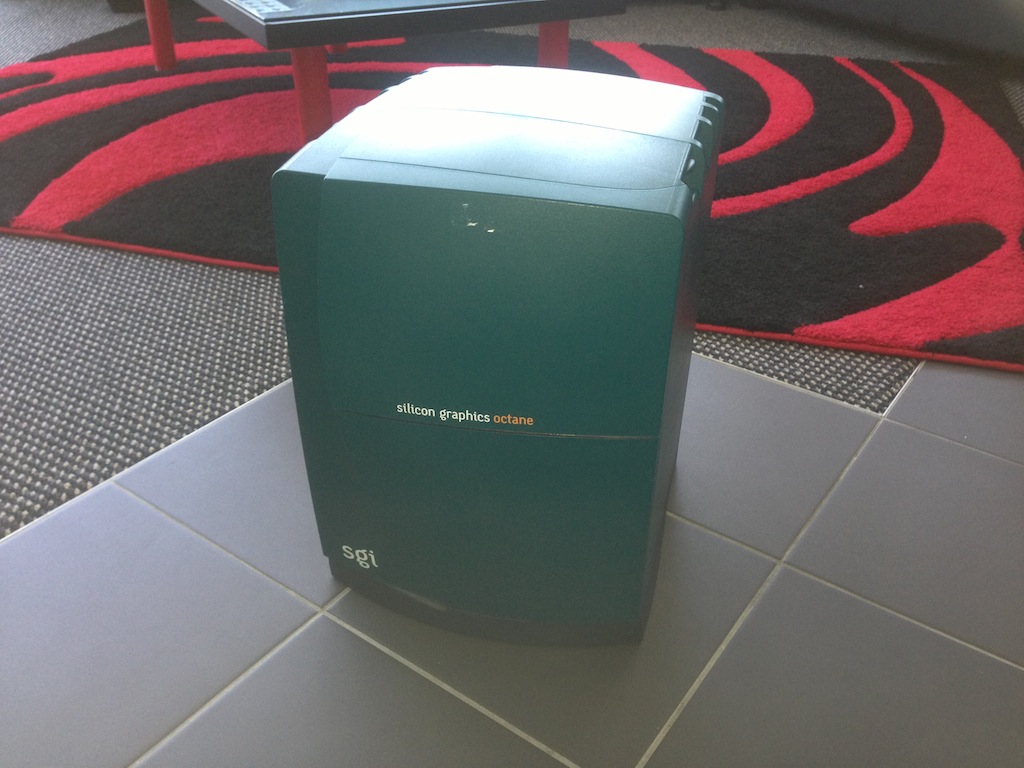
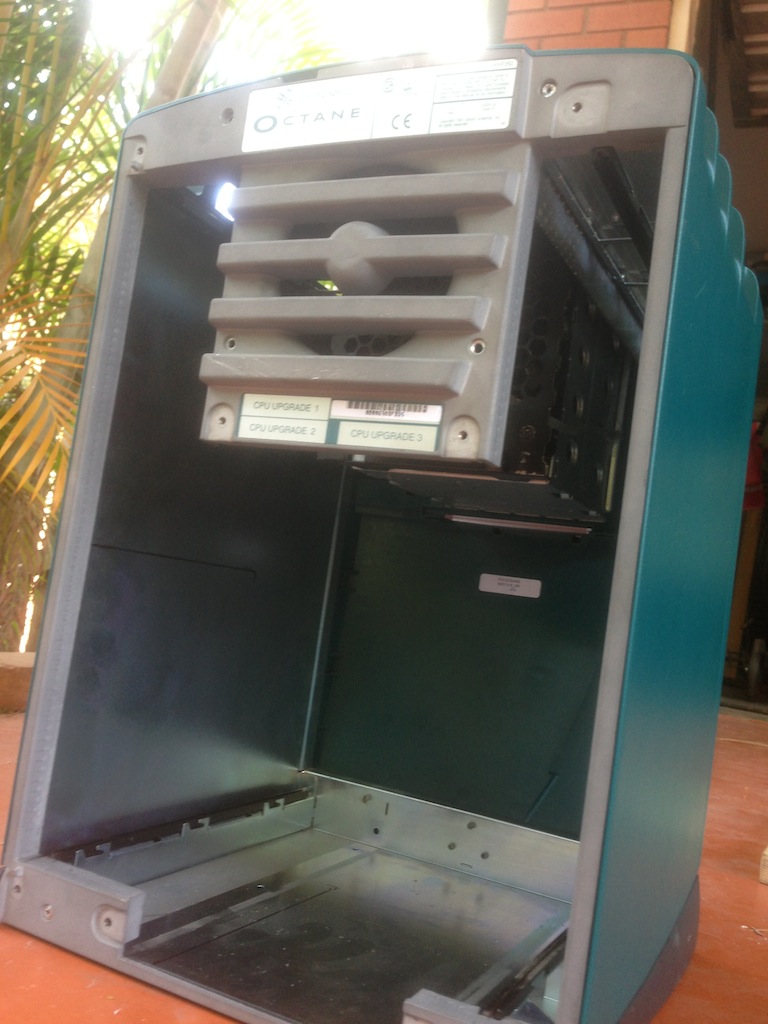
So here's what I started with, this thing was HEAVY and built like a tank!
Stripping the Octane down was not so easy, I actually had to find the manual (Octane Owner 007-3435-004) that showed how to remove the skin properly.
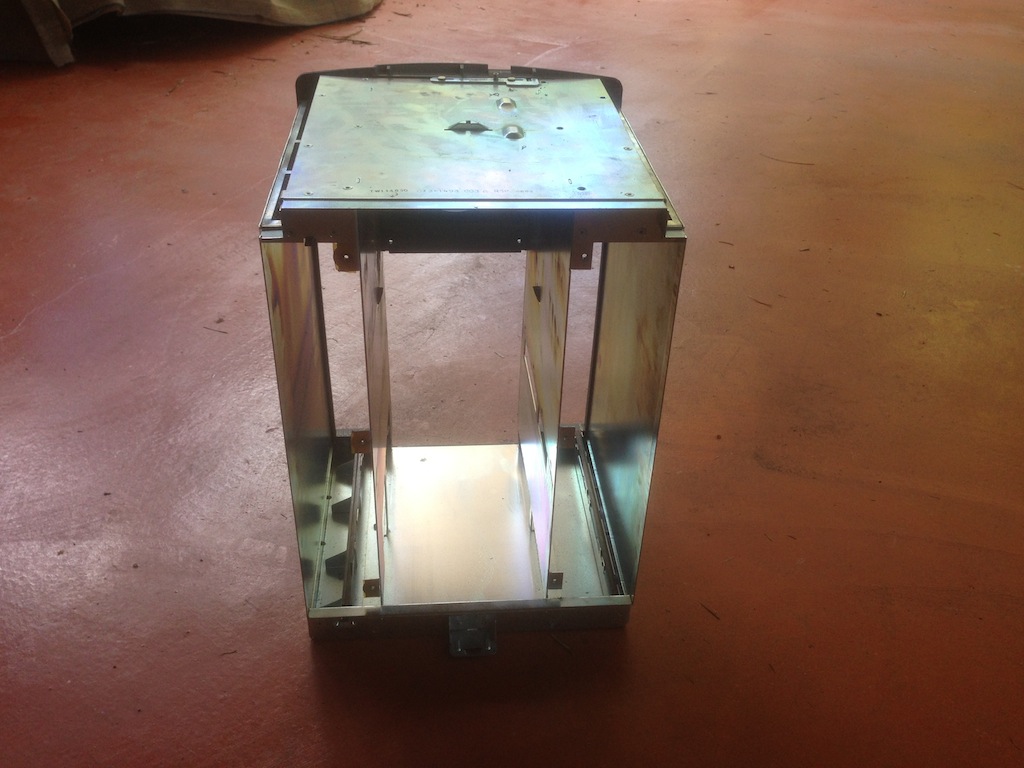
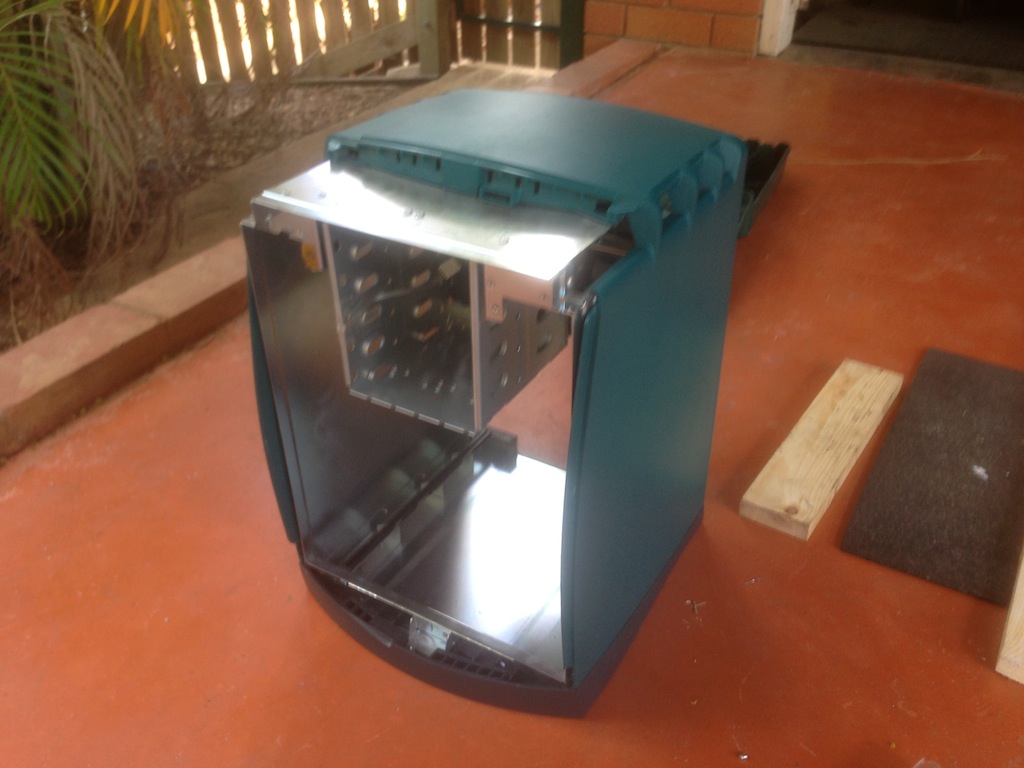
All stripped down the Octane looks like this:
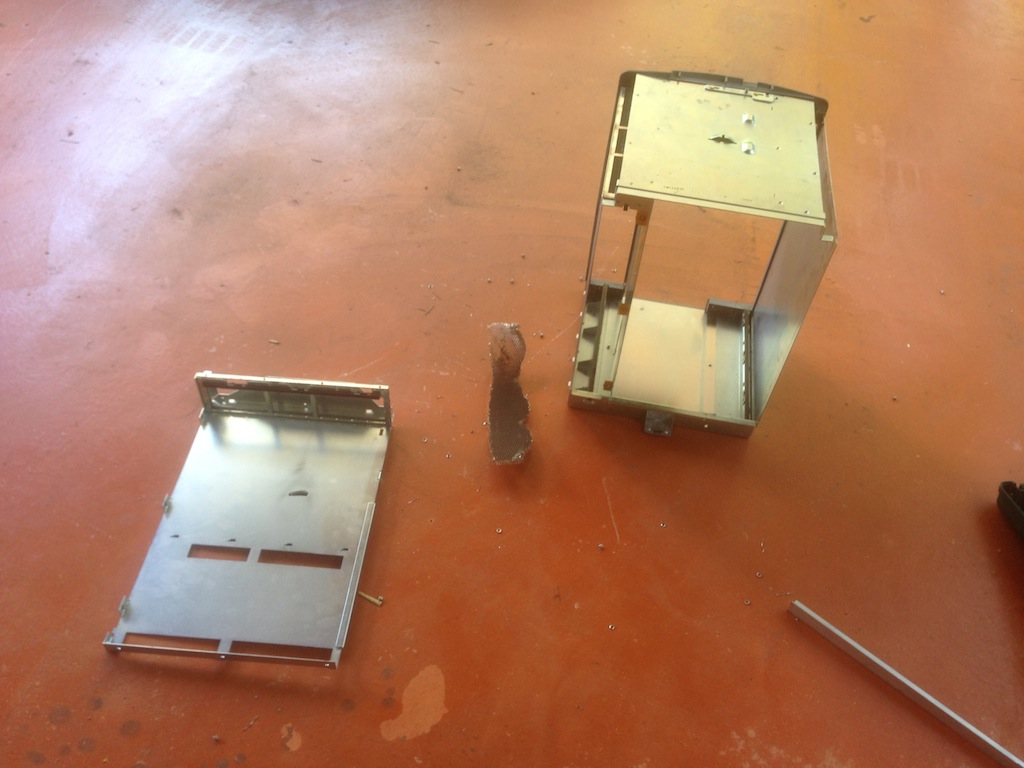
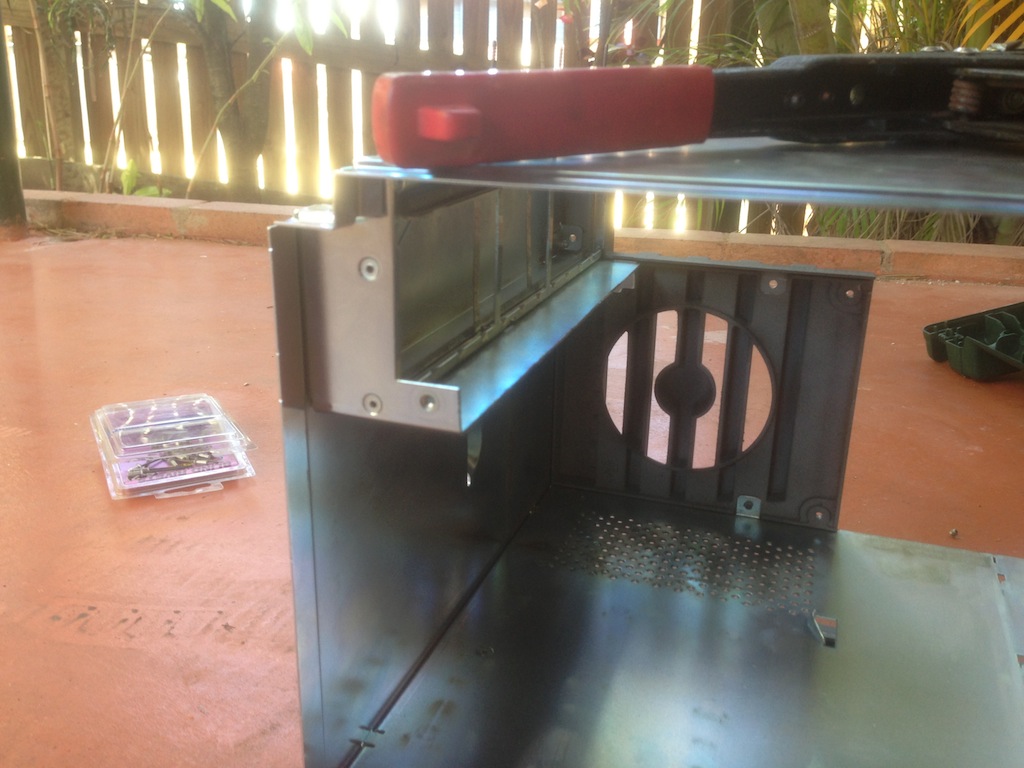
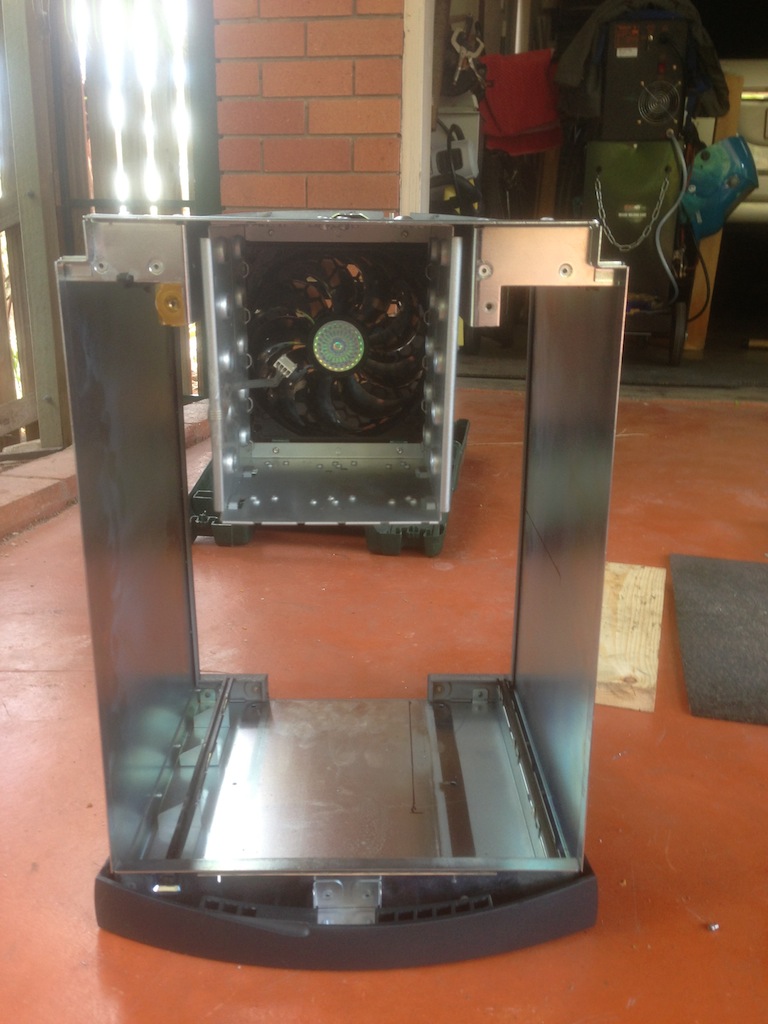
The problem here is that the Octane has the two vertical supports inside, obviously these had to go. These are pop riveted in, the whole thing is made up of pieces of sheet metal held together by rivets.
With the first support out I've realised that these things actually keep the case together, doh!
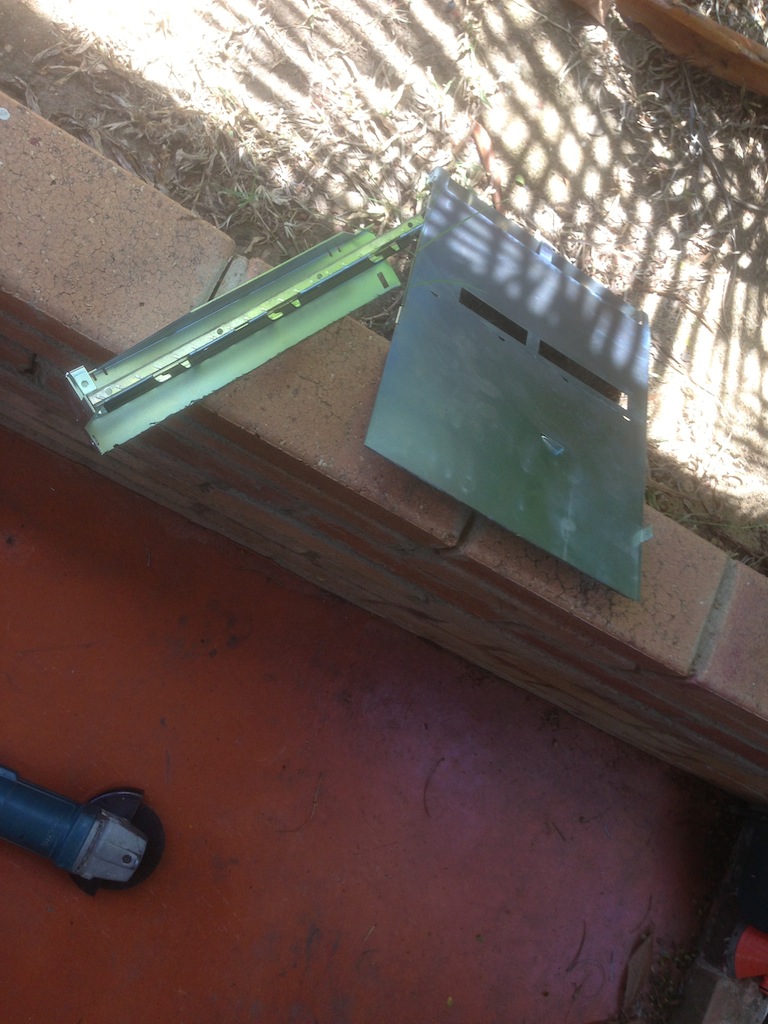
Looking at the case structure closer, the supports only hold the case at the edges, so all I had to do is cut the support off at the desired spot and just rivet it back in place to hold the corners together. So the corner bit is cut off:
...and riveted back into place.

A closer view showing the bit I've riveted back in.
Same deal for the other support, remove the rivets, cut it off, rivet it back in.
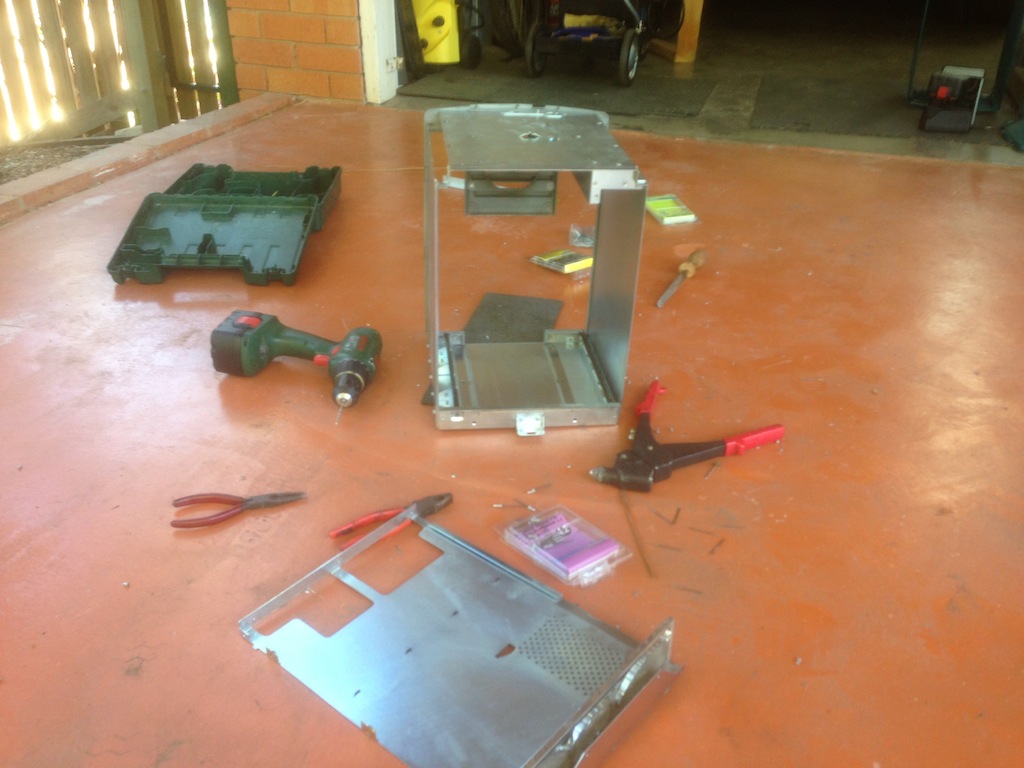
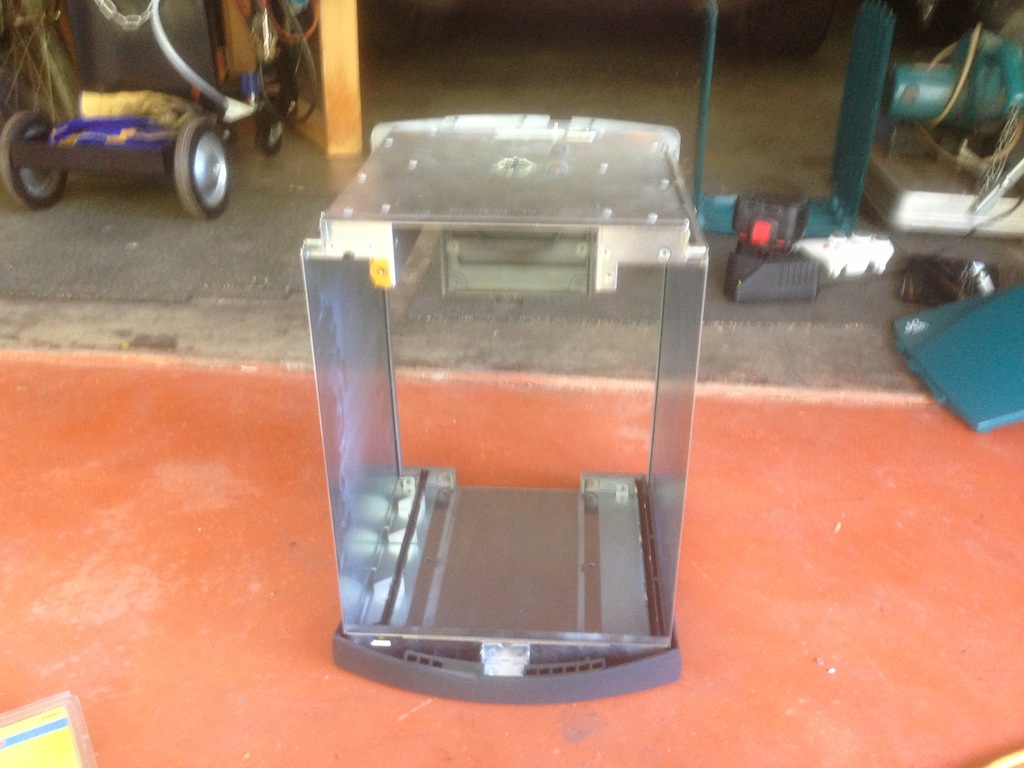
Both sides done, the structure looks solid, but with a lot of extra room inside!
Next thing was to mount the disk cage I got from moddiy.com.
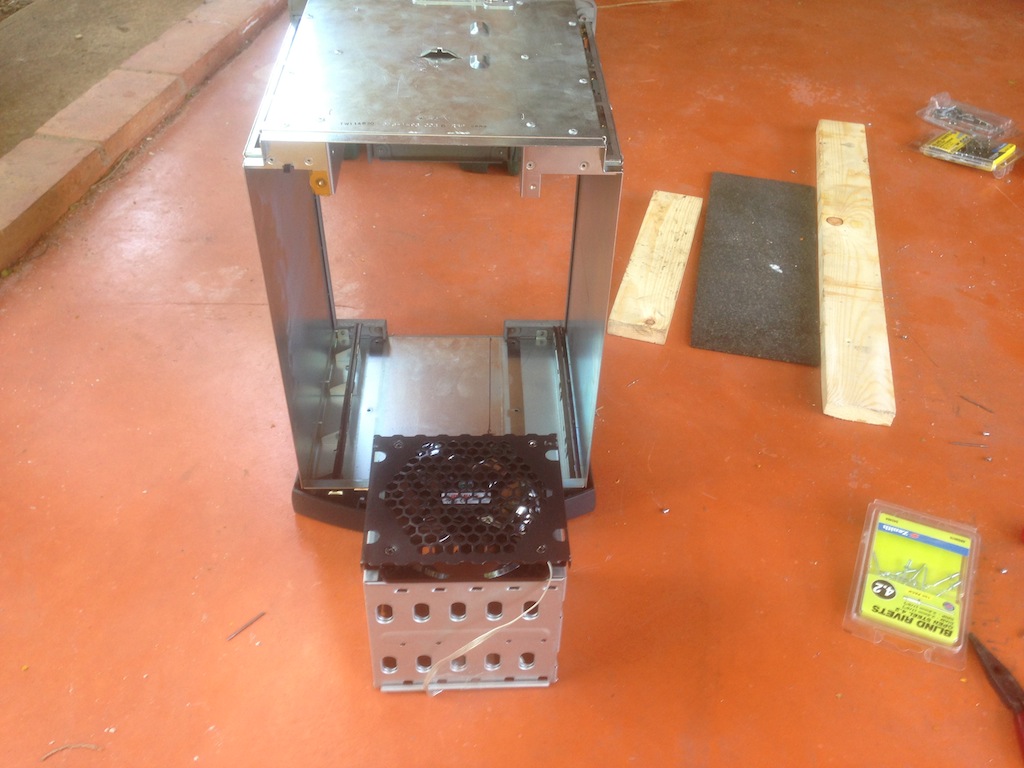
To mount this thing in place I just cut 4 holes at the top of the case and riveted the disk cage in.
With some of the skin back on, it's starting to look like a normal case, ready for the Hackintosh parts to go in.
A view from the back. The disk cage lines up nicely with the existing vent.
In the next part I'll show how I've fitted the motherboard and how I've changed the power on button to use a real momentary switch.
Part 2 is available here: Modding a SGI Octane to use as a Hackintosh - Part 2 - Motherboard tray and power button
-i
