Two things I really wanted to do before calling this mod complete was to add a vent for the hard disk fans and to have a whole back panel.
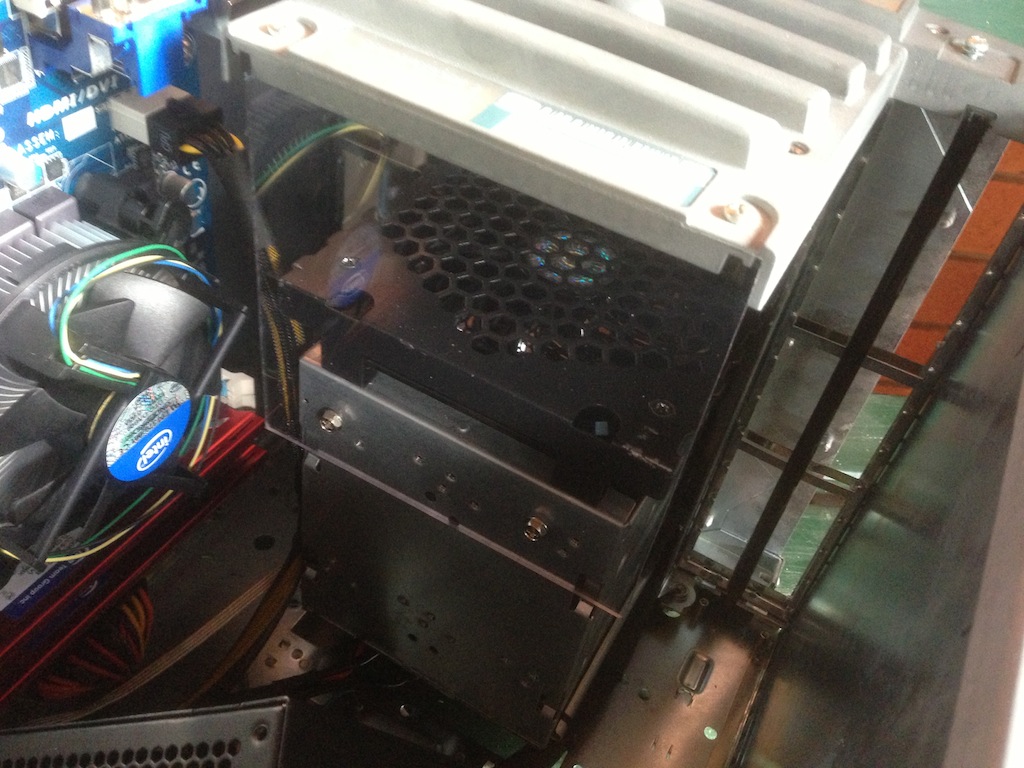
Since the fan that blows over the hard disks is inside the case, the idea was to make a vent to direct outside air from the Octane vent port on the back, directly to this fan. The disk cage is positioned directly behind this port, so adding a vent was a matter of making some housing out of acrylic to fit between the port and the hard disk fan.
Measuring it up, this was the bottom section cut out that would hold the entire housing together, some holes were drilled for screws already.

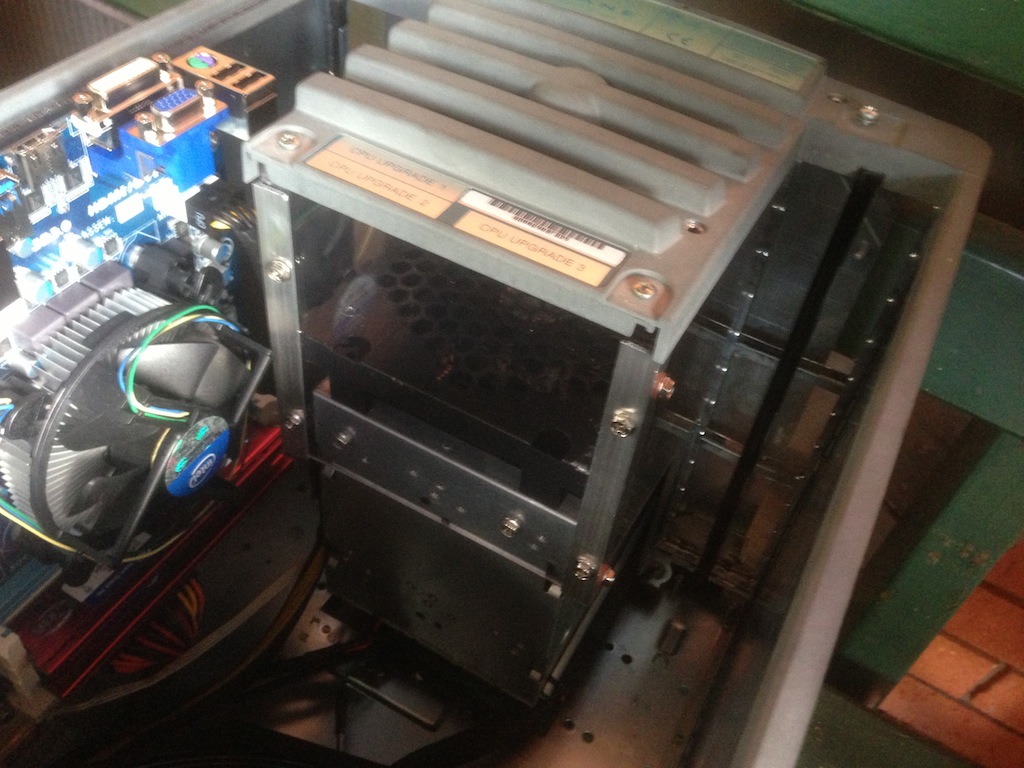
Test fitting this inside the case, it looks good!
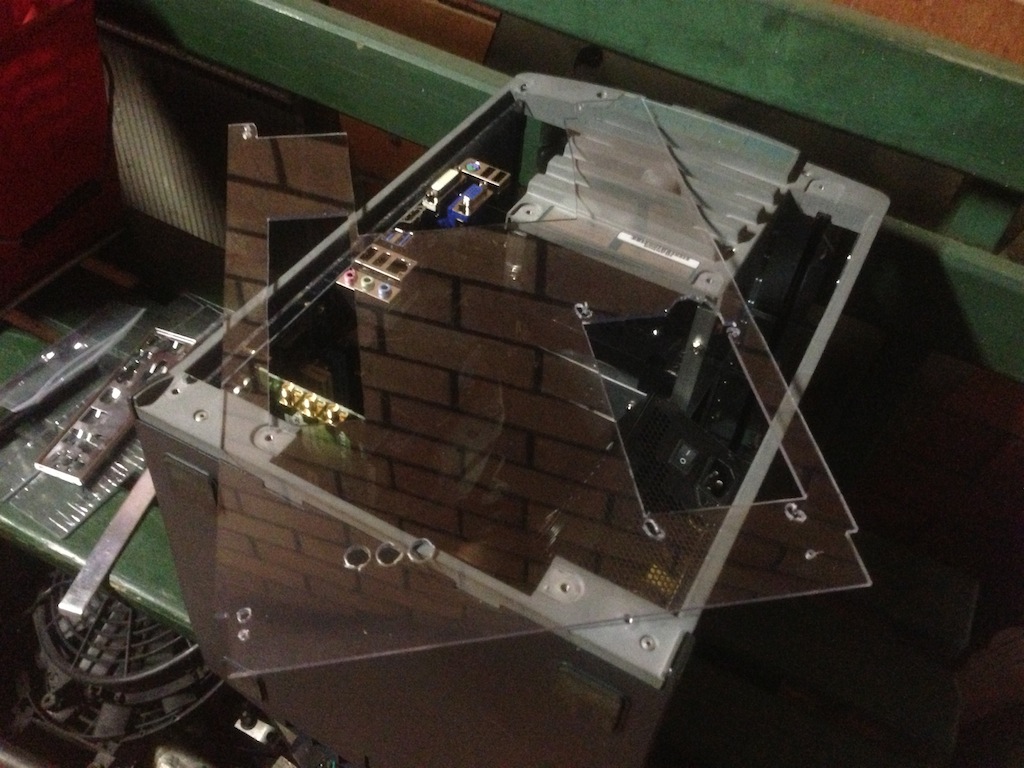
A few more measurements later, more cutting out of acrylic and aluminium cornering, the housing is assembled.
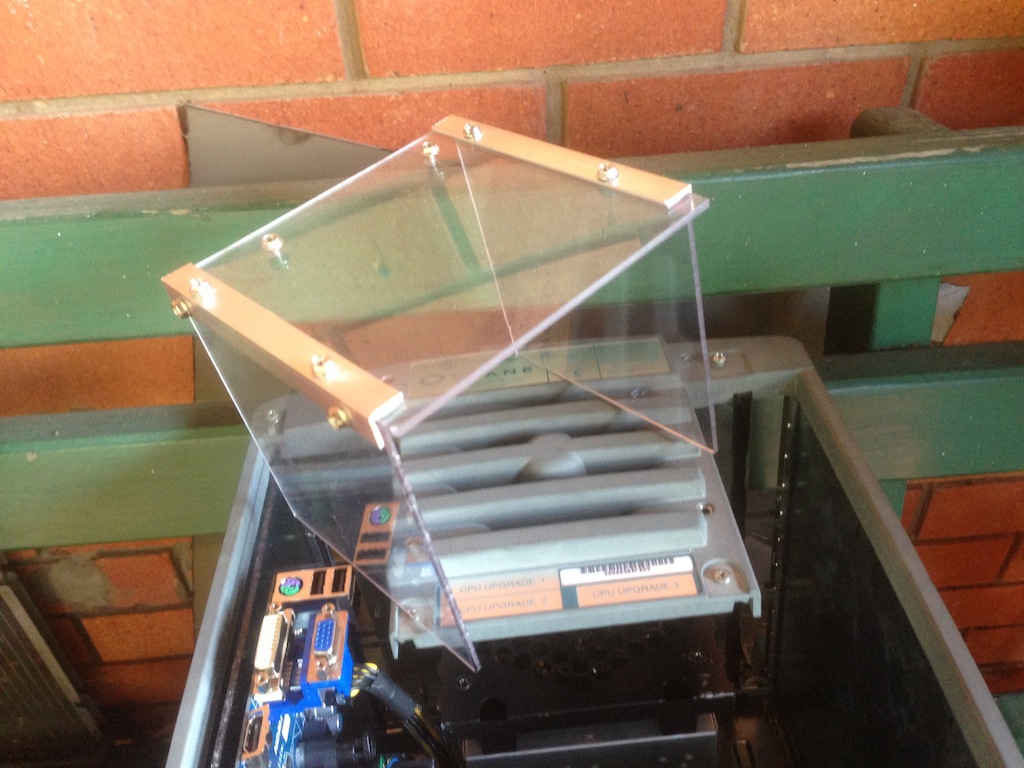
Fitting the housing in...
That should direct the air nicely, it is not air-tight, but doesn't have to be. The housing also serves a double purpose of keeping the hard disk and the rest of the case separated, so any heat from the CPU should not be affecting the disks.
The next part was to cut out the rear section. First I just measured up a rectangular piece and then started hacking bits of acrylic off of it. Here's a partly finished rear panel, without a cut out for the power supply. Note the antennae for the network card will fit through the holes.
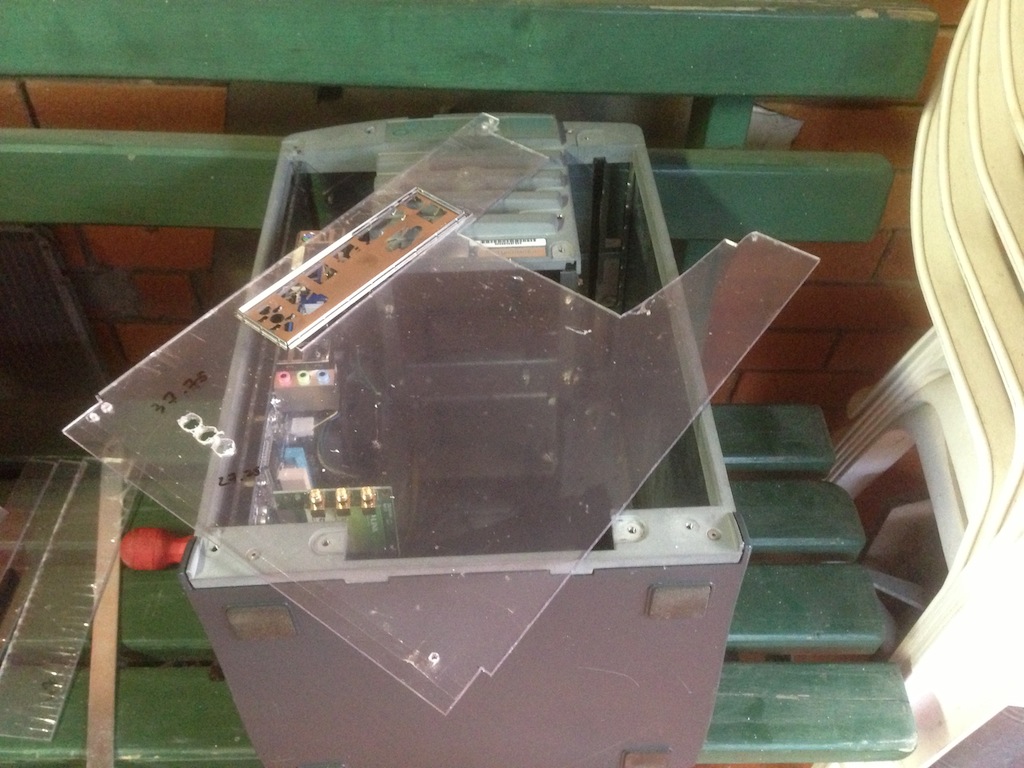
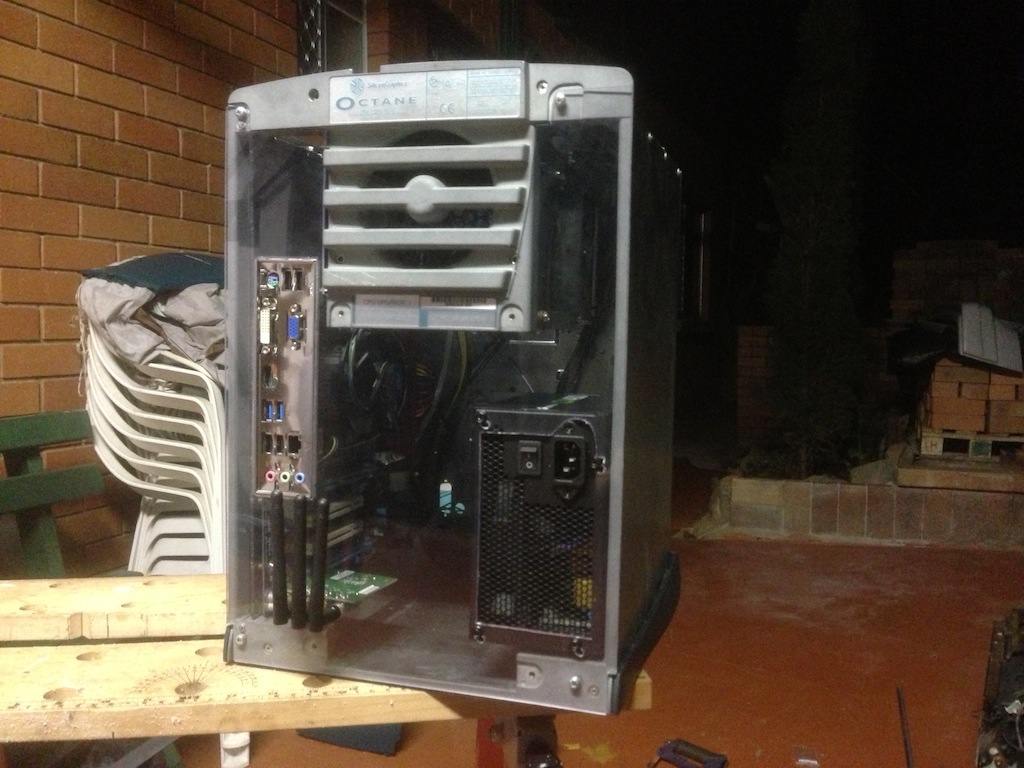
After the cut out for the power supply was ready, the protective plastic came off. It's starting to look pretty good now.
Fitting it all together with the motherboard back plate, power supply and the WiFi antennae:
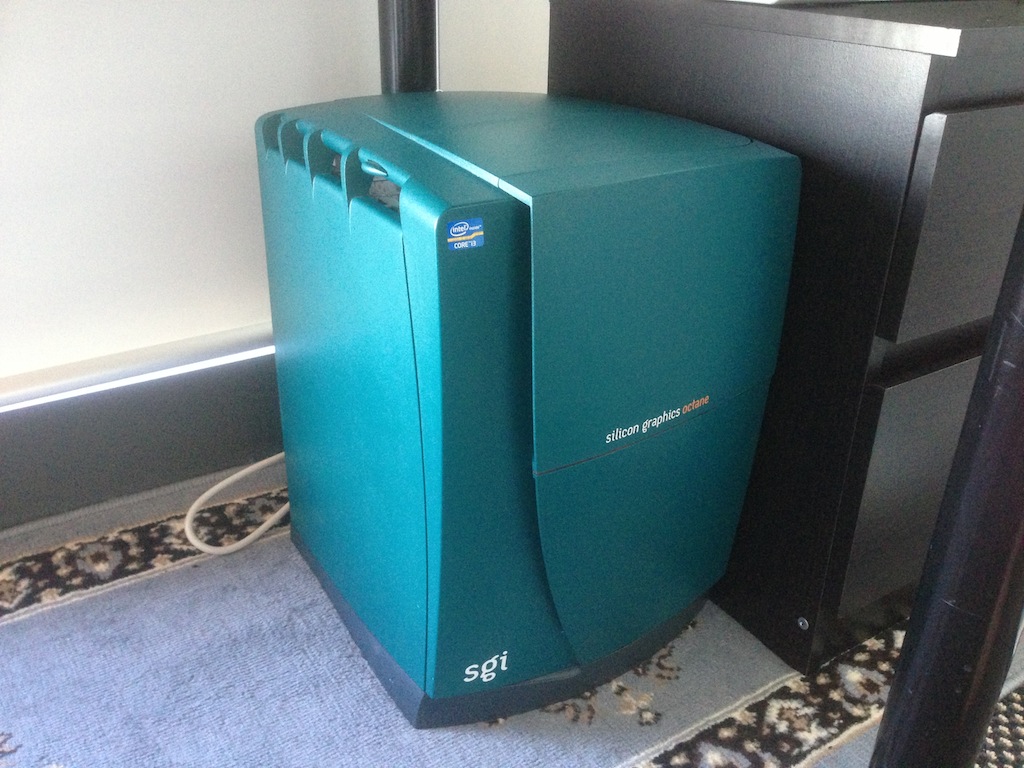
At this point I would say the mod is 95% completed, there are some things I still want to do. The acrylic rear panel didn't fit quite snugly, so I need to cold weld some supports into the Octane and screw the rear panel into those. In addition, I want to cover the Octane base as well as the rear panel is some carbon fibre wrap. I have some LEDs for the light bar that I need to fit in, waiting for a Dupont cable to arrive so I can have both the HDD and the power lights working at the same time.
Part 4 is available here: Modding a SGI Octane to use as a Hackintosh - Part 4 - Hardware and Software.
-i
