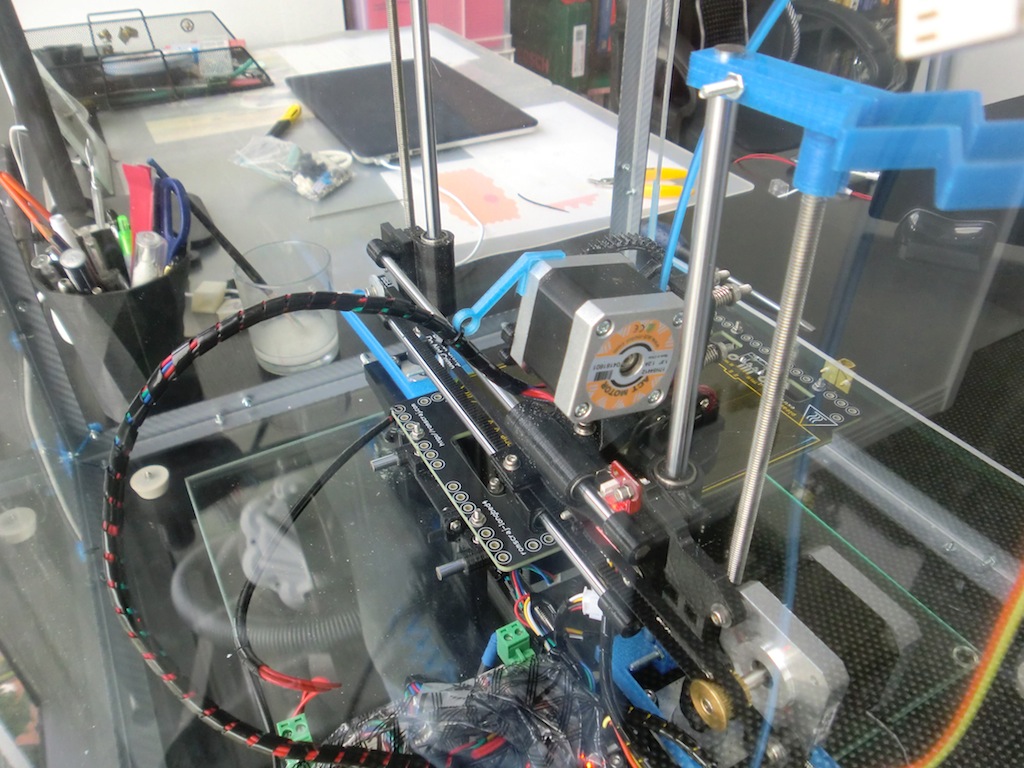
Lets start with the first one, the wiring arm holder. I've uploaded it on Thingiverse here: http://www.thingiverse.com/thing:107520. This simply keeps the wires off the print bed, a very small addition, but quite a useful one.
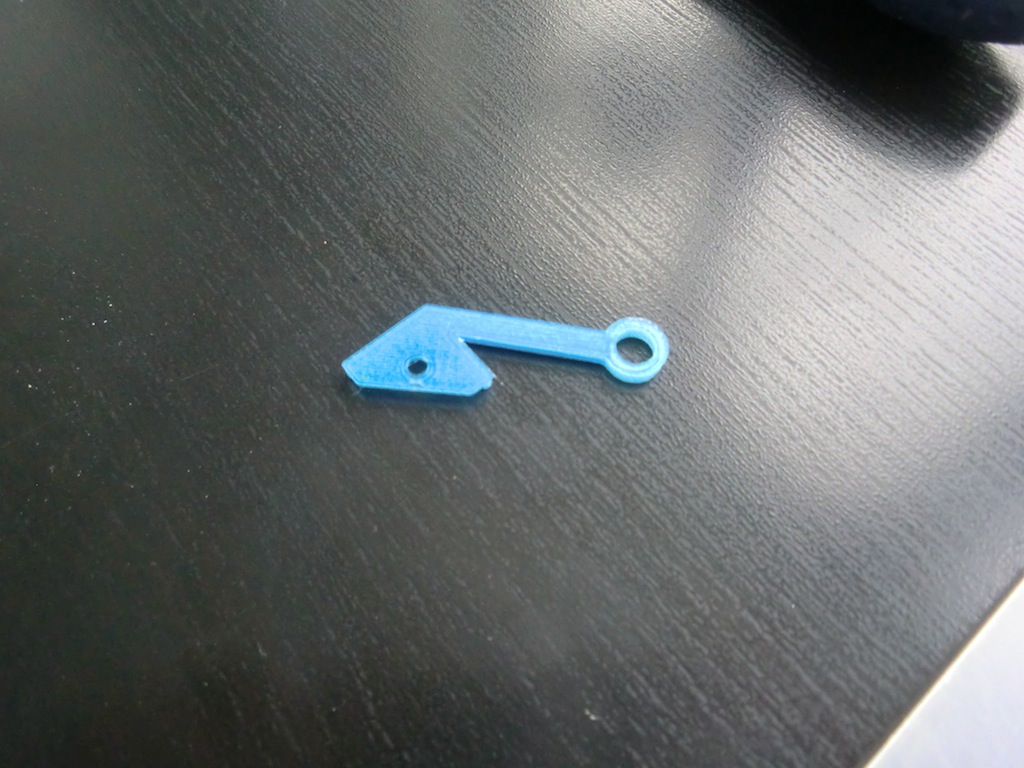
This attaches to the extruder motor. The Portabee extruder doesn't have anything on that corder of the motor, so it's a perfect spot for this.
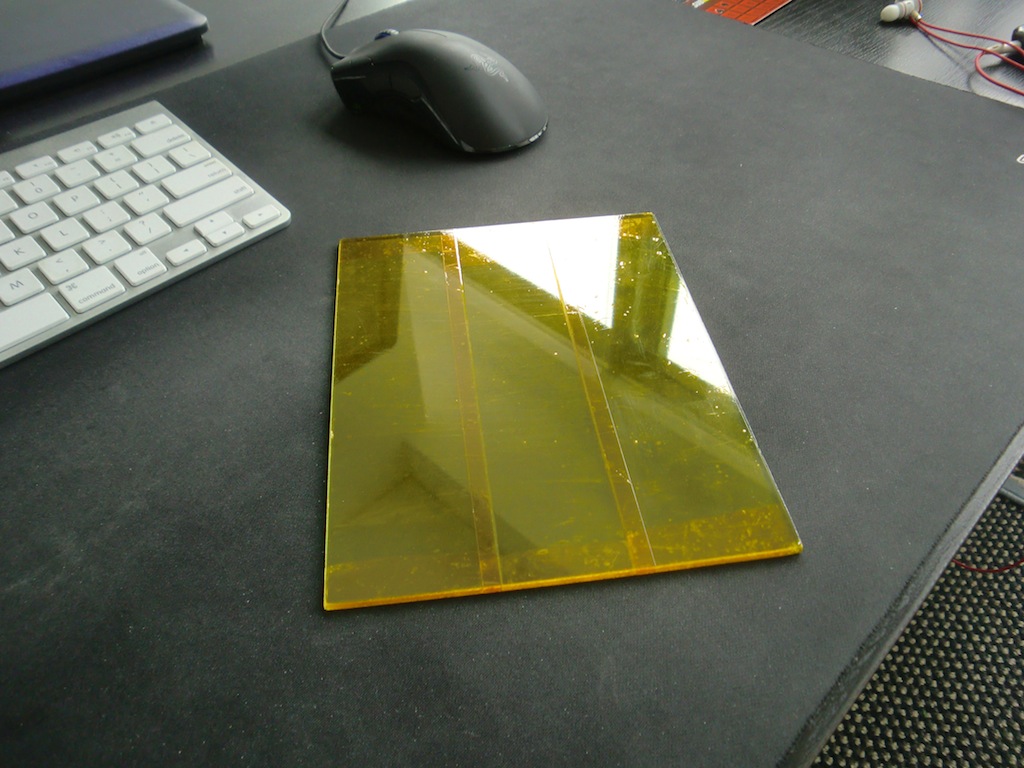
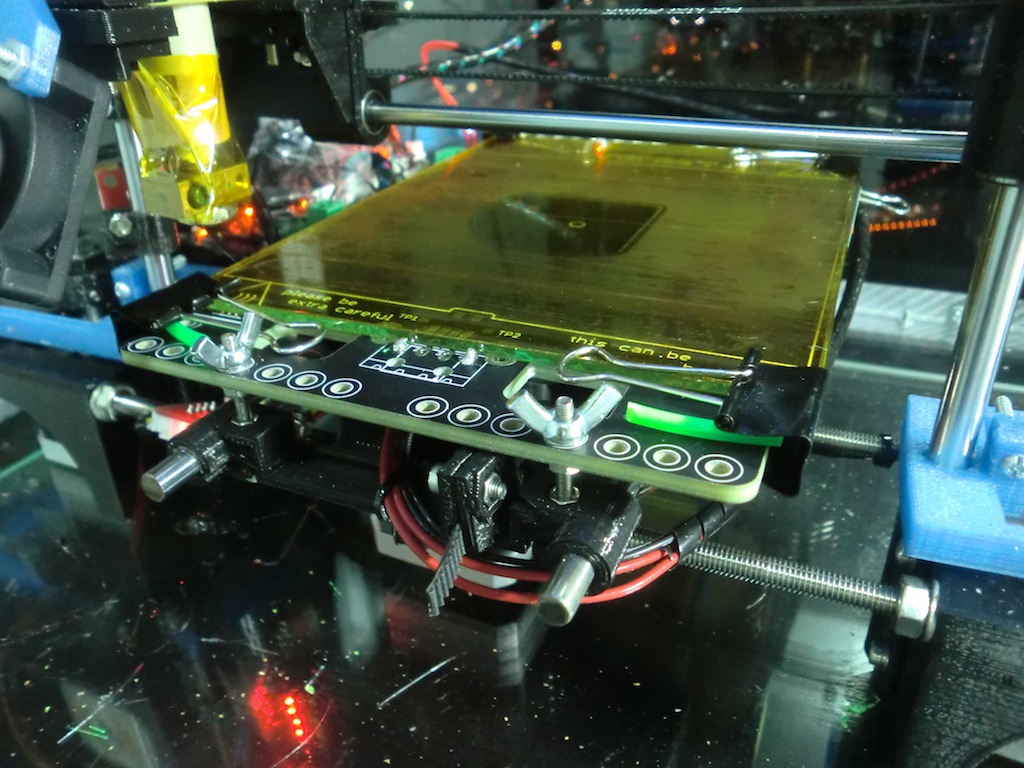
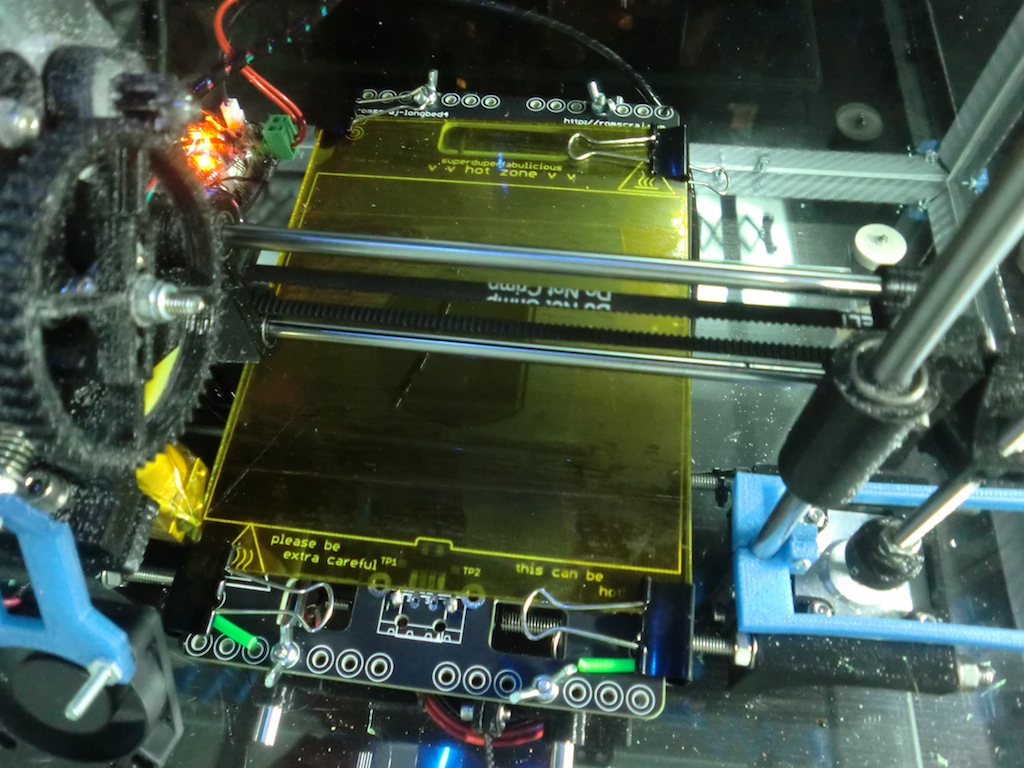
Next thing I added was a glass sheet for the print bed. The print bed was slightly bowed in the centre which made it really difficult to adjust the nozzle height, a piece of glass gives a uniform surface so its' easier to adjust the nozzle height on the z-axis.
The glass pieces I ordered were 140mm x 180mm x 3mm and they cost $5 each, a very small investment that fixes a lot of headaches.
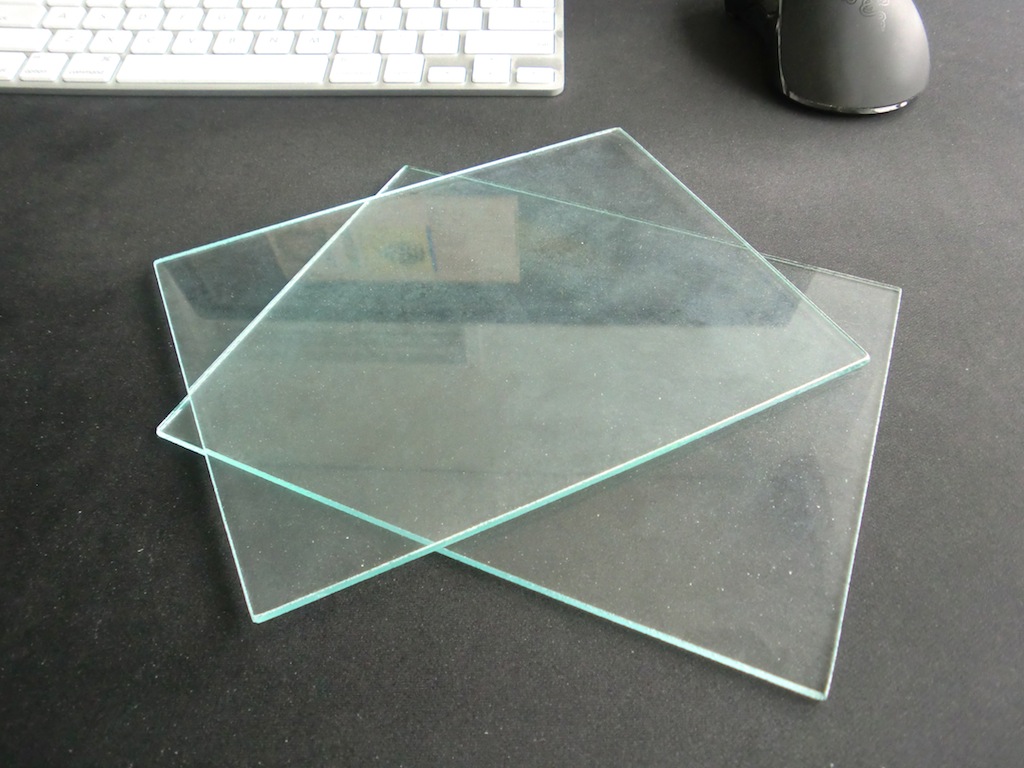
I put Kapton tape on them before use.
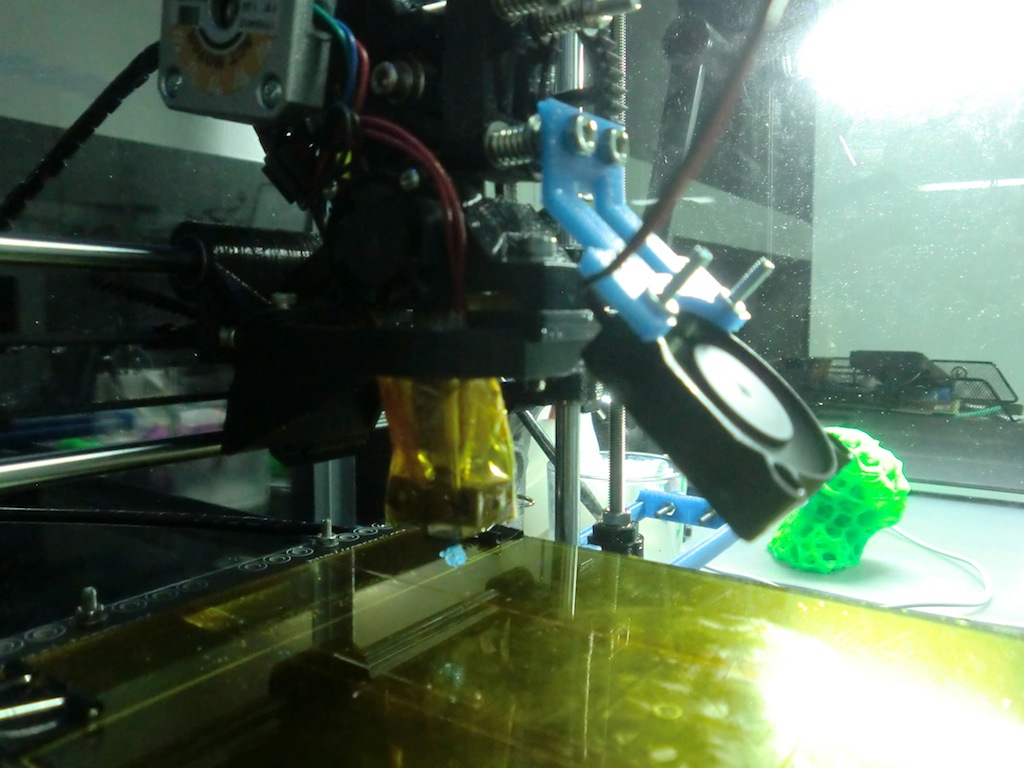
I was having some cooling issues with some plastics I bought, so I've decided to add a fan onto the extruder assembly to cool the plastic as it's extruded, this did wonders to the quality of the prints.
I've uploaded the design of this to Thingiverse here: http://www.thingiverse.com/thing:107525.
The frame holds a 40mm fan and attaches to the idler bolts, there is just enough space to screw it in.
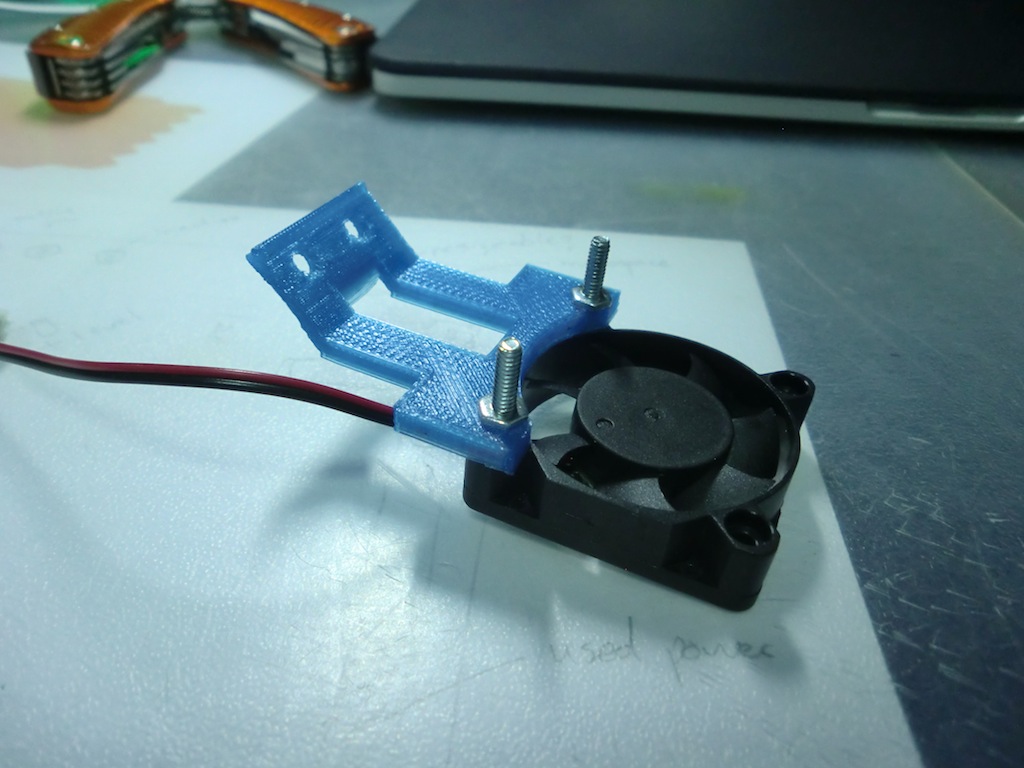
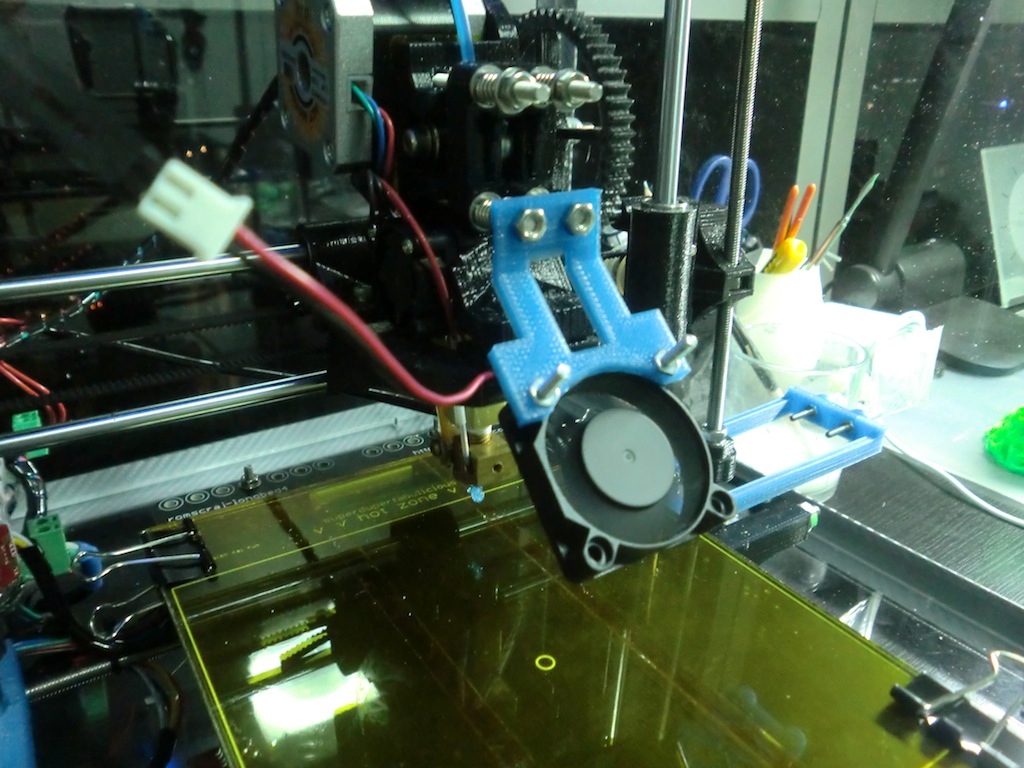
The fan I used for this is a 12v Scythe Mini-Kaze SY124010L. It only pushes through 4.11CFM, I would have liked it to push more air through, but I could not find anything better locally (within a reasonable price range). I connected the fan to the 12v extra pin header on the Gen6 board.
For the final addition, and one that will also save a lot of frustration, I changed the standard M3 nuts that are used to mount the heat bed with M3 wing nuts. I've replaced just the top nuts, but that's all that's really needed. Now if I need to change the ride height of the heating bed, I do not need to muck around with pliers to undo all the nuts and then redo them all again, the wing nuts let you do this by hand and very quickly.
-i
