The only wires that I need to worry about for the 3D printer are for power. I am planning to add a monitor and a small trackpad to this soon so that I have no need to interface with any other computer to run 3D print jobs.
There is a little bit of work to set up the Raspi, but the end result is worth it: wireless 3D printing!
Setting up the OS
The OS I used for this project is the Occidentalis distro from Adafruit, it's small and has most things I needed (including Bonjour support out of the box, WiFi, etc).
Without going into the details of the OS install (the link above has all the needed information), I did the usual raspi-config tasks after an install that included doing an update on raspi-config first, then expanding the rootfs, making sure SSH is started on boot (even though Occidentalis already has this). I also changed the memory split to "240Mib for ARM, 16Mib for VideoCore" and set Overclocking to "Turbo 1000Mhz ARM, 500 Mhz core, 600Mhz SDRAM 6 overvolt" and of course changed the hostname to "pibee".
The WiFi adapter I had got recognised instantly, but I still had an issue with SSH after the first boot. The SSH keys are generated the first time around, however for me I had a number of keys that got empty files instead, I had to delete these, reboot and then everything worked ok. To fix that, I deleted the following:
/etc/ssh
ssh_host_dsa_key*
ssh_host_dsa*
ssh_host_ecdsa*
ssh_host_rsa_key*
Installing Printrun
Once I could SSH into the Pi, I started by installing Pronterface. To do this is just a matter of getting some packages via apt-get and cloning the Printrun GIT repository.
[email protected] ~ $ sudo apt-get install python-serial
[email protected] ~ $ sudo apt-get install python-wxgtk2.8
[email protected] ~ $ sudo apt-get install git
[email protected] ~ $ mkdir pronterface
[email protected] ~ $ cd pronterface/
[email protected] ~/pronterface $ git clone https://github.com/kliment/Printrun.git
Installing VNC
Once that completed, the next step was to install TightVNC.
[email protected] ~ $ sudo apt-get install tightvncserver
[email protected] ~ # tightvncserver
The second command starts VNC for the first time, which prompts for the password, it's important to run this as root because VNC is set up later on to run on startup and as the root user. I did not see a need to run as a specific user since this setup is on my private network and used for a specific purpose, but it may be a good idea to run as a more restricted user if the environment is different.
A very good resource for setting up VNC on the Raspi is here: http://elinux.org/RPi_VNC_Server.
The contents of my /etc/init.d/vncboot file ended up being like the listing below. Note that the VNC server is started with ":1 -geometry 1024x768 -depth 8" options, meaning it's stated on screen 1 at 1024x768 resolution and 256 colour support. I did not see a need to have more colours than this and wasting memory, it also helps with VNC working faster over the network.
### BEGIN INIT INFO
# Provides: vncboot
# Required-Start: $remote_fs $syslog
# Required-Stop: $remote_fs $syslog
# Default-Start: 2 3 4 5
# Default-Stop: 0 1 6
# Short-Description: Start VNC Server at boot time
# Description: Start VNC Server at boot time.
### END INIT INFO
#! /bin/sh
# /etc/init.d/vncboot
USER=root
HOME=/root
export USER HOME
case "$1" in
start)
echo "Starting VNC Server"
#Insert your favoured settings for a VNC session
/usr/bin/vncserver :1 -geometry 1024x768 -depth 8
;;
stop)
echo "Stopping VNC Server"
/usr/bin/vncserver -kill :0
;;
*)
echo "Usage: /etc/init.d/vncboot {start|stop}"
exit 1
;;
esac
exit 0
Installing Samba
I wanted to be able to drop the files that I wanted to print directly to the PiBee over the network, so Samba was a logical choice because it was easy to install and easy to configure (unlike AFP). There is a good guide on how to do this here: http://simonthepiman.com/how_to_setup_windows_file_server.php.
Samba is installed using apt-get:
[email protected] ~ $ sudo apt-get install samba
[email protected] ~ $ sudo apt-get install samba-common-bin
Then I edited the /etc/samba/smb.conf file and commented out everything apart to leave me with this:
[global]
workgroup = WORKGROUP
server string = pibee
dns proxy = no
syslog = 1
security = user
encrypt passwords = true
passdb backend = tdbsam
obey pam restrictions = yes
unix password sync = yes
passwd program = /usr/bin/passwd %u
passwd chat = *Entersnews*spassword:* %nn *Retypesnews*spassword:* %nn *passwordsupdatedssuccessfully* .
pam password change = yes
map to guest = bad user
usershare allow guests = yes
[gcode]
comment = G-Code Share
path = /gcode
writeable = Yes
guest ok = yes
create mask = 0755
directory mask = 0755
browseable = Yes
The above Samba setup shared a directory in the root of the file system called 'gcode' as a writable, guest-accessible directory. The intent is to be able to drop all the files into that directory for printing off the PiBee. The /gcode directory should be writable by all as such:
drwxrwxrwx 2 root root 4096 Sep 13 06:08 gcode
Setting up Bonjour/Avahi
At this point everything is ready to go, but since I use a Mac for everything, I wanted to be able to discover the PiBee via Bonjour, so I've set up Avahi for it. Occidentalis already has it installed, but if a different distribution is used, the following command will set it up:
[email protected] ~ $ sudo apt-get install avahi-daemon avahi-utils
Once Avahi is set up, there should not be any files in /etc/avahi/services, if there are these should be deleted. I added a new file, pibee.conf to this directory with the following content:
<?xml version="1.0" standalone='no'?>
<!DOCTYPE service-group SYSTEM "avahi-service.dtd">
<service-group>
<name replace-wildcards="yes">%h</name>
<service>
<type>_smb._tcp</type>
<port>445</port>
</service>
<service>
<type>_device-info._tcp</type>
<port>0</port>
<txt-record>model=Xserve</txt-record>
</service>
<service>
<type>_rfb._tcp</type>
<port>5901</port>
</service>
</service-group>
Once that file is saved, the PiBee appears in Finder with the "Share Screen" option and the gcode share point.

Auto-starting Pronterface on boot
I wanted the Pronterface software to start on boot so that I would not have to mess around every time I wanted to print something and the printer was off earlier. To do this, it's just a matter of modifying the xstartup file for the user that VNC runs as (root in my case).
I've edited the /root/.vnc/xstartup file and added the following line immediately before the last line in the file that starts the Xsession:
/usr/bin/python /home/pi/pronterface/Printrun/pronterface.py -a&
Note the -a option instructs Pronterface to automatically connect to the printer!
A small caveat
To make all this work needs the power sources for the PiBee and the Portabee to be in sync. I thought of using a step down transformer (12v to 5v) to to draw power from the Portabee to run the PiBee, but decided against this since my Portabee is plugged into a UPS that has two power sockets. It was really a matter of having the PiBee's power supply connected to the UPS.
In the future I may think of a more elegant solution, but this works for now.
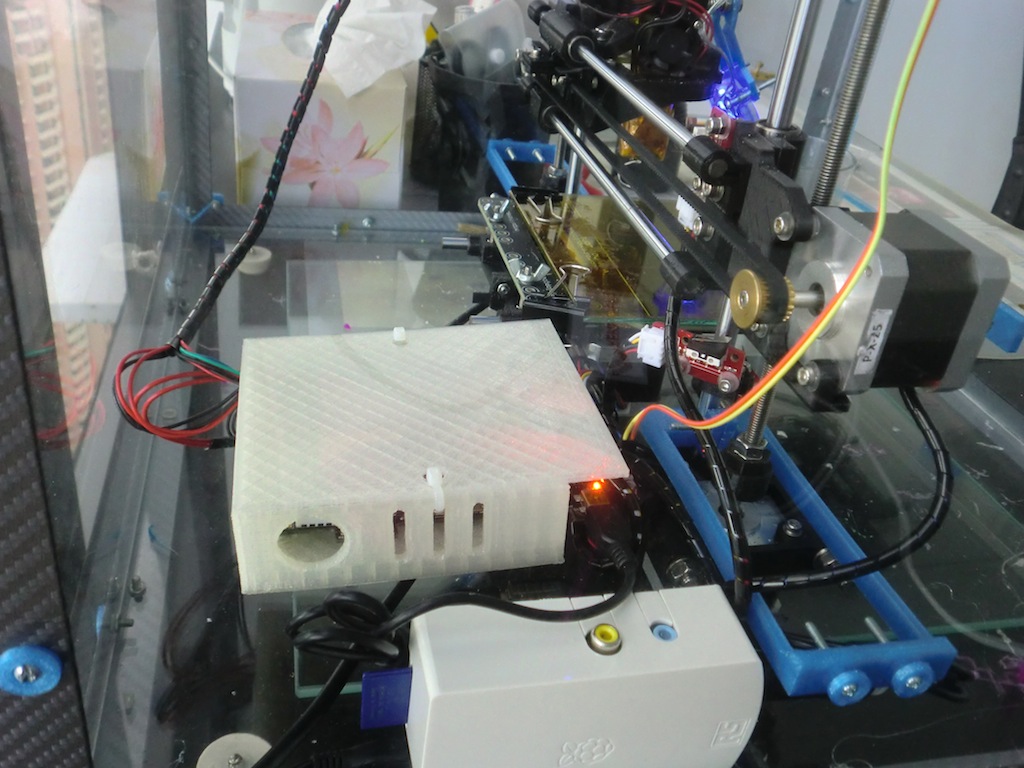
Photos and Screenshots
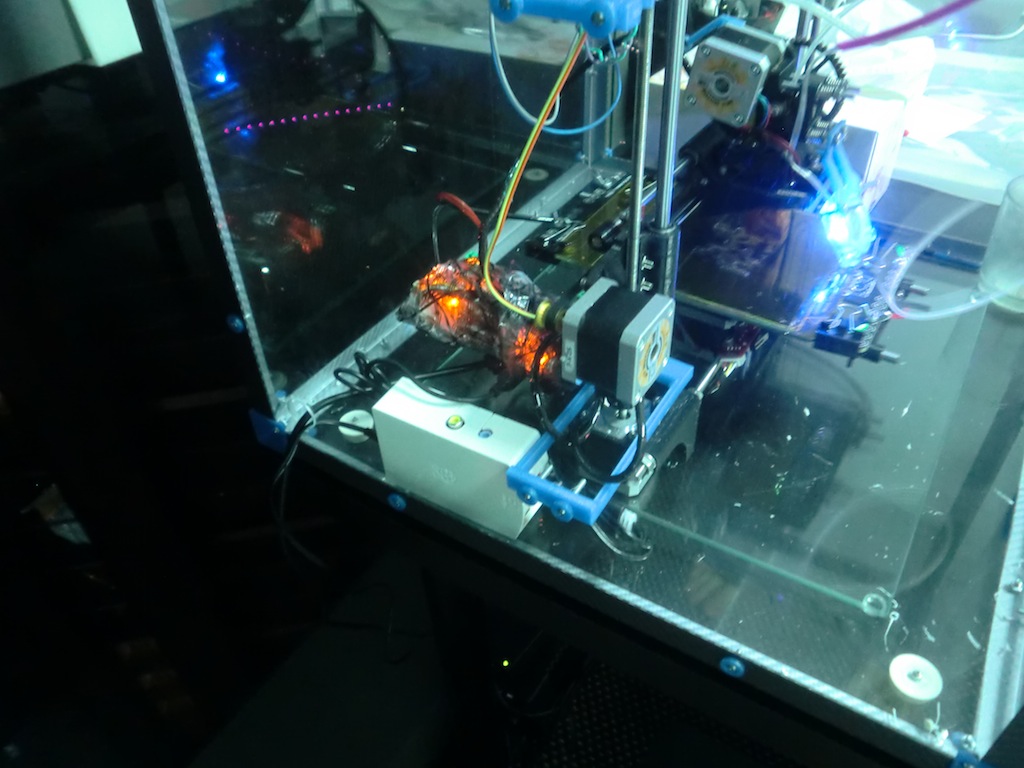
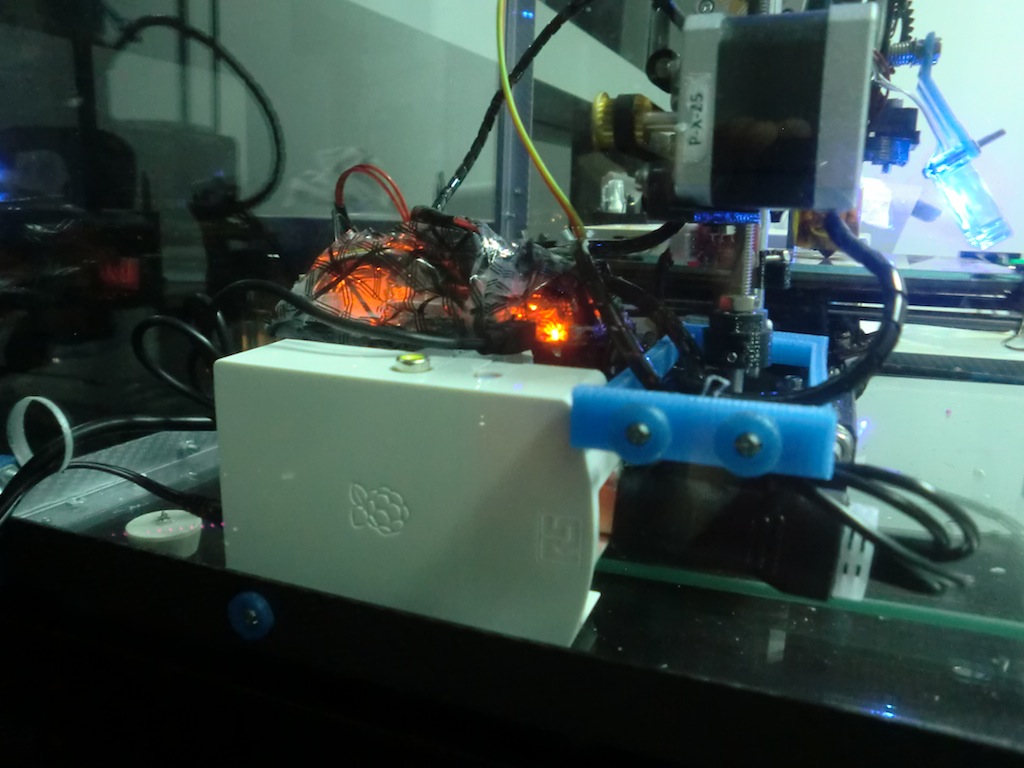
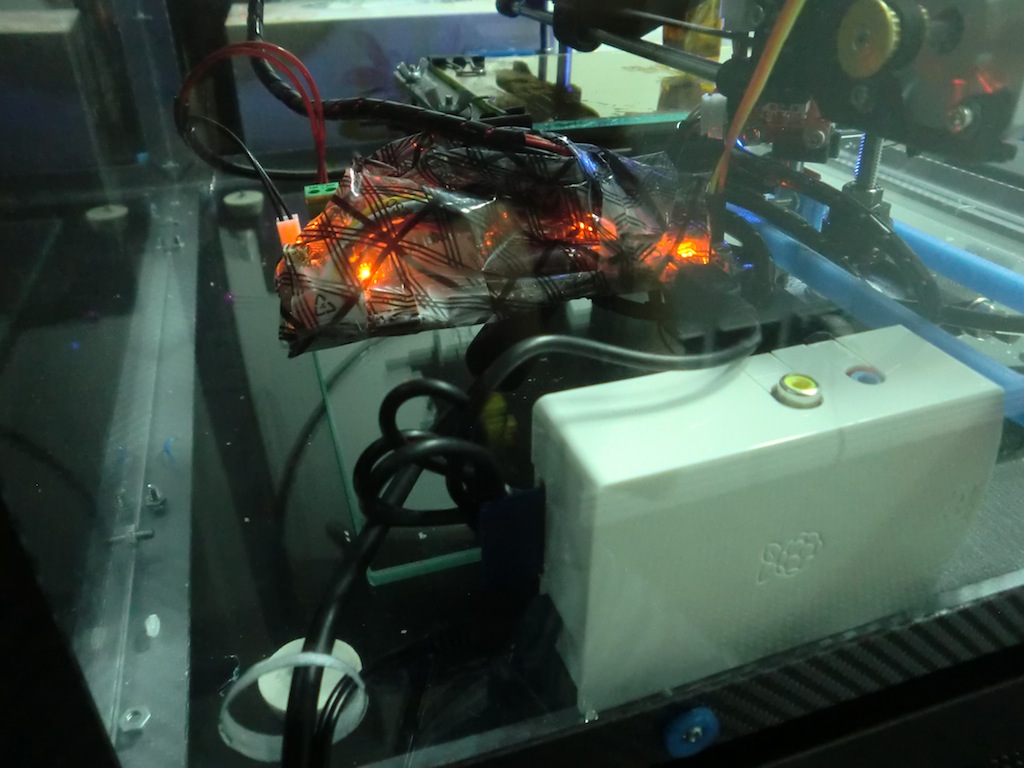
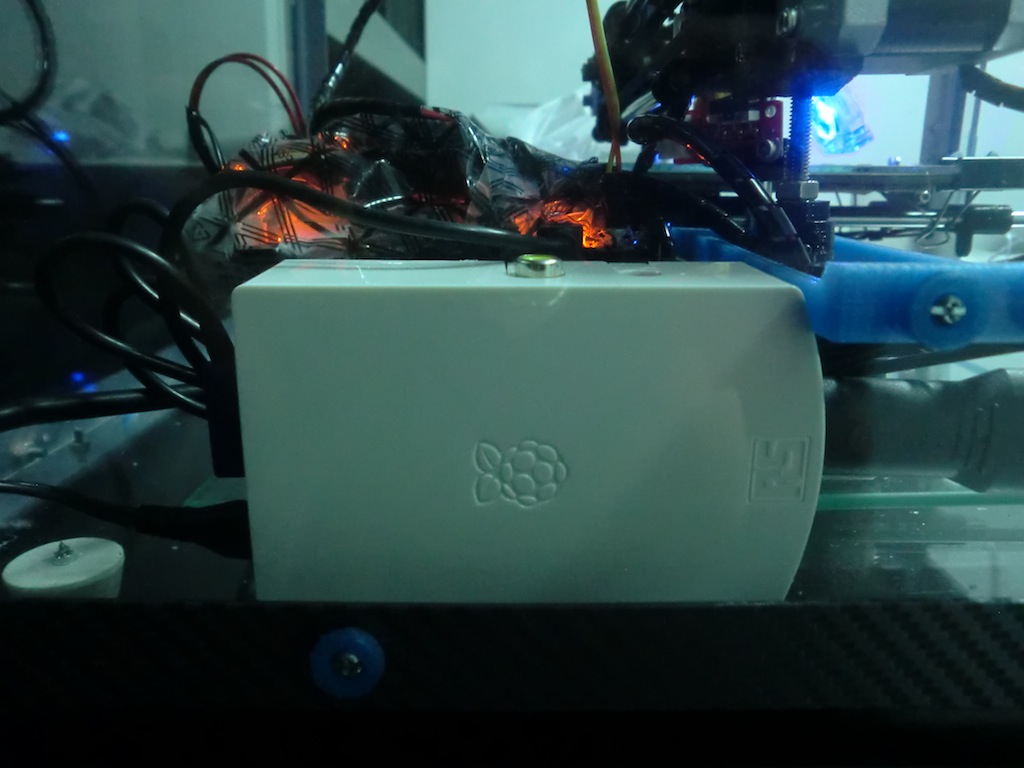
Here are some photos of the setup that I've got now. The PiBee is a Model B Raspberry Pi, there is a 4-port USB hub plugged into it that has a WiFi adapter and the Portabee connected to it.
These are some of the screenshots of running Pronterface via VNC:


Edit: There is a follow-on post where I talk about adding an LCD monitor and trackball to make the PiBee truly stand alone.
-i
