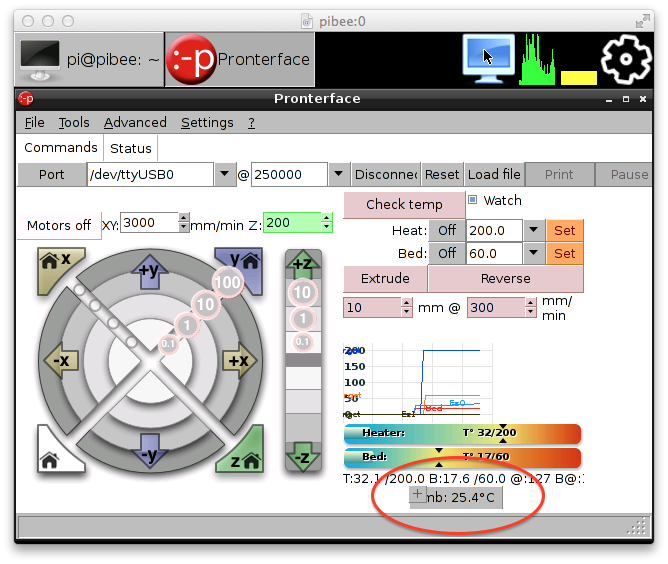
This is the end result, the temperature readout as a custom button that's added to Pronterface.
To get started I needed to have the software for the TEMP er1 installed. Rather than writing it up here, I'll just link it, this is the article I followed to install the sensor scripts. I did have to restart my Raspi to get the scripts to run as the 'pi' user after adding the USB rules as per the article.
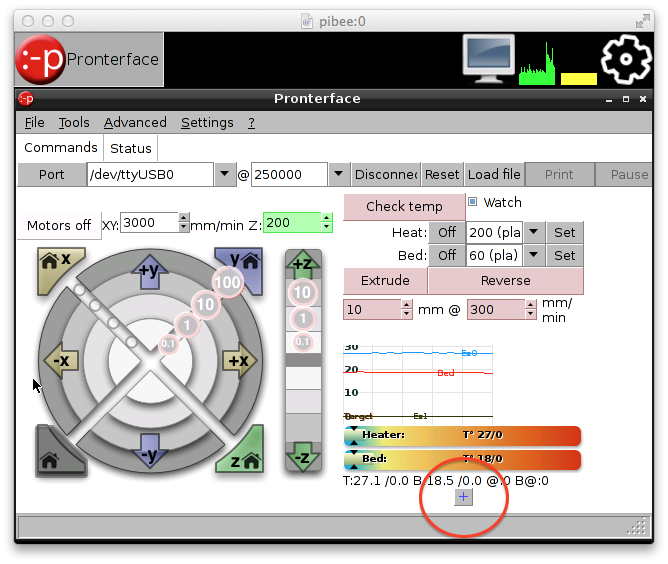
So to get started, in Pronterface, I clicked the + button to add a custom button.
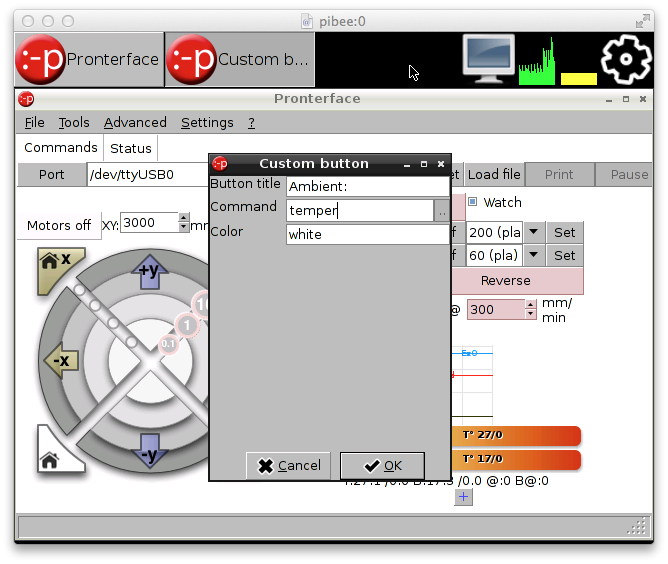
Then the custom button dialog box comes up, I gave it a title (not too important what it is), the command to execute (this is going to be the name of the macro I am adding later on), and a colour to use (again, not important).
Following this I added a new macro.
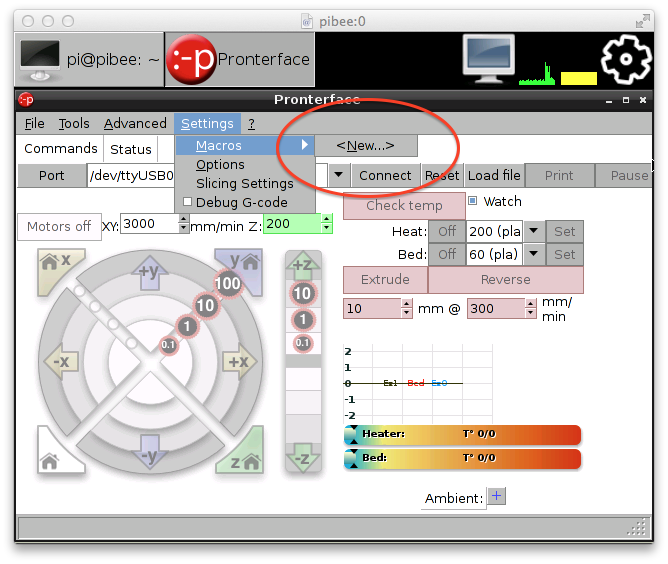
The name I used had to be the same as the command used when creating the custom button.
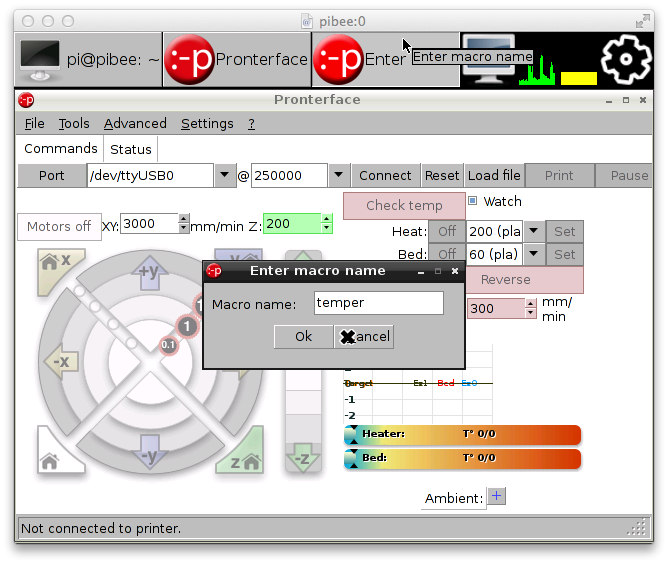
At this point I had to experiment a little with the output of the TEMP er1 scripts.
When running the 'temper-poll' script this is the output I was getting:
All I wanted was the degrees Celsius readout to be returned, so I put together the following command:
temper-poll|grep "Device #0"|cut -c12-19
Now it was just a matter of executing this command in Python and setting the button text in Pronterface to the output of this. So I've come up with the following macro:
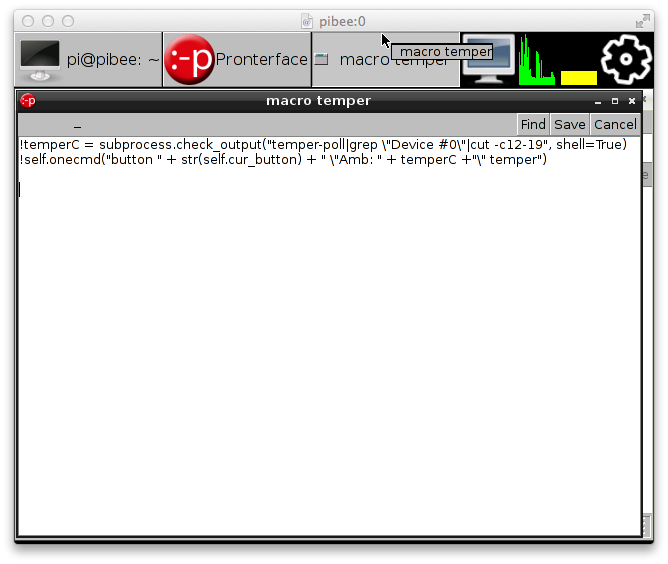
This more or less works how I wanted it to, except I've noticed that the width of the custom buttons doesn't go past a certain maximum value and when the text changes, the position of the button is changed to be lined up under the + button. This is not a big deal for me however.
Some of the time the temper-poll script does time out, this causes the button text to be set to just the 'Amb:' text. Clicking it again usually shows the output properly.

-i
