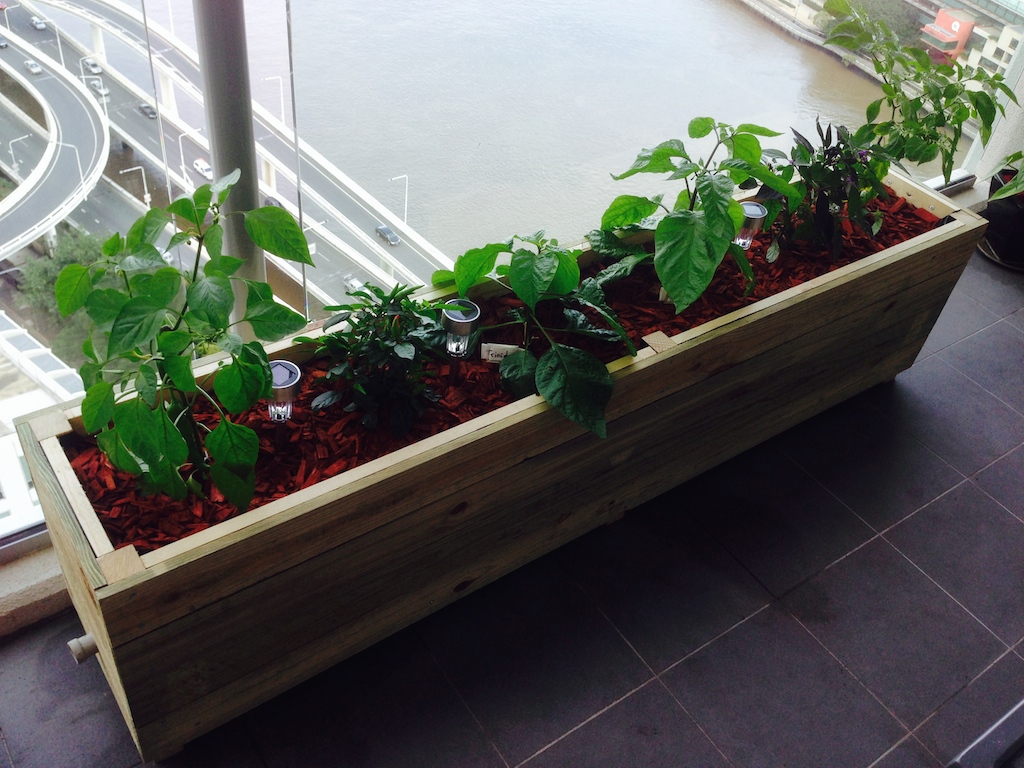
So here it is, the OpenSCAD model, the rendering and the actual photo of the completed box:
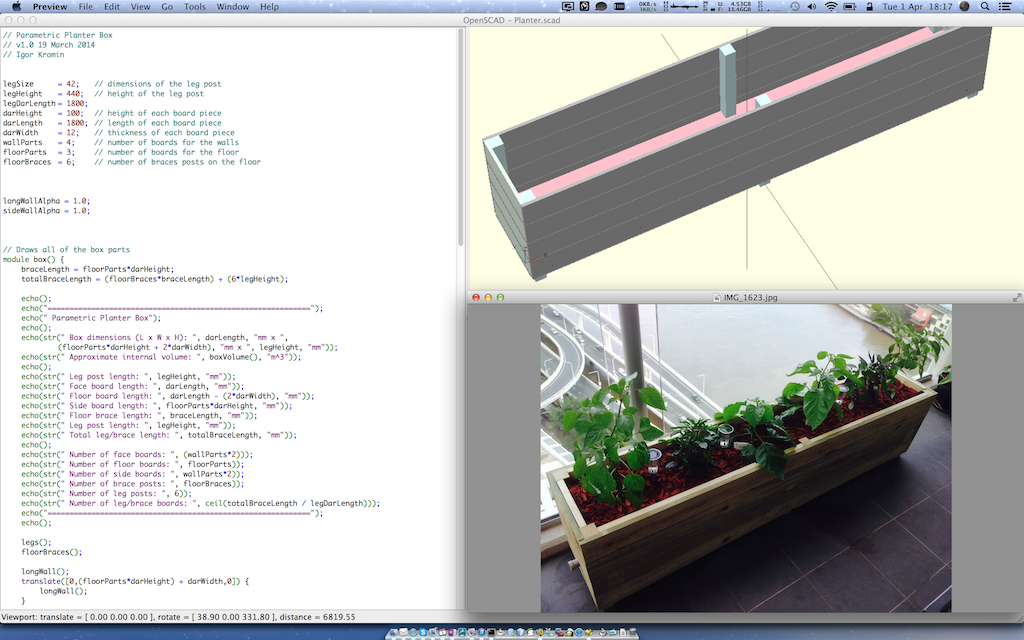
I'm actually quite impressed with this myself, the custom boot install pales in comparison to this.
I put the OpenSCAD model on Thingiverse for everyone to use, so get it if you want.
So without further ado, this is how I went about building the thing.
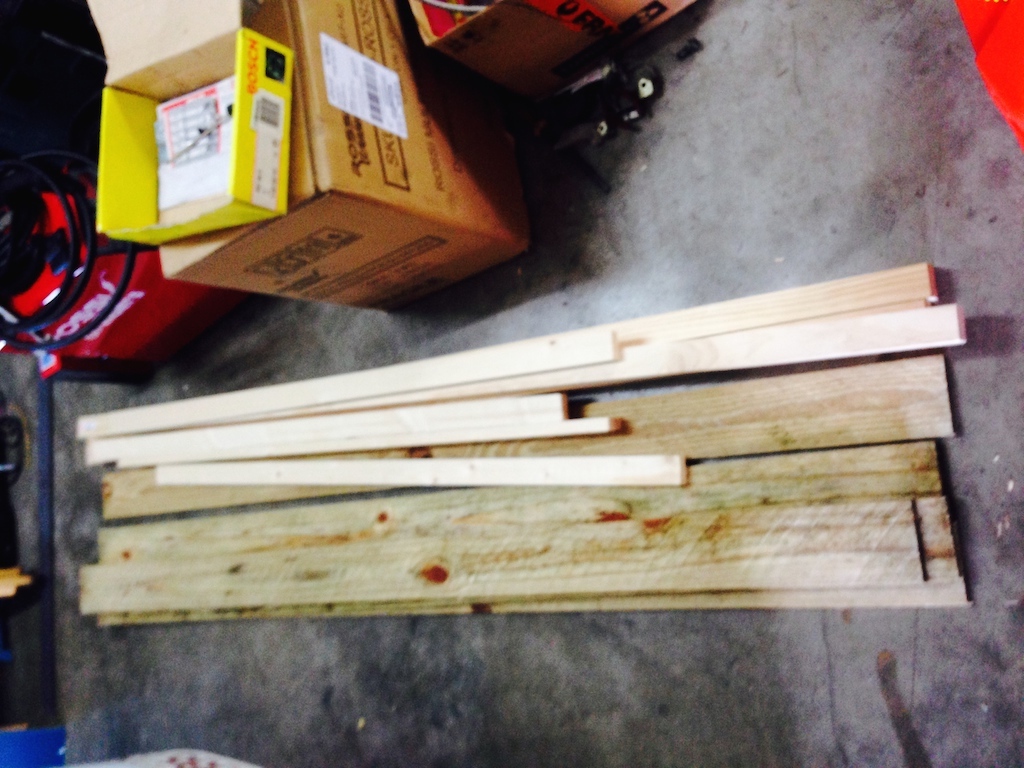
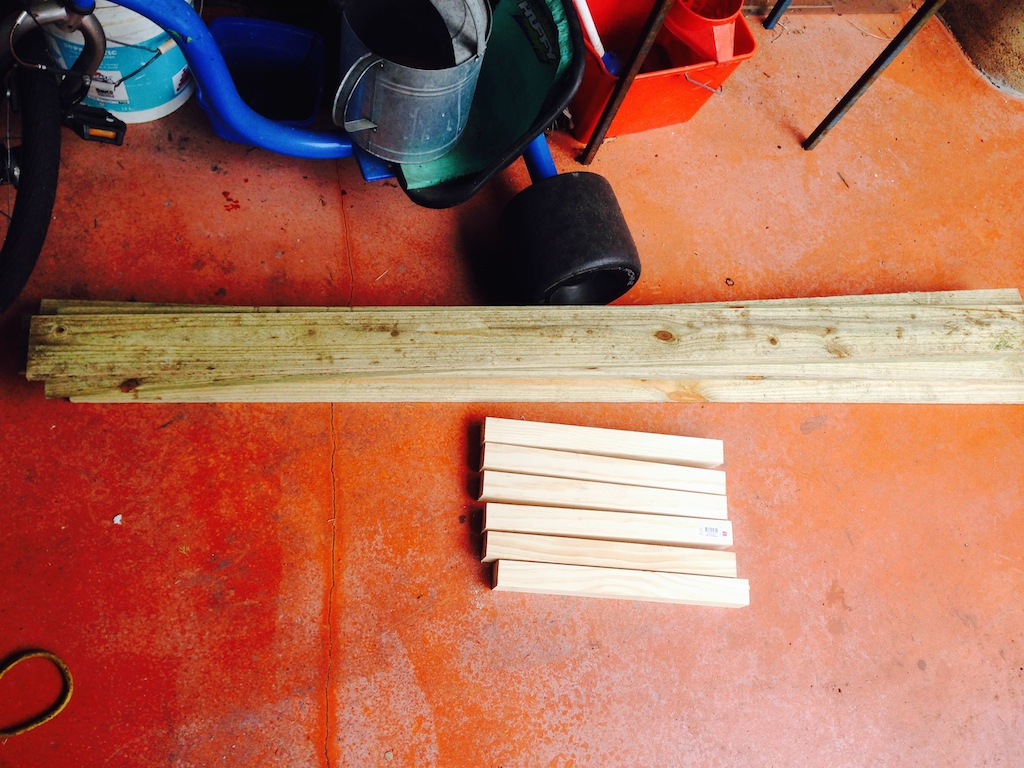
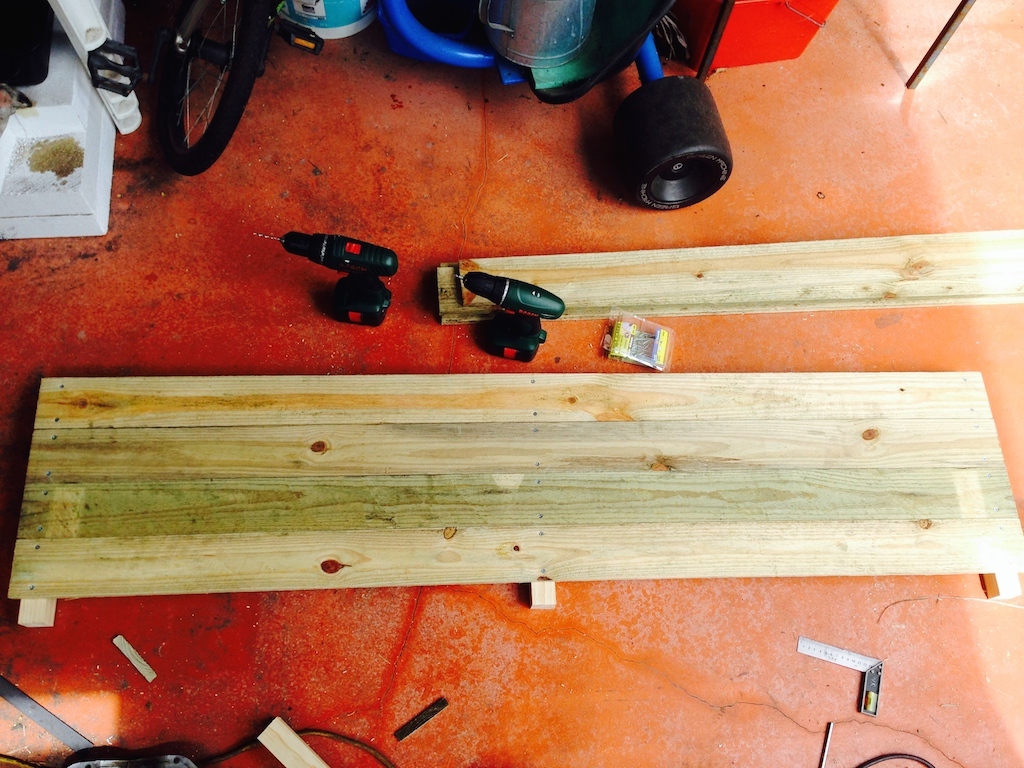
First, the materials, this photo doesn't actually show all of the palings I needed, but it's close enough. I ended up using 1.8m x 100mm x 12mm wet treated palings for the most part, then I used 42x42mm DAR pine for the bracing and legs. I also used some 42x19mm pine pieces to hold the plastic in place, this is not in the model but it's a necessary part. I also used black builders plastic to line and water-proof the inside of the planter box and a grey water disposal pipe for drainage.
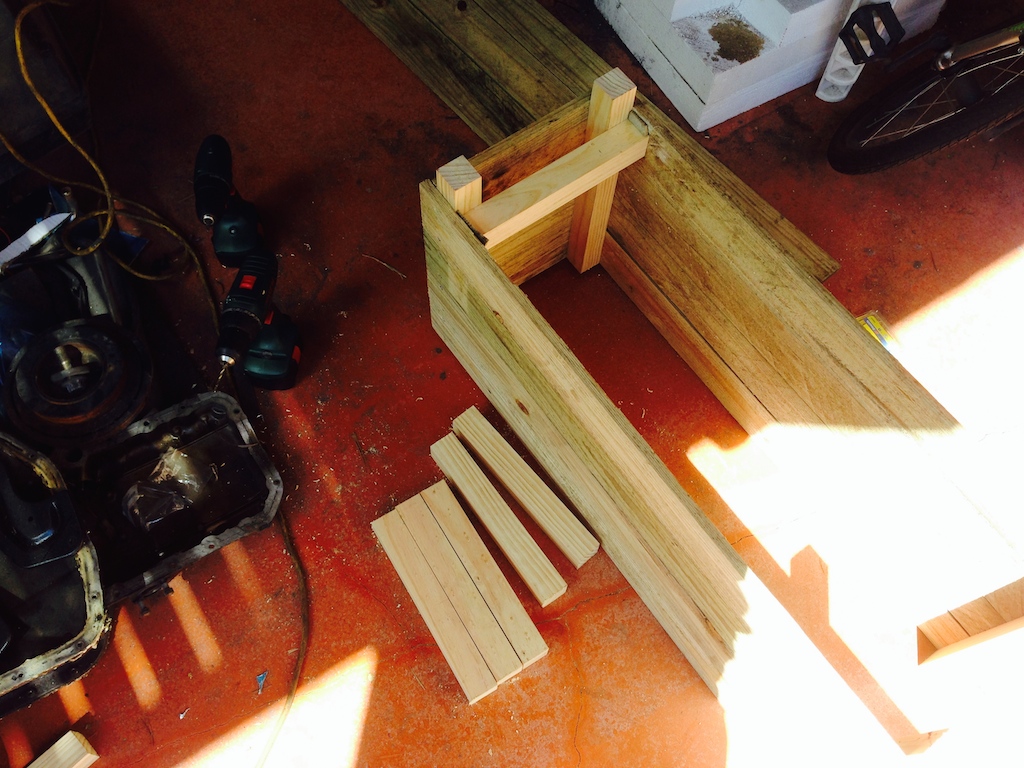
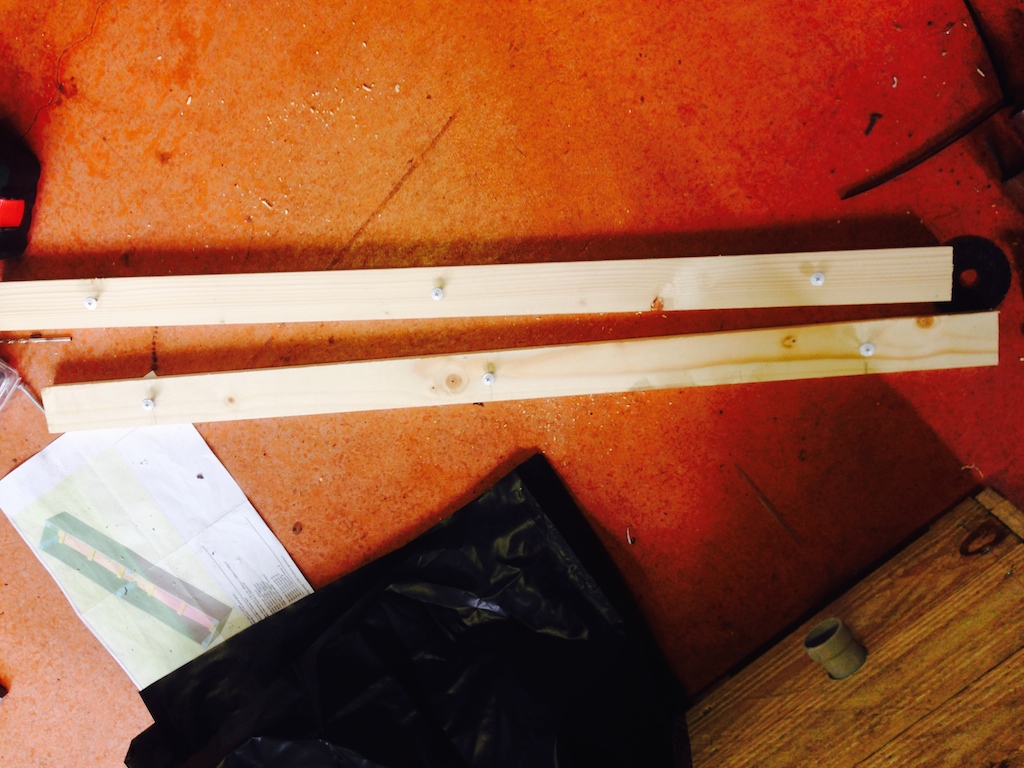
I started with the feet and then screwed them to the palings.
A bit of time later, here are two completed sides I've prepared earlier...
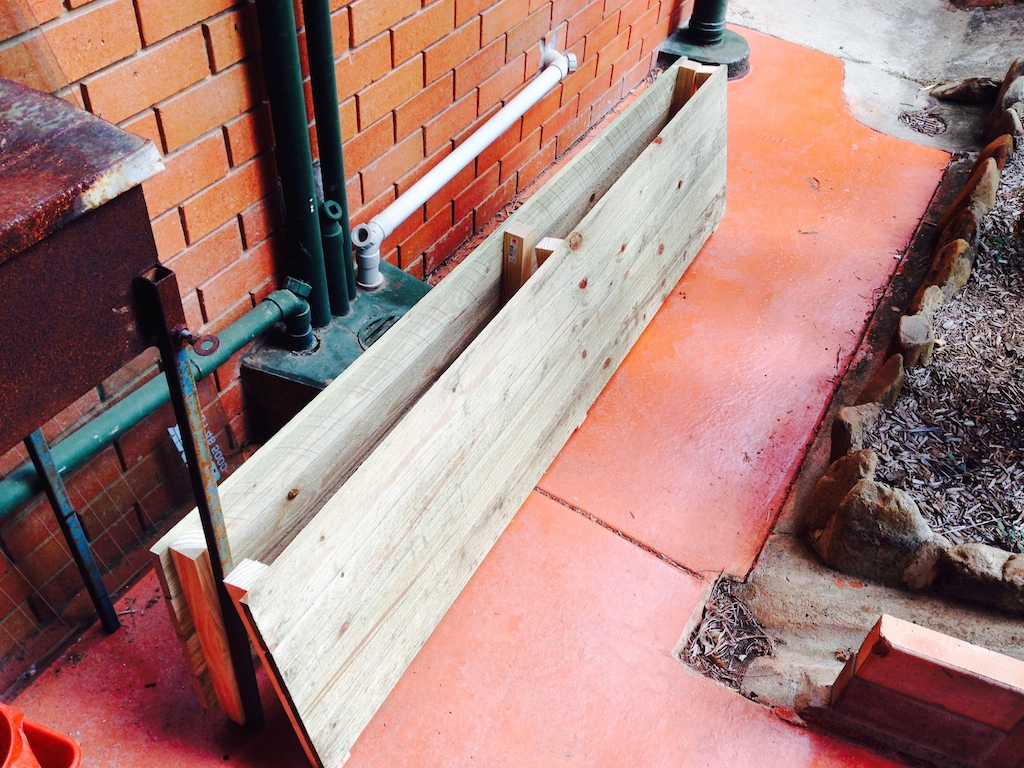
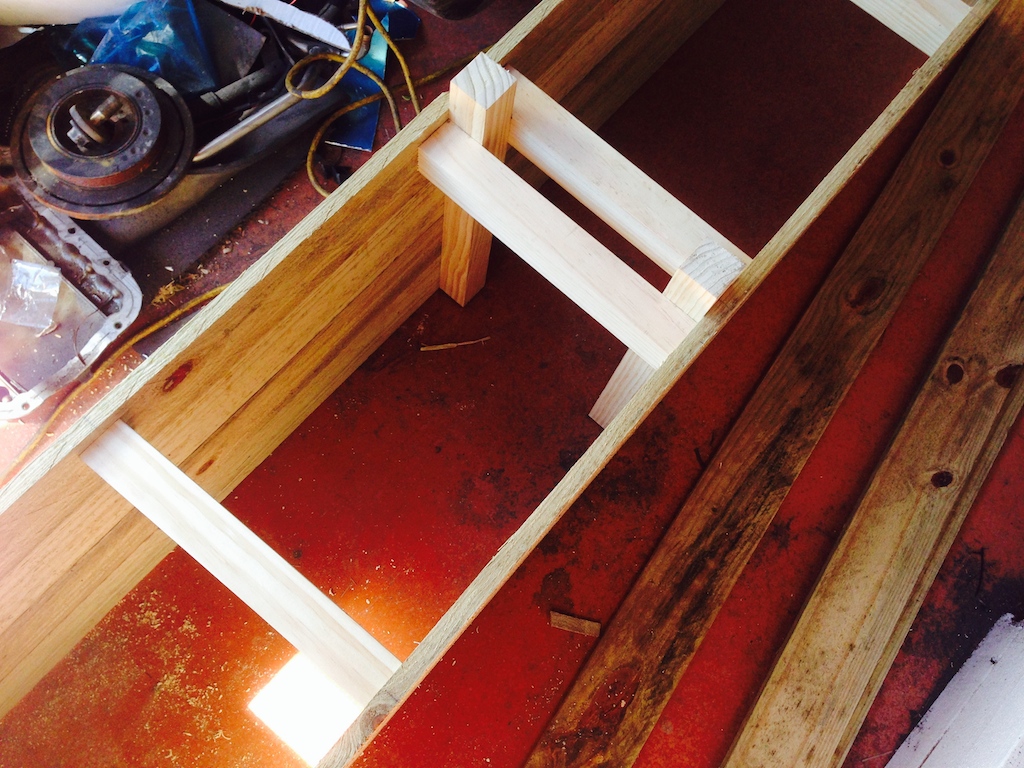
Next were the side walls.
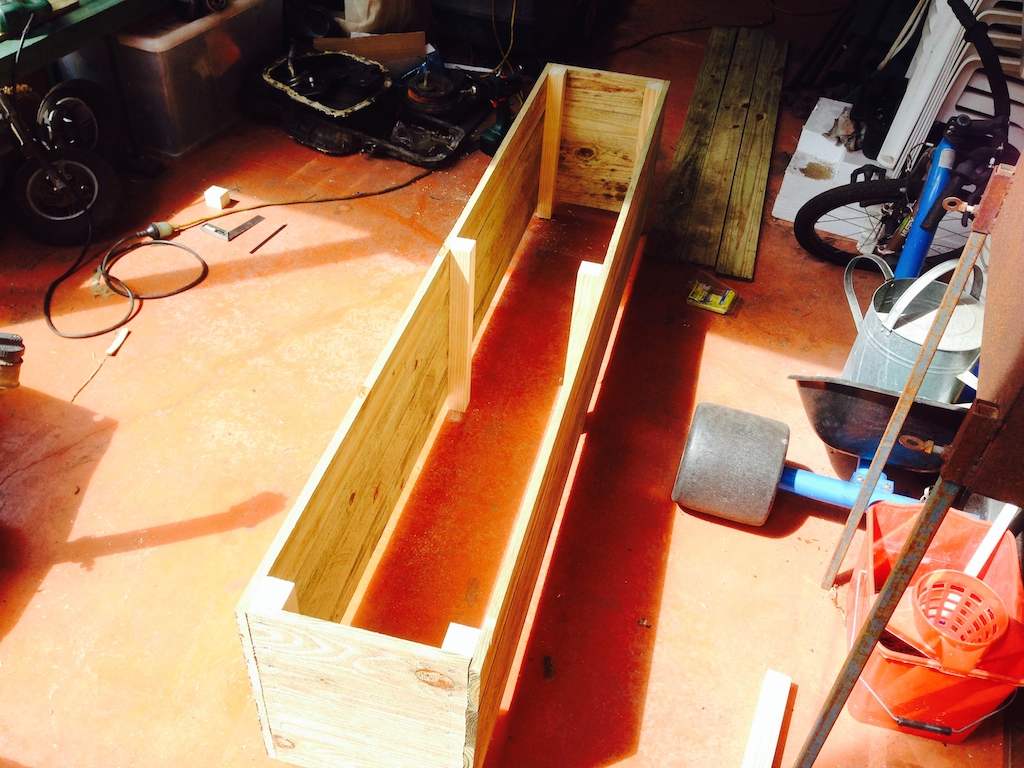
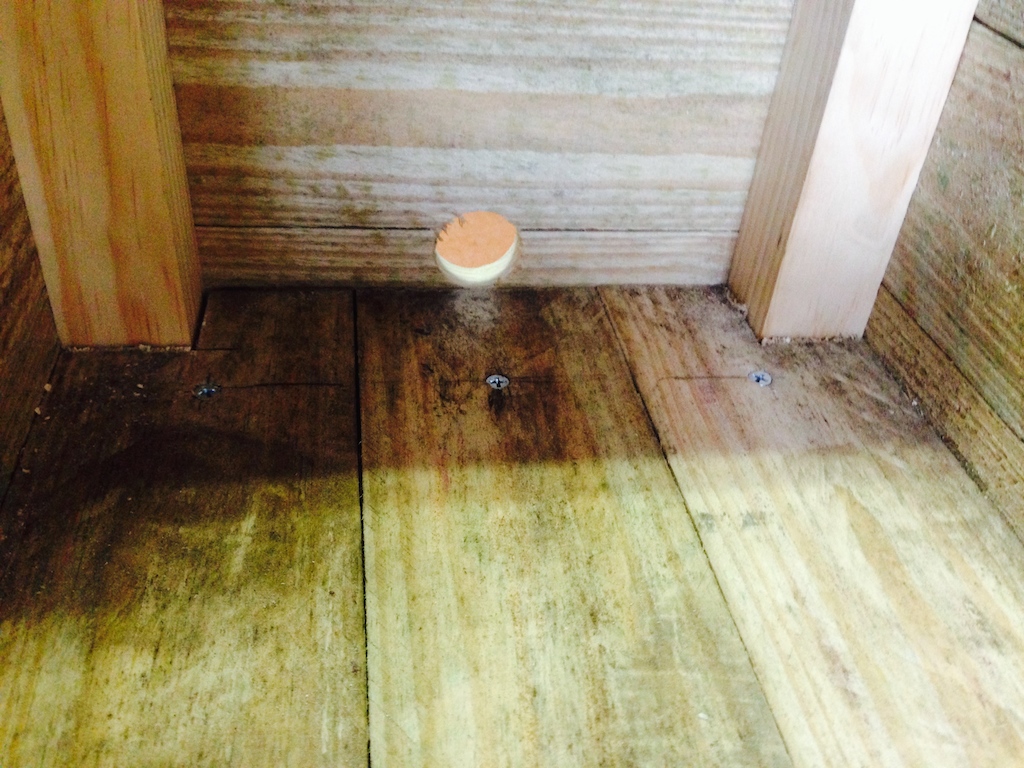
Once the side walls were in place, the bracing went in next.
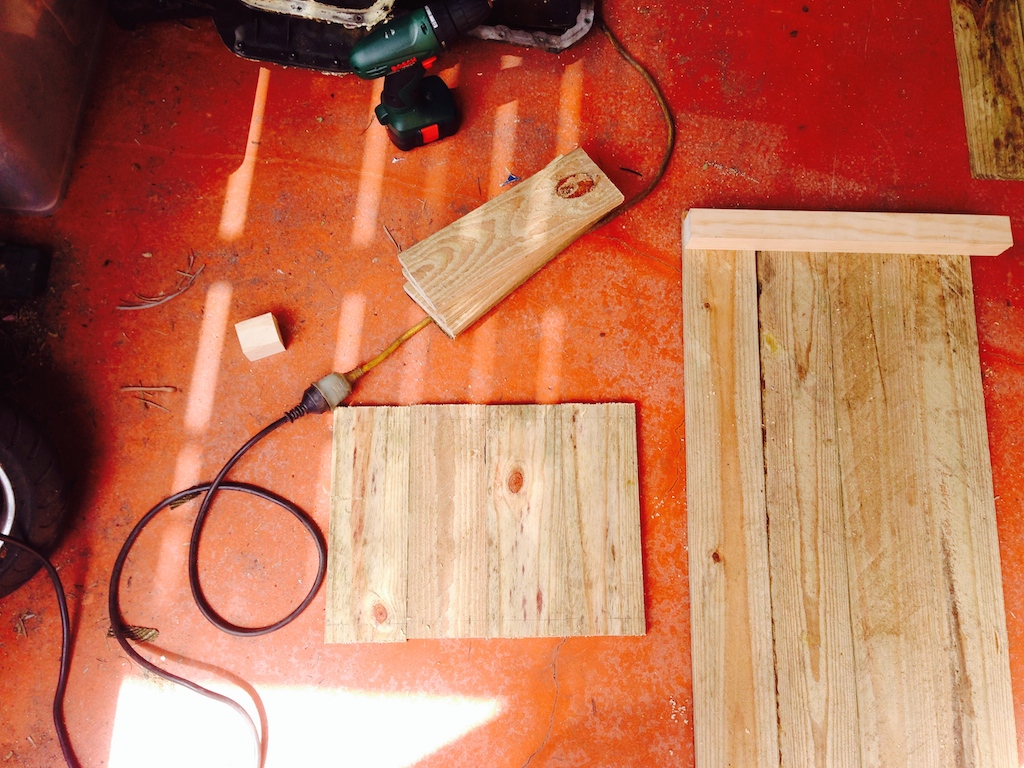
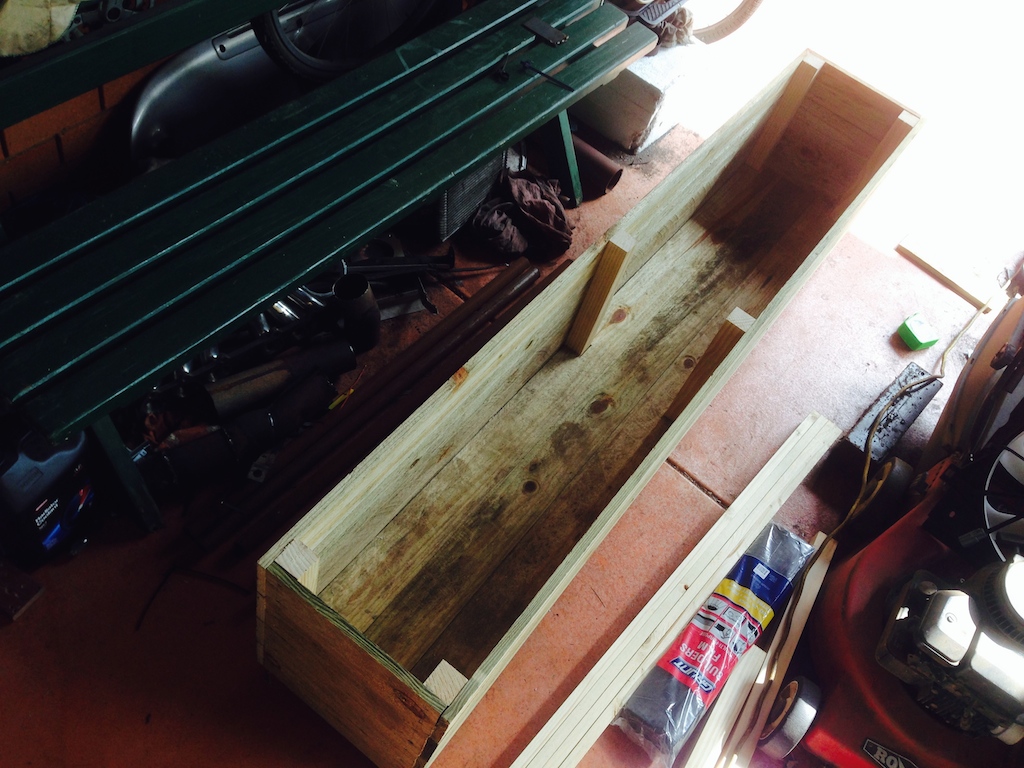
With the bracing in place I could cut the floor section to size and cut out the bits for the legs.
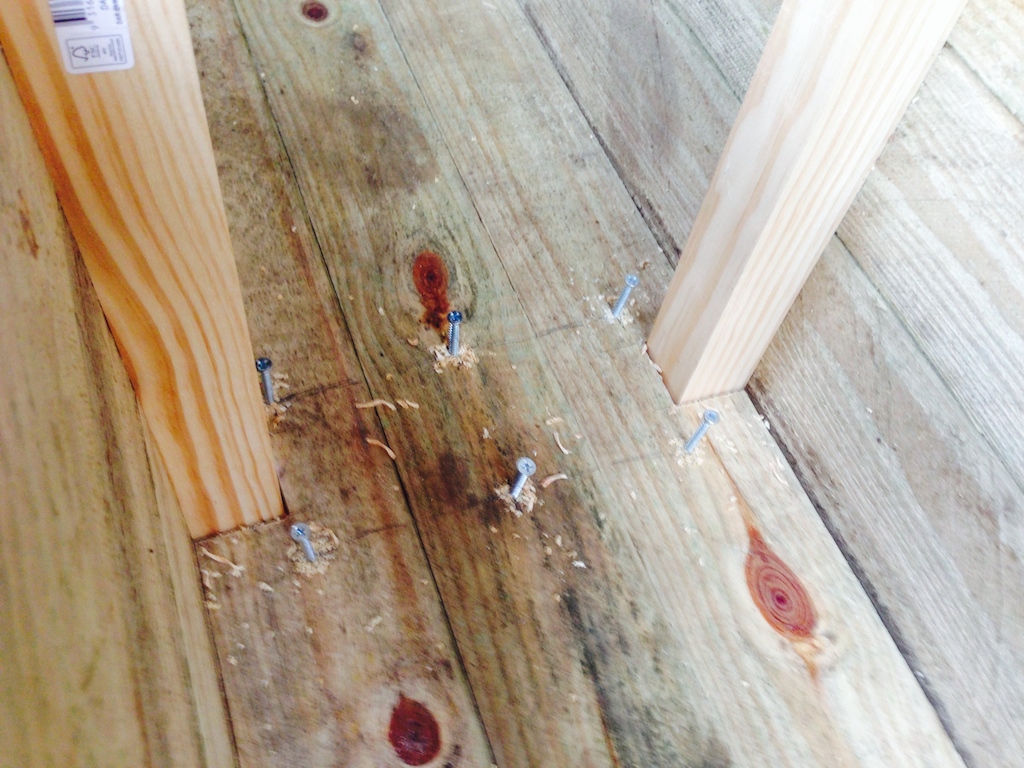
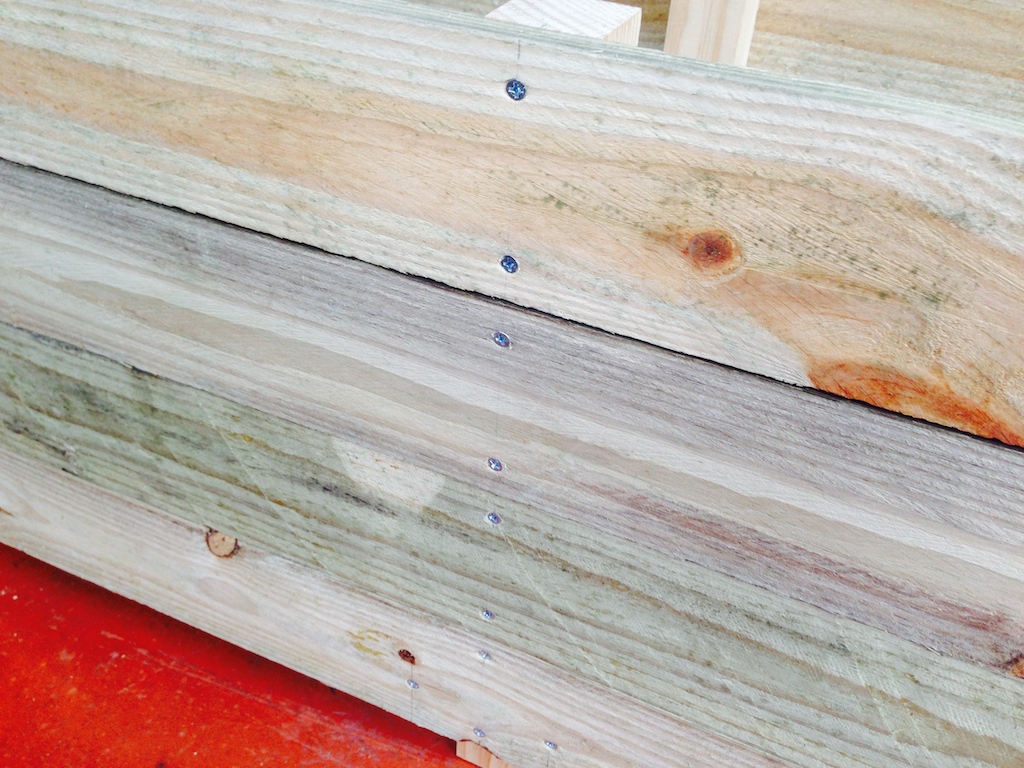
The floor palings and the wall palings were attached differently. On the floor I only used a single screw per paling, on the walls I used two, this is because the walls are vertical and the floor is already resting on the bracing.
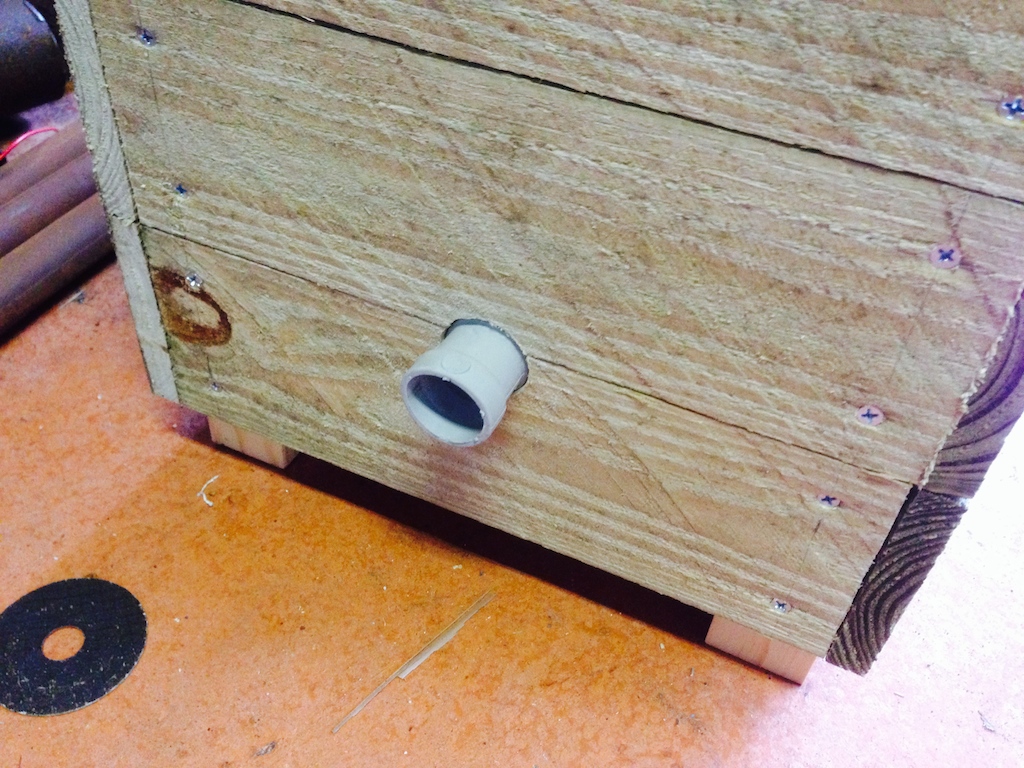
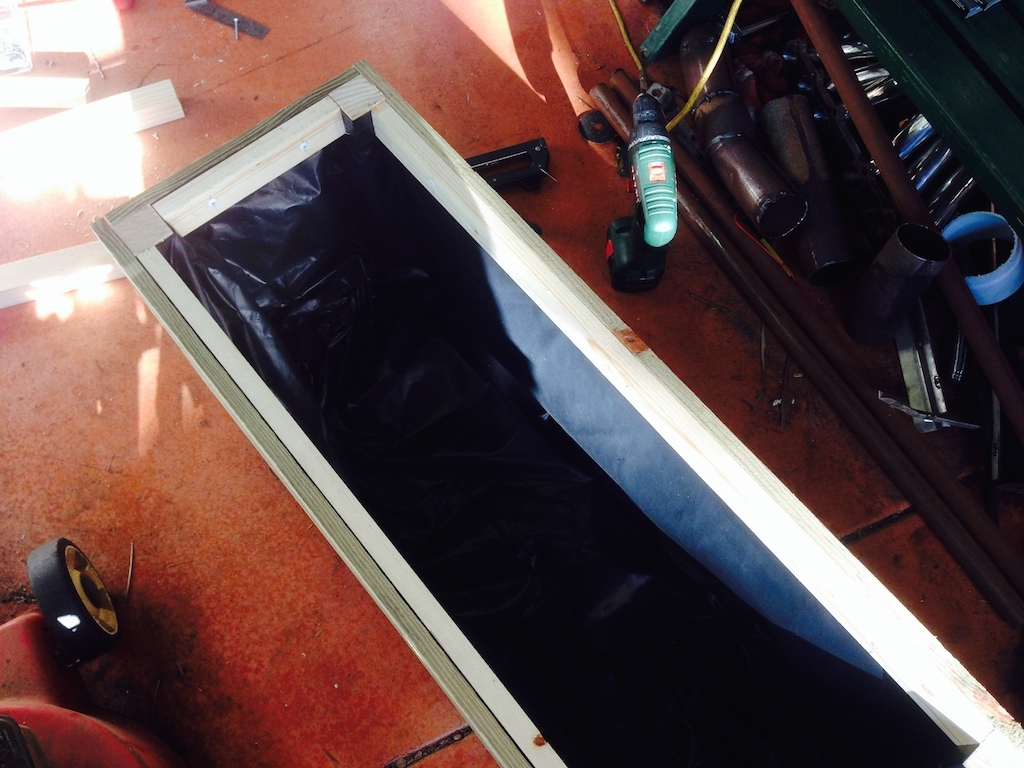
At this point the actual box was completed, but it needed extra touches, like a hole for the drain pipe.
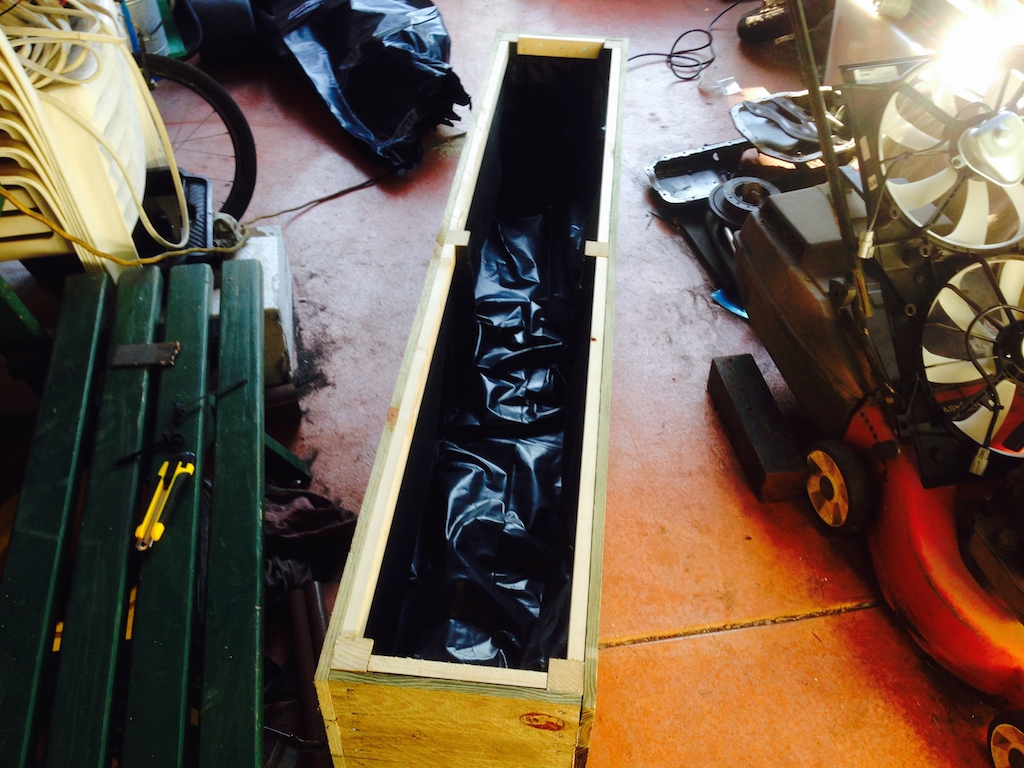
Then I needed to secure the plastic lining to the box interior.
Once the plastic was secure, I pushed through the drain pipe. This required a hole to be cut through the plastic, so I used a fair amount of silicone to seal it and let it dry for a day.
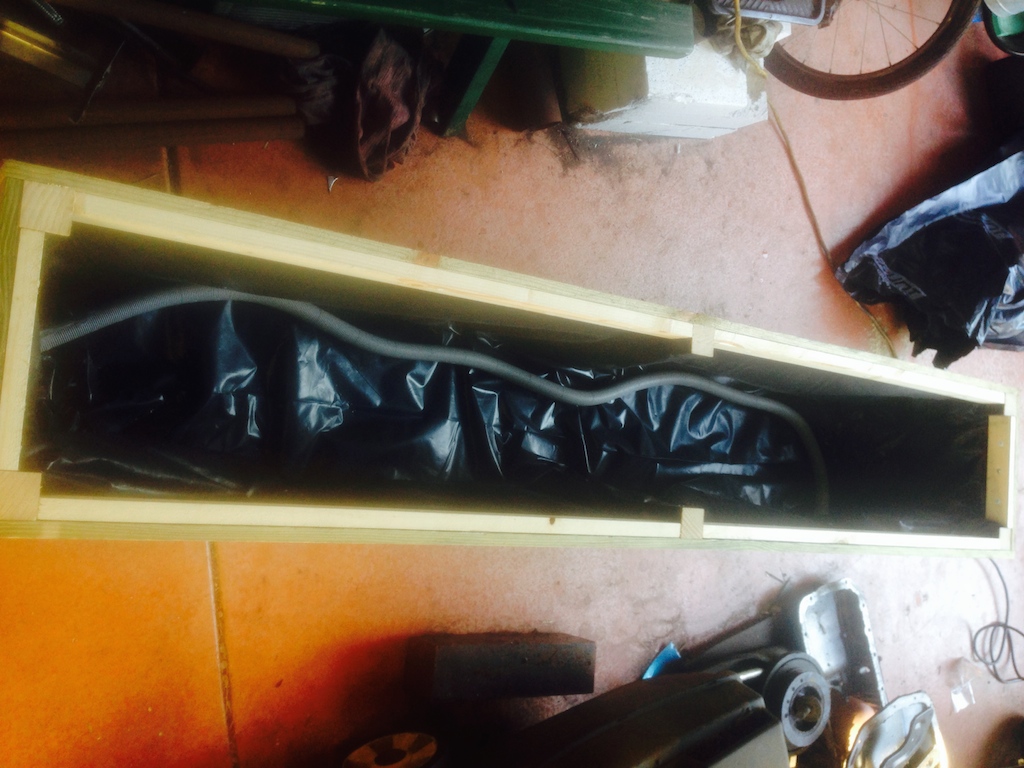
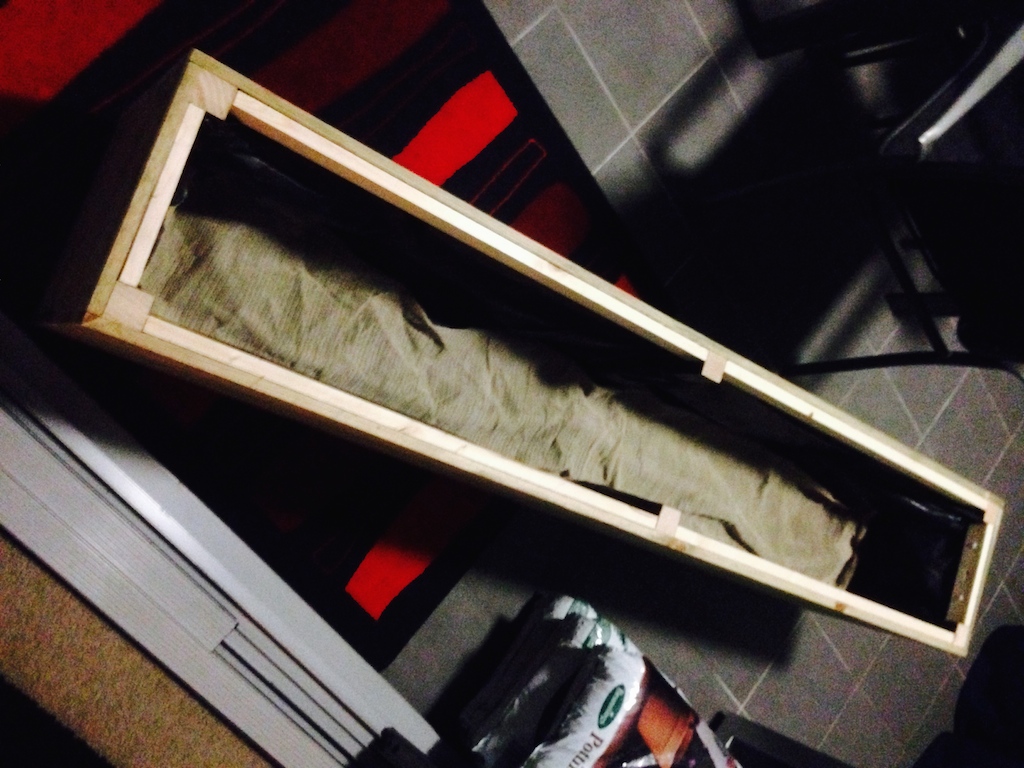
To make sure that the drain pipe didn't get clogged with soil, I used a bit of mesh material to cover it.
Then came the fun, yet messy part of taking all my chilli plants and replanting them into the box. I needed an extra three 25L bags of soil to make this happen and a 50L bag of pine chips.
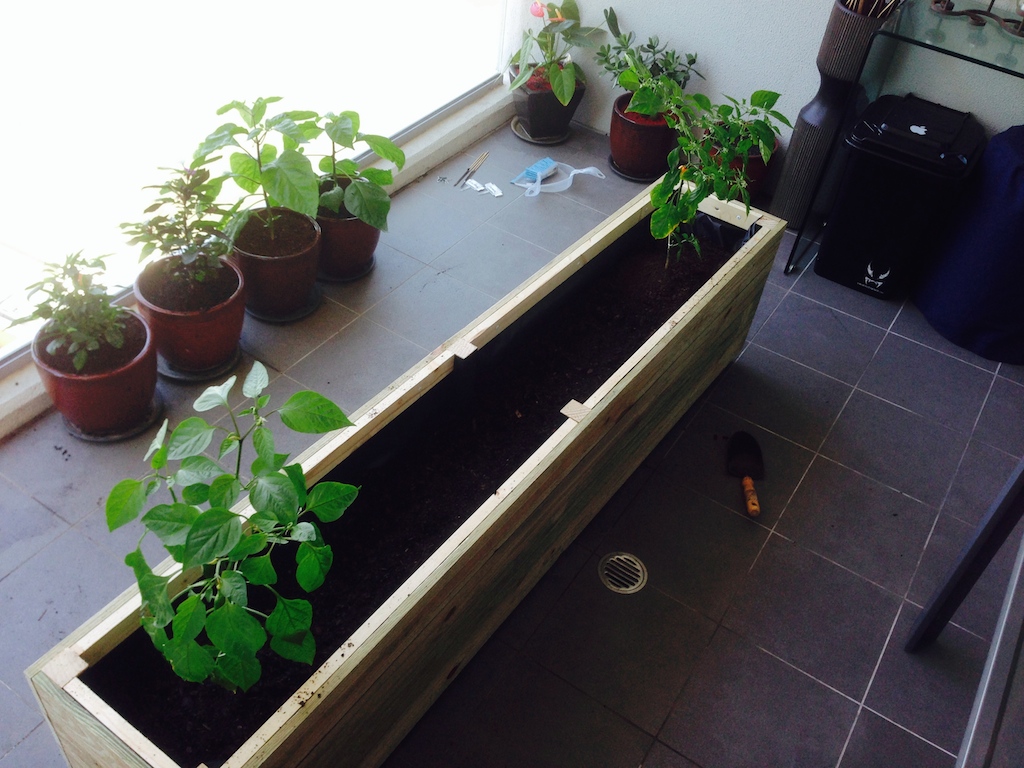

The pine chips are not strictly necessary but since this is on a balcony on a high-rise building and in a wind swept area, I did not want the soil blown all over the place. I used small rocks previously when the plants were in pots, but the weight of rocks would have been way too much for the planter box, so pine chips it was. As a bonus they also help retain moisture, so I don't need to water them as much.
This was a fun project, took a couple of weekends to complete, I'm already thinking of how the next box will be (for my Hops plant). The next box will be smaller and will only have 4 legs, I will probably change how I do drainage to use a PVC pipe instead, due to the weight of the soil.
Now my chillies have all the room for their roots that they need!
-i
