I've made Linux versions of these scripts, read the updated article here: https://www.igorkromin.net/index.php/2016/09/21/set-up-a-time-lapse-webcam-with-trafficr/.
First lets have a look at what the cam actually displays (good view right?). This is useful to see what the traffic conditions are like on the expressway as this is one of the major routes in/out of the city centre.

I set up this cam to capture an image every 5 minutes, so it's not a live stream. The 5 minute interval is configurable with the use of cron, no messy timing inside the script I wrote!
So down to business now. The cam is a Logitech c270. I went for this cam because it's been documented to work and it was cheap. I did a bit of research and found out that as long as the cam is UVC compatible, it should 'just work' in OS X. That being said my other cam (Microsoft HD-3000) also 'just works' but the picture from it is terrible without optimal lighting conditions. The c270 captures a much better quality picture even in the dark.
I set up the cam in my window like this (I have floor-to-ceiling windows in this particular room):
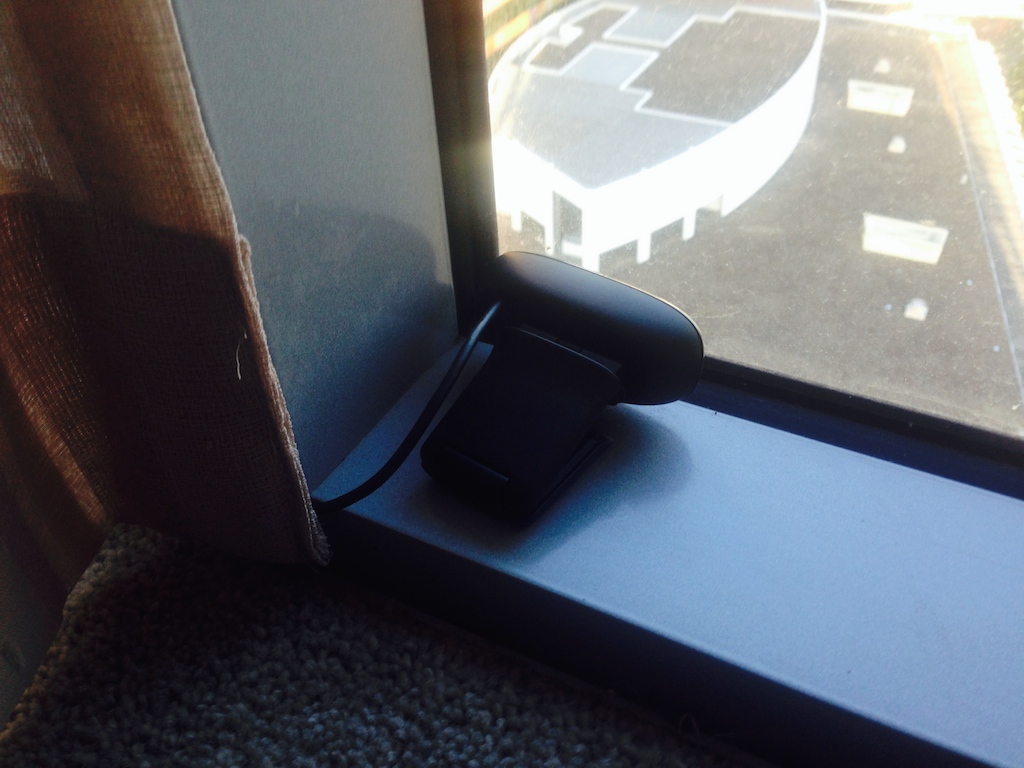
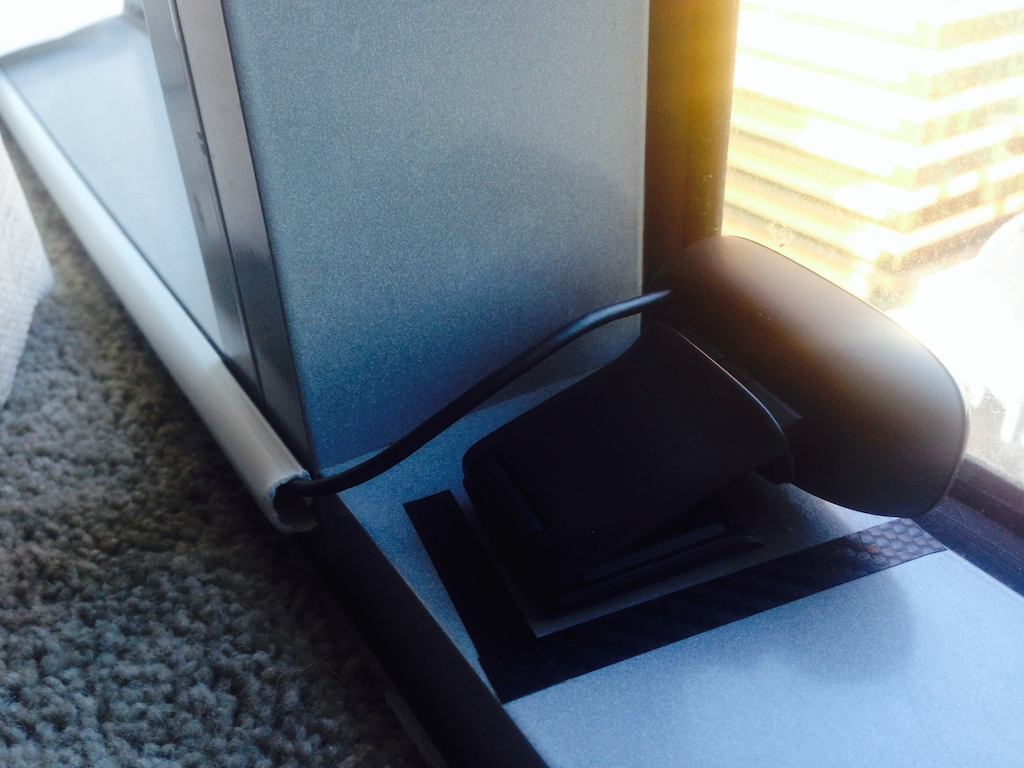
A little later I added a cable guide and marked out where the cam sits in case it gets moved while dusting, etc.
Now, down to the most important aspect of this mini-project: the software to make this all work. To my surprise (?!) OS X does not come with any command line utilities to capture webcam video, so I had to install a couple of things.
First thing was to get Xcode installed from the Apple Developer site. In my case I had to have version 4.6.3 because my server is still running OS X Lion. The Xcode Command Line tools are also required to be installed, these are found on the site site as Xcode.
Then, it was time to install Home Brew via the following commands. The doctor command needs to be run after installation. Do all this via the Terminal.app.
$ ruby -e "$(curl -fsSL https://raw.github.com/Homebrew/homebrew/go/install)"
$ brew doctor
Next I installed Image Magick because I knew that I will be doing some image manipulation of the webcam images before they are uploaded. This was the whole reason for installing Home Brew in the first place. Image Magick is installed like this:
$ brew install imagemagick --build-from-source
It MUST be built from source, the pre-compiled binaries just DO NOT work due to some static linking dependency issues. I also noticed that the fonts do not work after installation, luckily there is a script that fixes this. The script is located here: http://www.imagemagi … pts/imagick_type_gen. I saved this script as i.pl and ran it like so:
$ perl i.pl > type.xml
$ mkdir ~/.magick
$ mv type.xml ~/.magick/
Now Image Magick will work with fonts. However, we still need more software. I downloaded the following additional applications:
Now we are ready to cook with fire! After a bit of playing around, I created the following script to capture, archive, manipulate and upload the webcam image. (Real server details for scp are not shown of course)
#!/bin/bash
WORK_DIR=/Users/ikromin/Downloads
ARCH_DIR=$WORK_DIR/wbrsew
WACAW=/Users/ikromin/Downloads/wacaw-04/wacaw
CONVERT=/usr/local/bin/convert
OPTIM=/Applications/ImageOptim.app/Contents/MacOS/jpegoptim
if [ ! -d "$ARCH_DIR" ]; then
mkdir $ARCH_DIR
fi
$WACAW --png -d 2 -n 3 $WORK_DIR/wbrsew_o
$CONVERT $WORK_DIR/wbrsew_o.png $WORK_DIR/wbrsew_o.jpeg
cp $WORK_DIR/wbrsew_o.jpeg $ARCH_DIR/arch_`date +"%Y%m%d%H%M%S"`.jpeg
$CONVERT $WORK_DIR/wbrsew_o.jpeg -sharpen 0x.4 $WORK_DIR/wbrsew_s.jpeg
$CONVERT $WORK_DIR/wbrsew_s.jpeg -font Arial -pointsize 14 -draw "gravity south-west fill '#00000090' rectangle 0,480 640,450 fill black text 11,8 'Riverside Expressway Cam © Igor Kromin' fill white text 10,7 'Riverside Expressway Cam © Igor Kromin' gravity south-east fill black text 11,8 'Time: `date`' fill white text 10,7 'Time: `date`' gravity north-west fill '#00000090' rectangle 0,0 640,24 fill white text 6,4 'Visit: http://www.igorkromin.net/?page=wbrsew'" $WORK_DIR/wbrsew.jpeg
$OPTIM --strip-all -m85 $WORK_DIR/wbrsew.jpeg
scp $WORK_DIR/wbrsew.jpeg [email protected]:/dir/
So what does this script do? Lets have a look. First it sets up all the paths and creates the archive directory if necessary. Then I use wacaw to capture an image from the webcam (device 2 in my case and I skip 3 frames before the final frame from the camera is captured - this gives the cam some time to warm up). The output is saved in the PNG format because I found that wacaw JPEG output quality was quite bad.
Next I convert the PNG image into a JPEG using Image Magick Convert utility, archive the original (converted JPEG) and then sharpen the image. Sharpening was necessary for night-time capture especially, without it I could not see the tail lights of the cars on the road.
After the image is sharpened, I add some copyright and date information text to it. The text is added over translucent boxes that are drawn on the image first, this makes it easier to read. The stamped image is then optimised for web use using ImageOptim.
The final step is to upload the image, and that's done via scp. What about passwords? I set up public key authentication between my home server and the web host, so there is no need to enter a password every time.
The script above was saved as '/Users/ikromin/Downloads/wcup.sh', then I set up a cron job via crontab -e. This is what I put in the crontab to run my script every 5 minutes.
*/5 * * * * /Users/ikromin/Downloads/wcup.sh
This all took a bit of work, but it was fun to set it up and some people actually started to use this now, so it's been a useful project.
The only thing that I'm not quite happy with is the inability to capture images in HD using wacaw. I'm going to look around and see what I can do with respect to addressing that in the future.
-i
