Of course you're not limited to making a Lego themed cork board by following this post, anything kind of theme can be created, just swap in different fabric and finishes touches. It's fun and easy to do.
To make this you will need:
- Plain cork board (with a whiteboard half in this case)
- Some acrylic paint
- Clear gloss spray paint
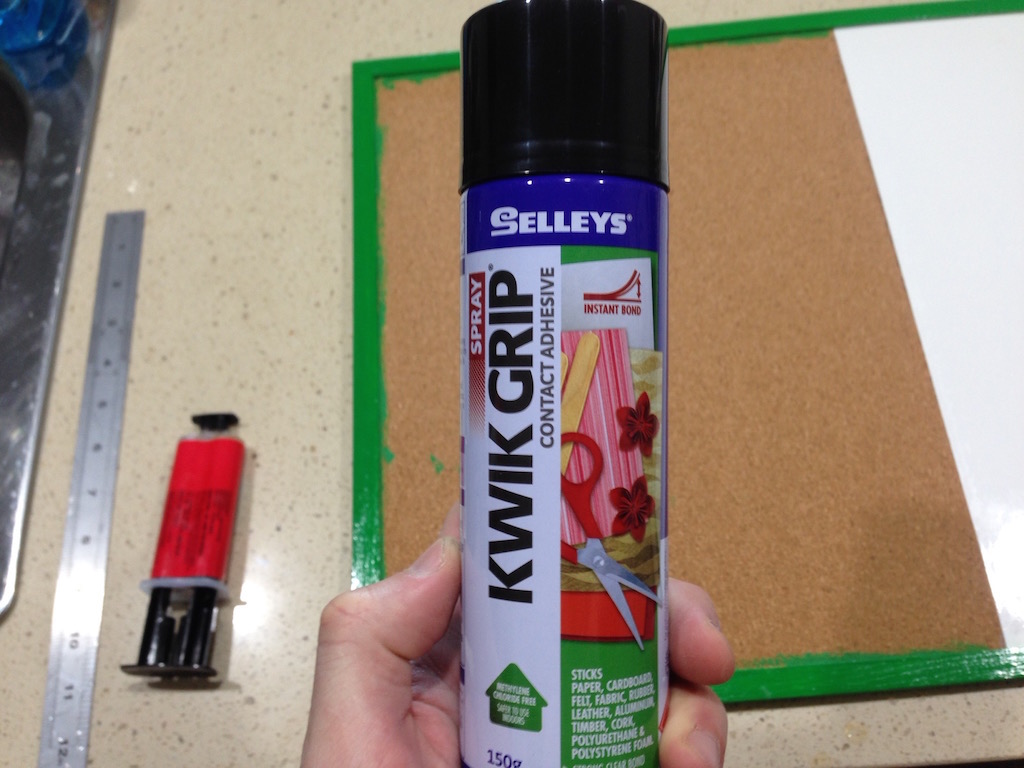
- Contact adhesive
- Themed fabric (Lego bricks in this case)
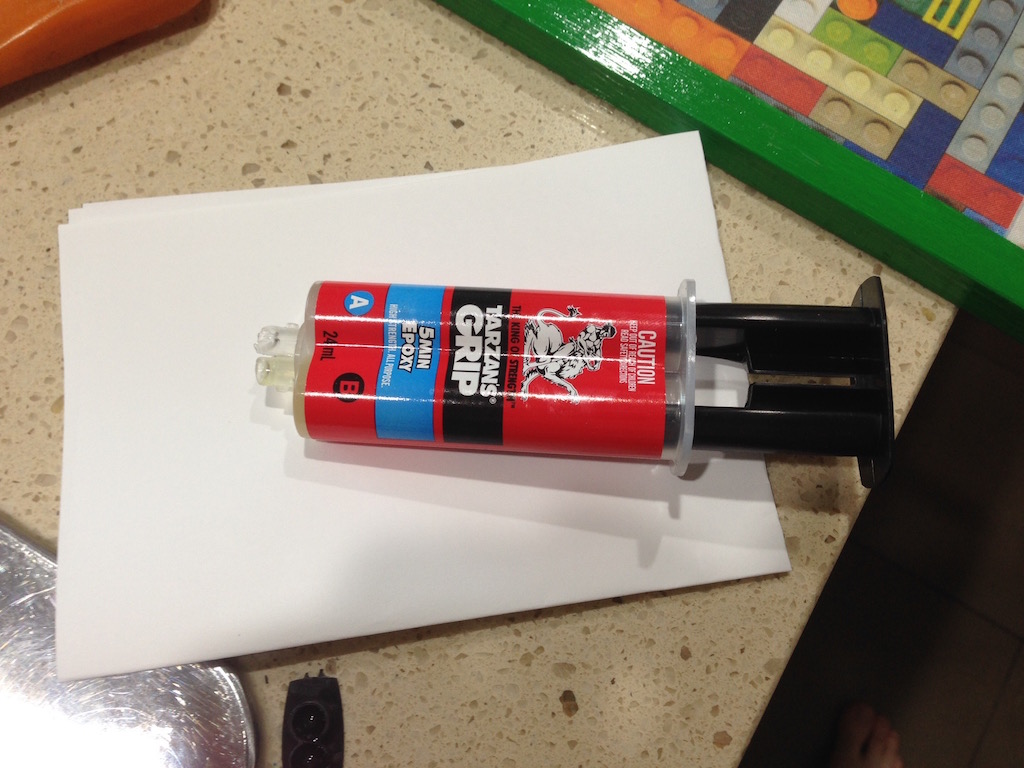
- 5 minute epoxy
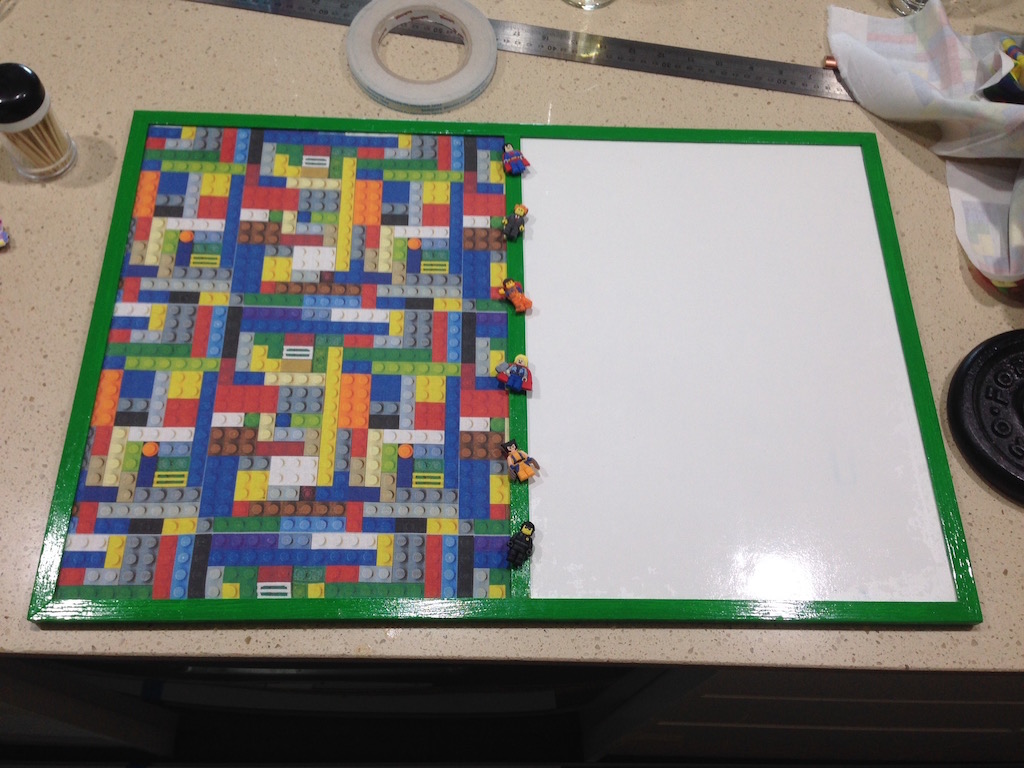
Here's the final result, after this we'll get to how it got there.
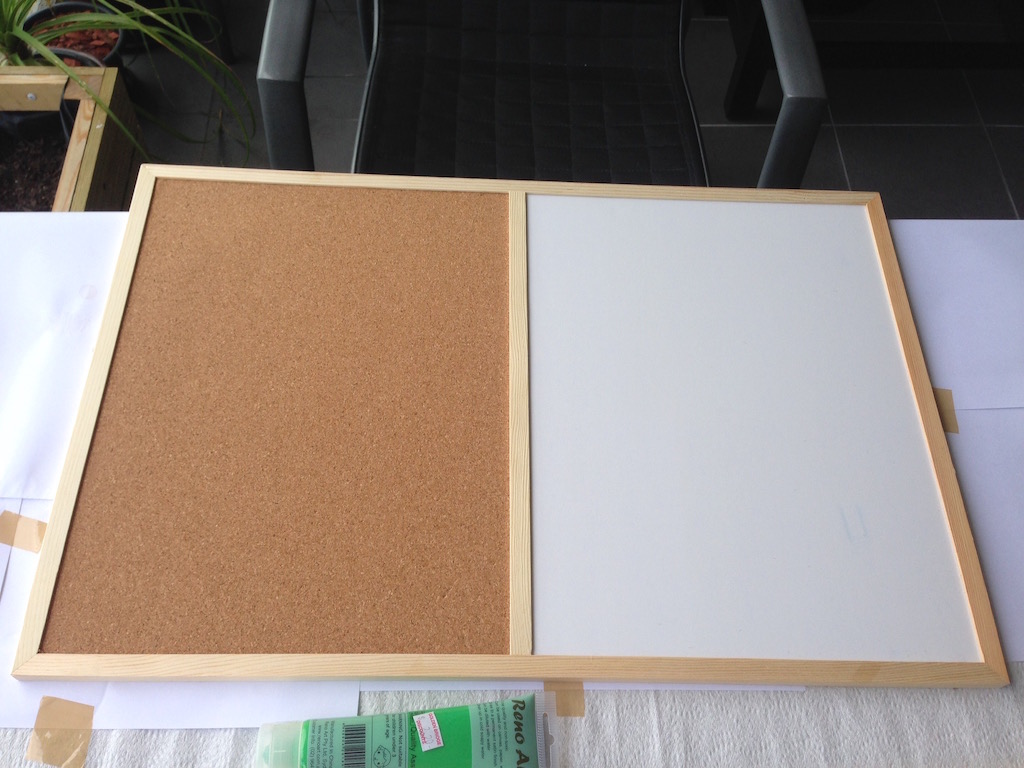
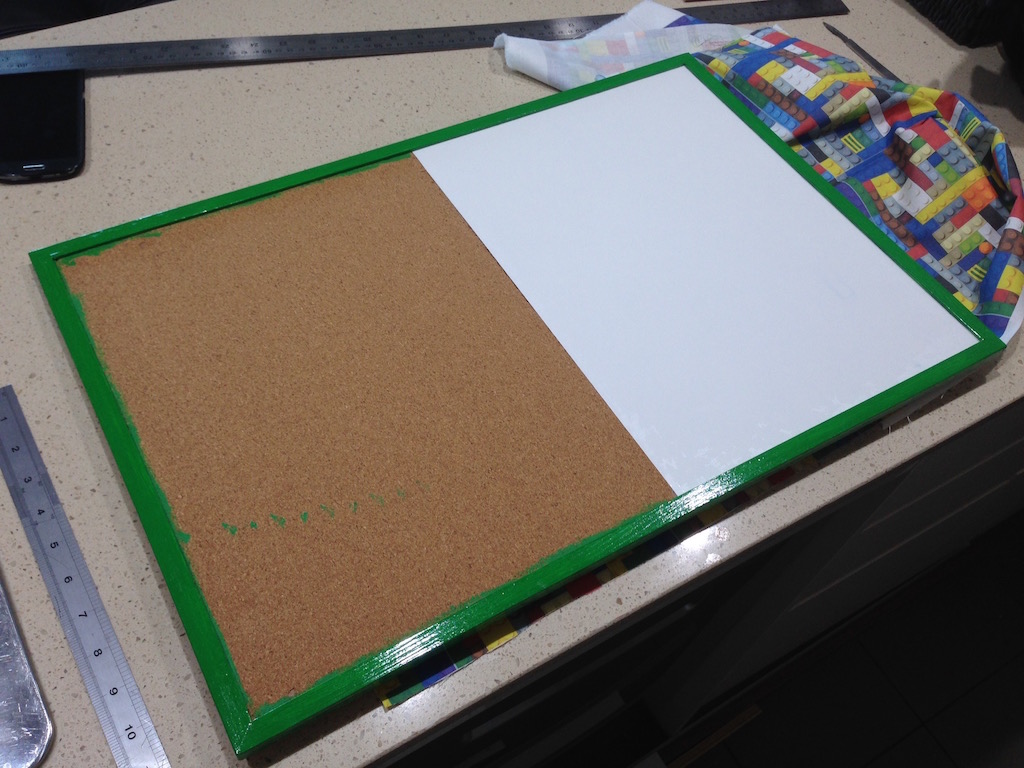
The cork board started its life quite plain. Actually, it was a split cork board and white board.
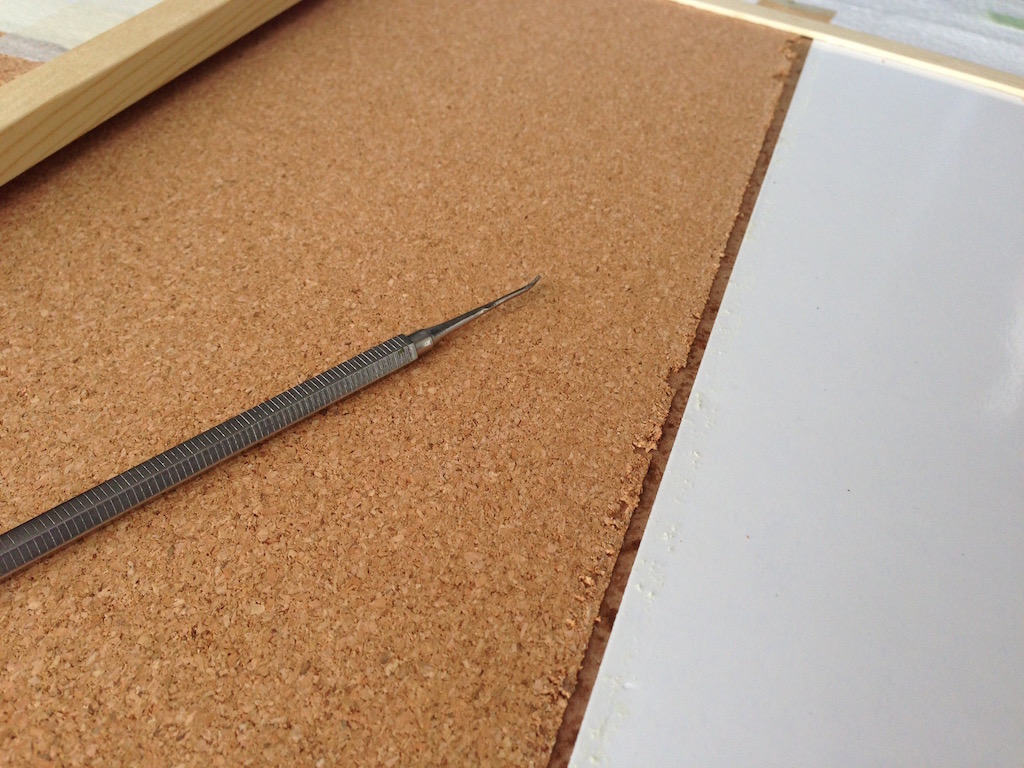
The first step was to remove the separator between the cork- and white-board sections. This was glued in place so a spatula was used to lift it off. Some of the edges on the cork side were damaged as a result, which didn't matter as they were covered later anyway.

After this, the whiteboard side was masked off using masking tape and the borders were painted.
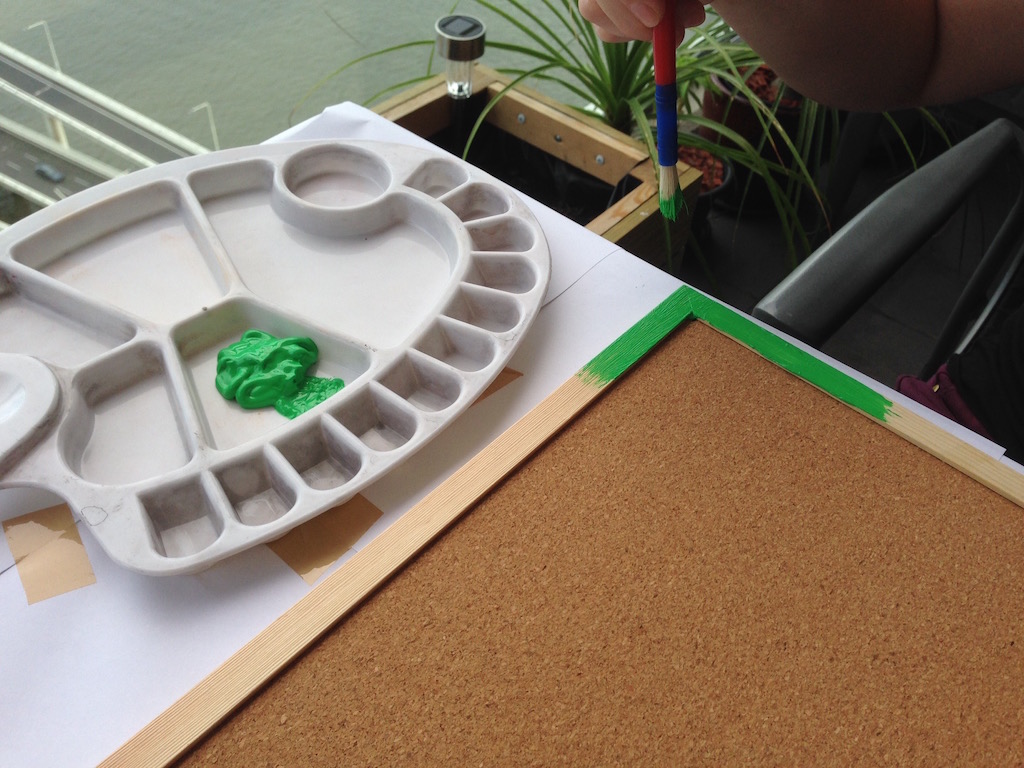
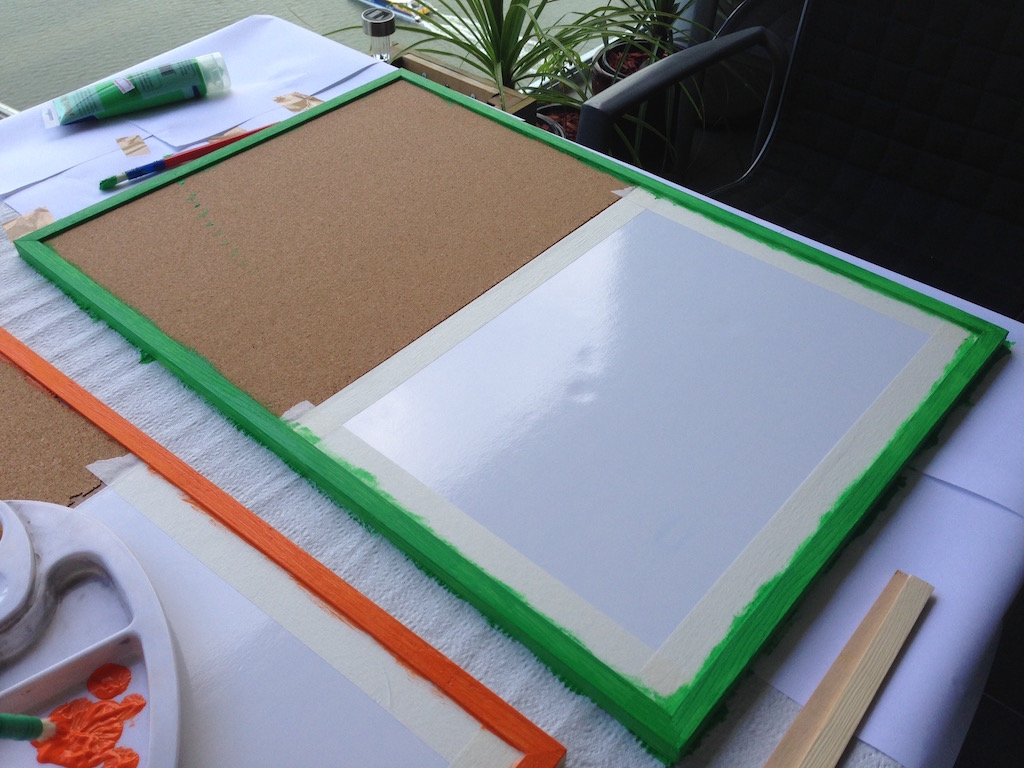
Once the paint was dry, the first coat had to be sanded lightly and then the borders were painted again a second time, for a smoother look.
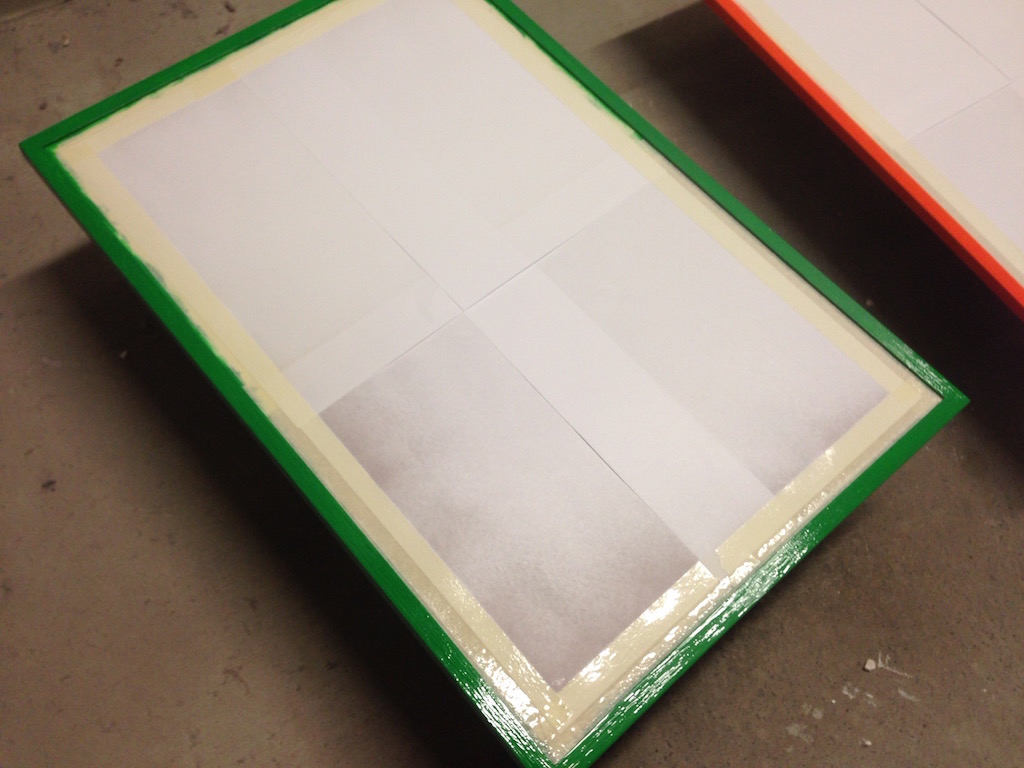
With the second coat dry, the rest of the board was masked off and covered with sheets of paper. This was necessary because a clear gloss coat was going on top of the painted borders.
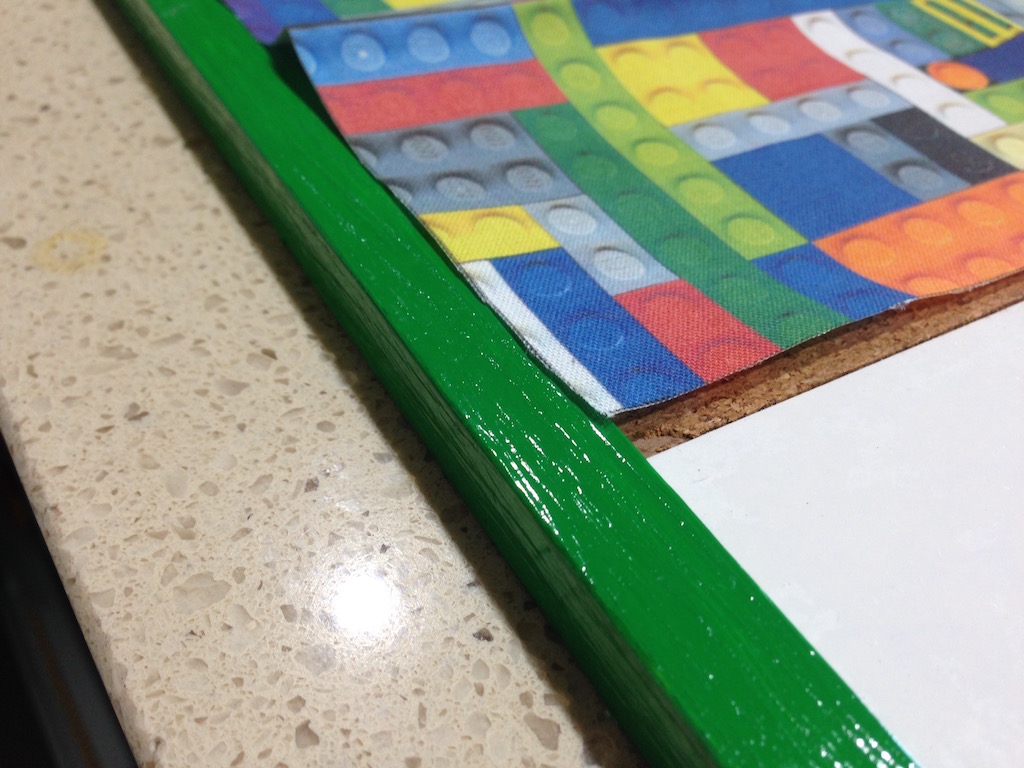
Two coats of clear gloss were enough to make a nice shiny, colourful border. At this point the masking tape and paper covering was taken off. When applying the clear gloss, make sure to do it in a dust free, well ventilated place.
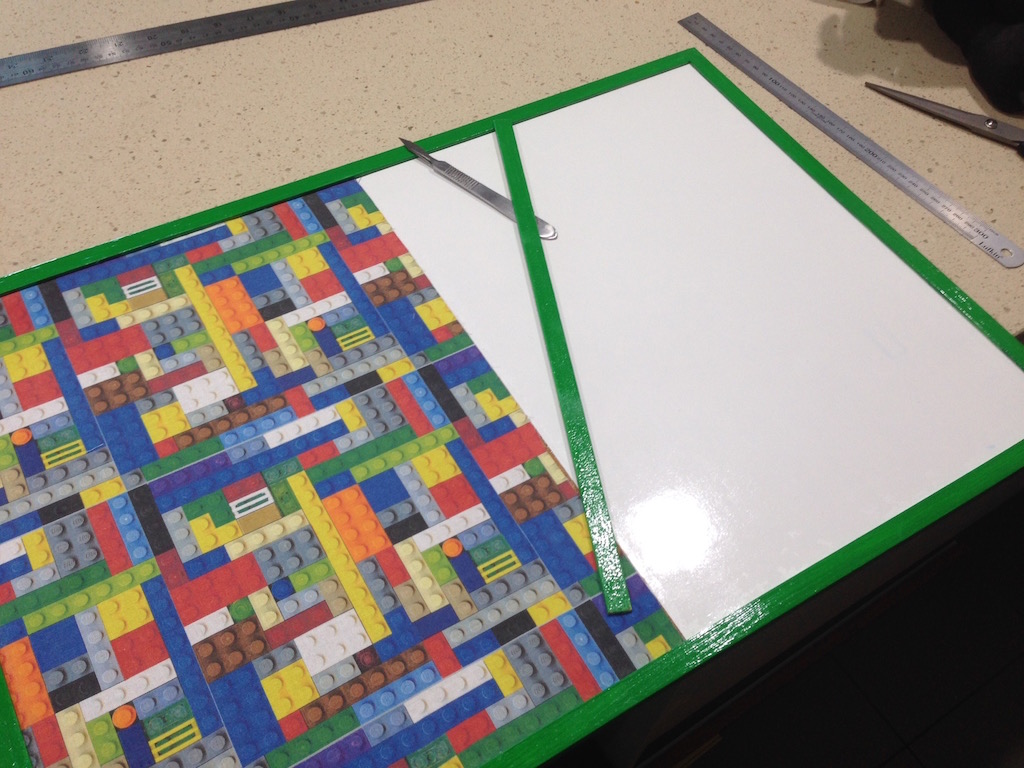
Next was time to measure and cut the fabric that would cover the cork side of the board. The fabric had to overlap the inside edges of the board by a few millimetres only, anything larger would not fit.
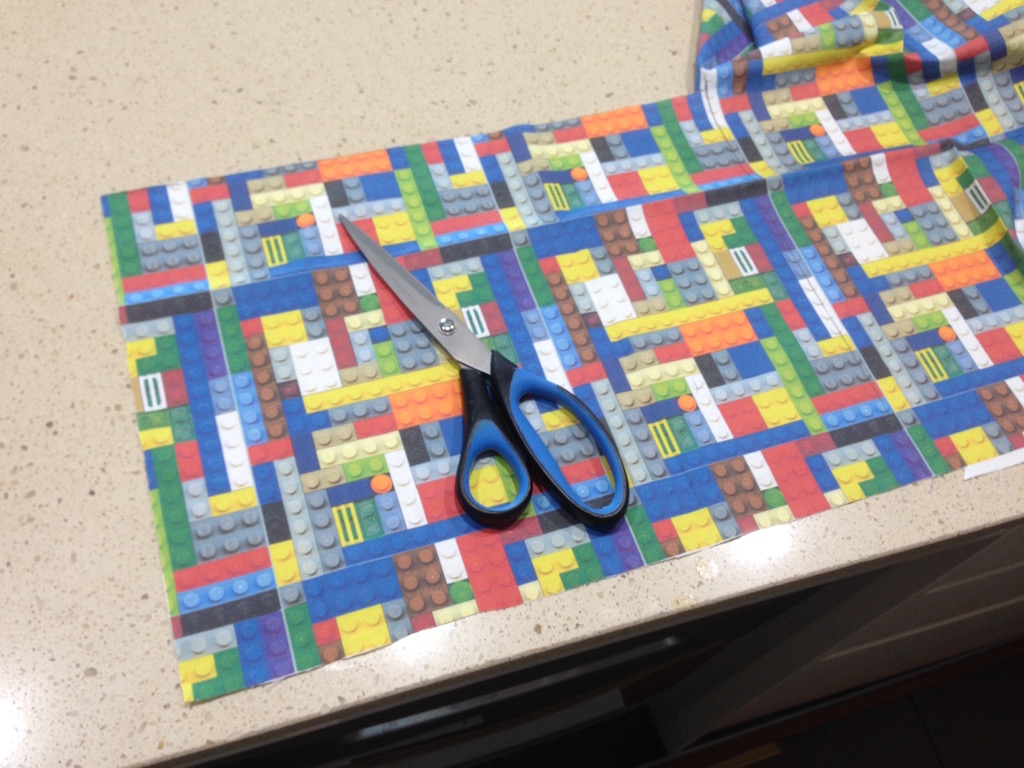
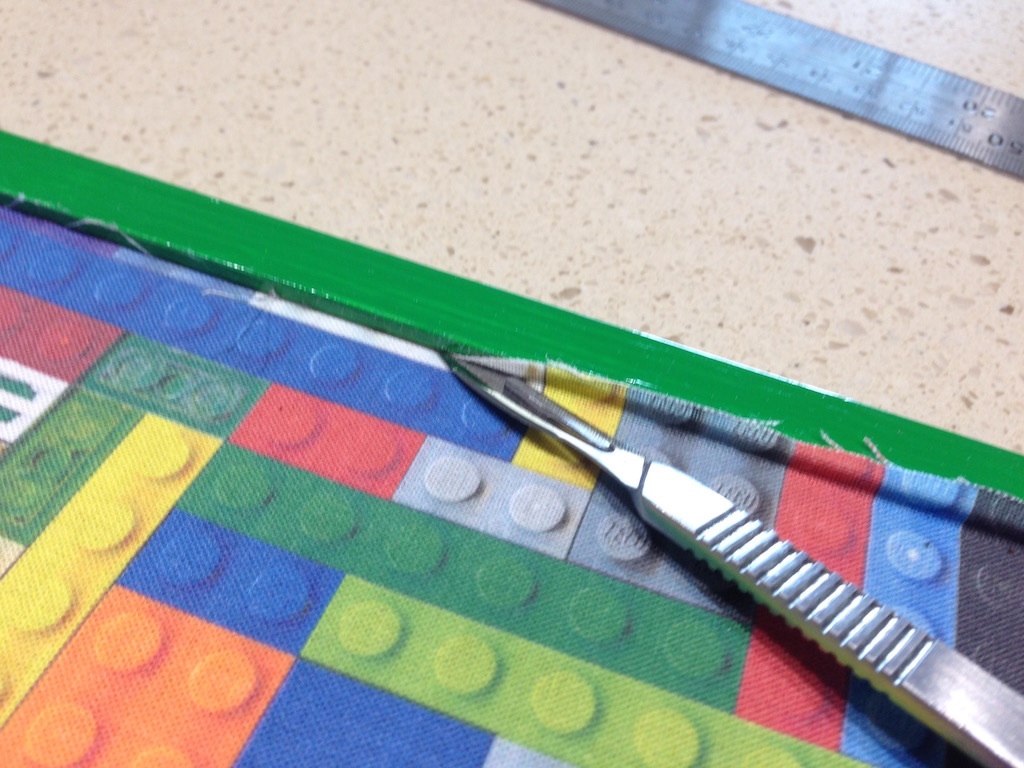
With the fabric cut to size, contact adhesive was applied to the back it. There is no real need to apply it to the cork board itself. The fabric was then stuck onto the cork and edges tucked under the frame using the back of a scalpel.
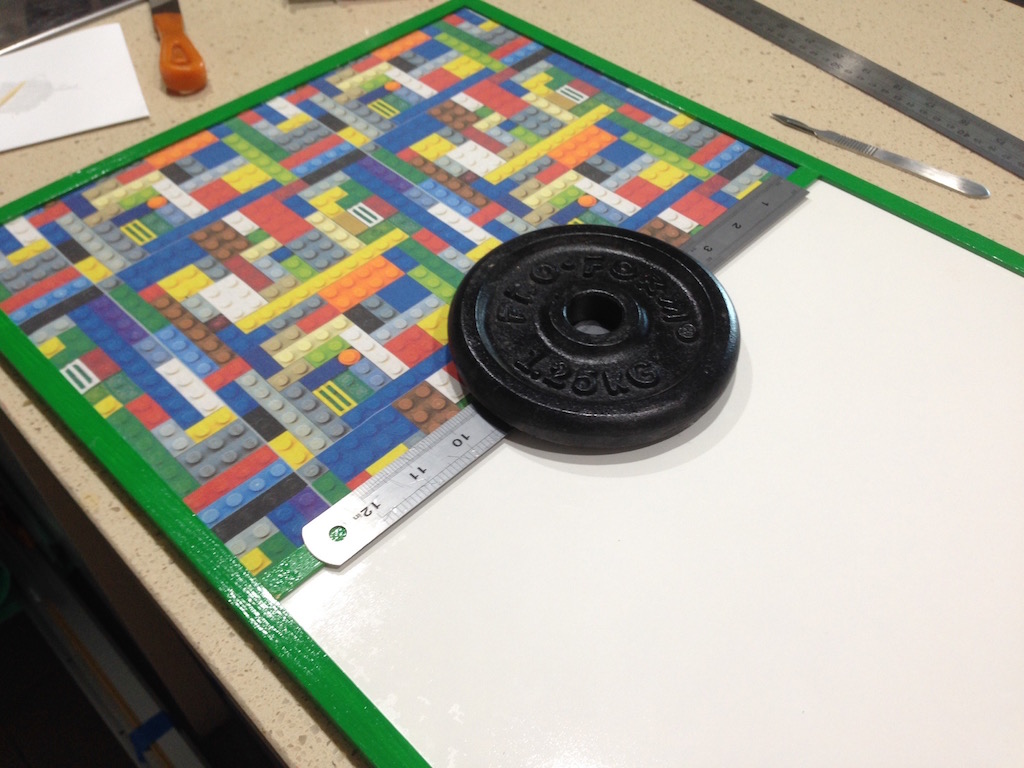
The divider had to go back on at this point. A little bit of 5 minute epoxy insured it would stay in place.
A metal ruler and a small weight had to be used to keep the divider in place while the epoxy set.
Finally, for some finishing touches, a bunch of Lego Movie figures were glued onto the divider.

Thanks to Elise for coming up with the idea :)
-i
