The article is split into three parts:
- Creating a Google Cloud project and deploying your site (part1)
- Setting up a custom domain for your site (what you're reading now)
- Enabling SSL via Cloudflare (part 3)
If you haven't read part 1 of this article, please check it out here. Now lets continue with setting up your free site!
There is already an article by Google about setting up custom domains which goes into more detail not required for a simple static web site, however, if you prefer to follow that, you can find it here.
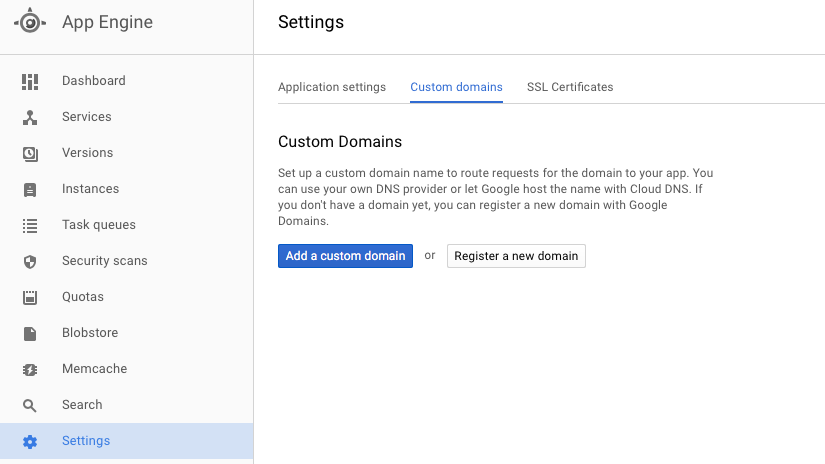
Custom domains are set up via the AppEngine Custom domain Settings page. If that link does not work you can find that page by expanding the side menu bar in the Cloud Console and scrolling down to AppEngine, then to Settings and finally to Custom domains.
Click 'Add a custom domain' to continue.
You're probably not going to have any verified domains at this point, so verify your domain name (or select an already verified one from the list). Enter your domain name to verify it.

There are multiple ways of verifying and all the options are given to you so I won't cover that here. The one I would recommend however is the DNS option where you add a TXT record. This is done from your domain name registra (where you registered your domain). In the DNS settings add the TXT record that Google provides you with and verify. Keep the DNS settings open, they'll be needed later.
Once you verified your domain, select it from the list and click Continue.

The next step can be skipped most likely, unless you want to have special subdomains for your site, however that is outside the scope of this article. Click Save mappings.

The above mappings will be confirmed, again skip this. Click Continue.

The next step is where the main action is. Google will display a number of records that need to be updated in your DNS settings (remember those from earlier on?) For example:

For each of the lines that Google provides, create a new DNS record with those details. It can take up to 24 hours for these settings to become available so your web site may not be visible on your domain name immediately.
Once your web site becomes visible on your own domain name, you can continue with setting up SSL on it. That is covered in the next part of this article.
Continue reading to set up SSL/HTTPS on your web site in part 3 of this article.
-i
