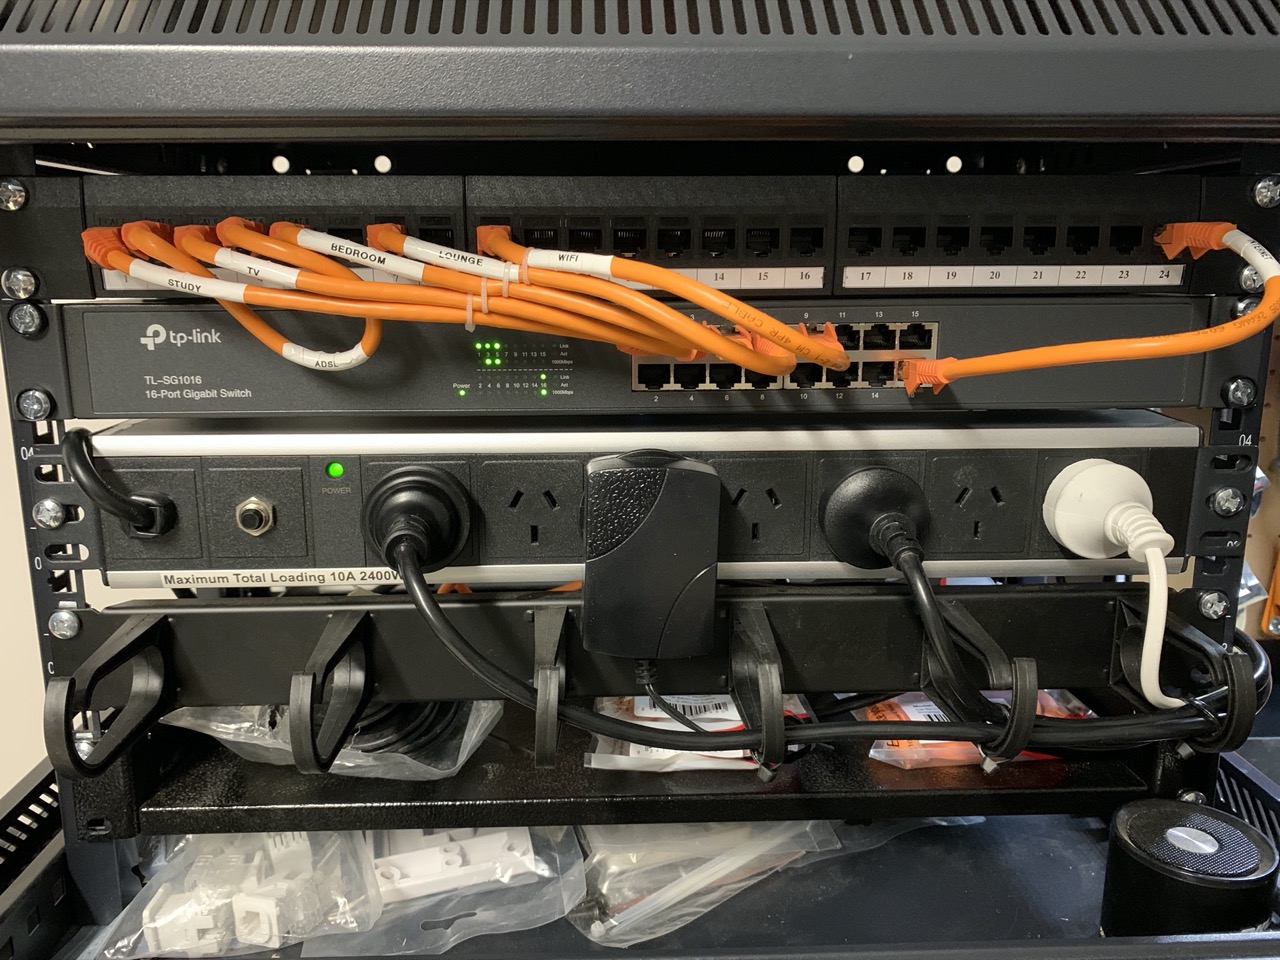
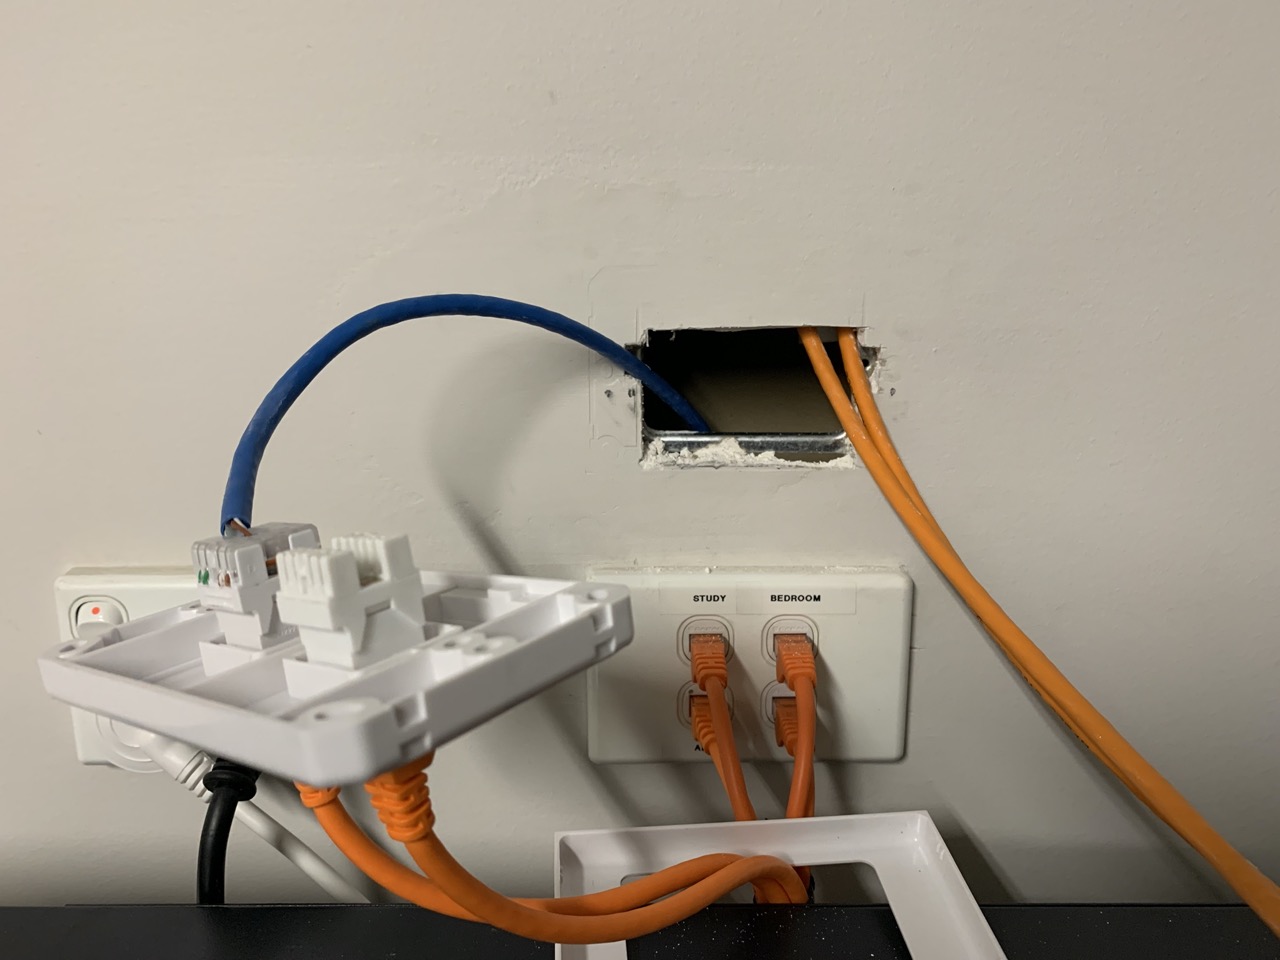
As part of this network upgrade, the first thing I did was to hook everything up to a new gigabit switch, via a patch panel. One of the ports was used for the Airport Express, one went to my 4G modem (which was also the DHCP server for network) and the rest were patched to various rooms across the house. I did this step first just to make sure that my existing network setup without the UniFi AP was working as expected.
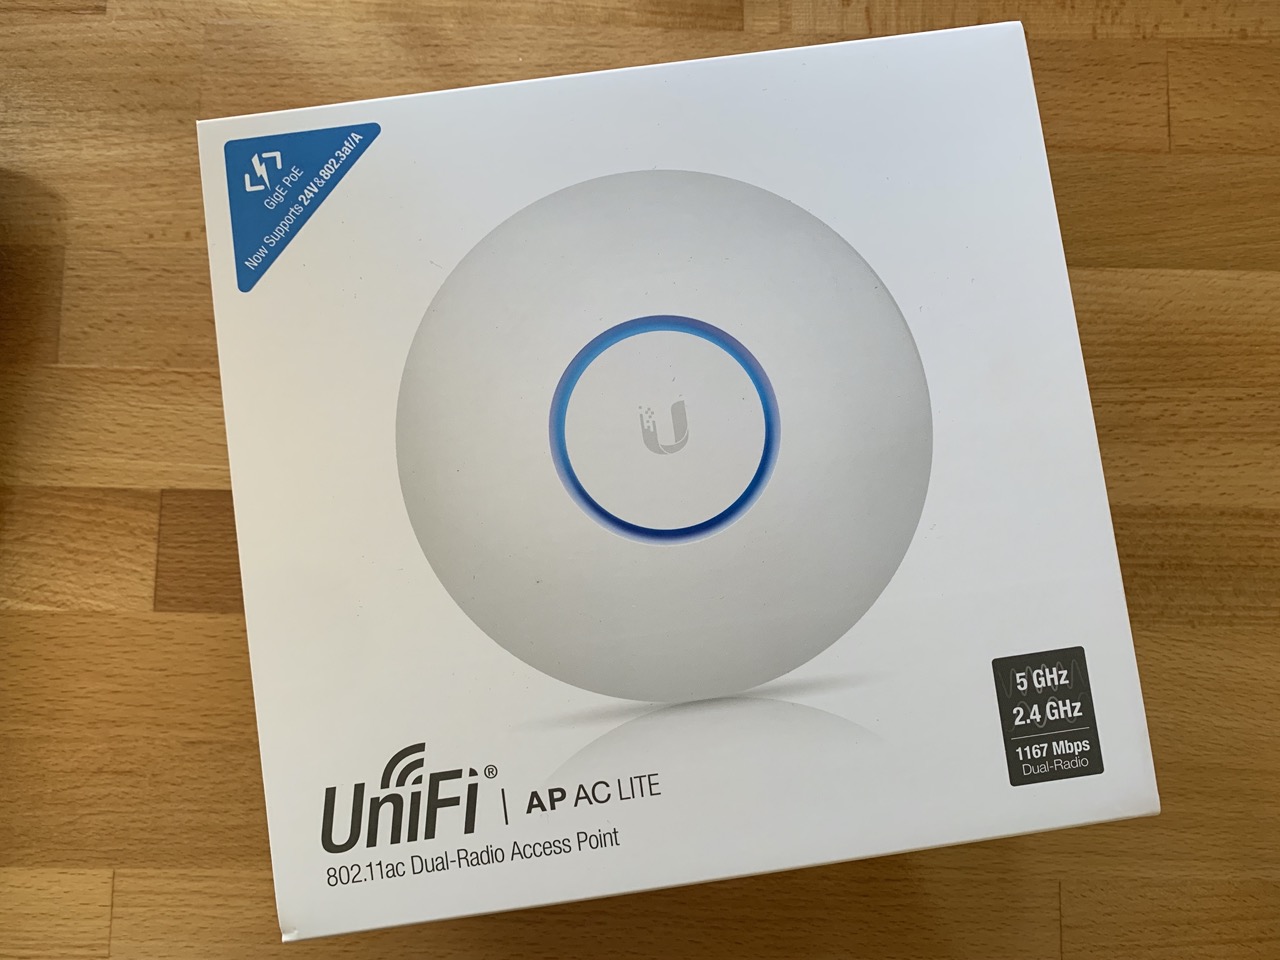
I was tossing up between getting the UAP-AC-LR or the UAP-AC-LITE to replace the Airport Express and in the end decided that for home use, the Lite would be quite enough. Having never owned any Ubiquiti equipment, I was expecting something that was packaged for enterprise use like brown cardboard and with an industrial feel, but to my pleasant surprise the packaging was very attractive and clean (Apple-esque even).
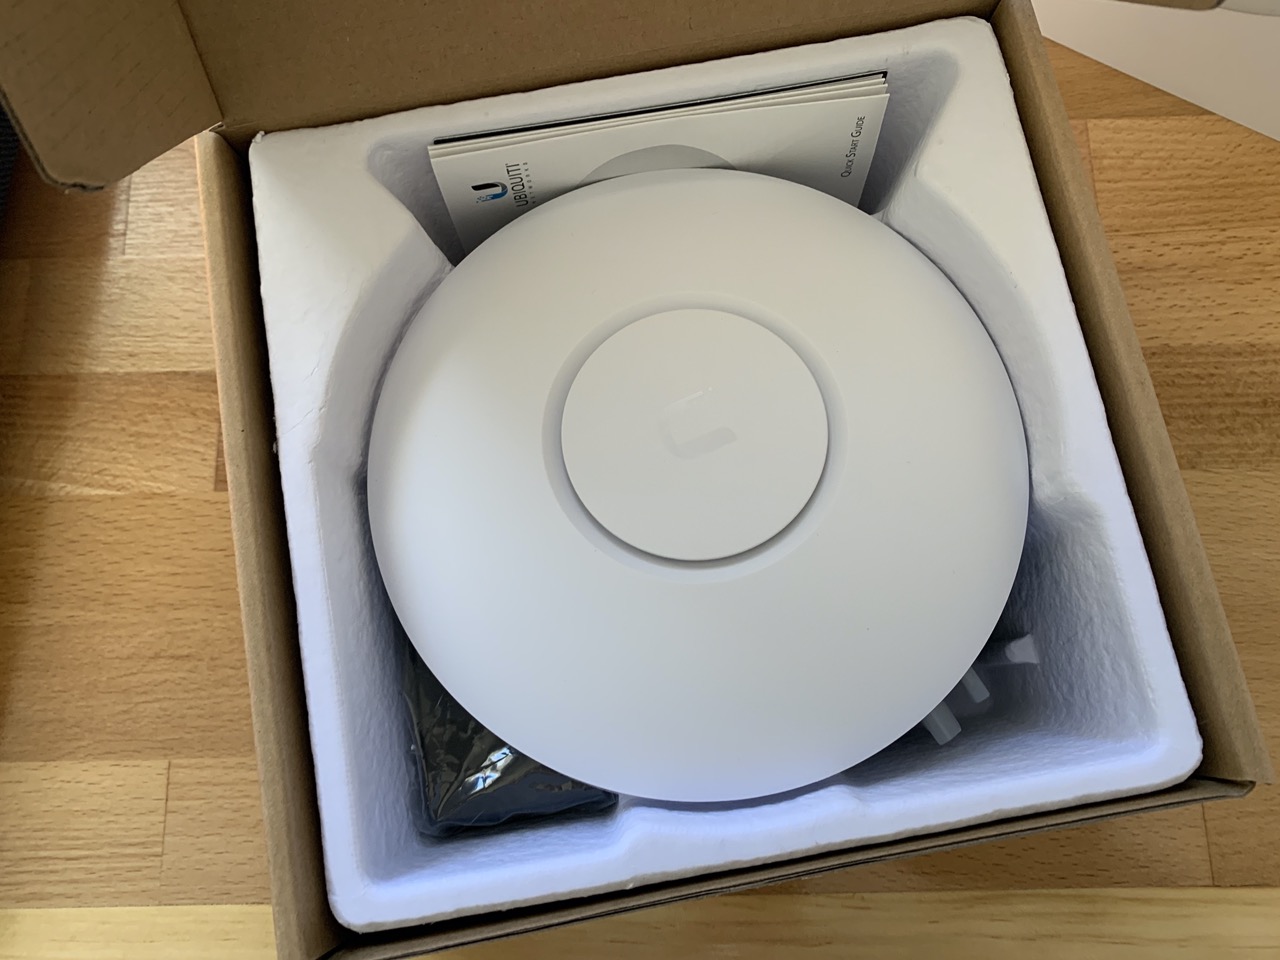
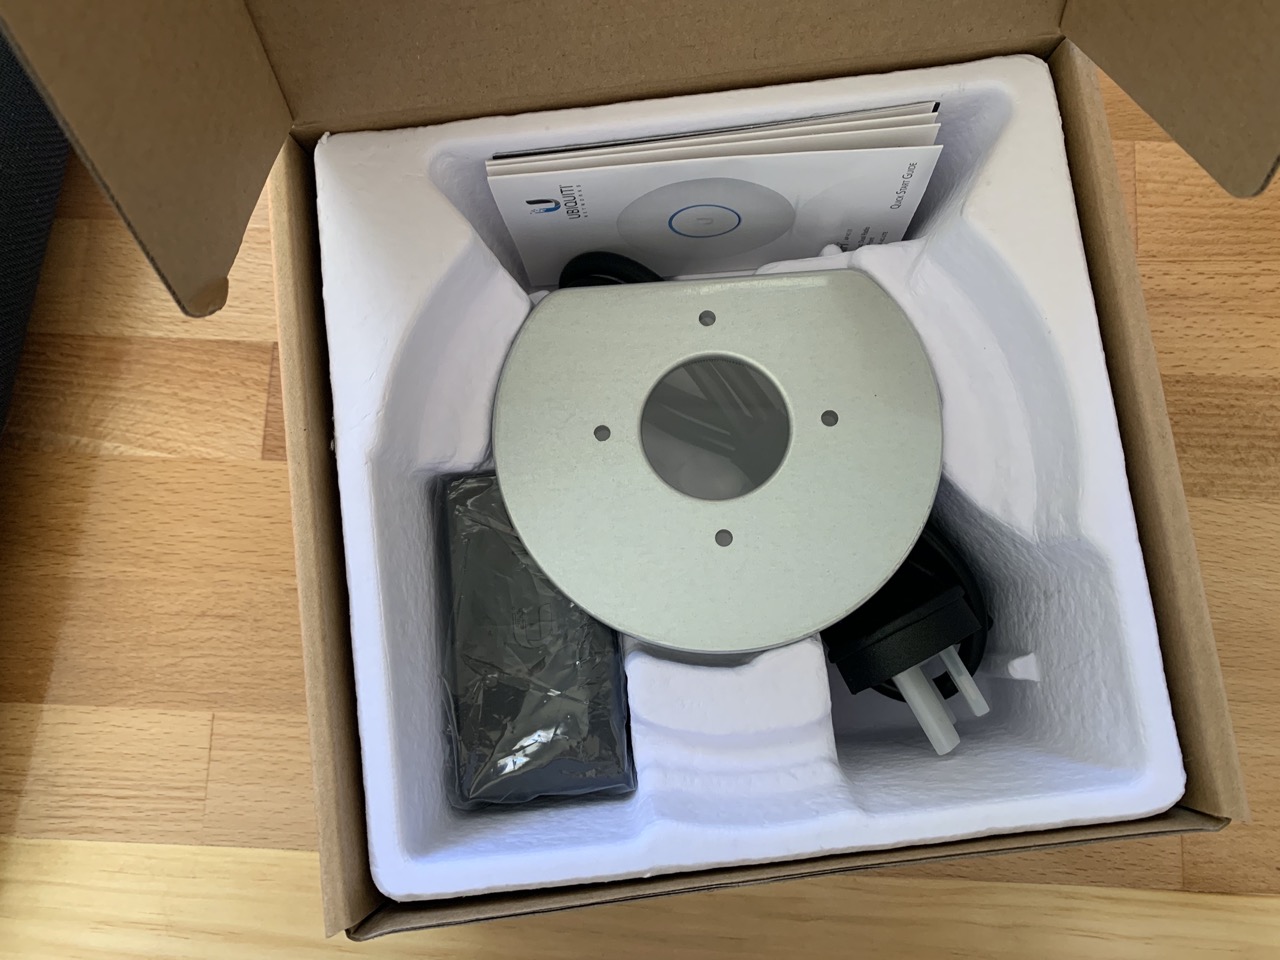
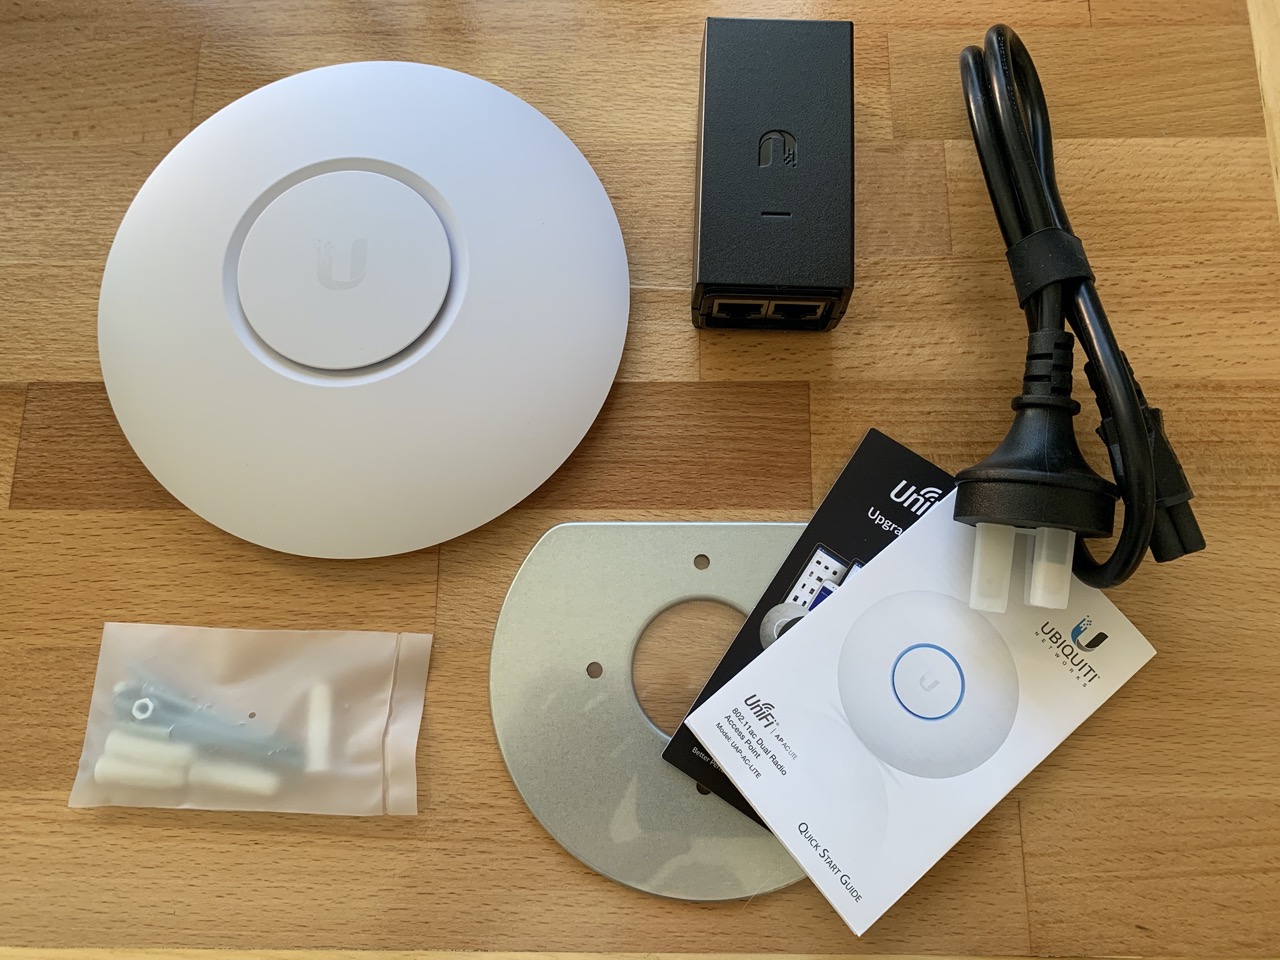
Inside the box was the AP itself, a PoE injector, power supply for the injector, mounting plate and mounting hardware and a quick start guide.
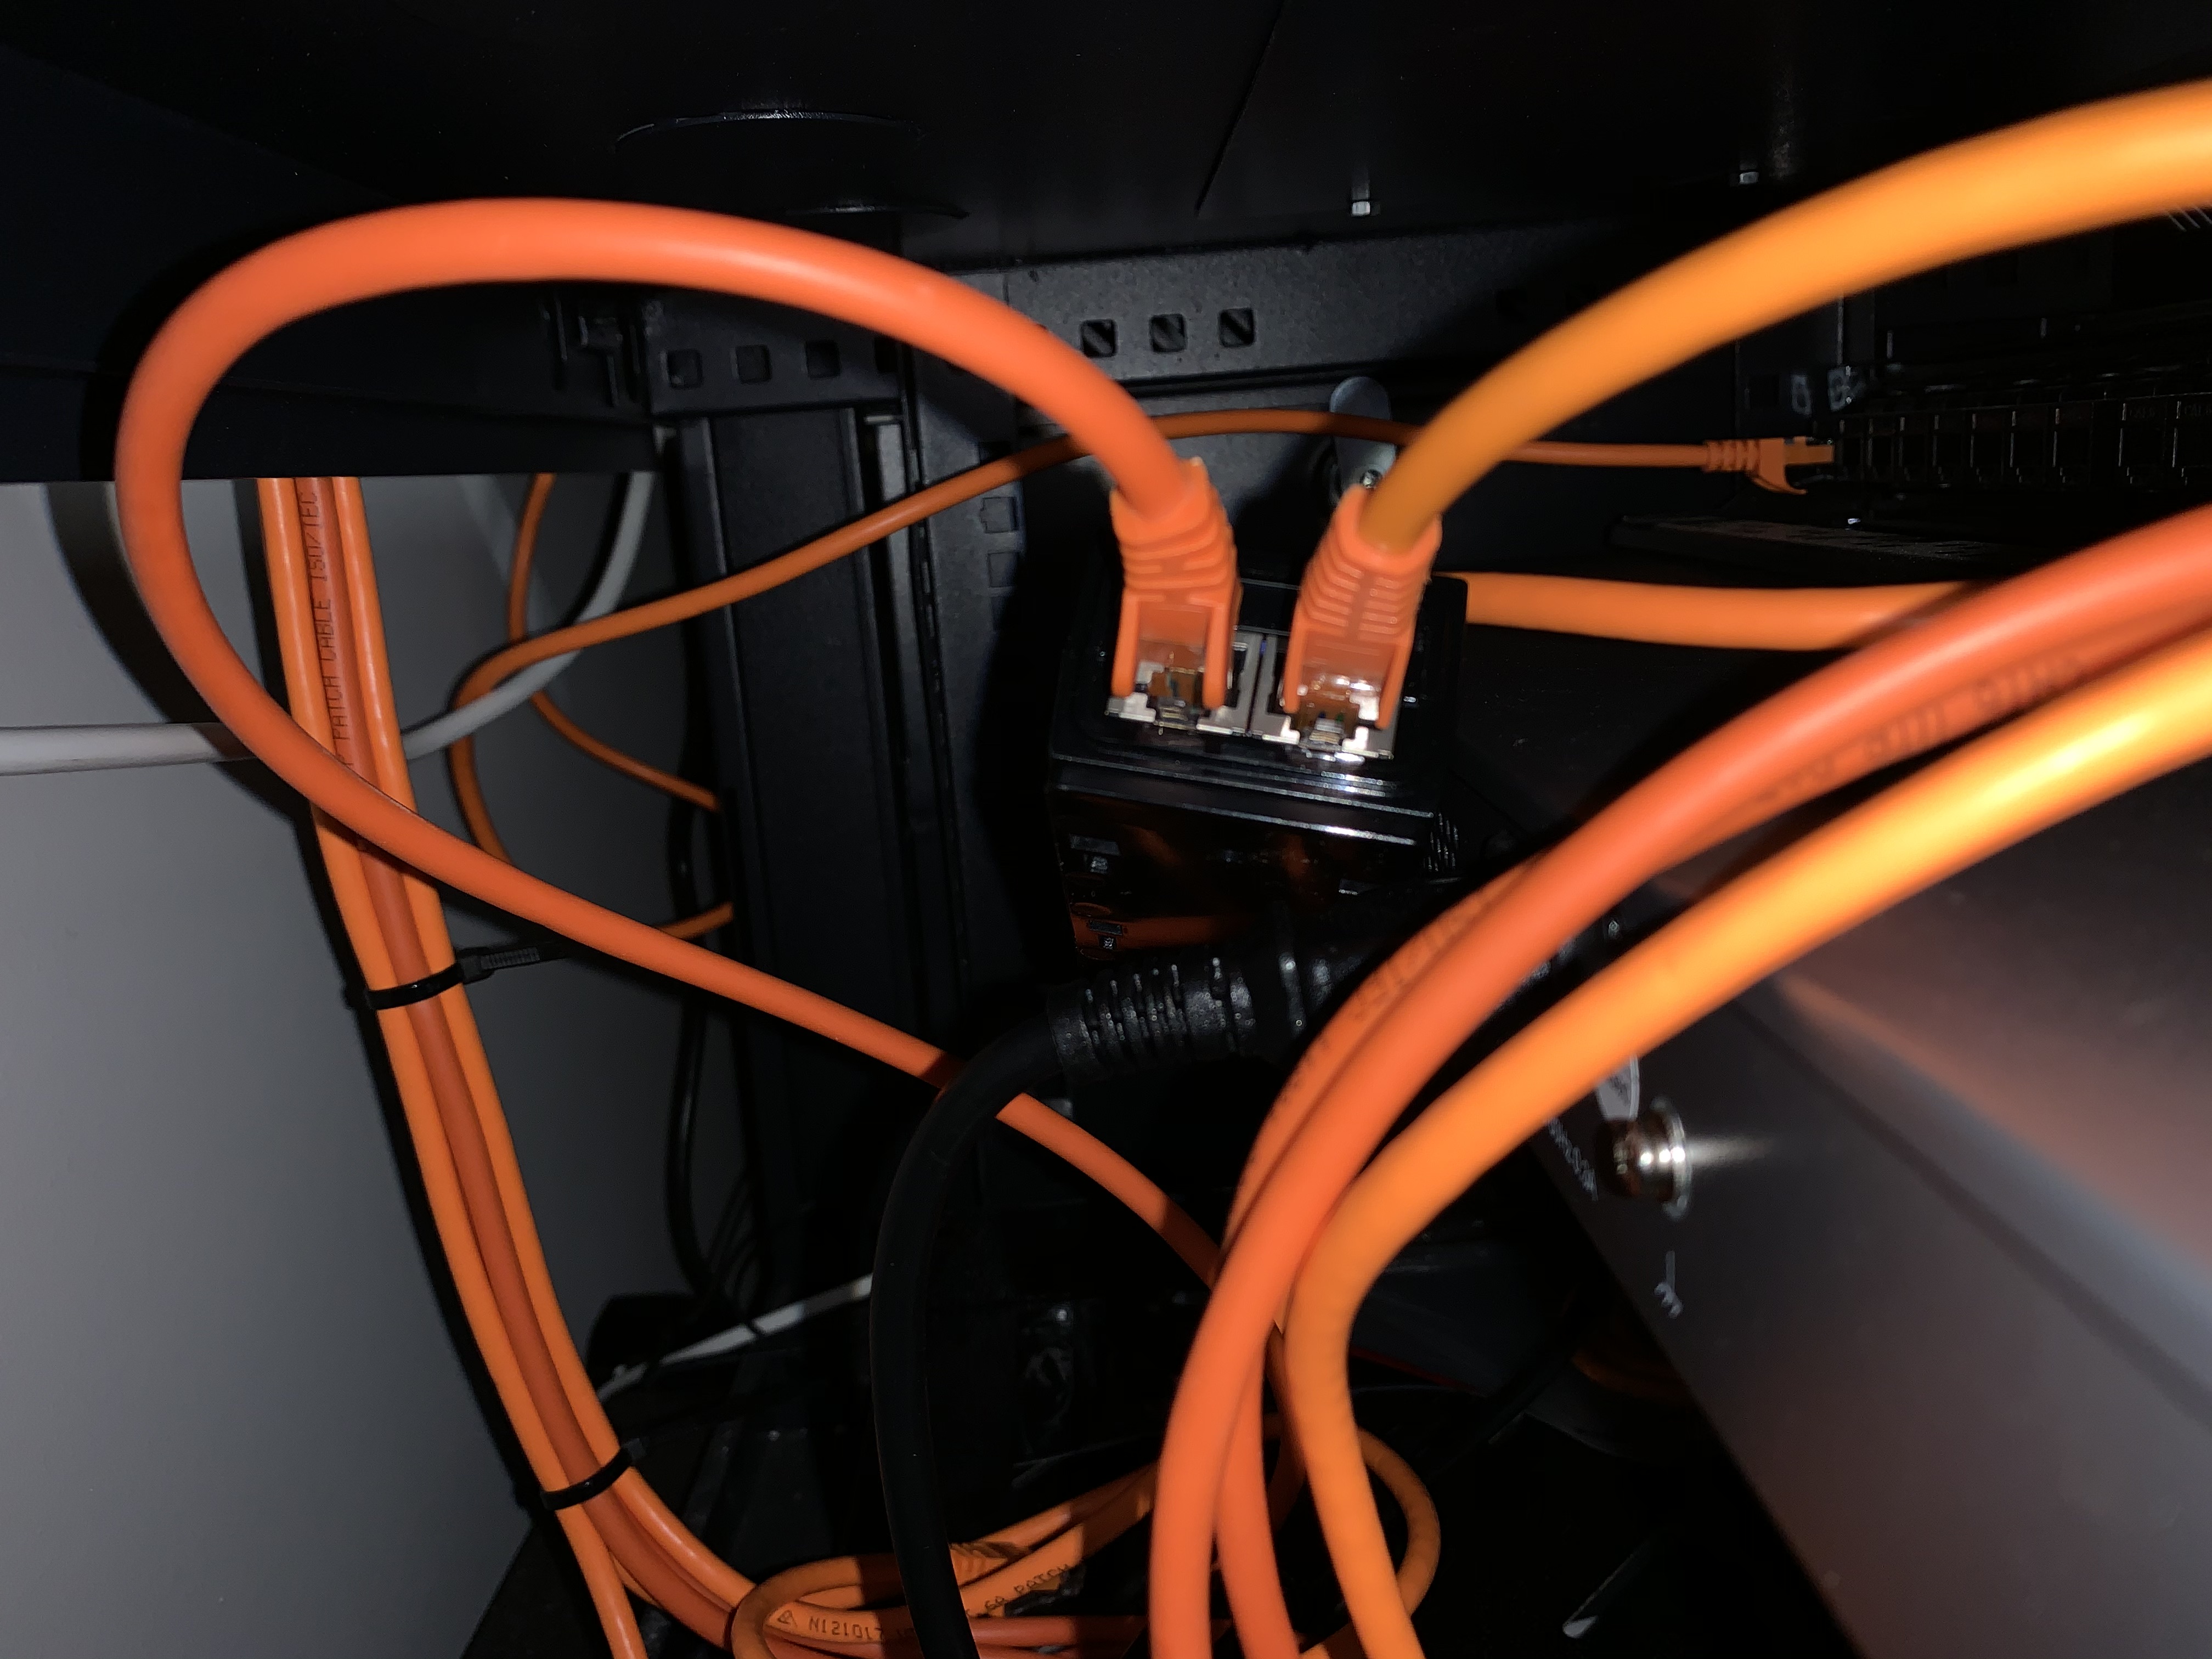
The AP was powered via ethernet, which meant that I had to use the provided PoE injector as my switch was a simple unmanaged, non-PoE gigabit switch. The injector was connected at the back of the patch panel, between the panel and the cable that was running to where the Airport Express was. The AP was connected in place of the Airport Express and, it turned on ok (I was off to a good start!) Of course it was lighting up white which meant it wasn't integrated into the network yet, that required further setup.
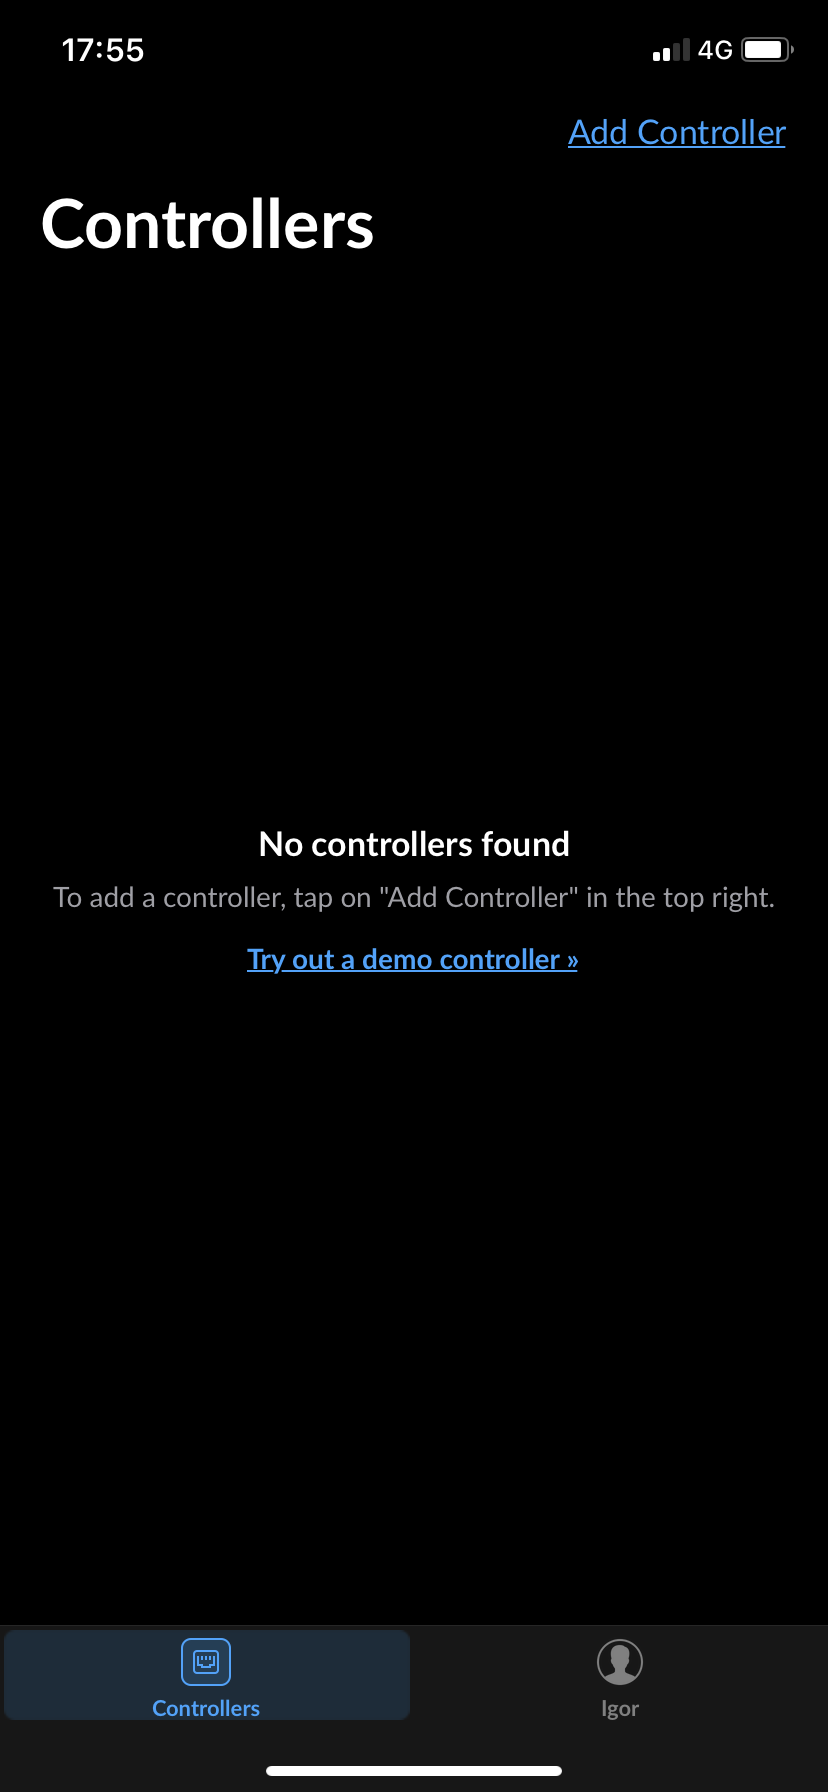
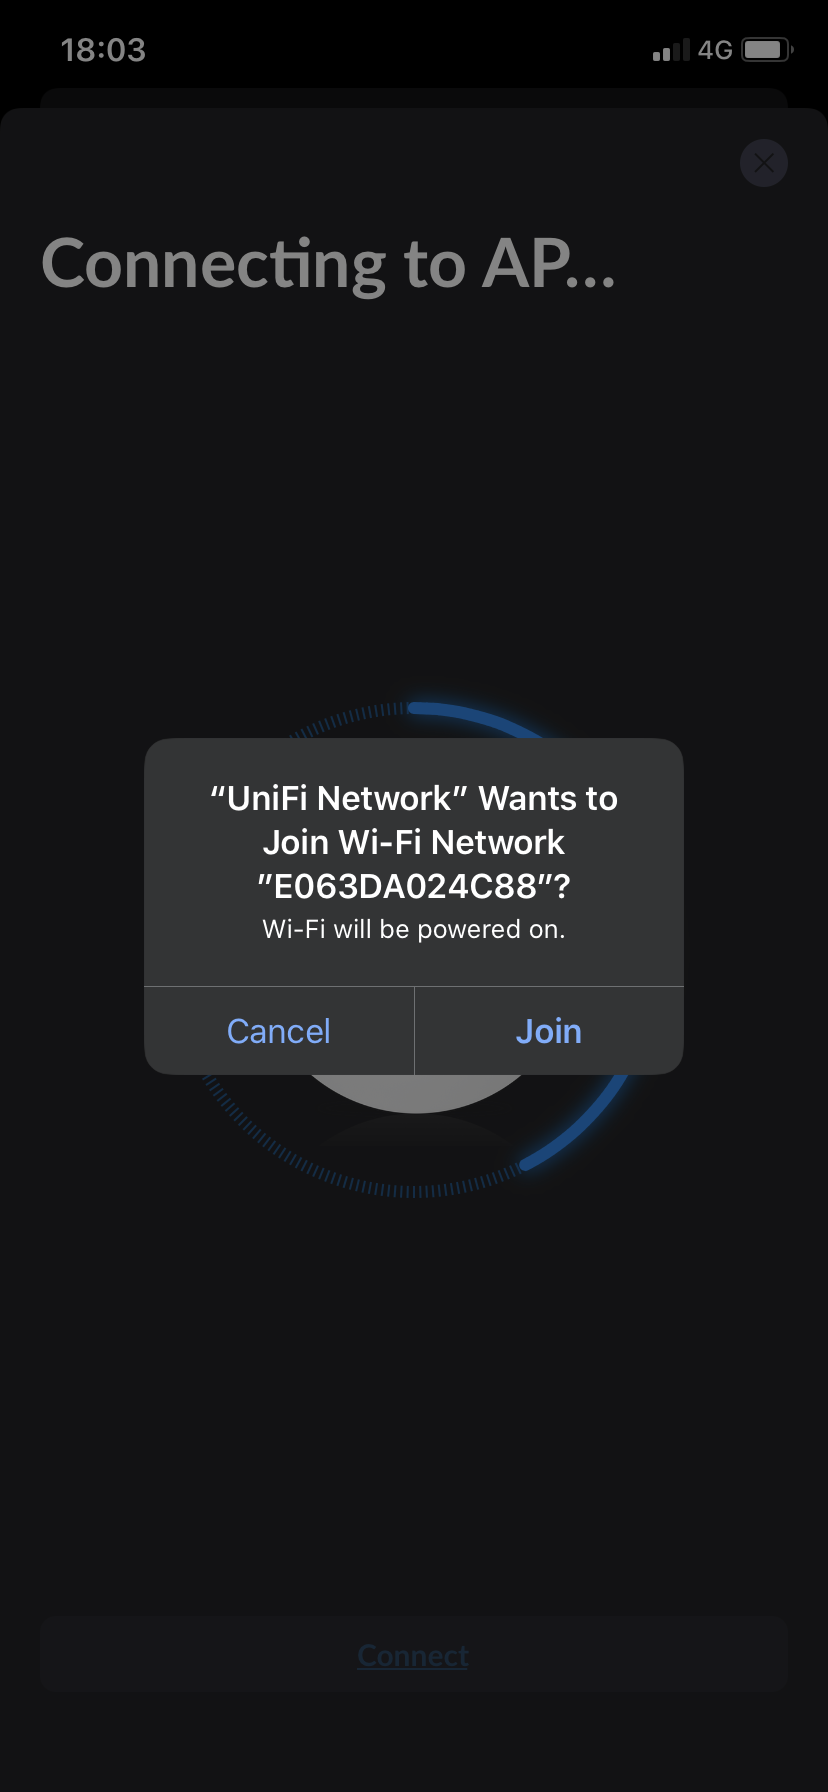
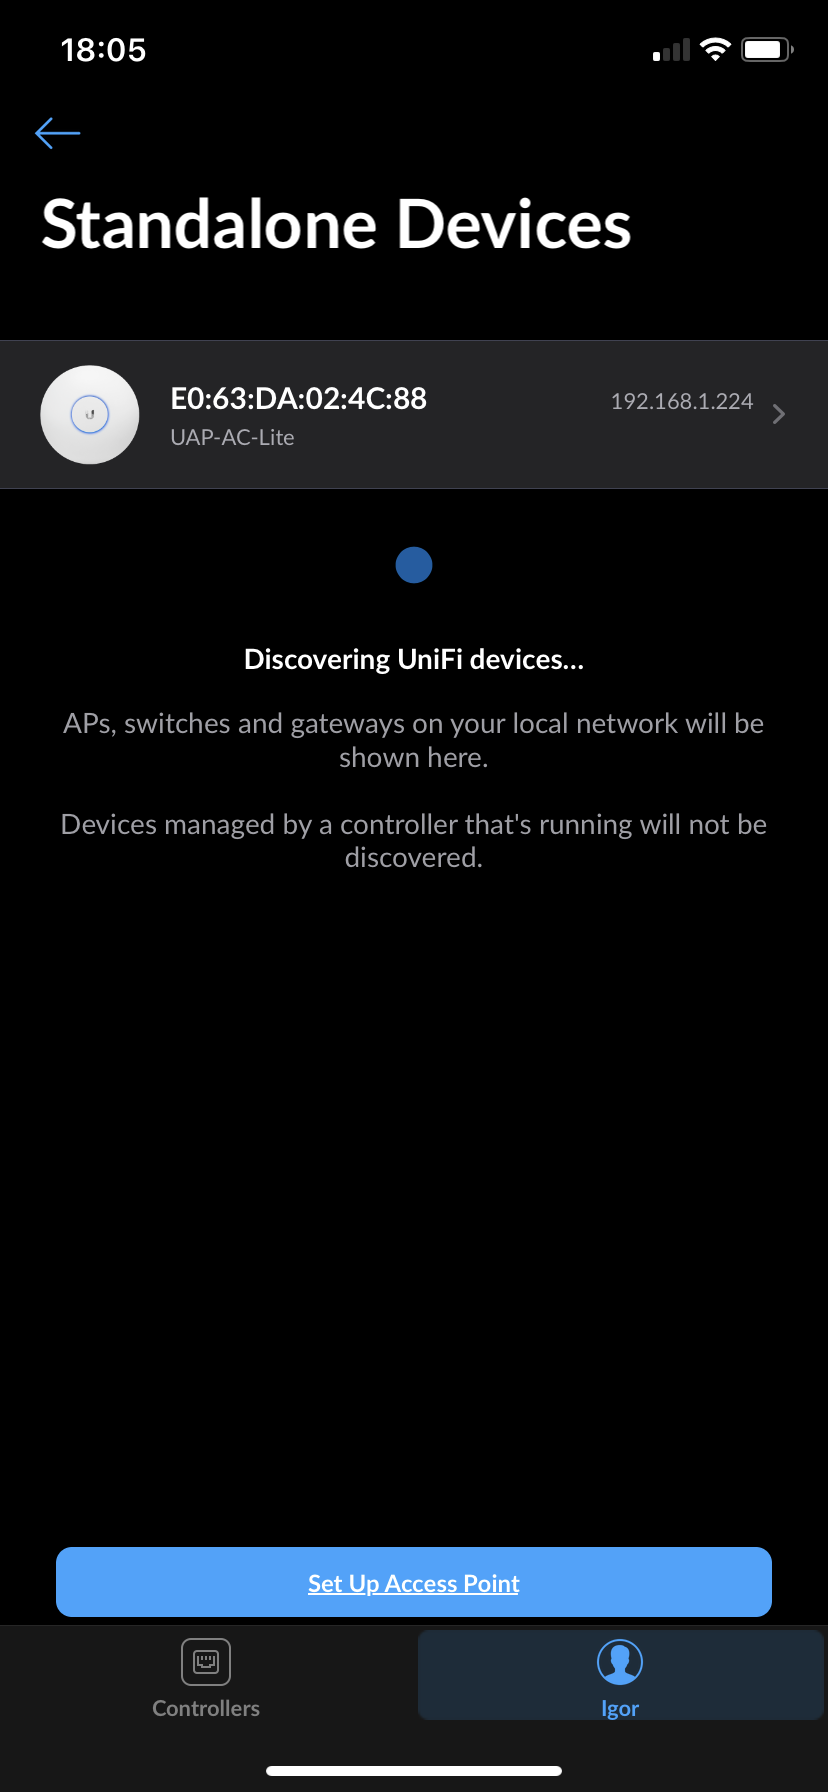
To set up the AP, I tried using the controller software on my Mac, but it couldn't find the AP, so I went with the easy option of configuring the AP as a standalone device using the UniFi Network App on my iPhone. This required registration for an account and after logging in, the account tab (bottom right) let me access the 'Standalone Devices' configuration, which guided me through configuring the AP.
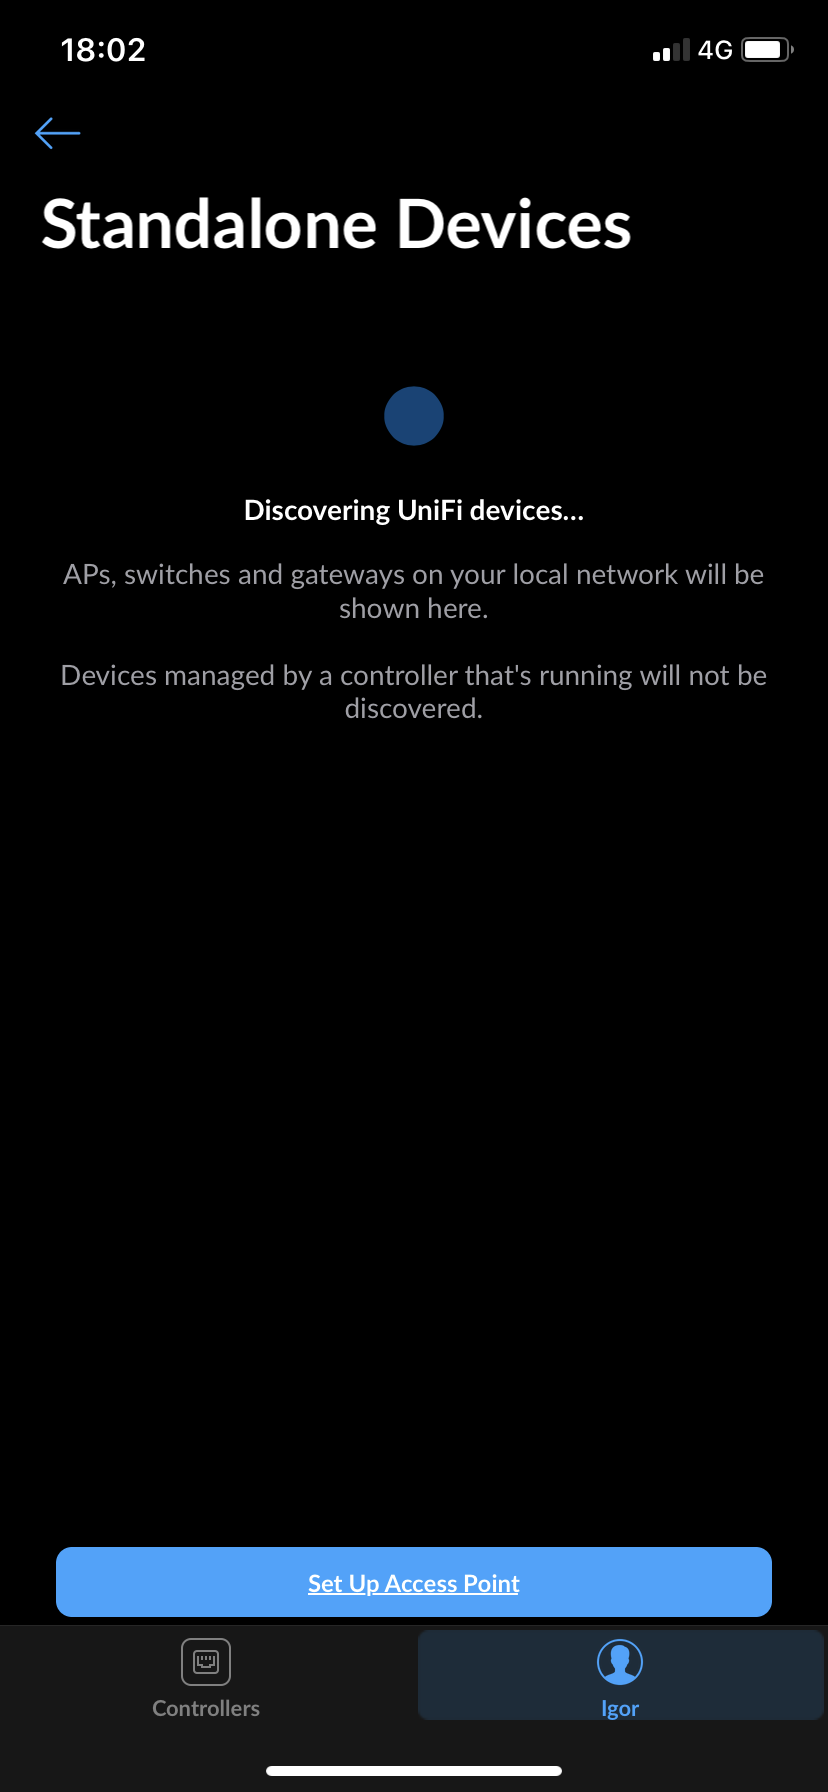
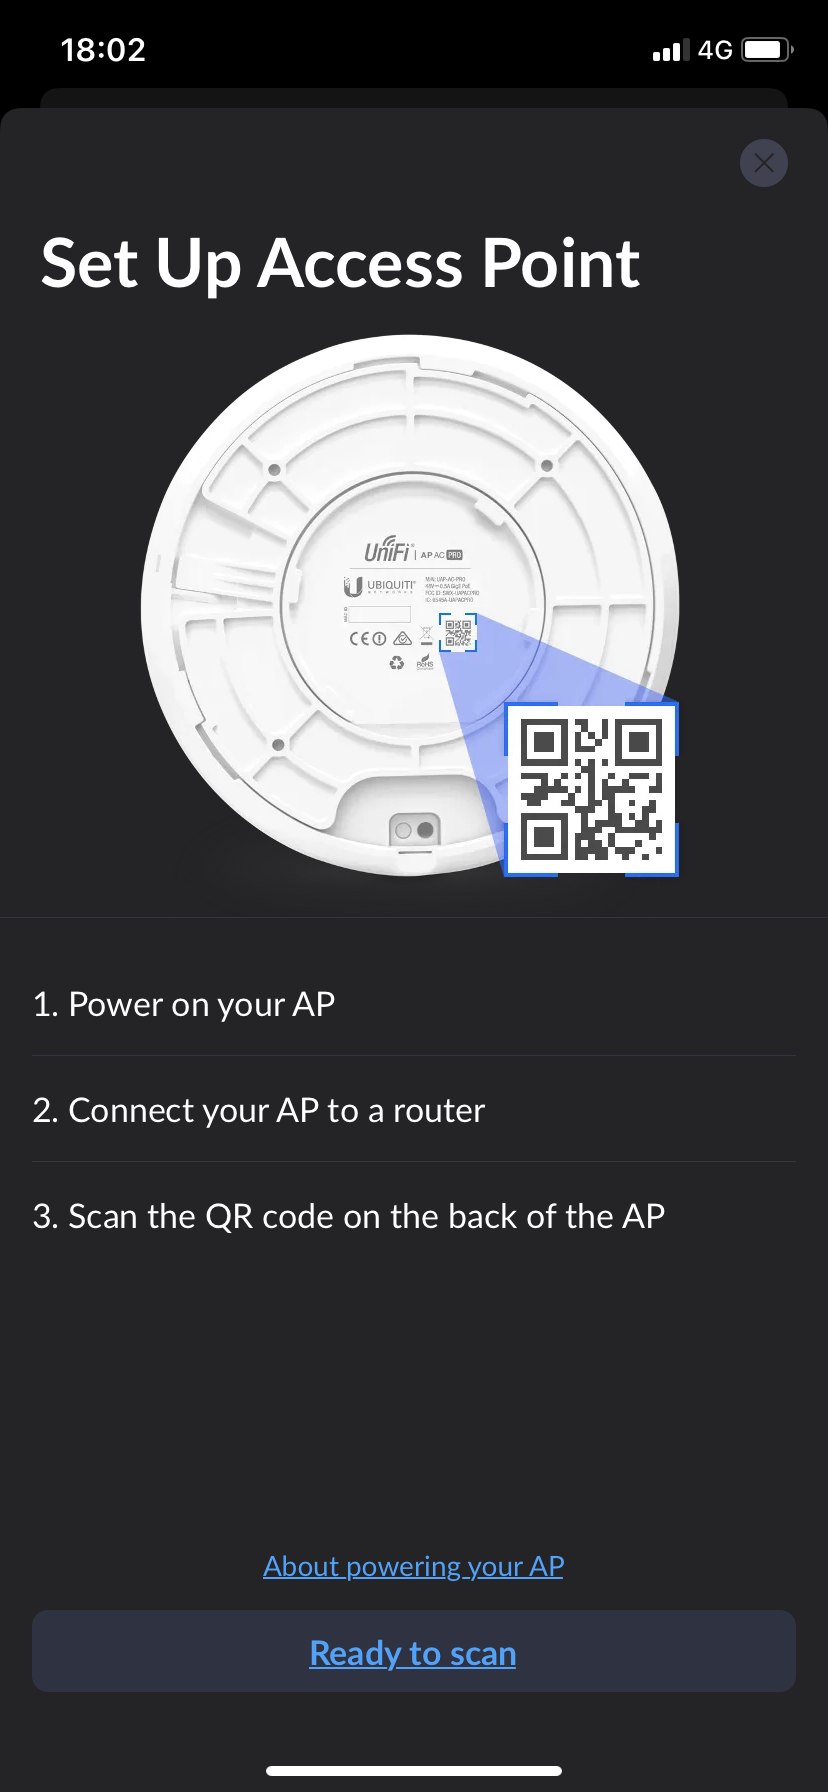
The steps were quite straight forward, it was mostly scanning the QR code on the back of the AP and following the wizard steps.
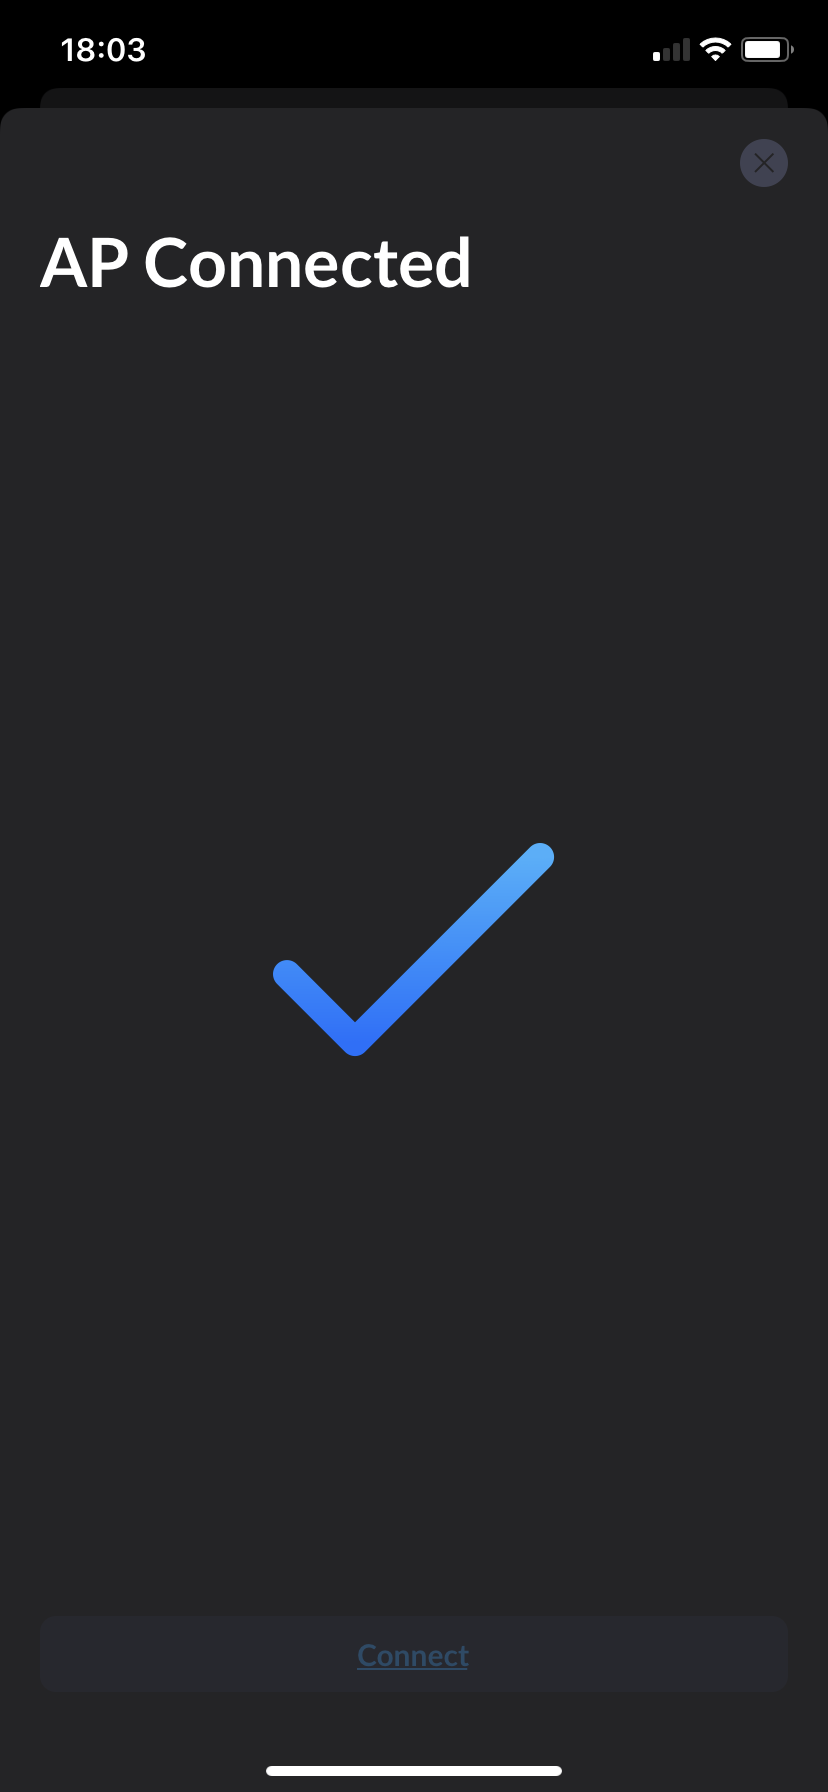
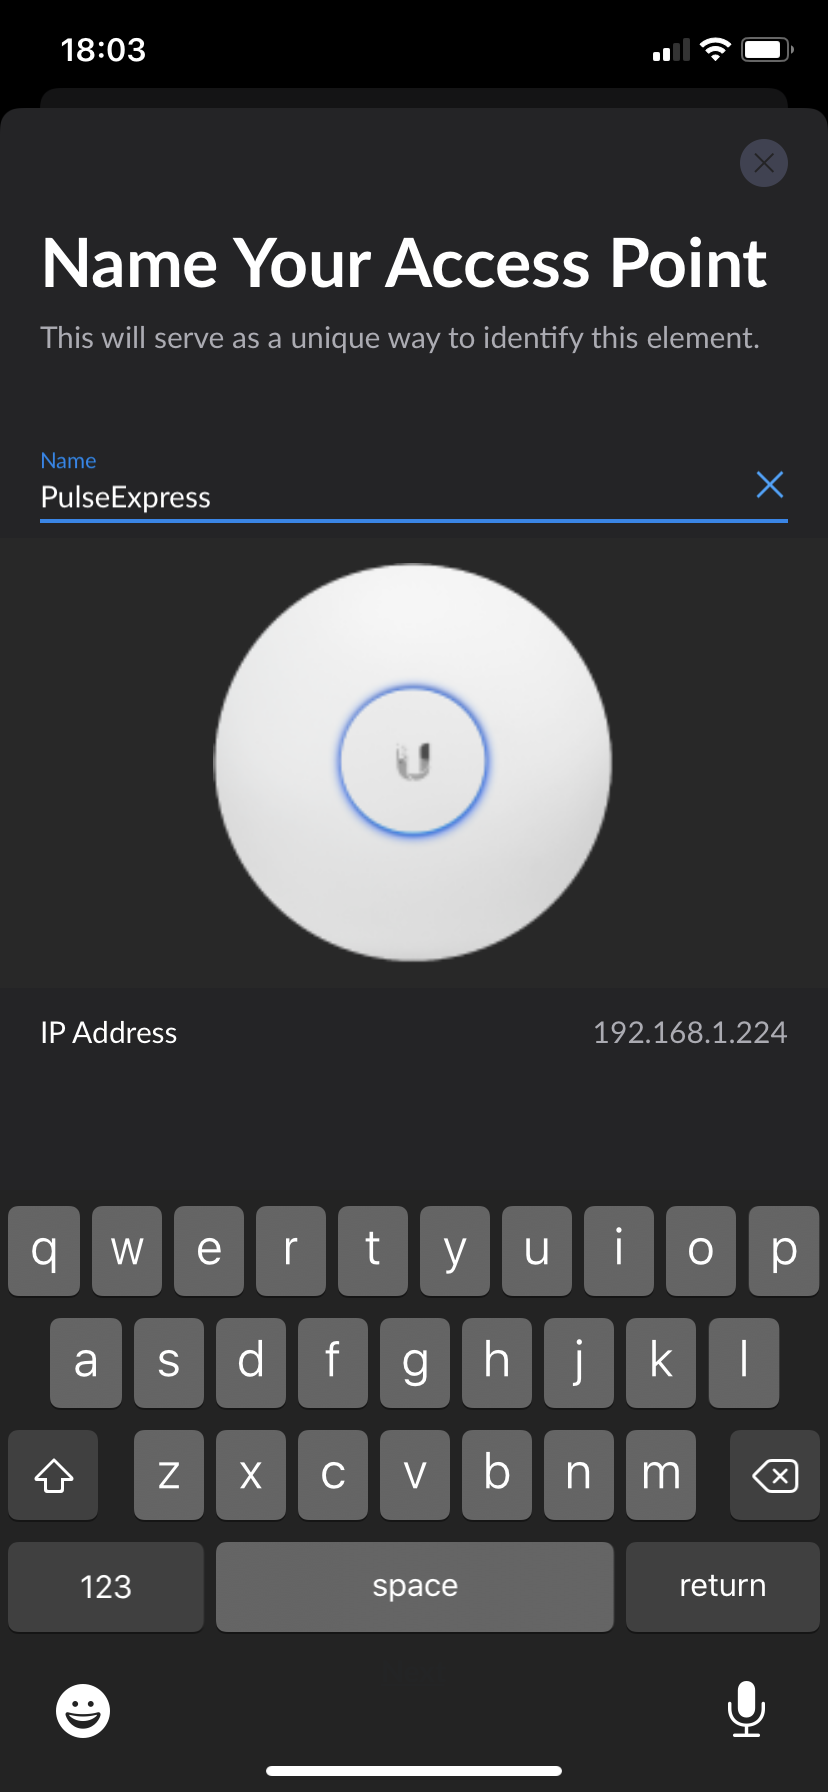
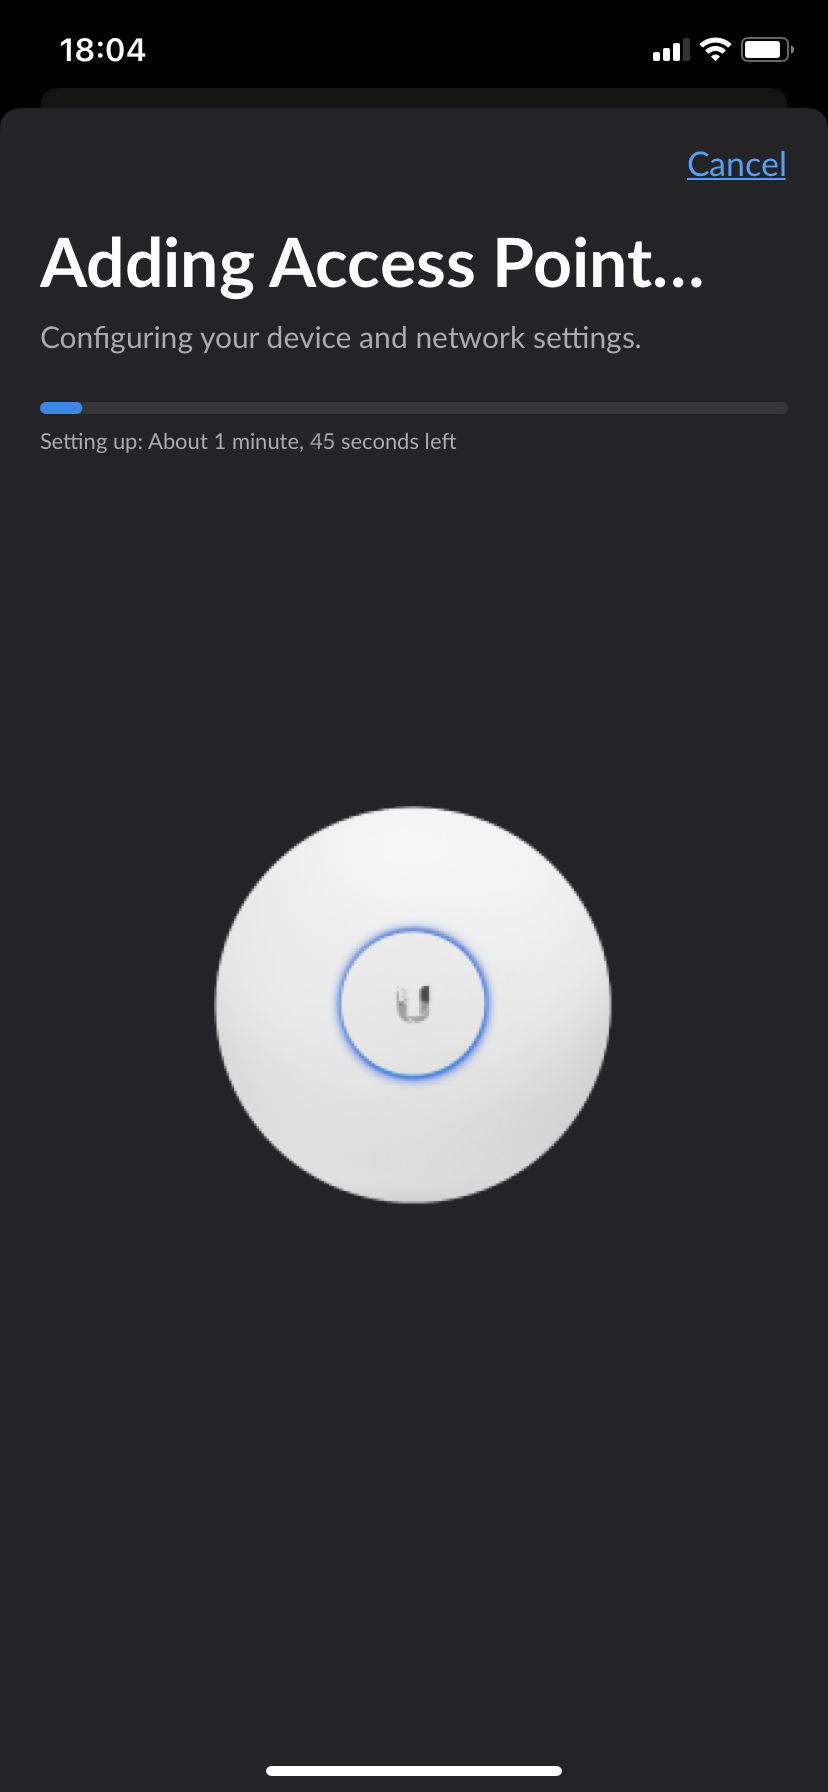
I decided to give the AP the same SSID and credentials as the Airport Express because I didn't want to reconfigure any of the devices around the house. After a couple of minutes, the AP was set up and working and coming up in the app, and the WiFi was up and running.
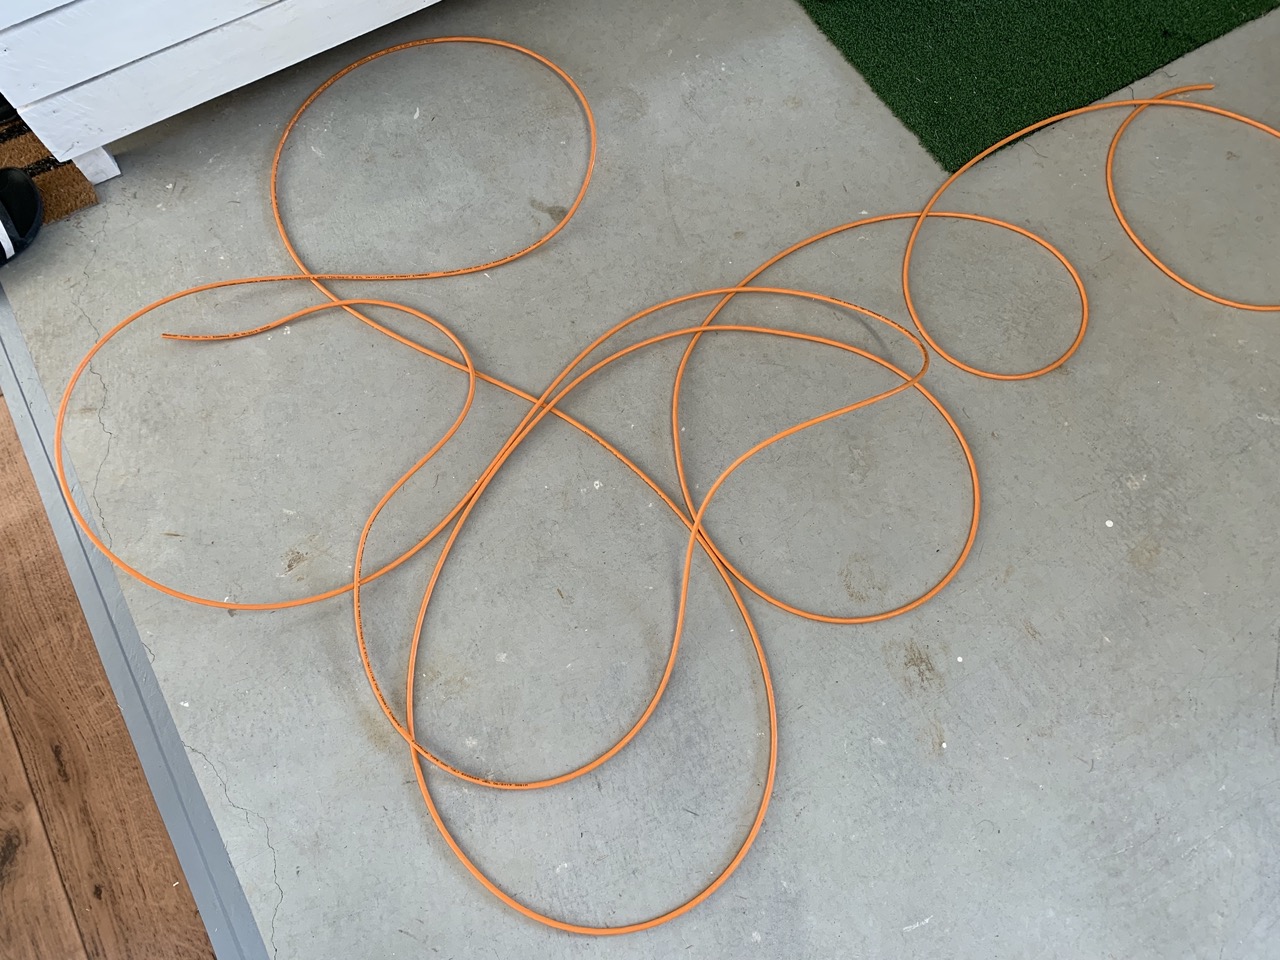
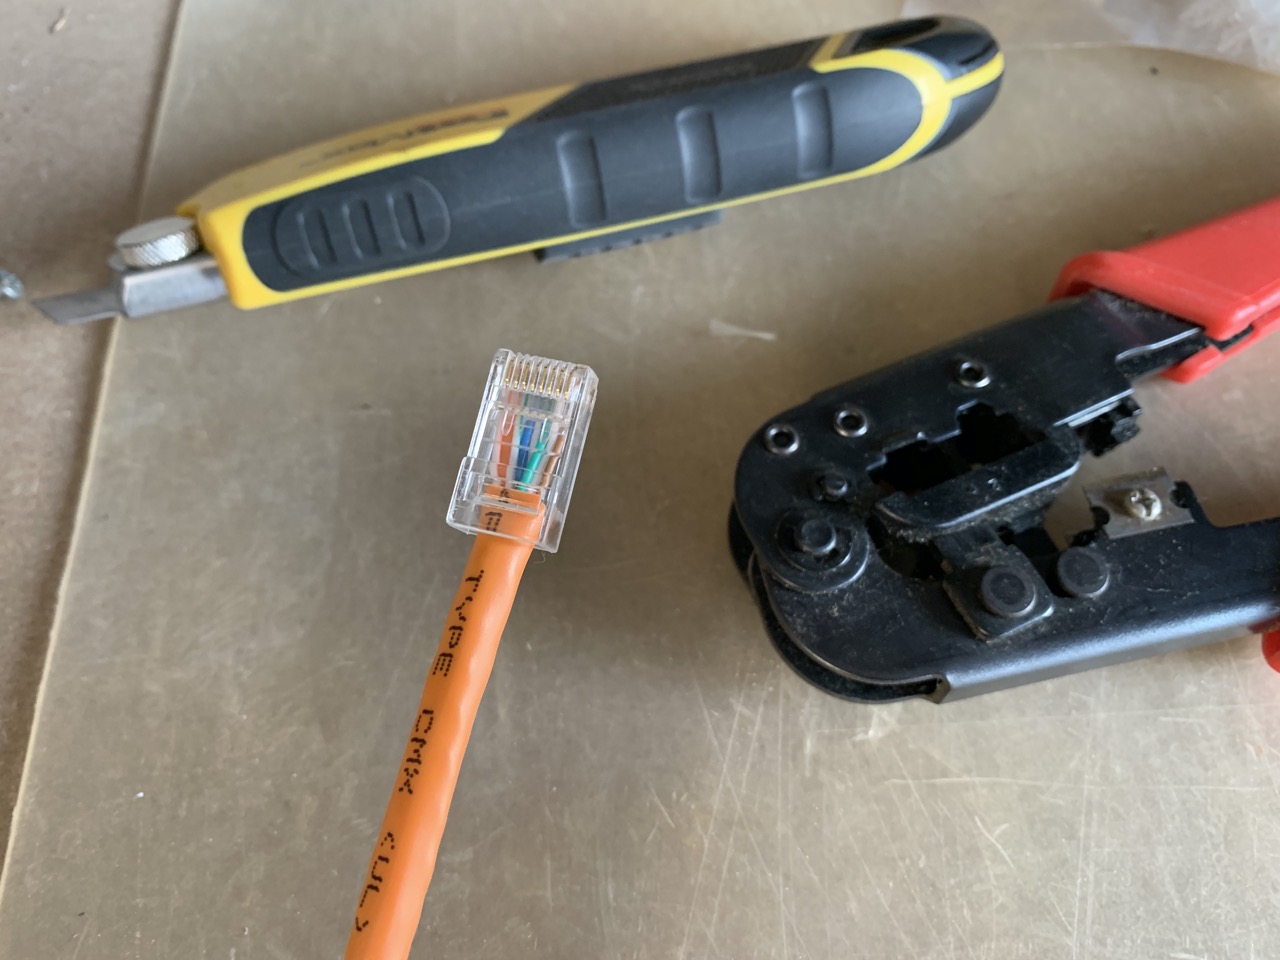
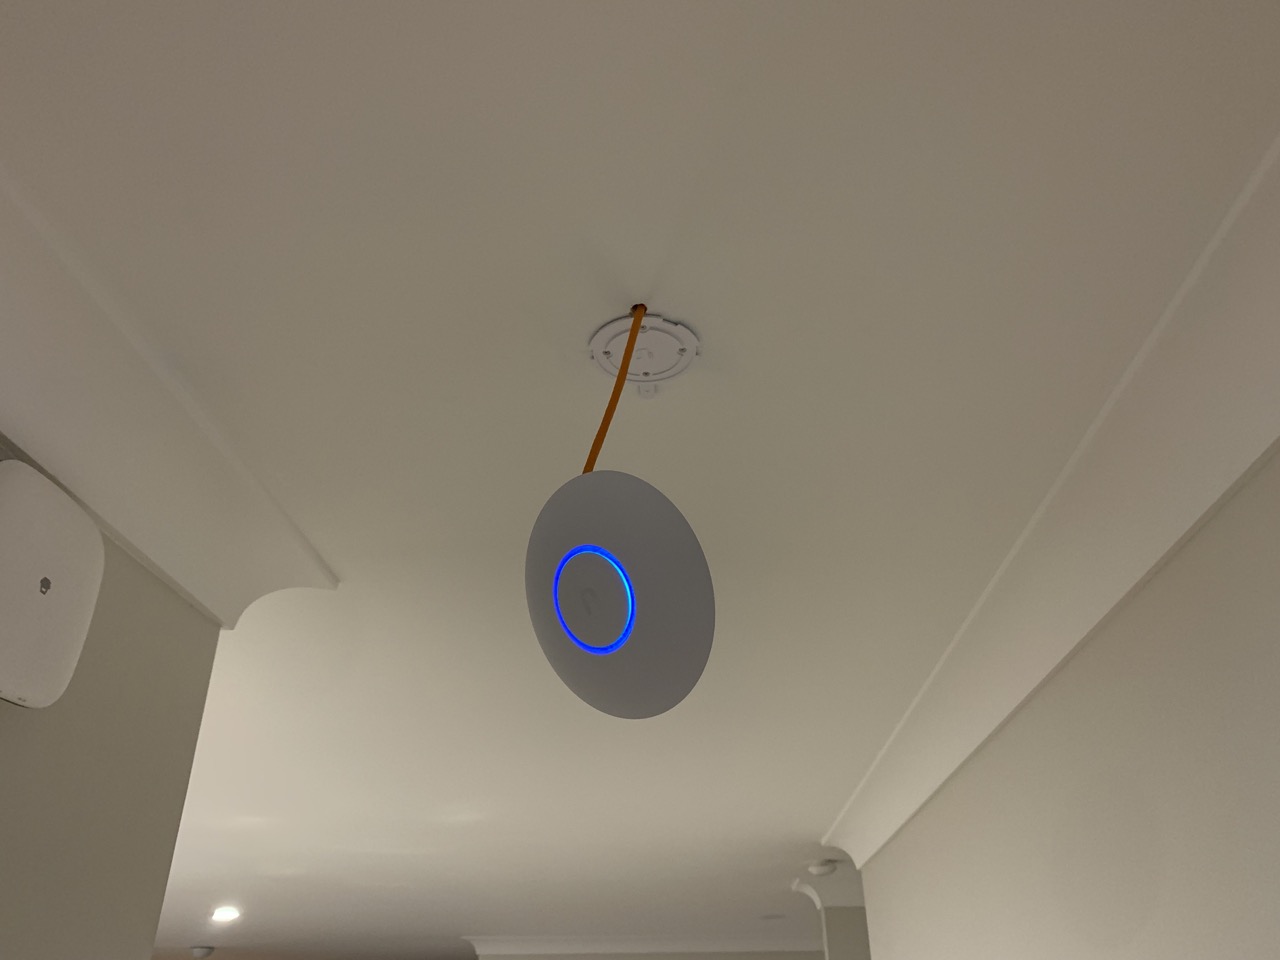
Now it was time to mount the AP into the ceiling. I already had a spool of Cat6 around so I cut that to size, added an RJ45 connector on one end and pulled the cable through the ceiling and down the inside of the wall next to my network cabinet.
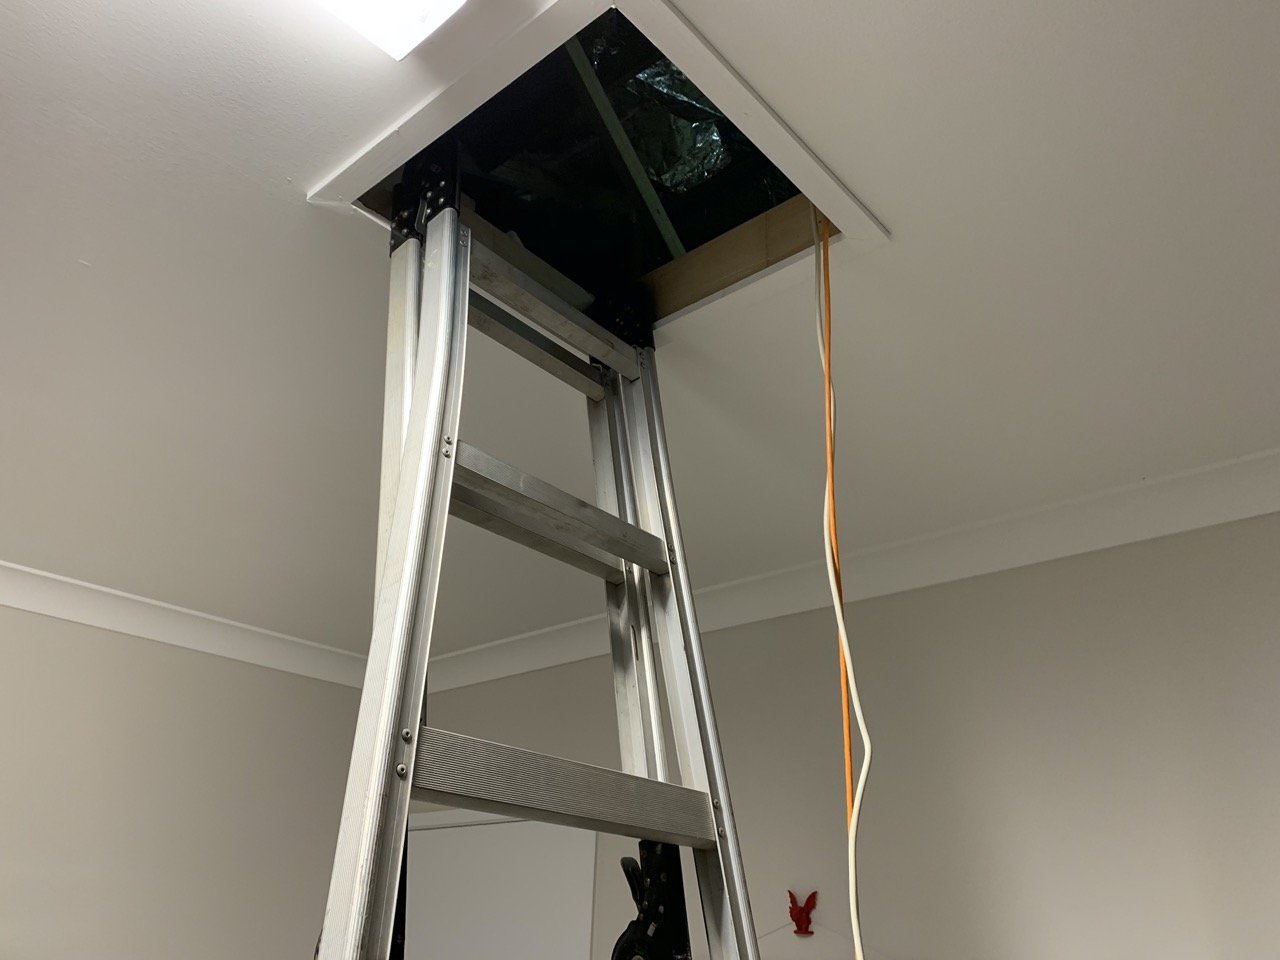
The end with the RJ45 connector was on the AP end, and that was pulled through the ceiling and then dropped down through a hole I made in the plaster board. The AP was mounted using the provided metal plate and four long bolts, it held in place quite well. Unfortunately I forgot to take my phone when mounting it so I didn't get a photo. The inside house side was the plastic plat with the locking notch, the part that was on the other side of the plasterboard in the ceiling was the metal frame. Four bolts held the two together, sandwiching the plaster board.
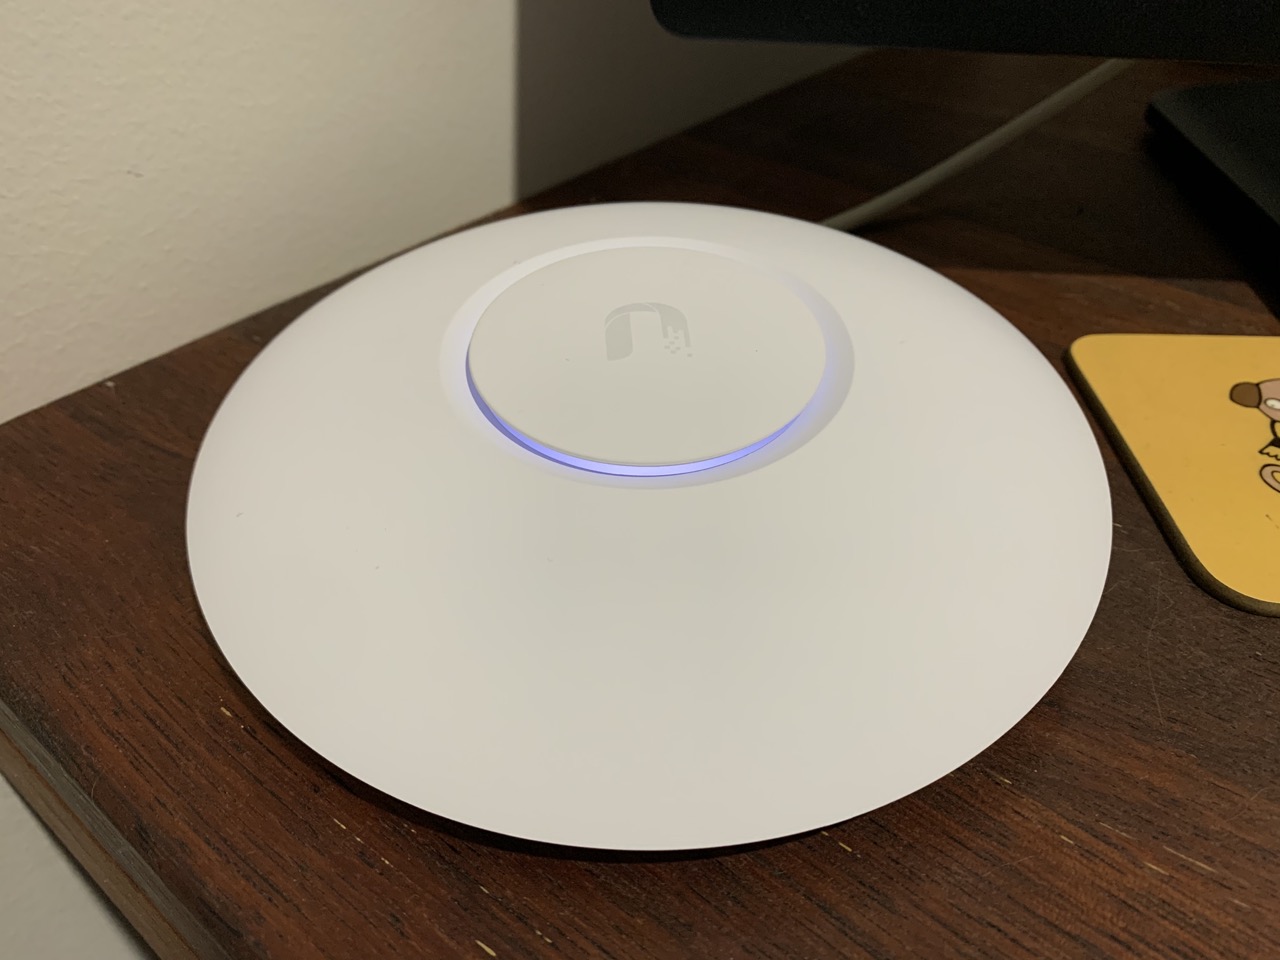
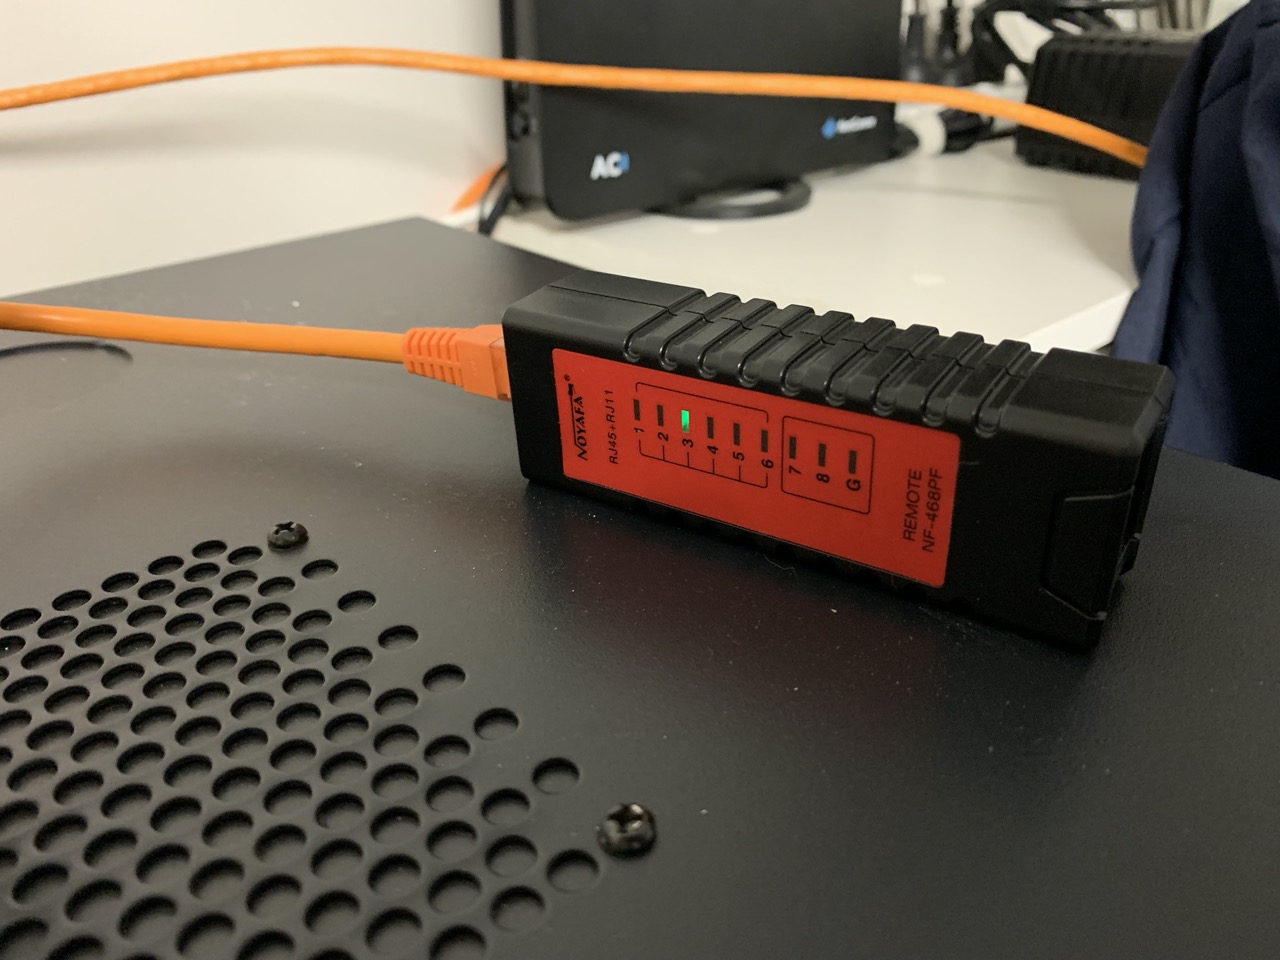
After connecting the RJ45 wall faceplate next to my network cabinet in the garage, I used a network tester to make sure that all of the wires were connected properly (they weren't and I had to rewire the AP RJ45 connector, whoops!) Eventually it was all connecting OK and the AP was getting power via the network and shining its nice blue colour.
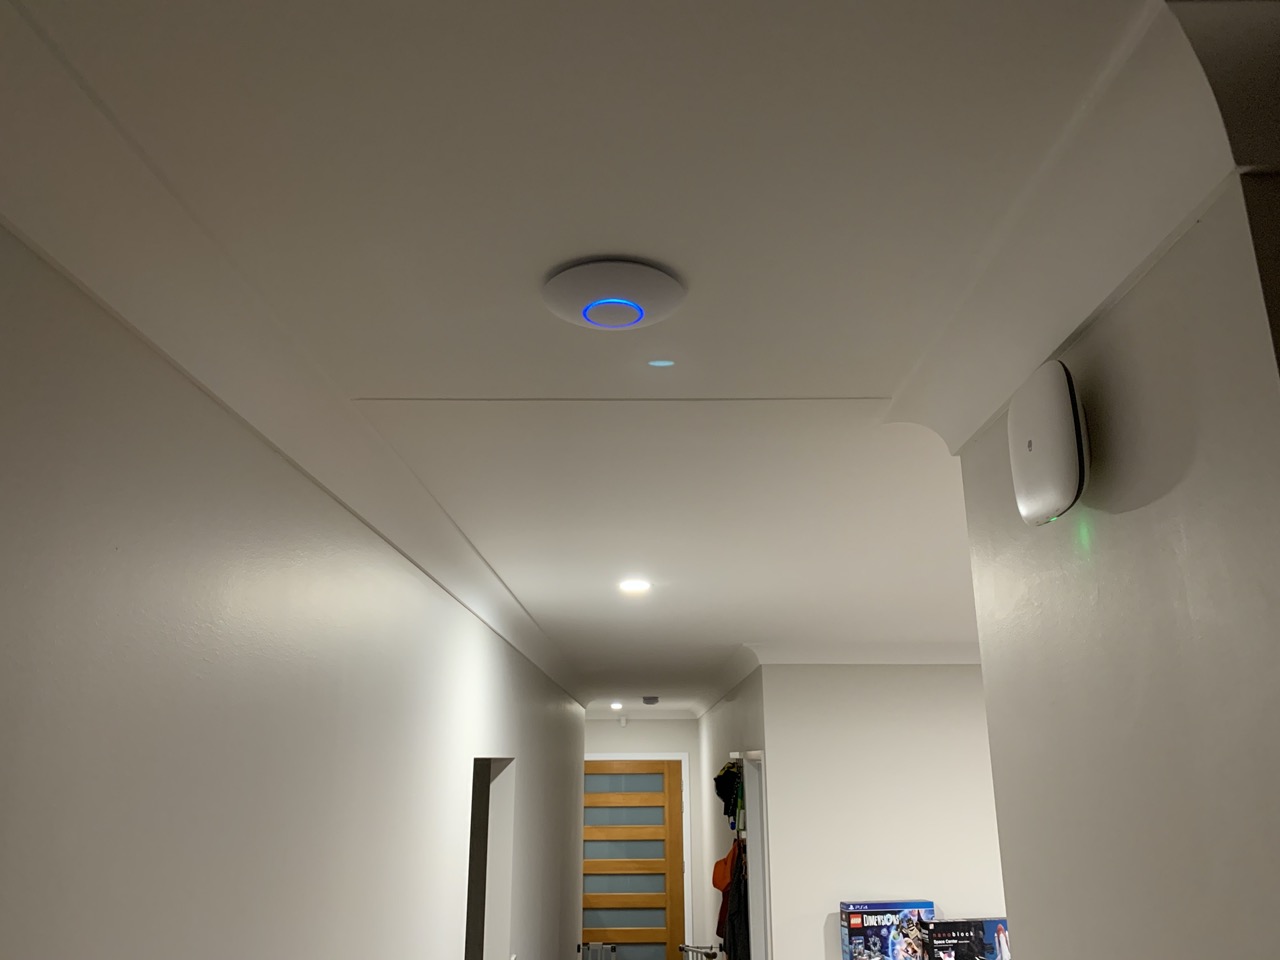
The mounting plate on the AP was a tight fit against the ceiling, which I thought was good as I wanted it to be secured well up there. Next to my home security system, the AP fit right in. I did eventually disable the LED light on the AP, so now it looks like another smoke alarm, though with a nicer shape.
In terms of connectivity, with the 5Ghz band, I've seen improvements of WiFi speed up to 4x compared to the Airport Express, which is nice. It doesn't make internet any faster as the 4G connection restricts that, but local network file transfers definitely benefit.
My next step in network upgrades is to finish running Cat6 to the rest of the rooms in this house, so all my Macs will be connecting via Ethernet and not relying on WiFi so much. Until then this AP will serve as a much needed improvement to the network (the Airport Express was getting about 2 bars of WiFi signal in my office room, now I get a full 4). I may also configure a controller for the AP in the future because it is nice having the additional features and statistics that it provides.
-i
