Making the enclosure took the whole day, to my surprise. I was expecting to be done in a few hours at the beginning but as the work started it became clear that this is a much bigger task than anticipated. The fact that a cube has 12 edges has to do with it, every edge had an aluminium corner that had to be cut on a mitre stand at 45 degree angles twice on each end, that's 4 cuts per edge. This is after cutting the edge piece to size.
For the box I chose the following materials:
- 2x 3m x 20mm aluminium angle
- 6x 450mm x 4.5mm clear acrylic sheets
- 2x Brass hinge
- Brass bolt lock
- 4x rubber screw in scratch protectors (to use as the feet)
- 2x 30 pack of nuts and bolts, they are about the M3 size
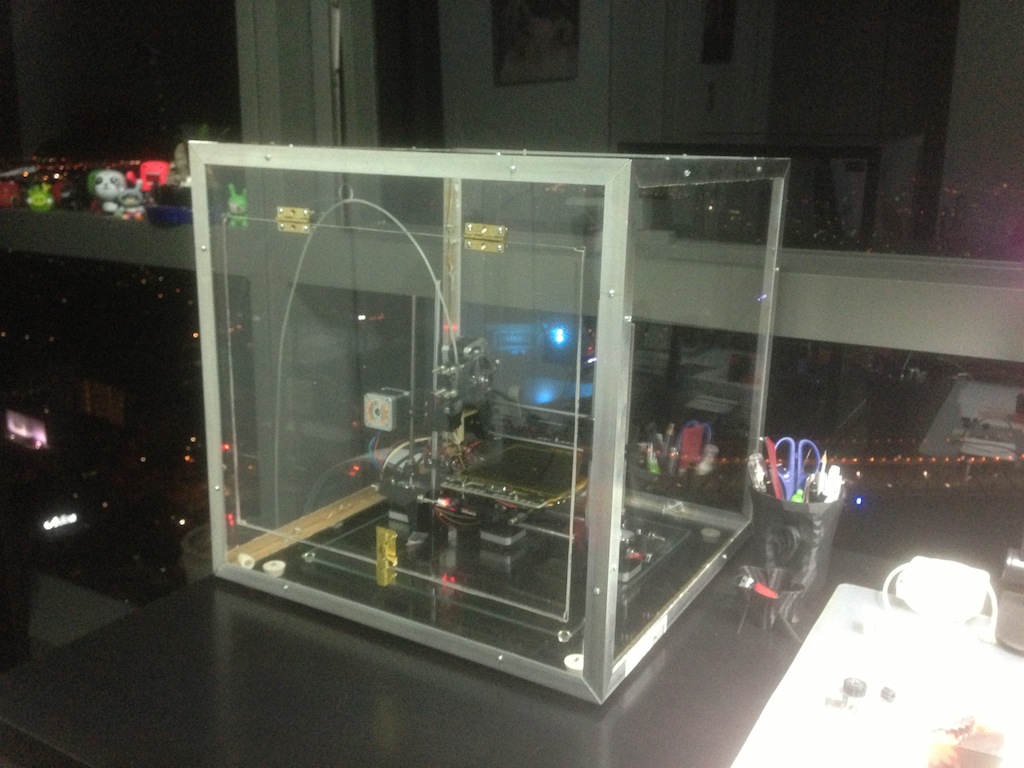
This was the final result:
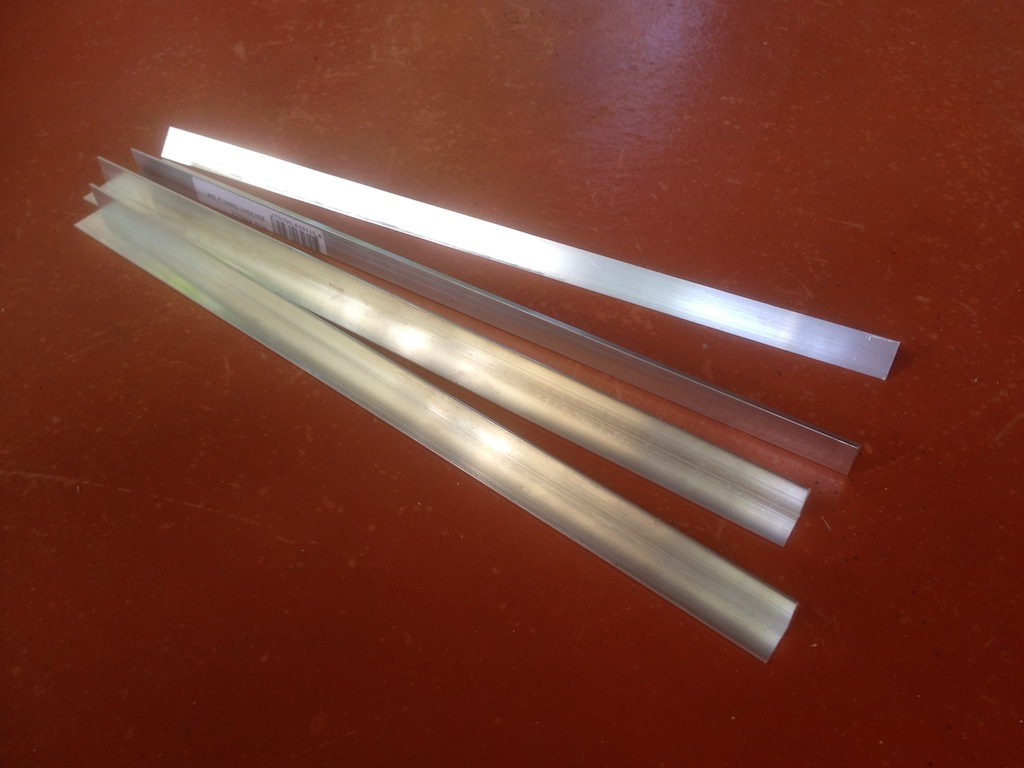
This is what it all started with - the 3m lengths of aluminium angle.
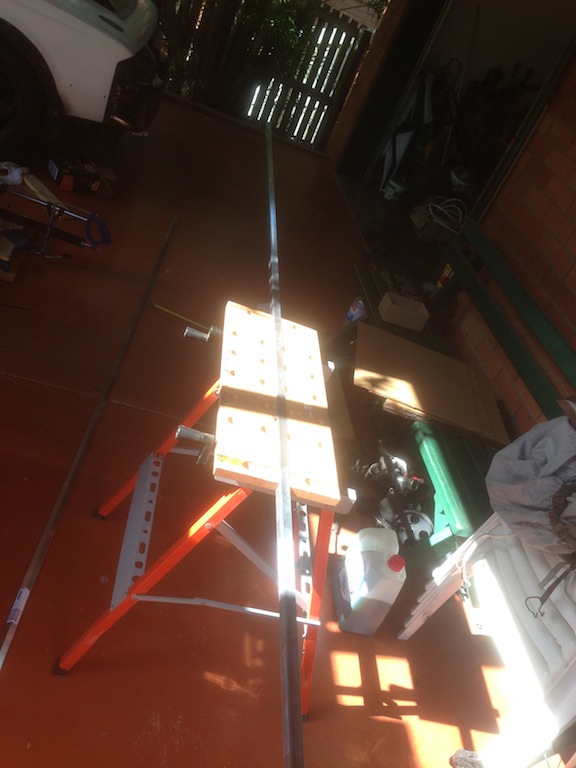
The angle is cut to size, 450mm, same as the acrylic dimensions, 4 to start with to make the outer box.
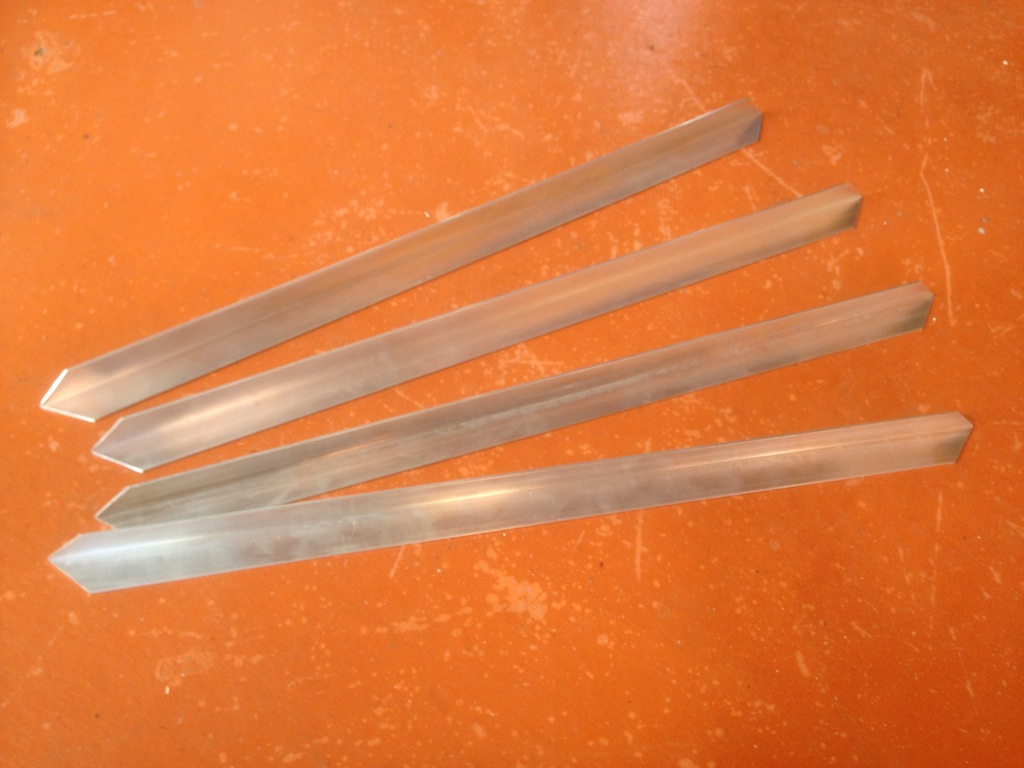
The pieces are the mitred at 45 degrees to make nice joins later on. I could have not bothered with this really and just cut the edges off straight, but I wanted the box to look better. I will be printing out corner pieces anyway, so this was probably a wasted effort.
I drilled holes for the bolts at 120mm from the edge on one side of the angle and at 100mm at the perpendicular side so that the bolts do not touch when screwed in.
Testing this on a single sheet...
Then finally drilling all the sheets and screwing together with the 4 angle pieces:

Similarly the rear of the box is done in the same manner, this time I decided to start peeling some of the paper away on the edges, I will be disassembling the whole box later so this is not strictly necessary at this point.
The rear and front sections are designed to fit into the box interior and align to the edge of the outside that's already built. For this to work I had to cut 9mm off of one side of the acrylic sheet.
The dimensions for the angle are slightly different on the rear and front sections due to how the box is assembled, so on the vertical edges they are still 450mm, but on the horizontal edges they are 9mm wider.
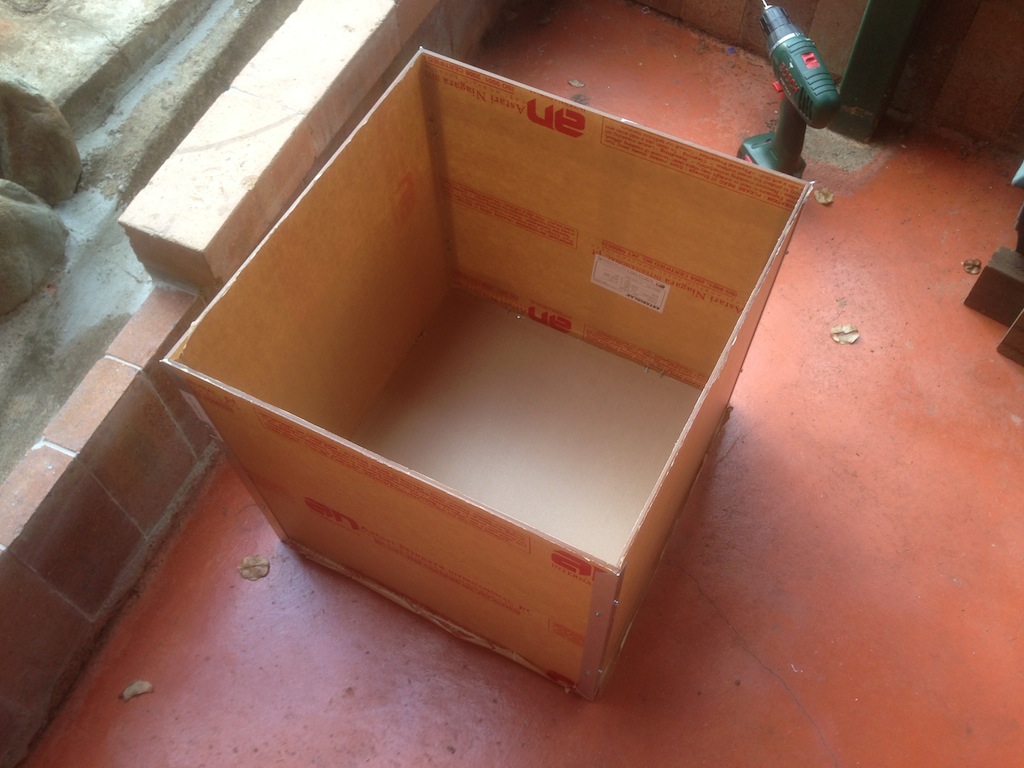
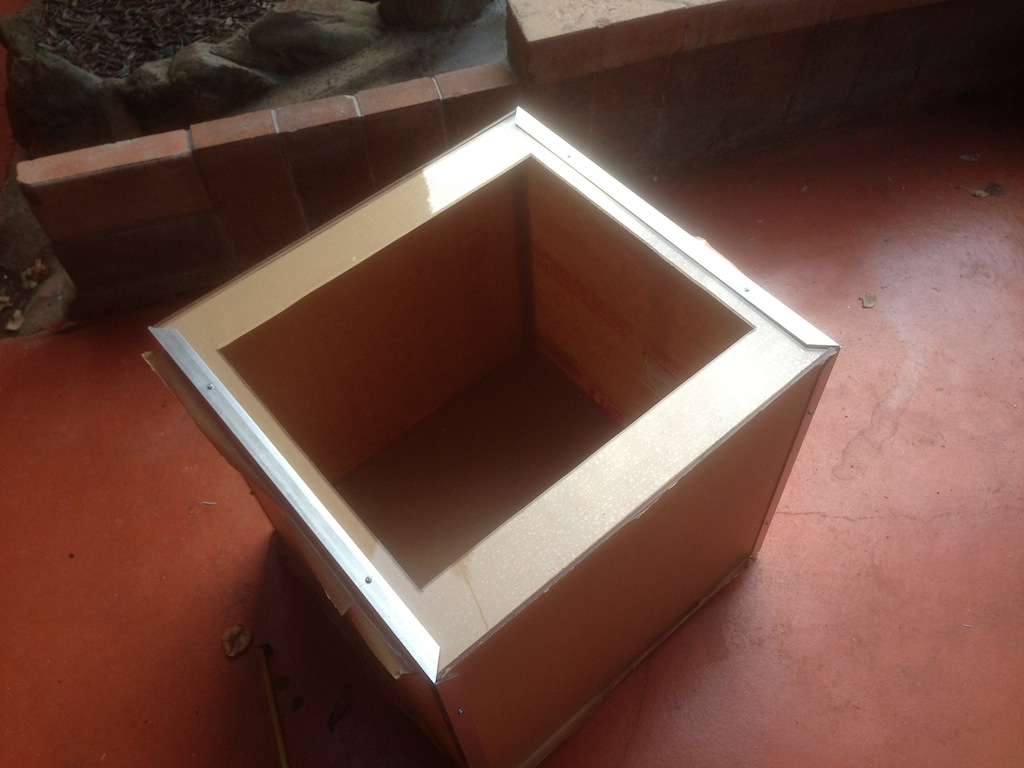
The rear is in place and we have a box with an open side.
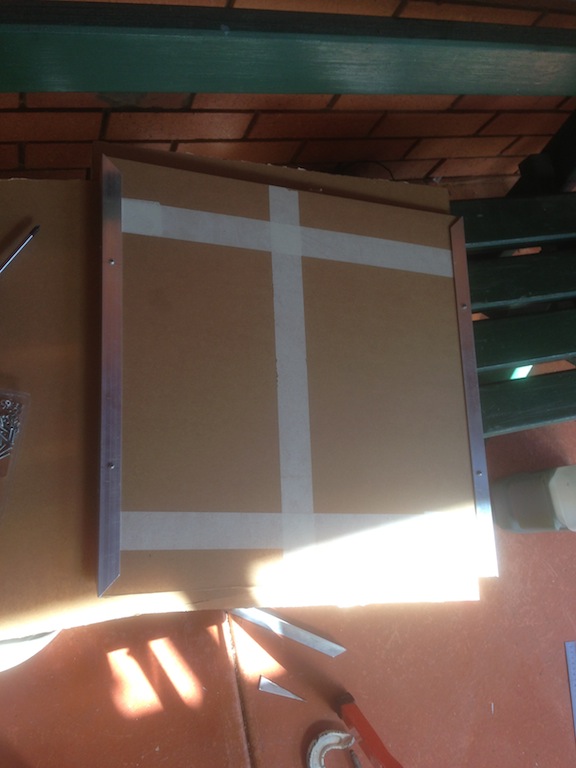
The front section has a door cut in, so first I cut away the 9mm so that the sheet fits into the box, then I cut away 30mm on the vertical sides and 60mm on the horizontal sides to make the door.
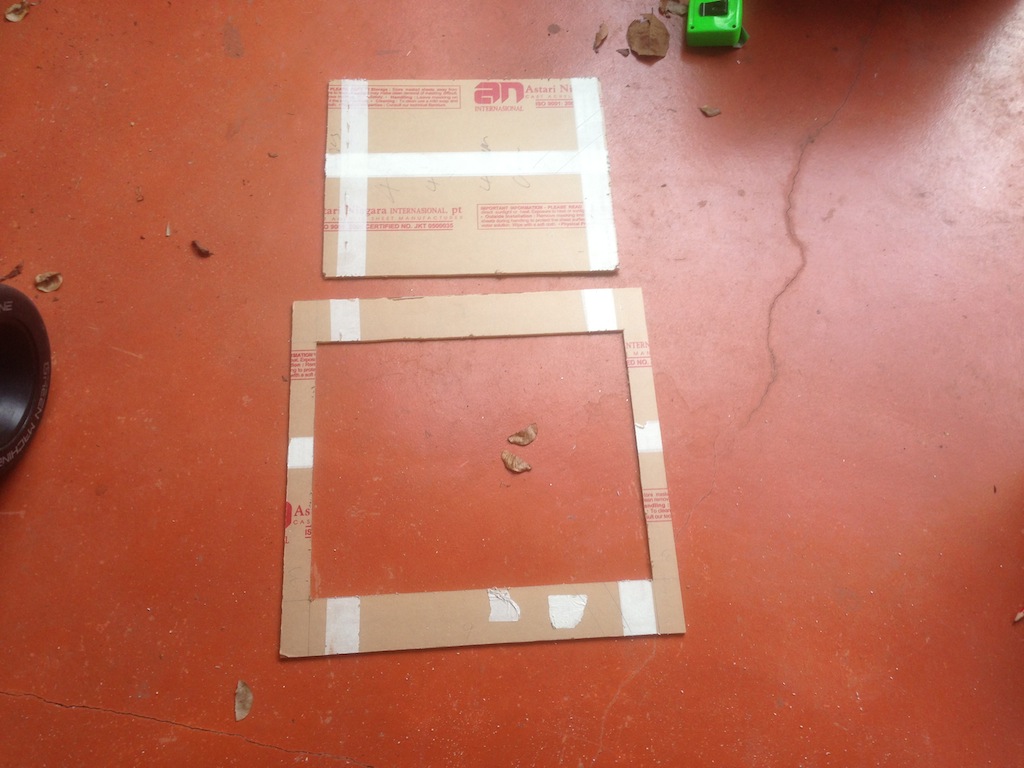
Test fitting the front section with the door hole cut out.

Fixing the front section in place:
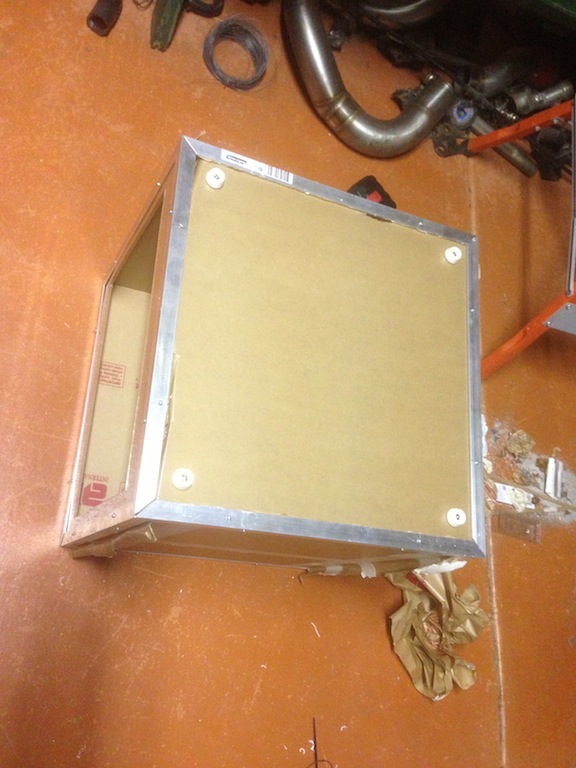
Now with the front done it was time to put the feet on the bottom. These just needed holes cut for them and screwed in. I didn't use bolts here, but went with the screws that the feet came with, so the holes had to be cut to be very close to the size of the screw to avoid cracking the acrylic.
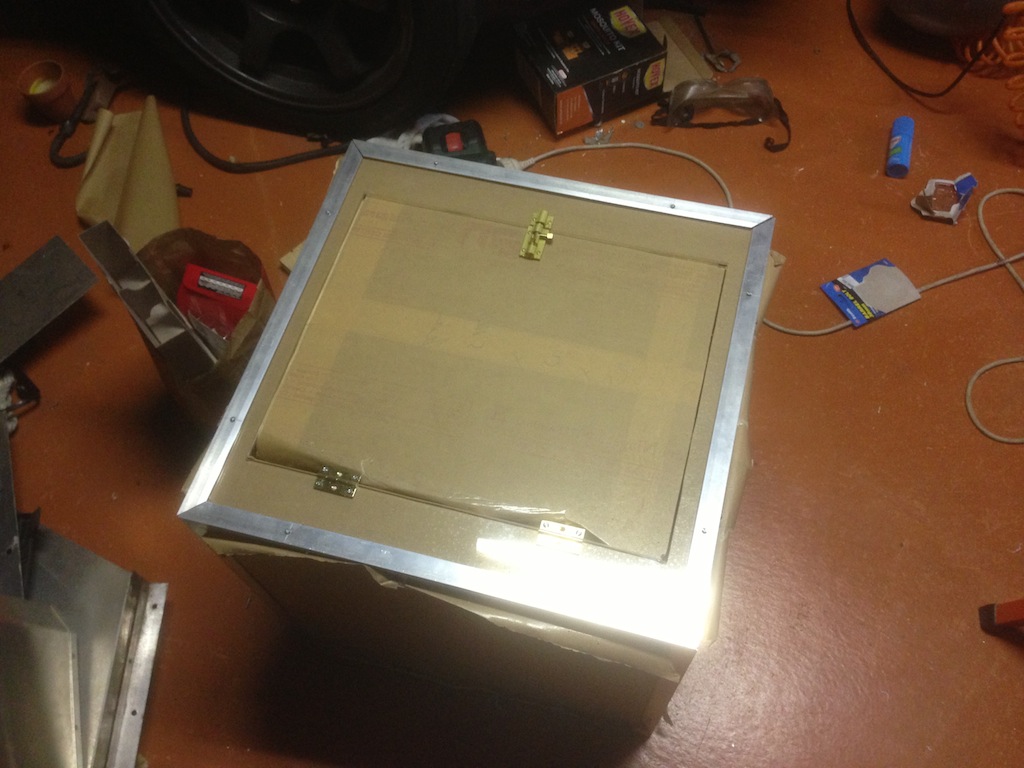
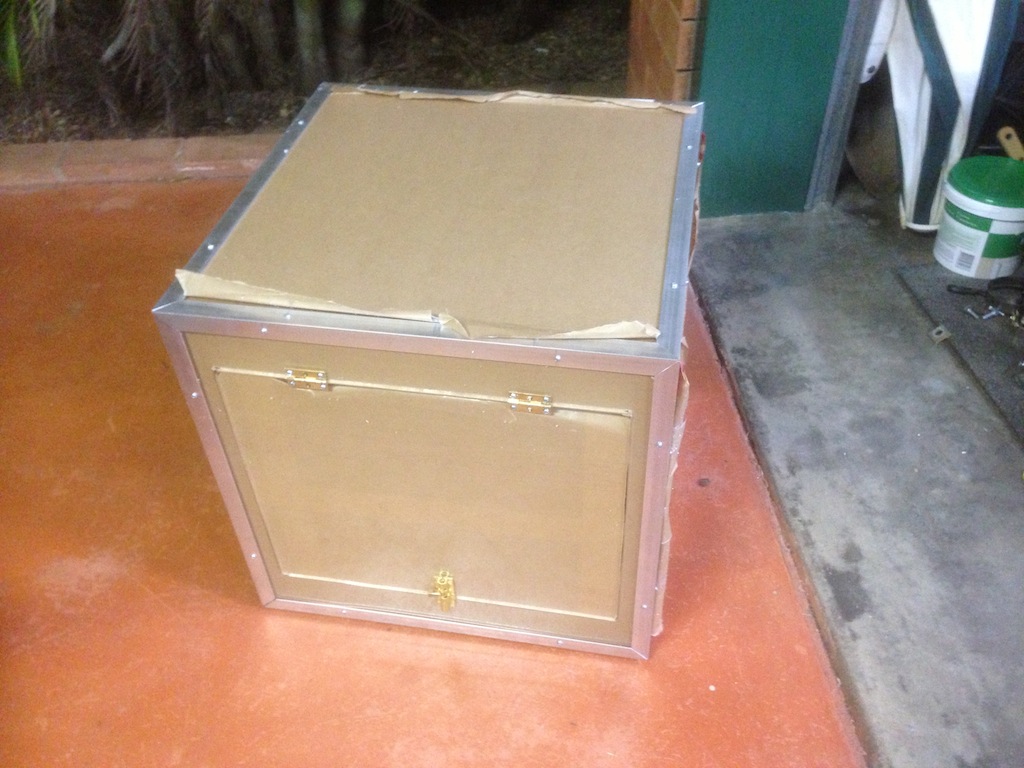
It took a bit of effort to get the door in place, but the result came out not too bad.
I used a hole saw to cut two holes on the left side of the box, one for the USB cable and power cable at the bottom, and another hole at the top centre to feed the filament through.
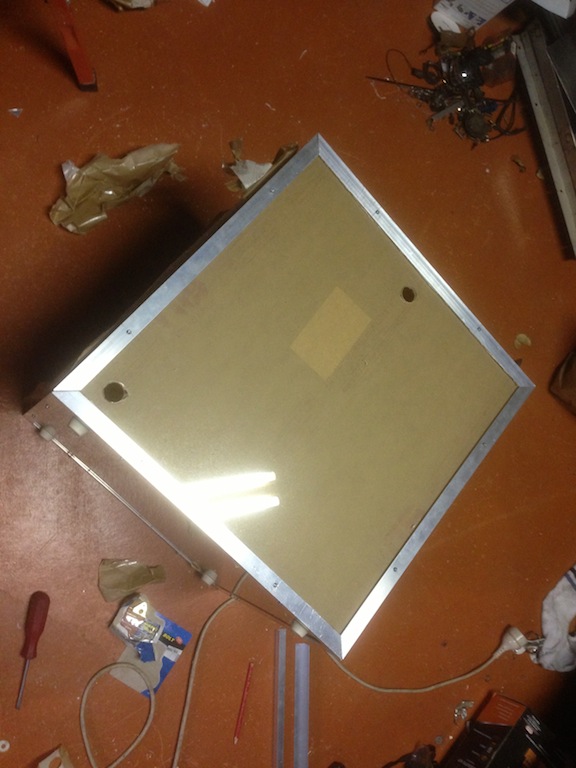
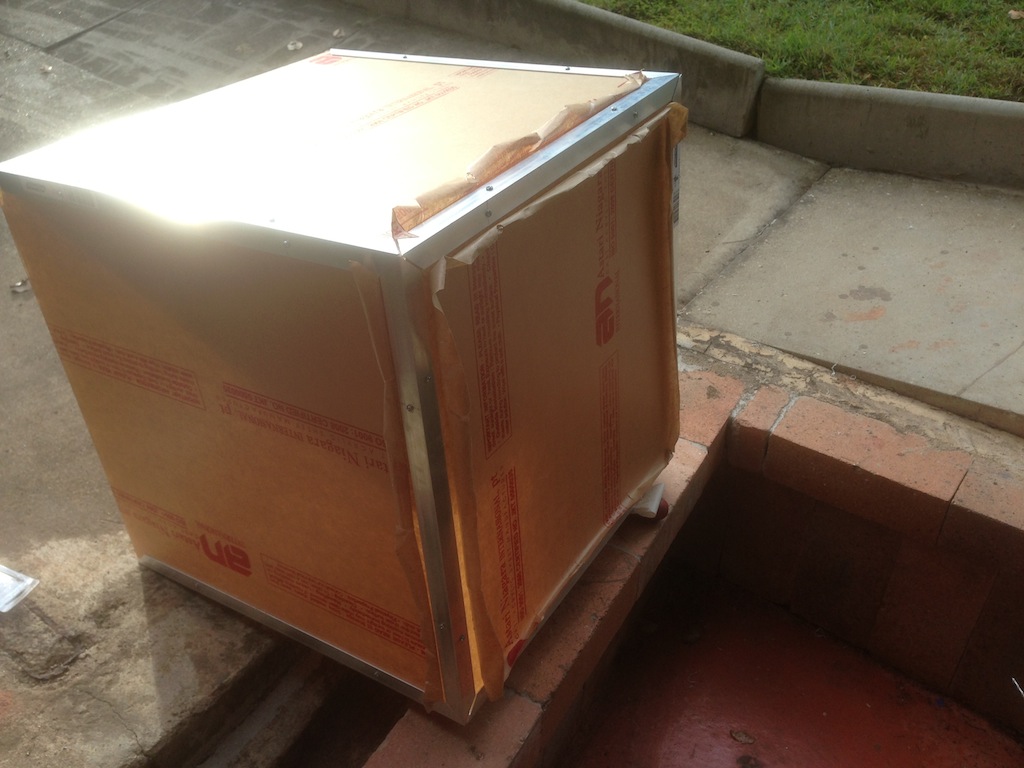
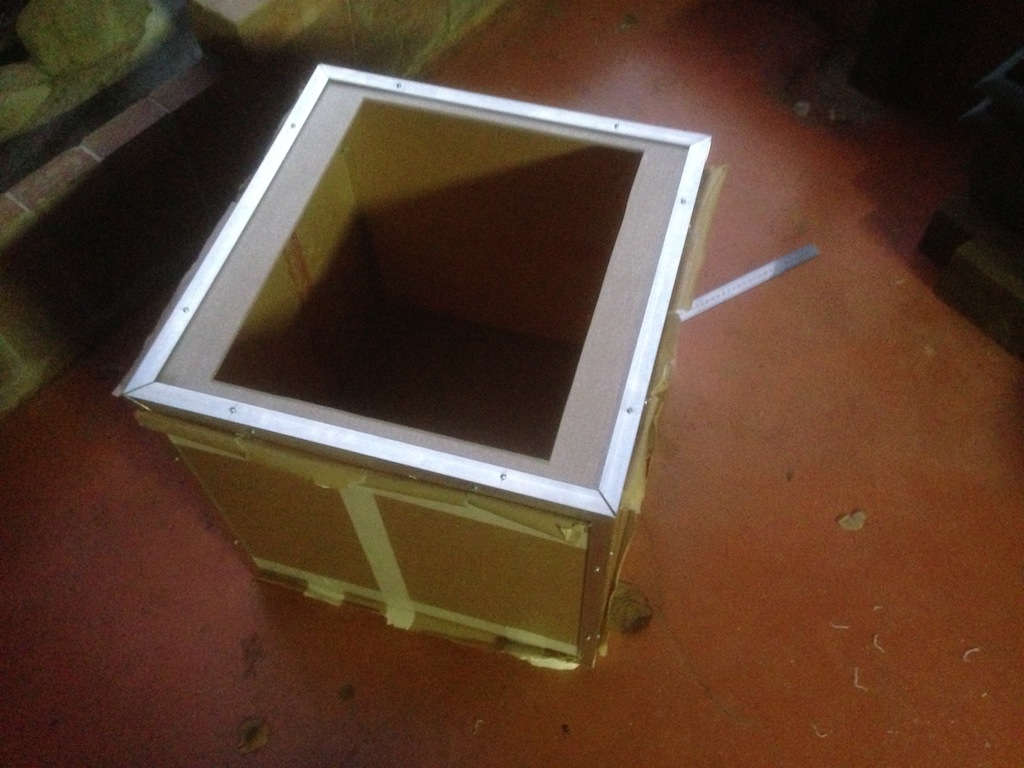
So this was the result of the day's work, still with the masking paper attached.
I took it home and took the masking paper off, there is still masking paper under the angle pieces, but these are coming off later so I am not so worried right now.
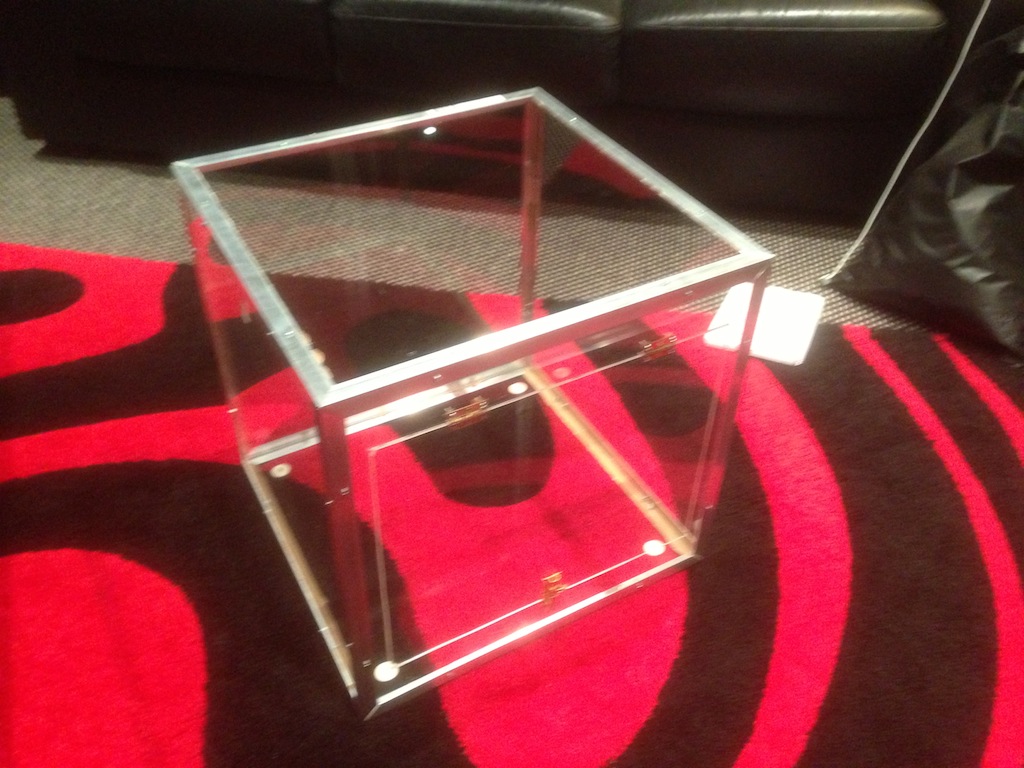
Testing out the fit with the 3D printer inside:
I tried a print after this and the box does have some flaws for example it's a pain to have to use the door to adjust things inside. I will have to make some kind of hinge/arm mechanism to hold it open. Also the printer tends to move inside while printing, I will make some clamps that will attach to the box and the printer to hold it in the centre.
However there are good things about the box, the fumes, you can't smell them now, well you can if you get close to the filament feed hole, but on the large you can't smell the fumes while printing now. The noise is slightly reduced too and so are the vibrations.
Next thing I will do is take the whole box apart one edge a time to remove the masking paper but more importantly to wrap the edges in a carbon fibre vinyl, this is just for the looks. I am also going to be printing some corner pieces because the aluminium pieces are a little sharp there and have little gaps between them, so it will be nice to cover up a potential hazard and to make the box look nicer.
Part 2 is here.
-i
