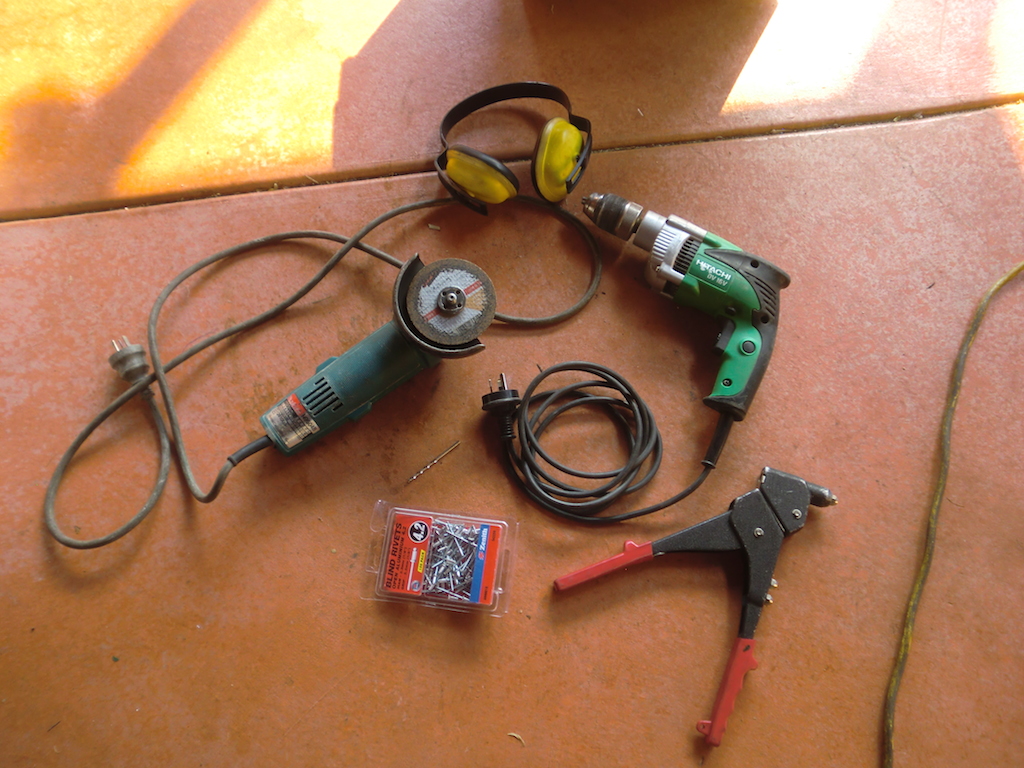
This post follows on from the previous one. Since this requires power tools, I did all the work outside. To modify the Octane frame, I used a drill, angle grinder, a pop rivet gun, metal brush, metal cutting scissors and some pliers. The backing I made has a brushed look and covers the entire rear, this will need to be drilled to be attached in the future, so it's not quite complete yet.
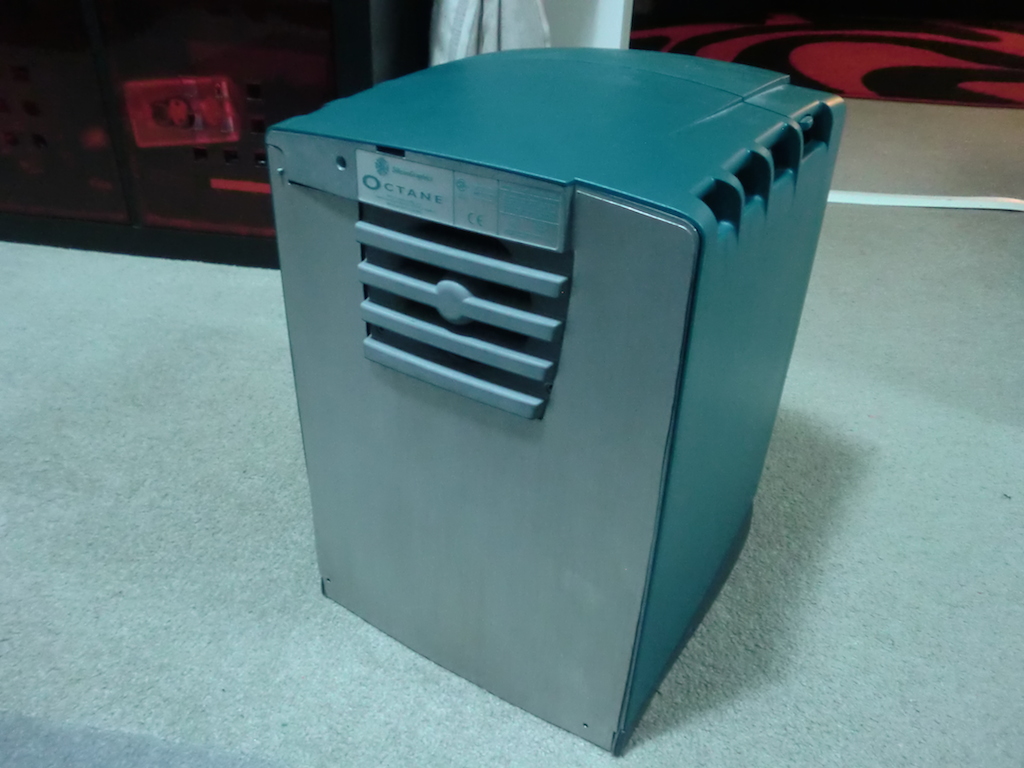
The Octane frame is built like a tank, it is really strong, but it is also held together with pop rivets, which makes it easy to take apart. I started with the removal of the disk bay, there are nine rivets holding it in place. The easiest way to remove a rivet is to get a drill bit the size of the rivet and simply drill through the rivet head, then the rivet will pop out.

Next was the rear frame and the divider base supports. The rear frame has four rivets holding it in place. The dividers have three rivets each, making six rivets at the bottom.
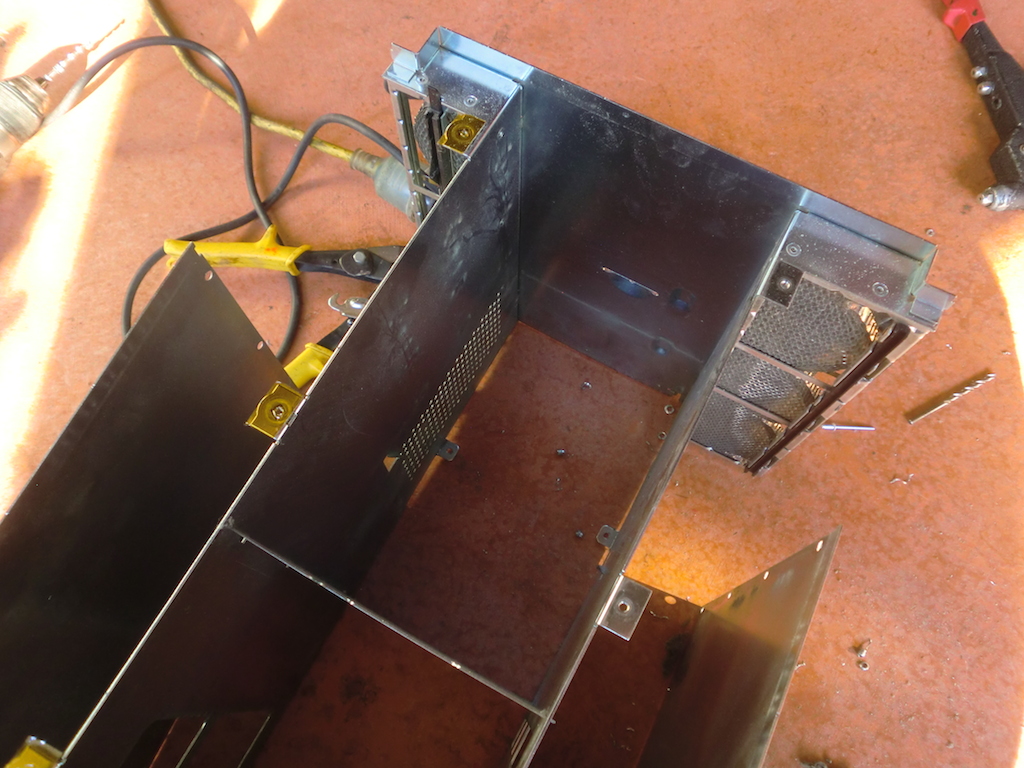
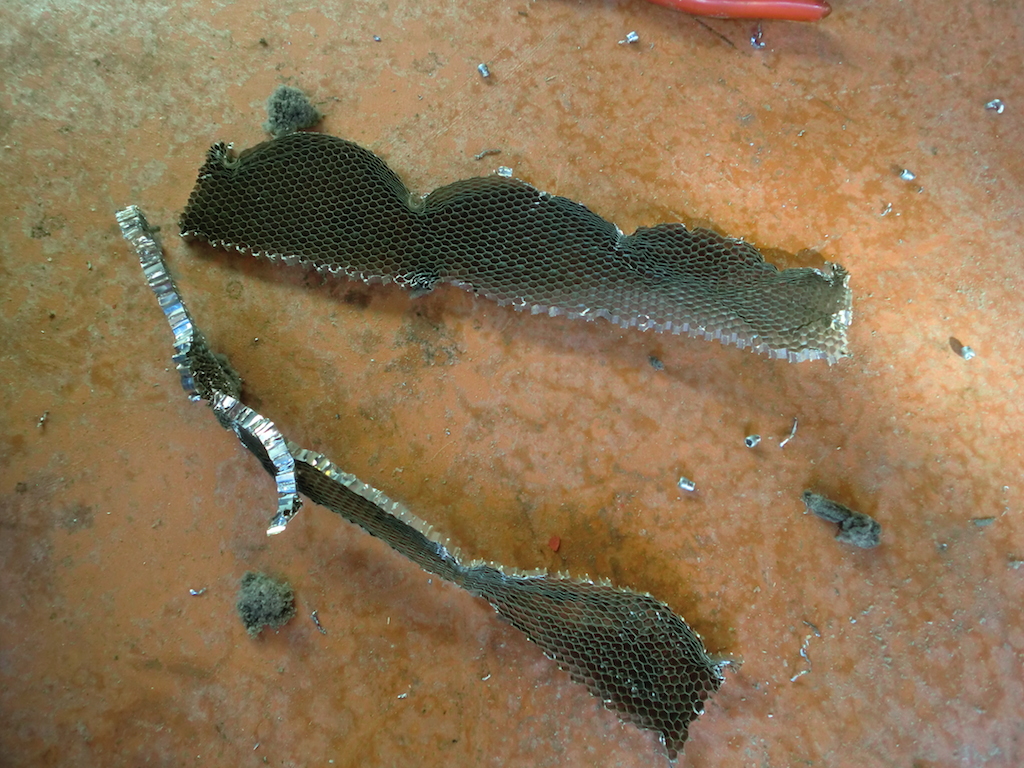
At this point the dividers are still attached to the front part of the frame by two more rivets, these need to be removed. Then, the rivets that hold the sides in place can be drilled out. There are four rivets at the top of each side, right next to the honeycomb wafers. As hard as I tried to preserve these wavers, the drill bit always seems to go through them and messes them up quite bad.
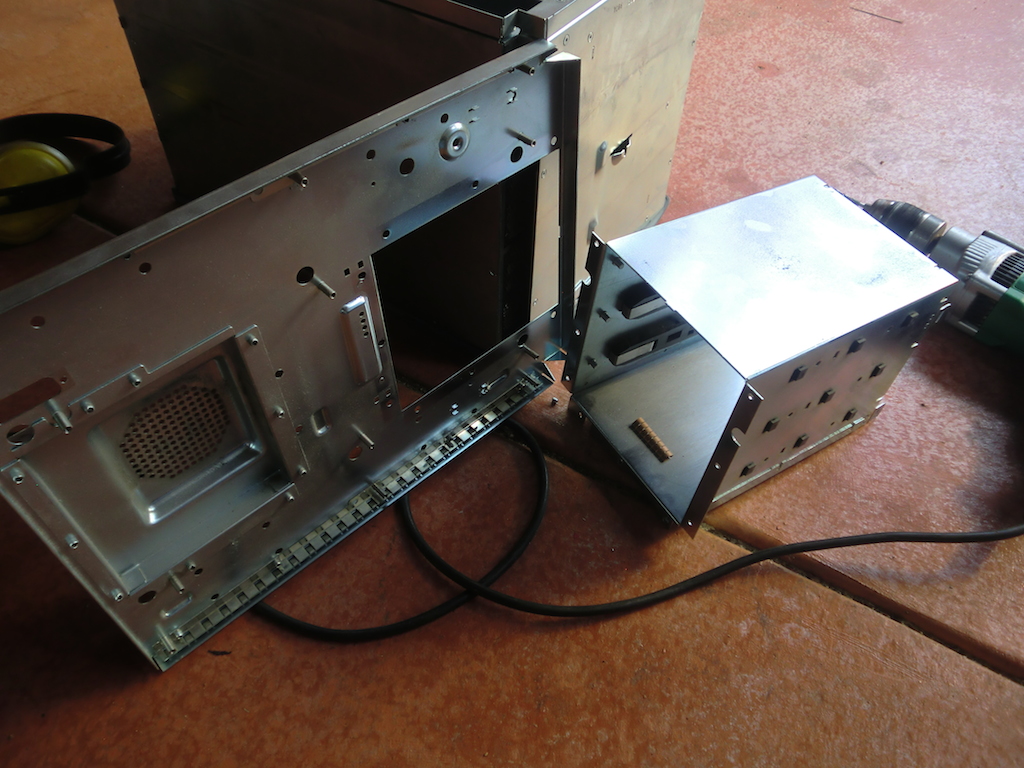
After both sides are detached, the entire top section can be removed, this has the top and the dividers together still. Last time that I modified an Octane, I actually separated the dividers completely first, but now I've realised it is just easier to cut them off in place. The honeycomb wavers can be pulled out at this point, there is no salvaging those.
Next I used an angle grinder to cut the dividers at the top of the case, just under where the wafers were. Done on both sides leaves just the top of the frame. The cuts need to be cleaned up a little so that they can't do any injury later on, the angle grinder or a file can do this.

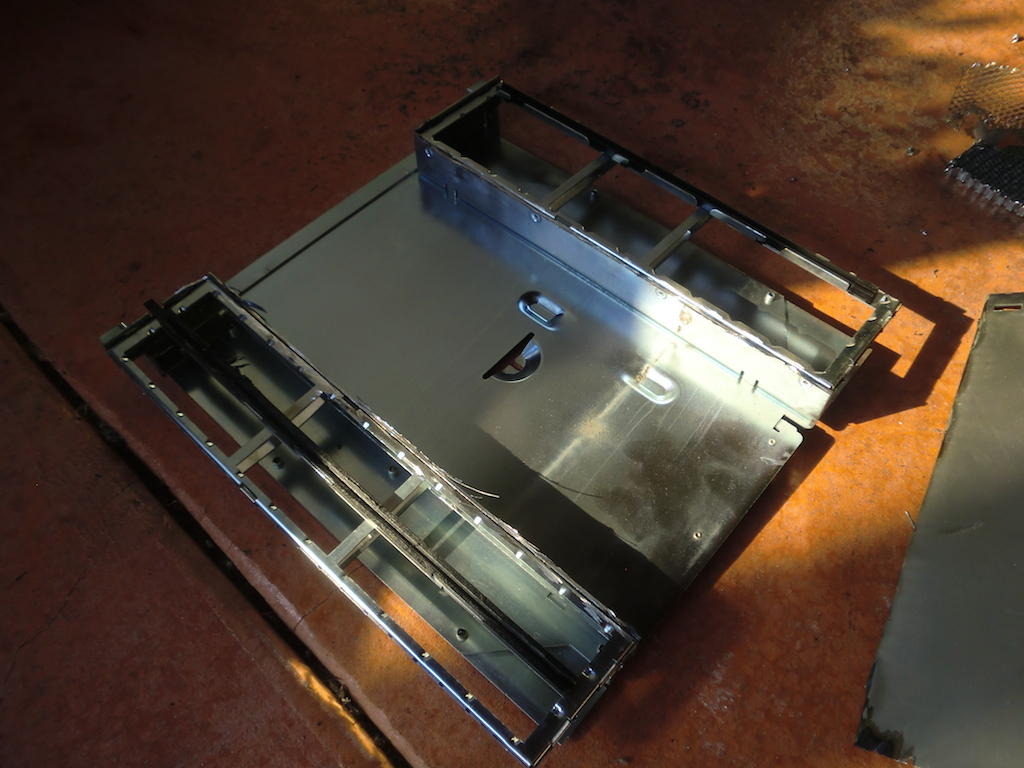
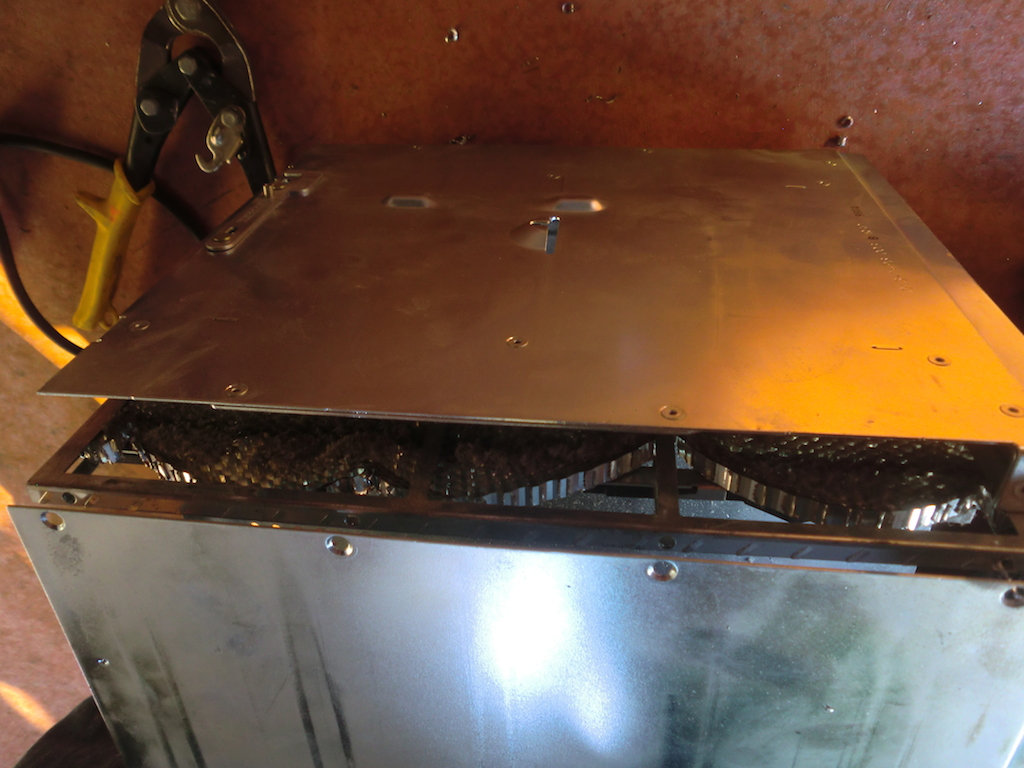
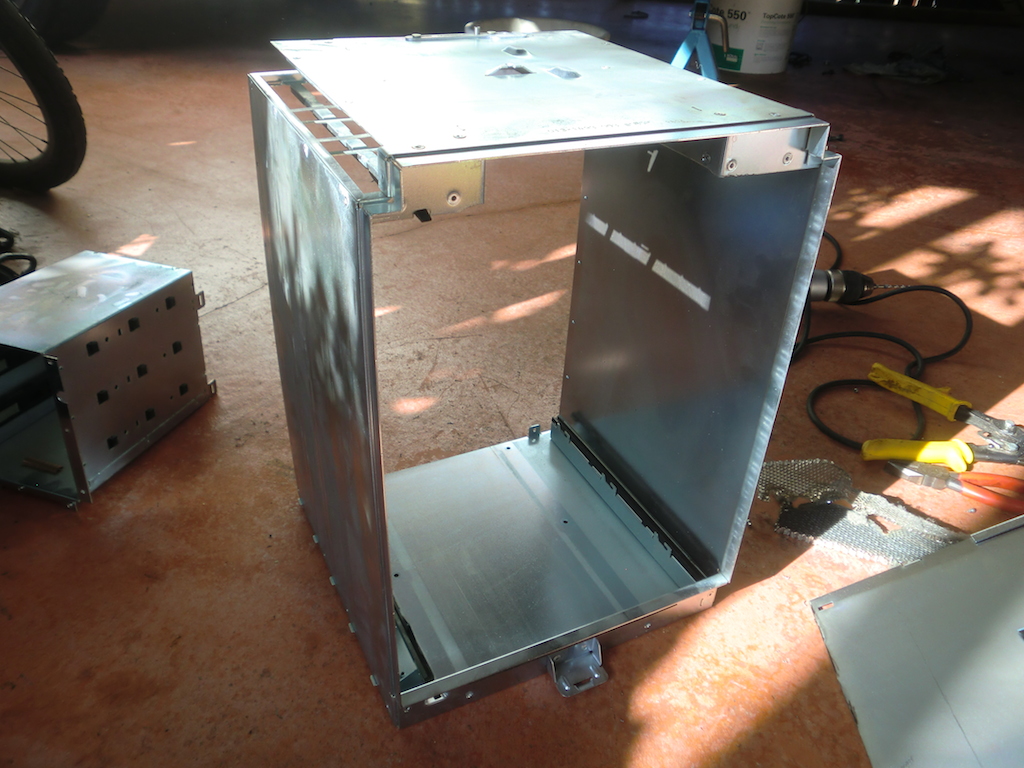
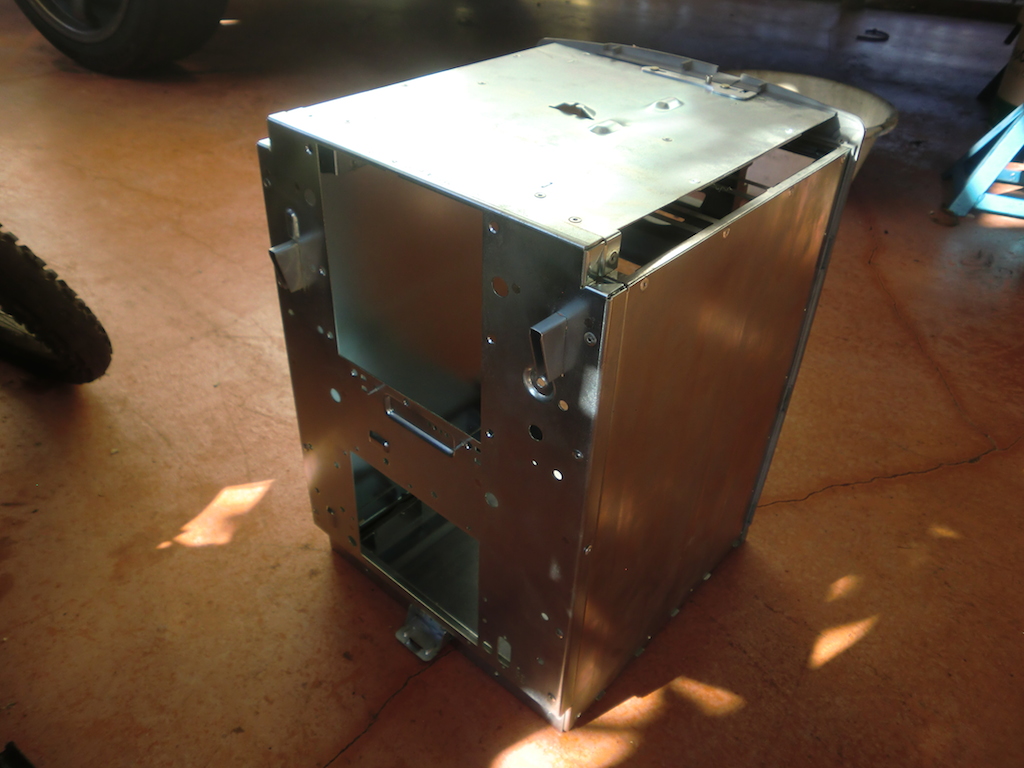
Now with the dividers removed it was time to pop rivet everything back together. The good thing is that there is less to reattach than there was to remove. The top is attached to the sides first.


After I've reattached both of the sides, I decided that the fan cover from the front of the frame looked out of place, so removed that also.

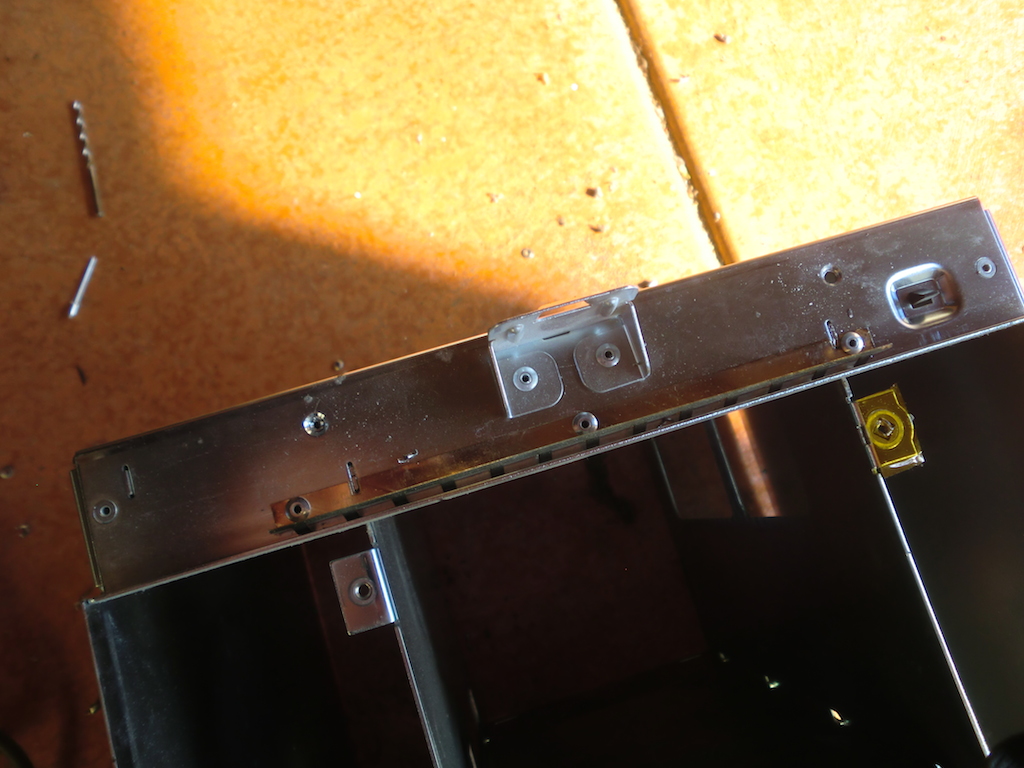
The rear frame was a little harder to attach. The rivets at the bottom are no issue, however the top two rivets are recessed quite far into the frame. This prevents the rivet from securing in place easily, so what I did to get around this was to stack a bunch of cut off rivet heads on top of the rivet before placing the gun over it, this gives the gun something to push against. Once the rivet is popped, the excess heads just fall out.

In my last Octane mod, I did not attach the front of the frame to the body, it was just loose, fitting like a cap. This time around, I decided to secure it in place with a couple of rivets. I drilled some holes through and riveted it in on two sides, one rivet per side.
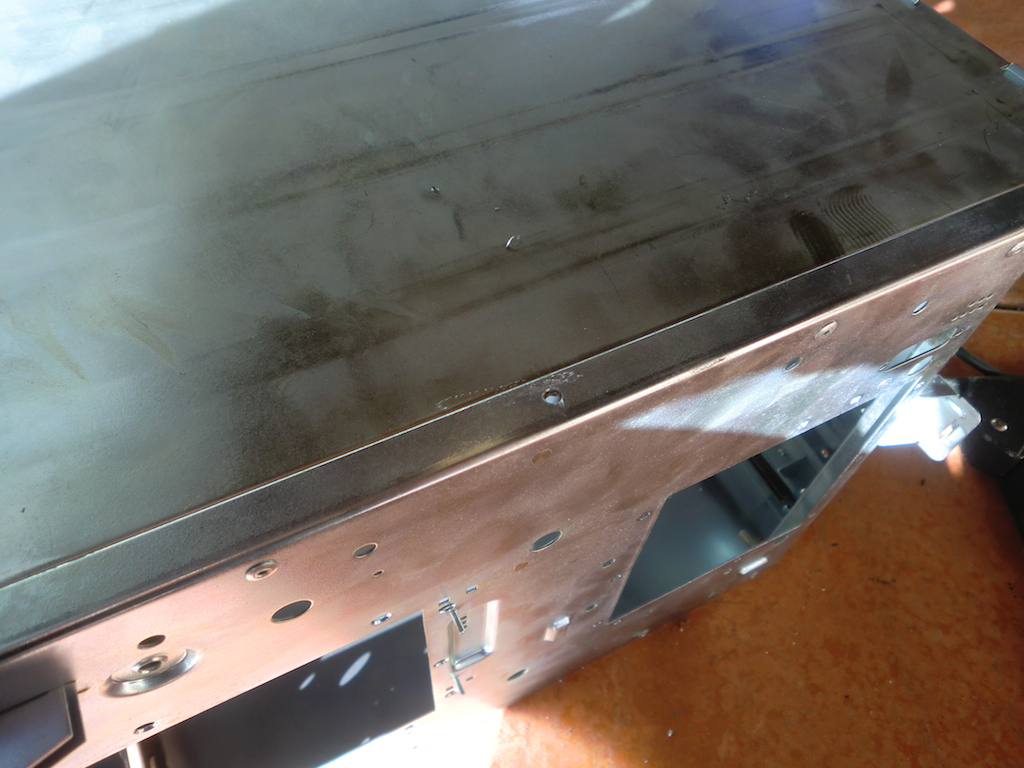
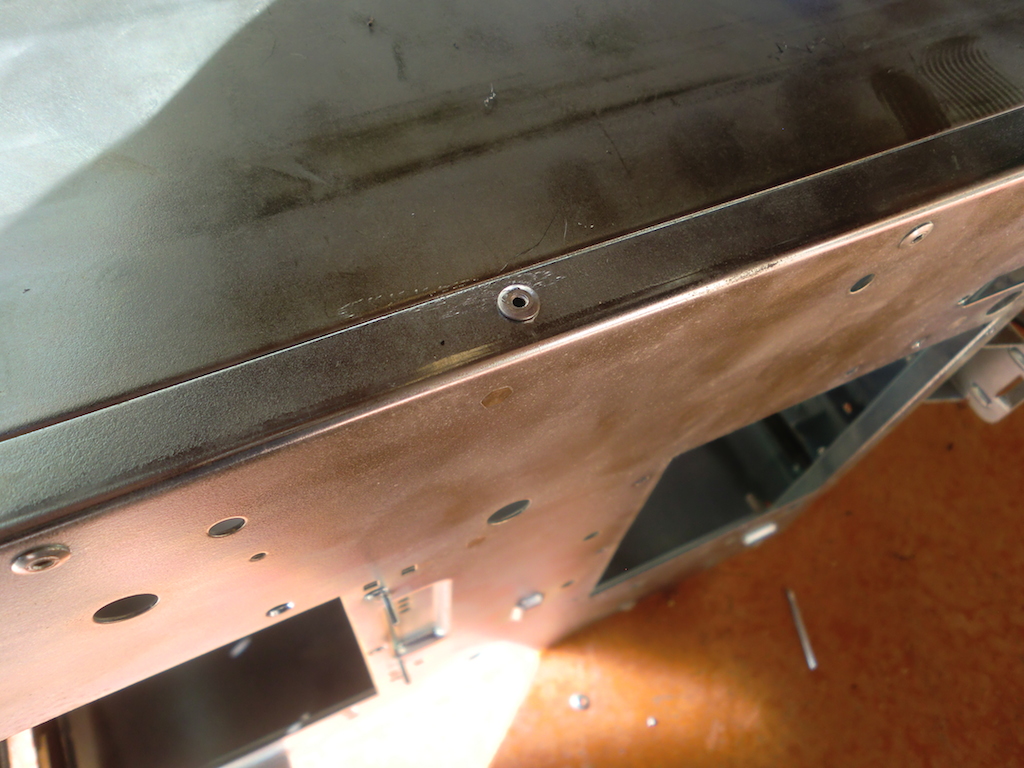
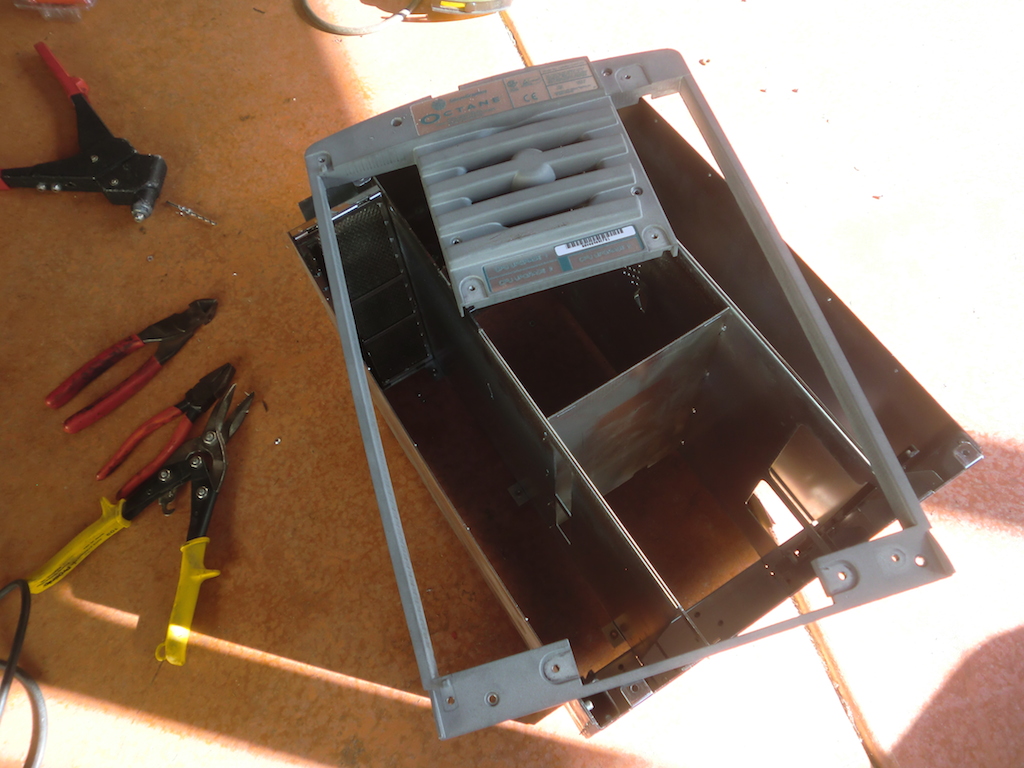
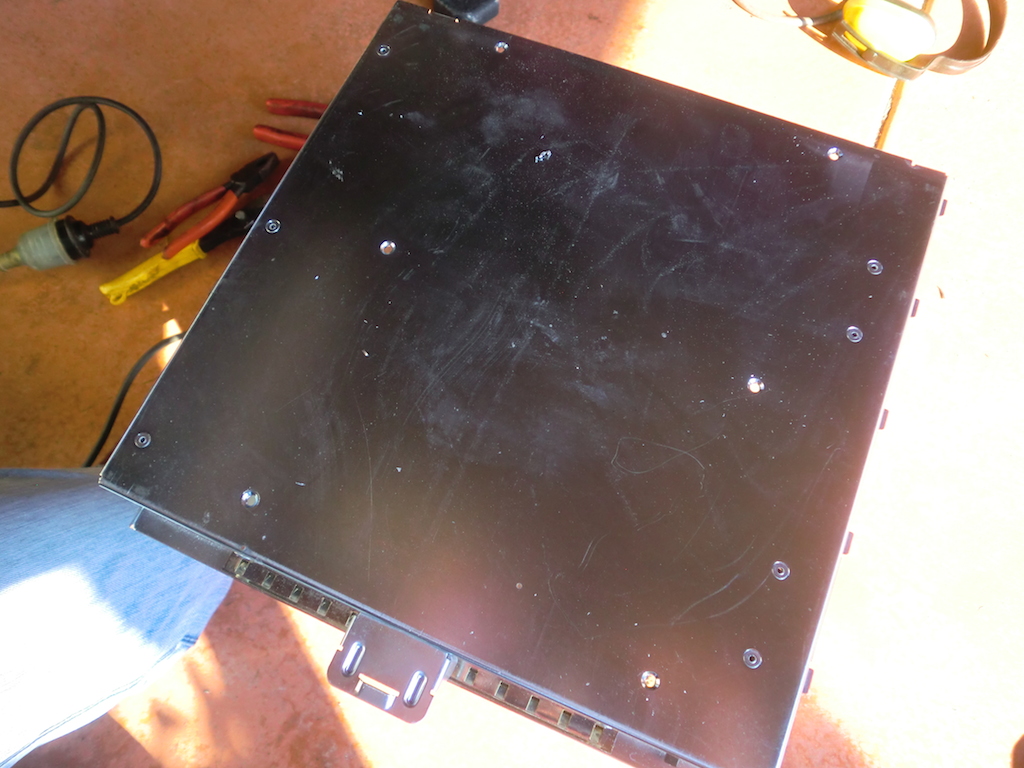
Now the case is put back together again, but it's missing something...the rear cover. The original Octane doesn't have a rear cover per-se since all the components slide in place and make up the cover that way. I needed to make something to have this cover up the hole however. Last time I used clear acrylic, this time I am using a piece of sheet aluminium. I started with tracing the Octane outline onto the aluminium.
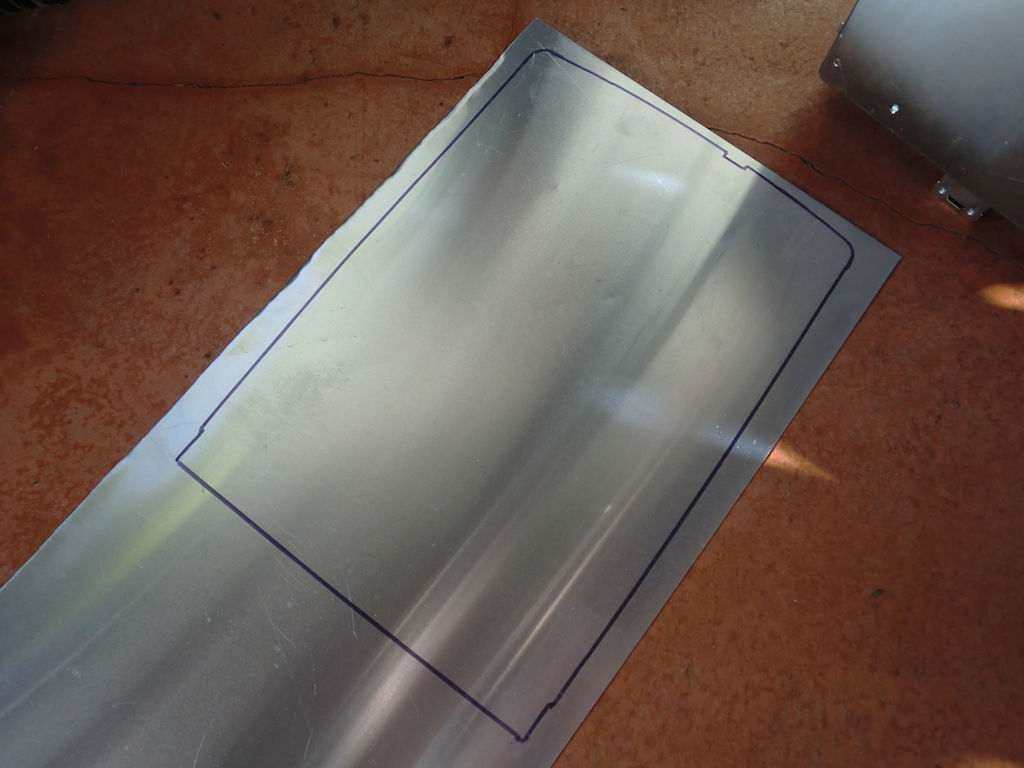
Using metal cutting scissors, I cut the rear cover out and trimmed it to fit the Octane correctly, this took some time. I managed to get quite a few scratches on the sheet so decided that a good way to cover those up would be to brush it, so using a metal brush that's exactly what I did. The end result turned out quite nice.
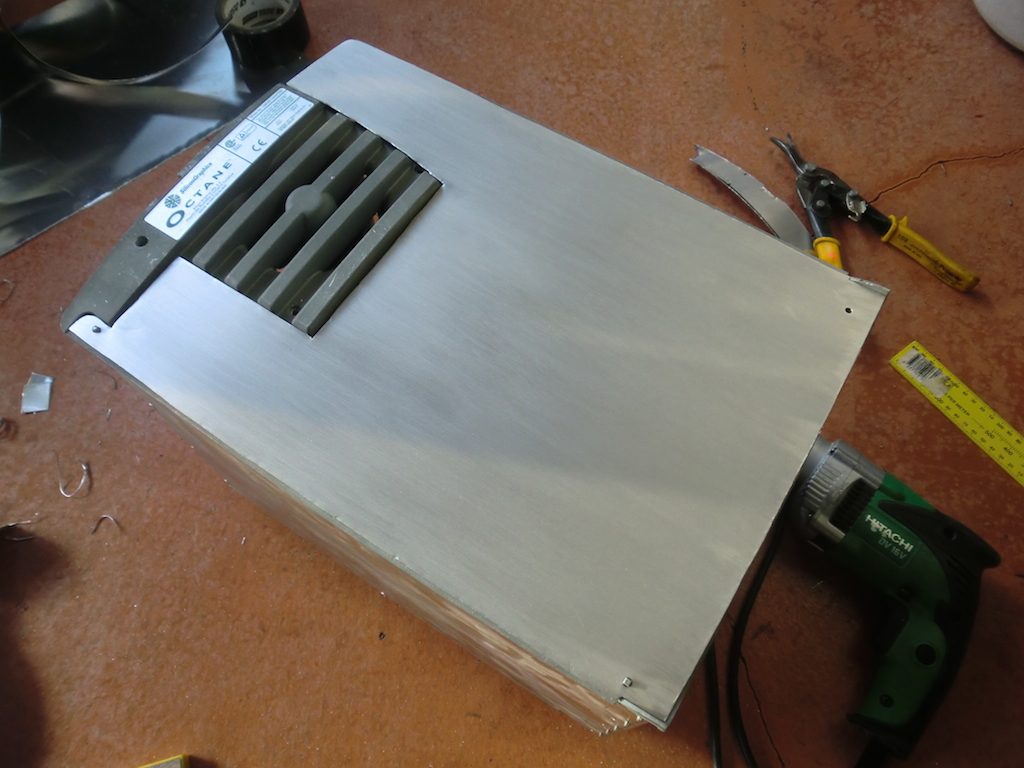
I've not drilled through all of the holes to secure the rear cover in place at this point. I'm still waiting for some more components to arrive prior to doing that. This will be covered in the next write up.
Update: The final part is here: http://www.igorkromin.net/index.php/2014/09/01/fitting-a-sata-usb-30-hdd-enclosure-into-the-modified-sgi-octane-case/.
-i
