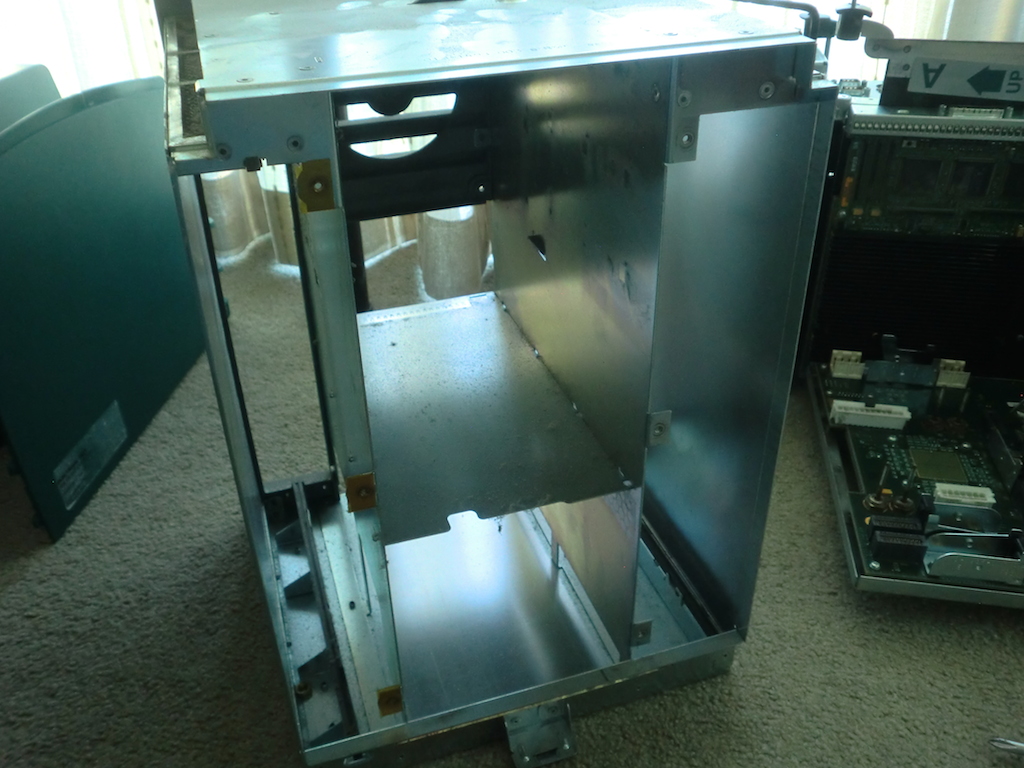
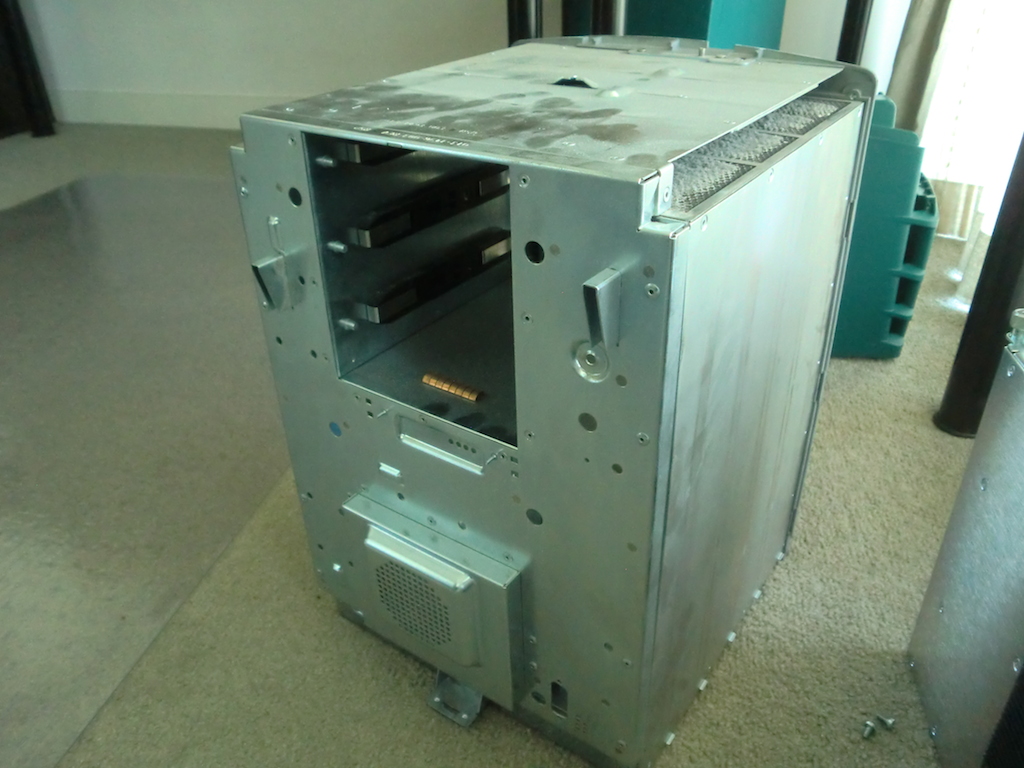
Starting from the rear of the case, each of the expansion boards and the power supply can be pulled out. This case didn't have the lock bar that runs the entirety of the case, so I didn't need to worry about removing that.
The power supply is first. It's quite easy to remove, just undo the two thumb screws that secure it at the bottom and pull it out.
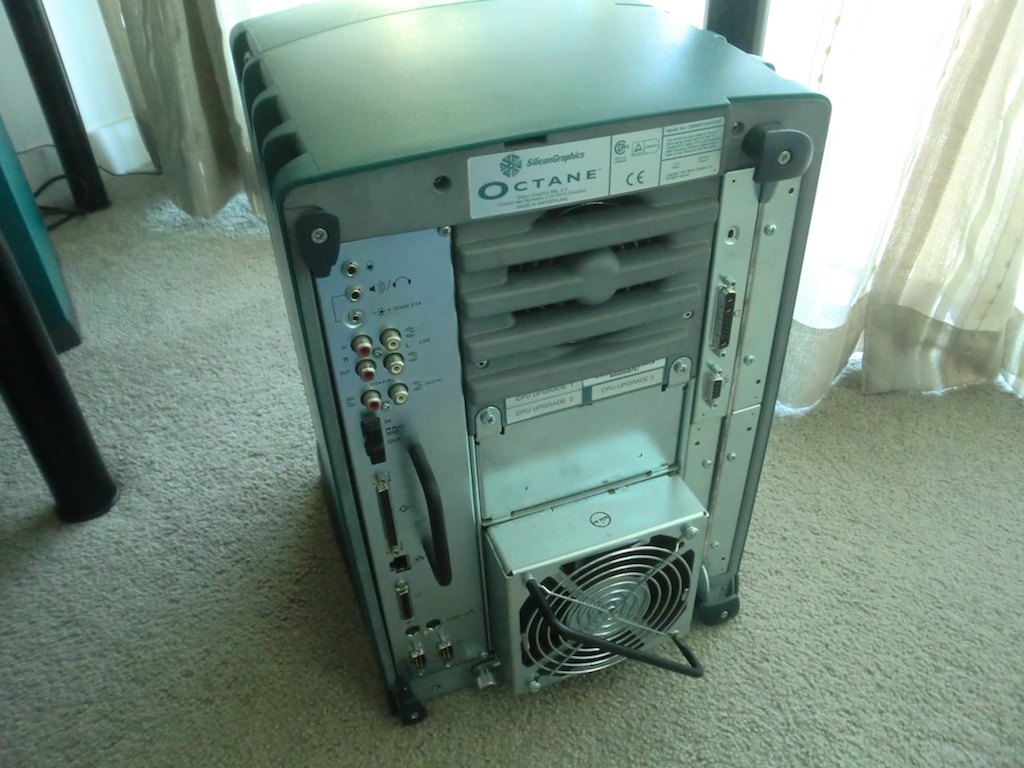
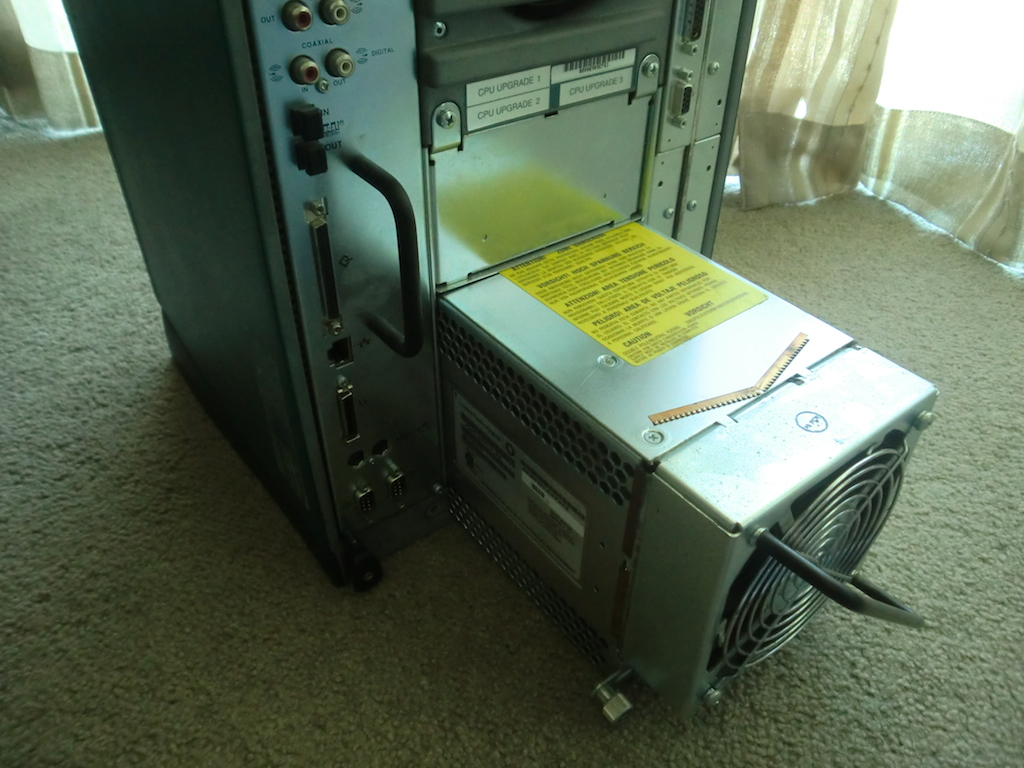
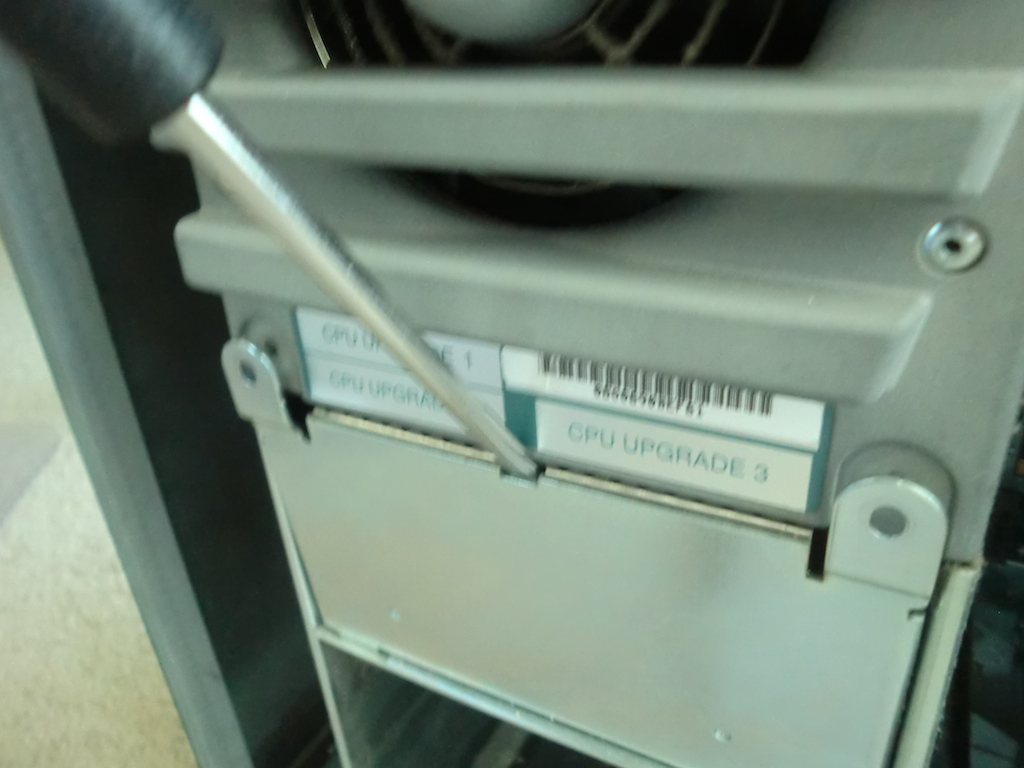
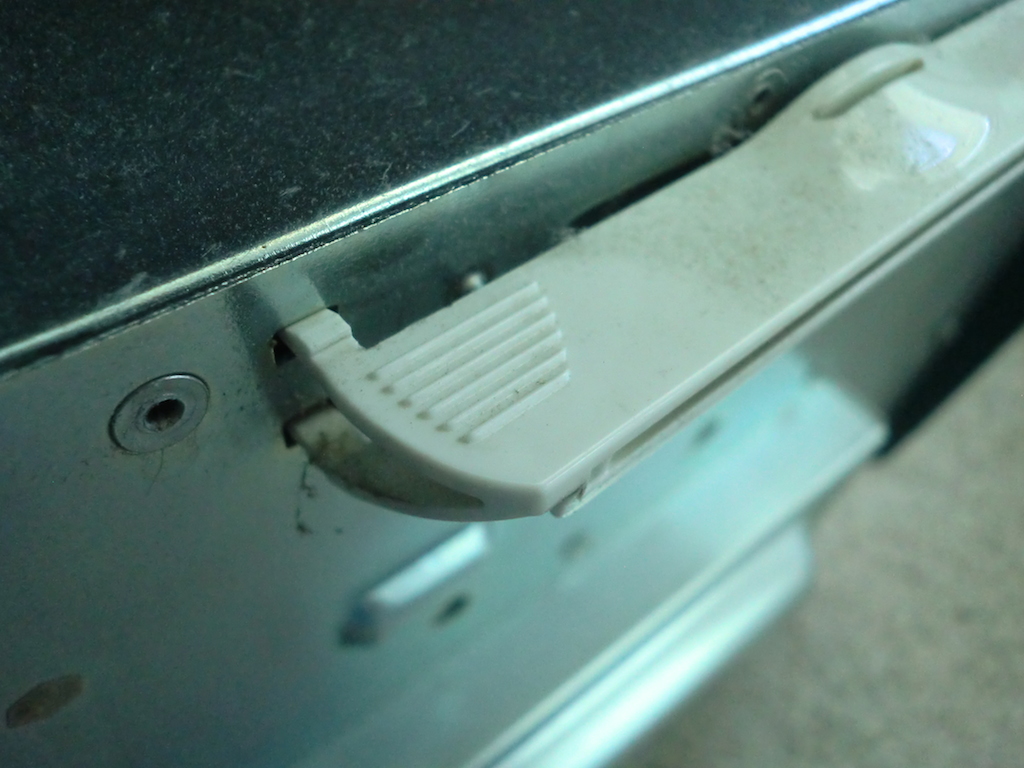
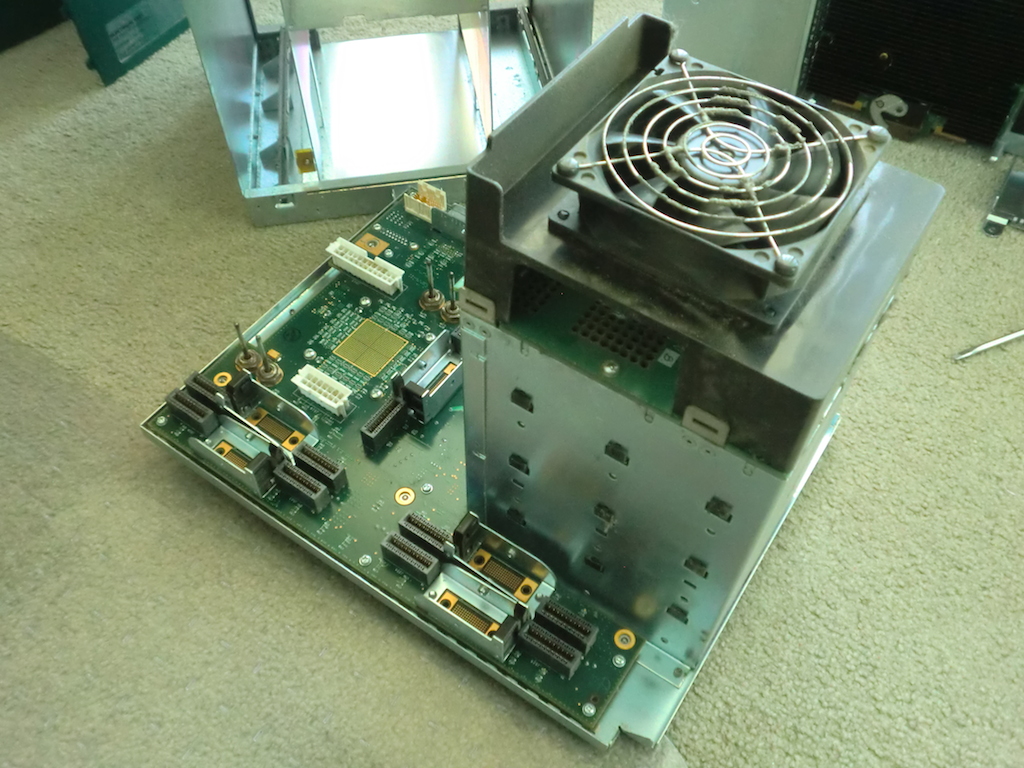
Next was the main board, this needs a screwdriver to undo the screws that are inside the 'ear' plastic covers. Then you pull those ears out and the whole board can then be removed by pulling its handle.
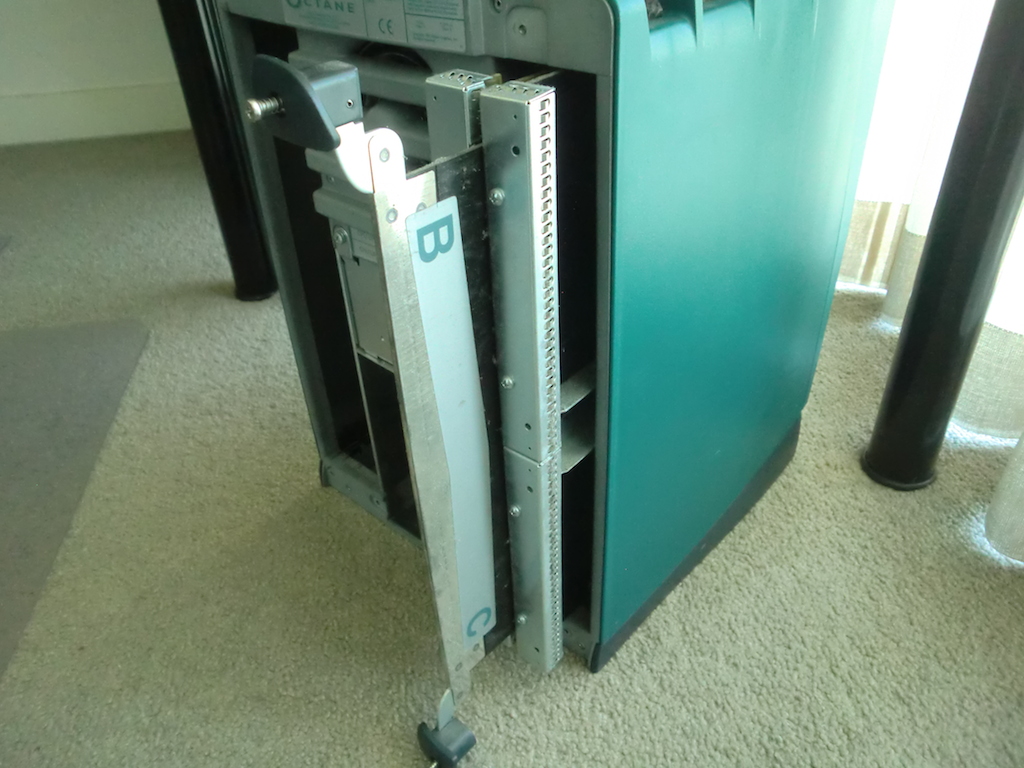
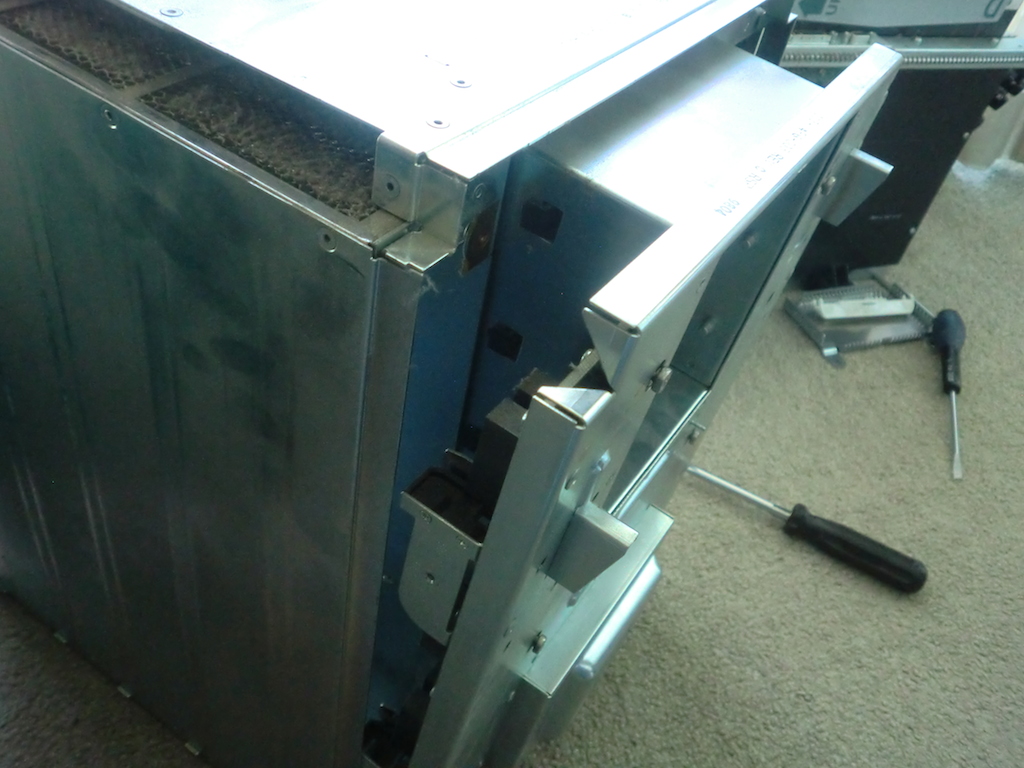
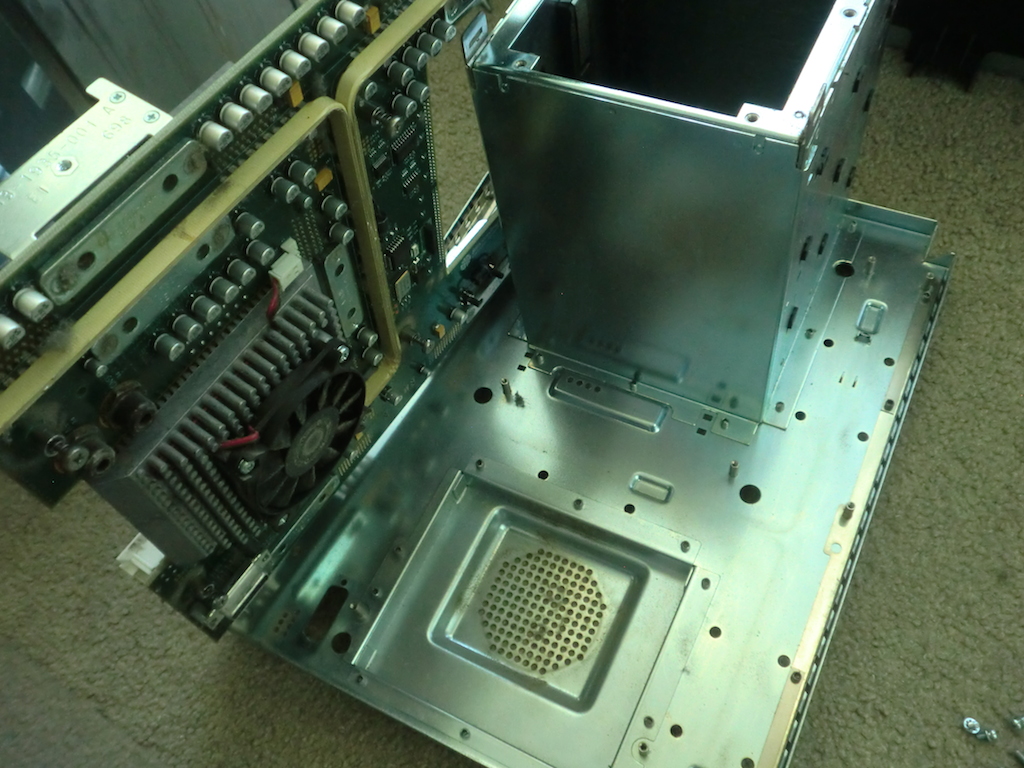
The expansion board has similar ears that need to be undone, but when pulled out, these come out on a blade like assembly. The whole thing can then be pulled out of the case. The last part on the back is a cover under the fan, it has two screws securing it and can be popped out with a flat head screwdriver.
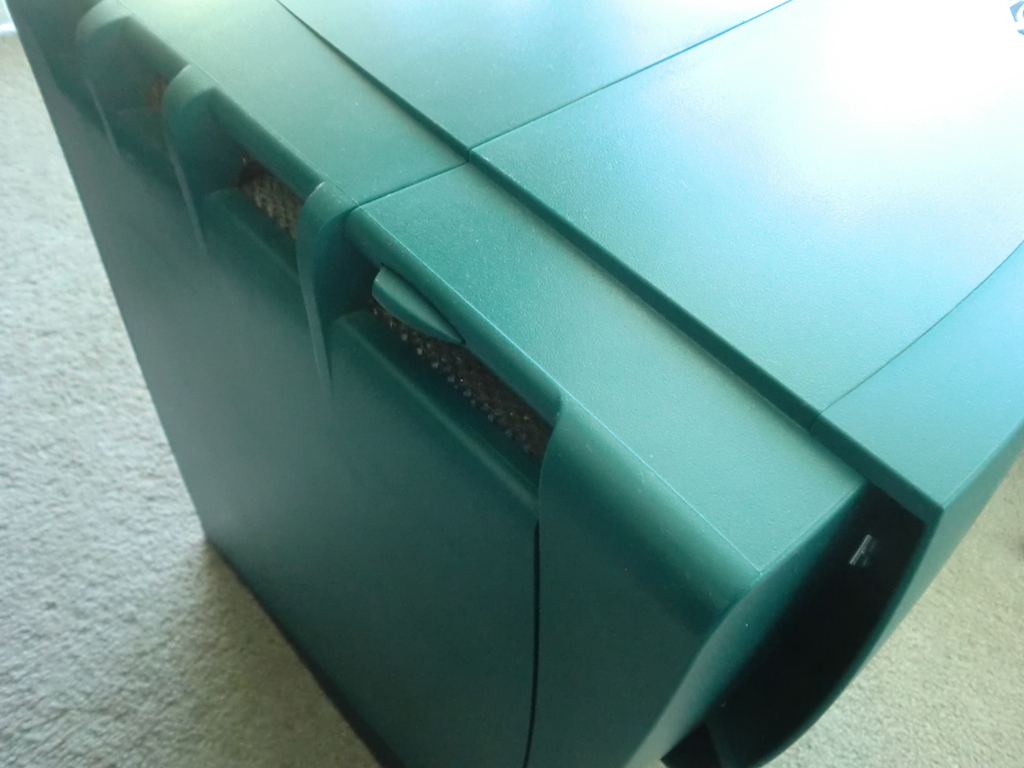
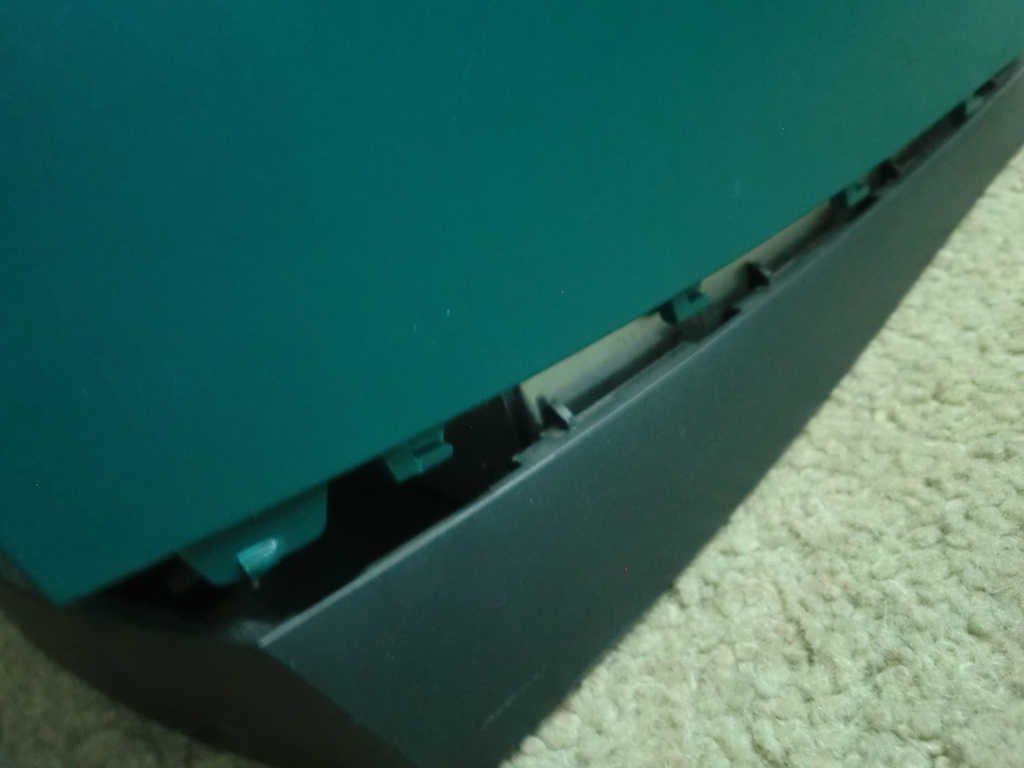
Now to take the skin off the Octane. This is done from the front. The top cover has some notches that can be pushed it in release it, it then flips forward and can be pulled out and removed.
Next is disconnecting the base of the skin from the frame. On the inside lip there is a not that can be pushed in with a screwdriver and the base pulled out. It won't move otherwise because the notch locks it in. Once the base is slid out, the top part of the skin can be separated by pulling it forward and then up.
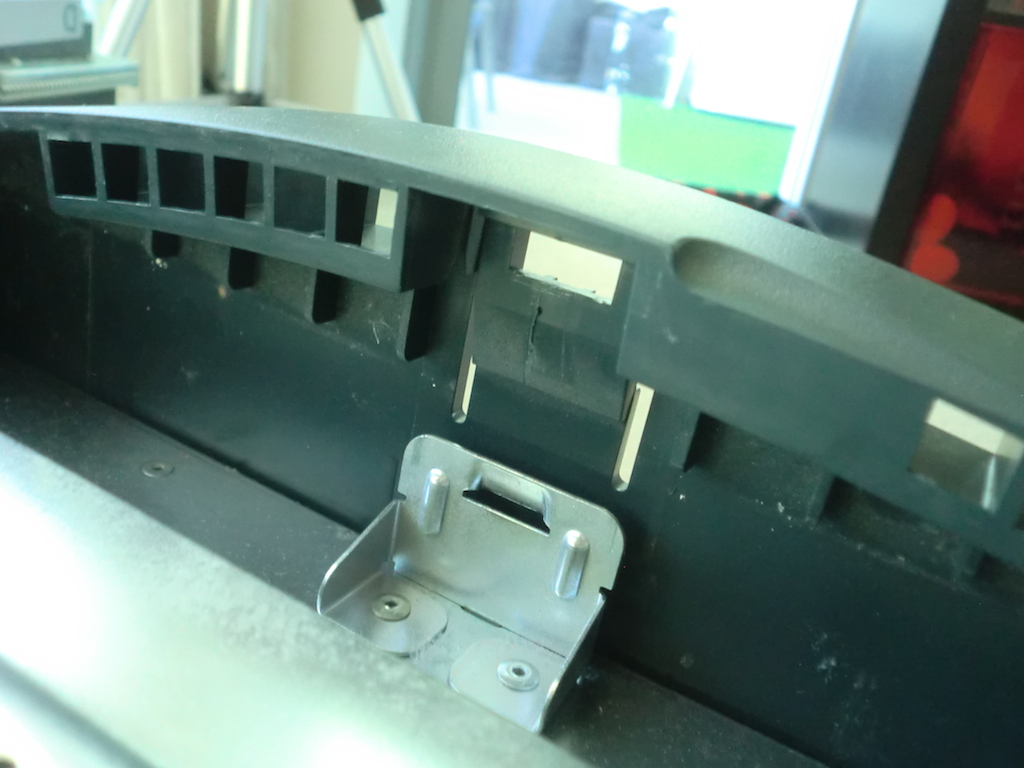
The light bar can be removed by squeezing it and pulling it out. The base is removed simply by lifting up the frame.

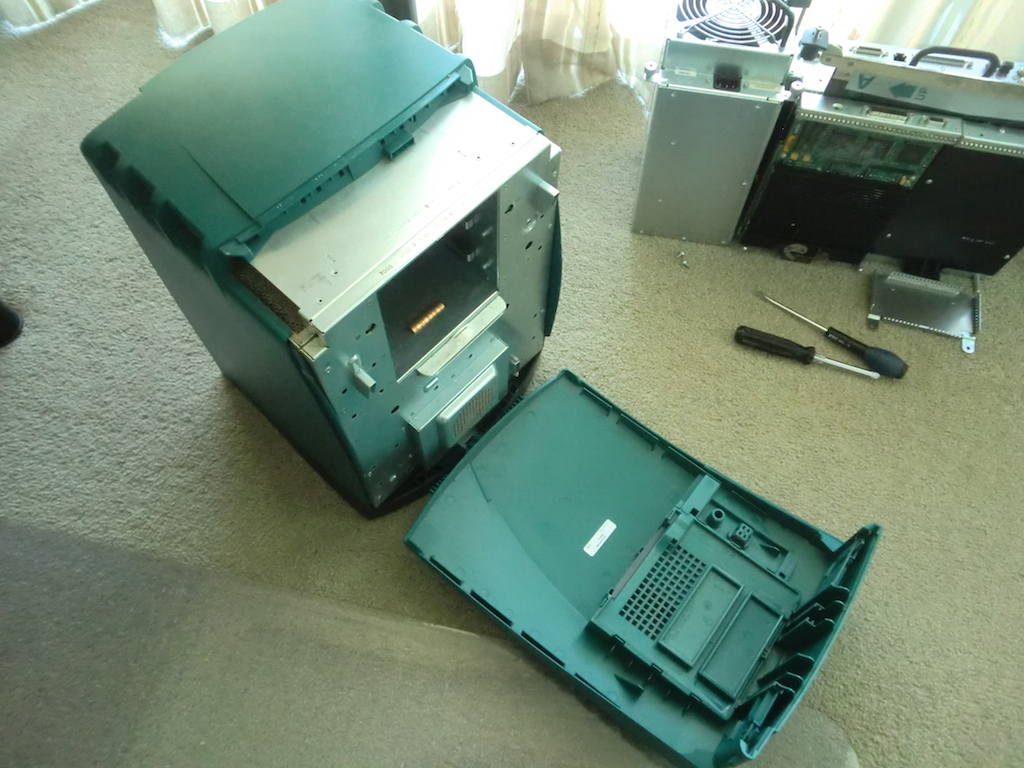
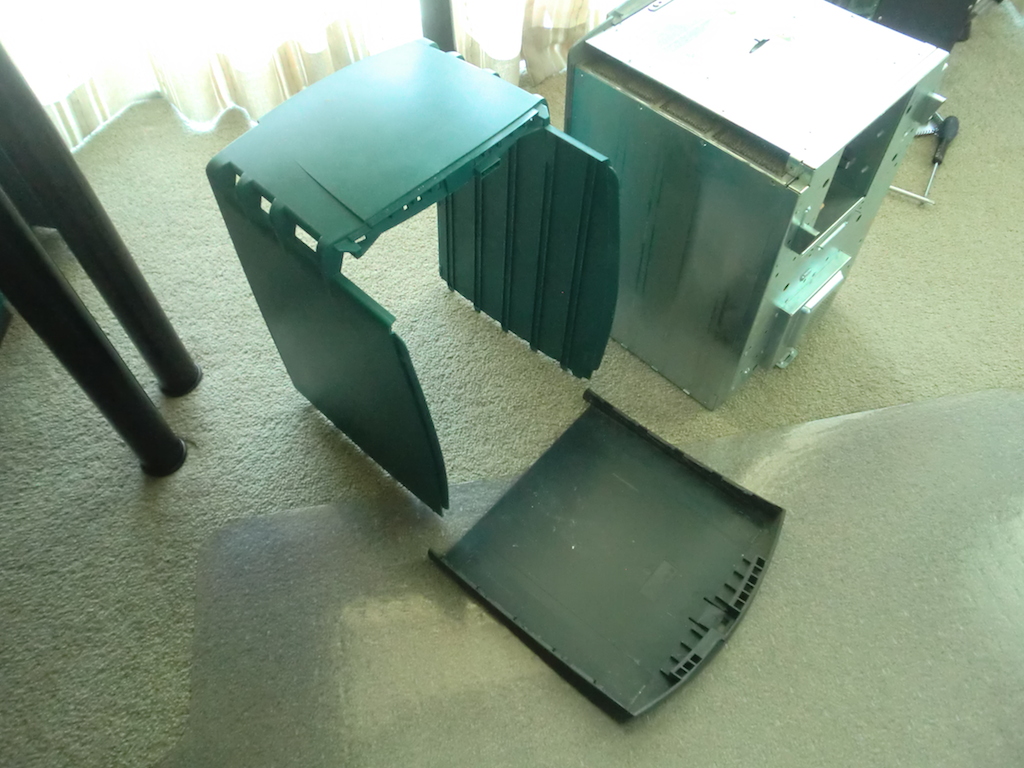
At this point the front plane is still attached, but all of the skin is off. The idea is to remove the front plane as in the second picture below.
There are six spring loaded screws that hold the front plane in place, these are quite easy to remove and then the front plane can be popped out.

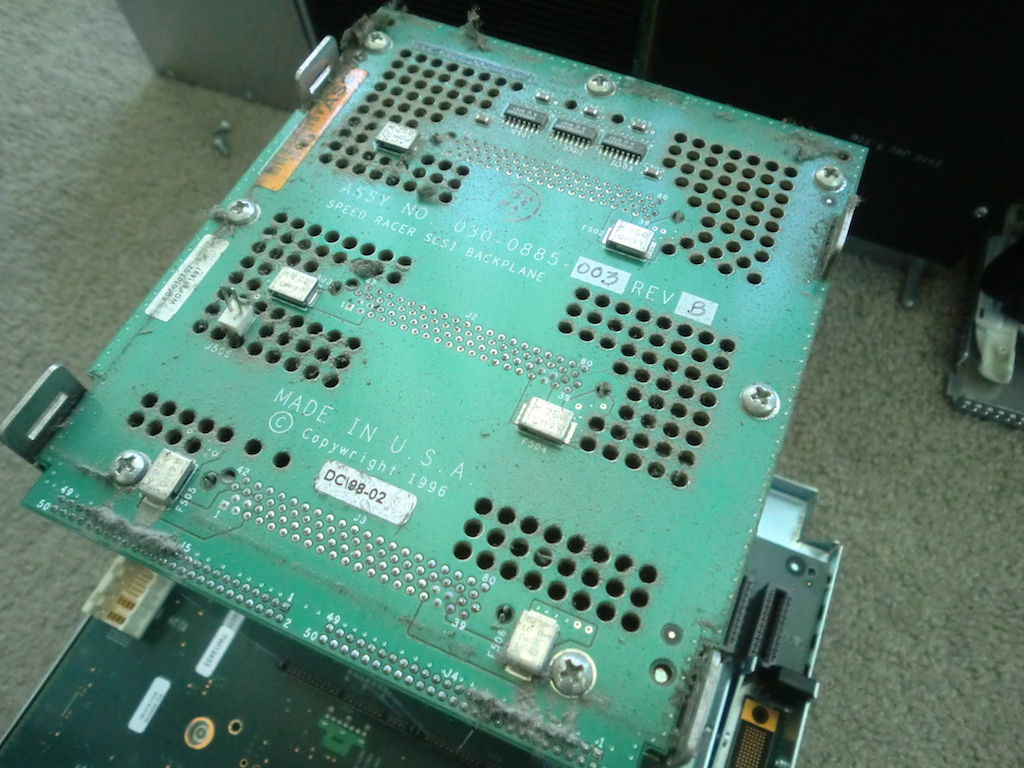
There are quite a few screws holding the front plane to the frame, these all need to be undone to release the front plane. I unscrewed these first, but the front plane is also held in by the SCSI backplane board, so that will need to come off first.

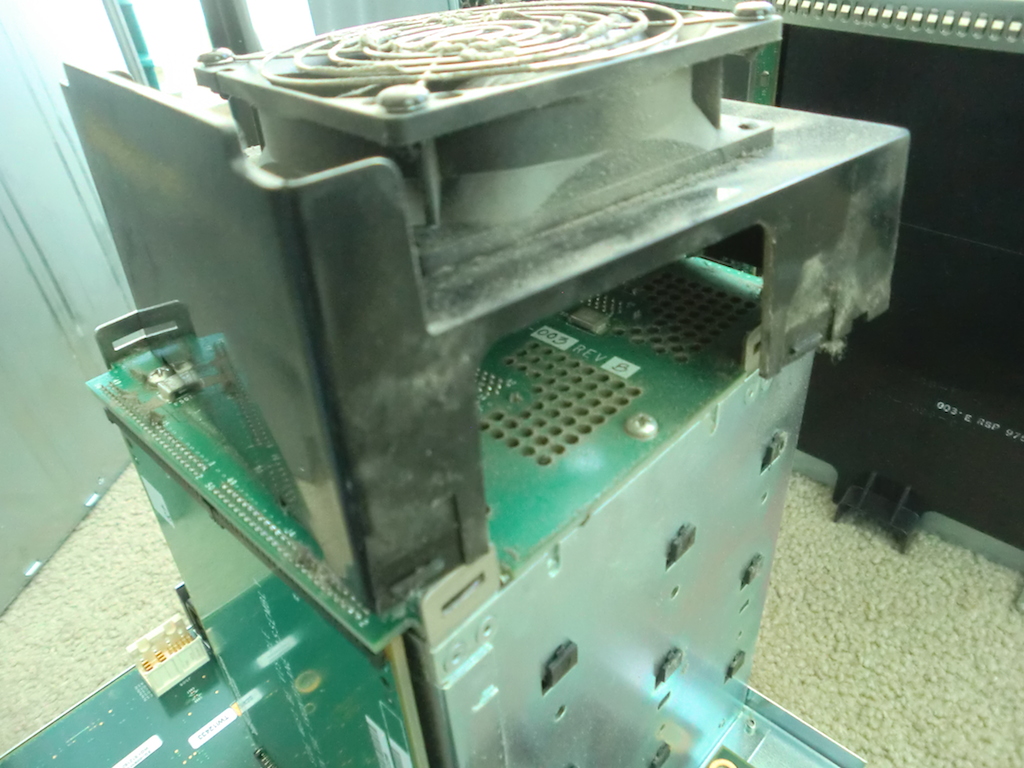
To remove the SCSI backplane, the fan needs to come off, this is done by squeezing its sides and pulling it up. Now the SCSI backplane can be unscrewed.
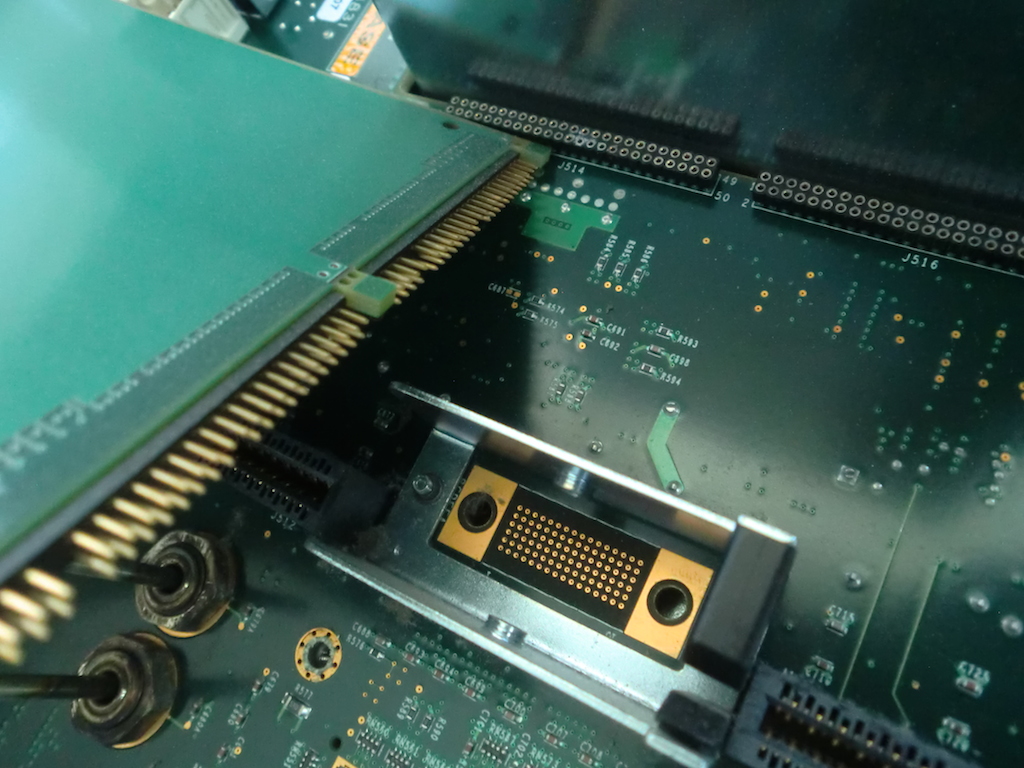
The extension board can then be pulled off. The front plane will remain in place still though! There are two screws holding it in place from the front side that are next to the service connector. These can be undone with some pliers.
Now the front plane can be separated from the frame and the front part of the frame popped back onto the rest of the case.
Now the case is stripped of its components, but it has the internal separators that make it unusable. The next step is to remove these and that's where the power tools come out. I'll cover that in a separate write up.
Edit: The next post in this series is posted now.
-i
