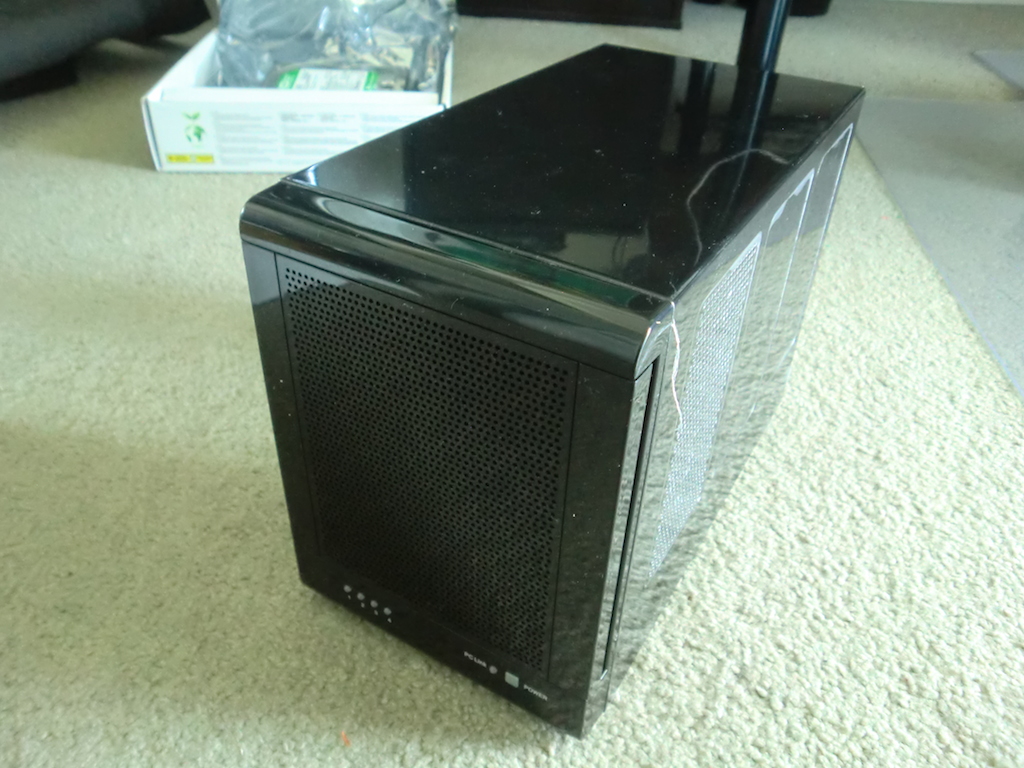
I went for a cheap USB 3.0 enclosure that could hold 4x drives. I wanted something basic that I could easily take apart and fit into the Octane. This is what I found...'CFI 4 Bay SATA HDD Enterprise Storage Enclosure USB 3.0 (B7843JU) DAS for Server' as listed on eBay for $99. Cheap, but exactly what I was after as it seemed to have an easily removable casing.
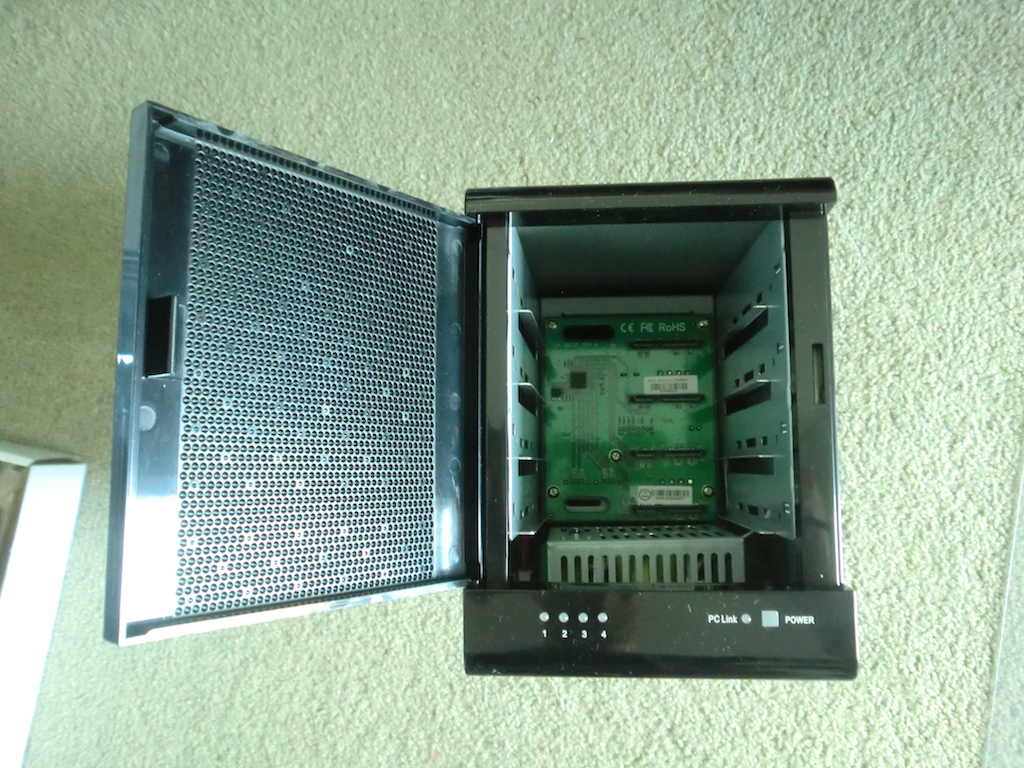
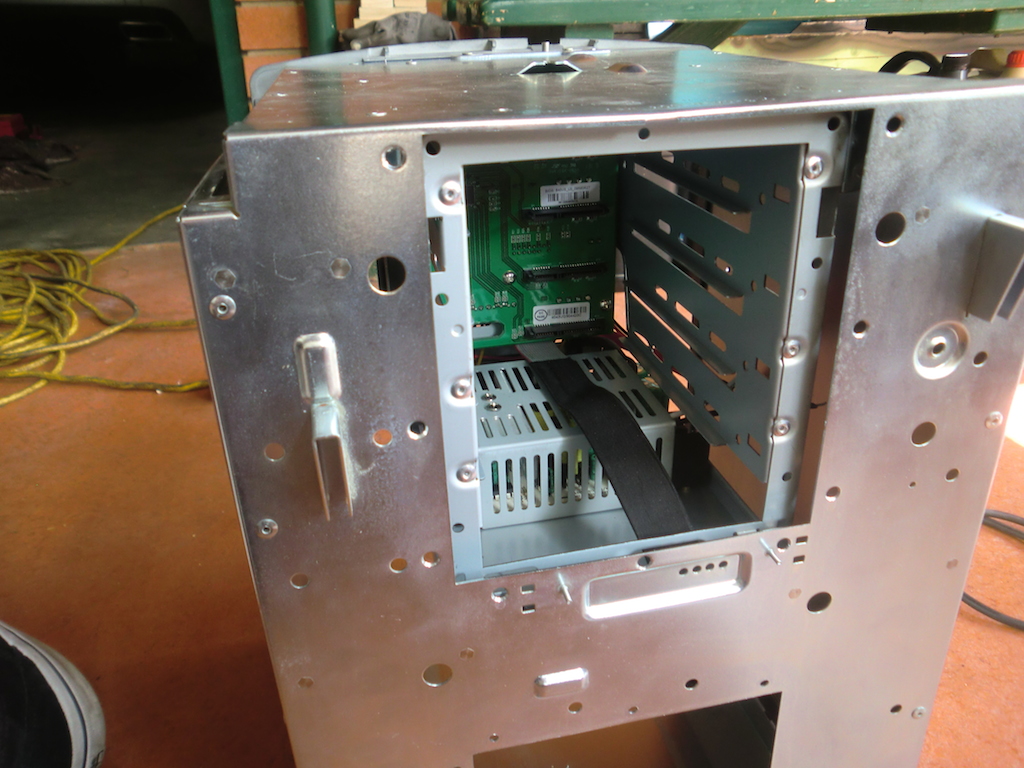
It took some time to disassemble, mostly to it's jigsaw puzzle like design that required a certain order of disassembly. In the end, I had all of the components separated out and ready for test fitting inside the Octane.
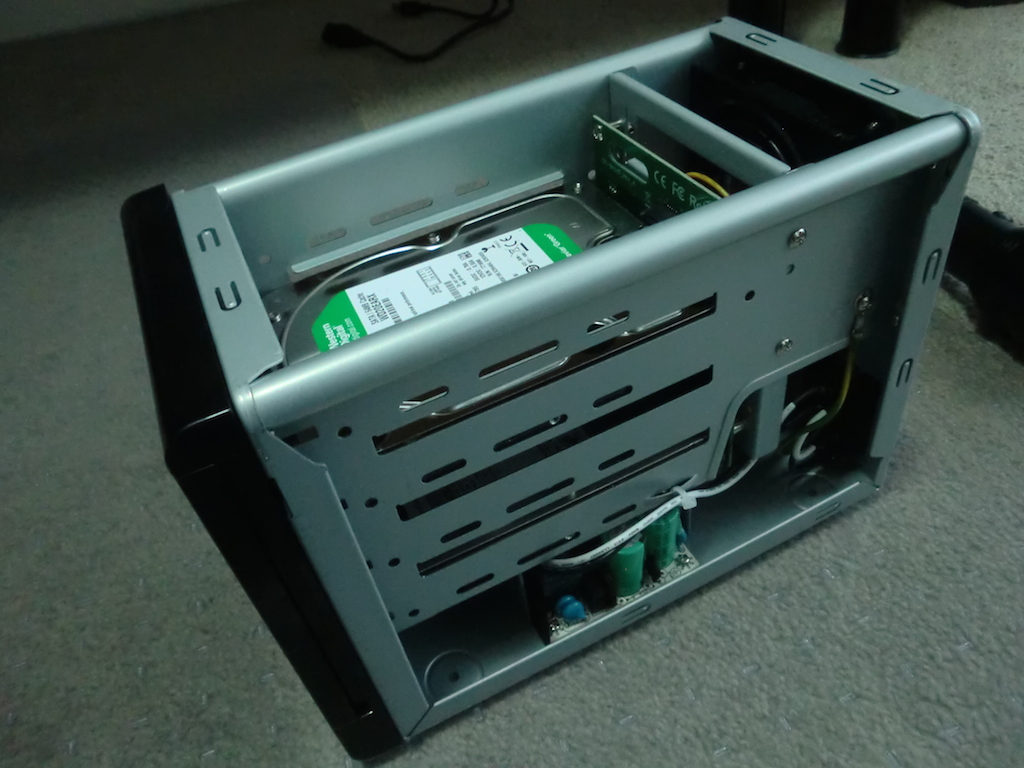
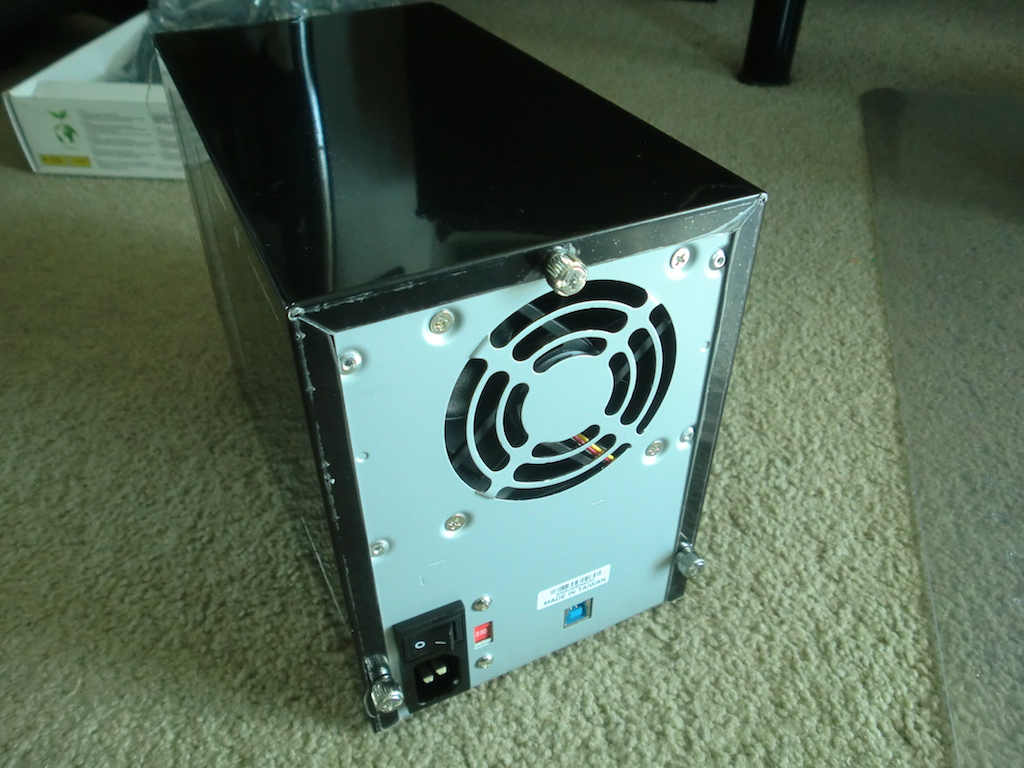
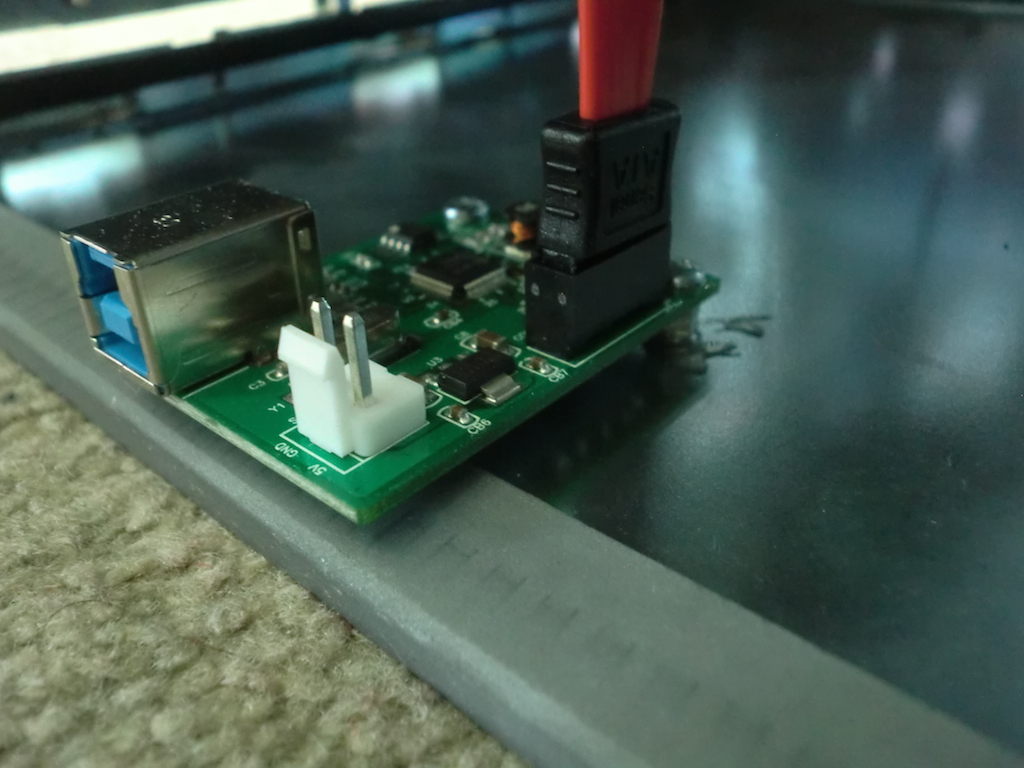
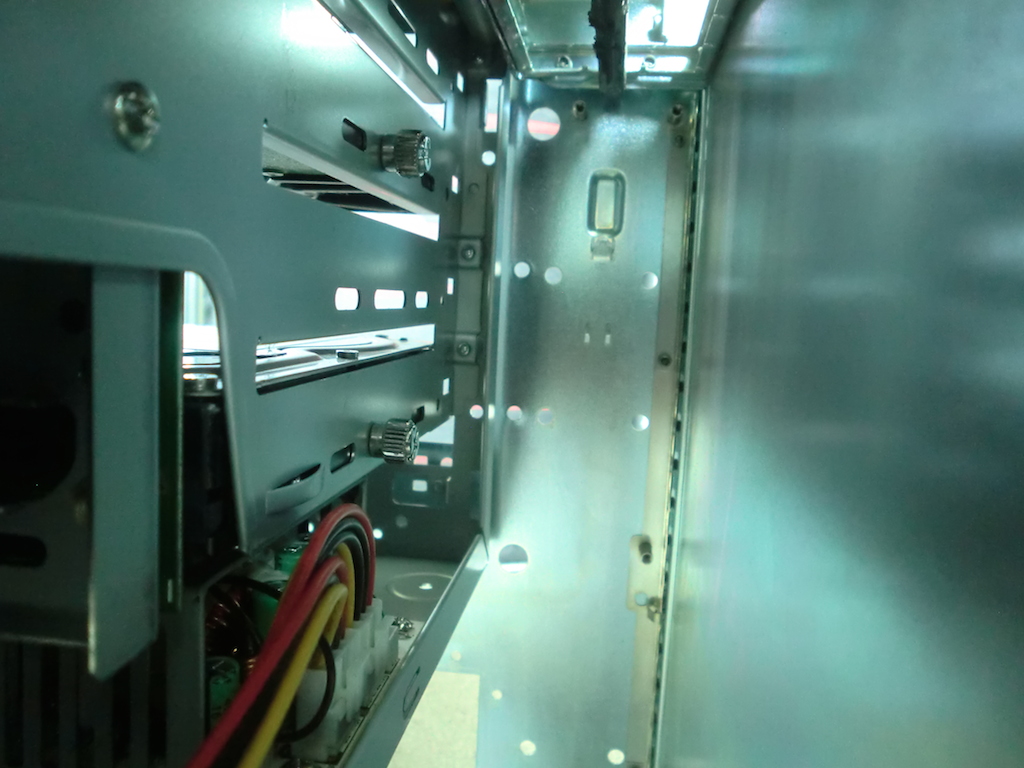
At this point, I had the HDD enclosure in pieces, with the power supply removed, all SATA connectors unplugged, etc. The USB 3.0 connector was simply disconnected, this came on a small daughter board. I had to cut the wires for the mains connector/switch because it would not reach properly, these were extended and soldered back later.
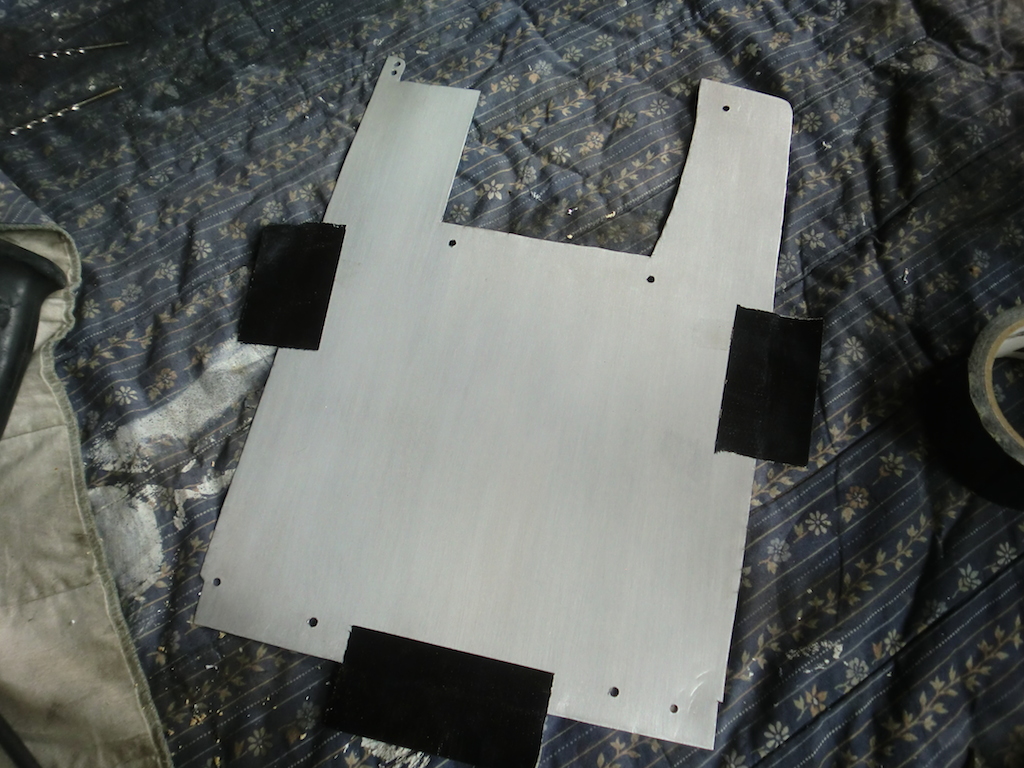
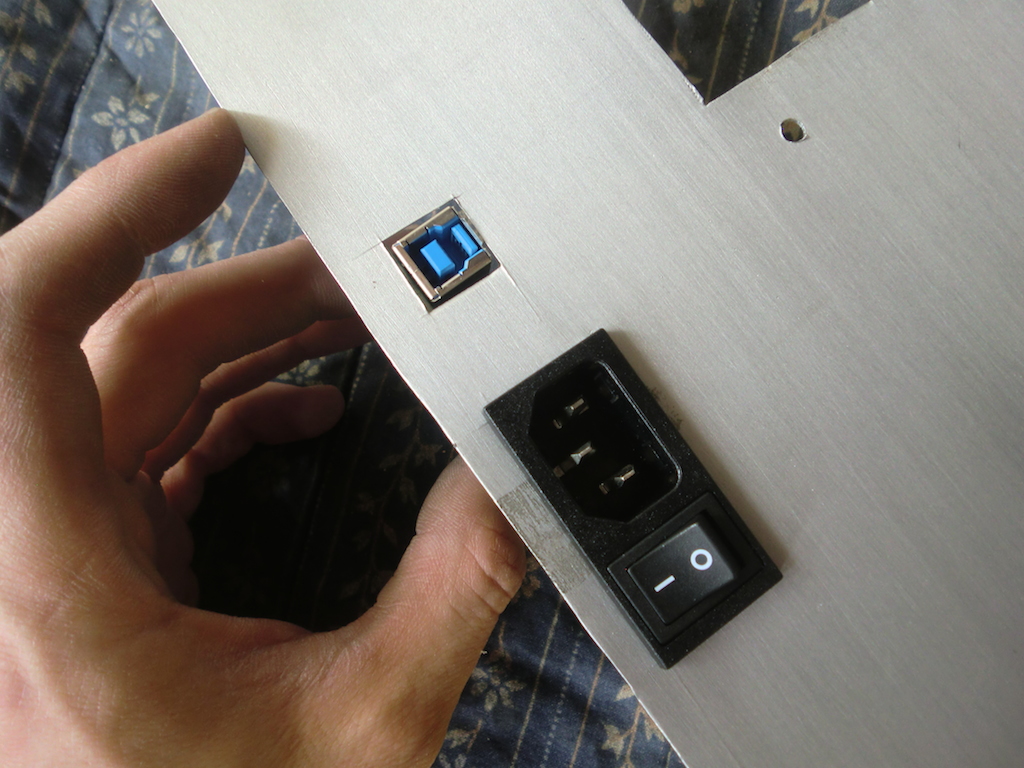
The rear cover that I made for the Octane had to be cut to make holes for the bolts and the connectors. The bolt holes were marked out with paint from the inside of the case, that was the most accurate way to do this. For the connector holes, I used the original USB enclosure to mark them out.
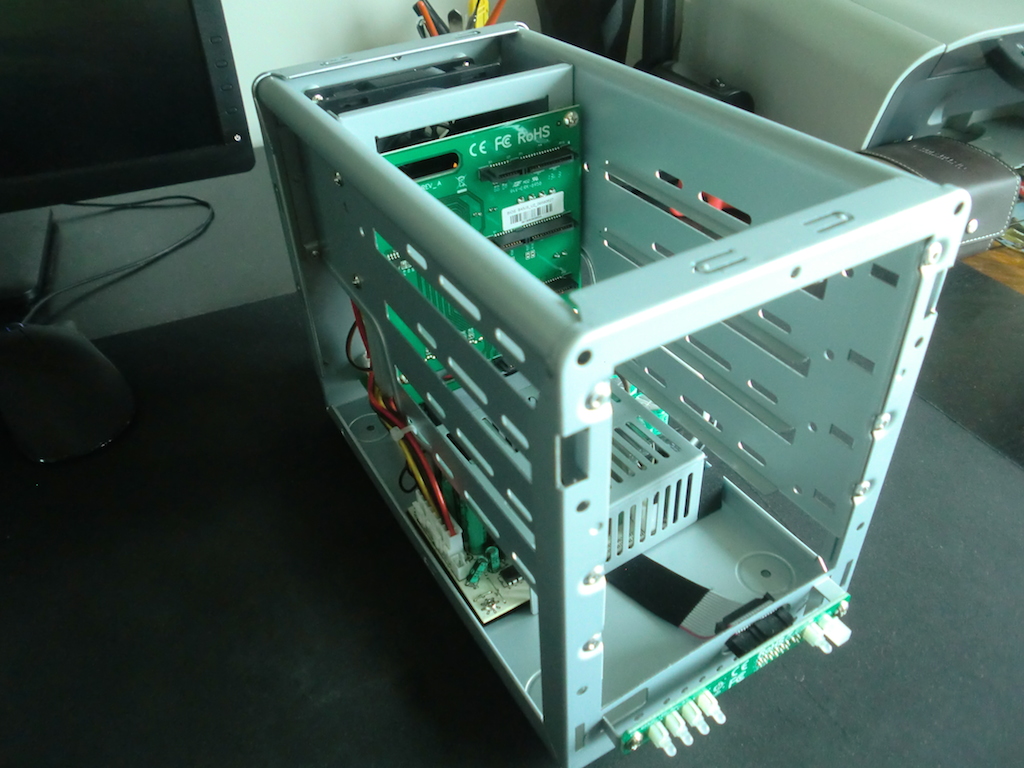
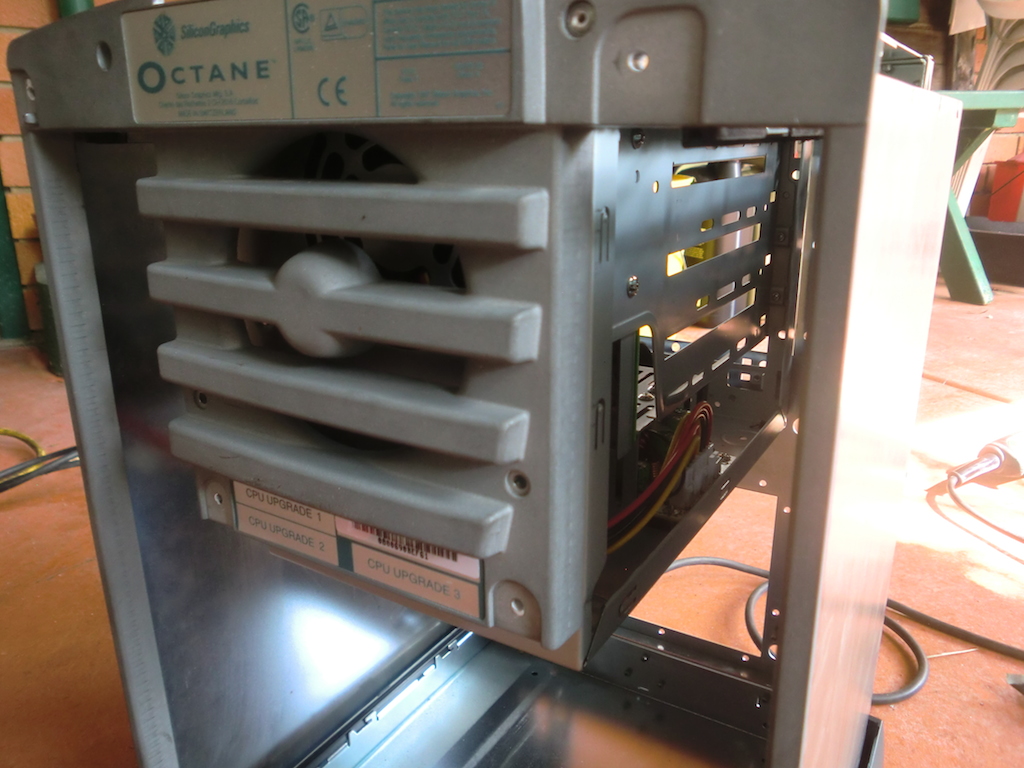
Test fitting the enclosure showed a perfect fit, all I had to do was mark out where I wanted the pop rivet holes and drill through the top of the Octane case, then pop rivet the enclosure in place. I used a total of four rivets to do this. I've also decided to put the power supply back in its original place within the enclosure and extend the wiring for it to reach to the rear cover.
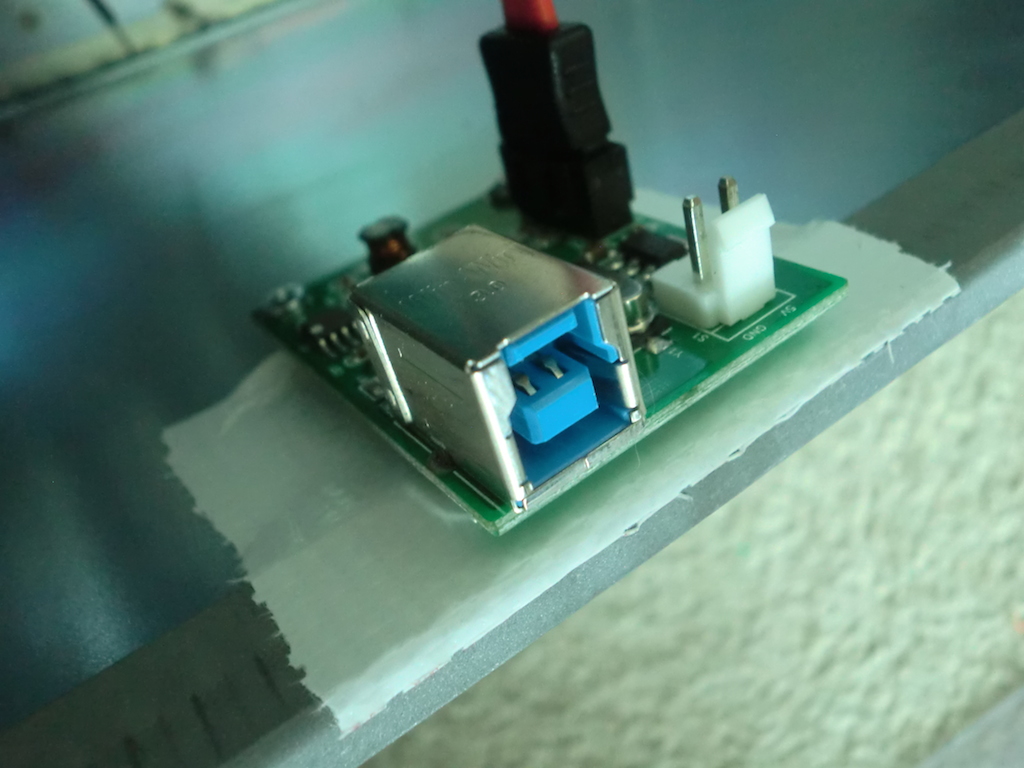
I secured the USB connector board using some standard PC motherboard mounts that I attached to the Octane by drilling through two holes, then epoxying the mounts in place. After the daughter board was screwed in place, I added some tape under it as insulation, in case it ever came in contact with the case.
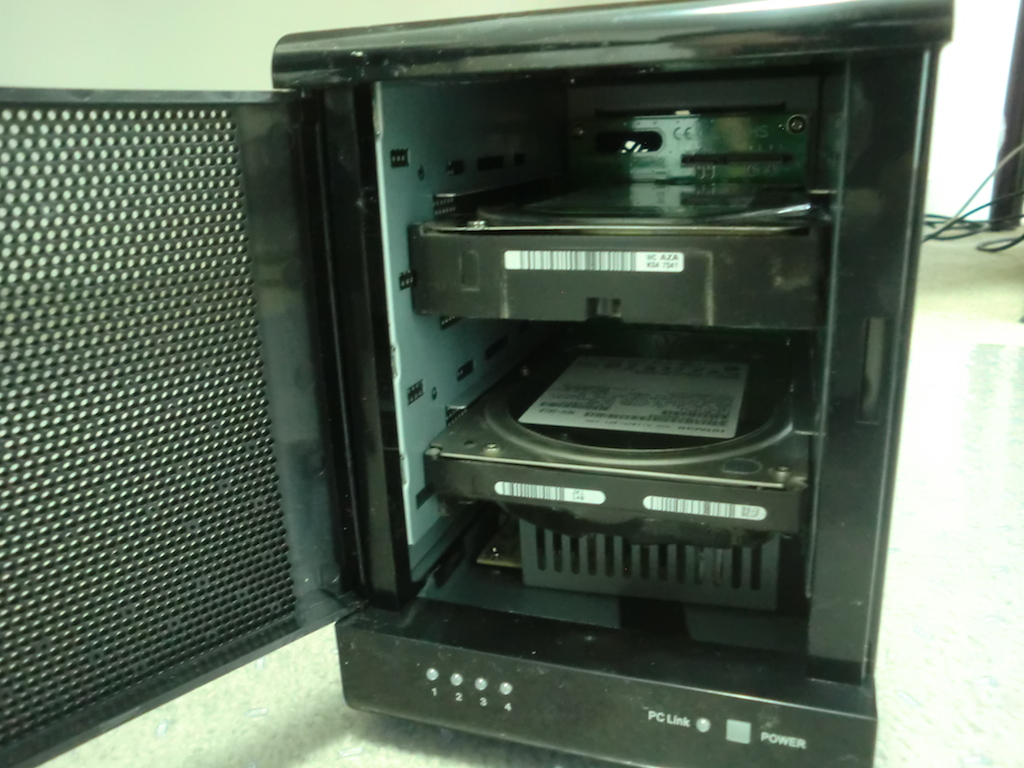
The hard disks have to be screwed in place using some thumb screws from the inside of the Octane. This is a bit of a pain, but it ensures the disks don't move. At this point I also extended the wiring for the mains connector/switch and the USB daughter board power connector.

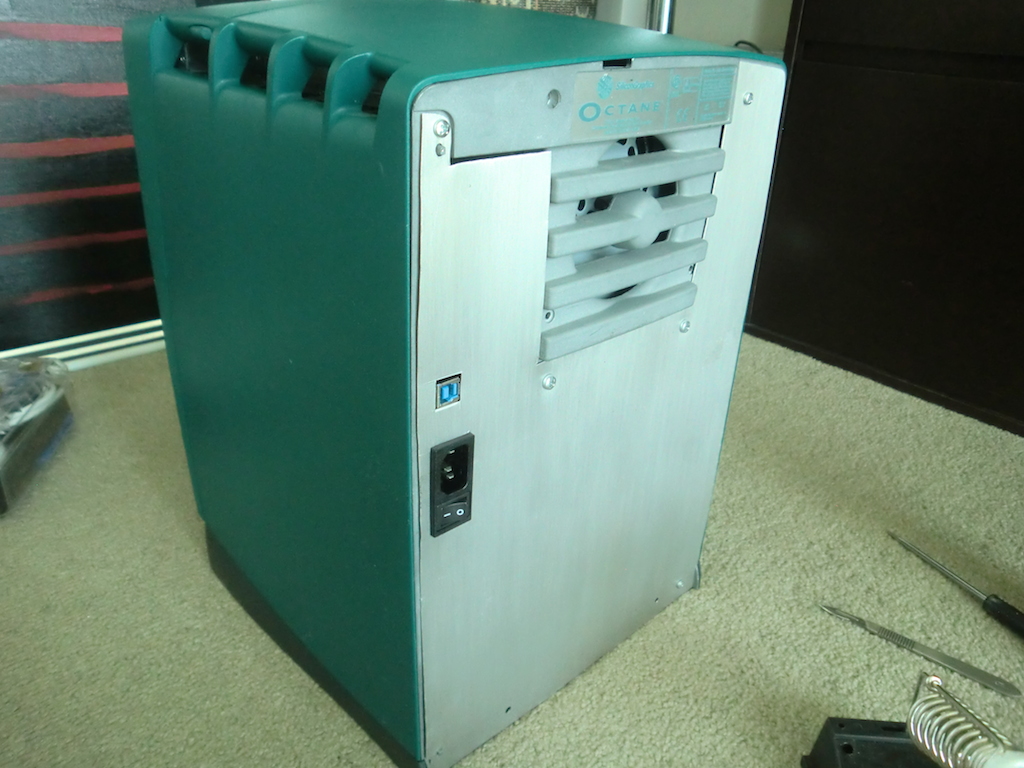
...and now the end result once all sealed up...It's not a perfect fit all around, but still acceptable.
-i
