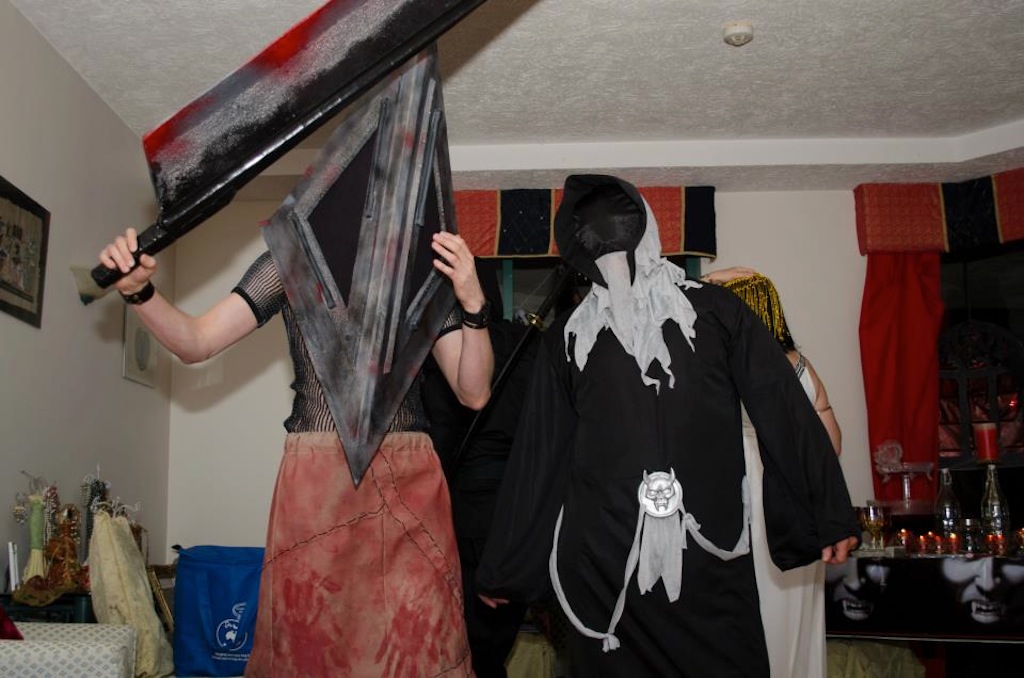
Here's the end result, read more to see the the walkthrough of its construction.
The full gallery of the construction is here:
The whole construction involved styrofoam (12mm for the helmet and 20mm for the sword) and plaster of Paris, little bit of cardboard, padding material, gauss fabric dye and spray paint. A few additional things like pipe screw caps are added in for effect.
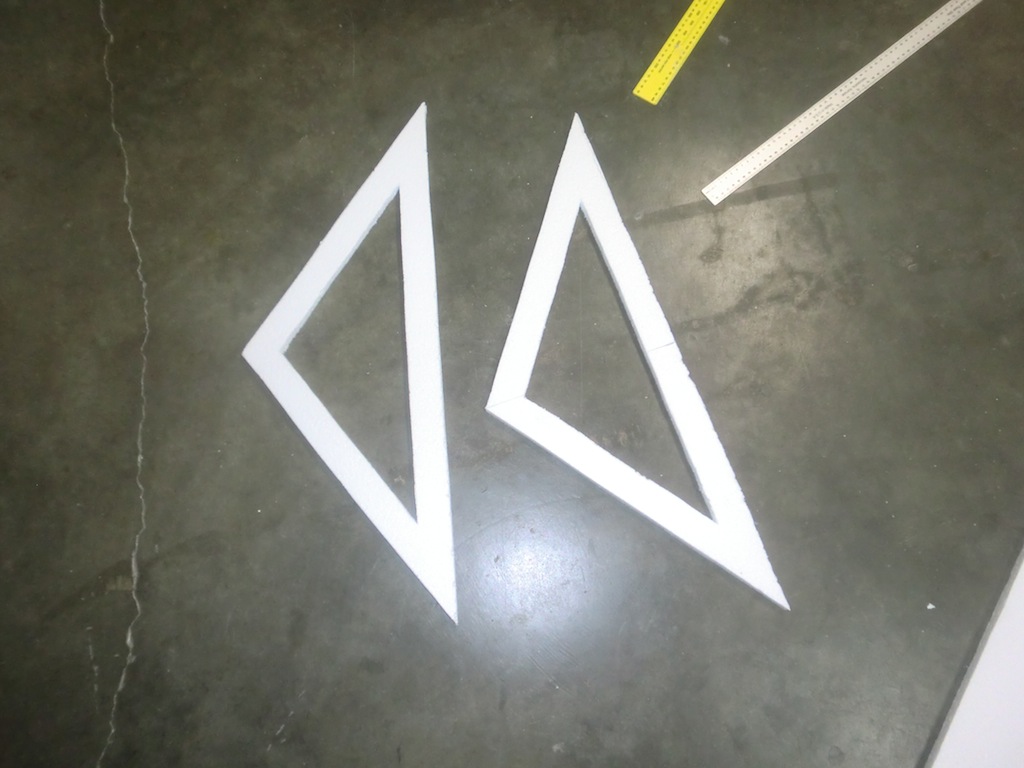
First the back curved sections of the helmet were cut out.
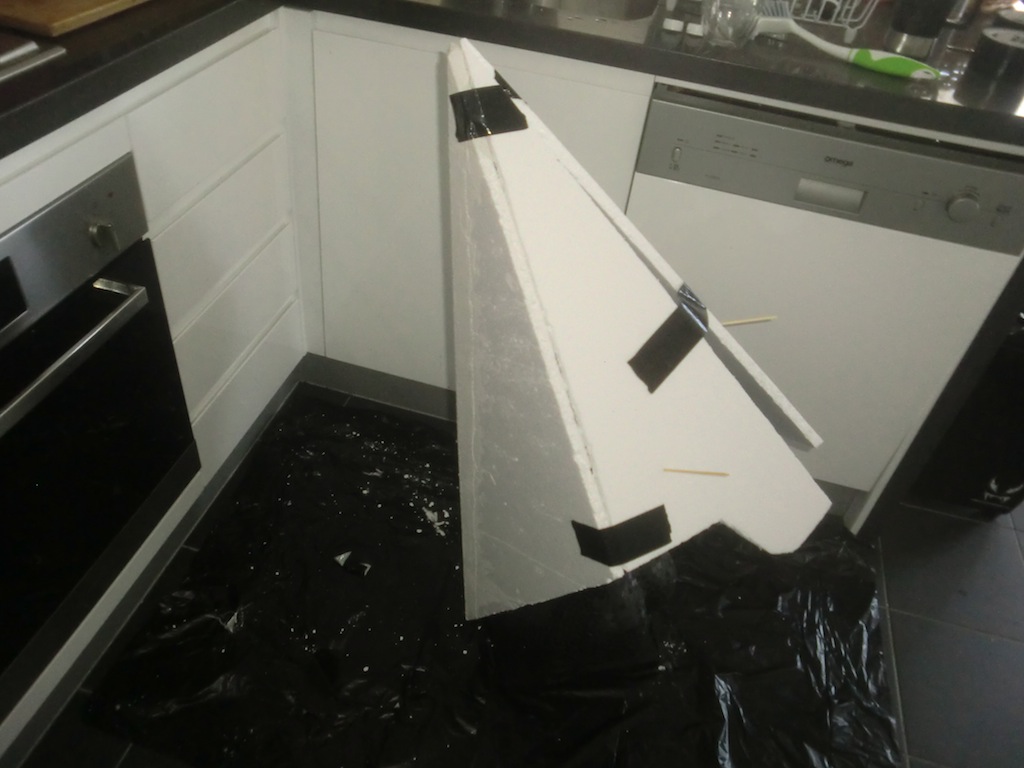
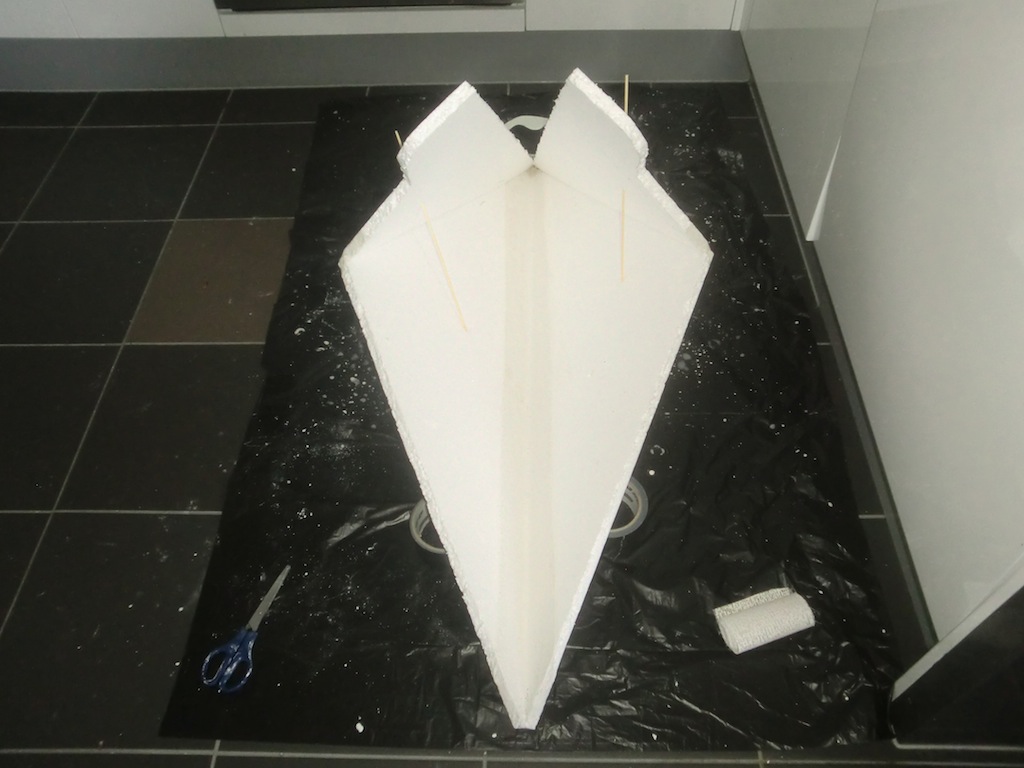
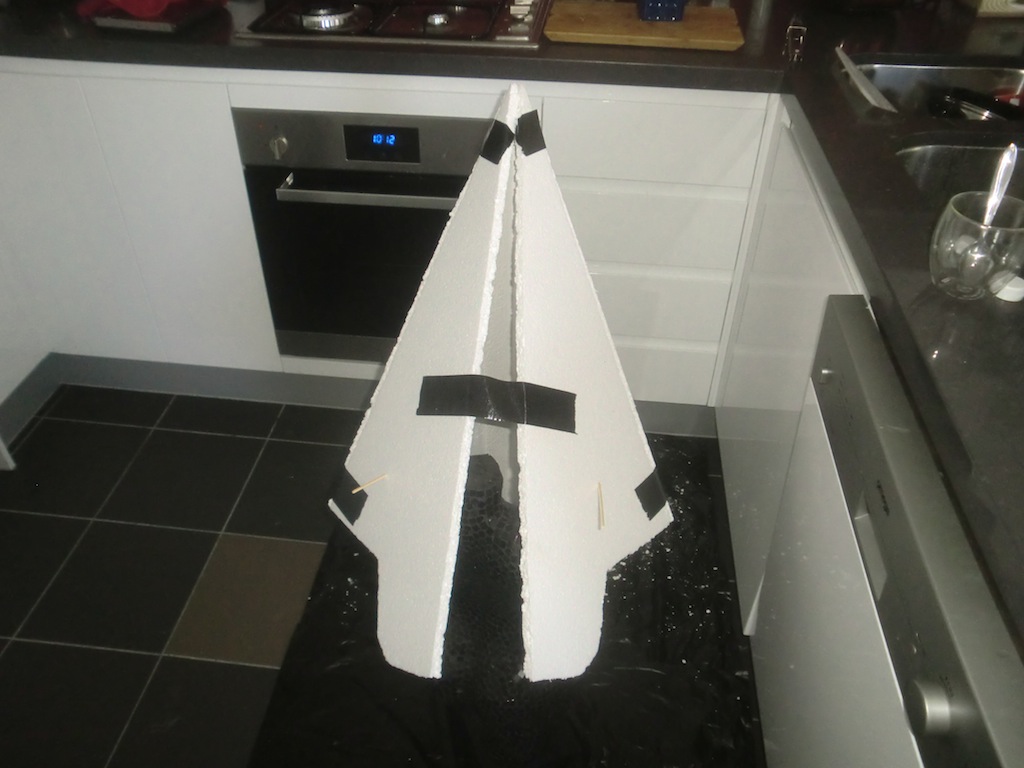
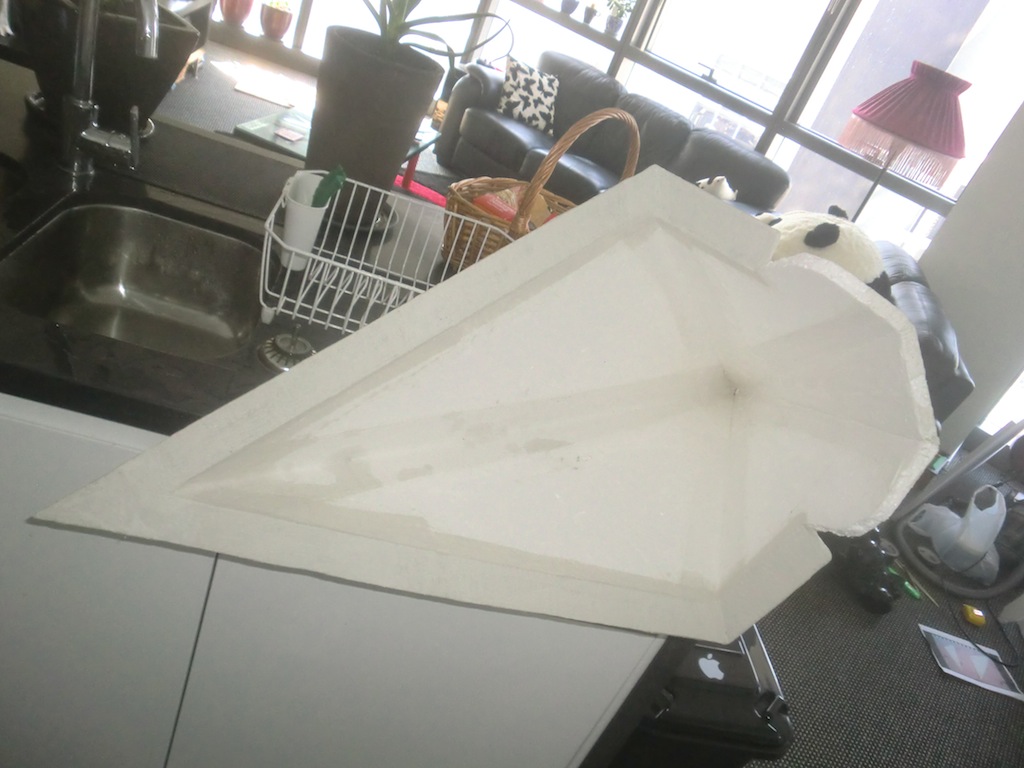
The main sections were cut out and plastered into place at the correct angle. To work out the right angle just place the helmet pieces on your head making sure that the edges line up with your shoulders, or slightly past your shoulders. Use a skewer to hold the two pieces together while the plaster dries.
With some gaff tape and more skewers fix the back curves sections to the main section once it's dry. Leave a gap in the back to add a flat piece of foam later.
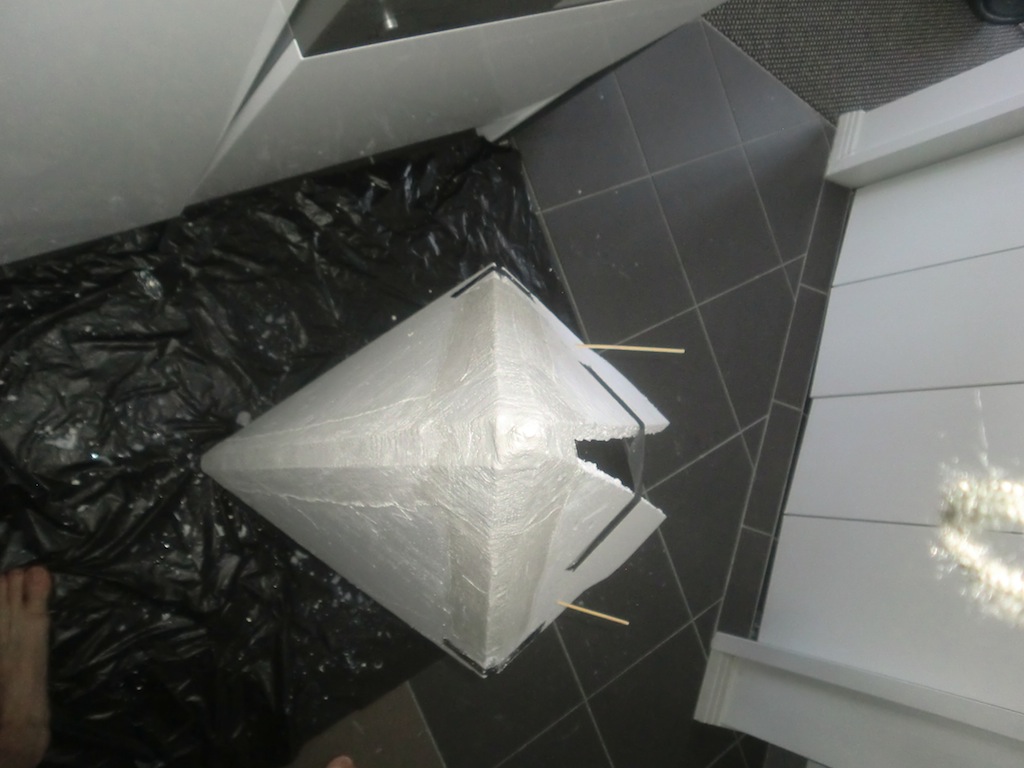
Make the top pointy.
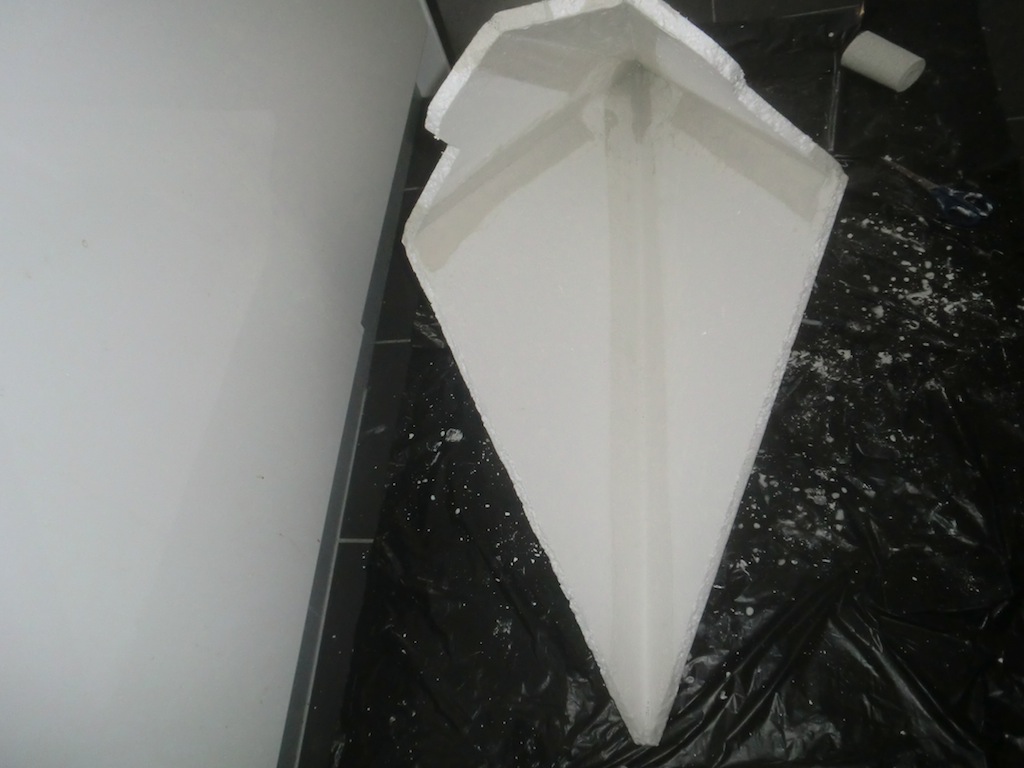
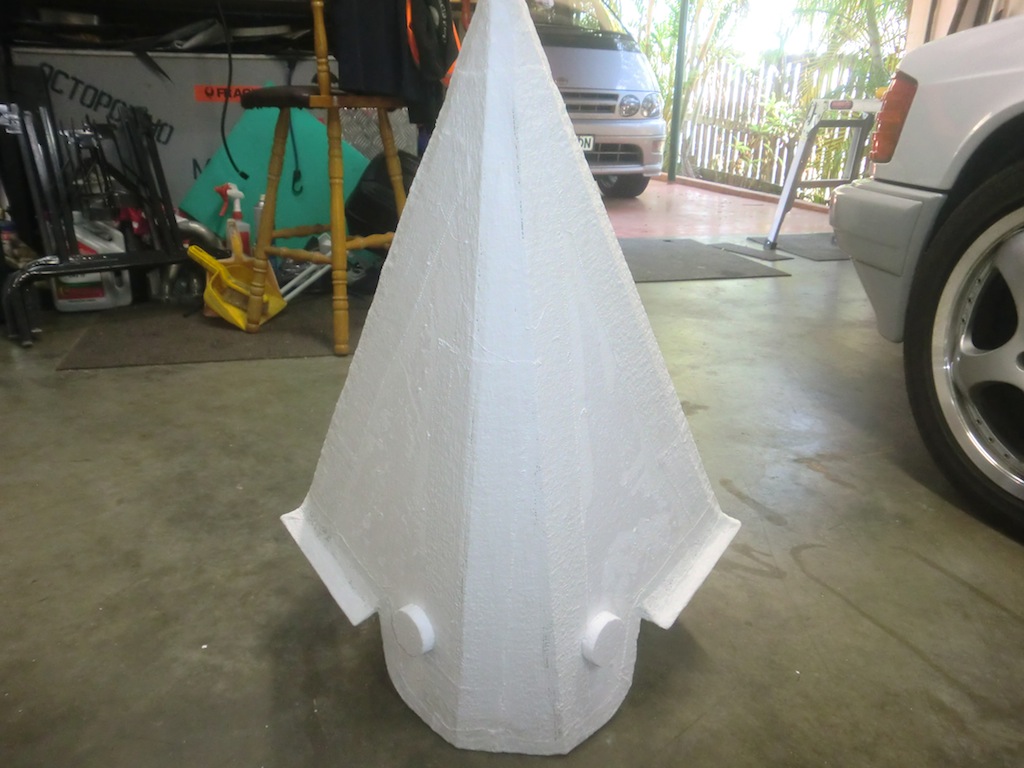
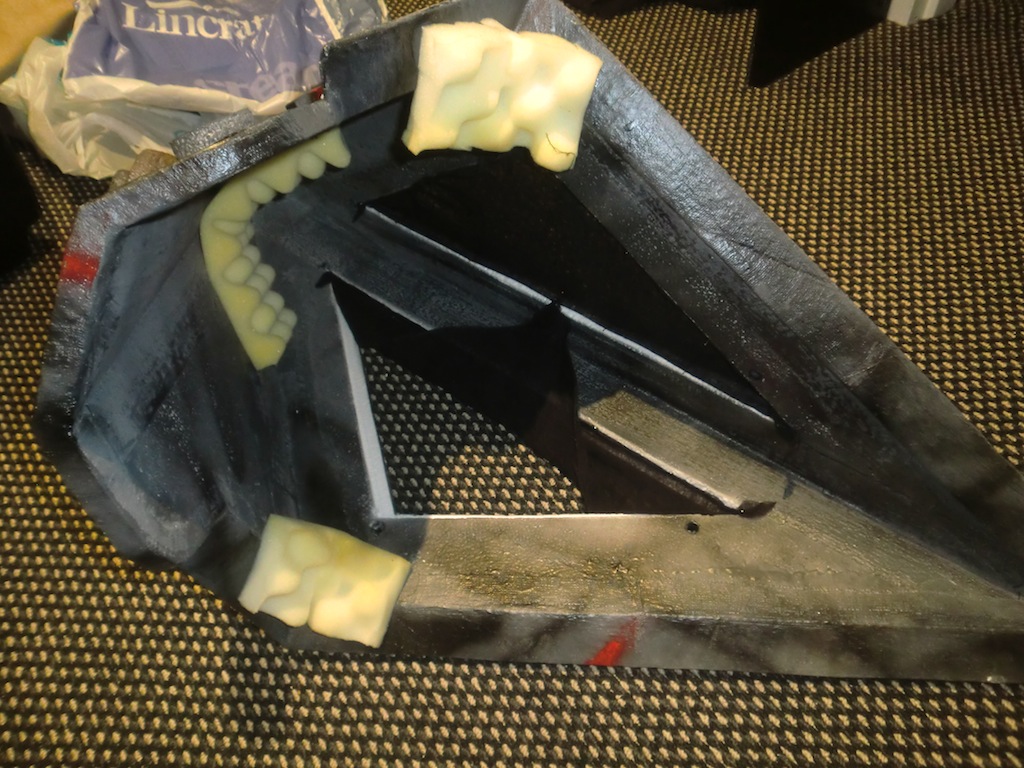
The foam and plaster should look like this once the main and back sections are in place.
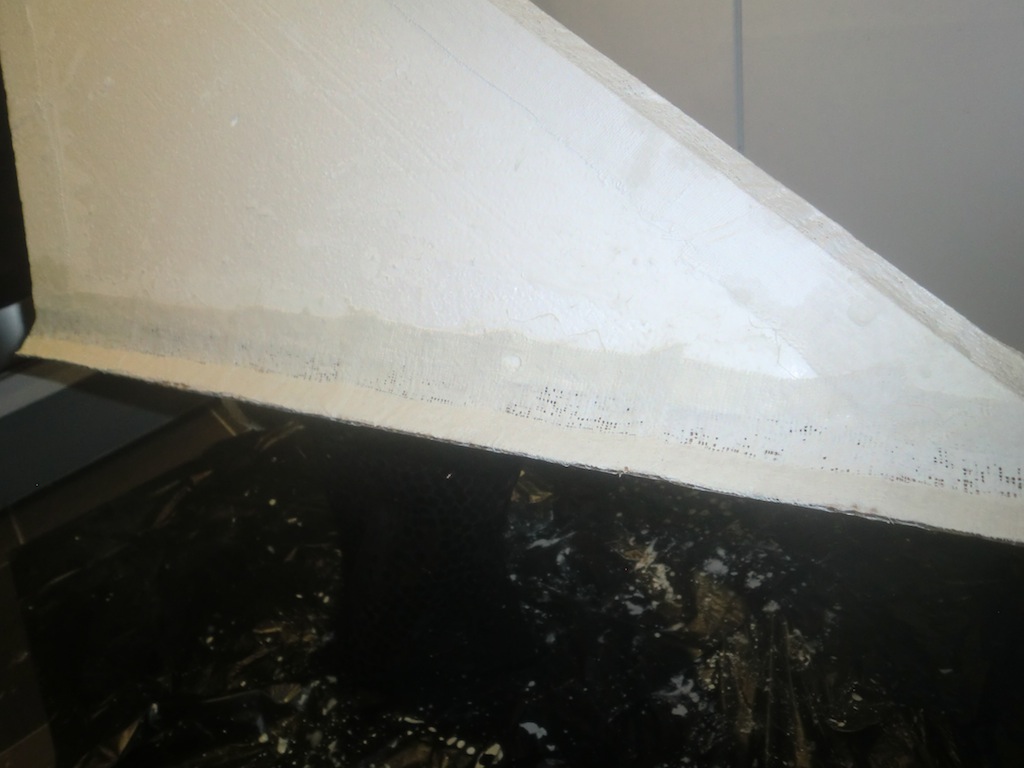
Plaster the inside joins to make sure the whole construction doesn't fall apart.
Add the back flat section.
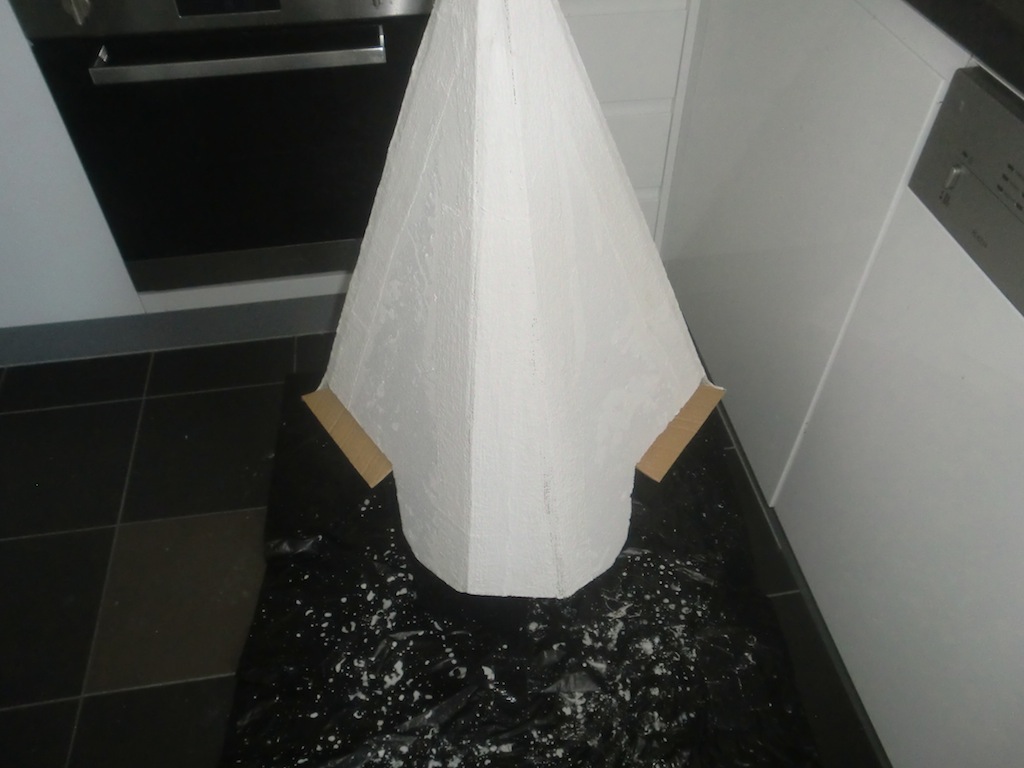
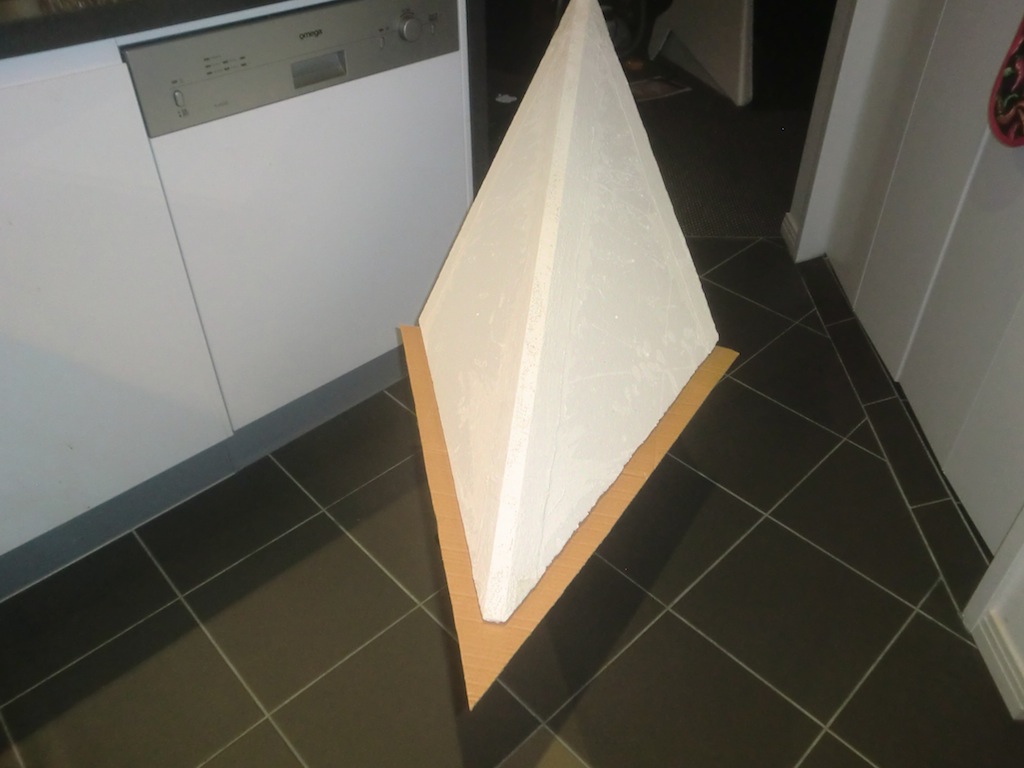
Using some cardboard (I just found a large box in the recycling bins in the building I live), cut out a V shape for the base of the main sections.
Similarly, do the same for the rear curved sections.
Plaster up the cardboard on top and bottom.
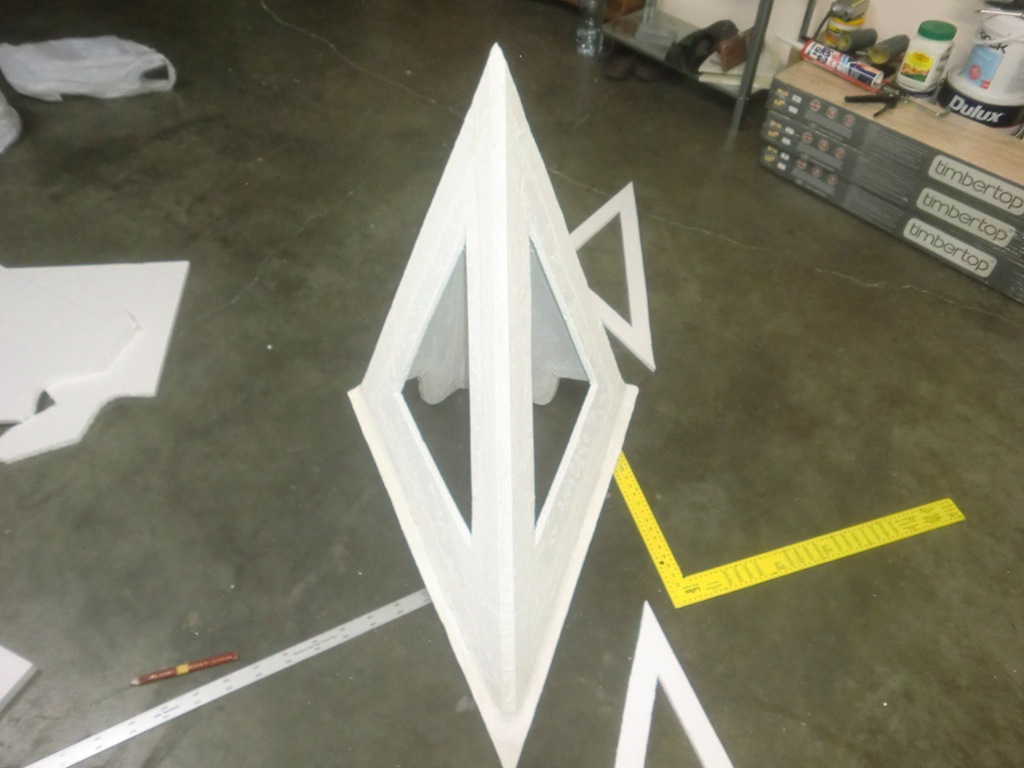
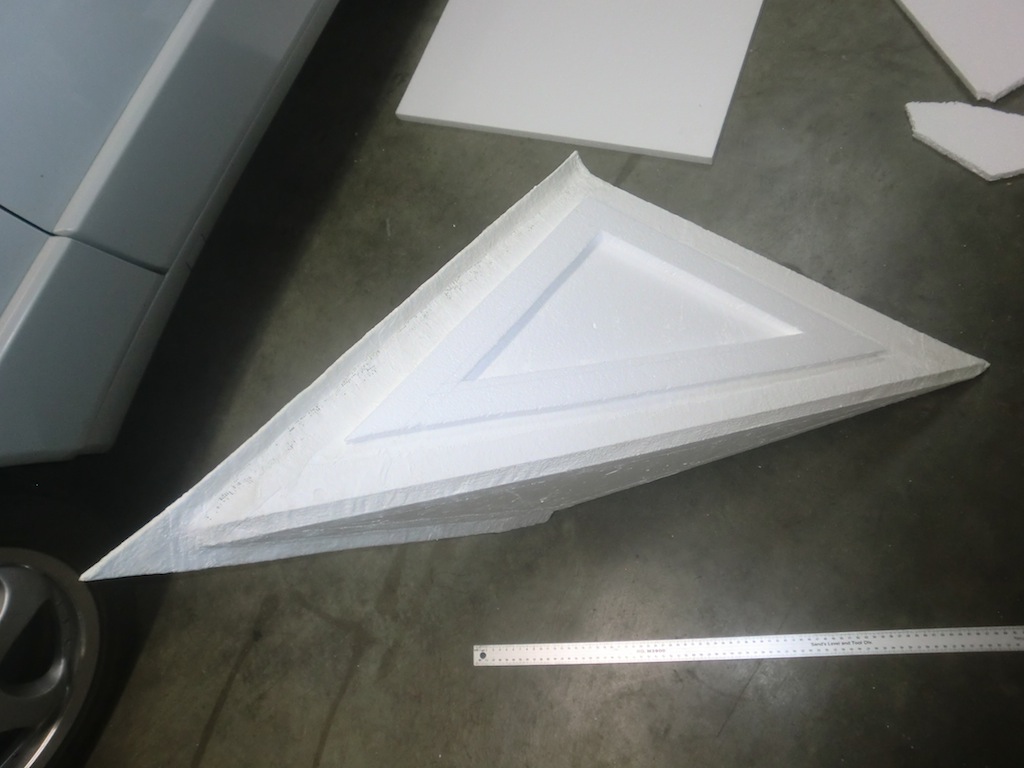
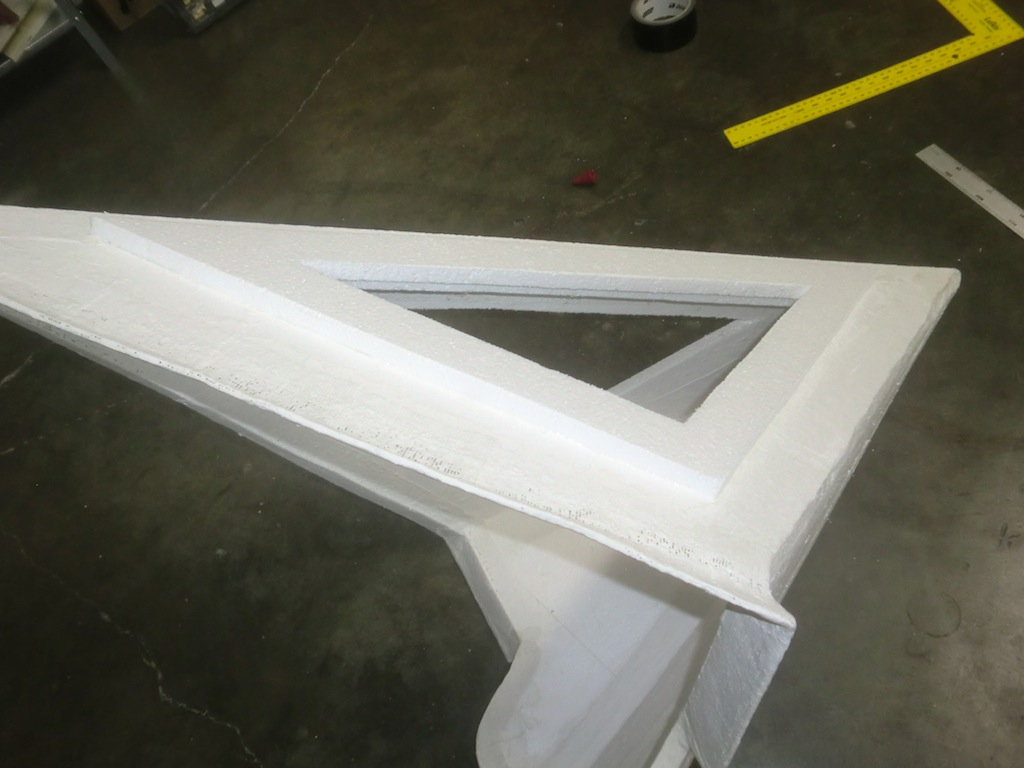
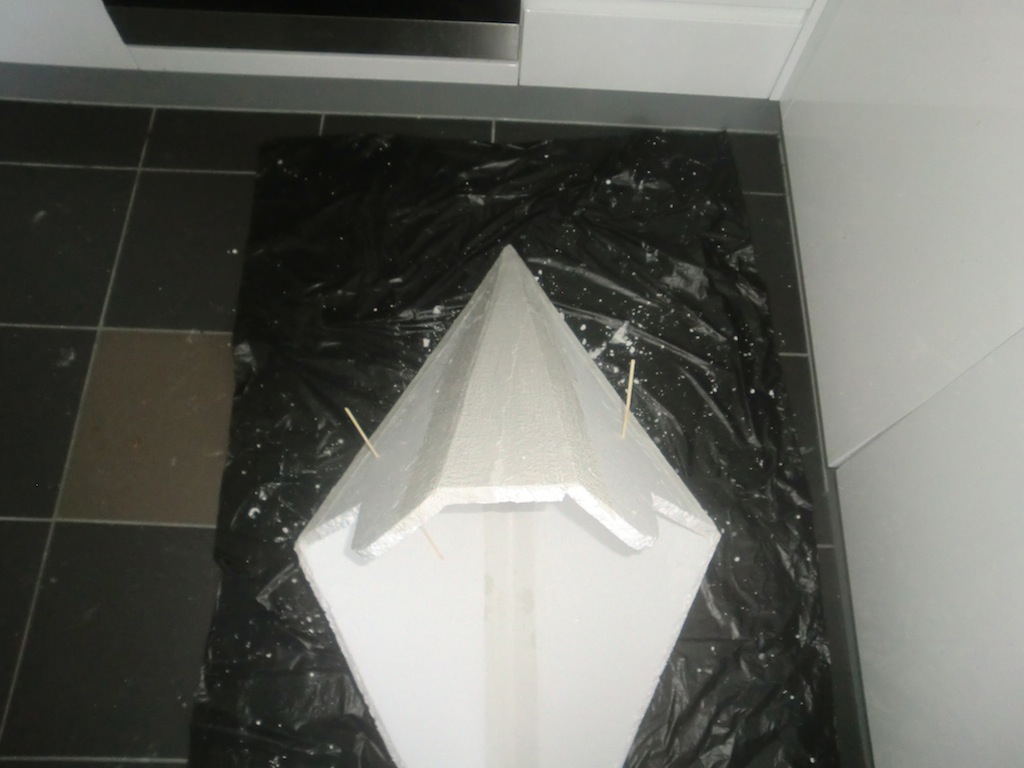
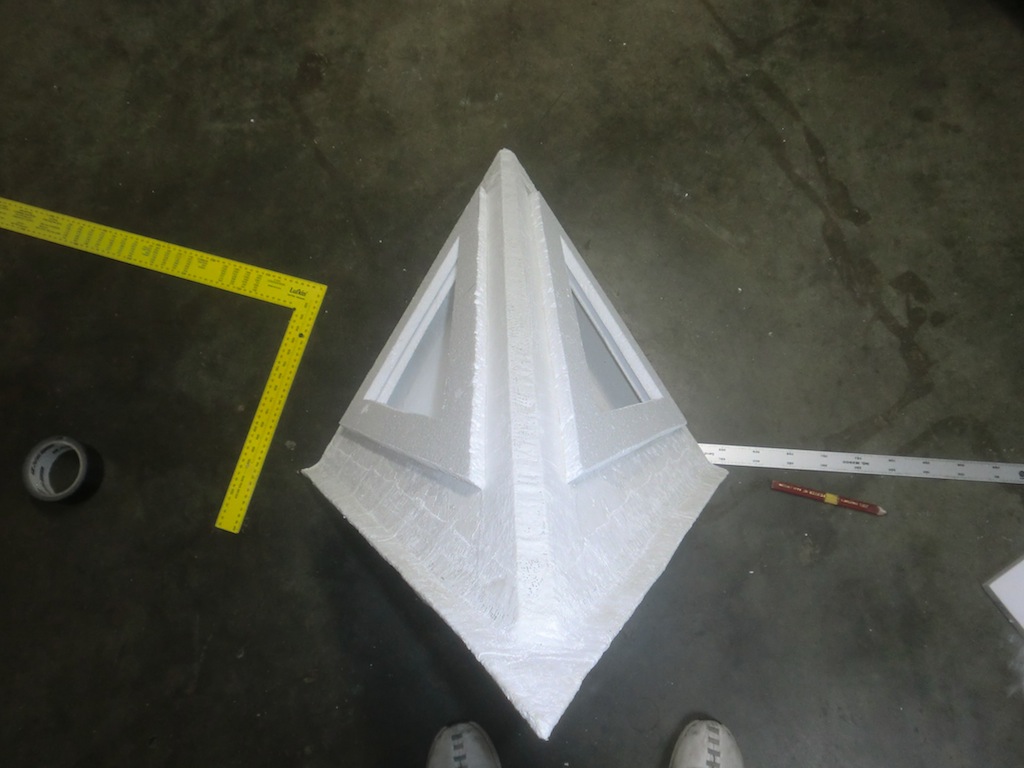
Cut out some triangle shaped 'windows' to place on the main sections, this is where the black gauss will go later.
Cut through the main sections using the triangle windows as a guide and glue the triangle windows in place. Polyvinyl Acetate (PVA) is a good glue to use here.
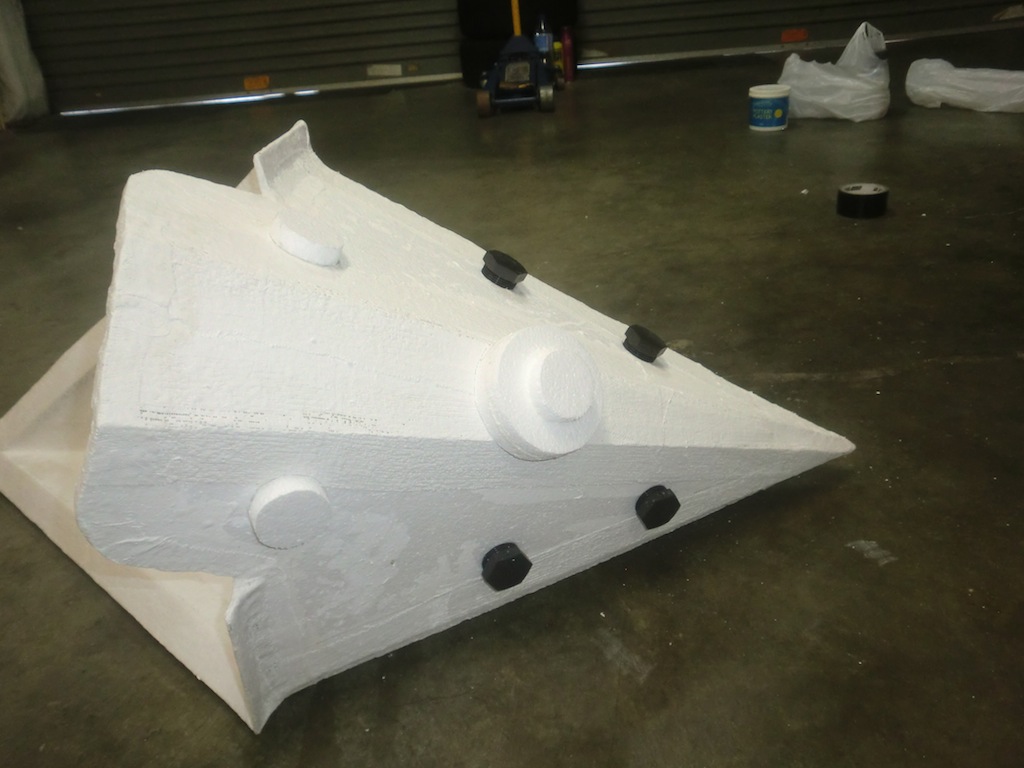
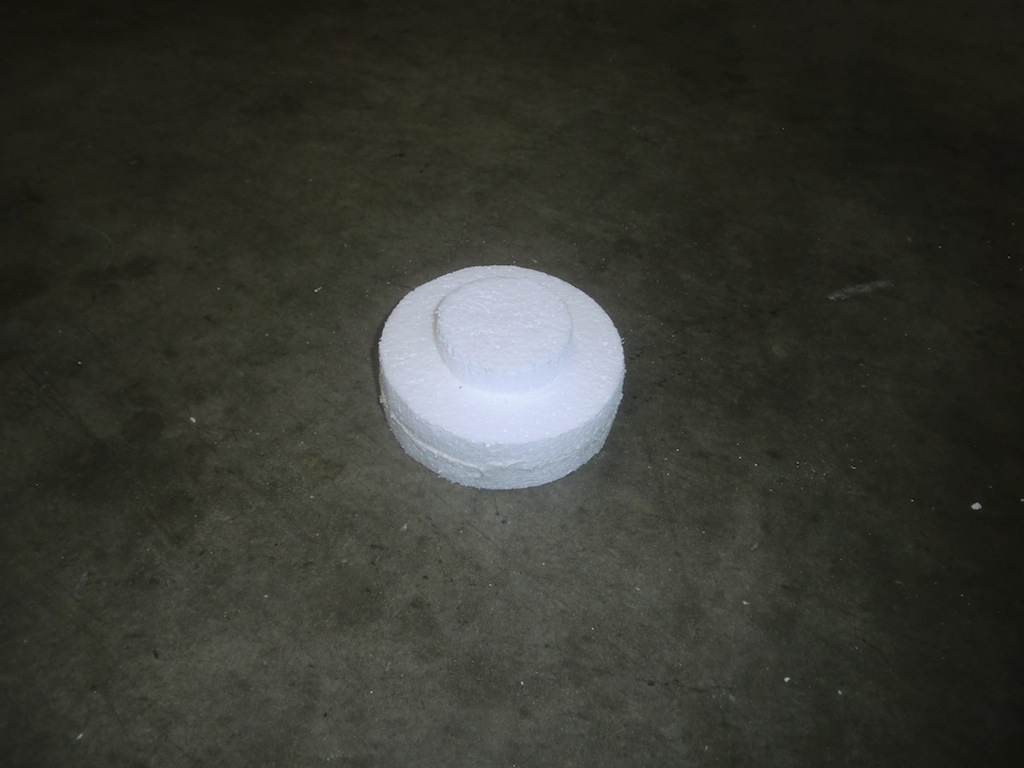
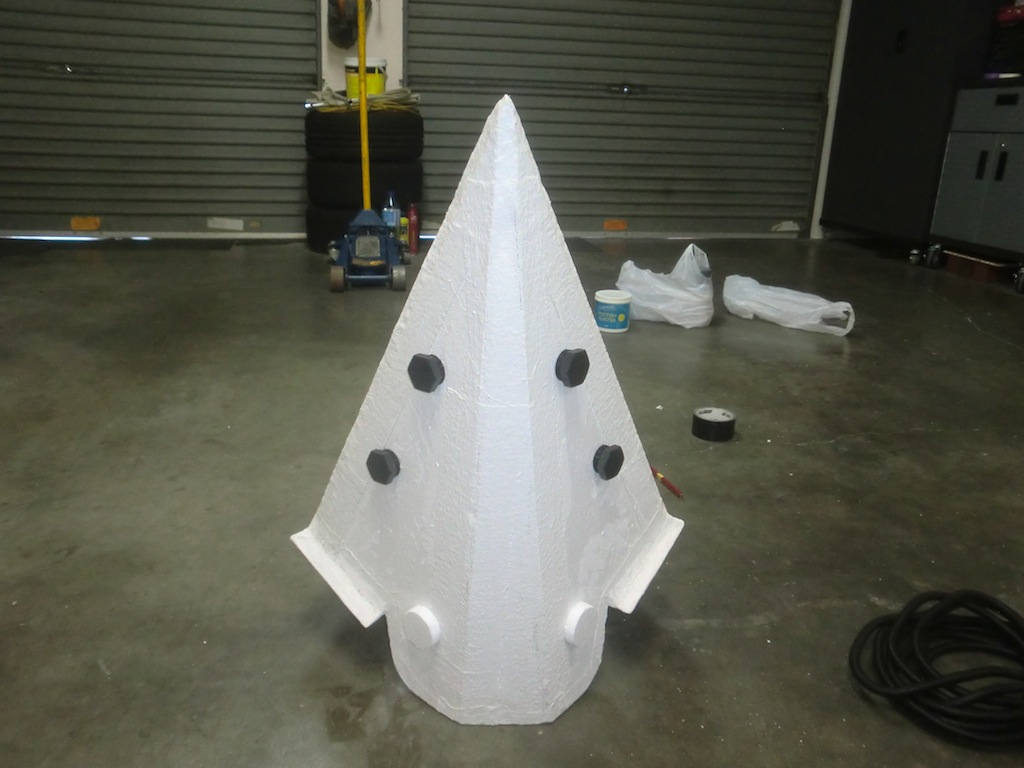
Now it's time to decorate the back a little. Cut out some round bits of foam and glue in place.
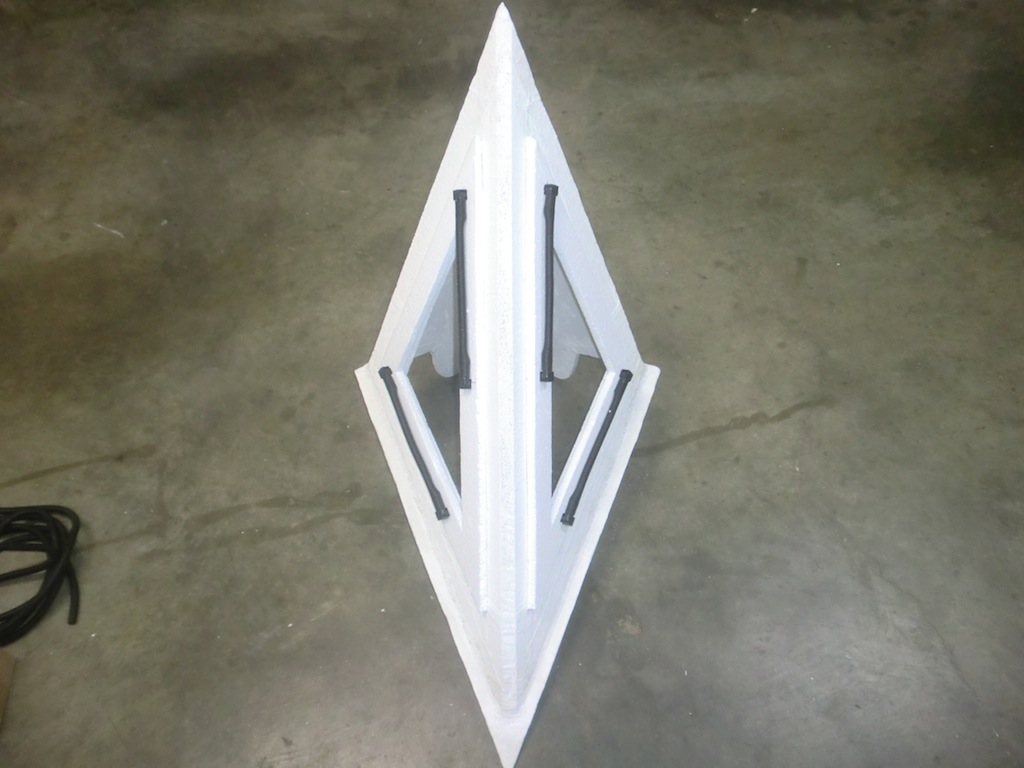
I went to Bunnings and picked up some bits from the plumbing section, these go on the back too.
The piping goes around the triangle windows. Again, from buntings, the piping is fixed in place using L water sprinkler pipe joins.
Final touch is the big knobby thing.
That's it for the helmet construction, so moving onto the sword.
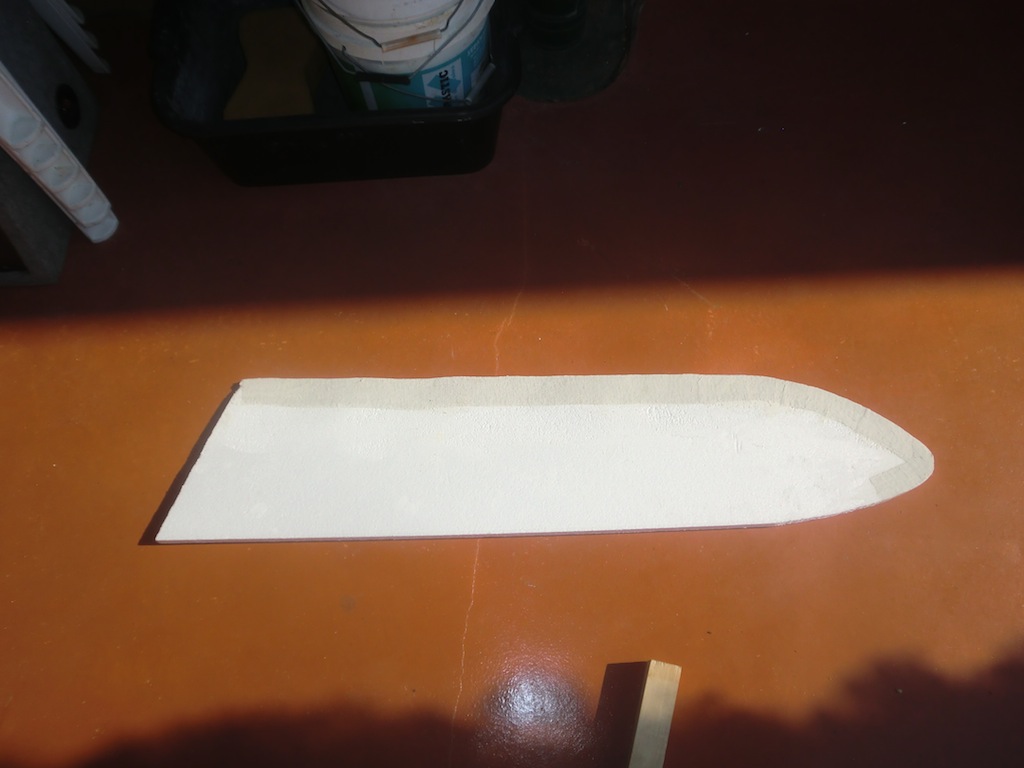
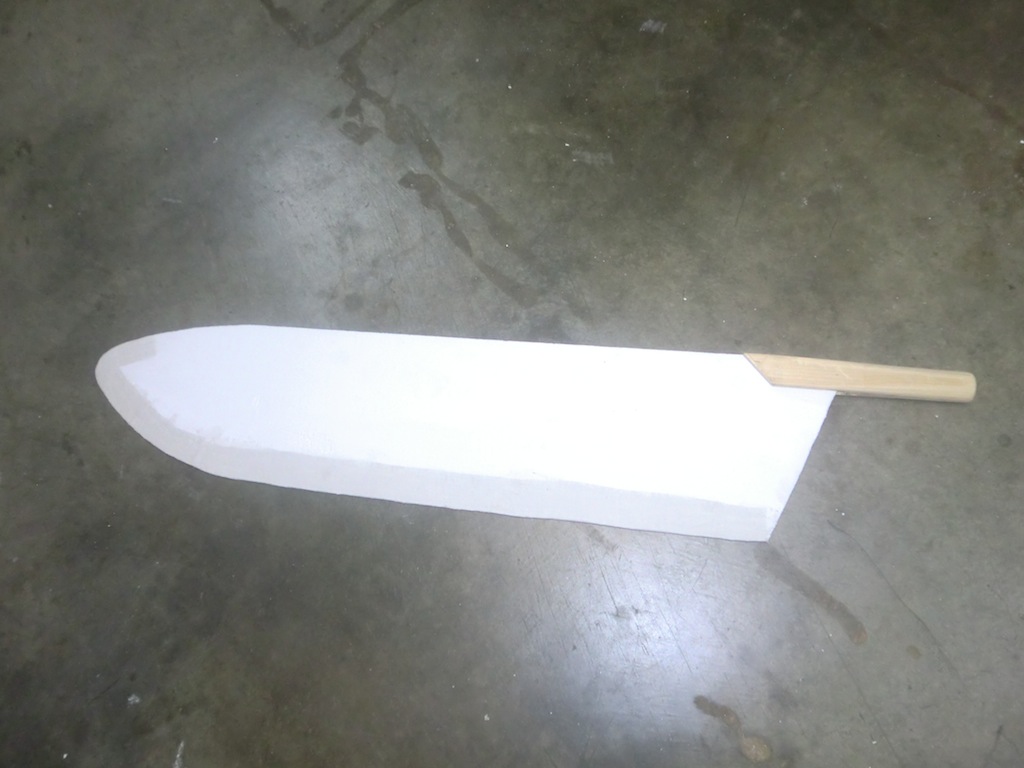
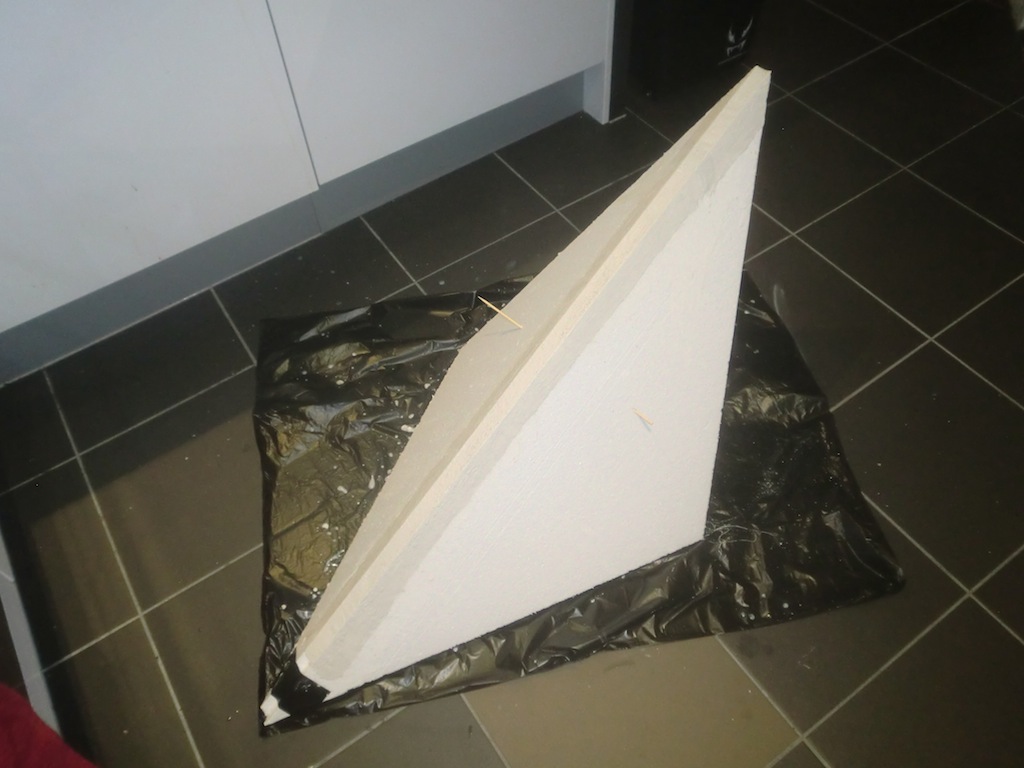
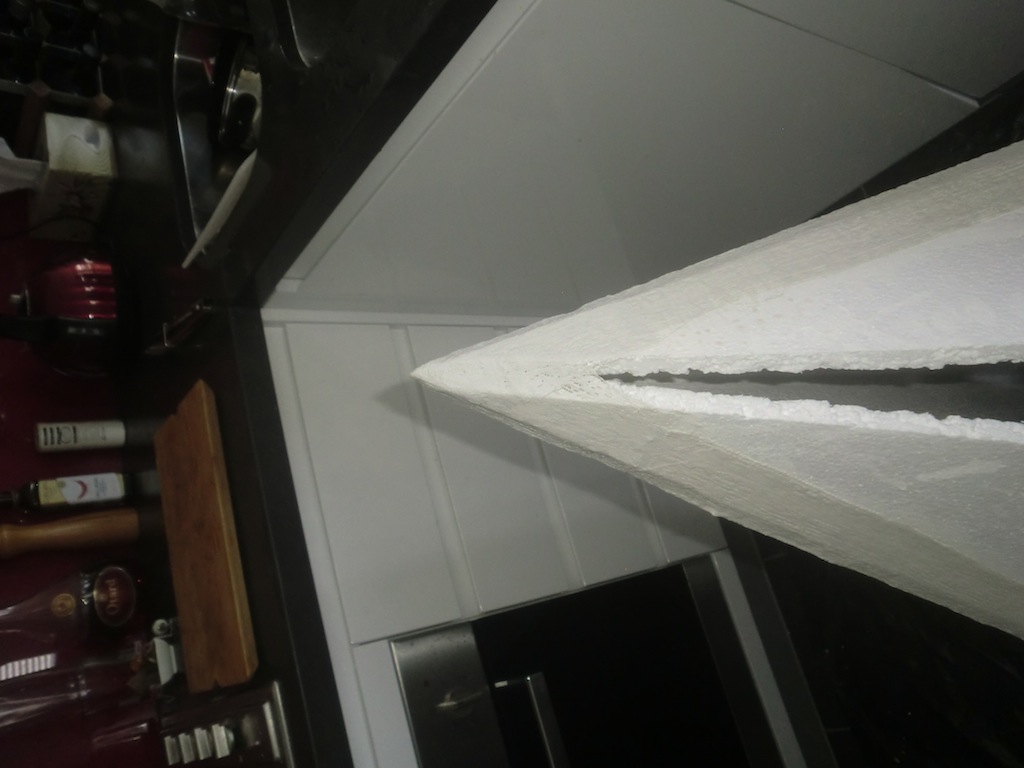
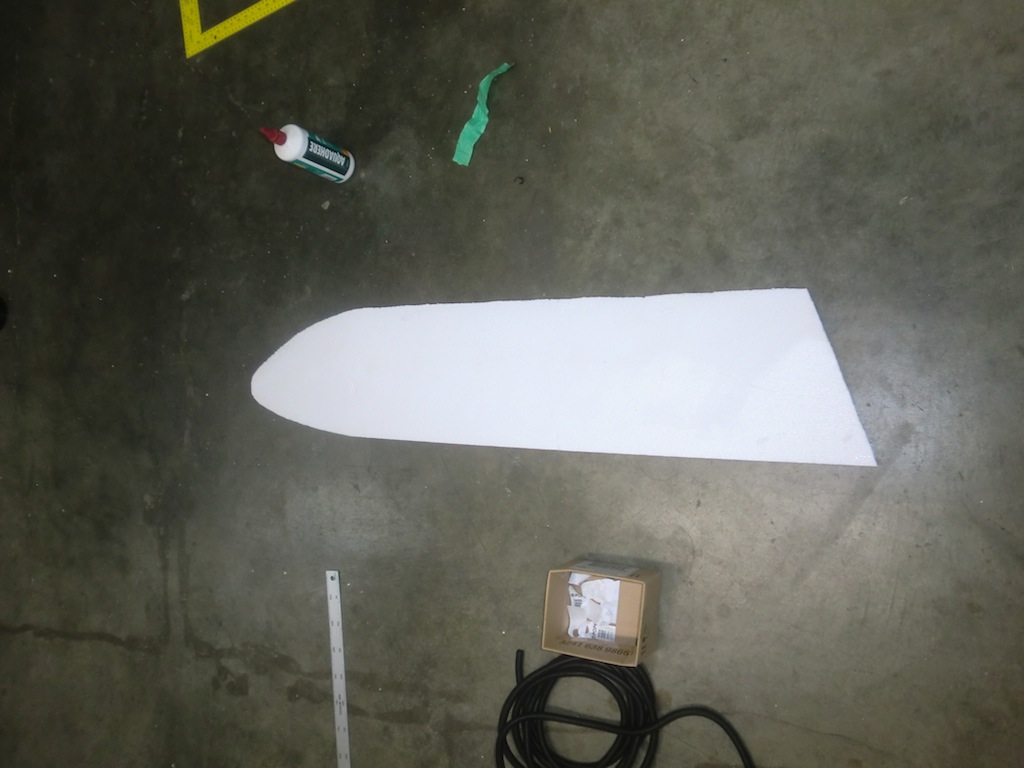
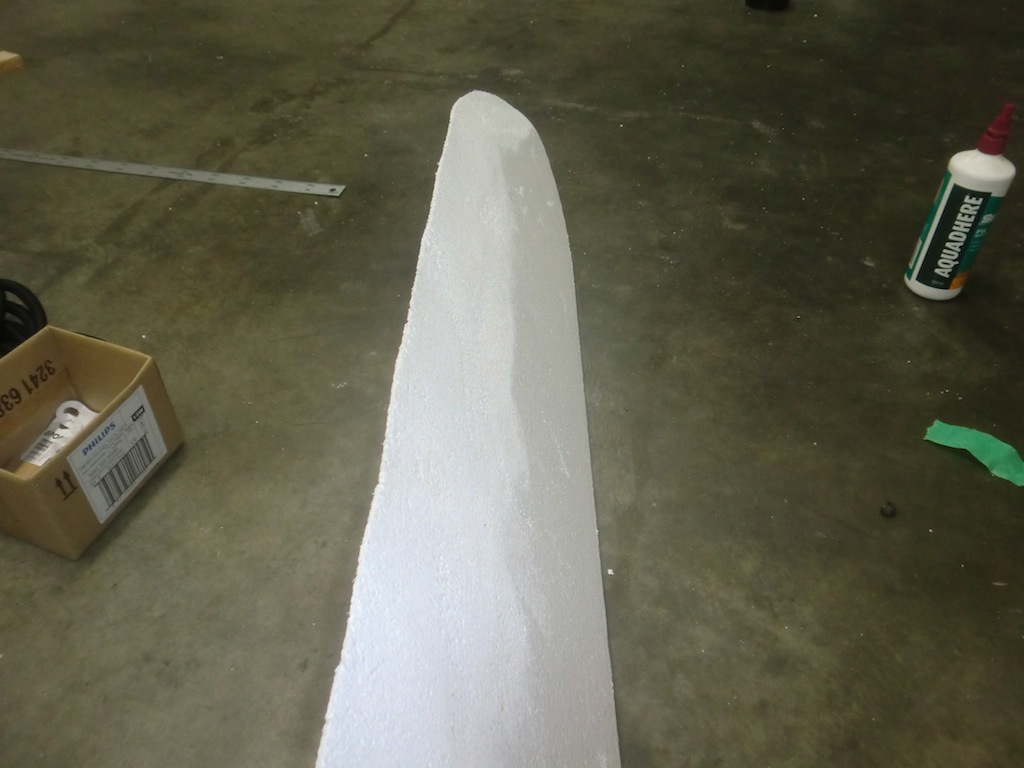
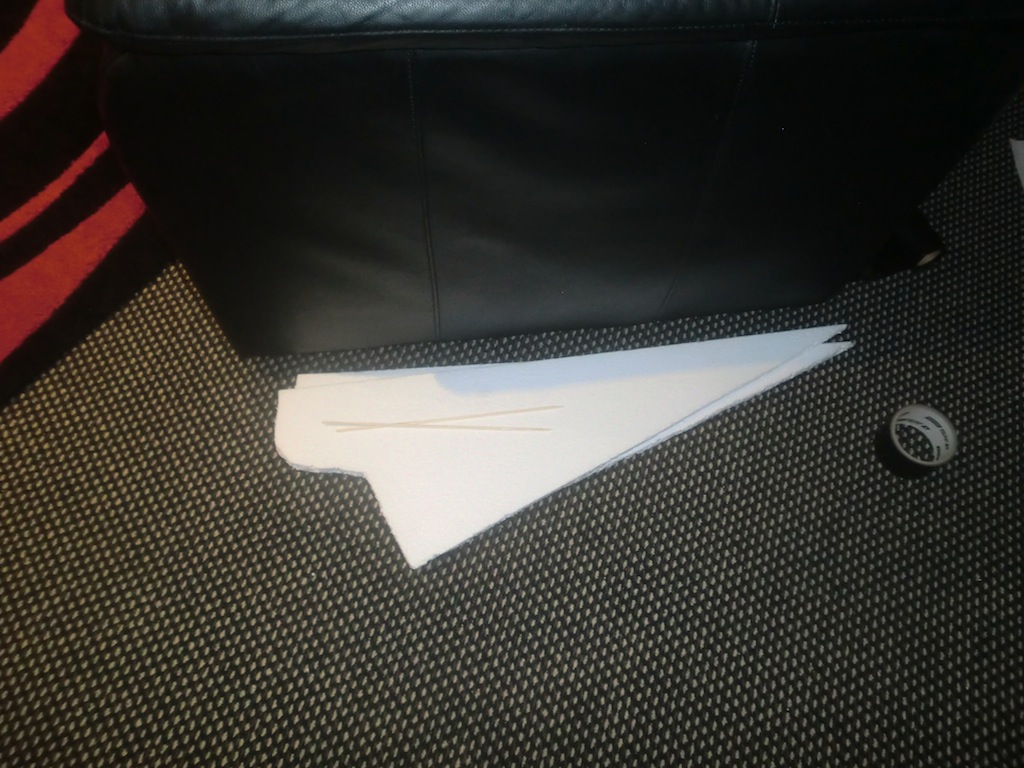
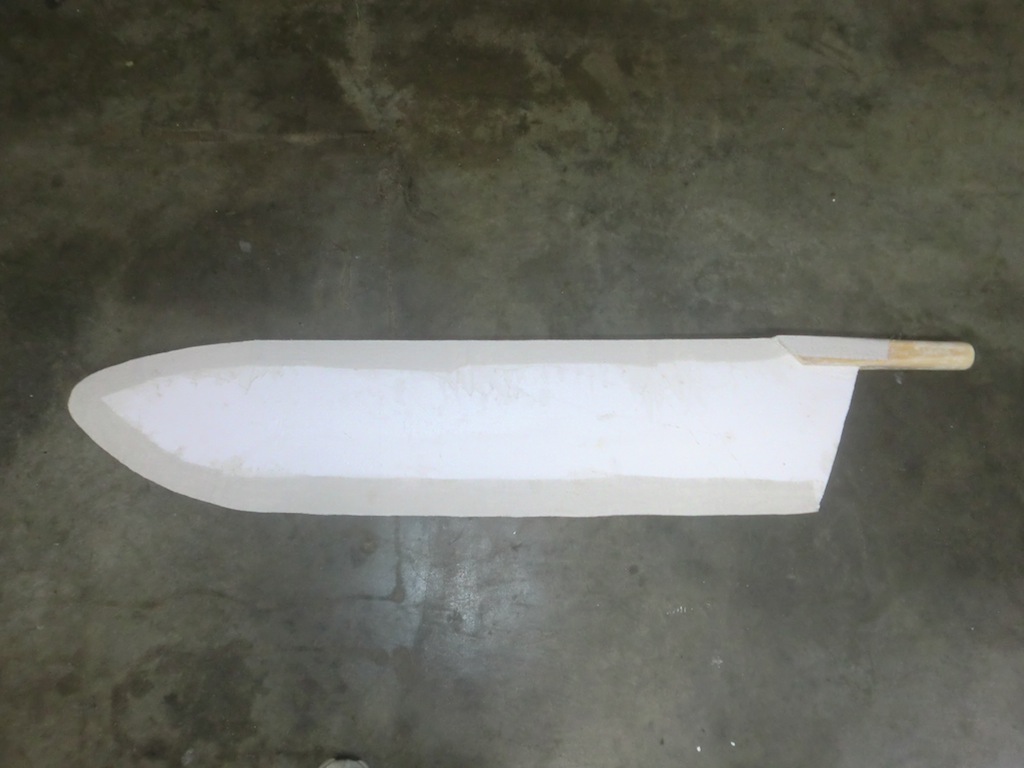
Cut the blade part out.
Using some sandpaper or a file, sharpen the edge to make it look more like a knife/sword.
Plaster the 'sharp' edge.
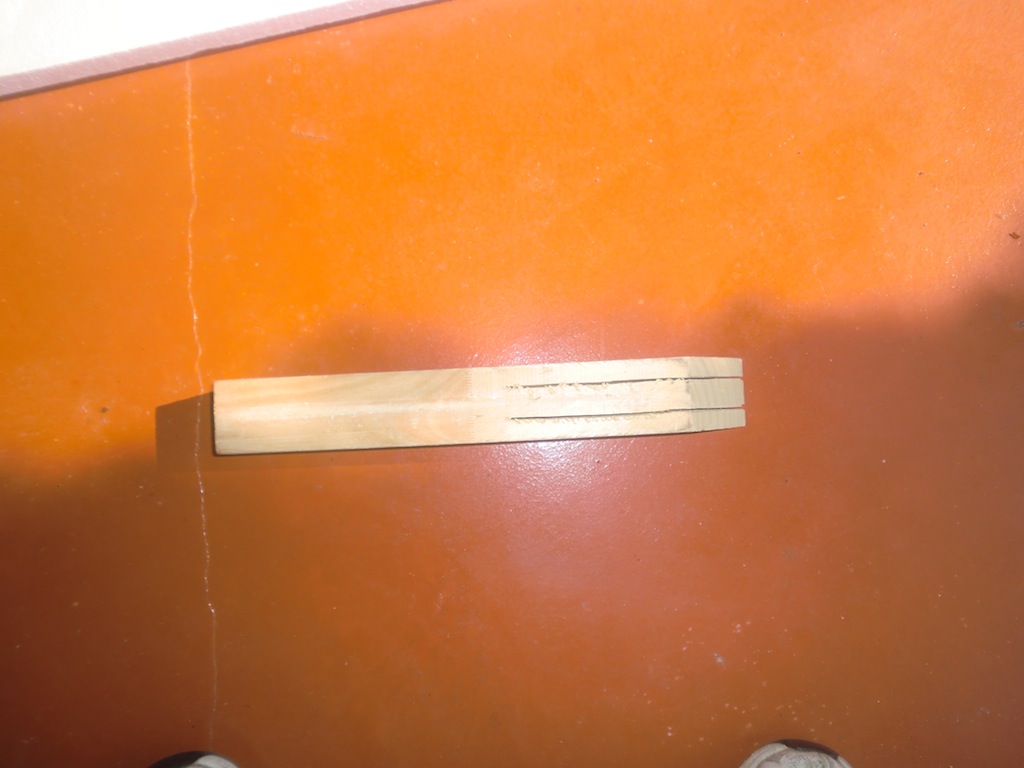
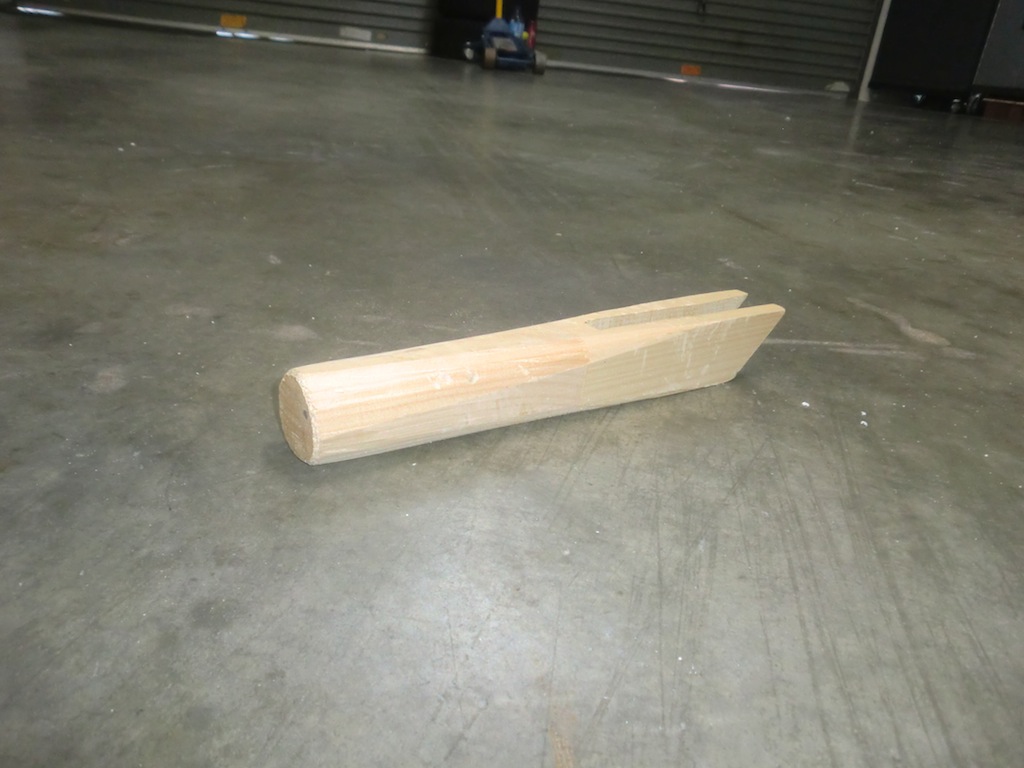
The handle is made out of some wood.
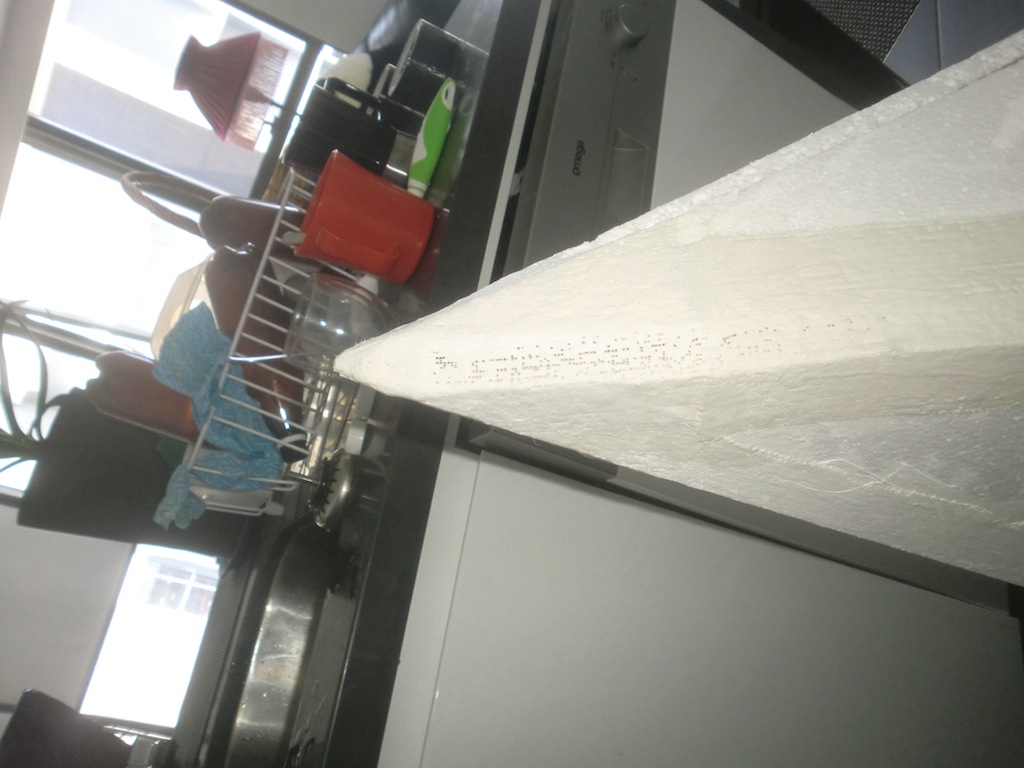
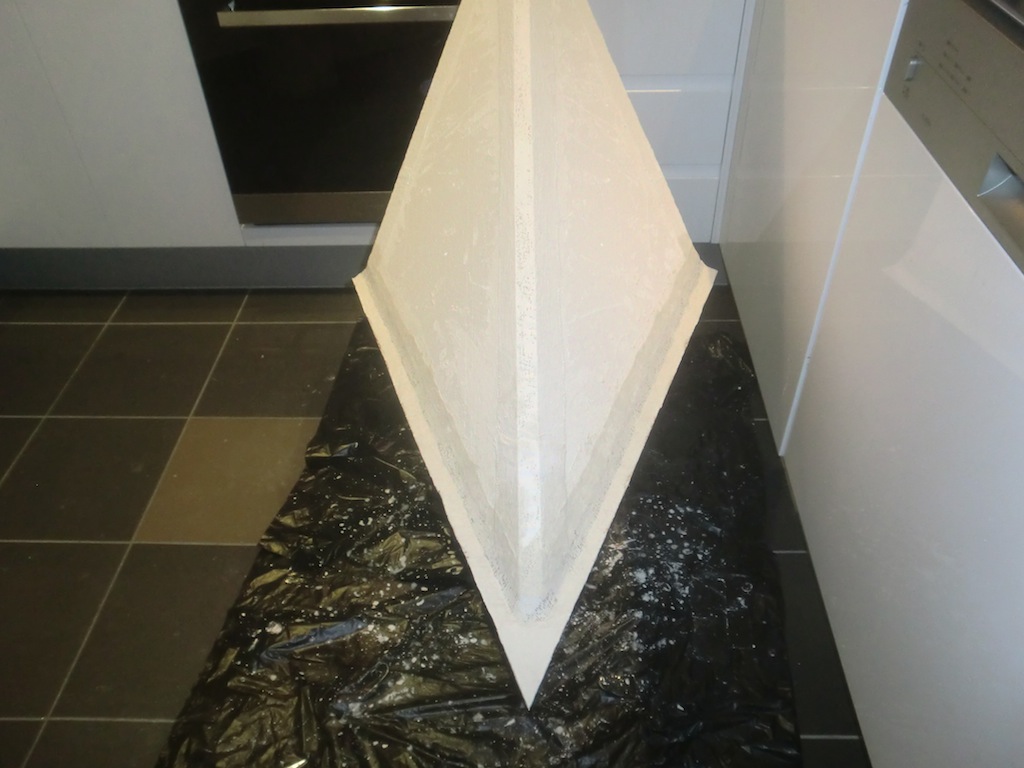
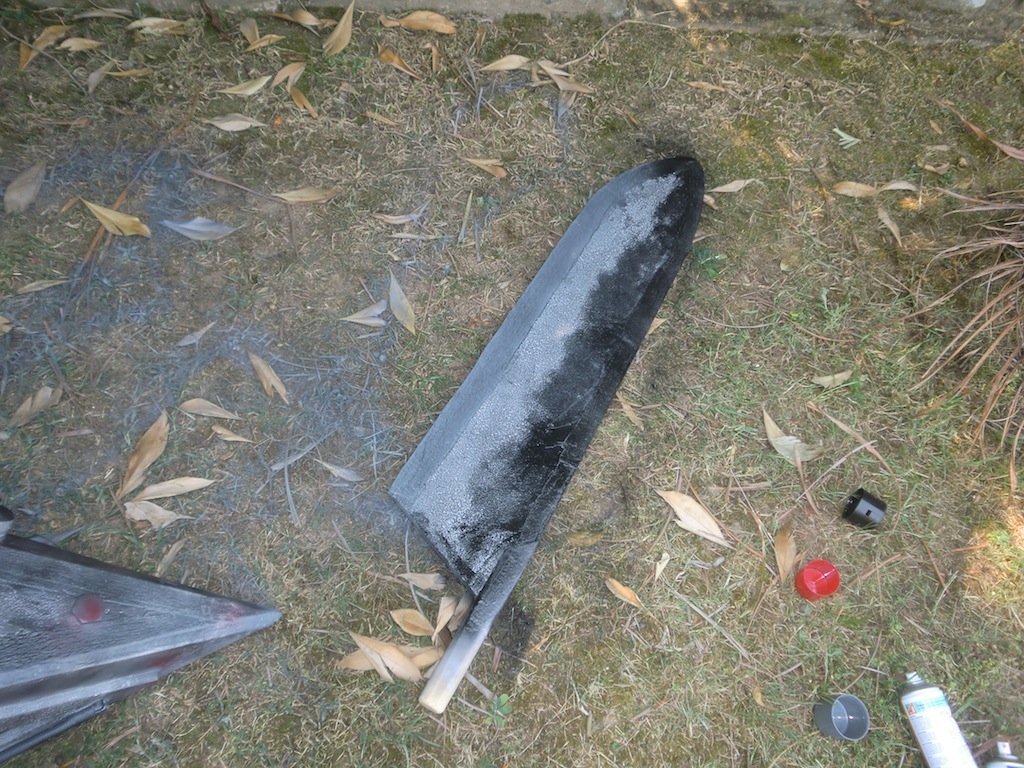
Plaster the rest of the sword so it keeps shape.
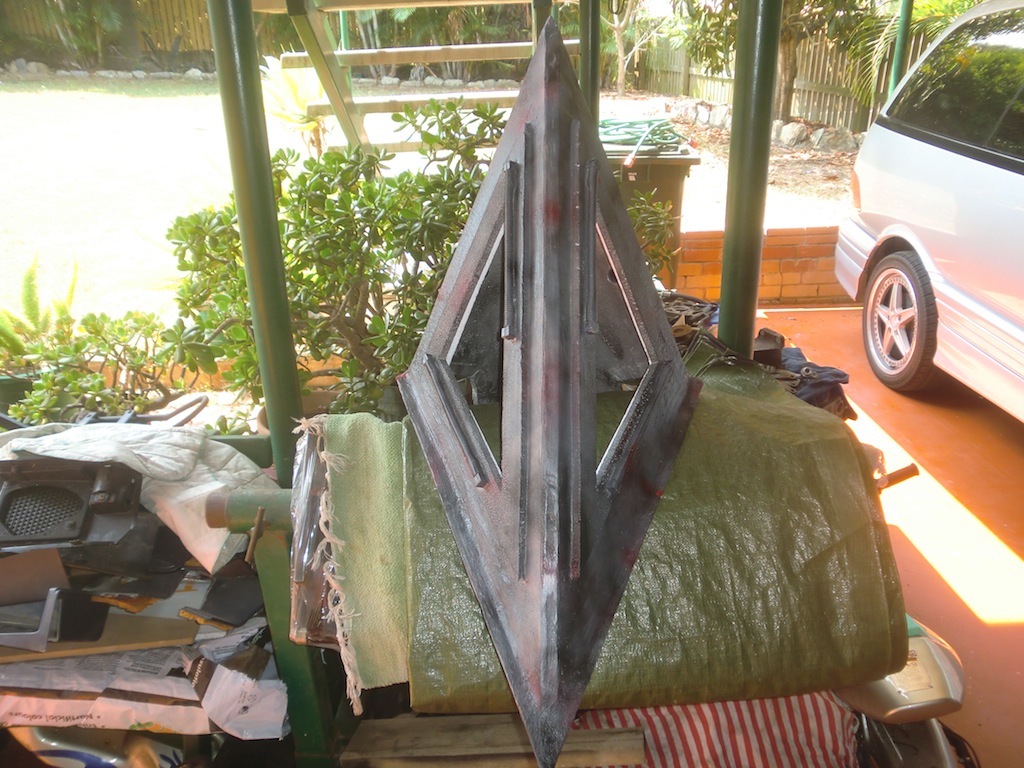
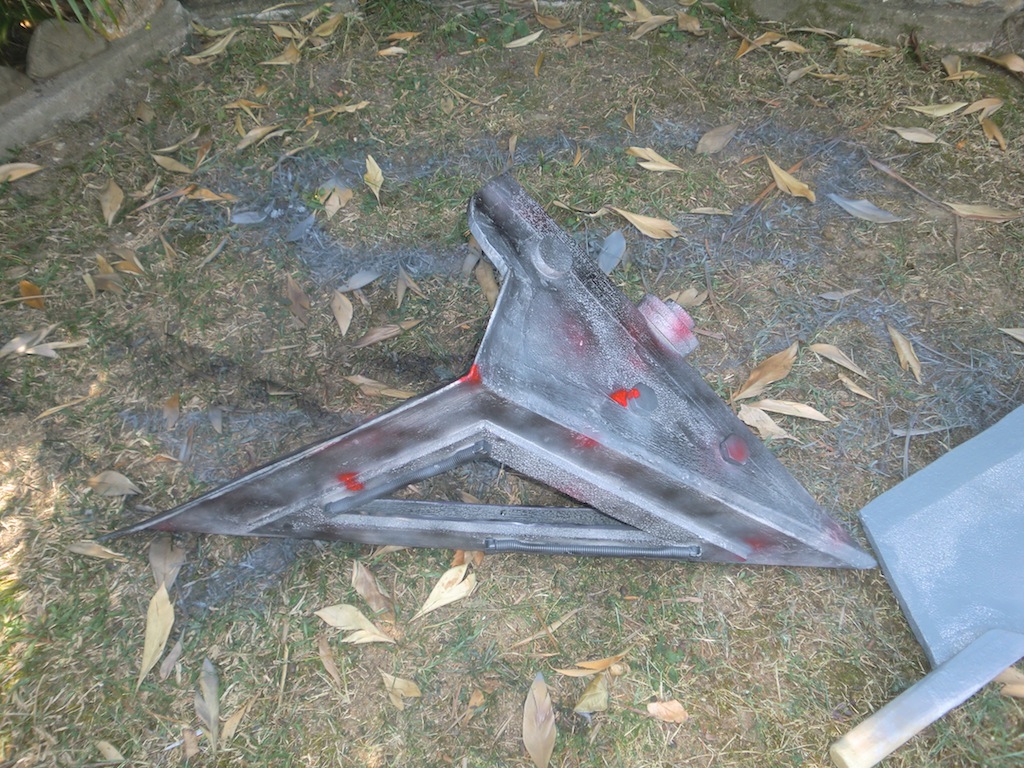
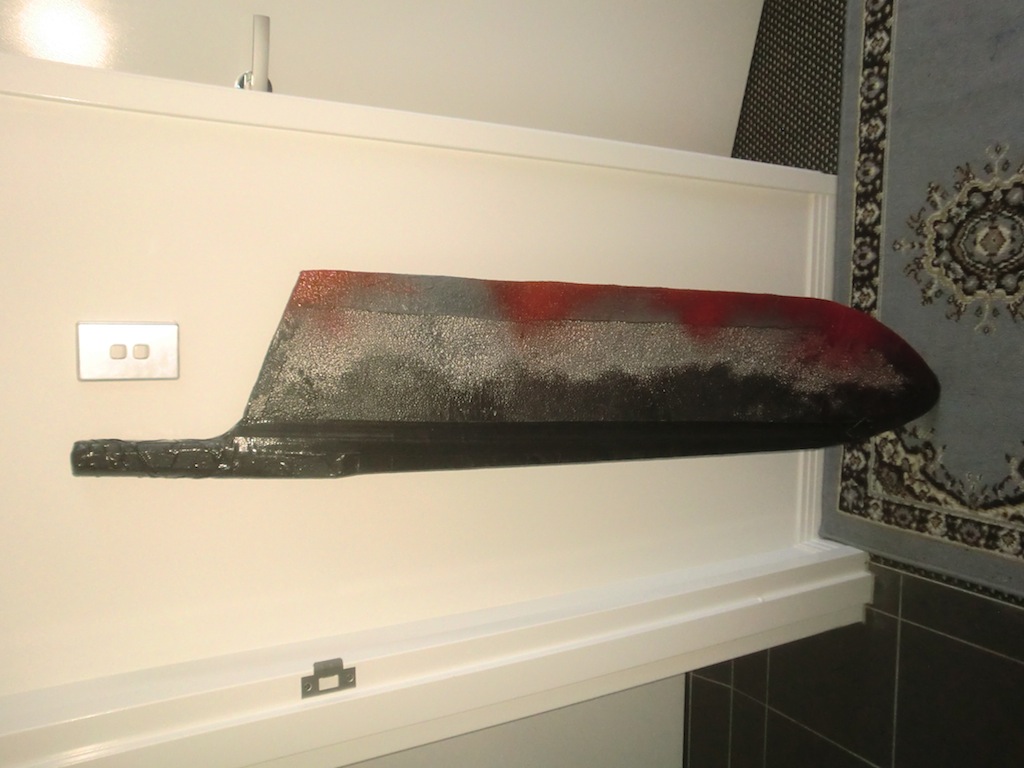
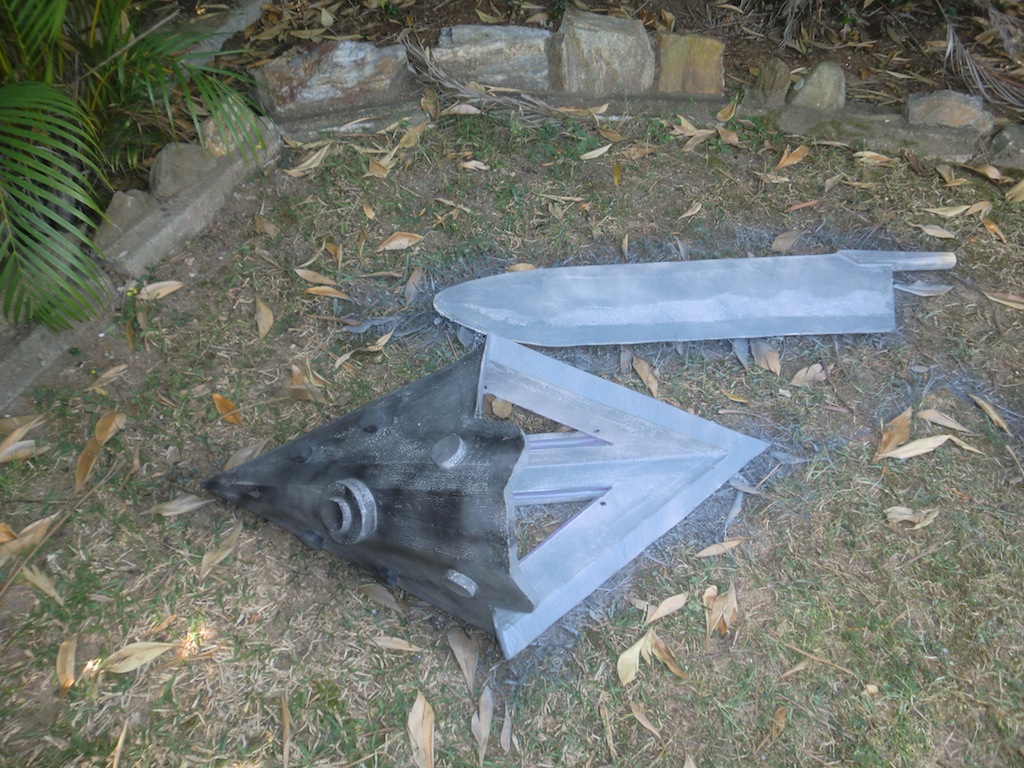
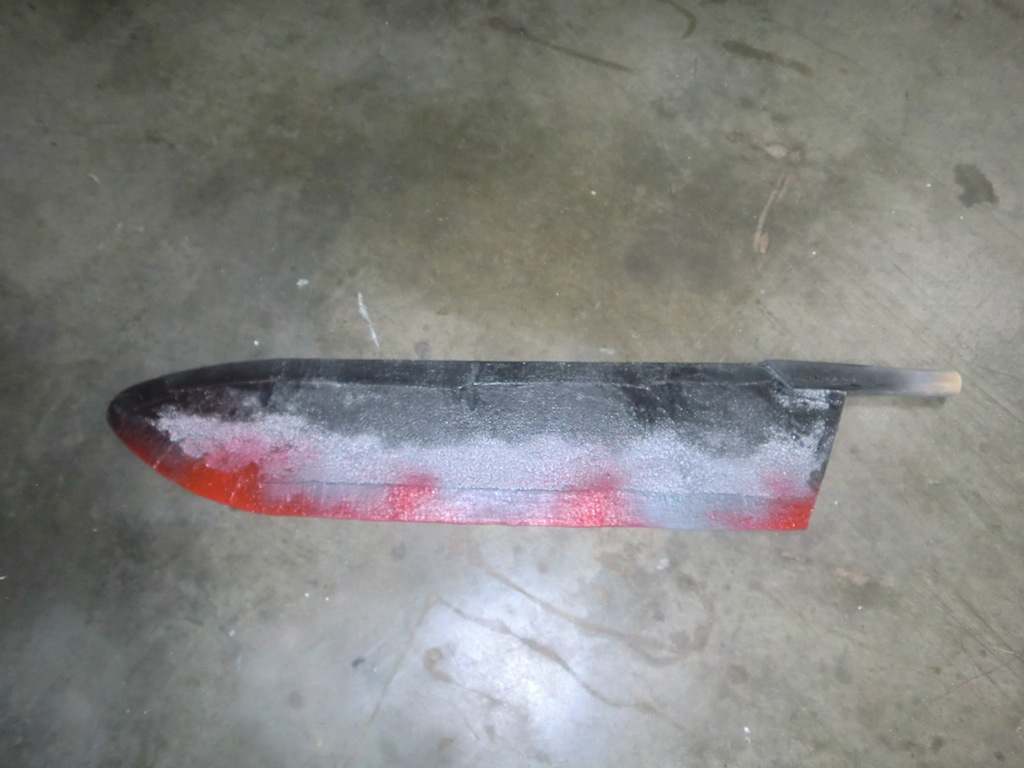
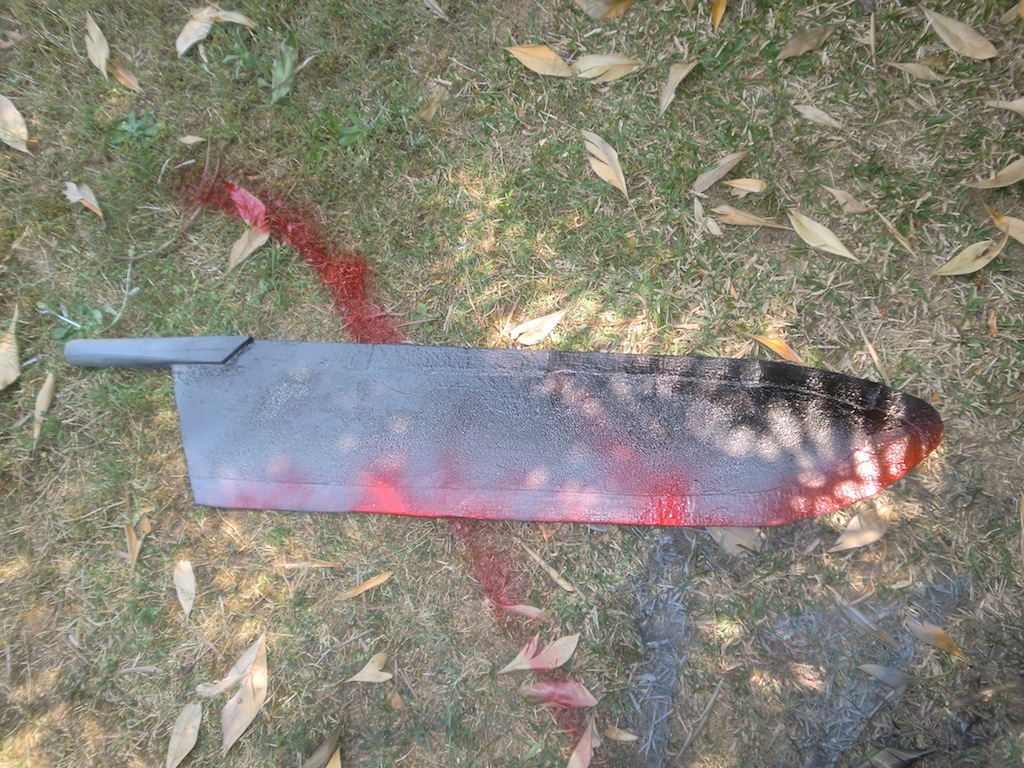
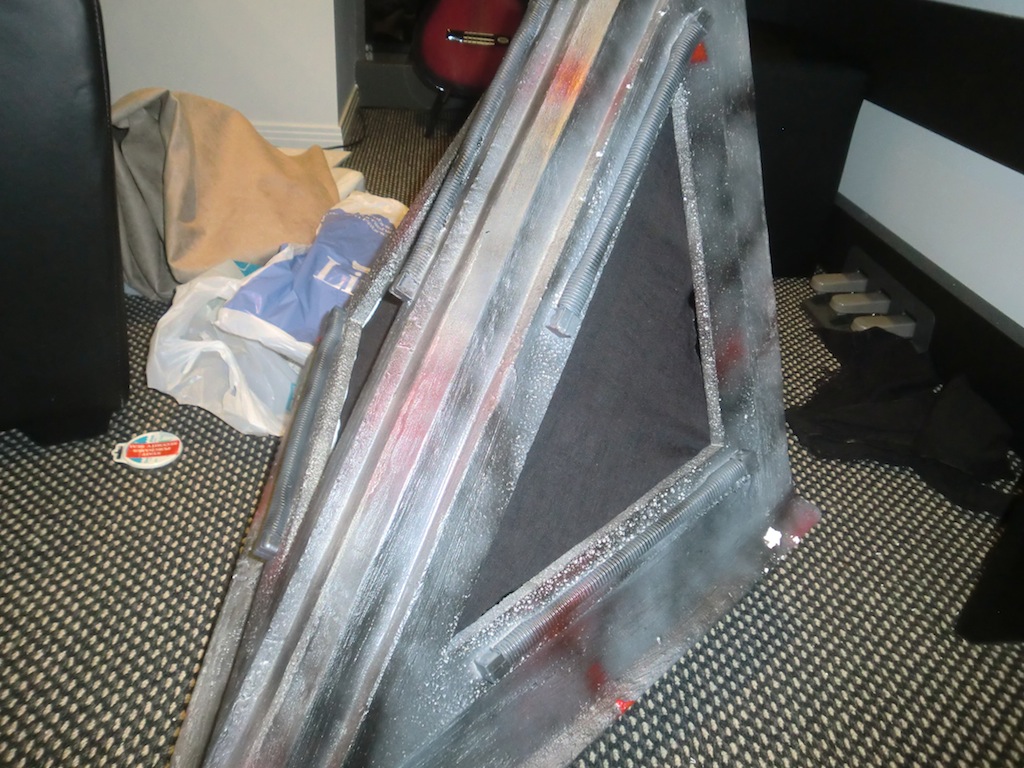
Now is the fun part...painting it. I used a base coat of grey and sprayed streaks of black and red in places to make it look aged and bloody. Careful with the paint as applying too much in one go will melt the foam, it's better to apply multiple lighter coats than one coat in one go.
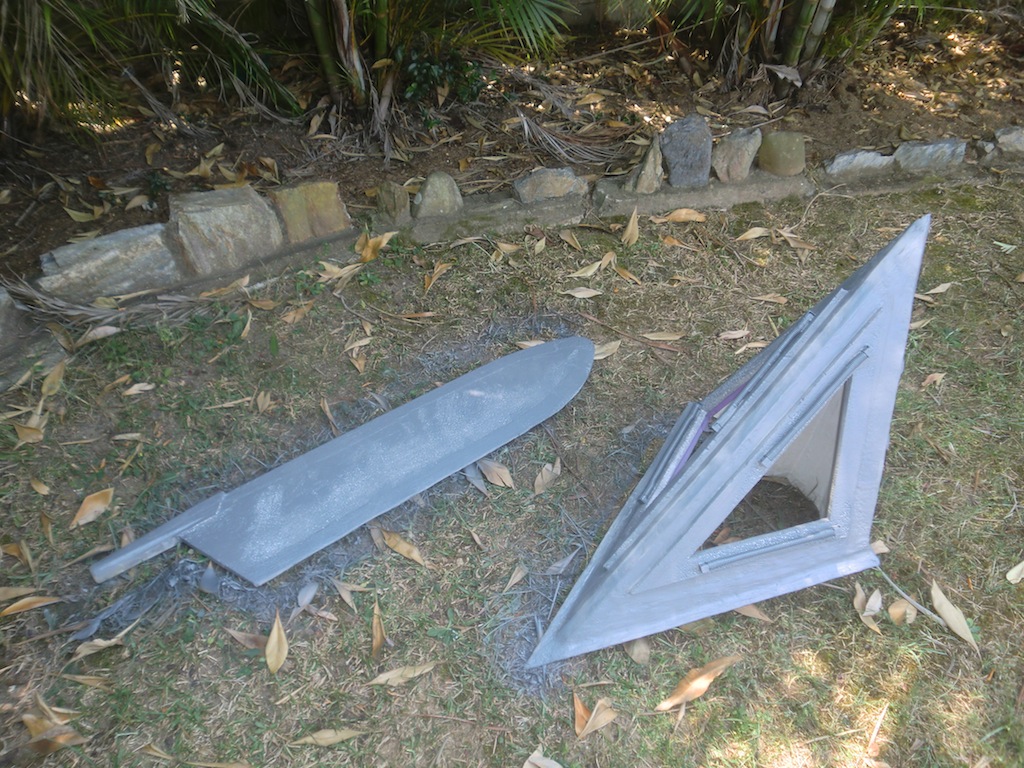
Here's the painted costume.
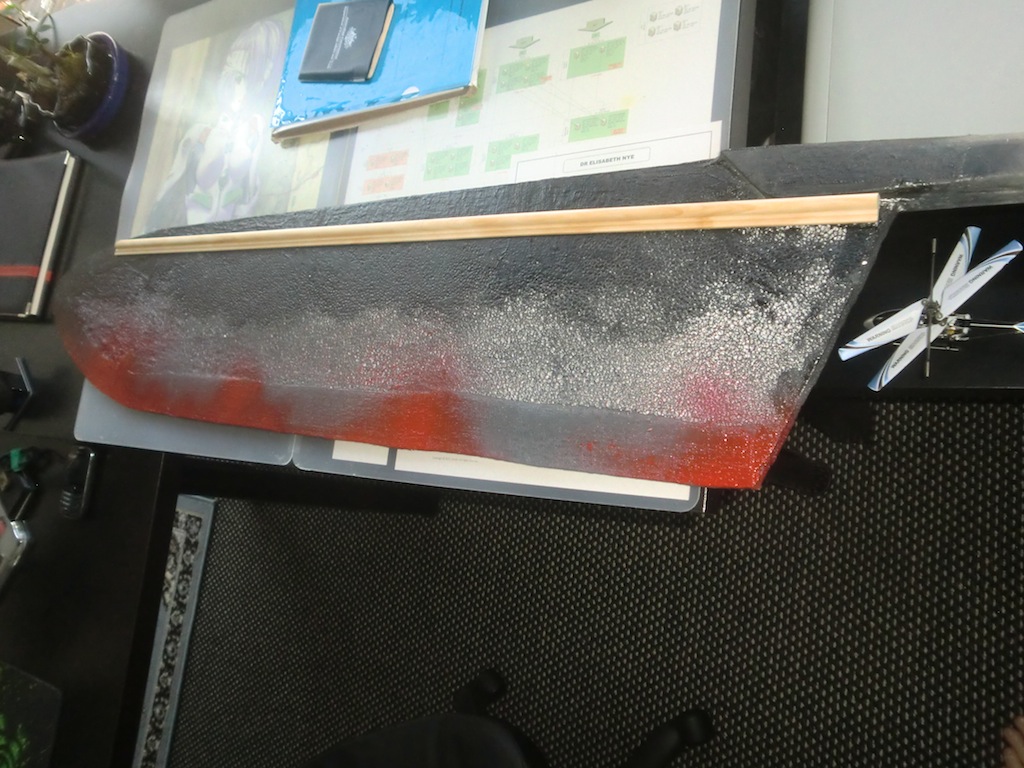
After playing around with the sword/knife, it turned out to be too flexible, so I decided to add some reinforcement to it.
Adding some padding and black gauss to the helmet. I could not find black gauss so just bought the white stuff, this is the same cloth as the cheese cloth, it's quite cheap.
Cut the gauss to size and fit it using some sewing pins, use PVA to glue it in place, it should be nice and tight across the windows.
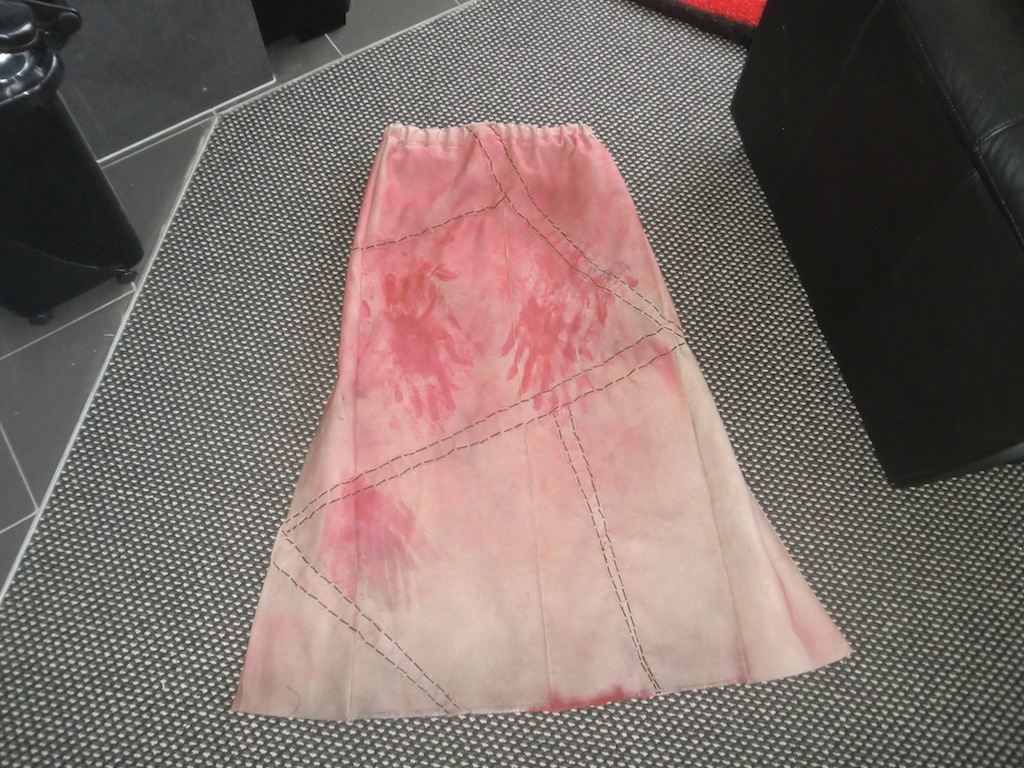
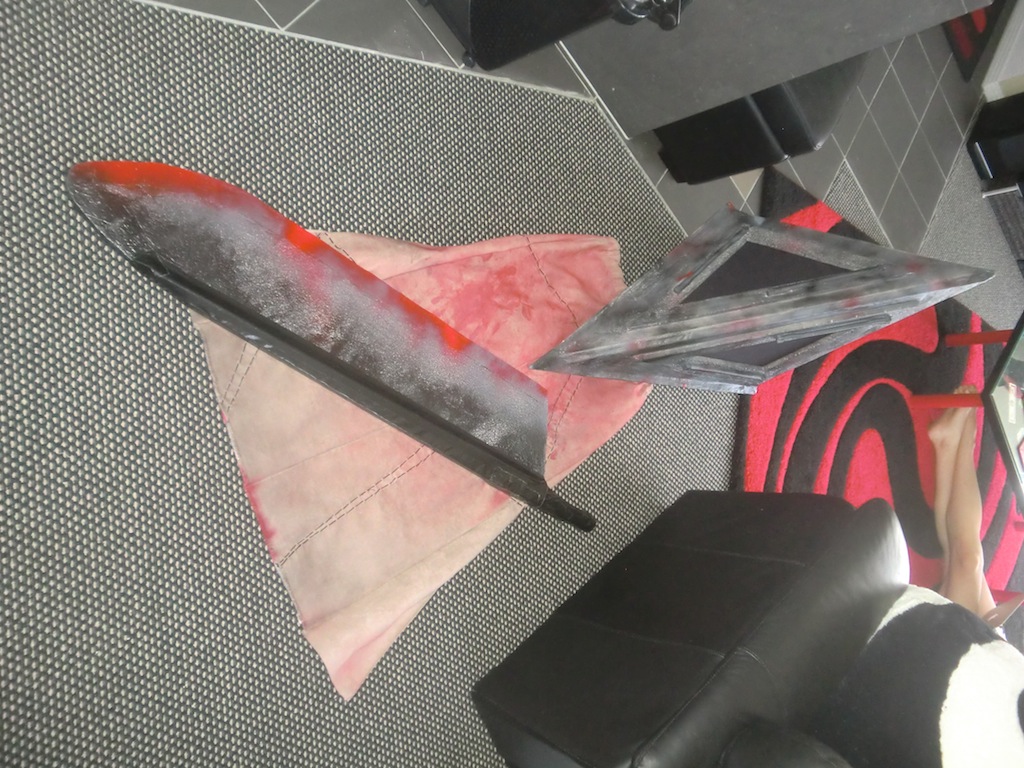
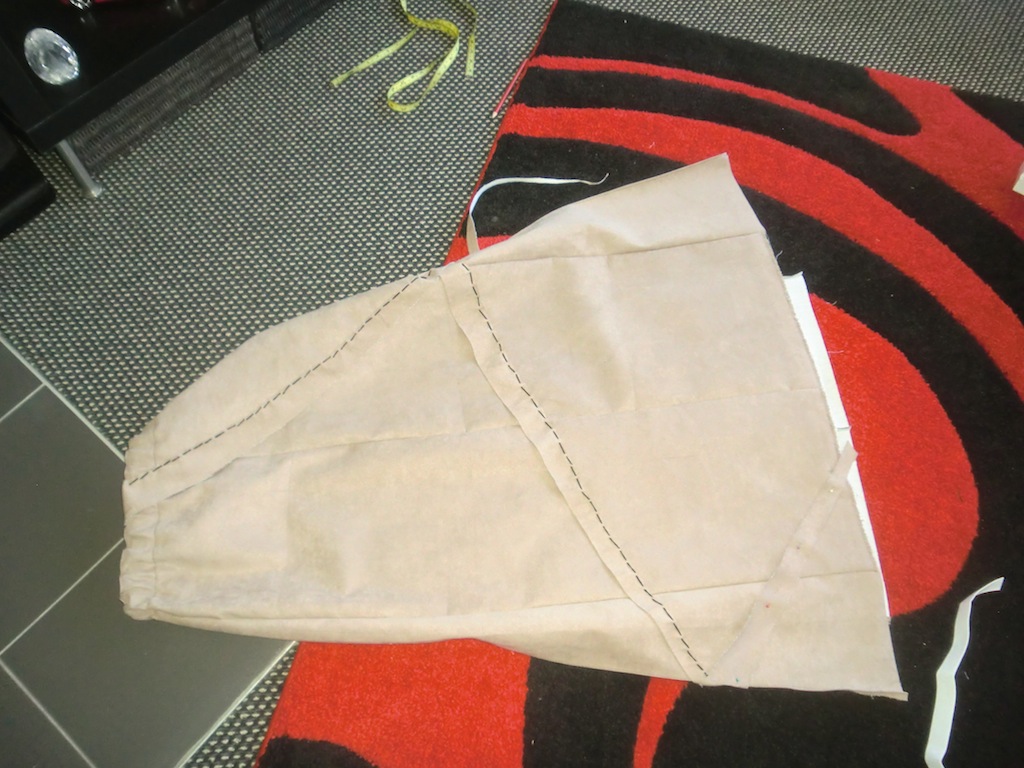
The apron/skirt was made from some imitation suede fabric cut into rough shapes to make the apron part, then smaller strips were cut out and stitched on top.
Some paint added to the apron, I used a glove that I sprayed red paint on, then wiped across the apron. This leaves nice hand marks that look bloody.
Finally the finished product.
-i
