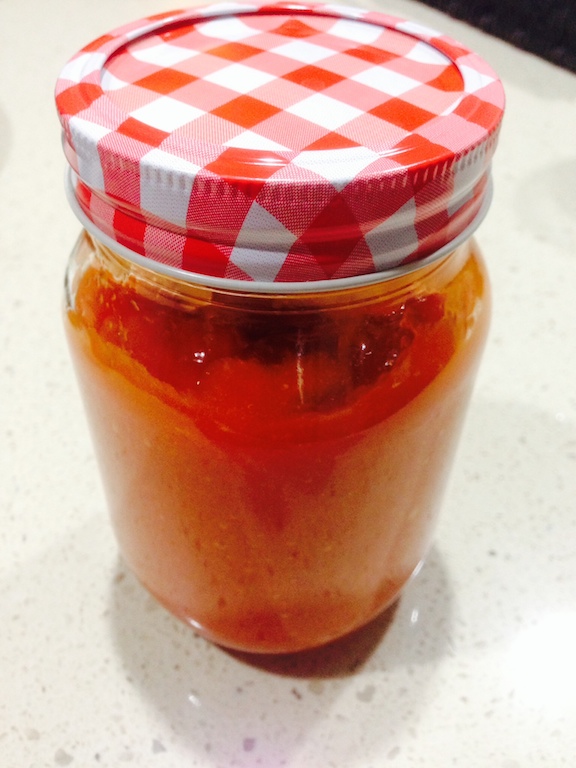
This was the final result, a nice orange paste, true to it's Orange Habanero roots!
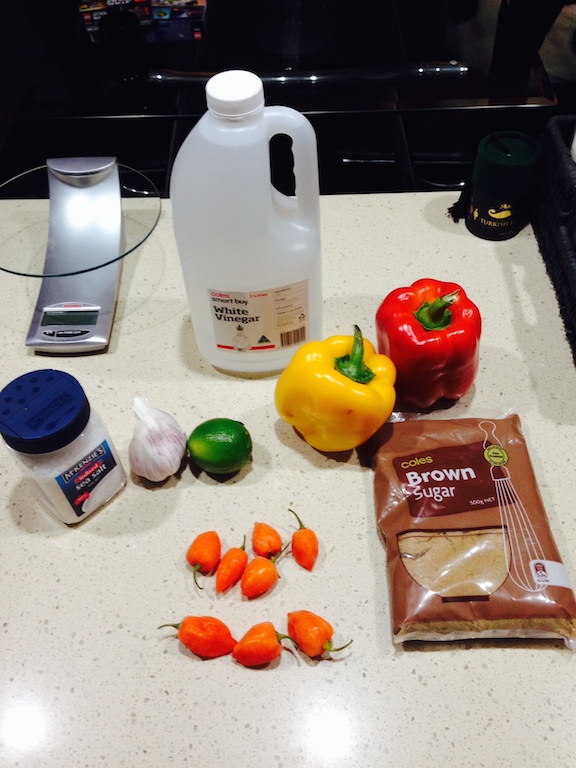
This was the ingredient list that I used:
- 50g Habanero Chillies
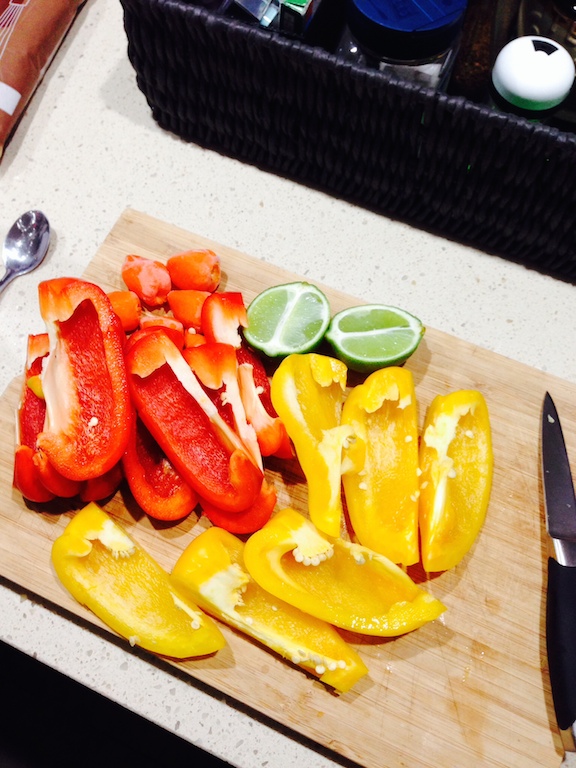
- 1x Red Capcicum
- 1x Yellow Capcicum
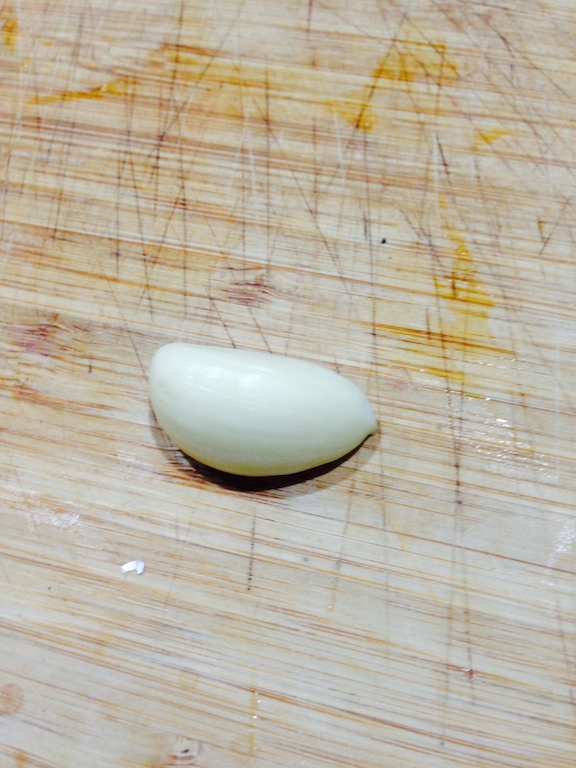
- 2x Cloves of Garlic
- 1x Lime
- 1x Tablespoon of Brown Sugar
- 1x Tablespoon of White Sugar
- 1x Tablespoon of Rock Salt
- 6 shots of White Vinegar (I didn't have measuring cups!)
With the ingredients ready, these are the steps to get this chilli paste happening...
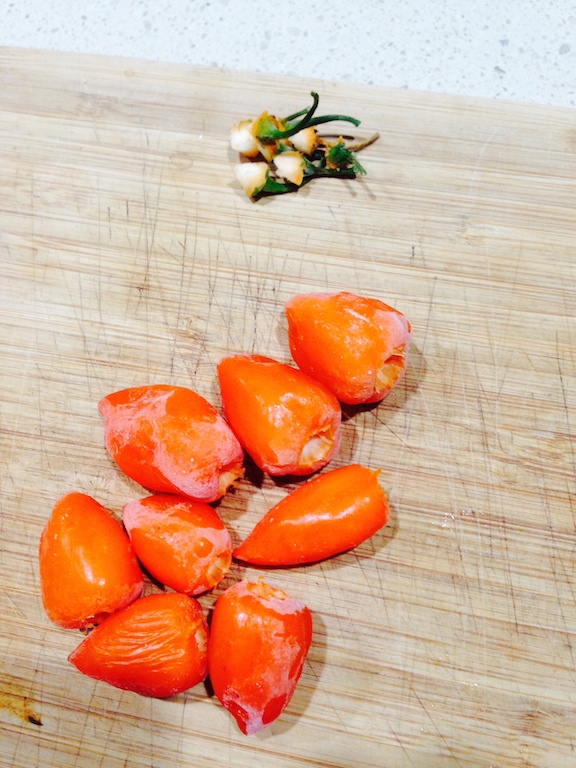
1. Prepare the chillies and the capsicum first. The chillies need the stems removed, but LEAVE THE SEEDS inside. For the capsicum, remove the stems and the seeds.
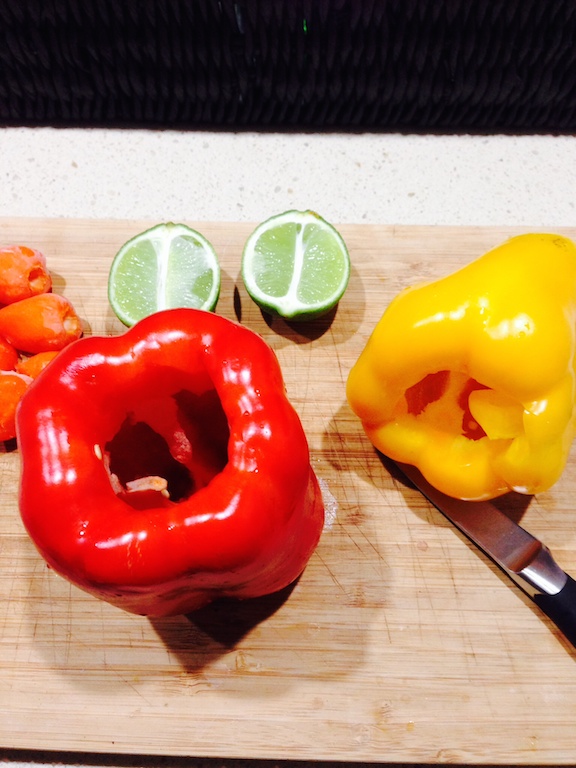
2. Slice the lime in half and slice up the capsicums into smaller strips for blending.
3. Peel two cloves of garlic.
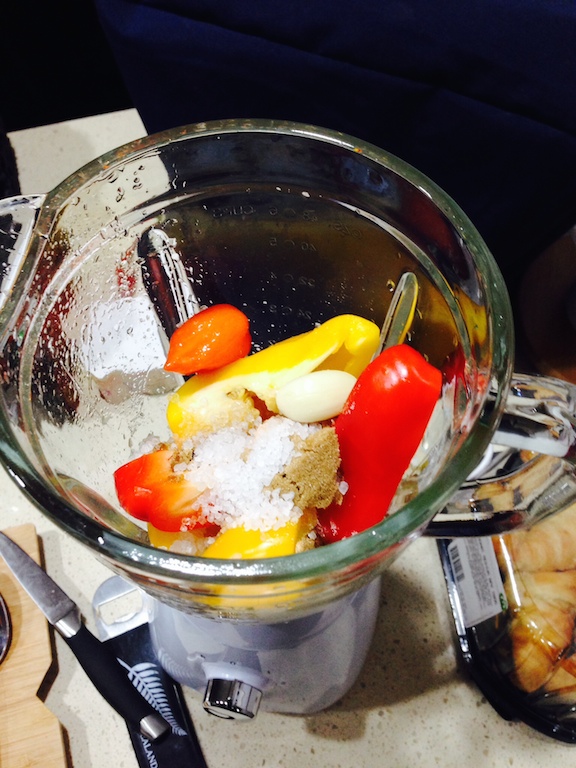
4. Throw the capsicum, chillies and garlic into the blender, you may need to do it a bit at a time so as to not overwhelm the blender. Also add the salt, brown sugar and white sugar and squeeze out the lime juice right into the blender.
5. Blend it to a nice smooth consistency.
6. Transfer the mixture into a container and leave it for a week. You will need to stir it every day.
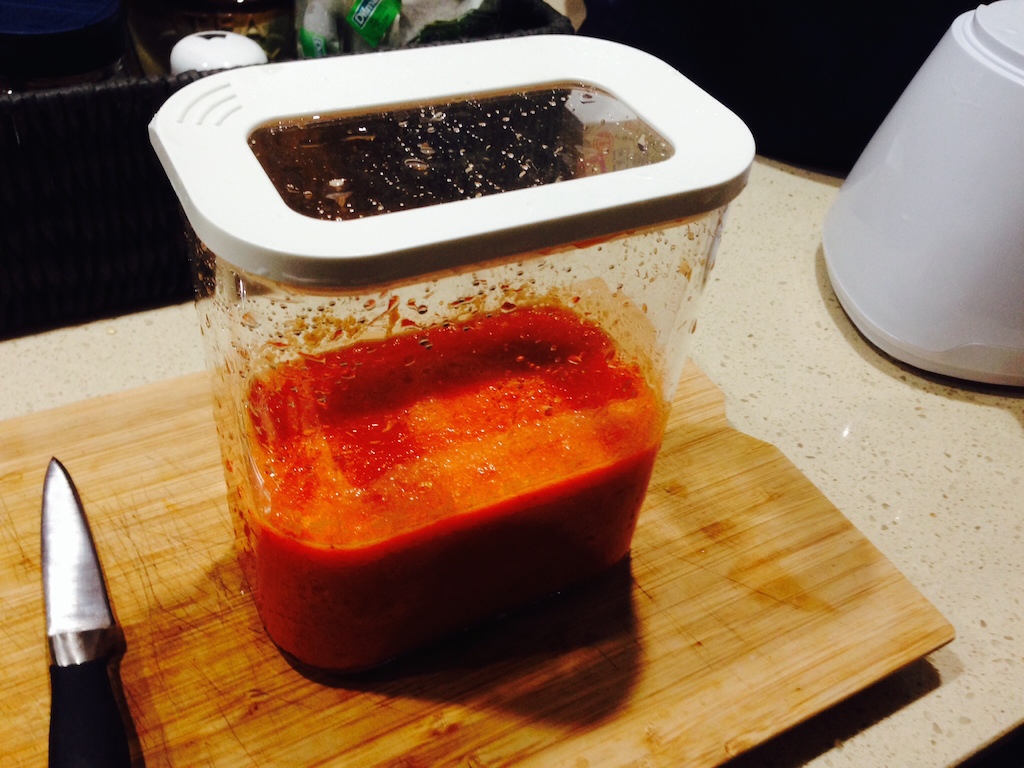
REMEMBER TO WAIT A WEEK BEFORE PROCEEDING TO THE NEXT STEP.
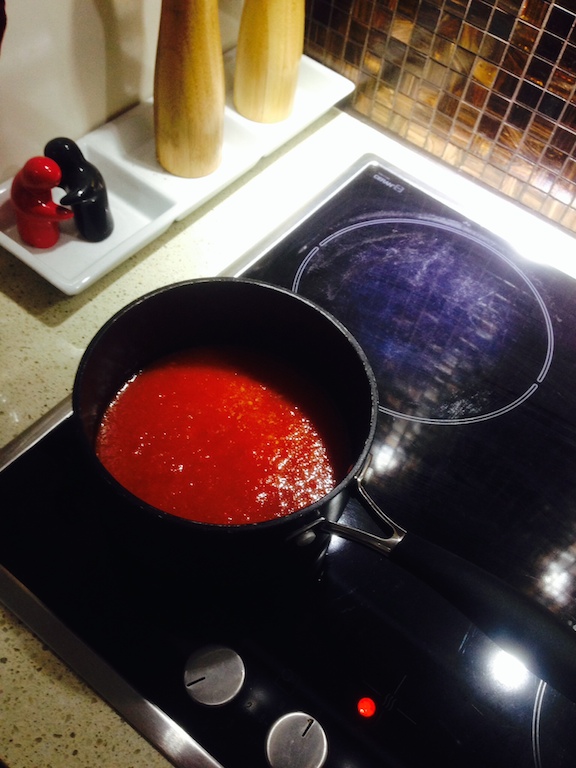
7. Transfer the mixture into a small pot and add 6 shots of vinegar (this is about half a cup).
8. Bring to a boil and turn the heat down to medium and let it simmer until the mixture is reduced to the desired consistency. For me this took around 40 minutes.
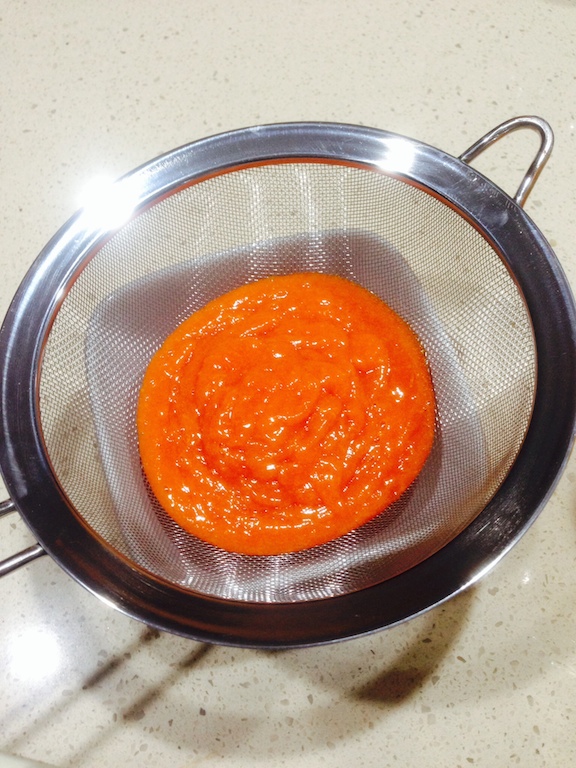
9. Blend the mixture again to make it really smooth and pasty.

10. Push the mixture through a strainer to remove any big bits of pulp left over. This is best done using the back of a tablespoon.
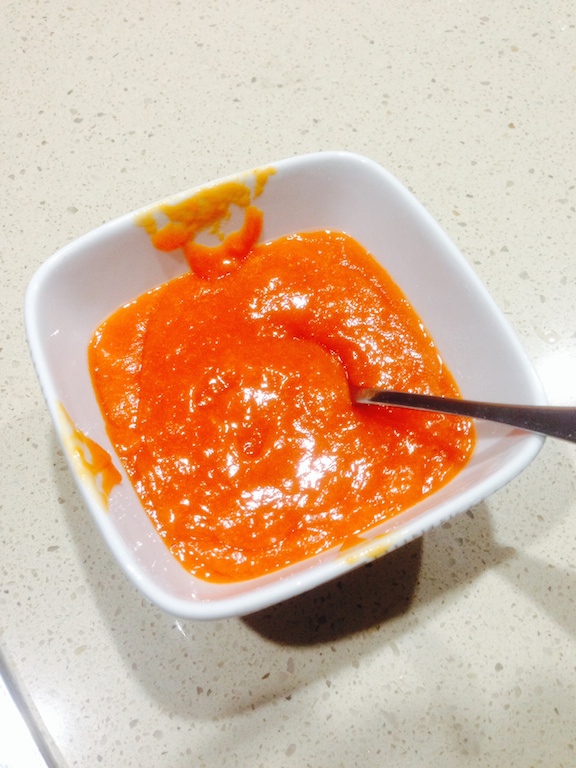
11. Bottle the finished product!
This was my first attempt at making anything more complicated than a ground up powder with my chillies, I think next time I will do it differently, perhaps adding the vinegar for the fermentation step before leaving it for a week. Nonetheless, this came out tasting great and it really is a sneaky heat too, the flavour is quite nice and consistency is great. Next step is to get my chilli loving friends to try it out!
-i
