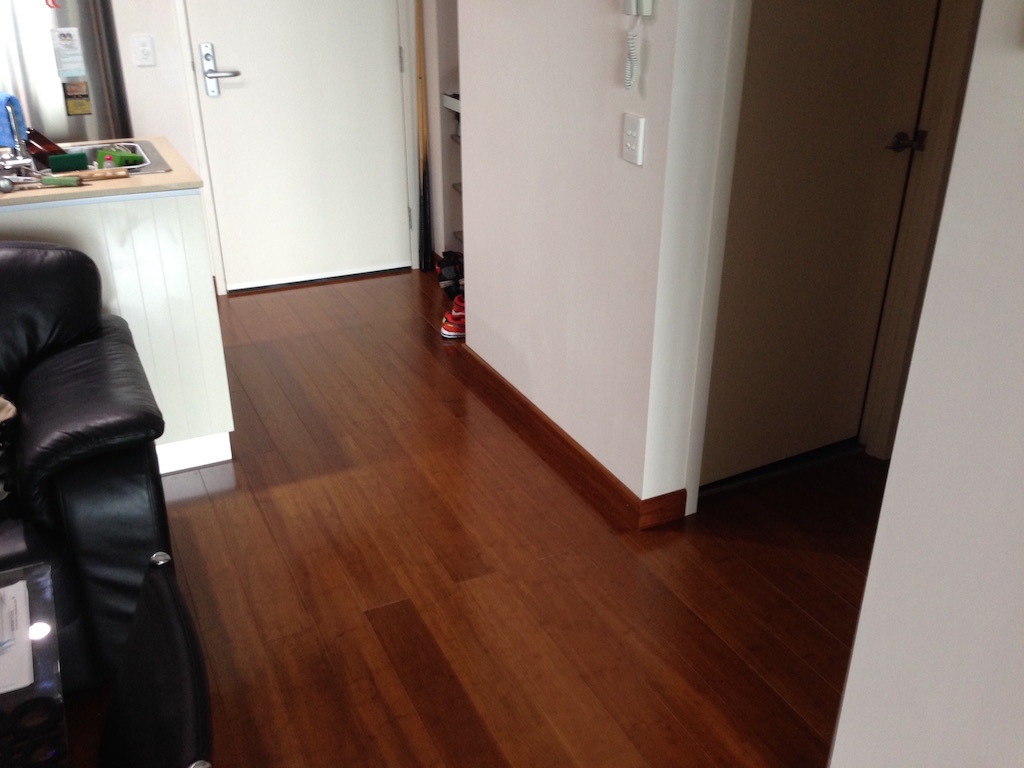
This was the final result:
Here's how I got to it...
I had a cabinet maker cut the boards to the correct size and shape. This left a rough top end which had to be treated to be presentable. This is what the boards looked like after they were all cut:
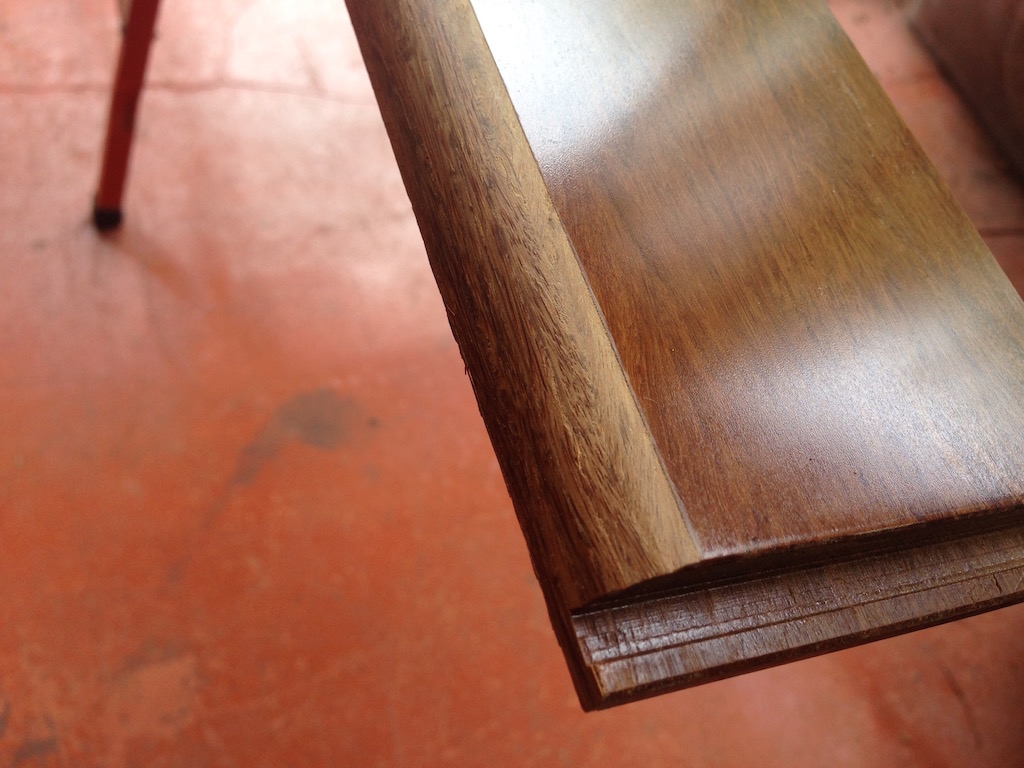
The rest of the board was already coated in varnish/wax from the manufacturer, it is a semi-gloss finish. I went for a full gloss finish for the bullnose end of the board. Even after one coat of the clear varnish, the results were fantastic. This first coat was applied using a brush and then any excess varnish was cleaned off the board using mineral turpentine.
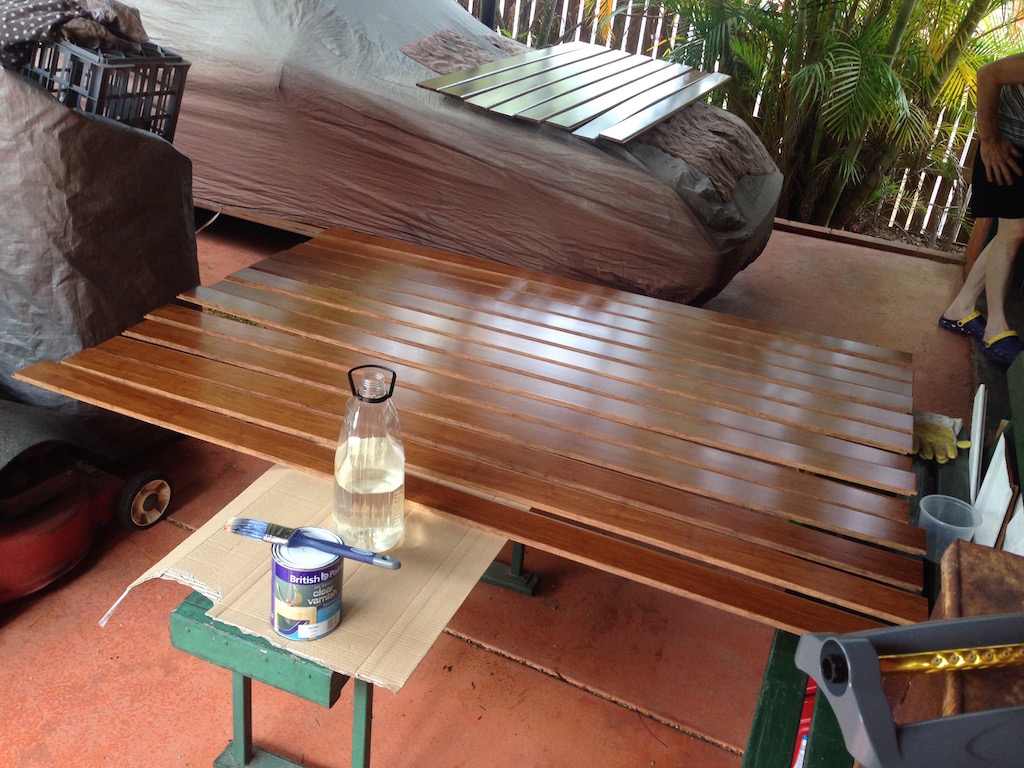
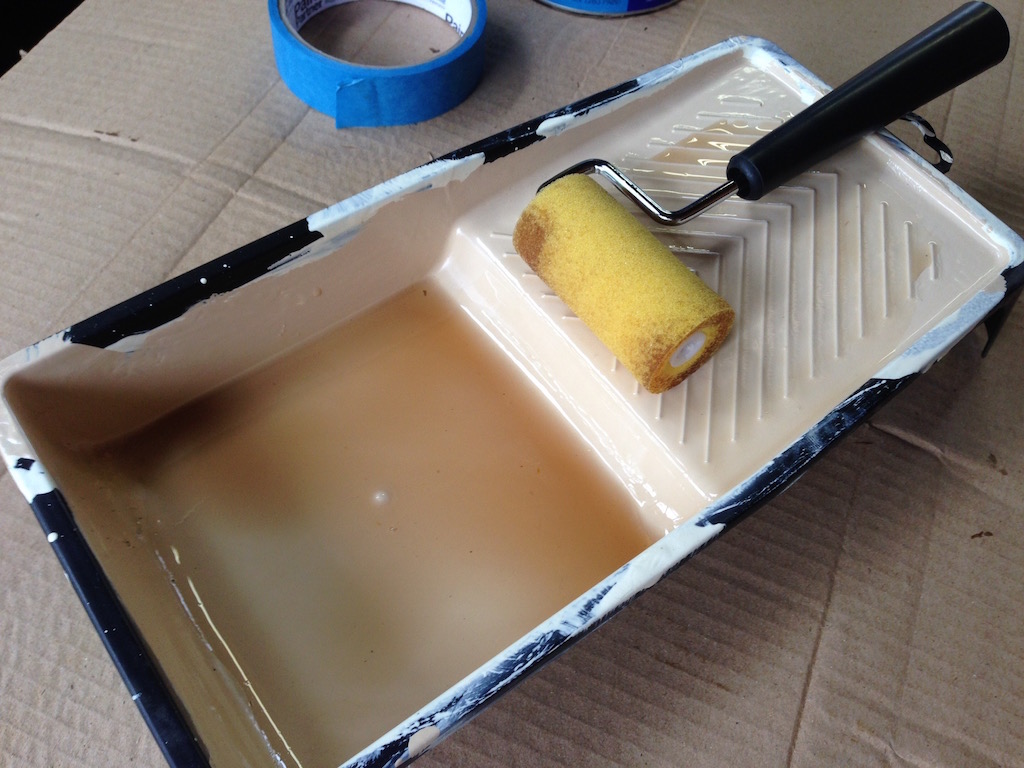
Once the boards were dry, I sanded the top end using some foam backed 180 grit sandpaper. After sanding, the second coat was to go on. I decided to take a different approach with this coat. Instead of applying it by brush and cleaning the excess, I masked off the edge and applied the coat using a roller.
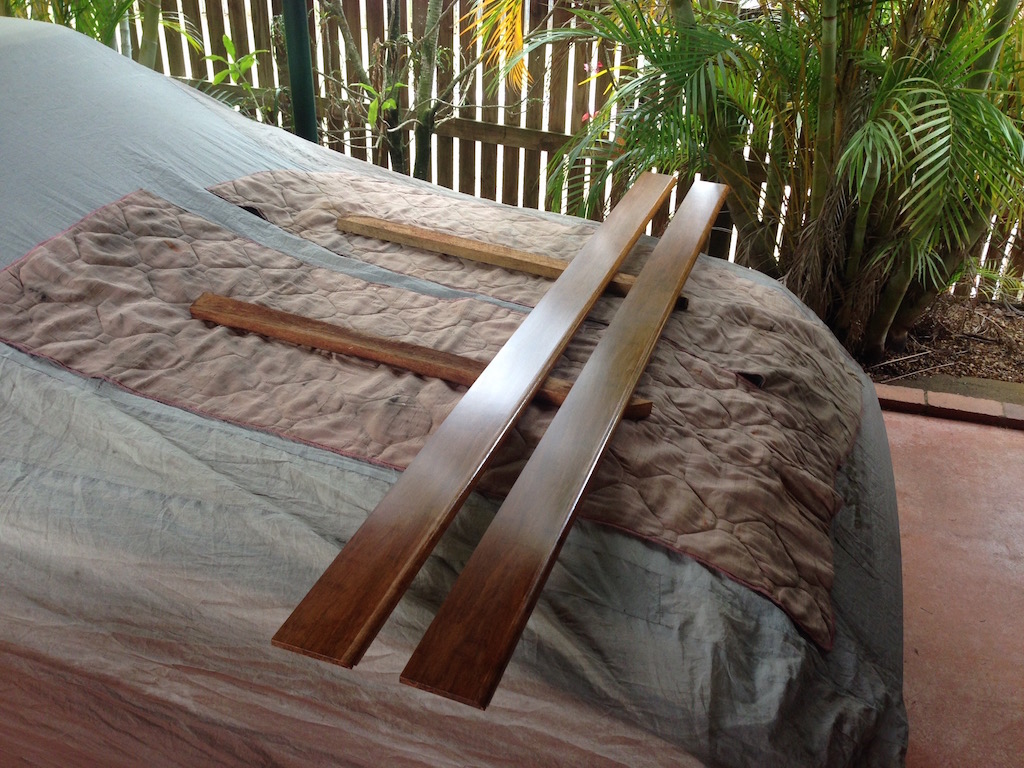
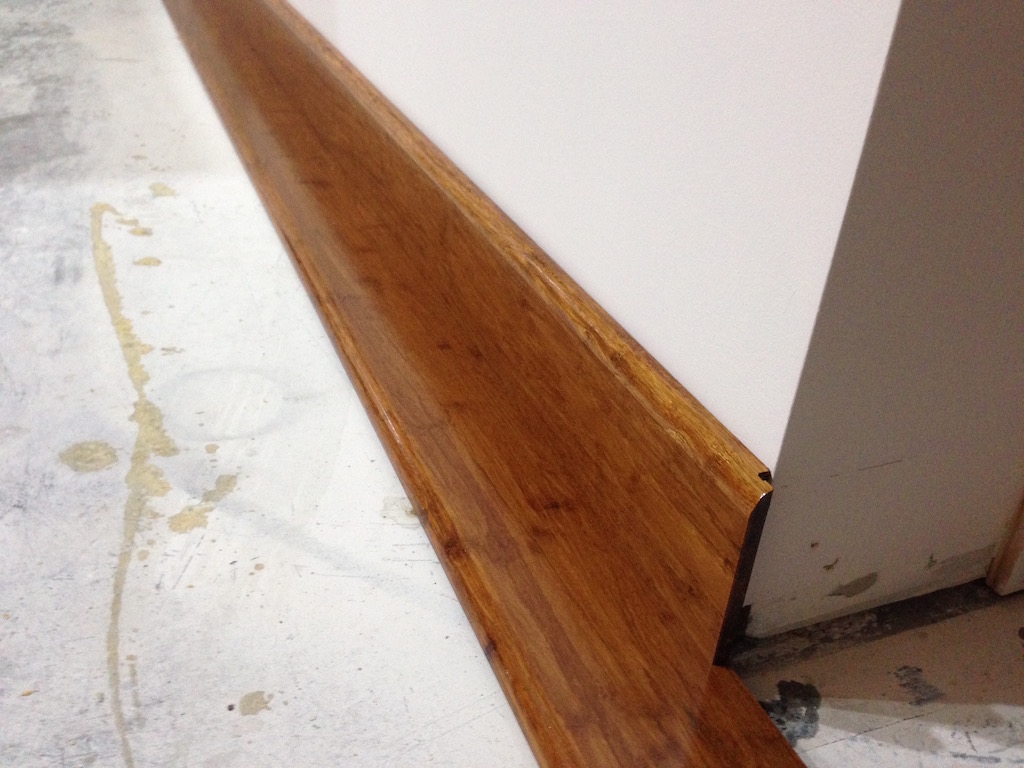
Here's what the board looked like after sanding the first coat. It's almost a perfect finish already, however I wanted it to be shiny.
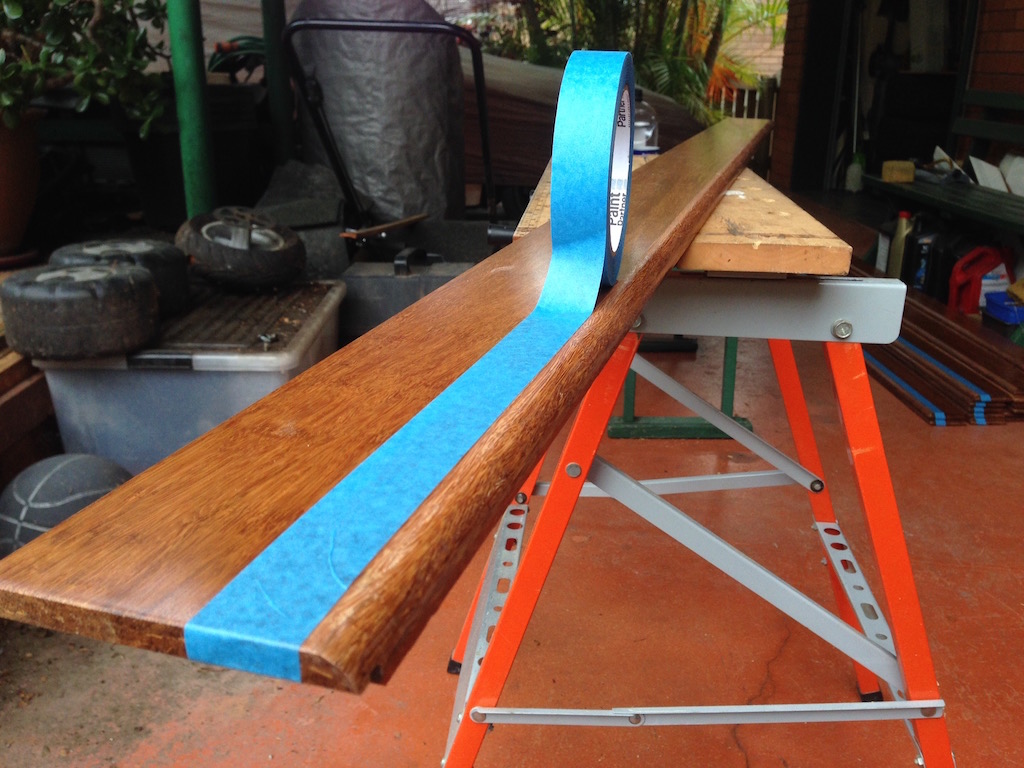
Using the roller, I applied the second coat, then smoothed out the varnish using a brush. Peeling the masking tape off leaves a nice sharp edge. I took the masking tape off as soon as I have smoothed the varnish over with a brush so that it could settle better without a visible edge between the varnish and the rest of the board.

After all the boards were dry following the second coat, I did a test fit. It looked amazing already. Third coat was not required.
...and now a comparison of the installed flooring without and with the skirting.
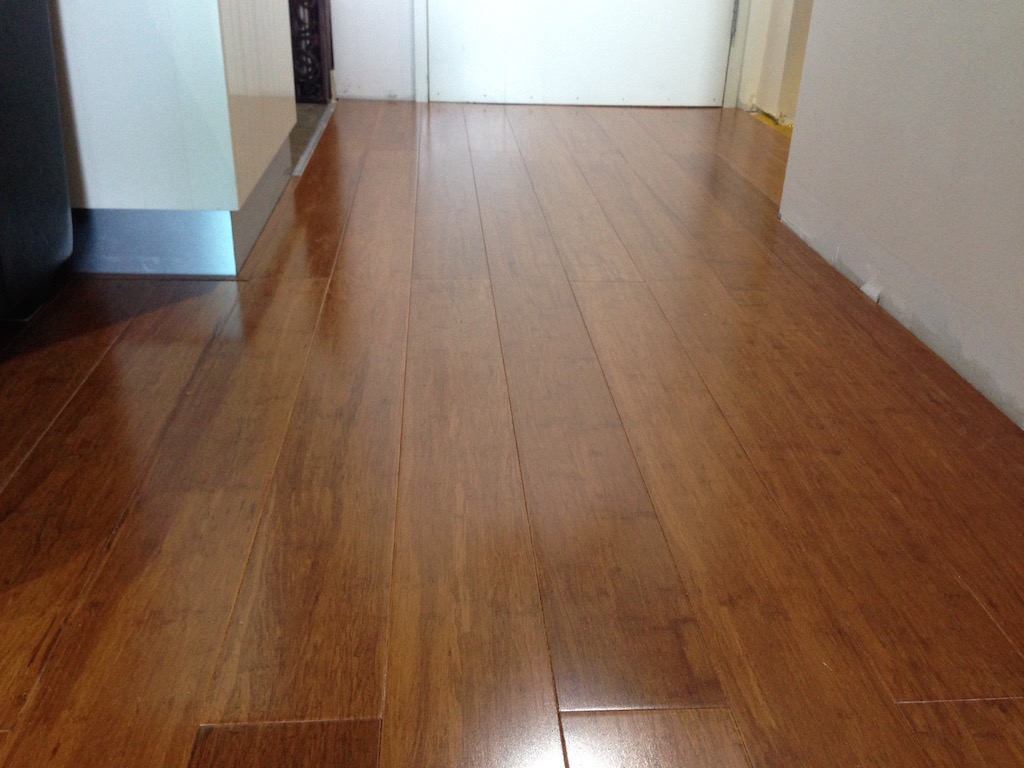
It was quite a bit of extra work to get this skirting made, but it perfectly matches the floor and covers up the space where old skirting was removed. I'm glad that I went for a gloss finish on the top of the board, it really catches the light and makes the floor shine.
Another advantage of using floor boards to make the skirting is that on long sections of wall you don't have to worry about the boards aligning properly as they already have the groove and lip of the original floor board, so they easily lock into place.
-i
