I've put mine to use as a media streamer, replacing my Apple TV 2 in the process. I'll write about that later, but first I thought that I'd share some photos. The raspi and the case both came from RS Components, which deliver next day, the service is amazing and the prices are very fair.
Without further ado, here are the photos...
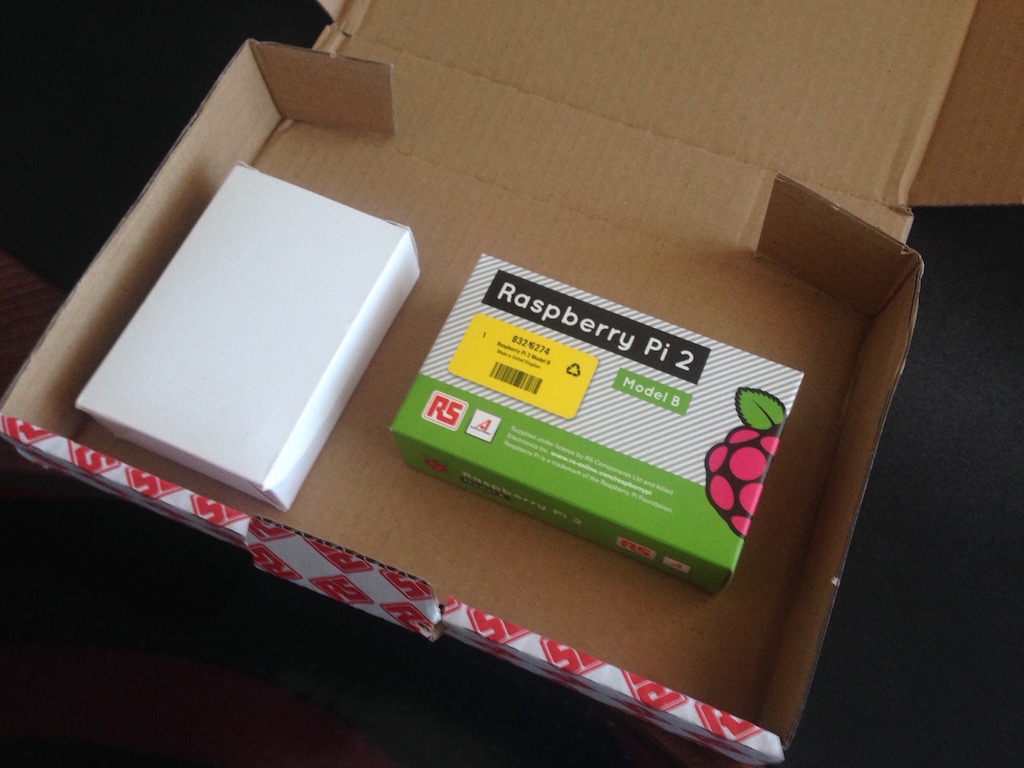
The raspi and the case actually arrived in two separate packages, not sure why it was dispatched like that, but there you go, the parcel box that the raspi was in had plenty of room to fit the case as well, which arrived in a separate bubble wrap envelope.
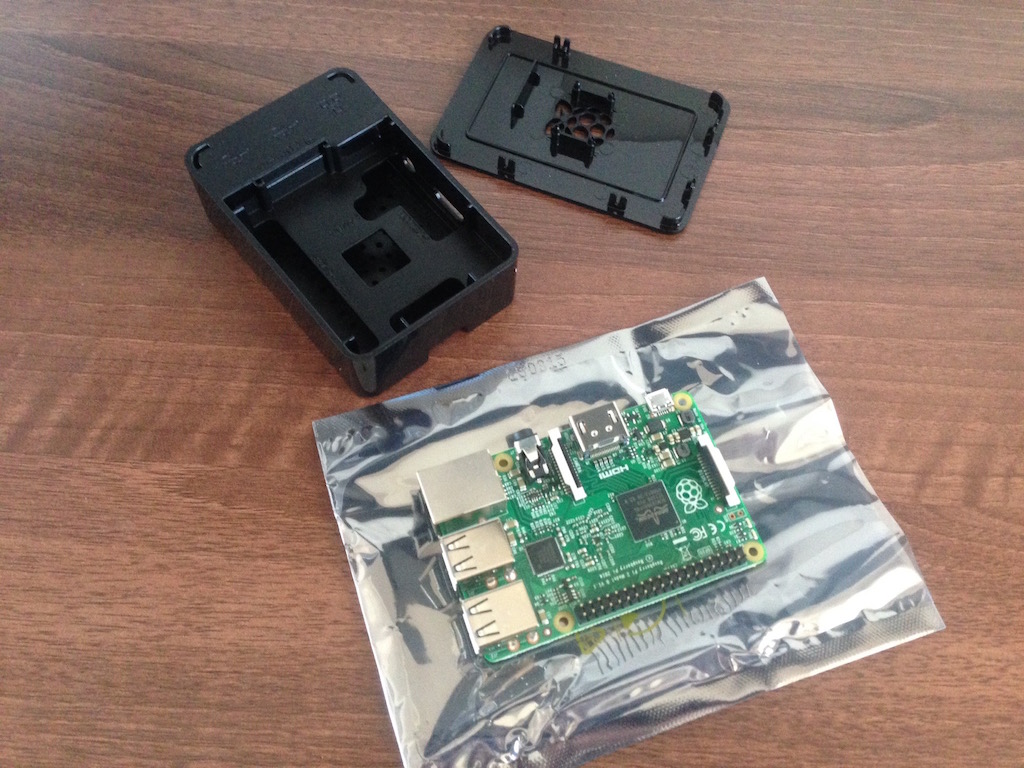
Opening up both boxes we get to the interesting parts, the case splits apart quite easily into three parts, the bottom, middle and top sections, the raspi came in an anti-static bag.
The first attempt at putting the raspi into its case failed because I didn't notice that it has to slot into the bottom section first, which is then fitted to the middle section, but after I realised this, it all came together nicely
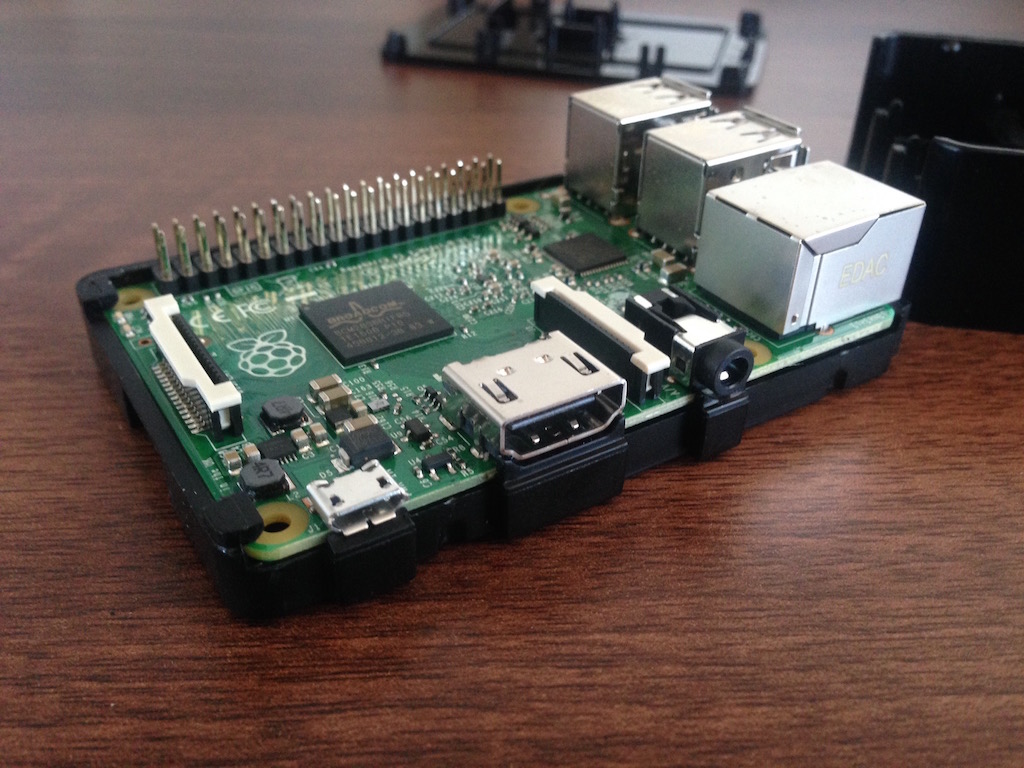
Once you slot the bottom section in, everything is a perfect fit.
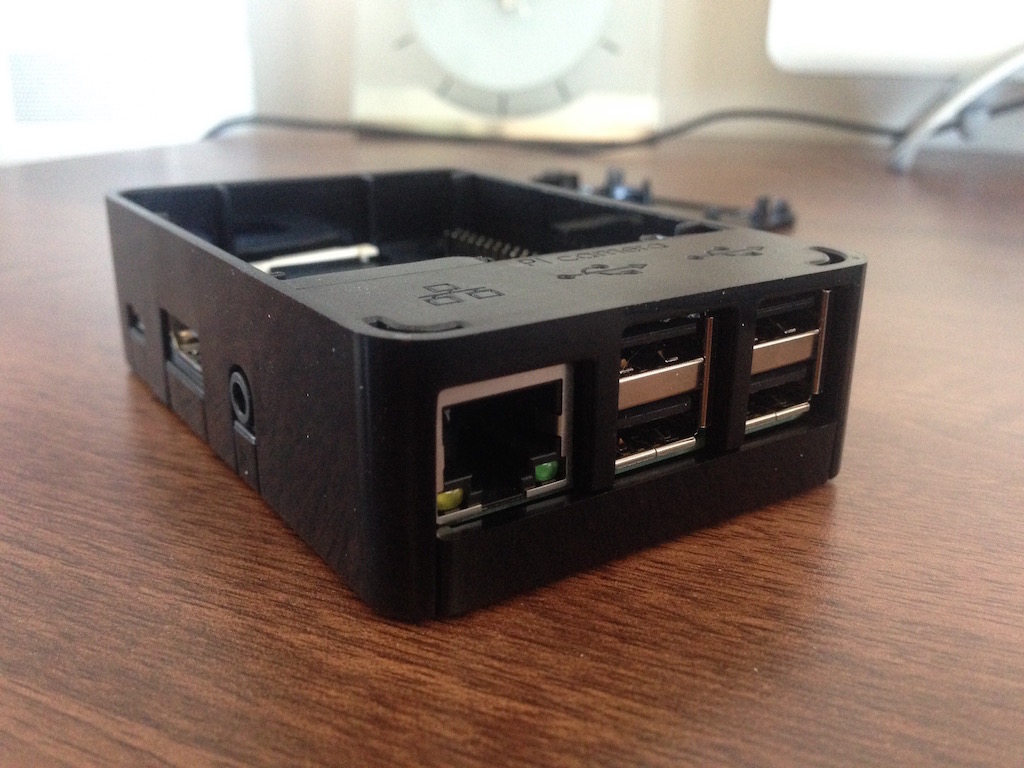
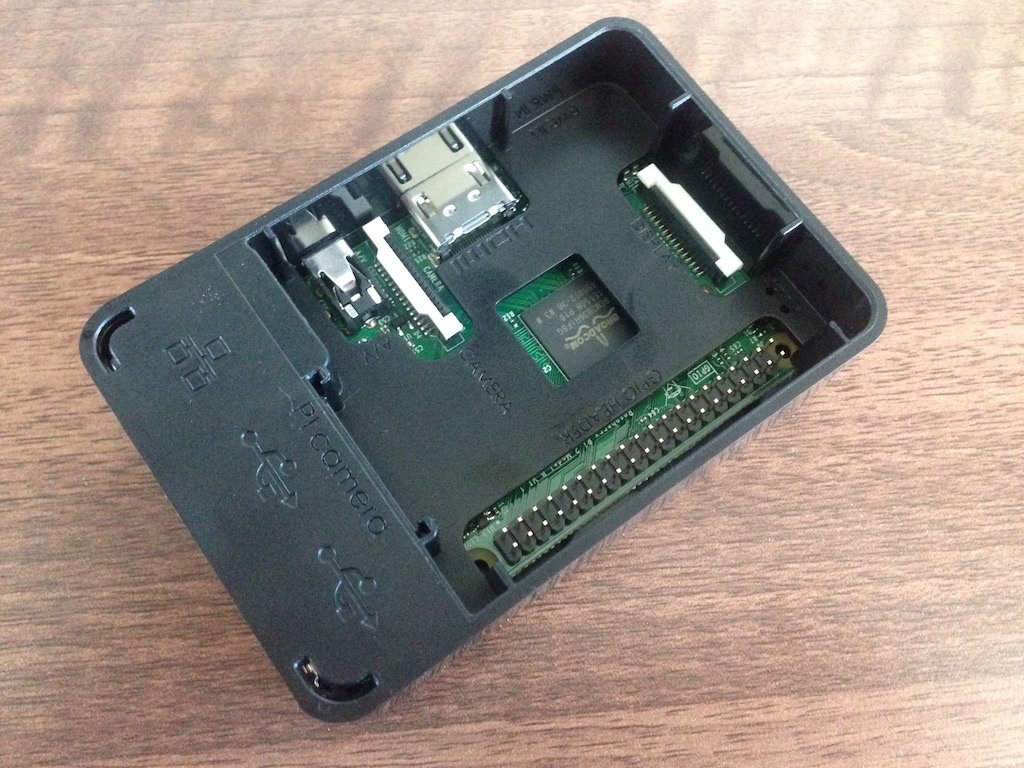
Even while in the case, all the GPIO pins, camera and display headers are easily accessible. The top cover comes off easily.
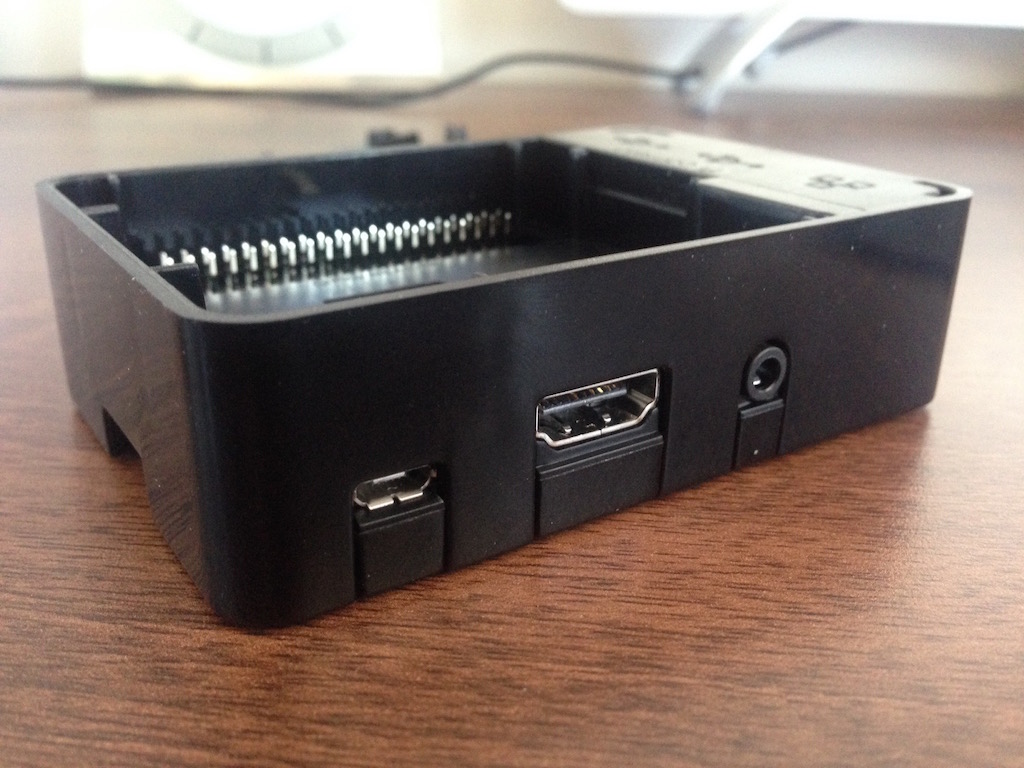
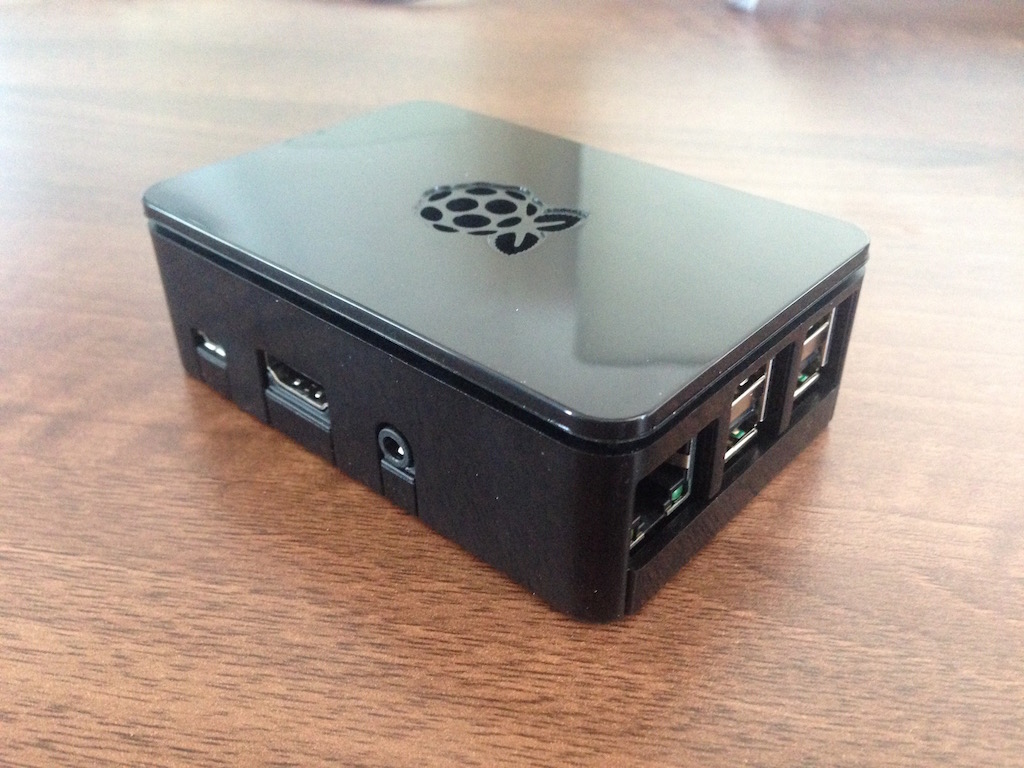
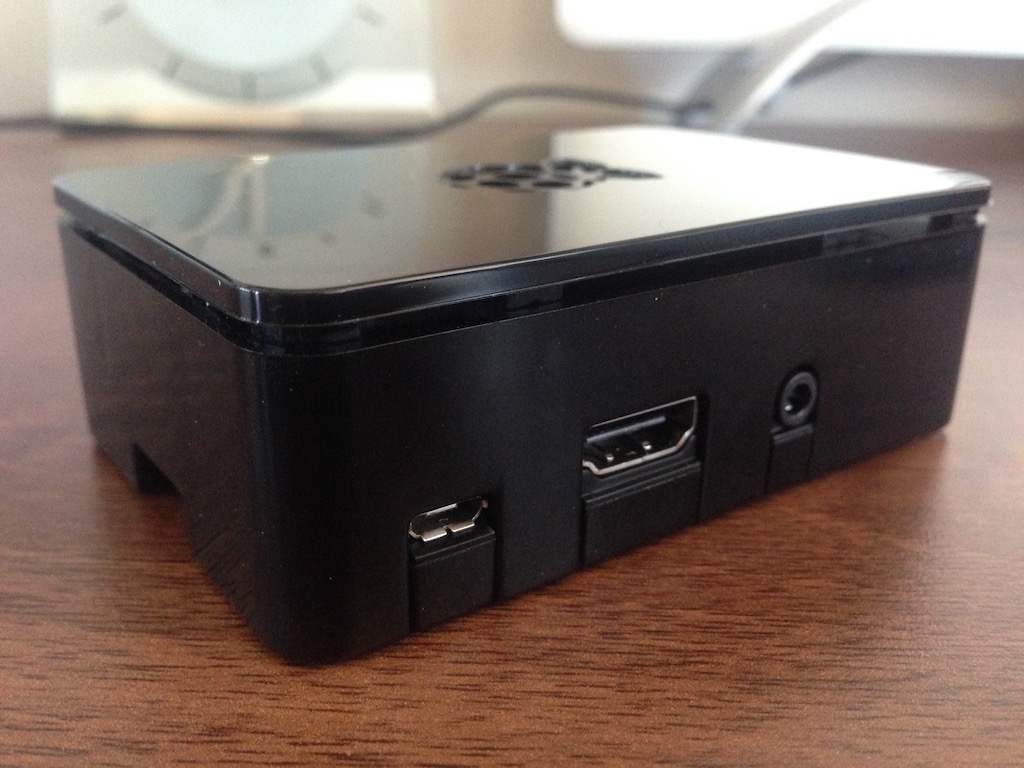
With the top cover fitted, there is a gap between the middle section and the actual lid, this would be useful if you had wiring going into the case as you won't need to drill any more holes. It will also help with any heat dissipation. The Raspberry Pi logo is cut through the case too, so that can be used for a similar purpose.
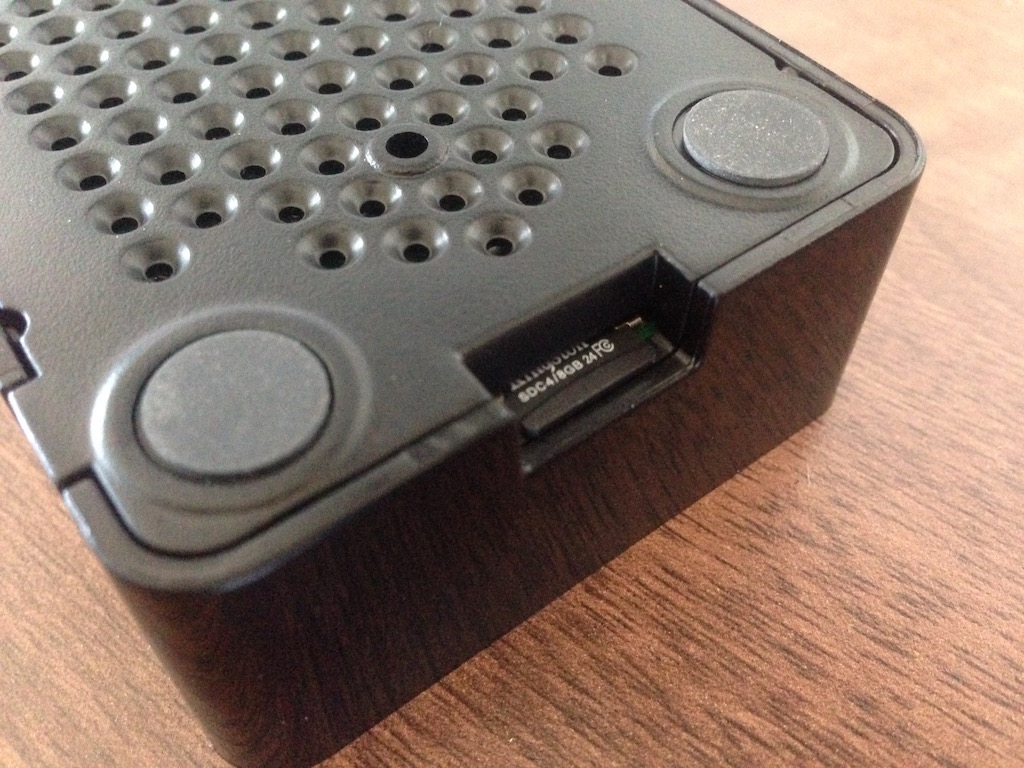
The SD card is easy to get to at the bottom of the case, it's location is very concealed at the same time so it doesn't get in the way. The first time I pushed my SD card in however, I totally missed the actual slot and it ended up being jammed between the case and the raspi, it's much easier to put the card in while the raspi is out of the case.
That's it for now, enjoy!
-i
