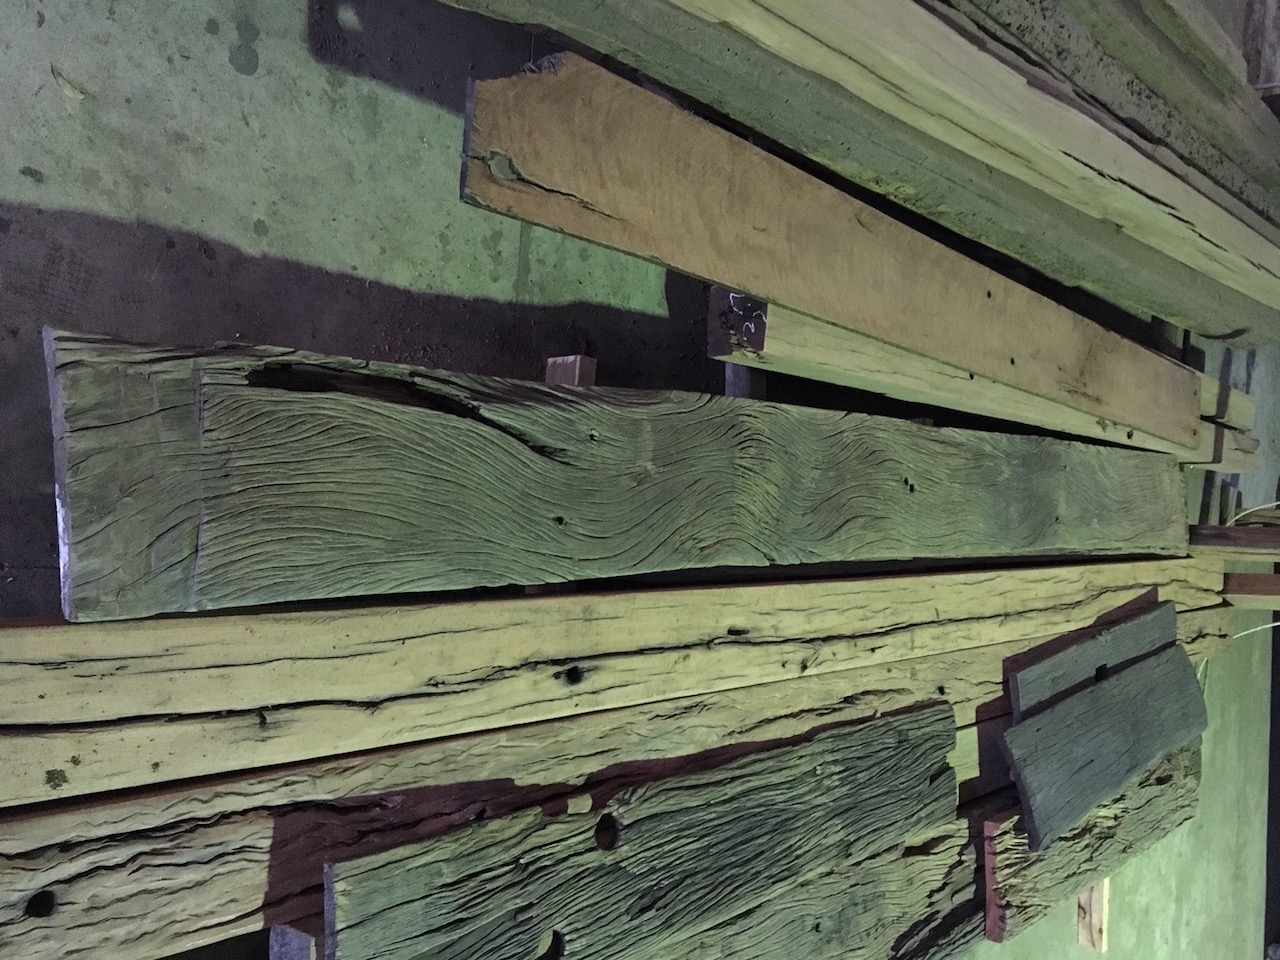
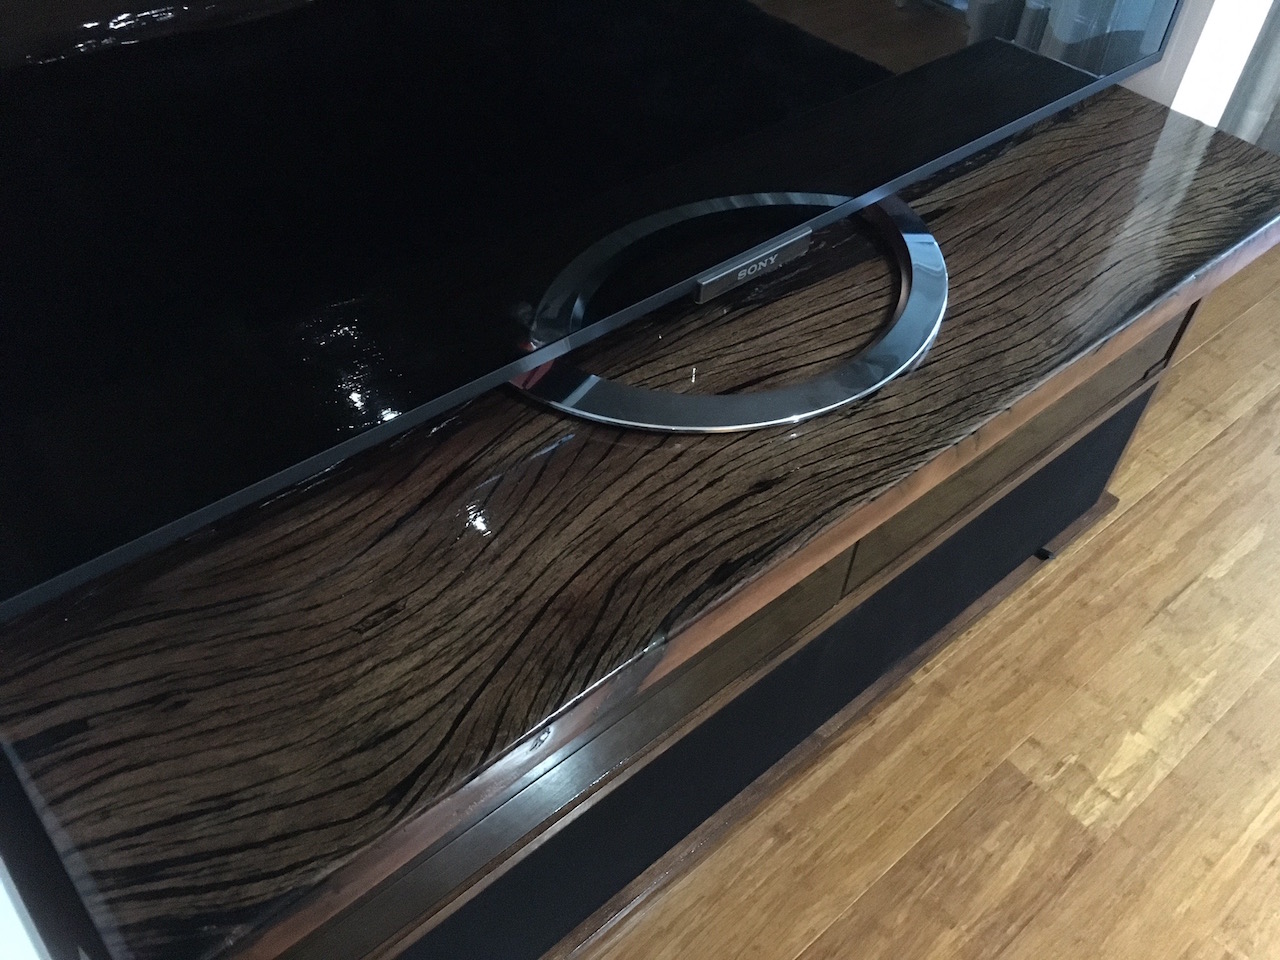
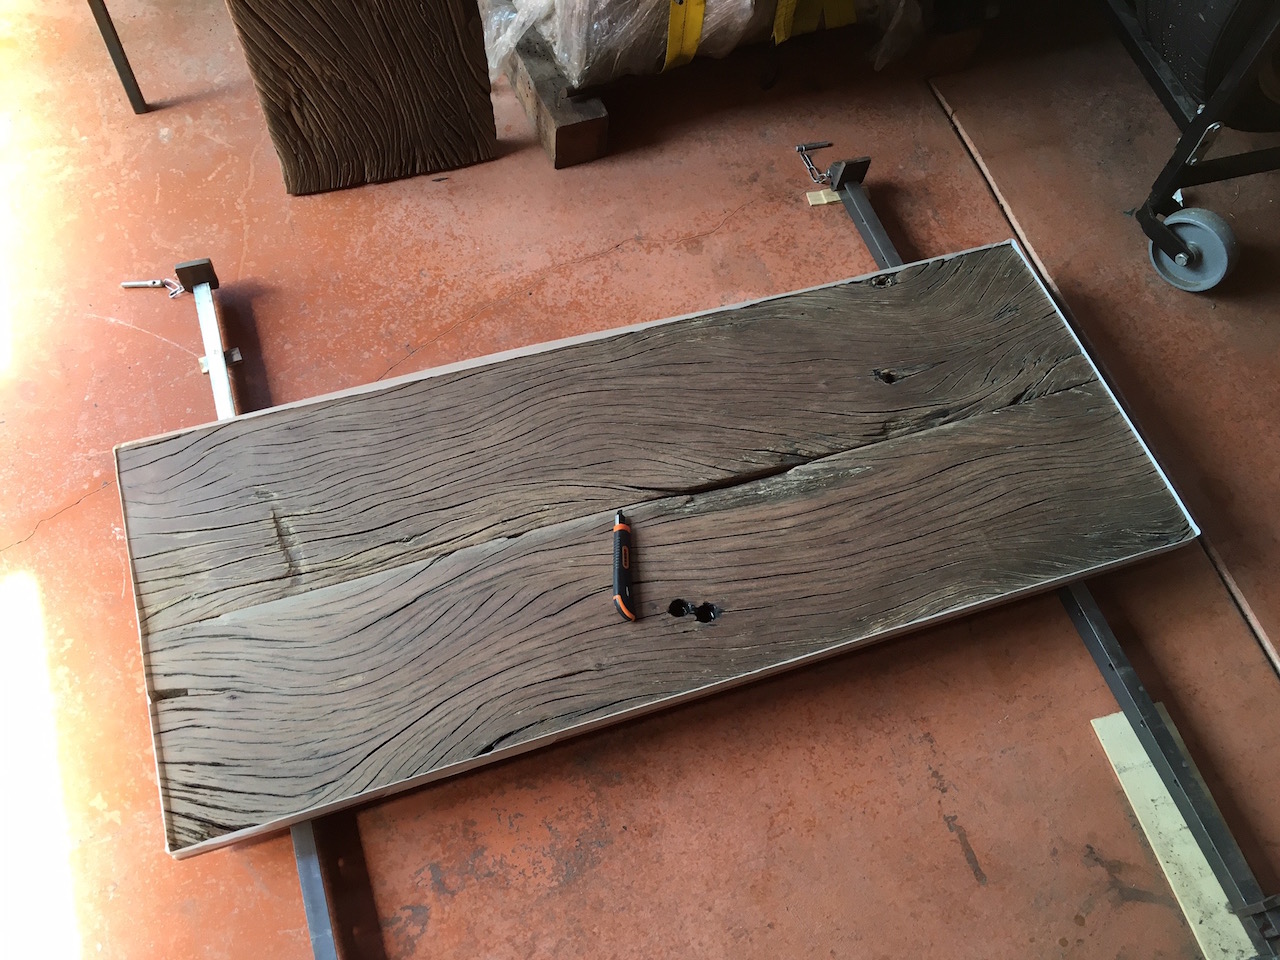
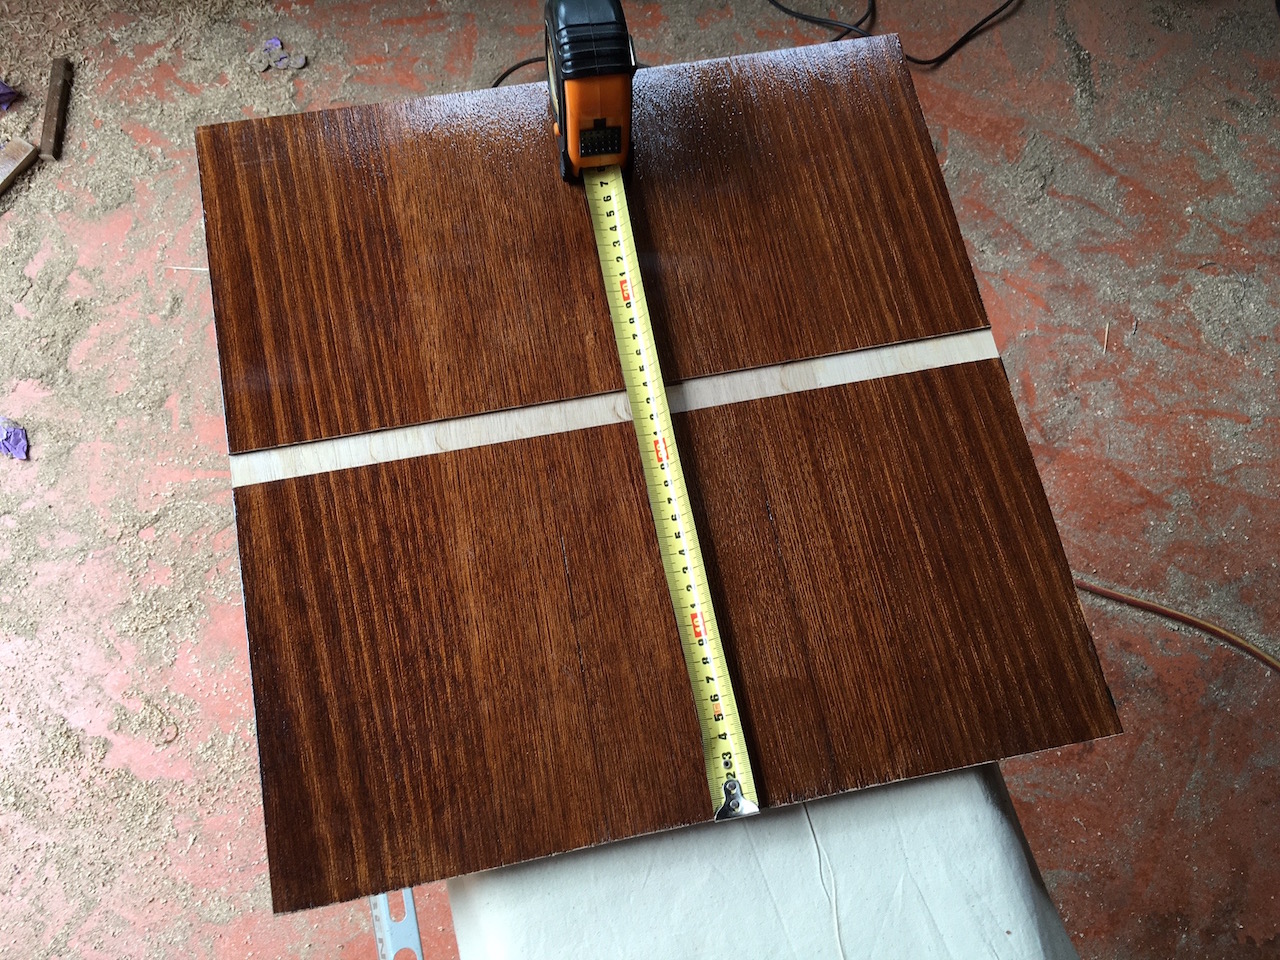
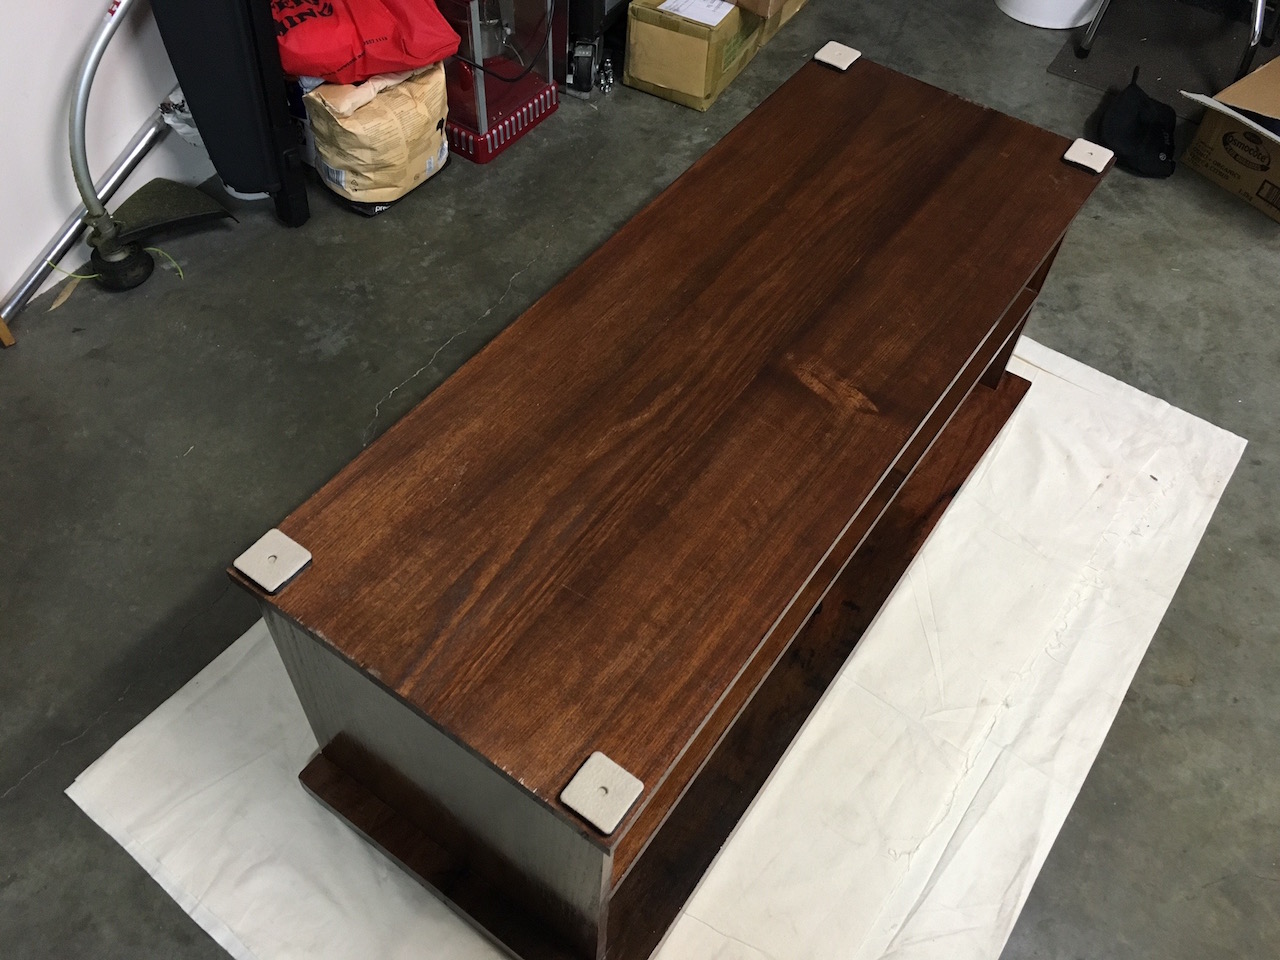
To give you an idea, I took the piece of wood shown in the photo on the left and made it into the TV unit shown in the photo on the right.
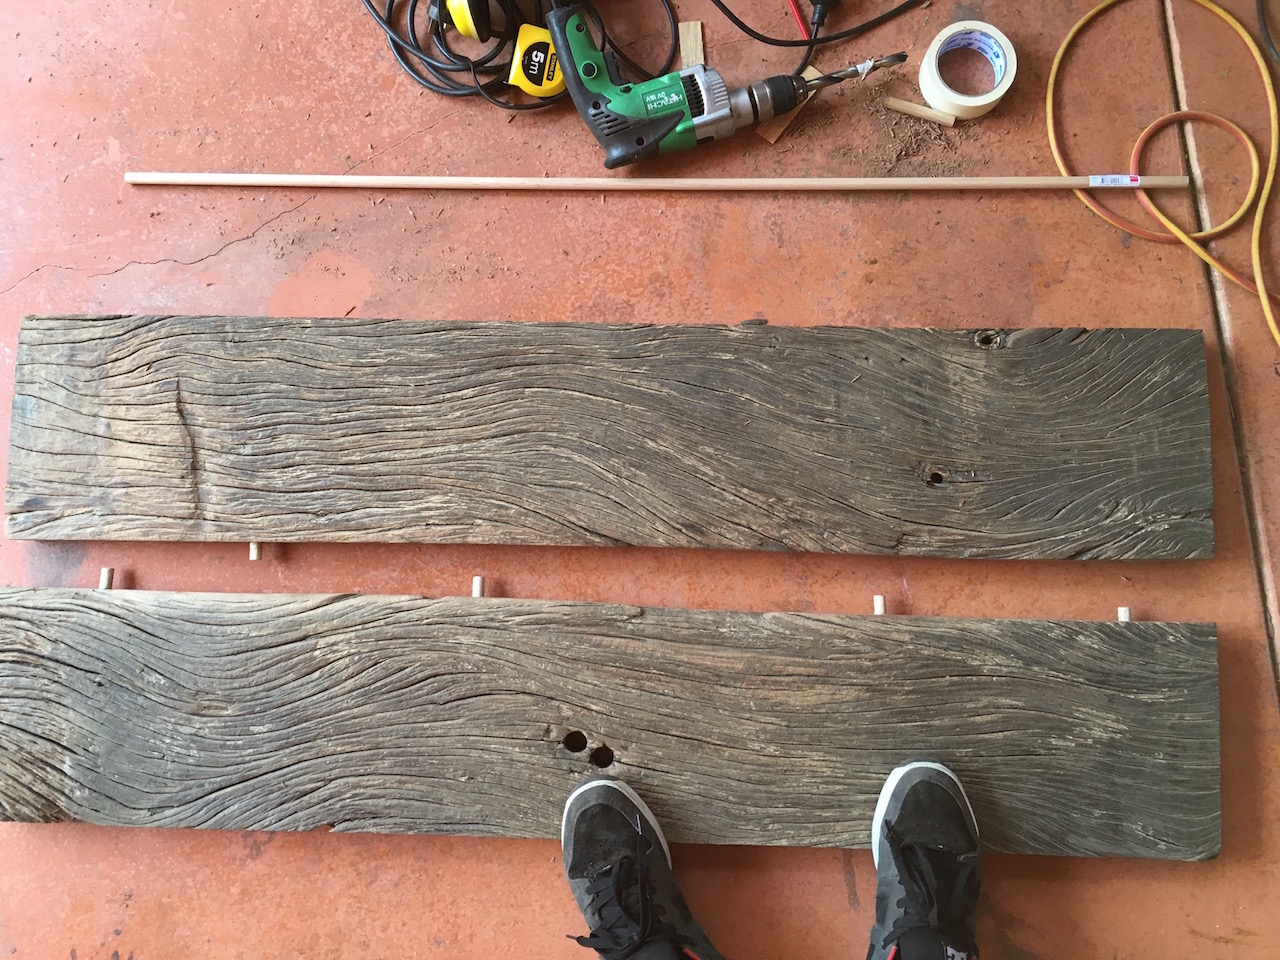
The first thing I did was to have the wood cut down to size. The place I got it from cut it roughly to my required dimensions, but I had to trim it down to exact measurements myself at home. After the two pieces were glued together and a great deal of plaining (with a power plane) went in to make the combined piece as flat as possible. There was a slight warp in the wood so it took lots of plaining to get it level.
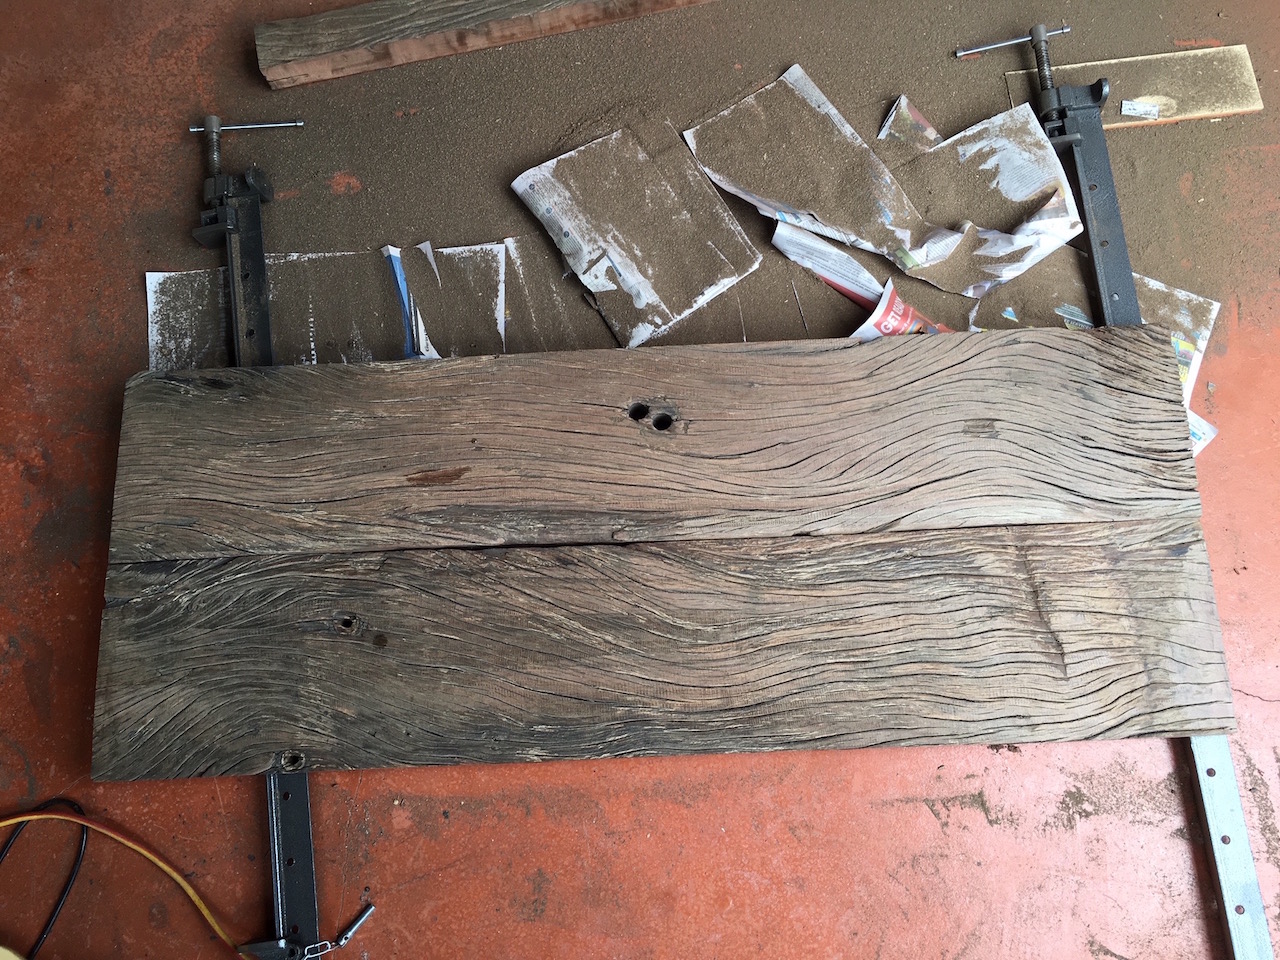
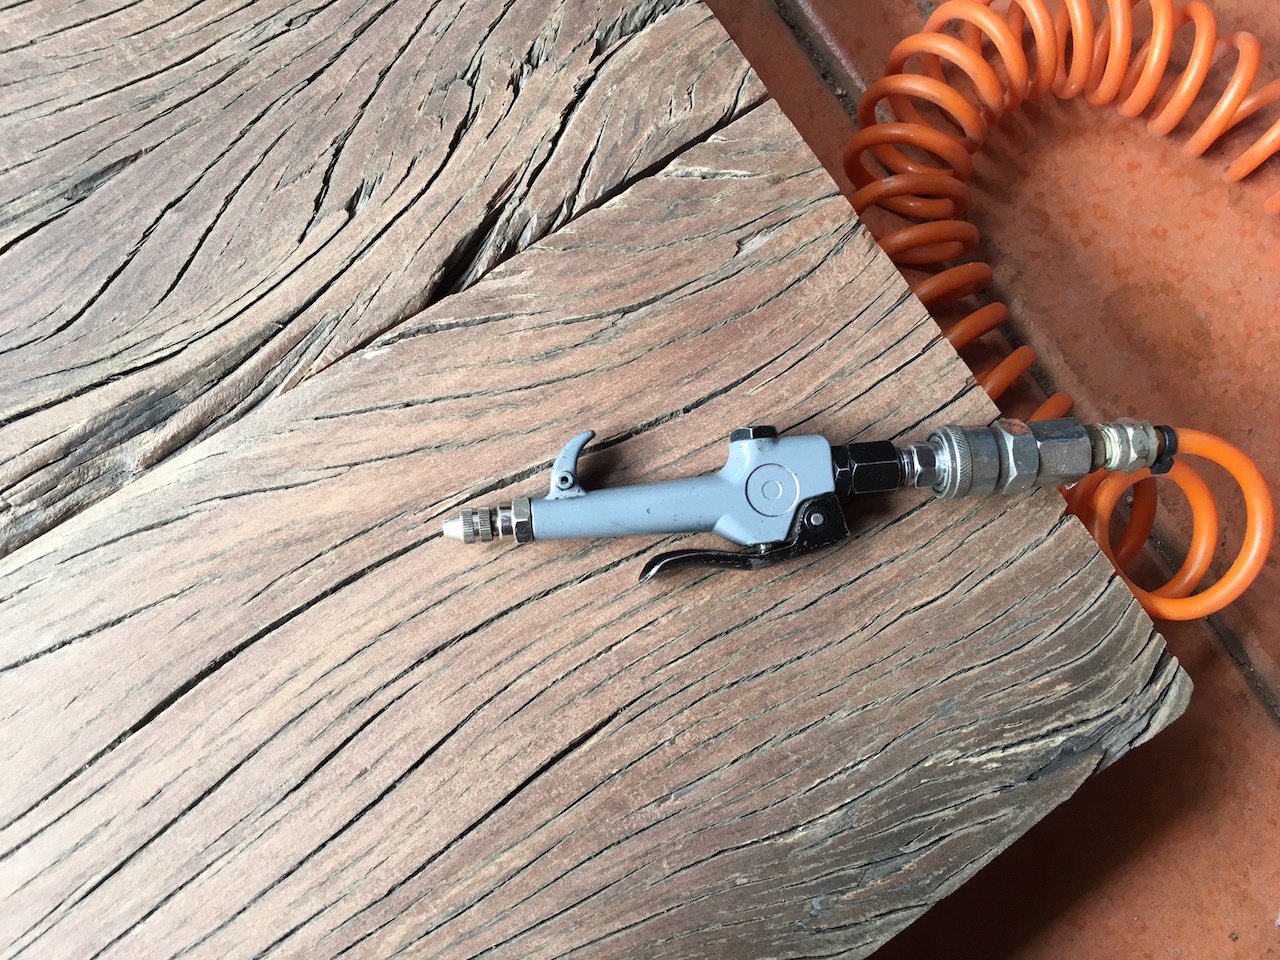
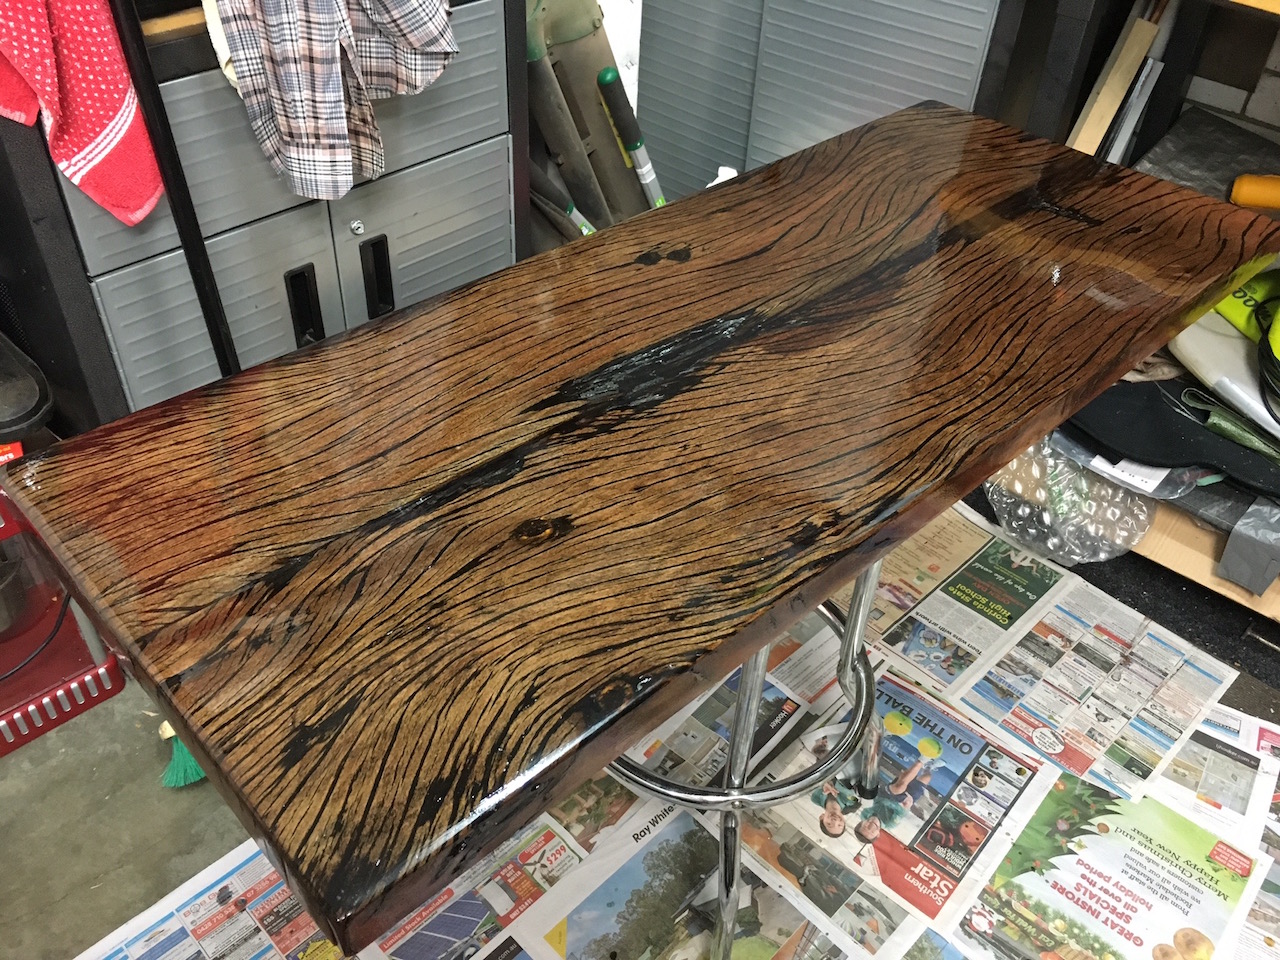
After the plaining came the task of cleaning out the cracks. This wood was water logged and so was filled with mud. I used an air compressor to blow all this out. Eventually it was all masked off and ready for pouring of the resin.
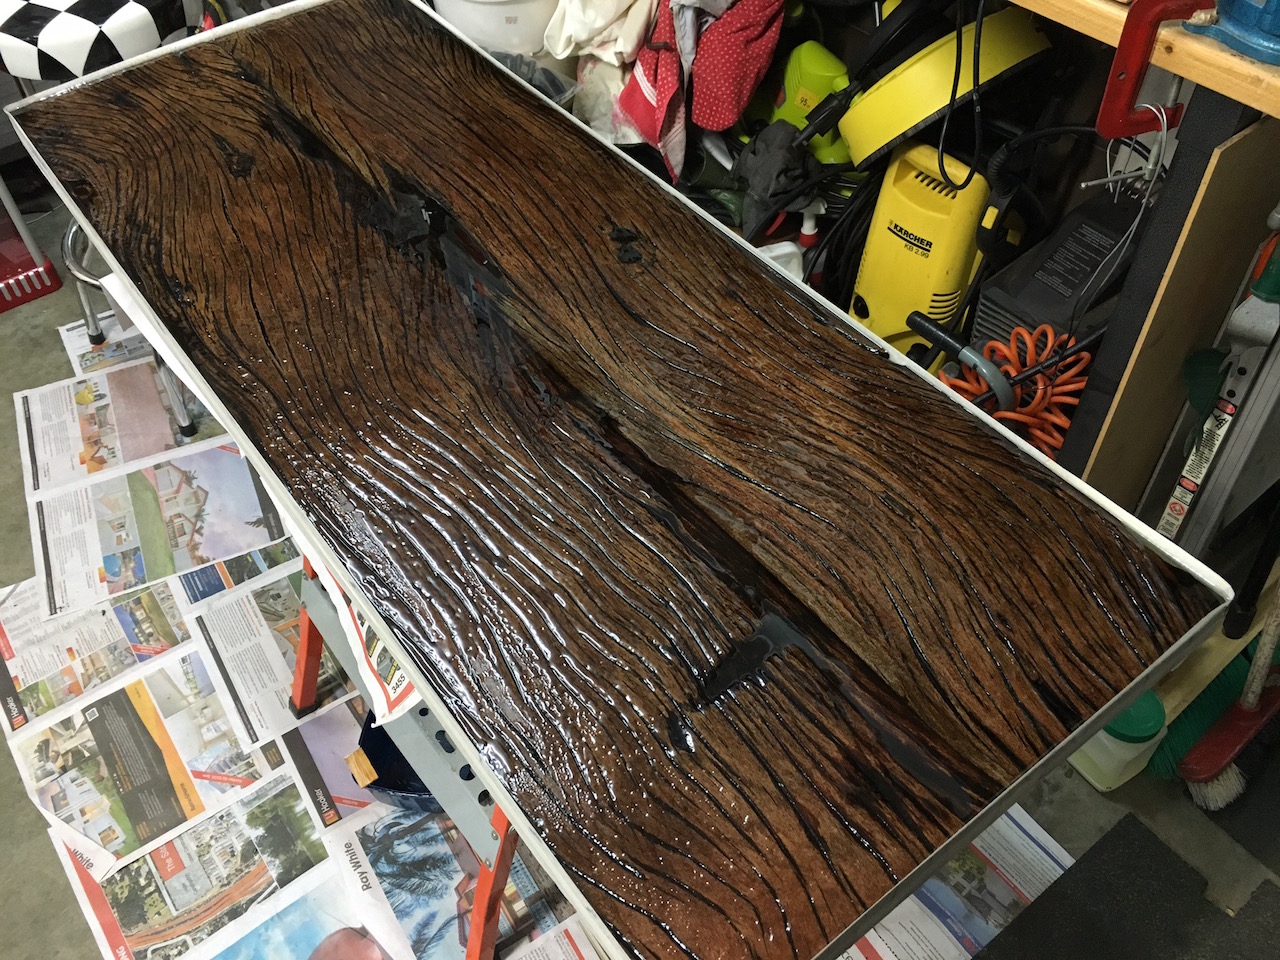
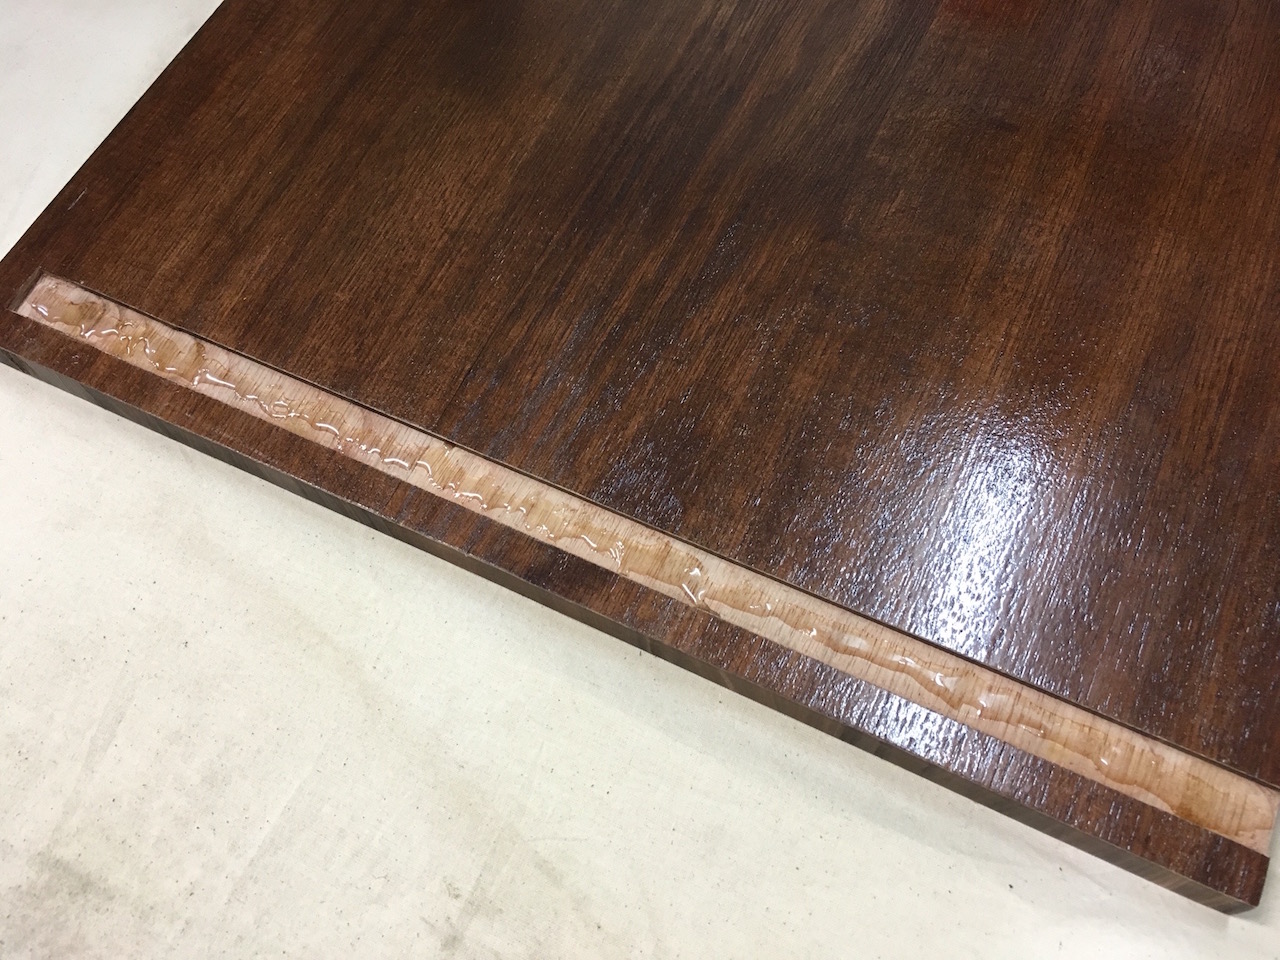
The resin was poured in stages to avoid shrinkage (however it still managed to get some shrinkage and annoying artefacts in the resin). The whole pouring process took around 2-3 weeks since each pour required about 5 days of curing time. In the end, I sanded the resin down to give me a flat surface.
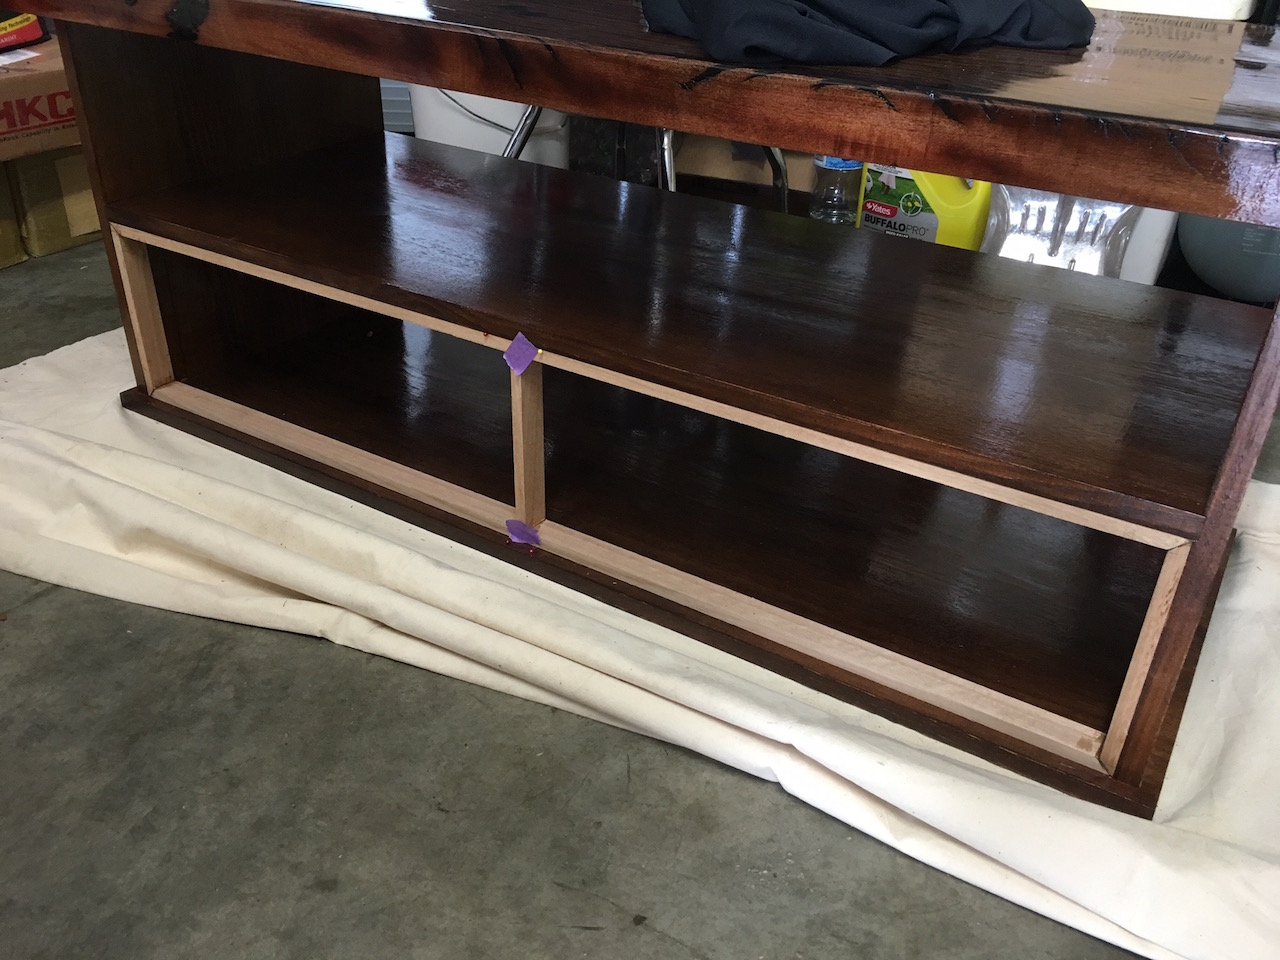
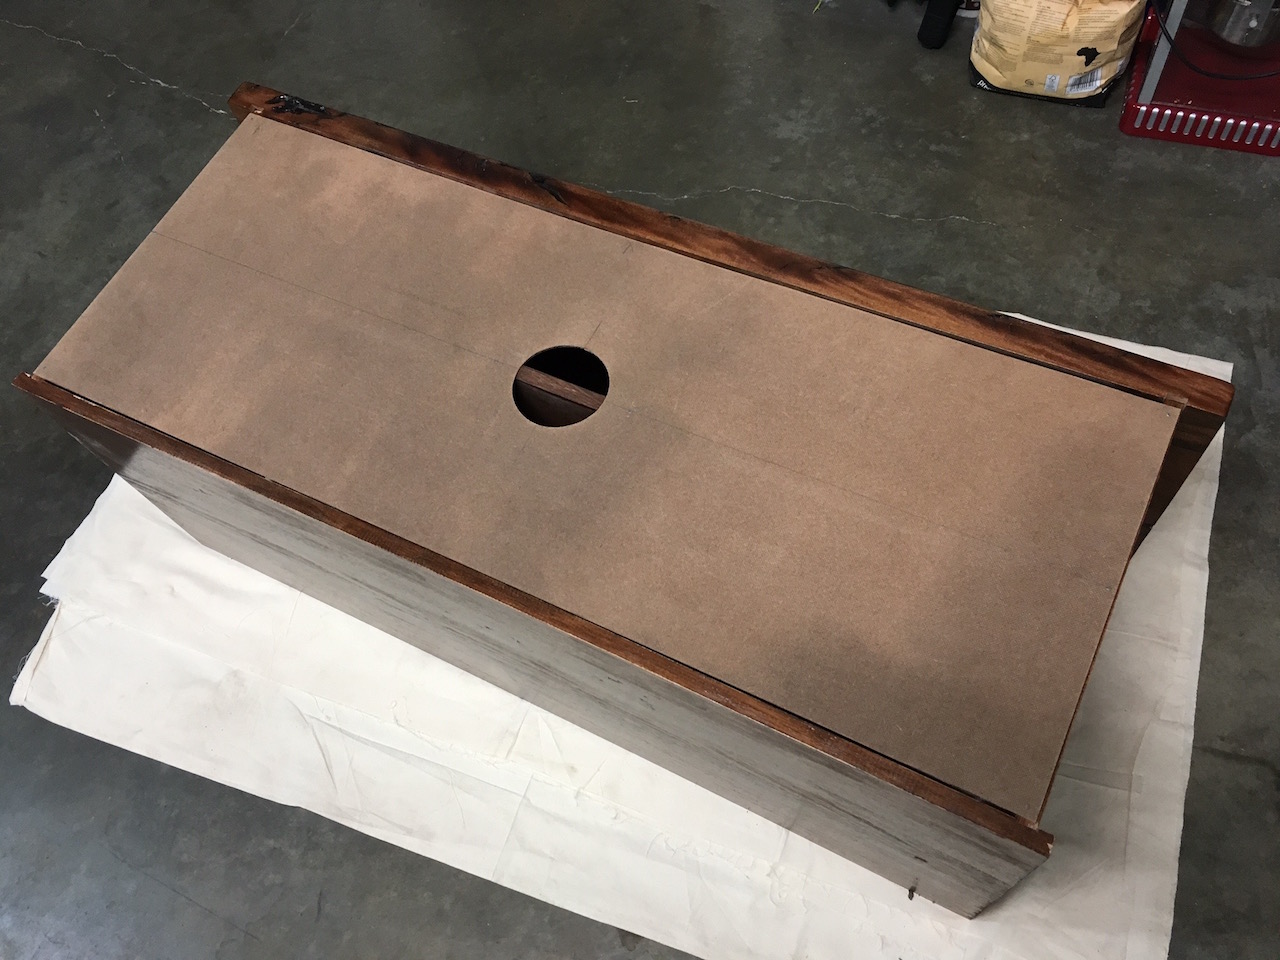
Meanwhile, I got some Oak boards from a hardware store and glued them together to make the sides, bottom and shelf for the unit.
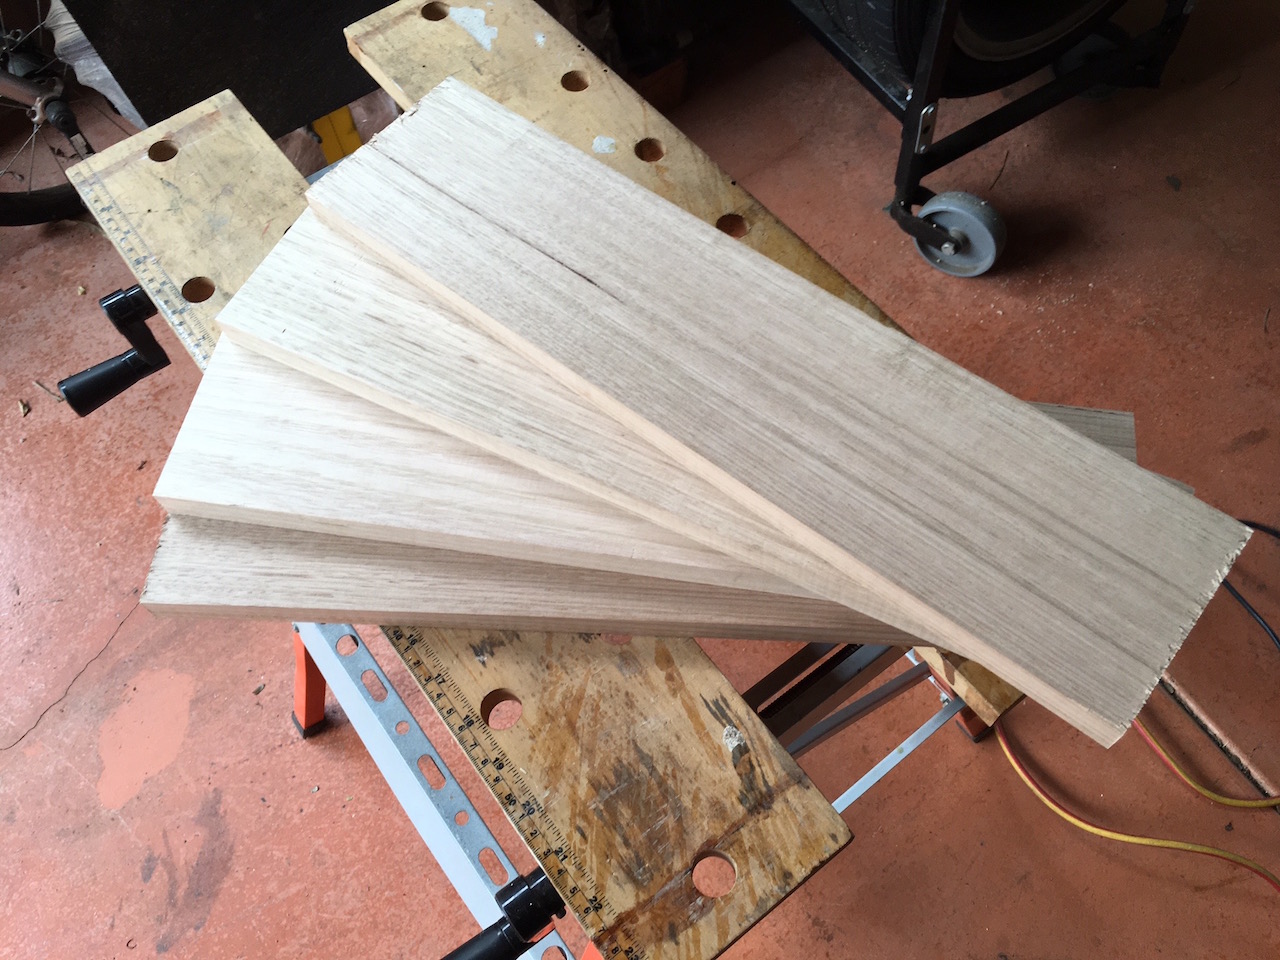

These new pieces were stained multiple times to match the colour of the top piece.
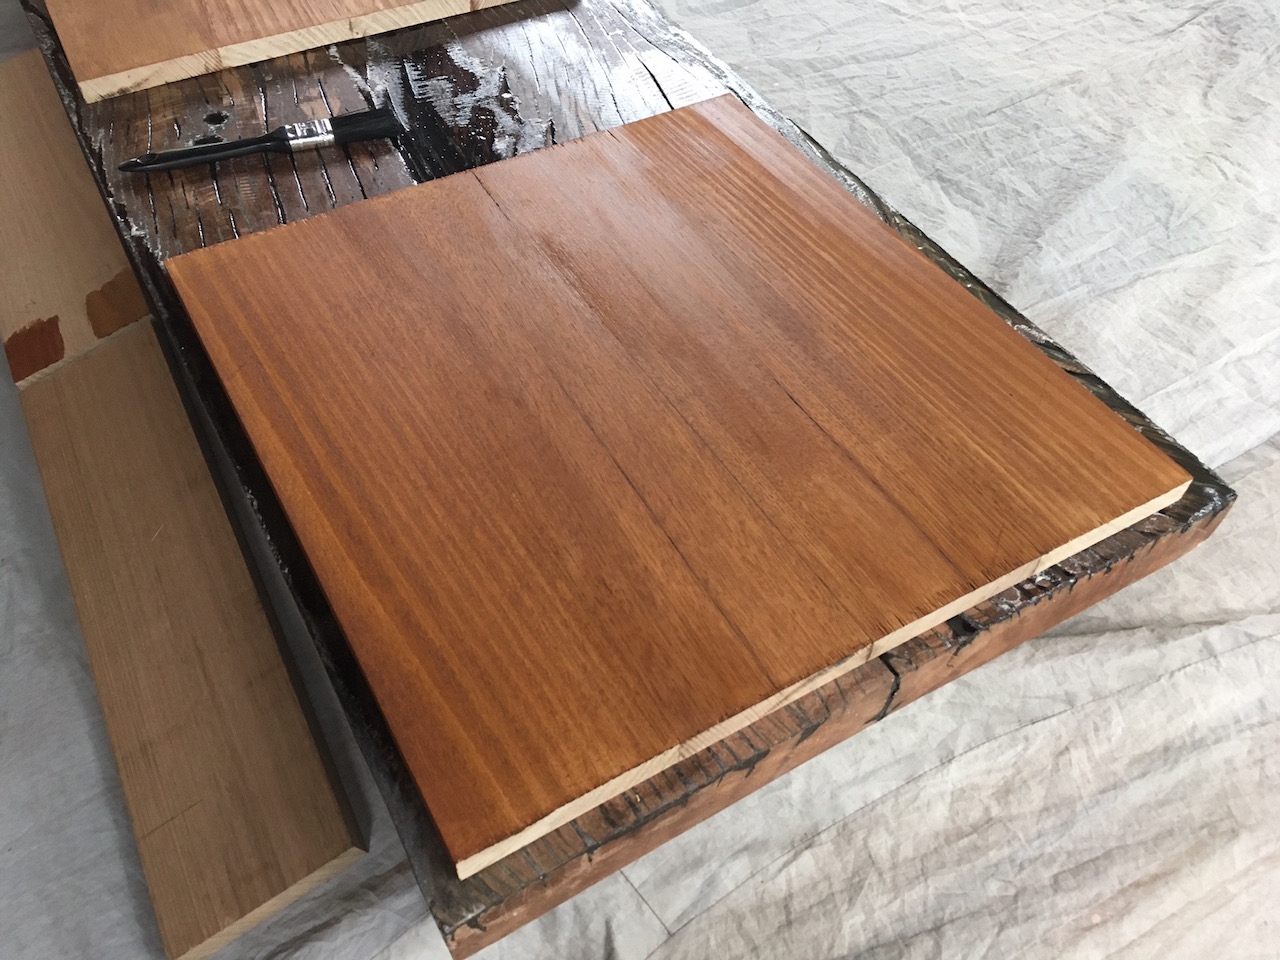

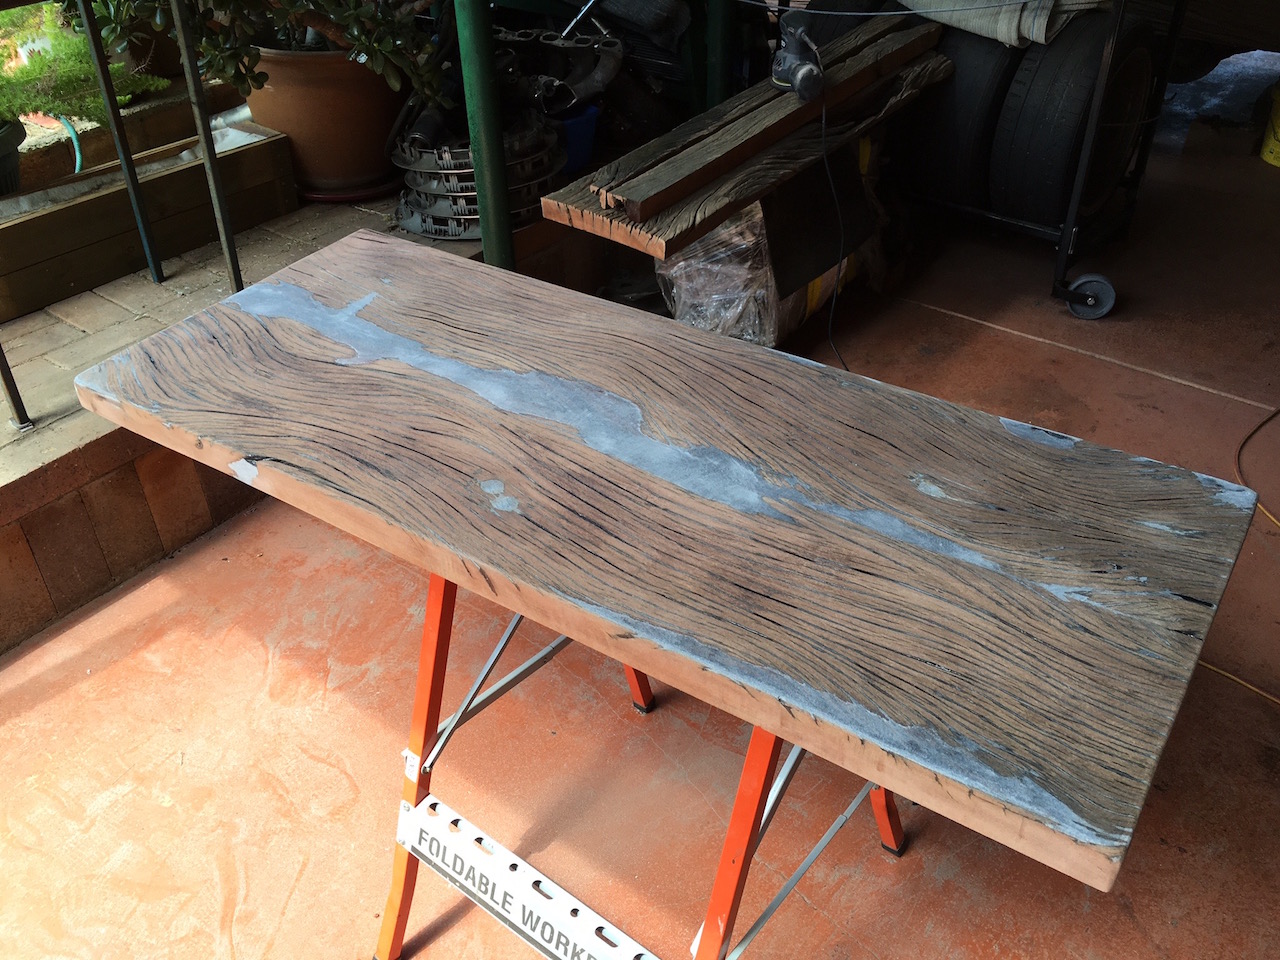
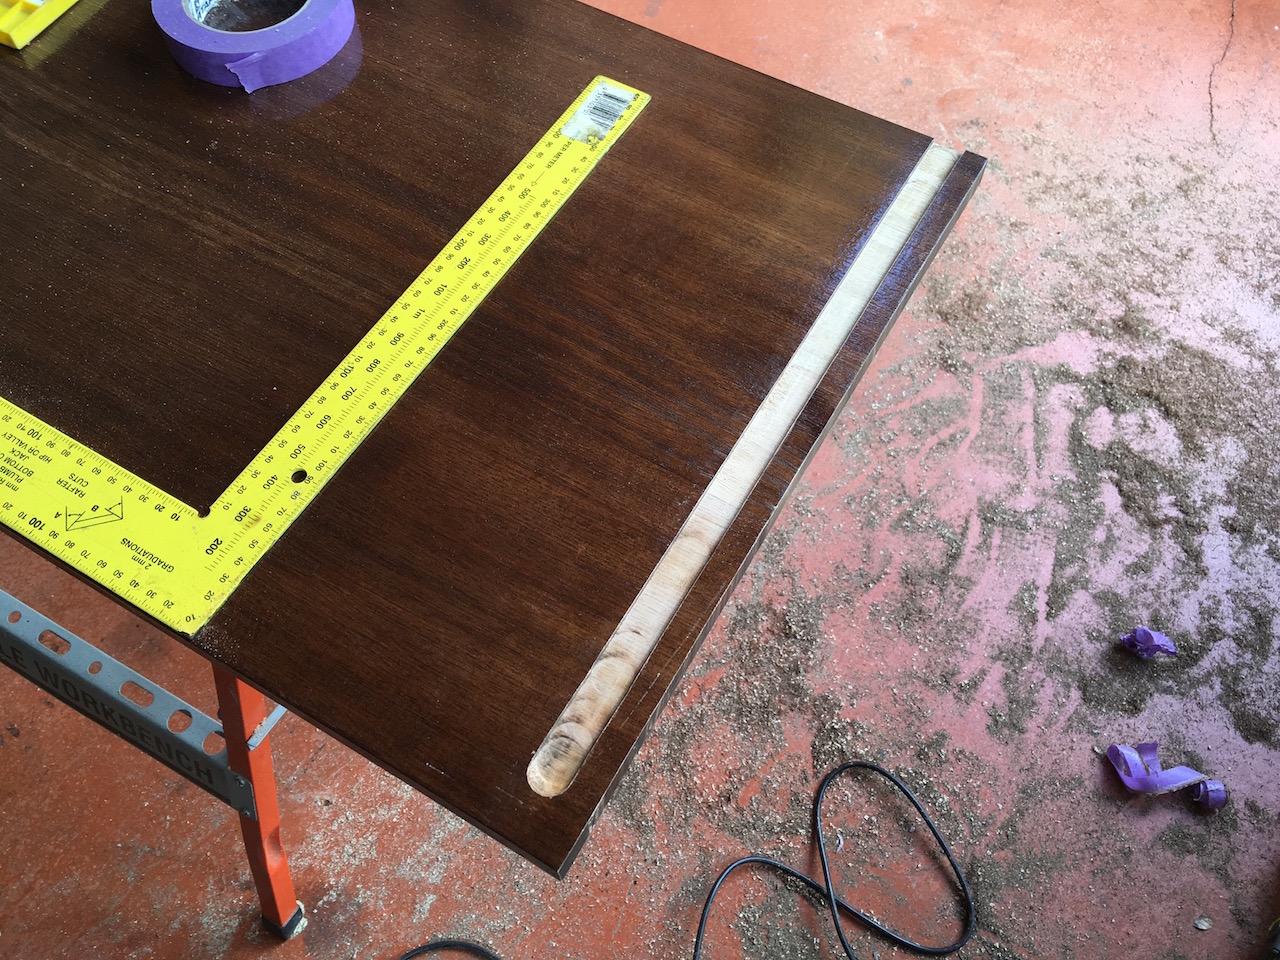
At this point I also finished sanding the top piece, including rounding the edges and started to lacquer it.
After all the pieces were lacquered (5 layers on top and 2 layers on sides/bottom/shelf), I used a router to cut the necessary slots out where the wood was glued together for assembly.
All the wood was glued using epoxy resin. This was done due to a quicker drying time vs PVA.
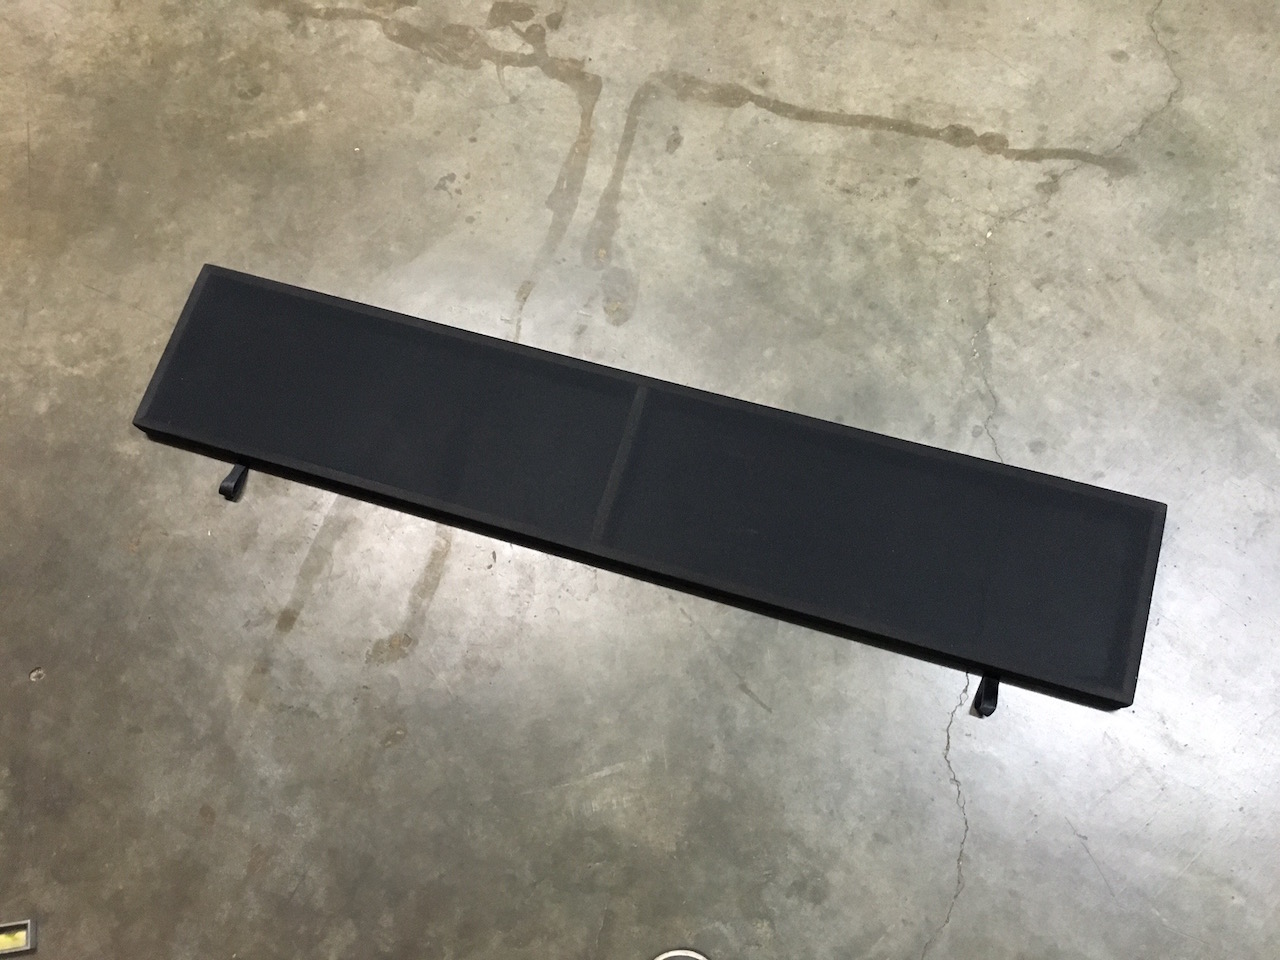
After all the sides, bottom, shelf and top were glued together, I made a frame for the speaker grille. Standard black speaker cloth was used to cover it, it was stapled to the frame.
The backing and the feet went in next.
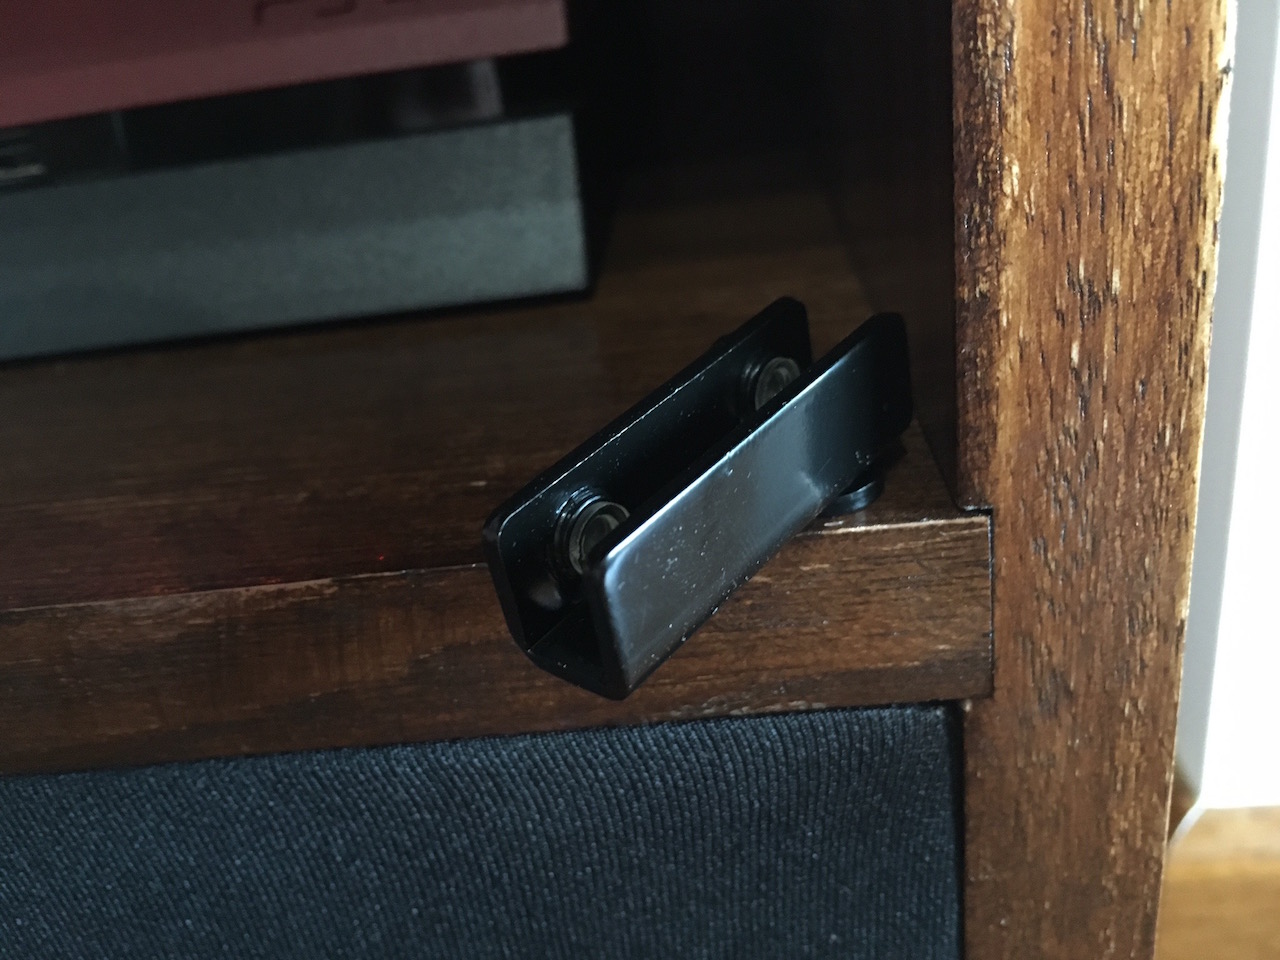
Then I ordered some grey polished glass that was cut to size. This glass was used to make swivel doors for the top shelf.

So there you have it, that pretty much sums up the whole project.
Don't forget to check out the finished product gallery and the 'building of' gallery by following the links below!
Finished product:
♣ Open image gallery
Building of:
♣ Open image gallery
-i
