Warning: I wrote a version of this article back in 2014 that got good feedback from electricians on how to rewire the Singer properly. This is a second version of this article and since then I've added a ground connection and improved all the other connections with extra shrink wrap and crimp connectors. I'm not an electrician and this is not by any means a certified way of rewiring your Singer, so follow these steps at your own risk!
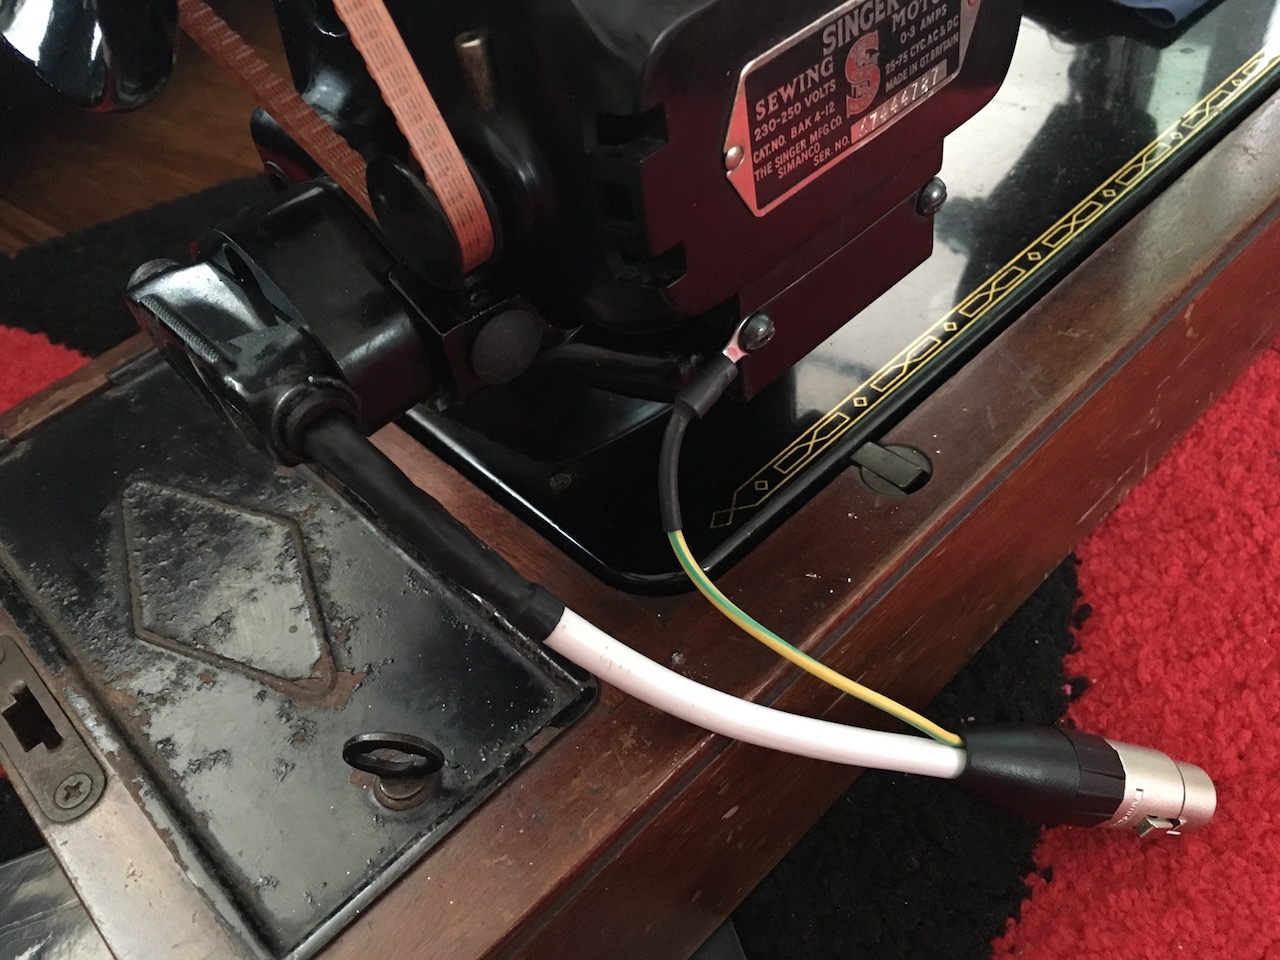
This is the end result, new wiring, no danger of getting zapped by frayed wires and a new lease on the life of the sewing machine.
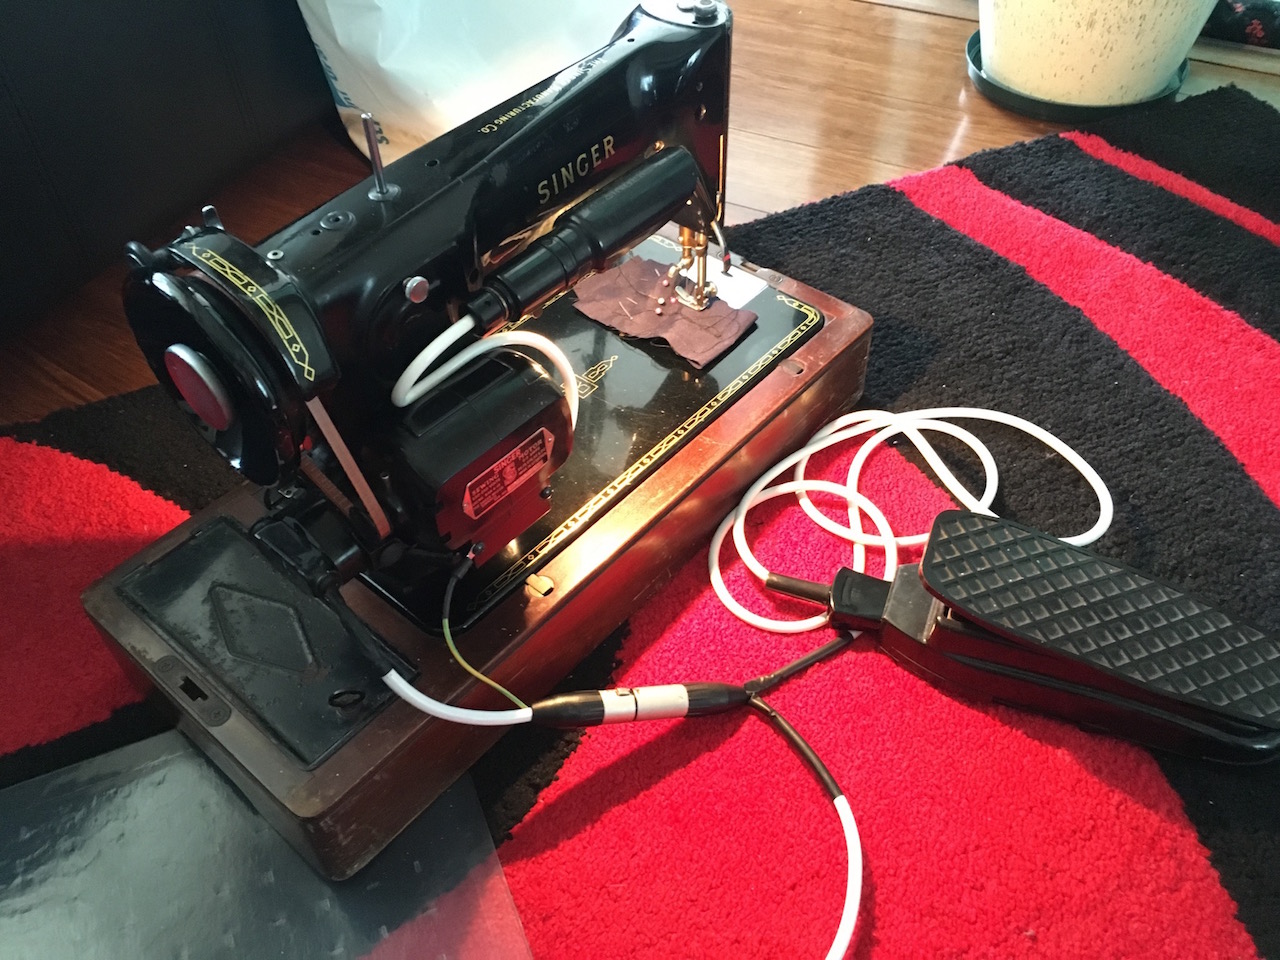
This sewing machine was in a bad state, wiring was frayed and corroded, dust everywhere, it was a mess to look at. I've cleaned it up as I went, some of the photos show the machine in a dirty state while I worked on it.
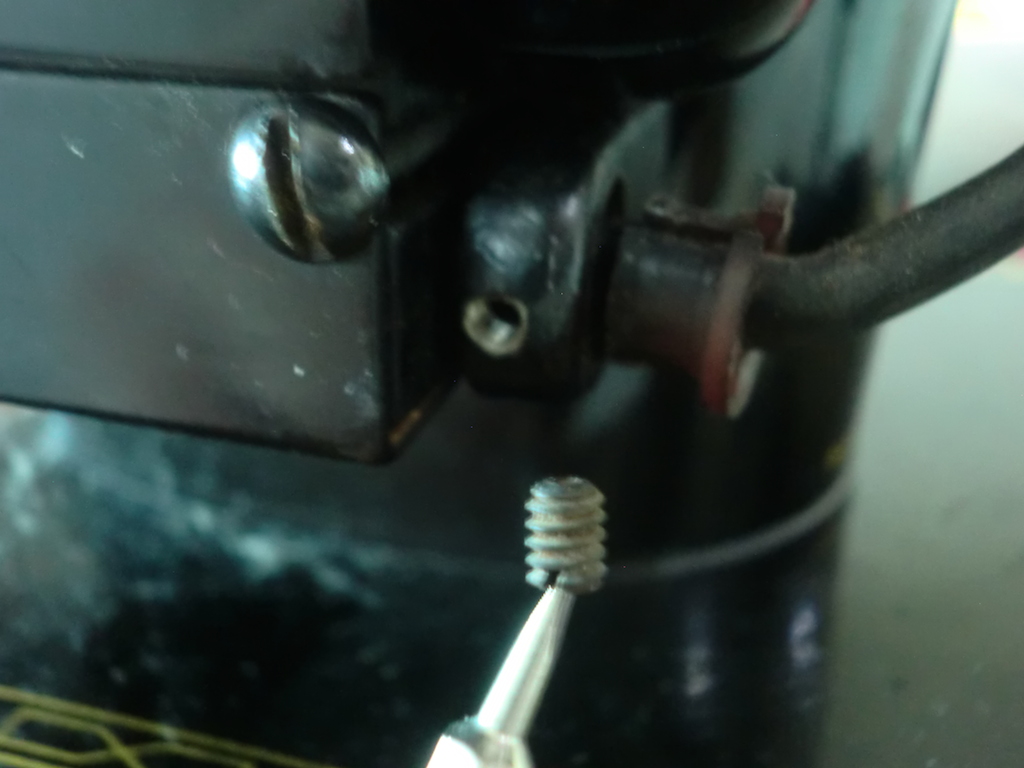
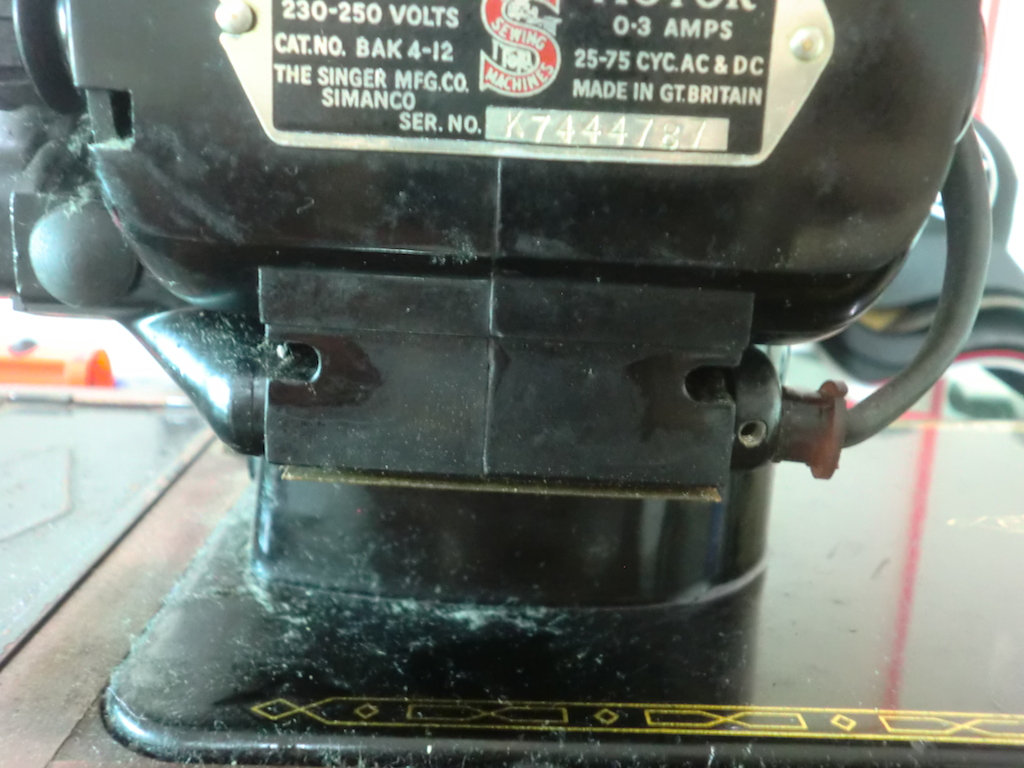
The first thing was to disconnect the light cable from the motor assembly. There is a grub screw that holds the wiring together and then there are two bolts that hold the motor in place on the back of the machine, all of these need to be undone and the motor then comes off and reveals the wiring inside.
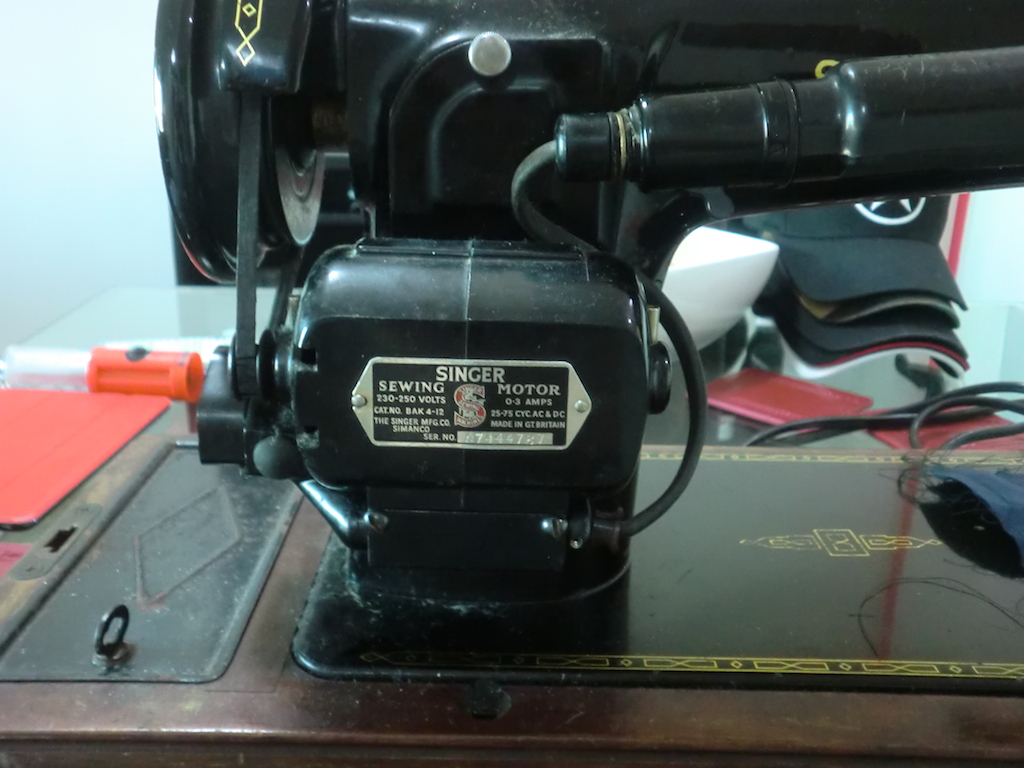
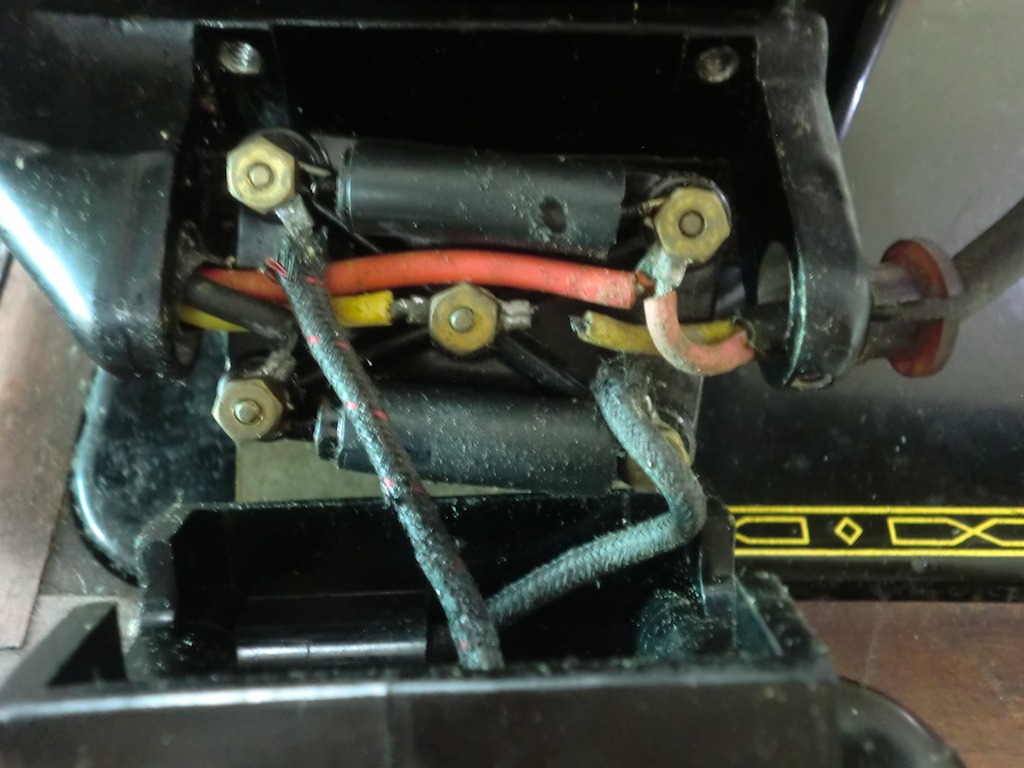
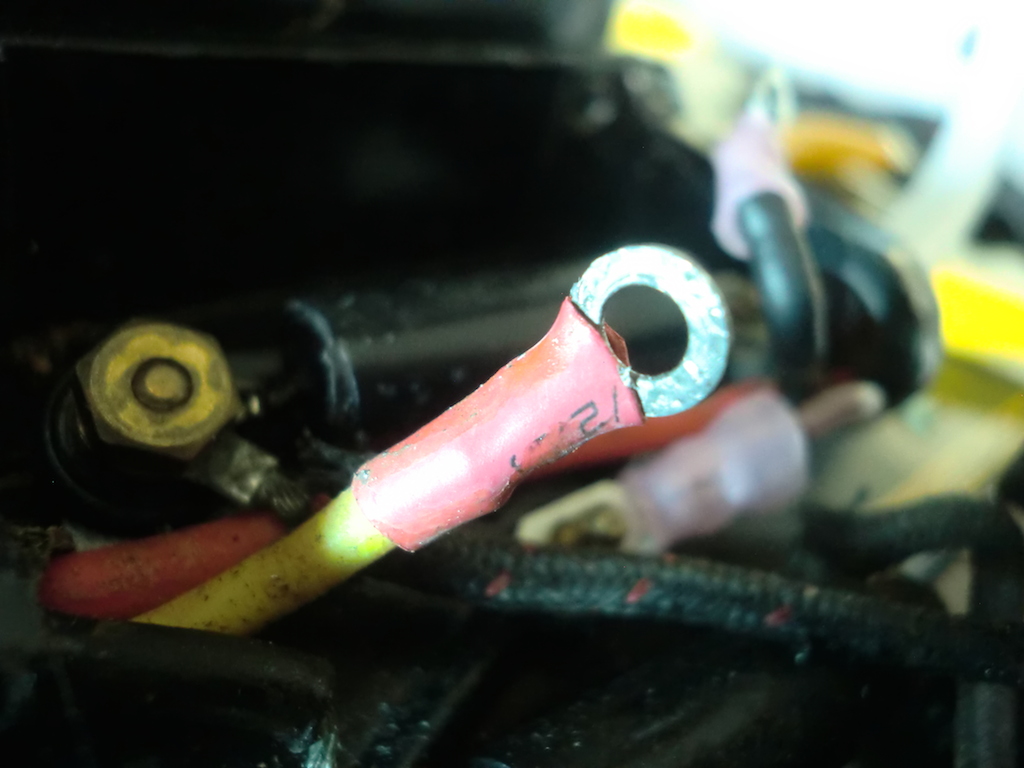
Look at that wiring! No wonder the light on the machine was not working, the wire connecting it was corroded and snapped off. There was a fair amount of corrosion on the copper nuts and the other copper connectors used internally.
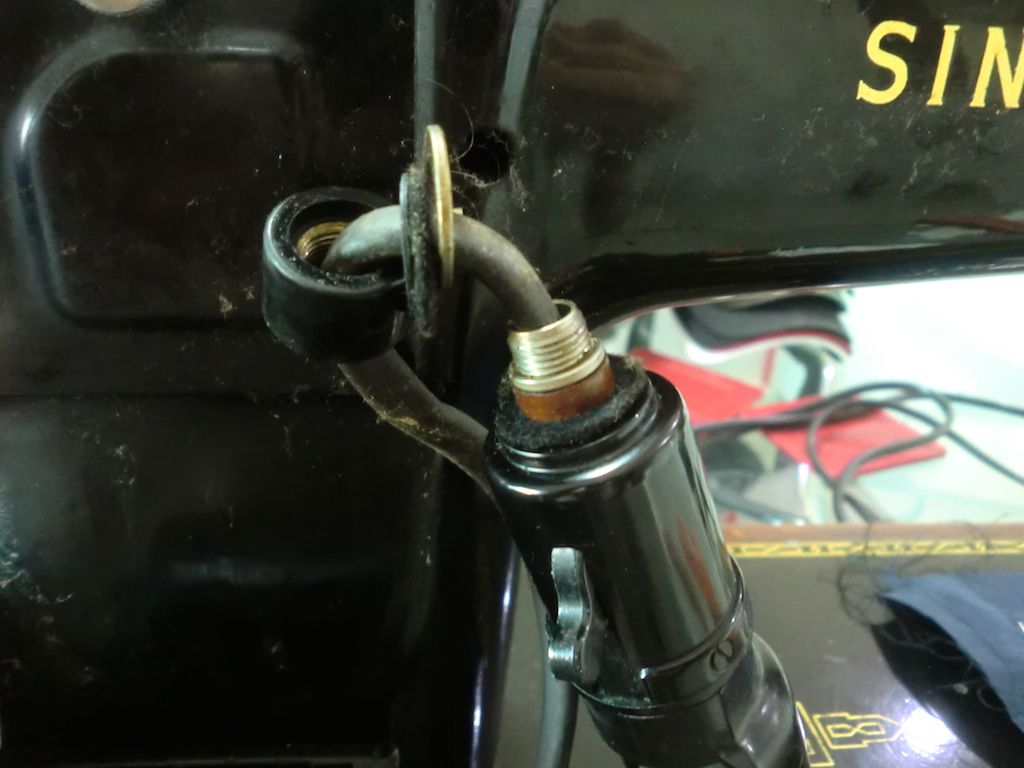
The next thing was to disconnect the light at the top of the machine. This was easy, the light just screws apart, then there are three small screws around the perimeter of the diffuser assembly that when removed allow it to slide apart revealing the wiring on the inside. The wiring here is simply screwed into place so undoing the screws will let the cord come out.
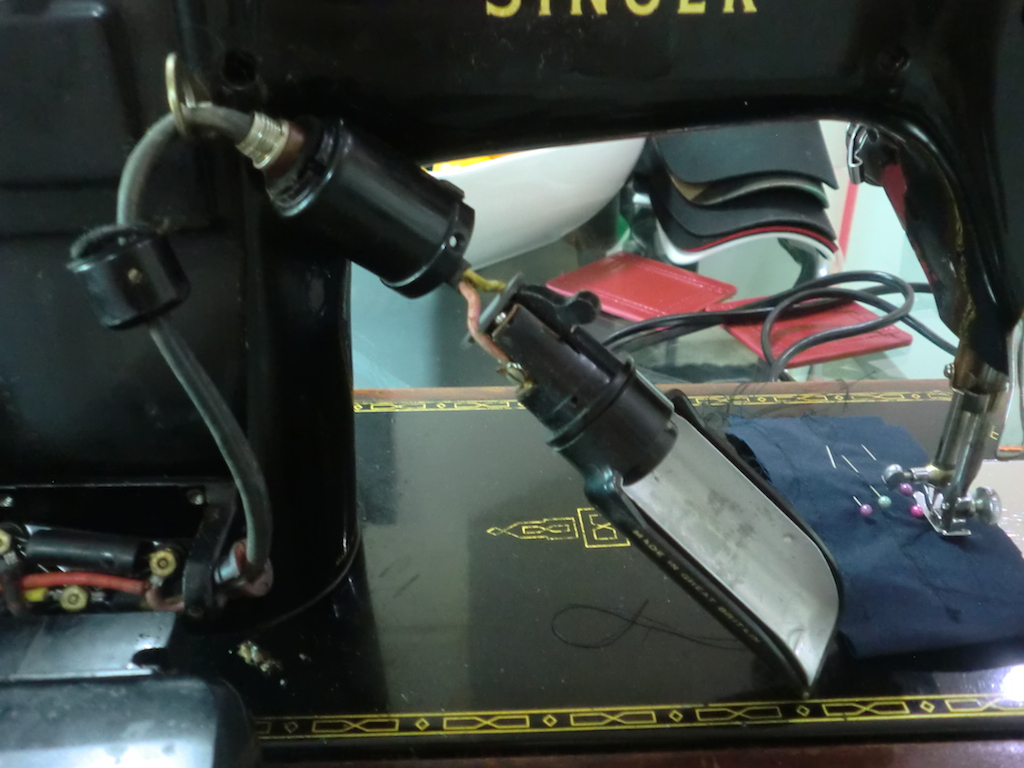
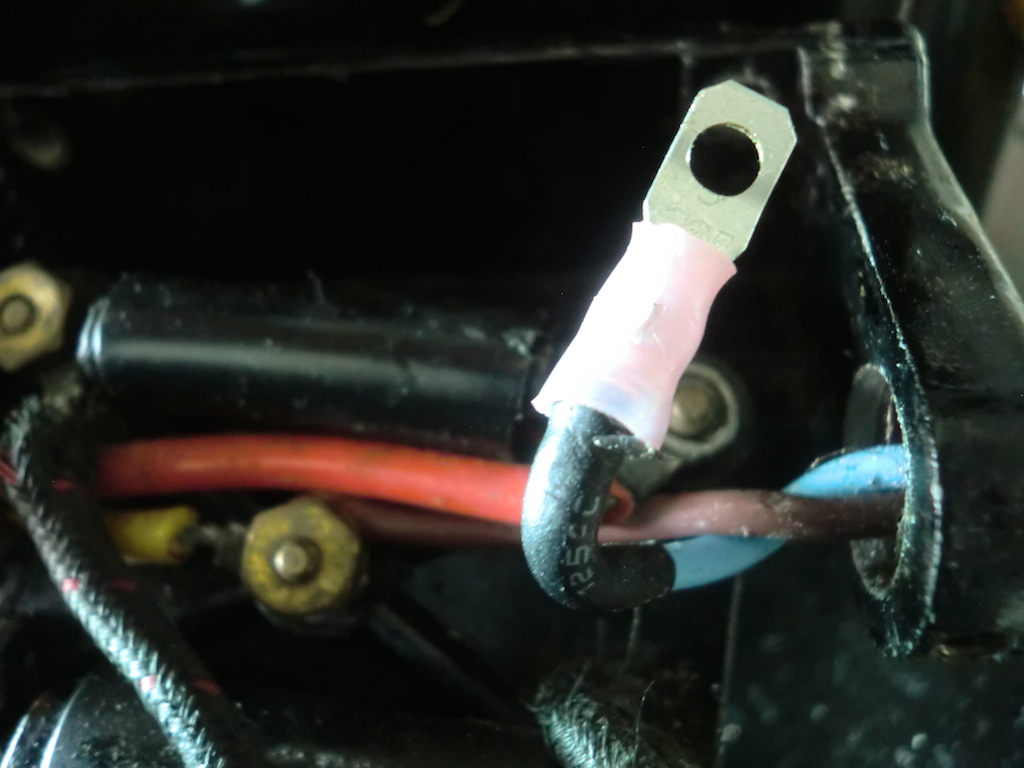
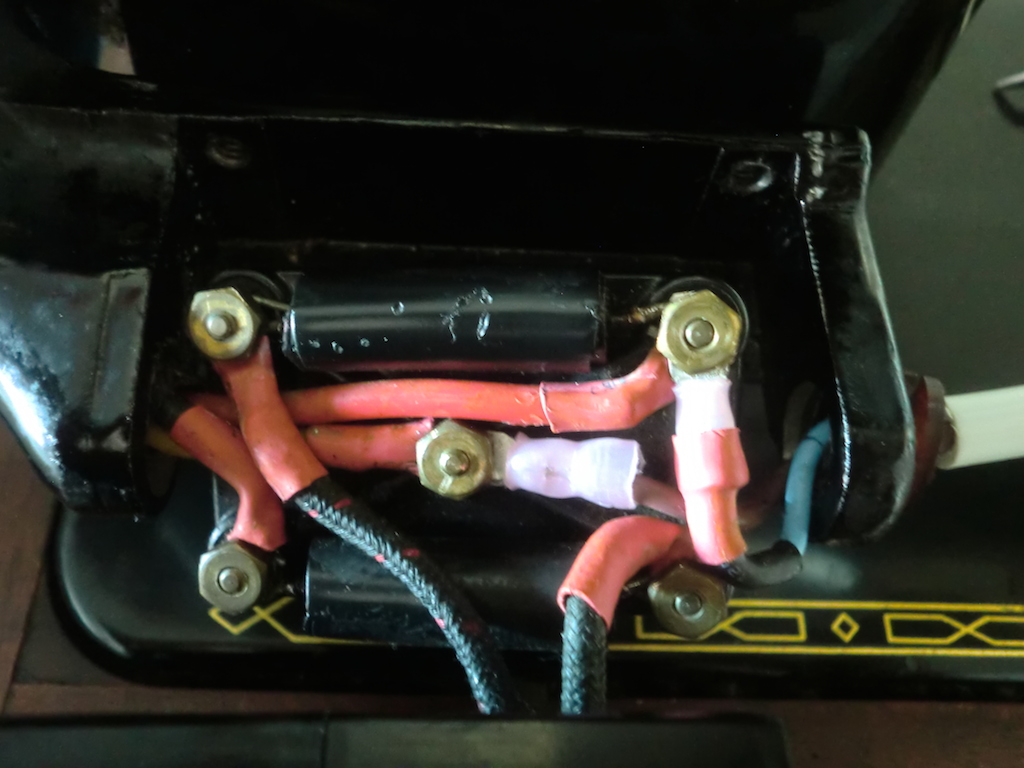
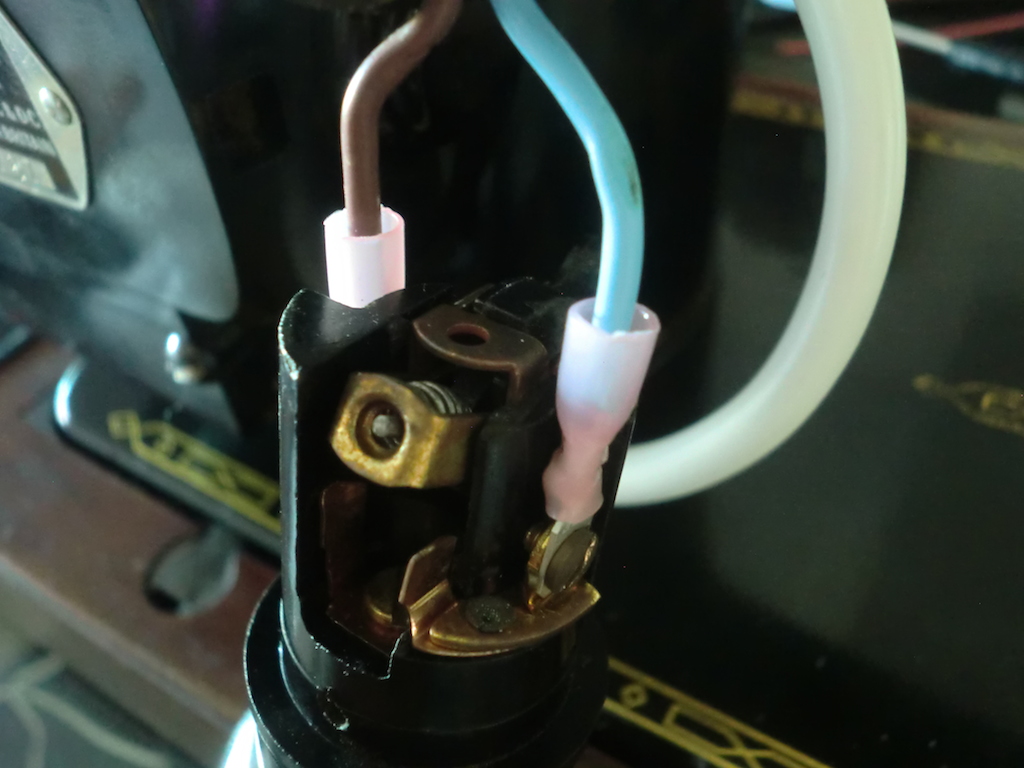
With the light disconnected, I cut a length of new cord and connected the bottom part, at the motor first. I used a few crimp terminals where I could and heat shrink on existing wires in some places to isolate them better. The terminals were fastened using existing nuts to hold them in place. Then, I pushed the new wiring through the light fitting and connected it the same way it was earlier.
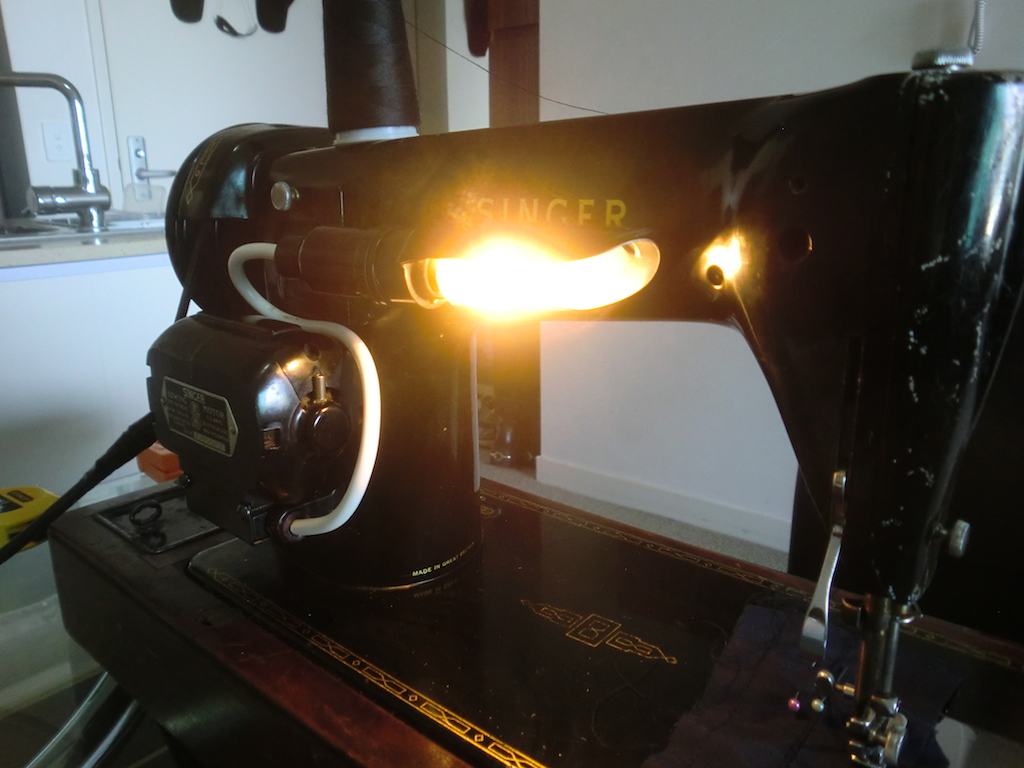
This is a massive improvement on the old wiring! Testing whether it was all working, the light comes on!
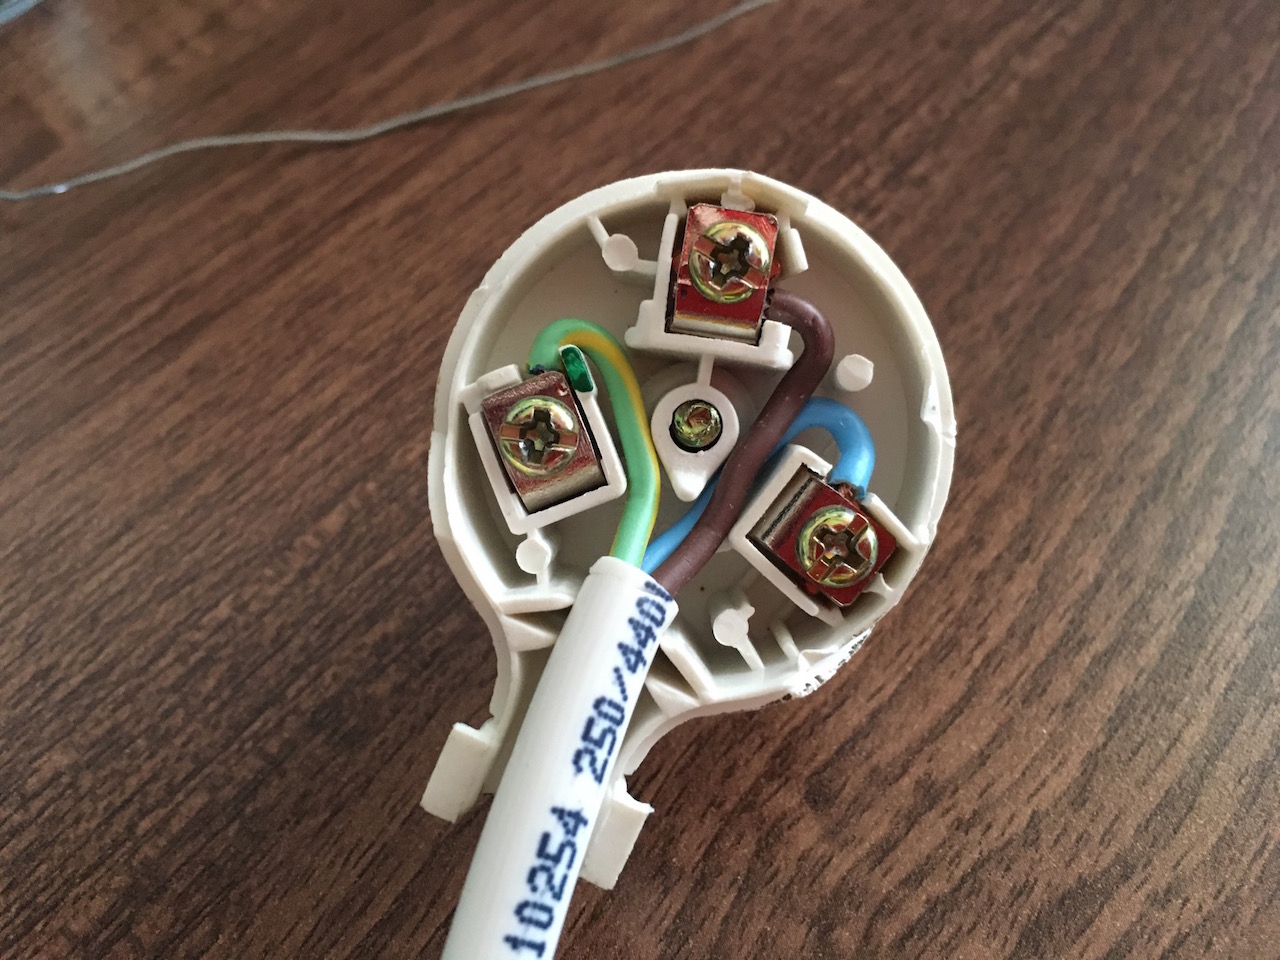
That was a small victory, the next battle was with the other wiring that had even more problems internally than the light/motor did. I'm talking about the cord that connects the sewing machine to the mains outlet and then to the pedal. The mains plug had exposed wires, not a good thing. I went for a standard Australian angled plug to replace the original, I chose that one simply because I already had it at home. Wiring this up was quite easy with all the colours for the terminals being standard.
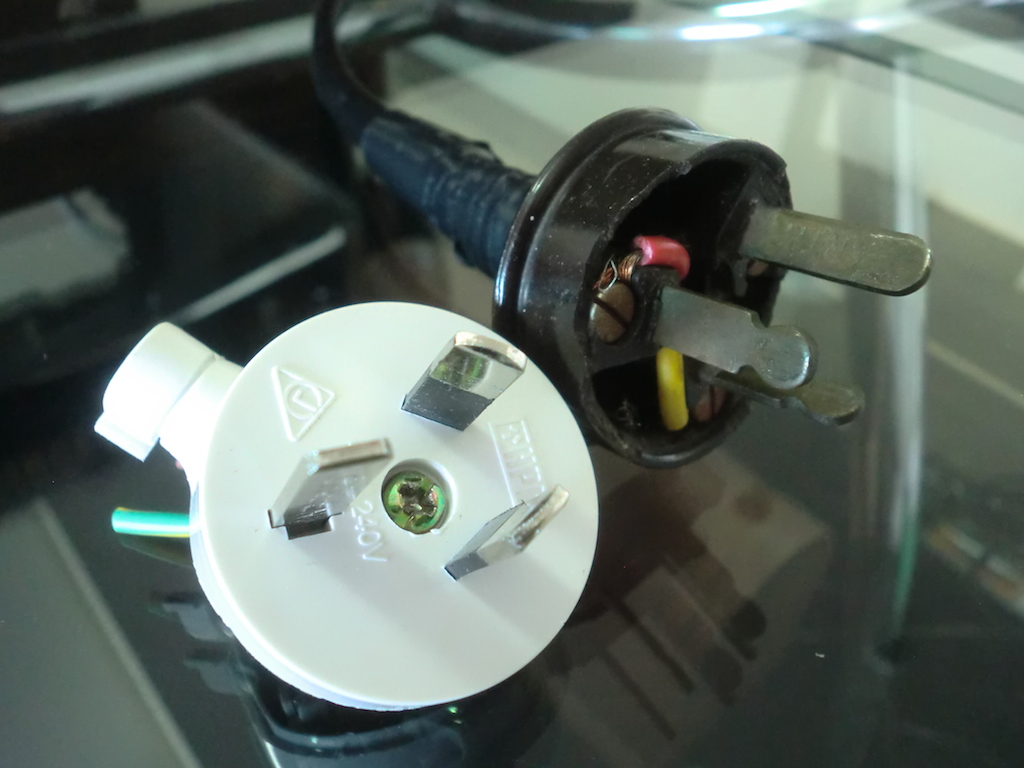
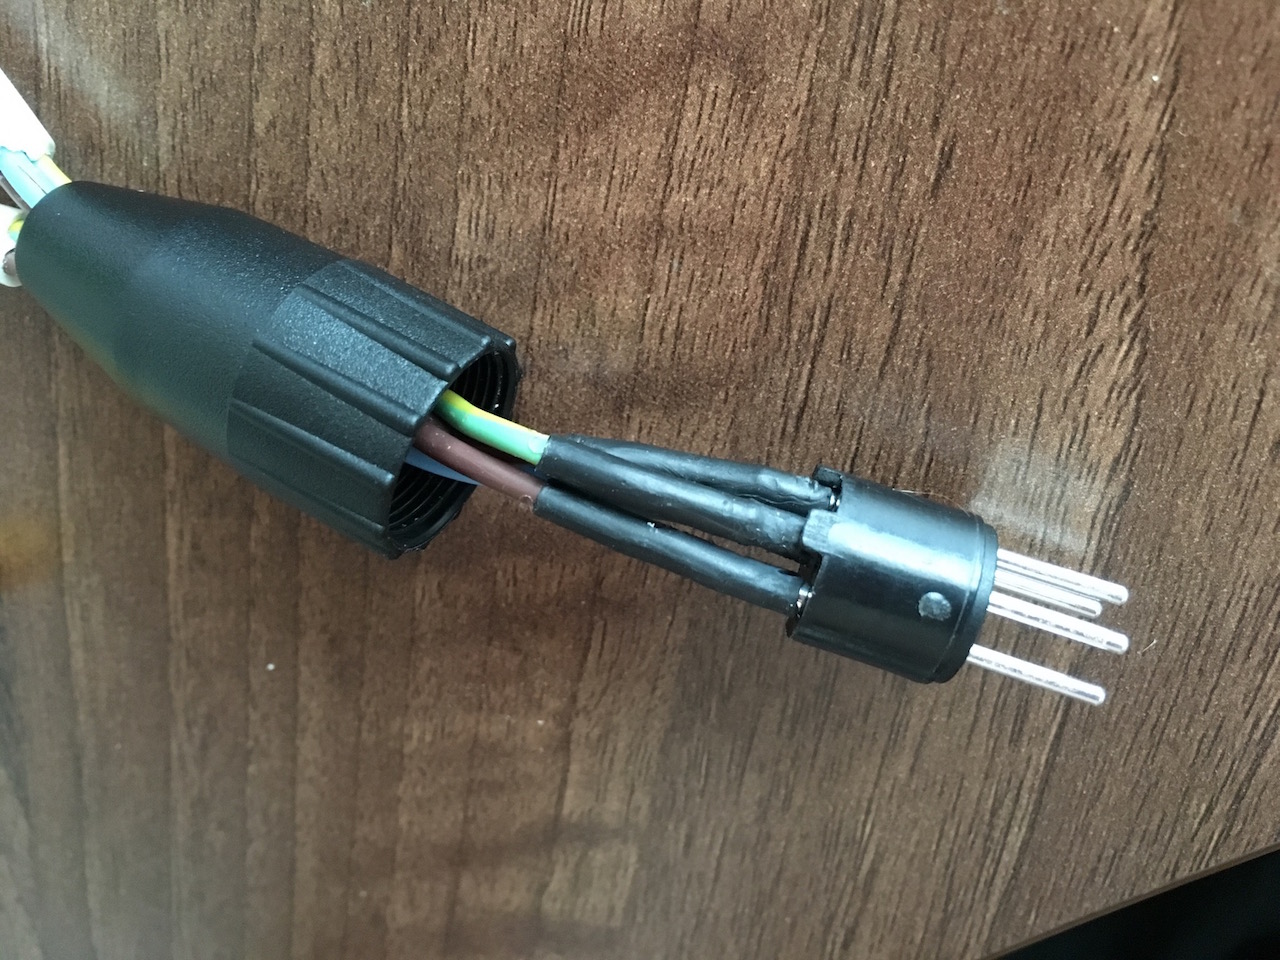
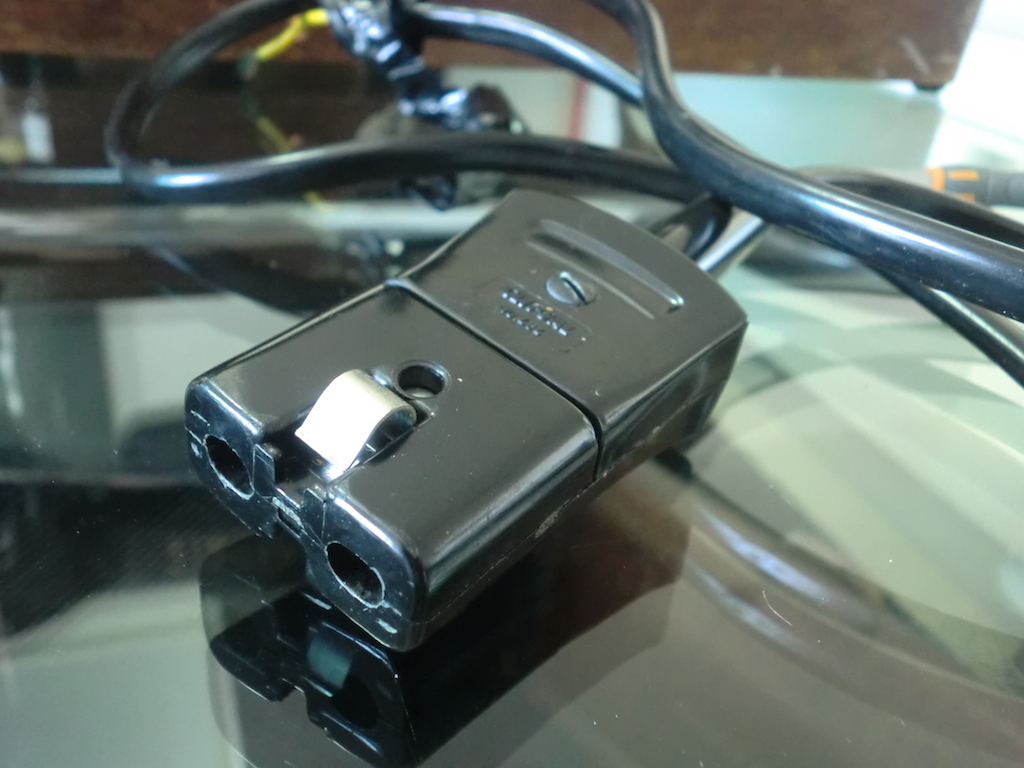
Once the mains plug was connected, I moved down to the connector that plugs into the sewing machine itself. This had some serious damage to the wiring, one of the wires was badly corroded with only a few strands of wire still holding on, inside was a complete mess.
The socket that connects to the sewing machine is held together with two bolts and nuts and some O-rings on either end of the plug where the wiring exits. The bolts are easy to undo, the O-rings took a bit more effort, but eventually they came off.
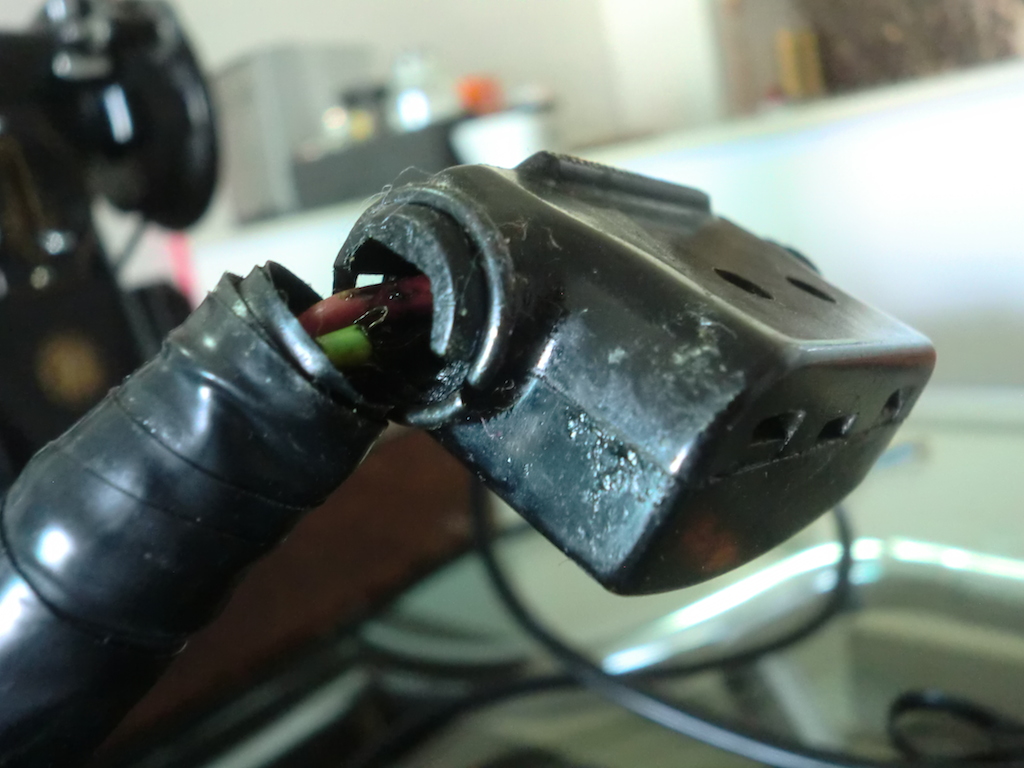
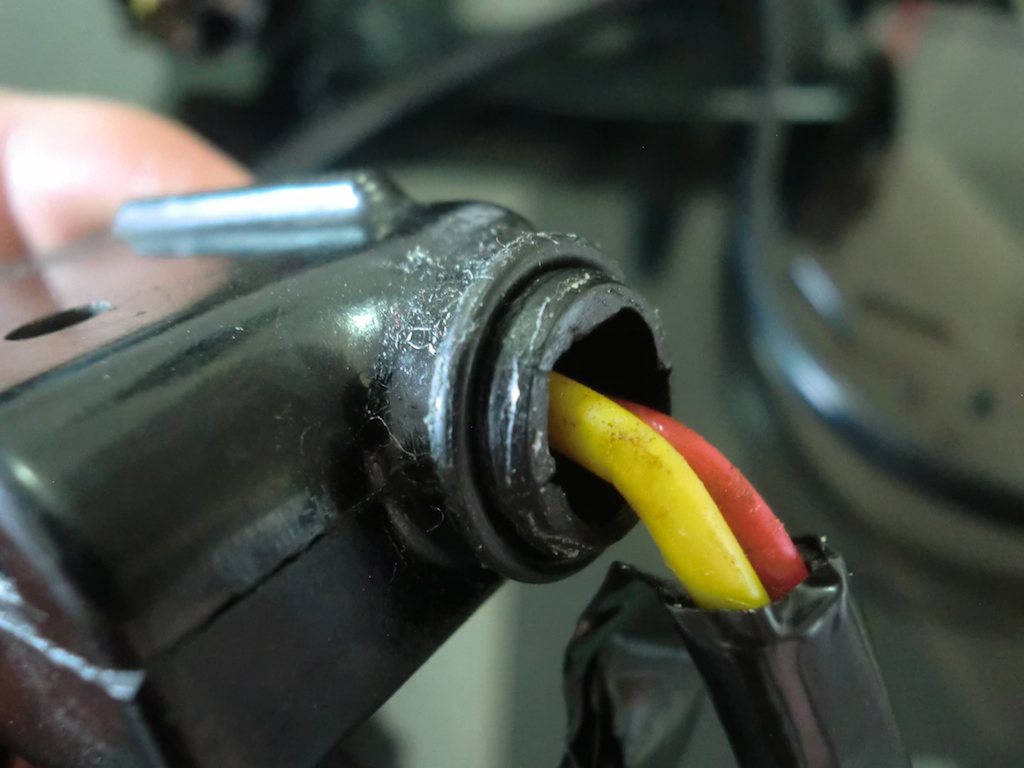

Ugh! That wiring is horrific! I don't know how I managed not to get electrocuted all the previous times that I used this machine.
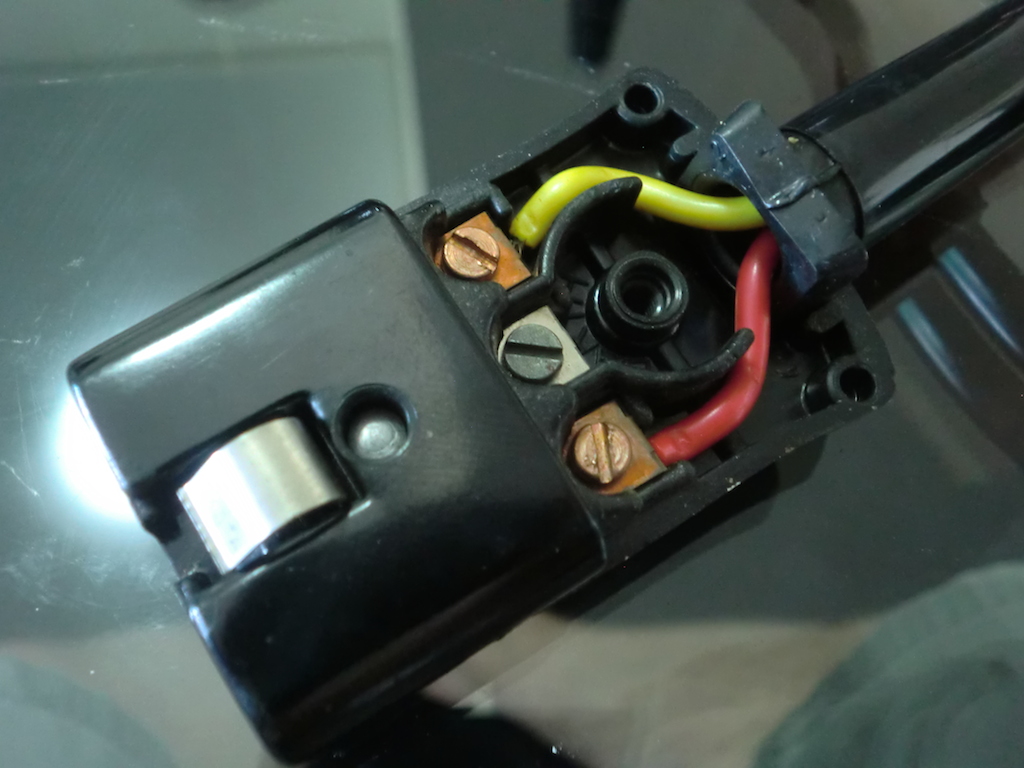
Instead of trying to clean this mess up I decided to rewire it in a completely different way and at the same time add an earth connection to the Singer. I ended up using a 4-pin DIN connector to hook all this up. Four pins are needed because there are two Active connections (via the pedal), the Neutral and the Earth. The original plug doesn't have the Earth so that runs externally. Here's what it looked like in the end...
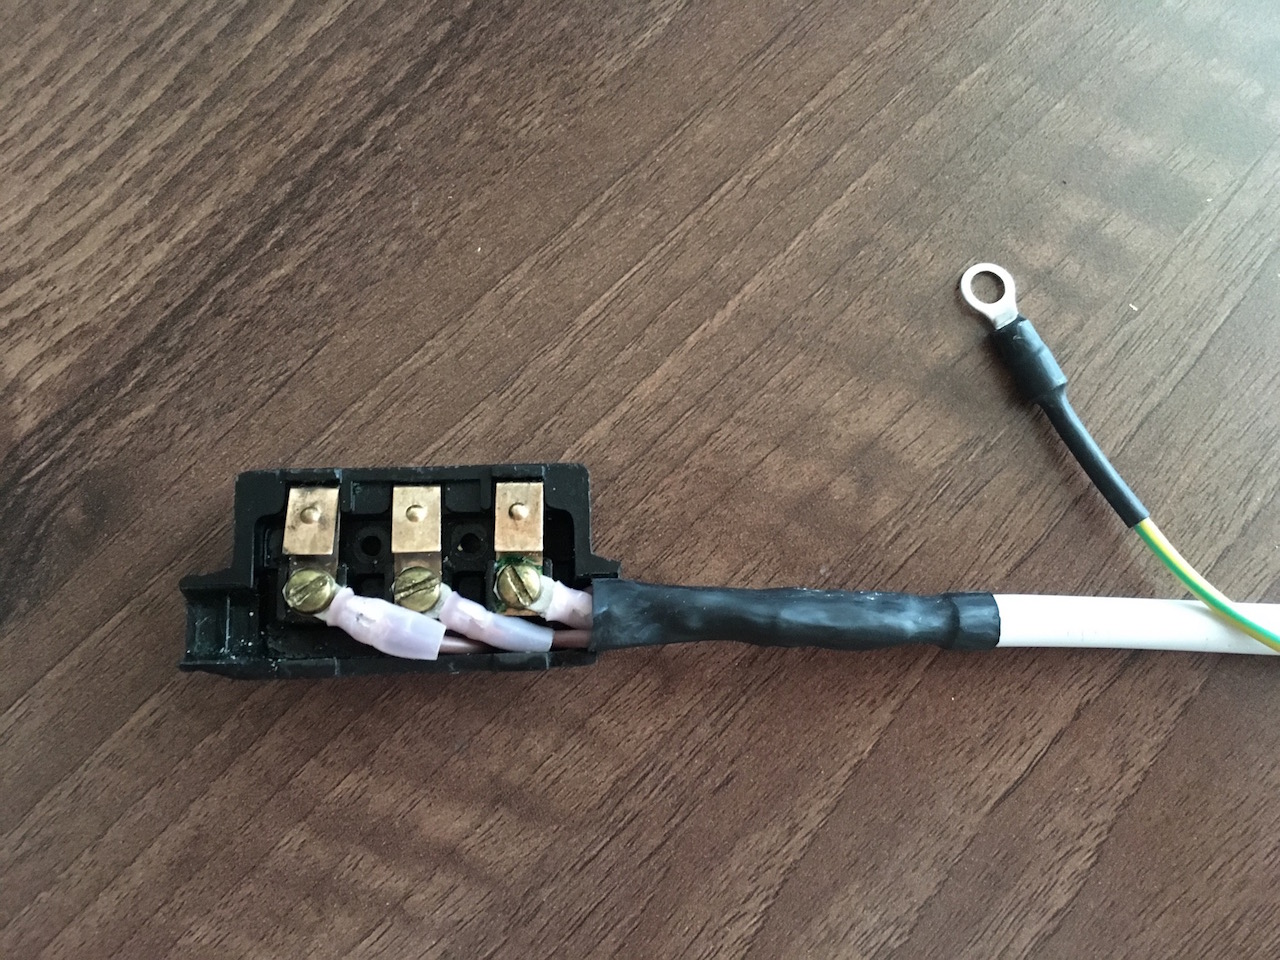
Next and last was the pedal plug, this had the best original wiring inside it by far. This plug has a single bolt holding it together, unscrew it and the plug comes apart. Wires are held in place with pads that screw together, very easy to rewire here.
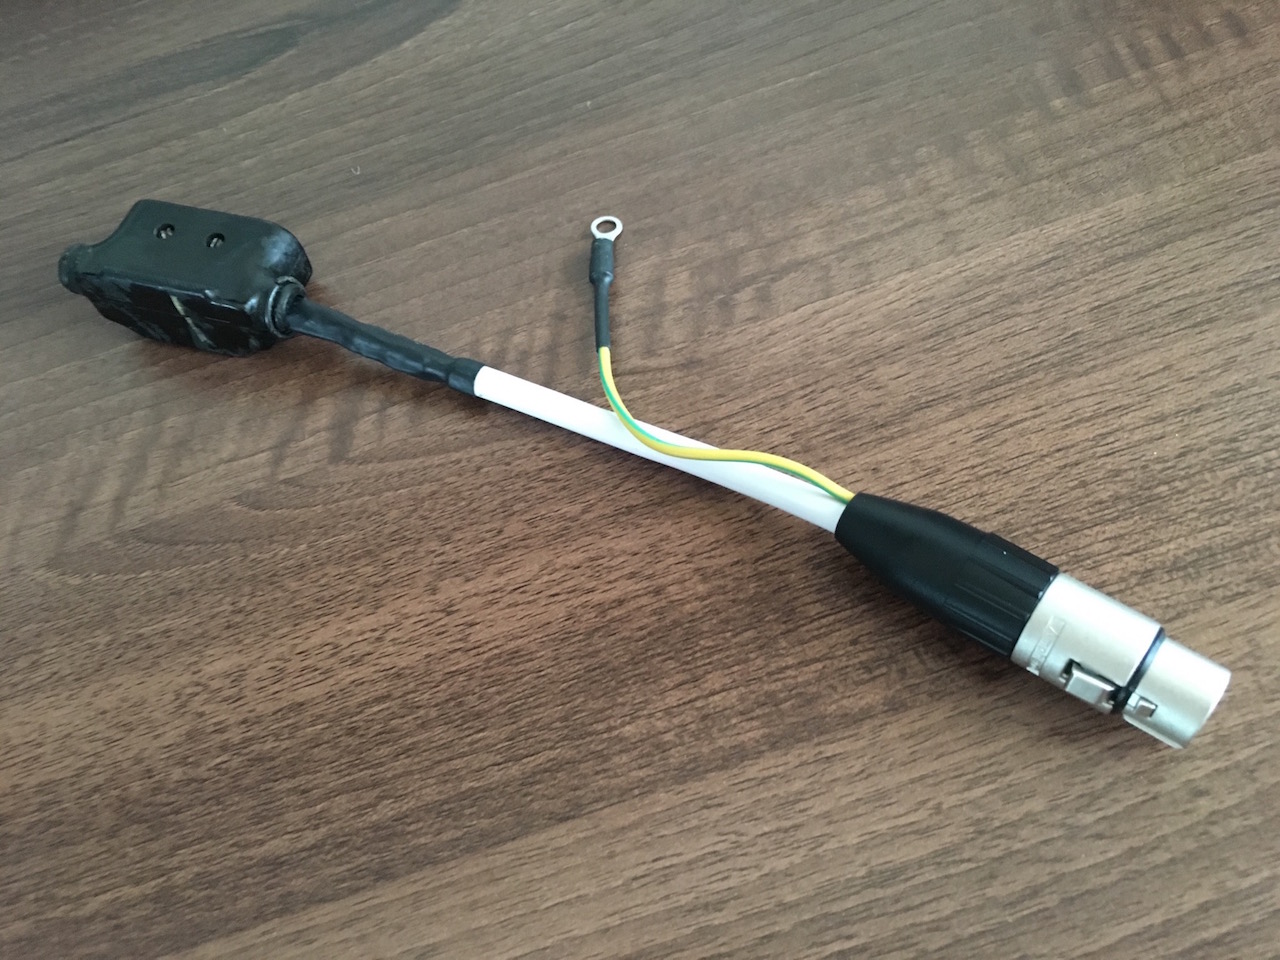
With the new wiring...
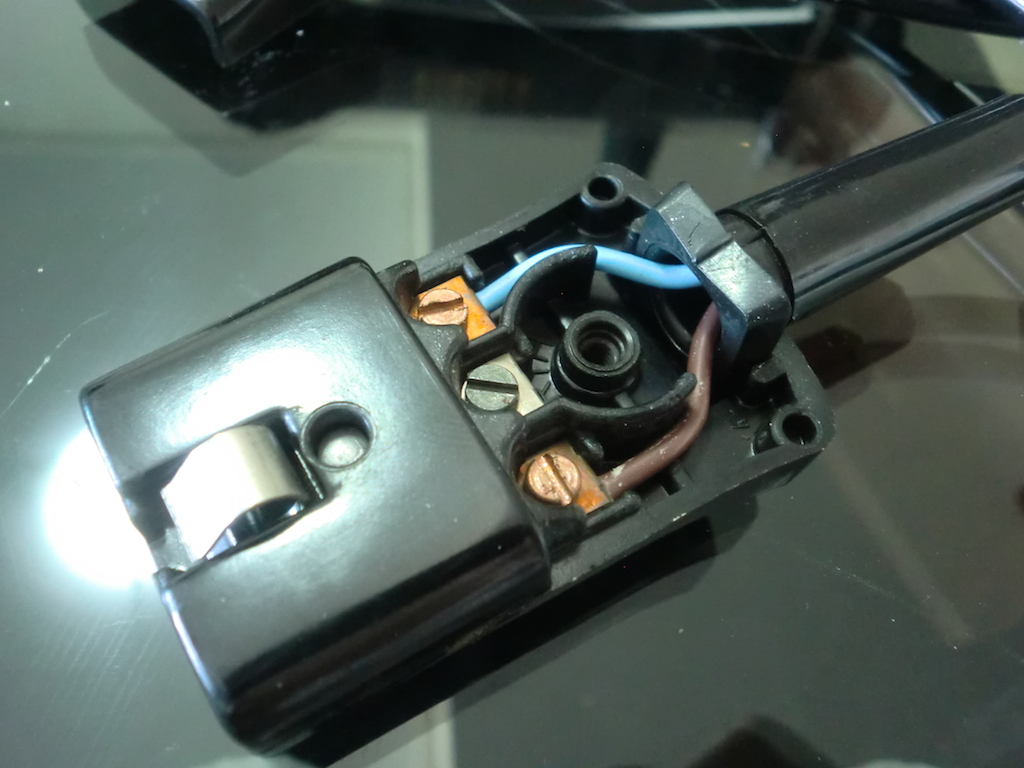
So after all of that, the whole mains/machine/pedal cable was completely rewired and safer than what I had before.
For a couple of hours of work, the sewing machine is safer to use now, it won't short out, zap me or start electrical fires. Time well spent.
-i
