The problem that I was having was that my host (GoDaddy) has a very poor MX reputation. Some email providers like Microsoft (live.com, hotmail.com, outlook.com) outright block any email coming from such hosts. Furthermore it is also not possible to use a 3rd party SMTP service on my host since any outbound SMTP connections are blocked. It's a catch-22 situation, you either stick with bad reputation and risk your emails not being delivered or...well there is no or, unless you use a service like SendGrid.
SendGrid solved both of my issues. First they have a good reputation so your emails will get delivered and second the service can be accessed in a RESTful manner so you're not connecting to any SMTP server. Best of all, you get the first 12k emails in the month for free, which for me was more than enough.
Over at travelblog.ws it took less than an hour to go from signing up to having a fully functional SendGrid based email subsystem in place. Lets see how I went about it.
I signed up for a Free 12k $0.00 account.

After all the usual account verifications I created an API key. The admin console is very intuitive and easy to navigate, I was impressed already.

Because I was going to use this API key for actual sending, I created a General key (under Settings > API Keys). When creating a new key, it's possible to limit what functionality it would have access to, I set it to Full Access for all the features I wanted and No Access for features that I was never going to use. I didn't bother with any Read Only settings.

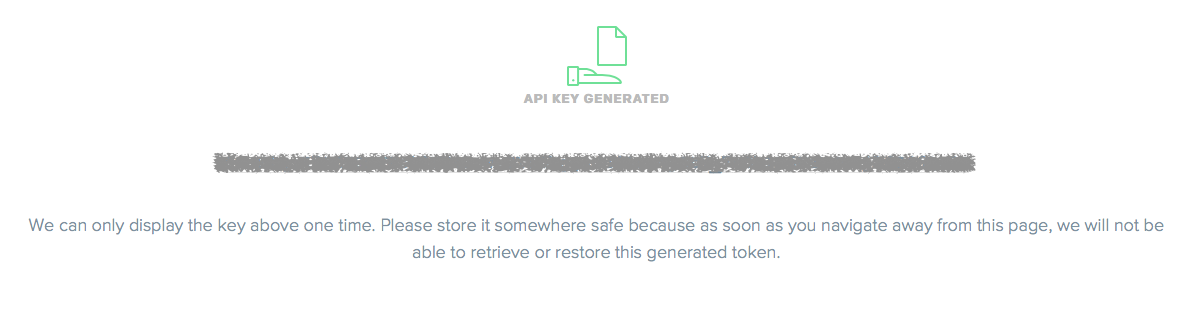
Once I clicked Save, my key was presented for a one-time viewing only. This was important so I took note of the key for future use!
With the API key in hand it was time to write some code. I used Composer to download all the prerequisites, the relevant part of my composer.json file looked like...
composer.json
{
...
"require": {
"sendgrid/sendgrid": "~5.0.9"
}
...
}
The majority of the work on my side was actually to do with storing the API key in my database rather than implementing SendGrid code. There were some very good examples of integration code online too, which I relied on. Below is what my SendGrid mailing code ended up looking like (I extracted it into a separate function for this post).
PHP
function sendEmail($to, $subject, $message, $sendgrid_api_key) {
$mail = new \SendGrid\Mail(
new \SendGrid\Email('Sender', '[email protected]'), /* from */
$subject,
new \SendGrid\Email(null, strtolower($to)), /* to */
new \SendGrid\Content("text/html", $message) /* message */
);
$sg = new \SendGrid($sendgrid_api_key);
$response = $sg->client->mail()->send()->post($mail);
if ($response->statusCode() >= 200 && $response->statusCode() < 300) {
return true;
}
$errResp = json_decode($response->body(), true);
$err = $errResp['errors'][0]['message'];
error_log('Error: ' . $err);
return false;
}
The code is fairly straight forward but lets look at its main features. The very first thing I do is create a Mail object, this represents the email that I'm wanting to send. It has a sender (line 3), subject (line 4), the receiver (line 5) and the message being sent (line 6). The Email objects represent an email address each, these can have both a name and email address portions. For the message, I used a Content object and specified that it is text/html. My message does have HTML markup in it so that was necessary. If I didn't have HTML, the mime type would have been set to text/plain.
On line 9 I create the SendGrid object itself and pass the API key to it. Line 10 is where the mailing of my message happens. The rest of the code is to do with response processing, I won't go into its details.
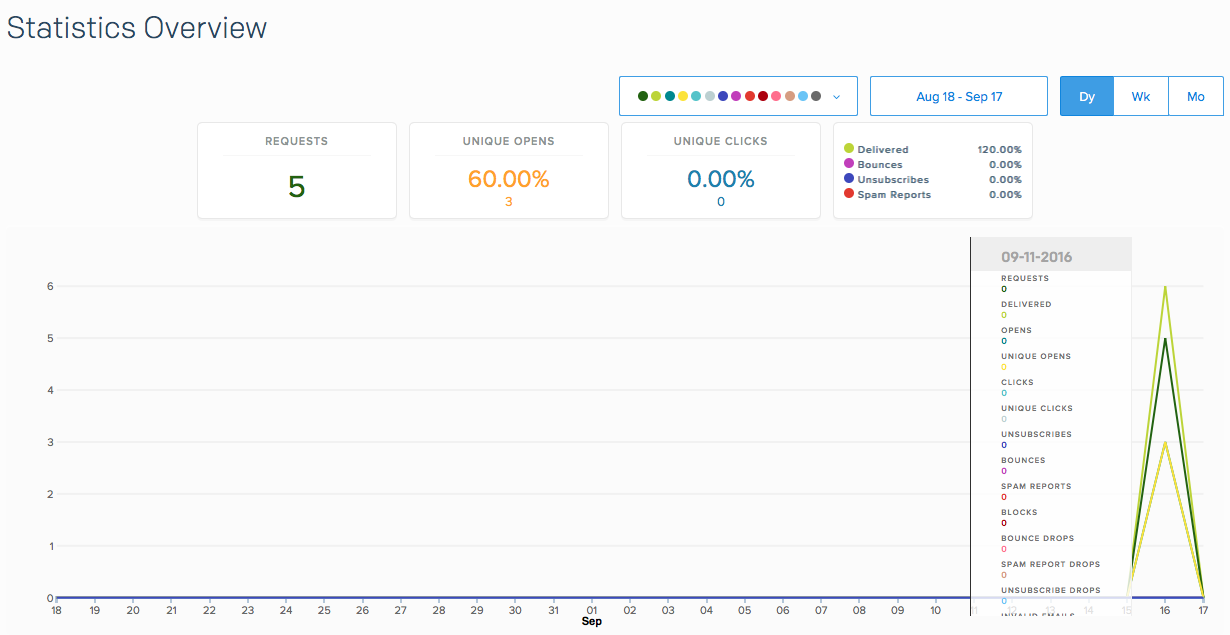
There you are, it's pretty simple really, just a handful of lines of code to get up and running. Now back at the dashboard I could already see statistics based on my testing. It's quite neat and SendGrid even tracks whether your emails have been opened by the reader (via a tracking pixel).
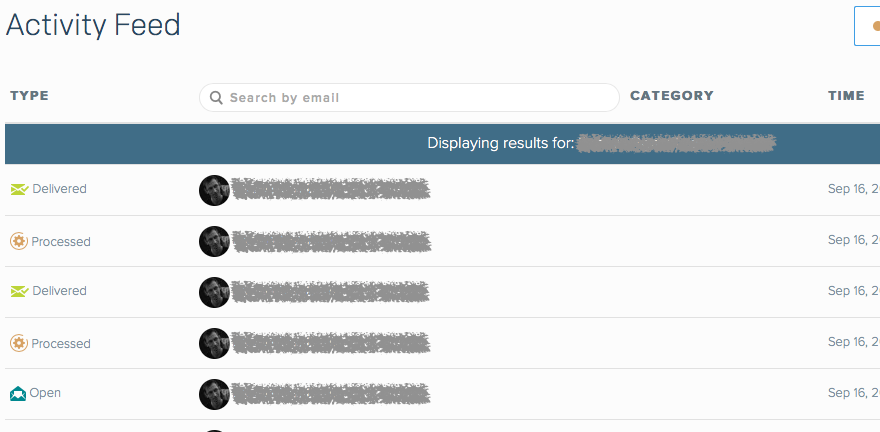
The Activity feed shows events that occurred e.g. message was processed, opened, delivered, etc. That can be useful for debugging purposes.
There are many other features that SendGrid provides like user lists, categories, template based emails, etc. The list of features is quite extensive. I only used the mail sending feature and was really impressed with how easily and quickly I could integrate this API into my code. I'd like to explore SendGrid in the future to manage mailing lists, when I do I'll write another post describing my experience with how SendGrid fares.
-i
