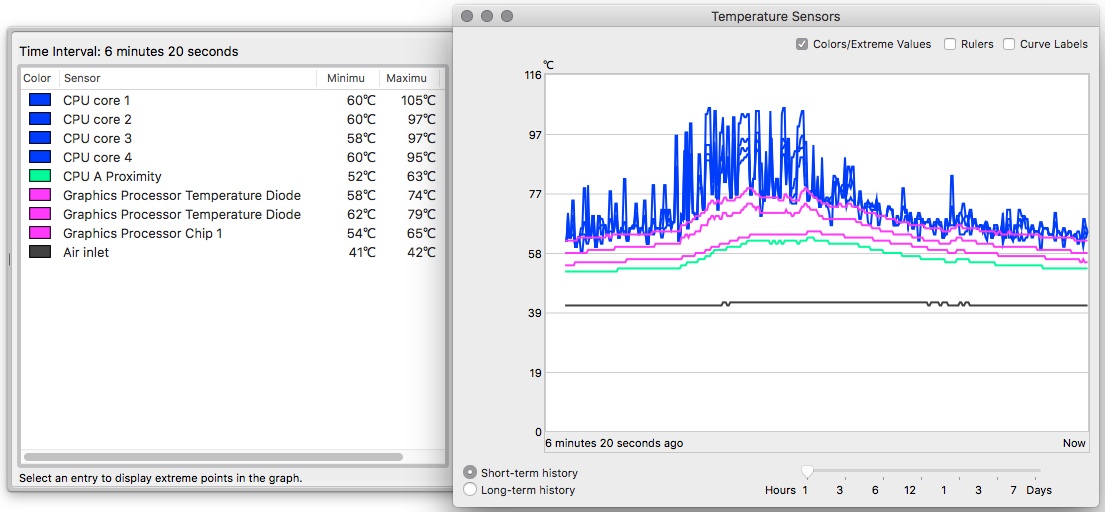
I used Hardware Monitor to collect temperature results and Geekbench 4 to perform benchmarks so that my Mac would heat up. All tests were run with ambient temperature of 23C.
These were the numbers before doing a clean out. That's pretty hot and you could really feel the Mac heat up for a while there.
After doing the clean, I collected more results to compare to the before data. I ran the Geekbench CPU Benchmark two times prior to doing a final run to collect data so that it didn't appear cooler just because it was switched off for some time. Overall both the minimum and maximum temperatures (except CPU core 1) were lower. The after results show that the Mac cools down to idle temperatures much faster. There appeared to be less heat buildup during benchmarks too, this could be seen by cooler GPU and 3rd and 4th CPU core temperatures. What that was saying was that heat was being dissipated much quicker that before. Less heat buildup should prolong component life times so this is a good thing, it felt cooler to the touch.
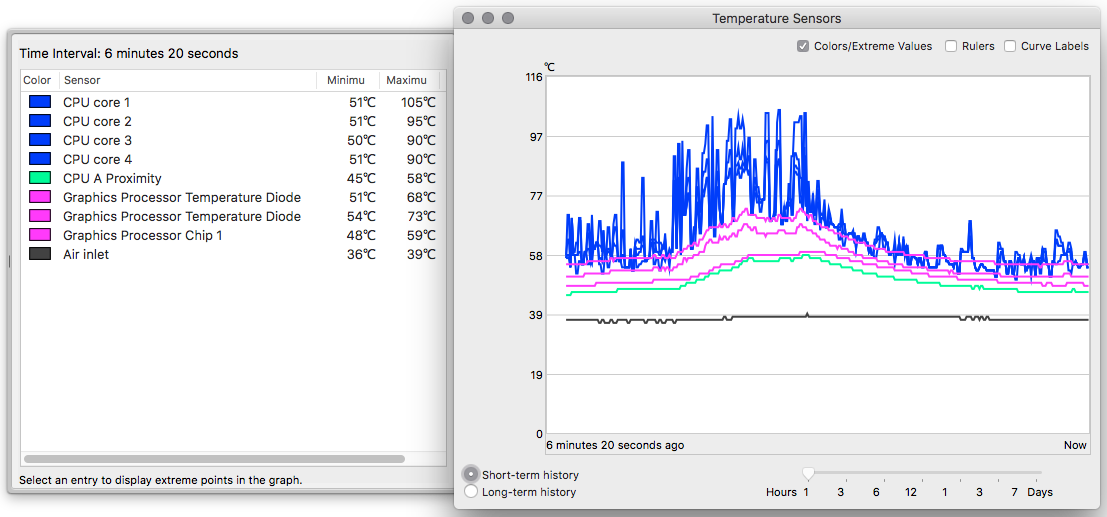
I was expecting a more significant drop in temperatures but was still impressed with the difference it did make. I could notice this especially during work hours when running Virtual Machines, the fans weren't spinning up as much any more. Less fan noise and less heat, awesome!
This write up wouldn't be complete without photos so lets see how I cleaned it.
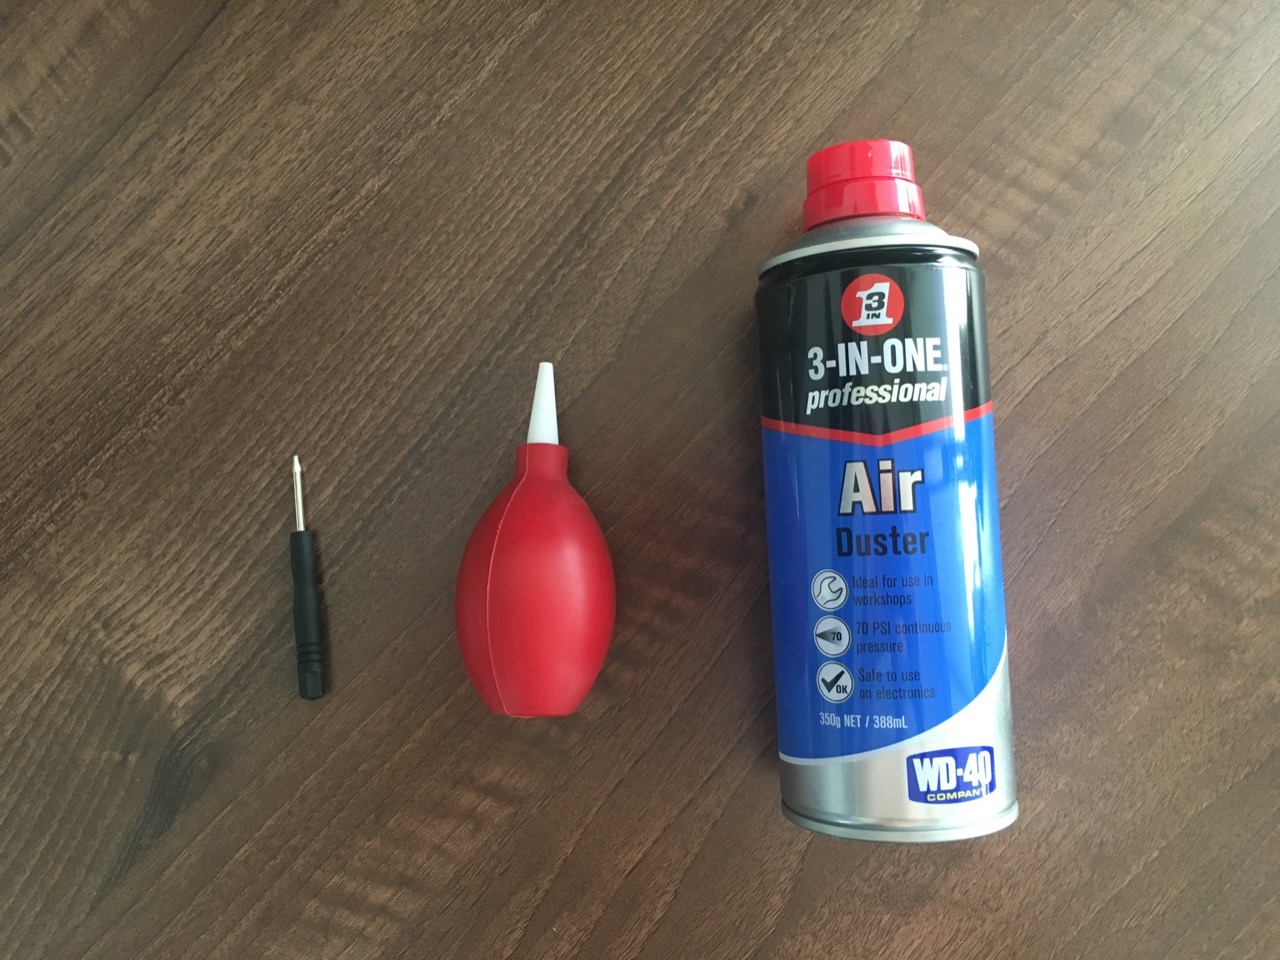
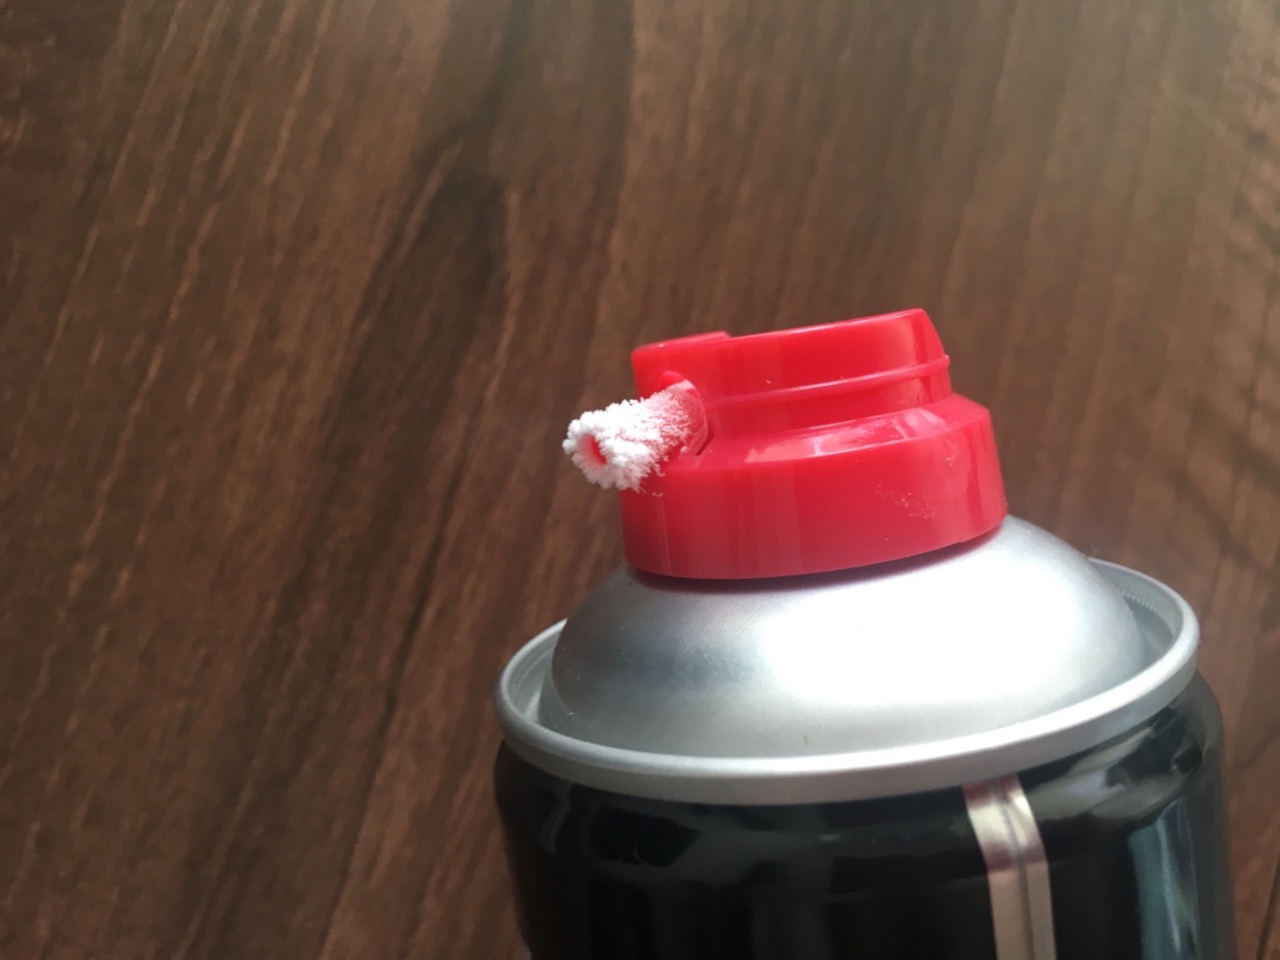
There was a small amount of tools required. These were a P5 Pentalobe Screwdriver, a hand sucker/blower and a can of compressed air.
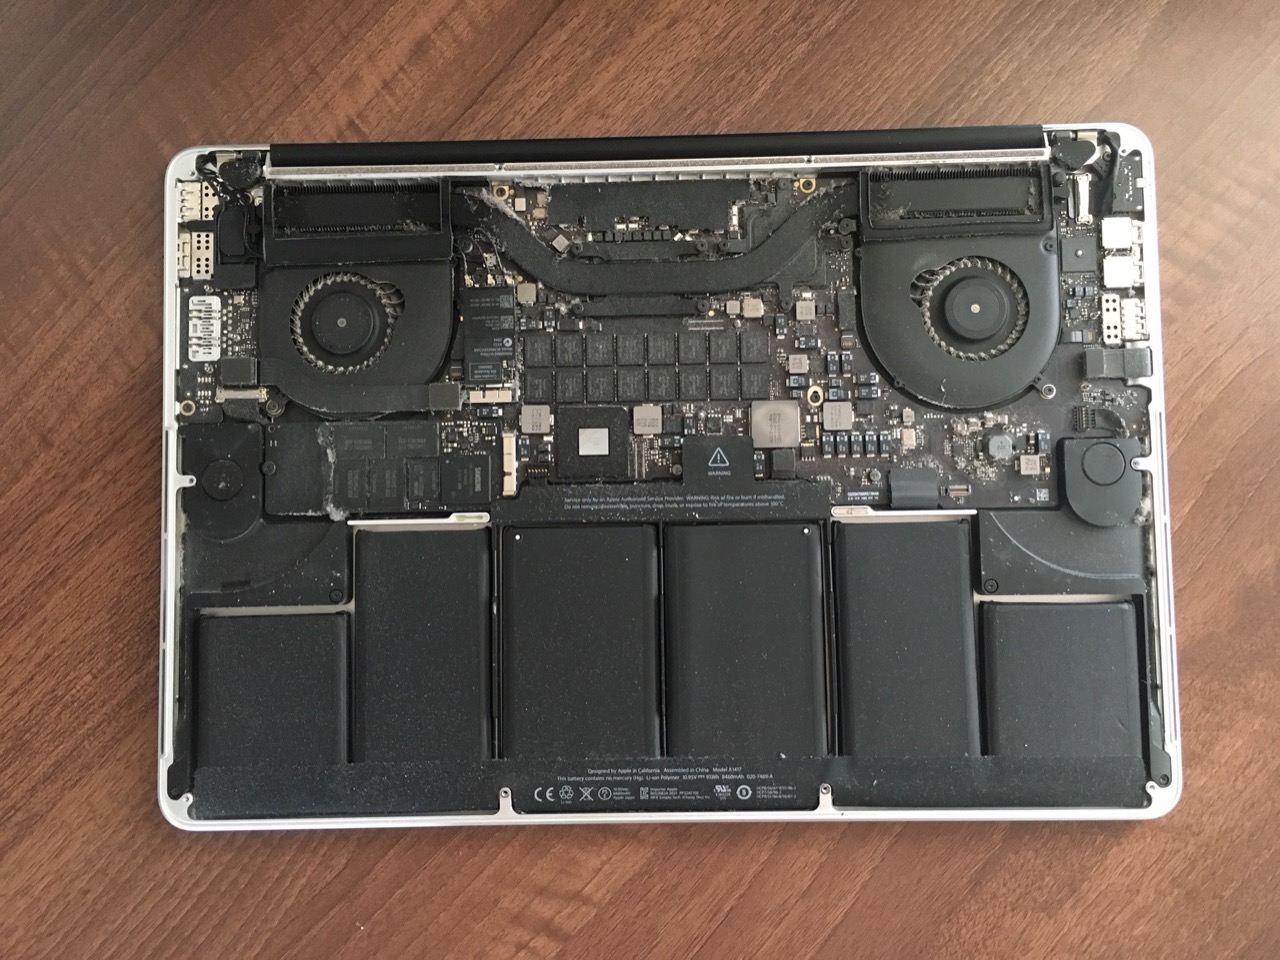
The first step was to shut down the Mac and disconnect it from any power sources. Then using the P5 screwdriver I removed all of the screws from the bottom of the case. There were two sizes, short ones highlighted in orange and longer ones highlighted in red. They all came out with ease.

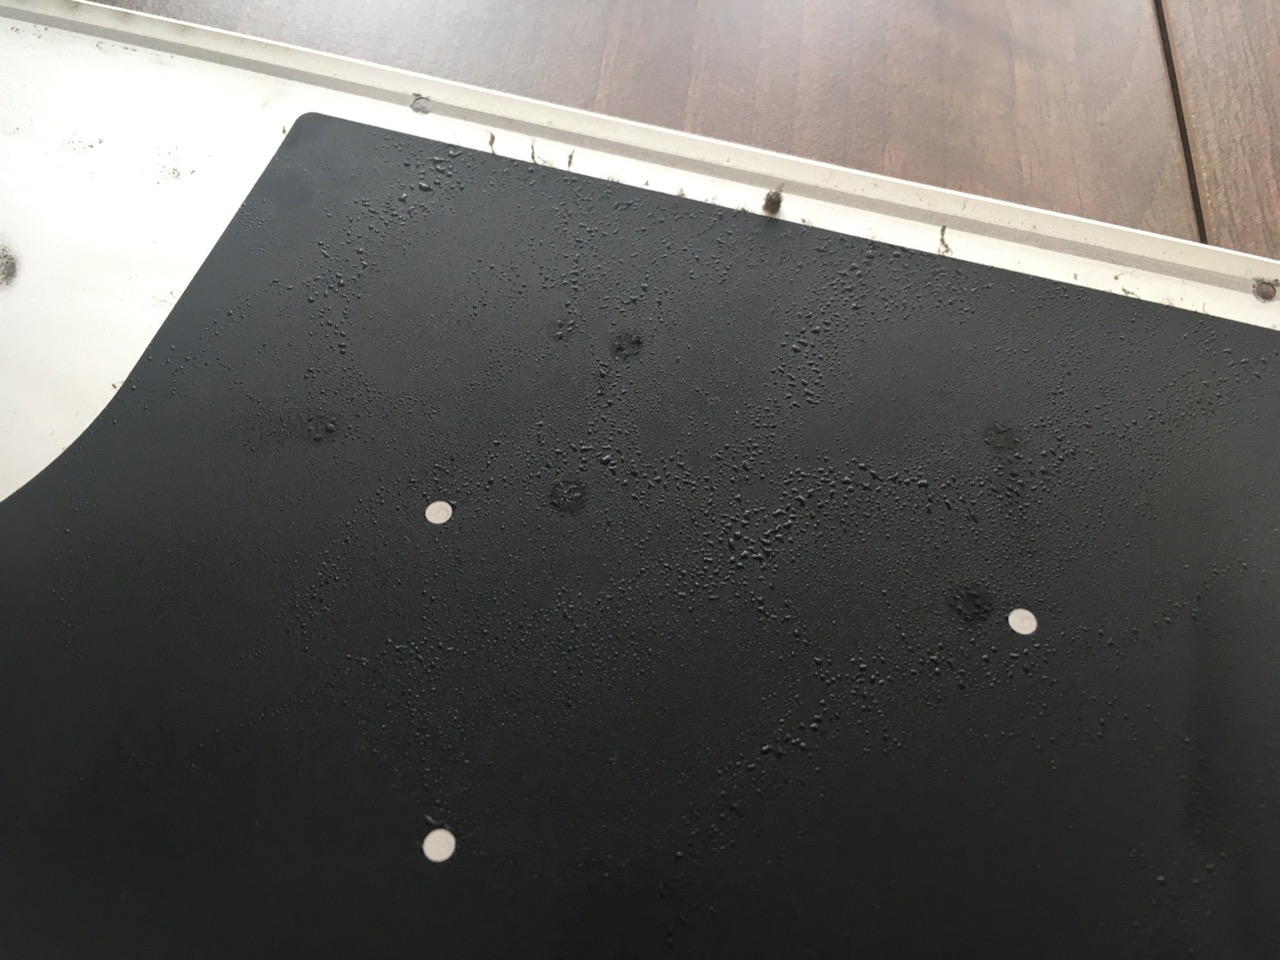
Inside was a fair amount of dust, both on the components and the rear cover.
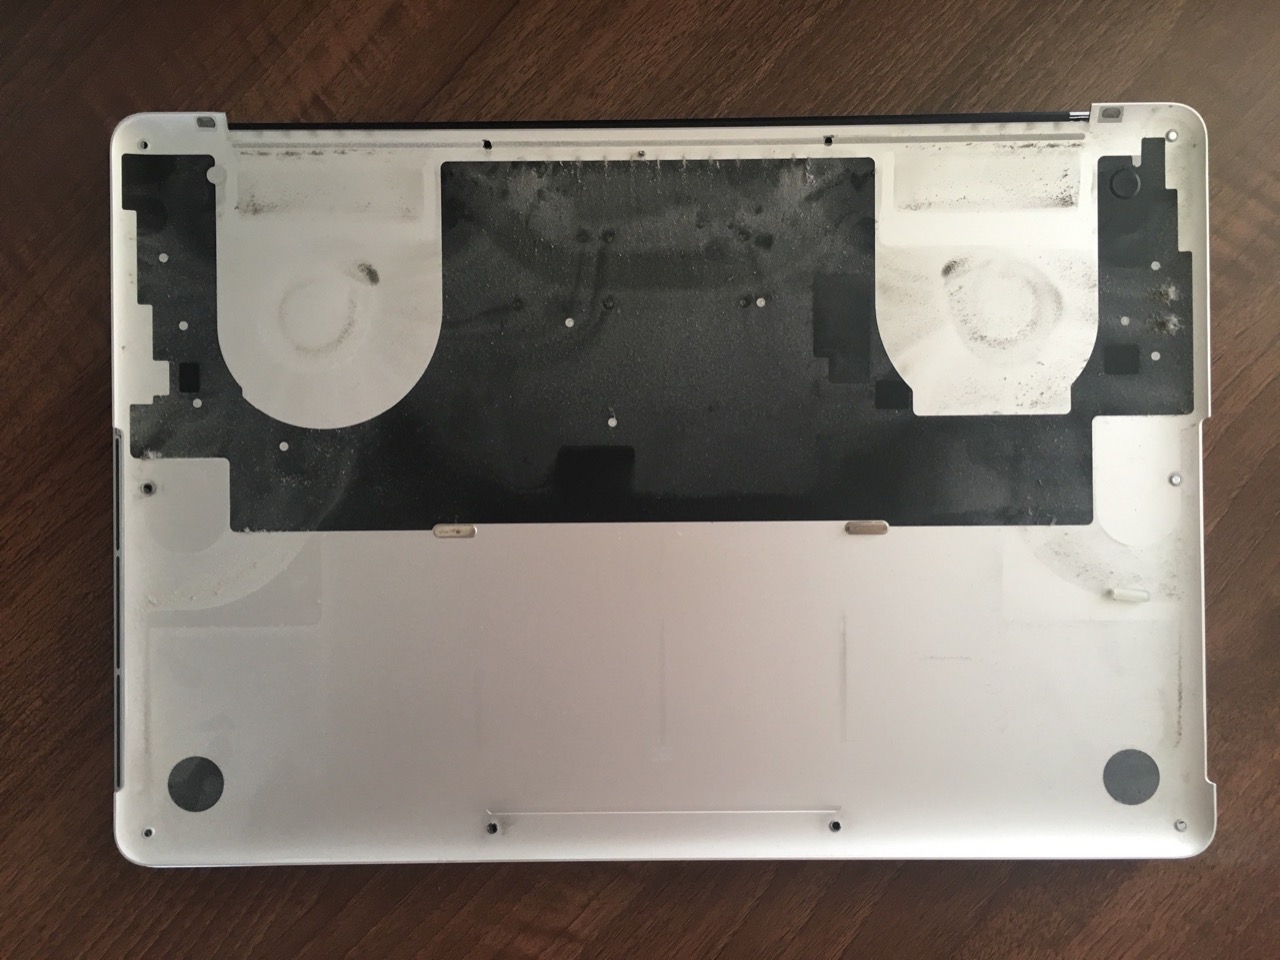
I used the compressed air can to clean the rear cover first. The can got quite cold with use and had frosted over on the tip (which was impressive given it was 34C air temperature outside). Since the air coming out of the can was cold, a bit of condensation built up on the cover, I just wiped it with a paper towel.
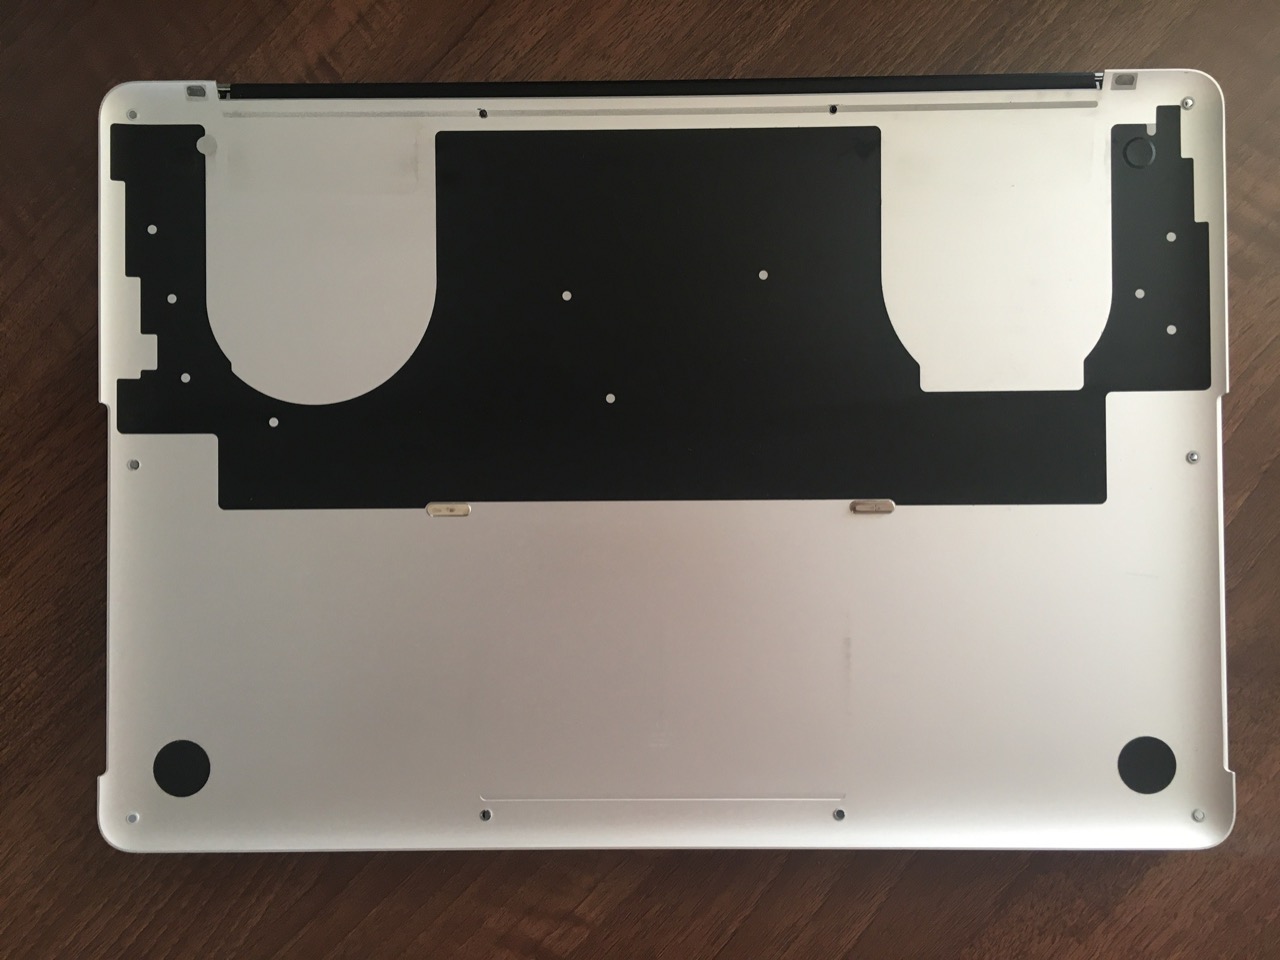
Just like that I had a lid that looked brand new.
The inside of the laptop was next. At first I tried using compressed air to clean that but found that it wasn't very effective so switched to the hand sucker/blower and that worked much better. I was able to remove some of the dust off the heatsinks by sucking it out first on the exhaust side, then blowing the rest out from the fan side. I also made sure that the fans would not spin while cleaning by jamming a piece of rubber between the blades and the case, to prevent any static damaging the Mac.
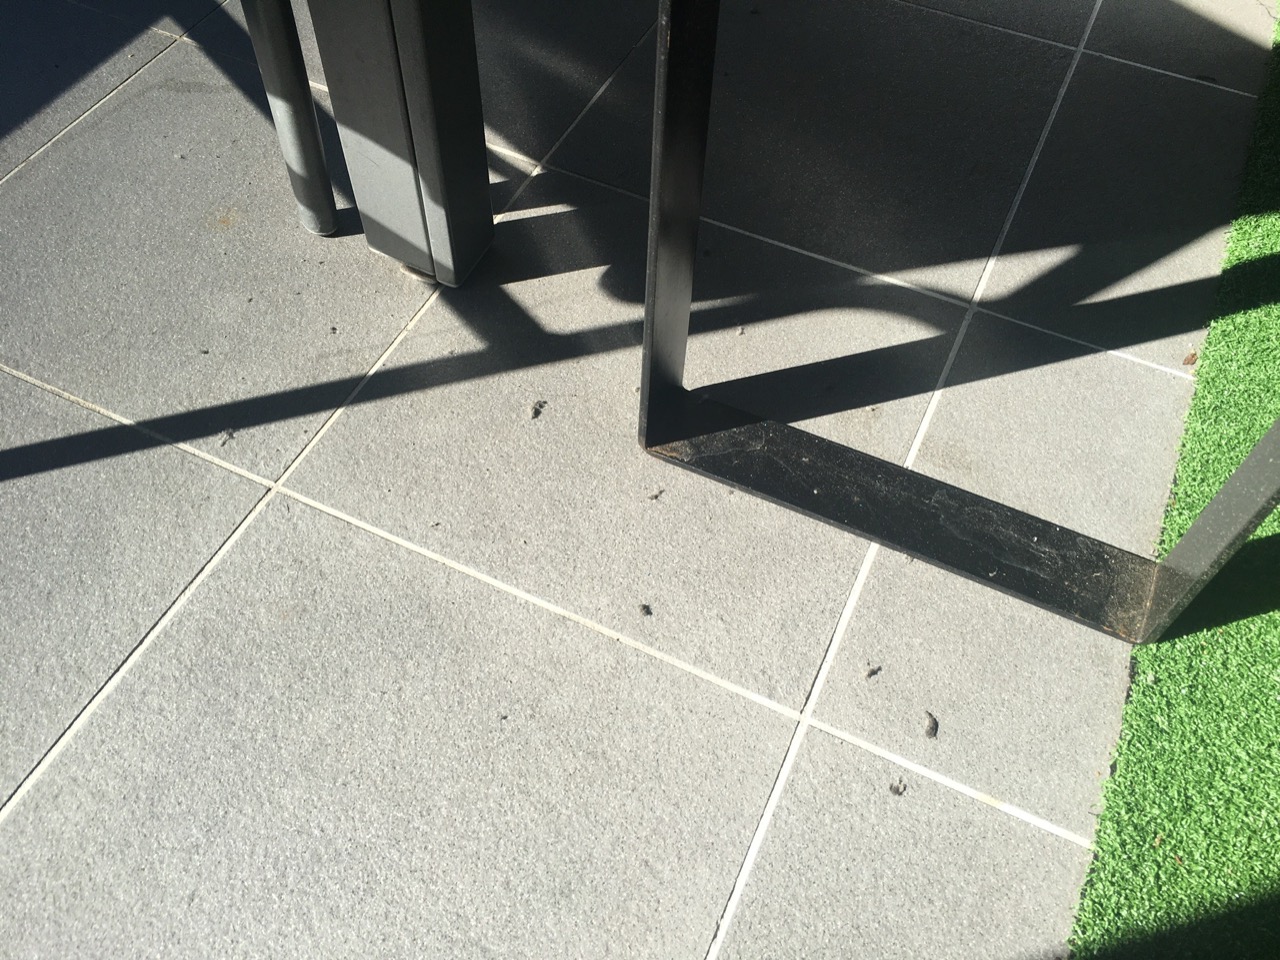
It took a while to finish cleaning both fans and heatsinks and the air intakes on both sides of the Mac. There was a tonne of dust in there. Lots of that dust was in clumps so no wonder I wasn't getting much heat dissipation earlier - there was nowhere for air to move. My balcony floor was full of clumps of dust by the end.
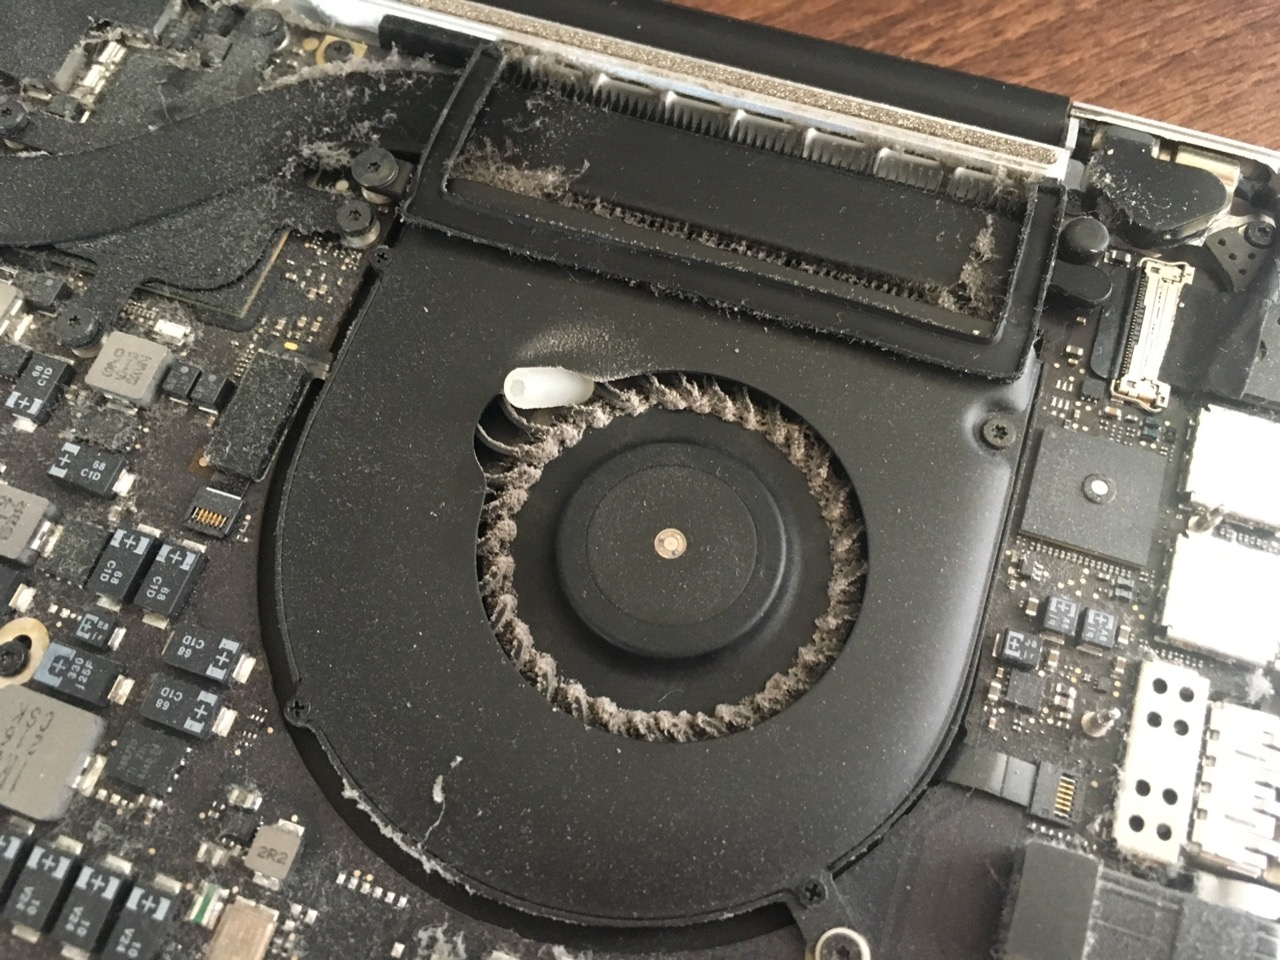
The result was pretty good. Some dust just would not come off the fan blades, but it was much cleaner than what I started with.
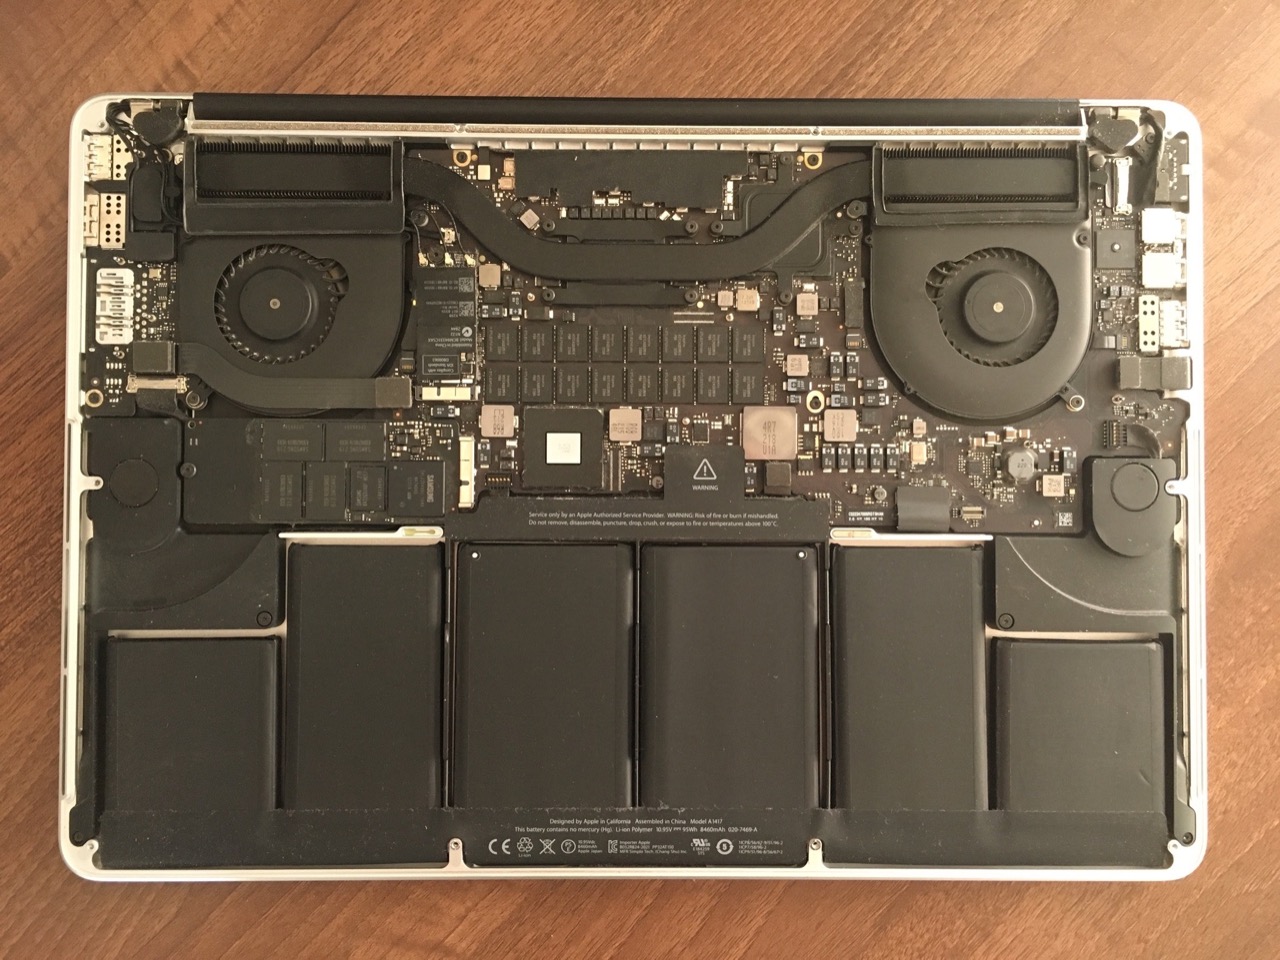
Reassembly was simple. I made sure there was no condensation left and then just screwed the lid back in place and I was done.
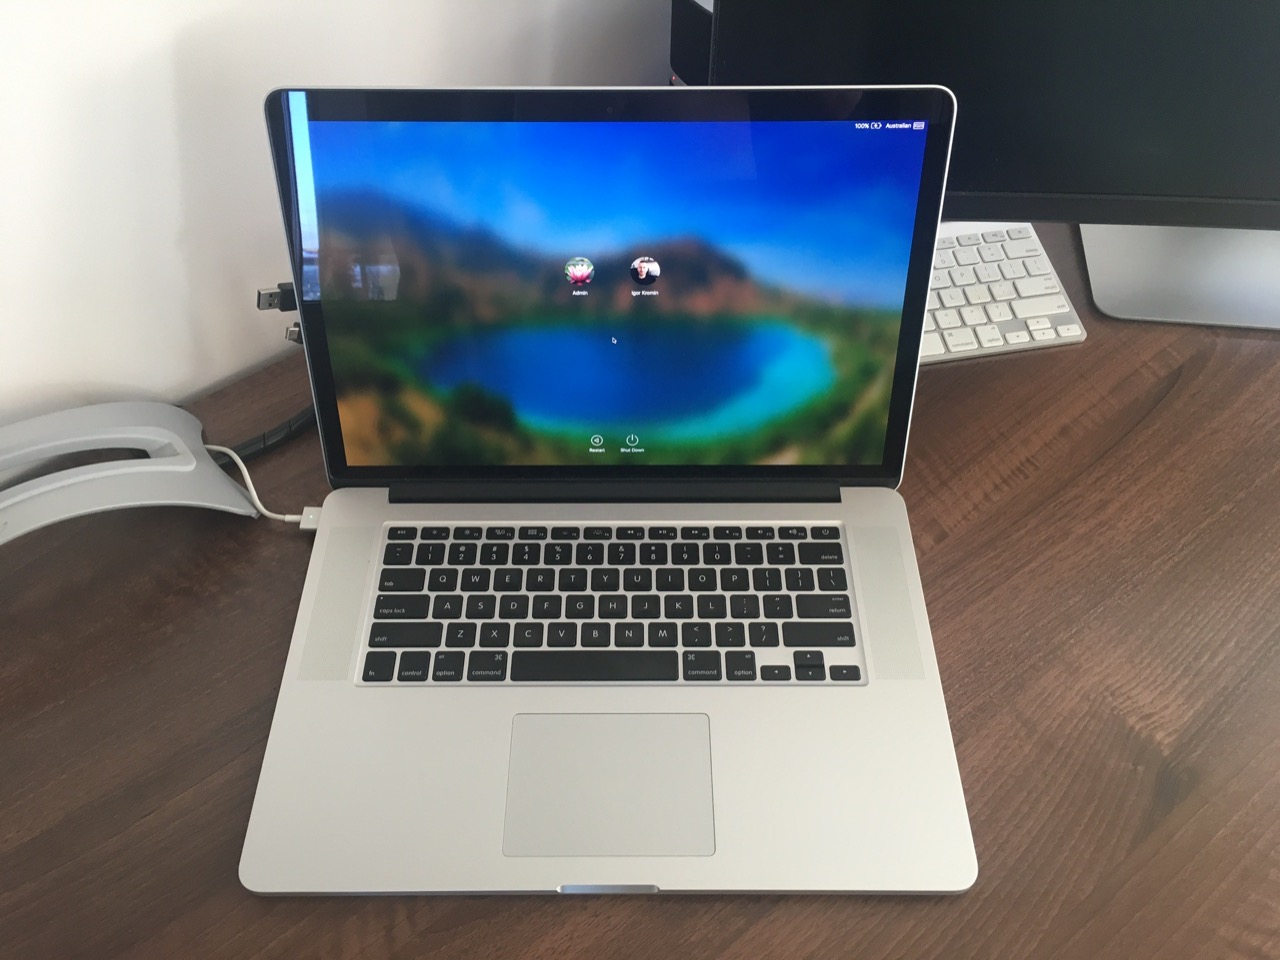
It powered up after all this cleaning so I was happy already!
So there you go, a close to a 10C drop in temperatures just from doing a clean of the fans and heatsinks. For the quarter of an hour it took to clean, the outcome was completely worth it.
-i
