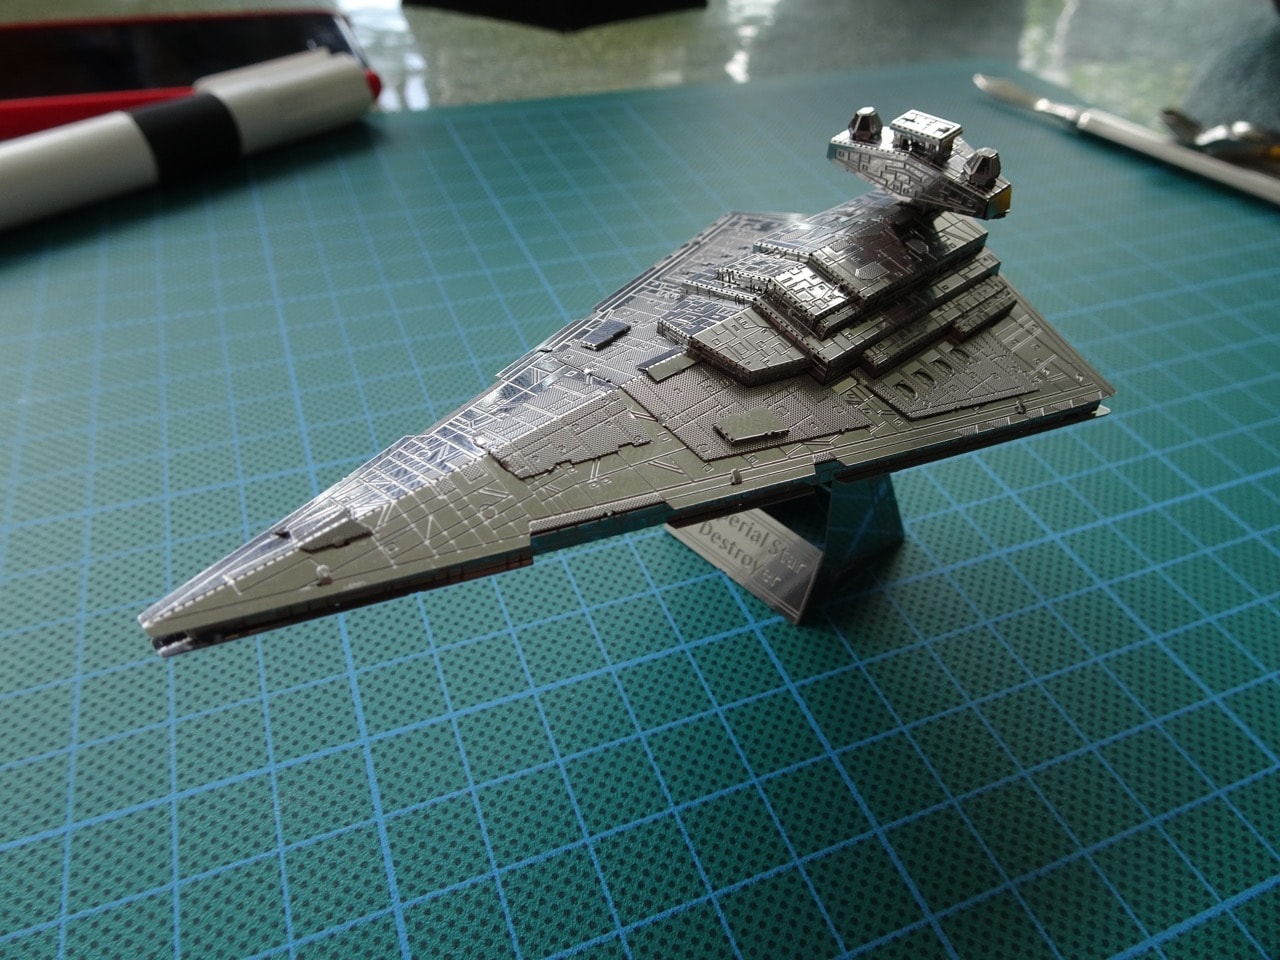
This is the final product...looks cool and I'm very happy to add it to my growing fleet of Star Destroyers!
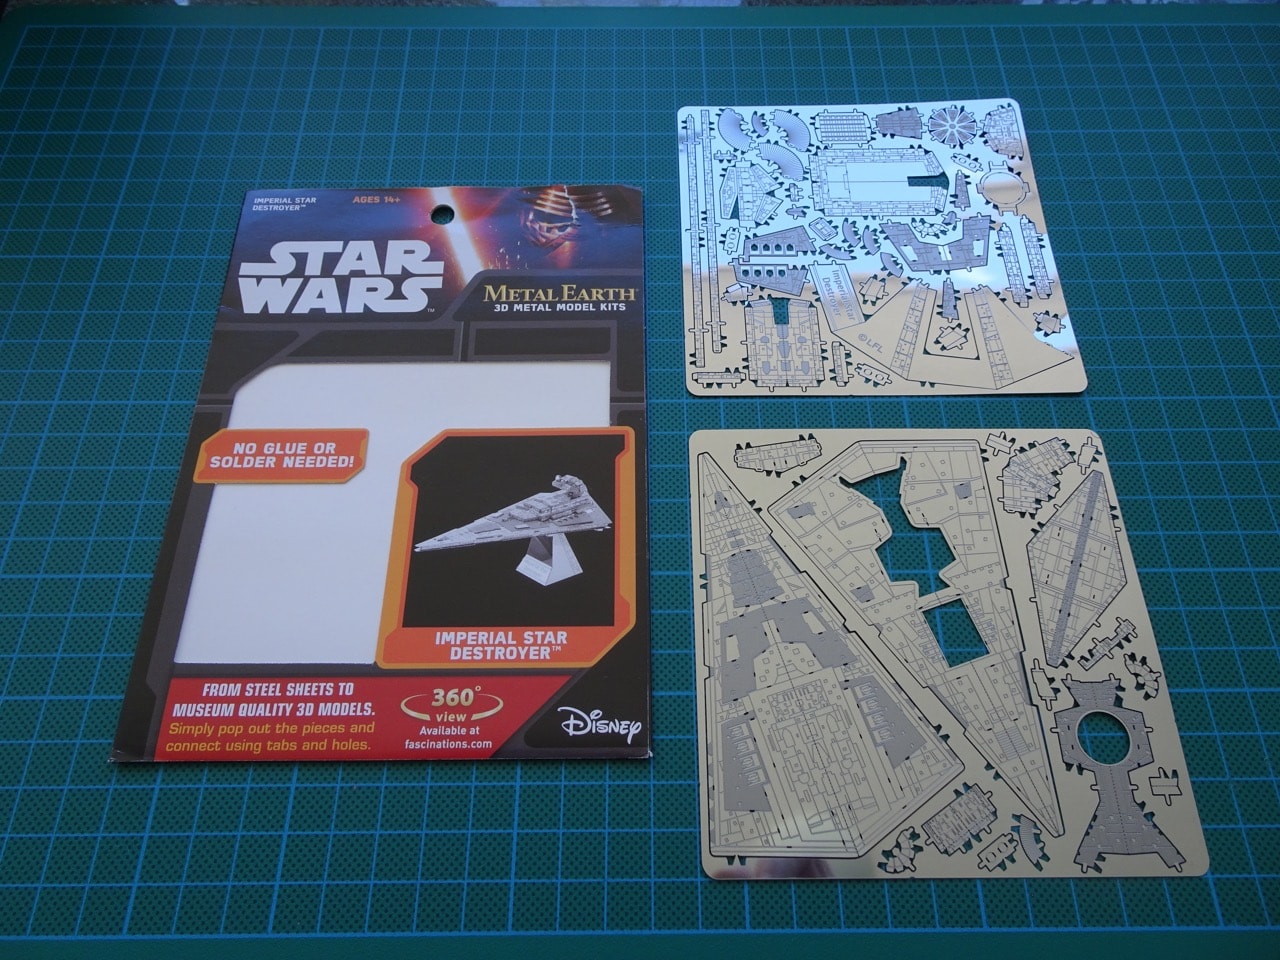
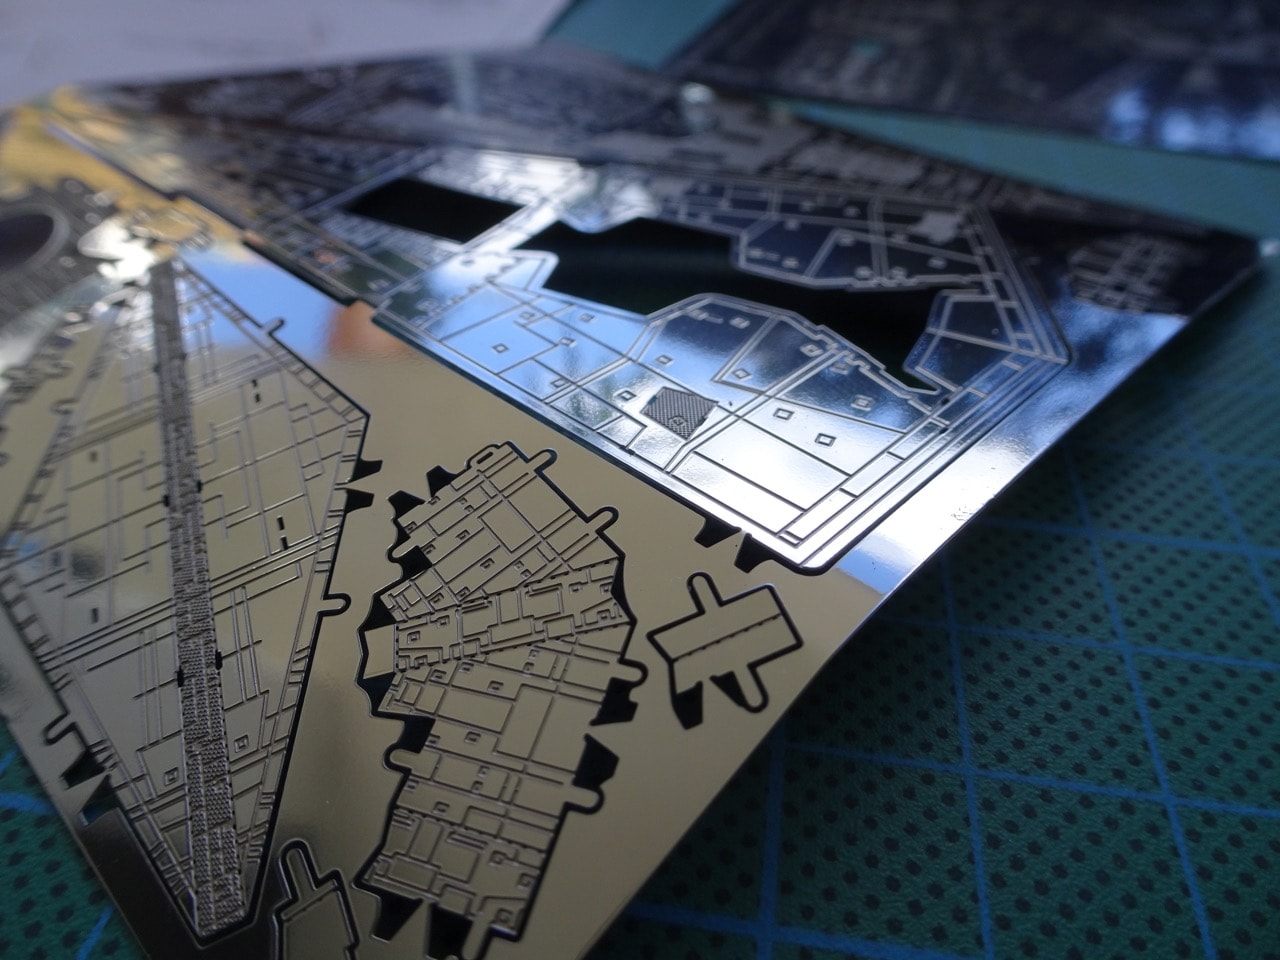
This is what was inside the packaging. Two sheets of laser cut steel and an instruction manual.
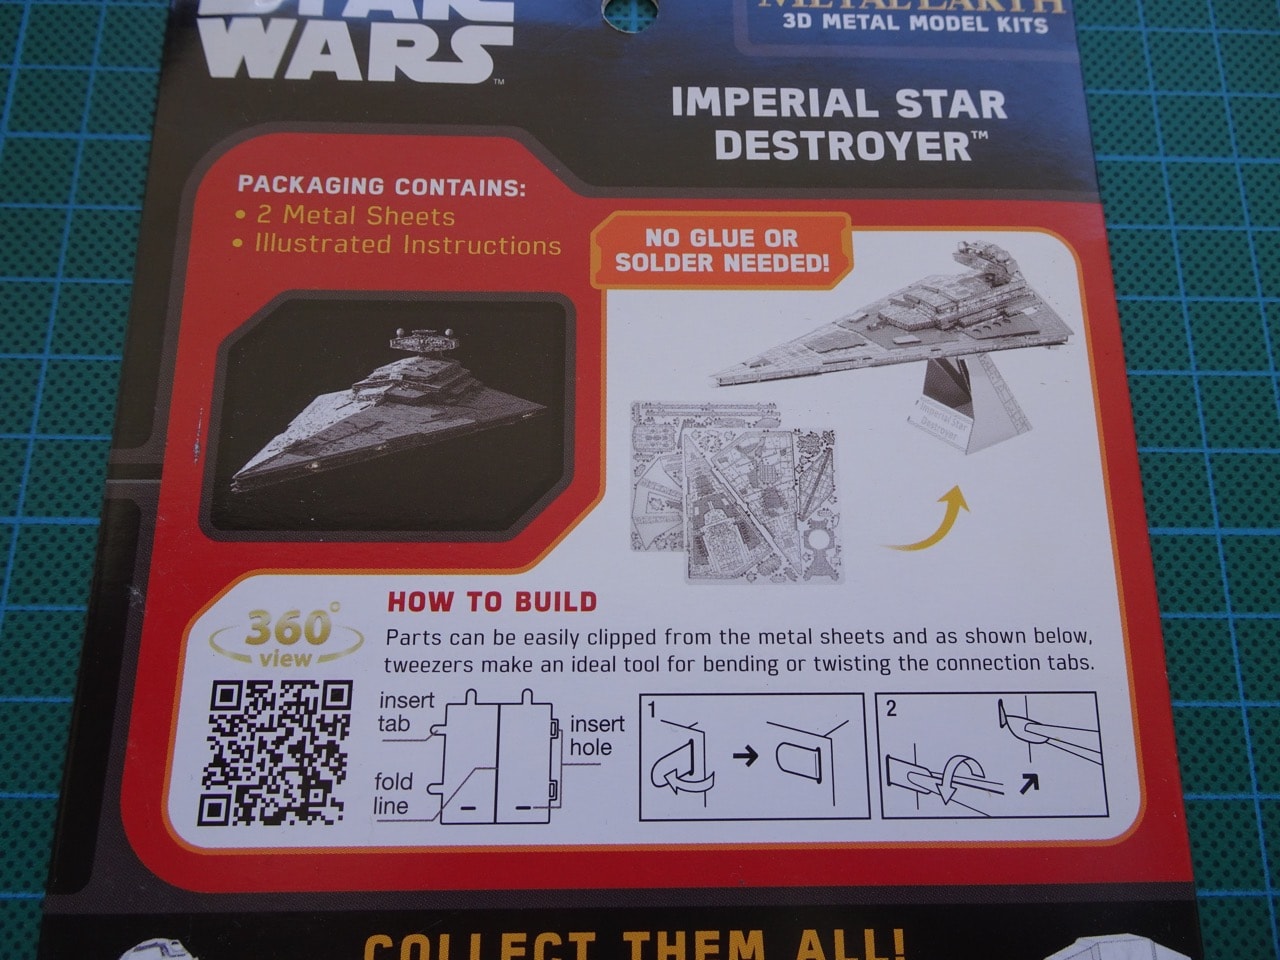
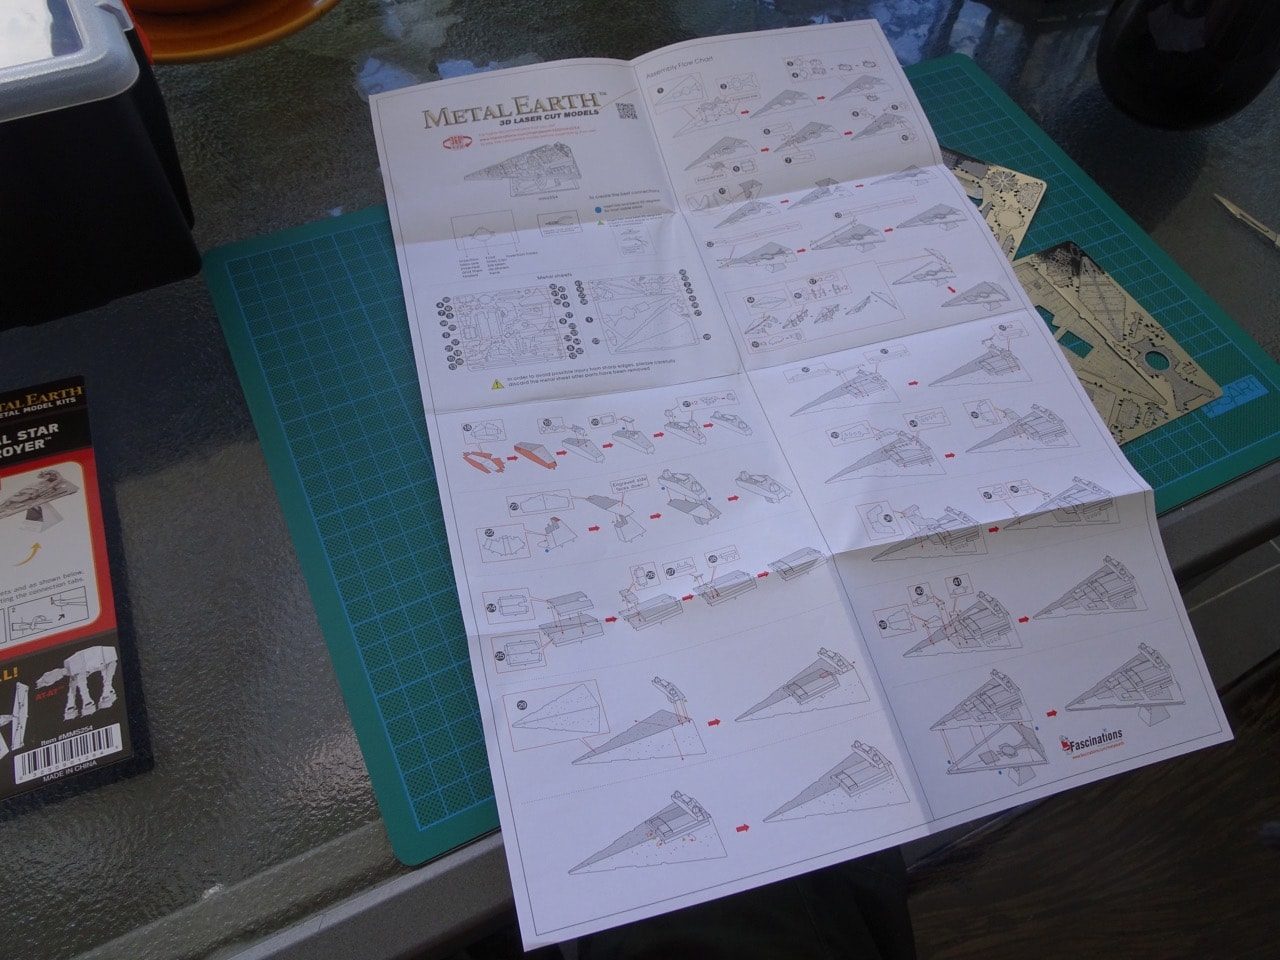
The back of the package had some more detail on how to assemble the kit. The instructions were just one big piece of two sided paper. At the very top the instructions had both of the metal sheets numbered, this came in very handy while assembling, by crossing out the pieces that were used as I went.
Despite the fact that the instructions told you that you only needed one tool, in reality the assembly was made a lot easier with a few more implements...
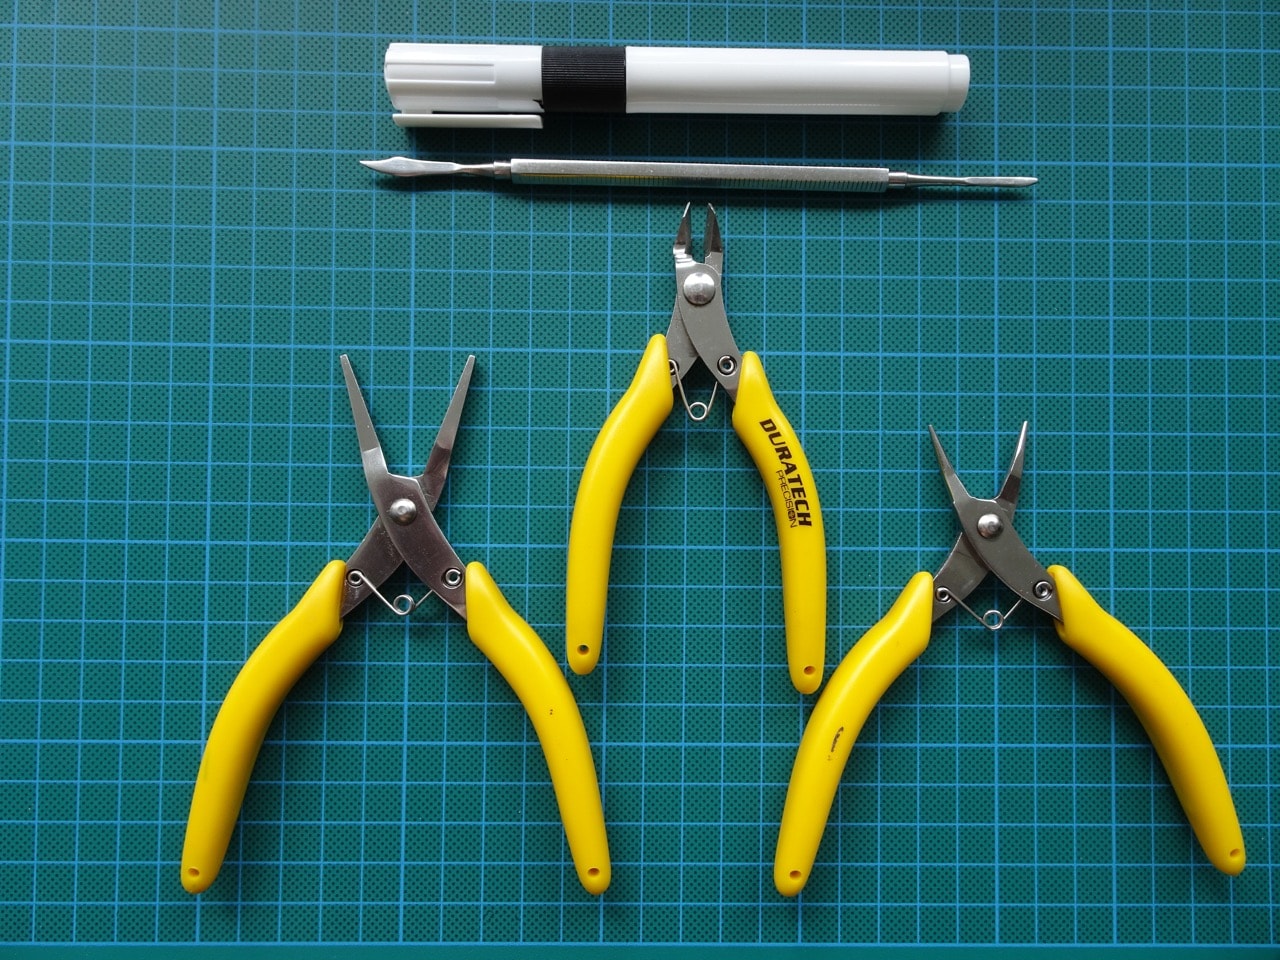
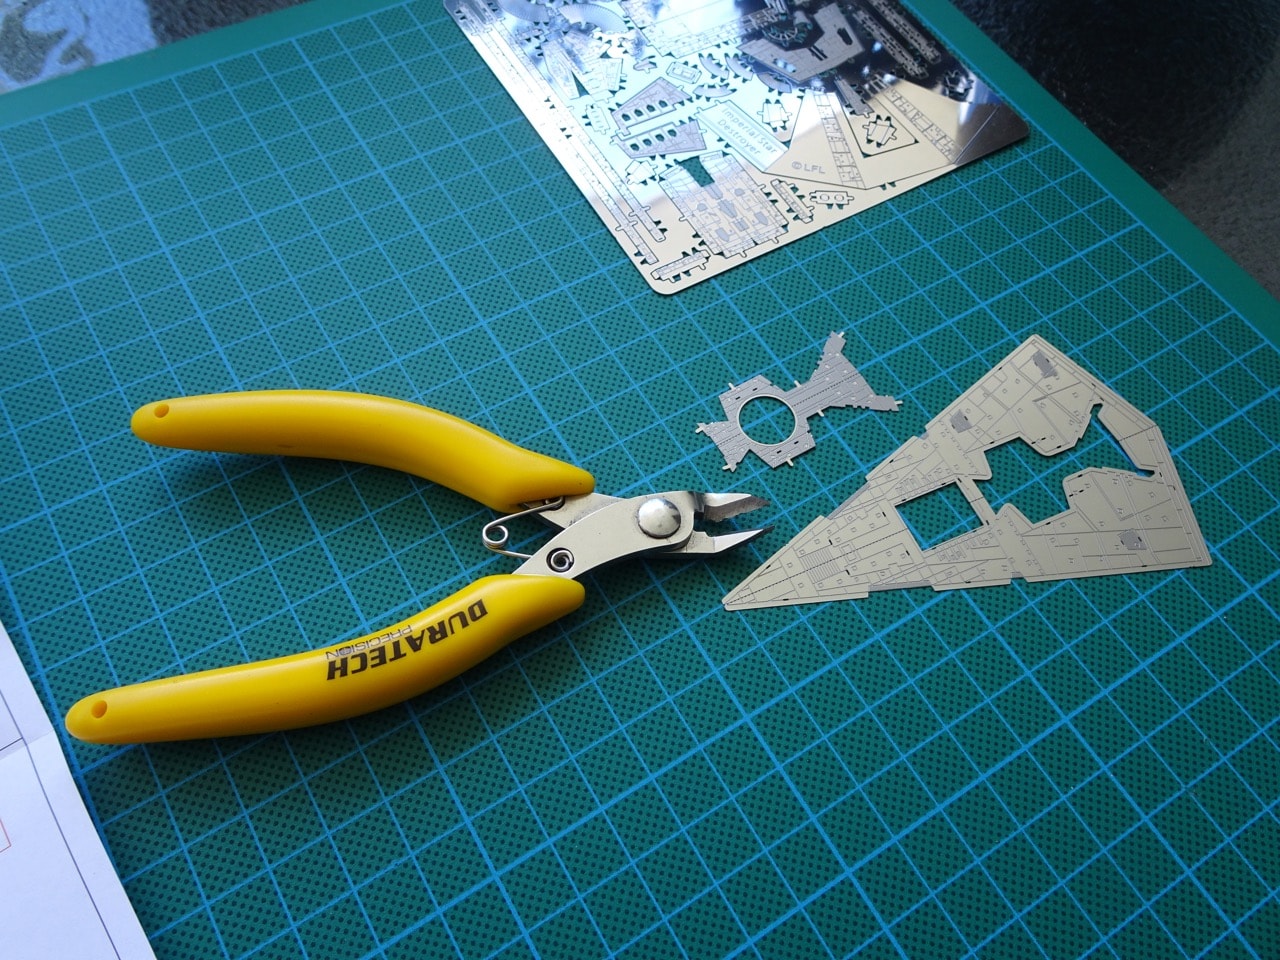
Cutting out the pieces was pretty simple. I used my small side cutters to snip the tabs holding each piece in place. Some of the cuts had to be cleaned up a bit to make for a straight edge. Every piece was cut out flat and pretty much all needed some amount of bending and folding afterwards.
I used my modelling spatula tool to bend the tabs when connecting two pieces together. This can be done by hand but using something solid makes the job so much easier.
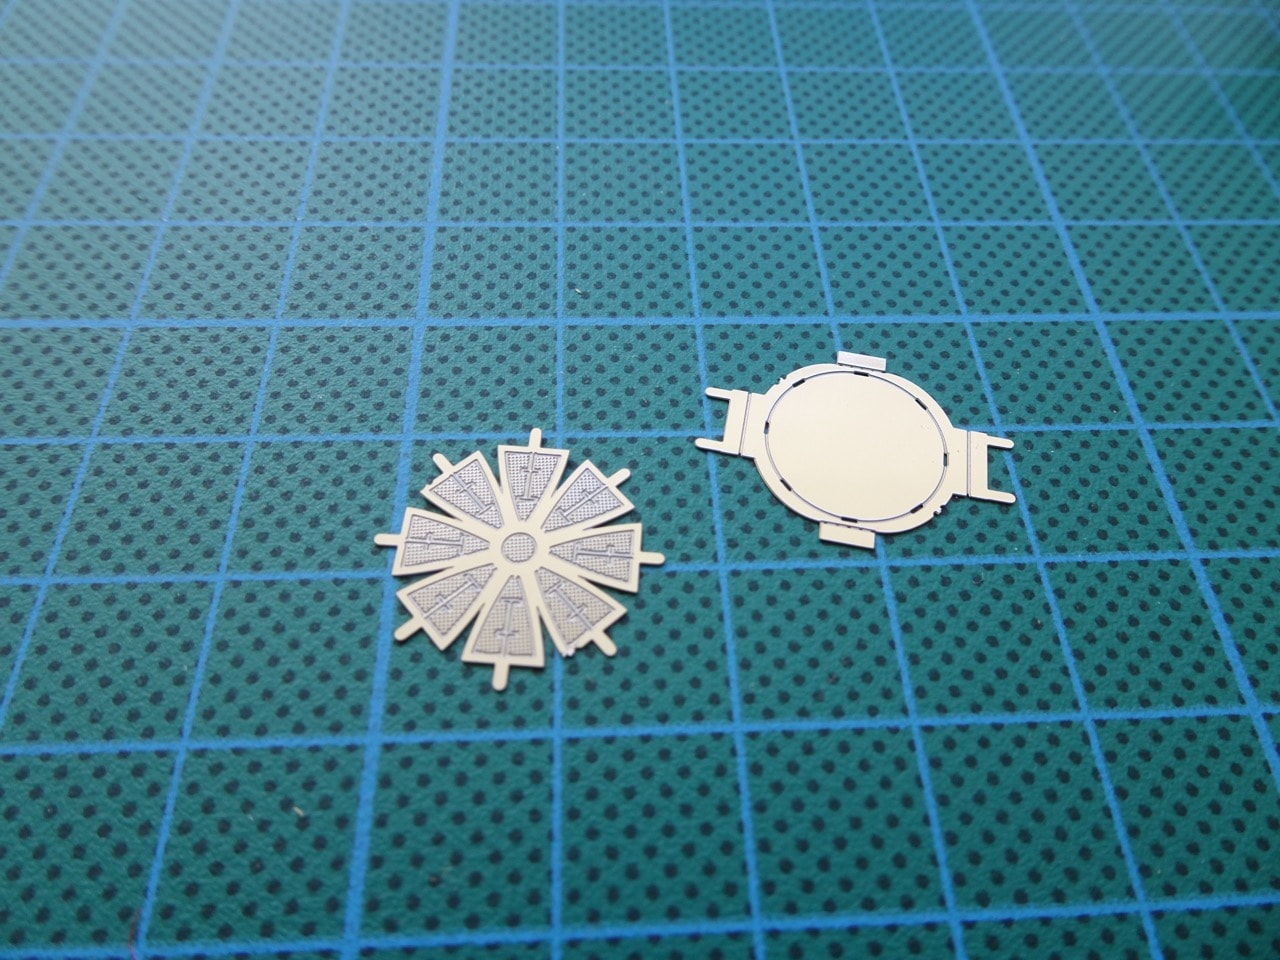
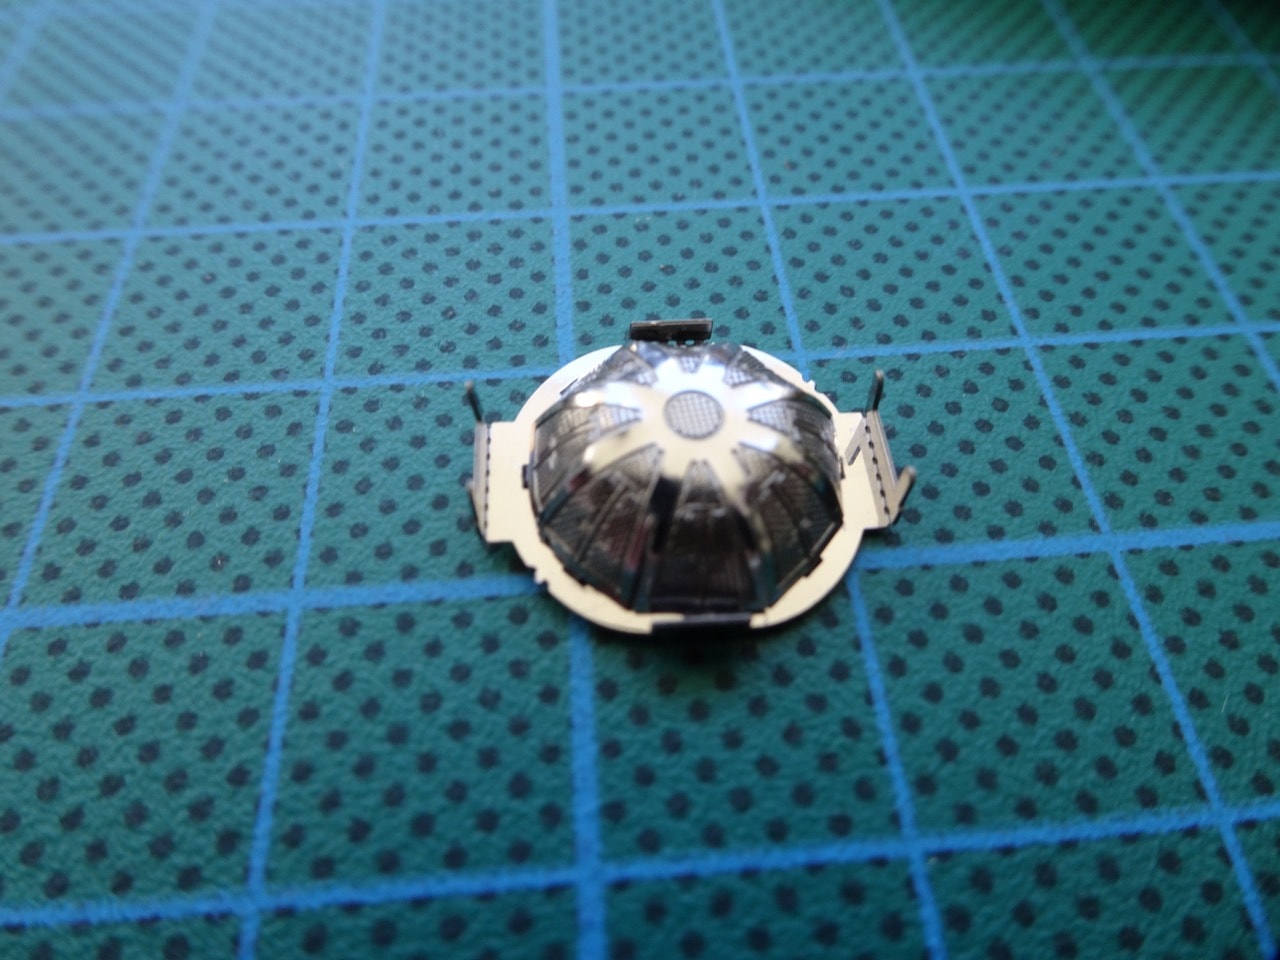
Some pieces were very difficult to put together, like these half spherical bits. The small needle nose pliers came in handy here to bend along each of the facets. It got quite fiddly.
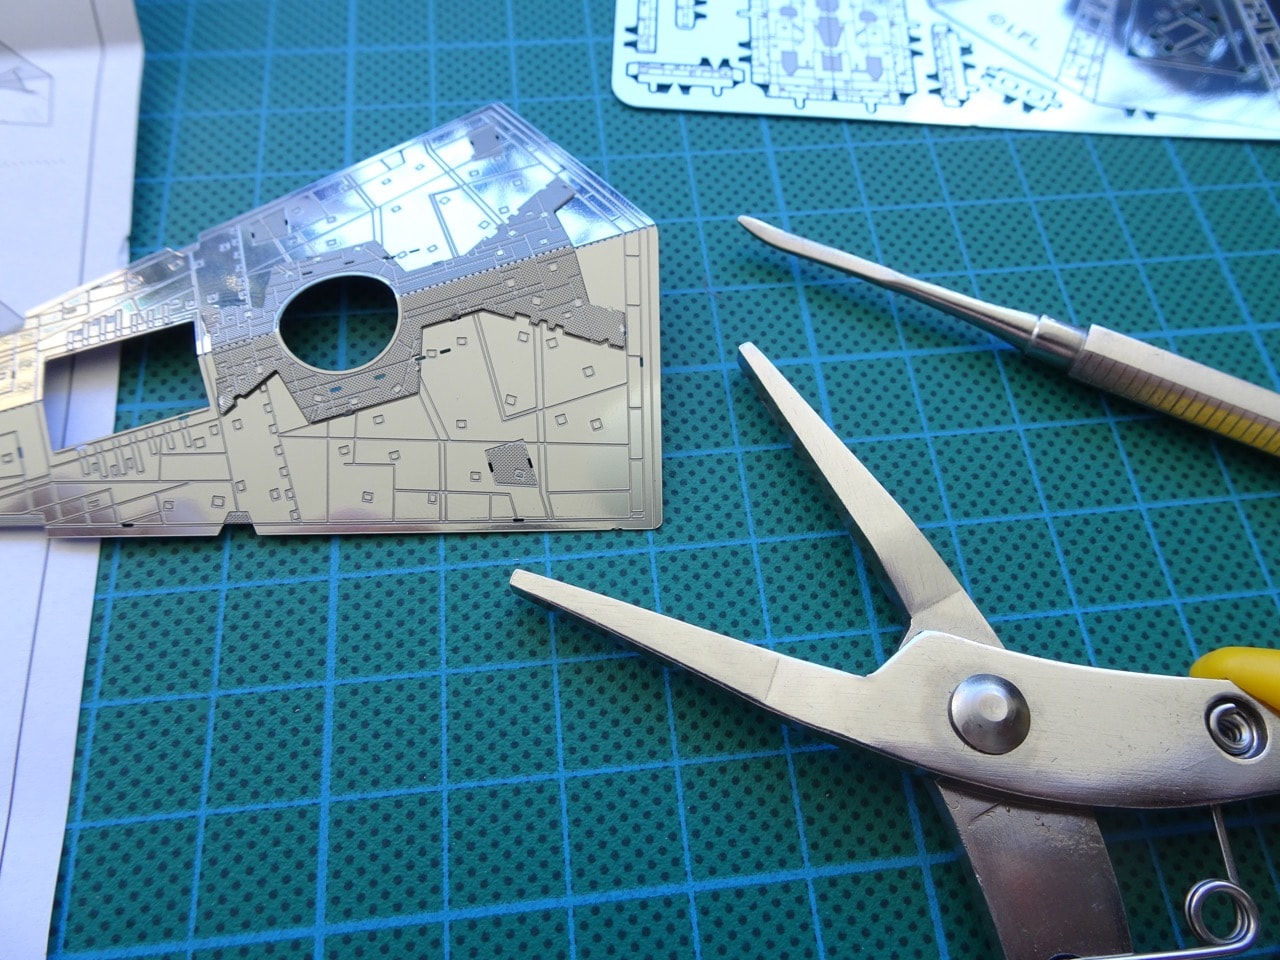
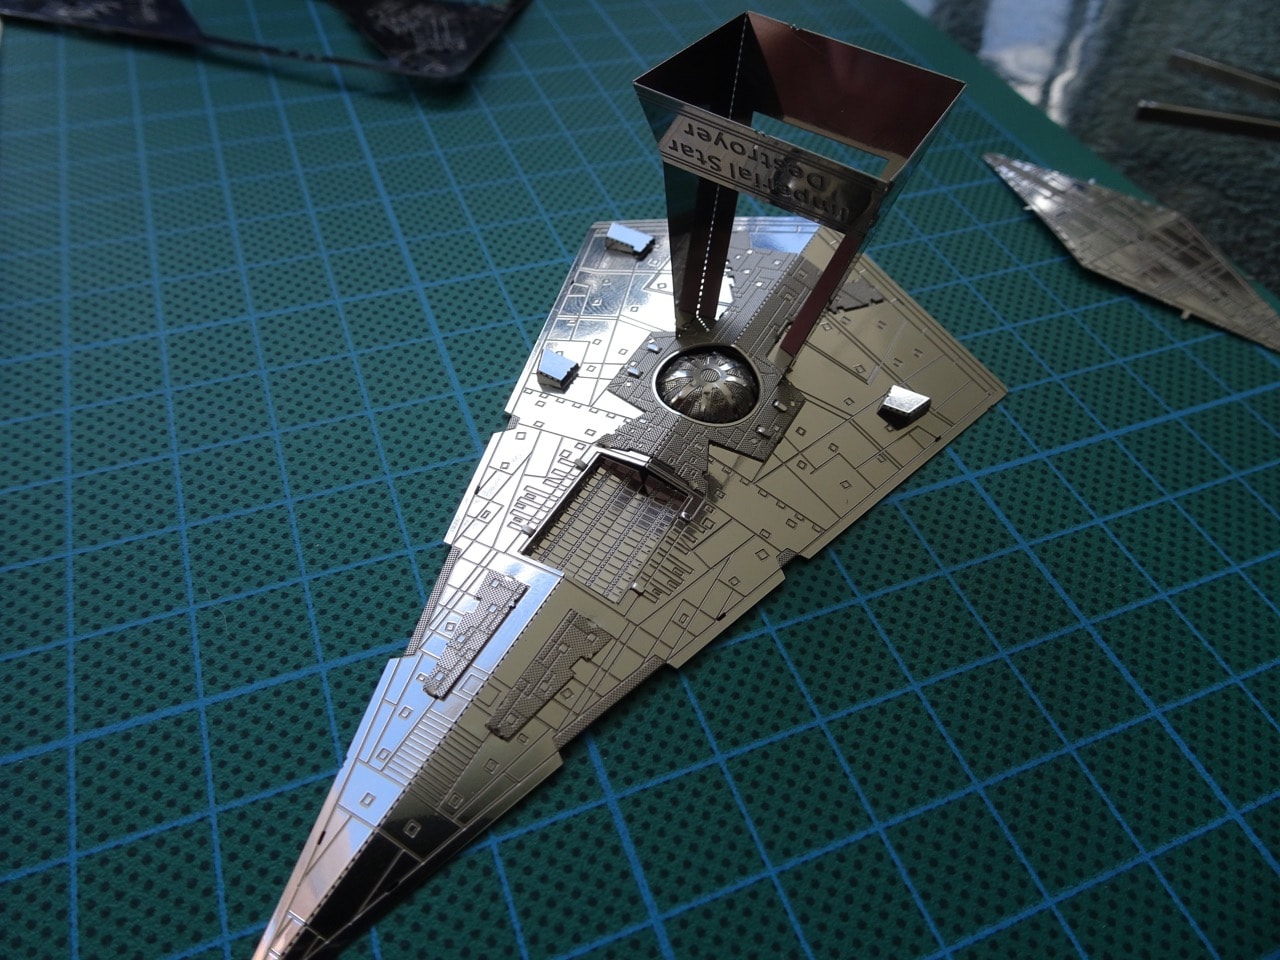
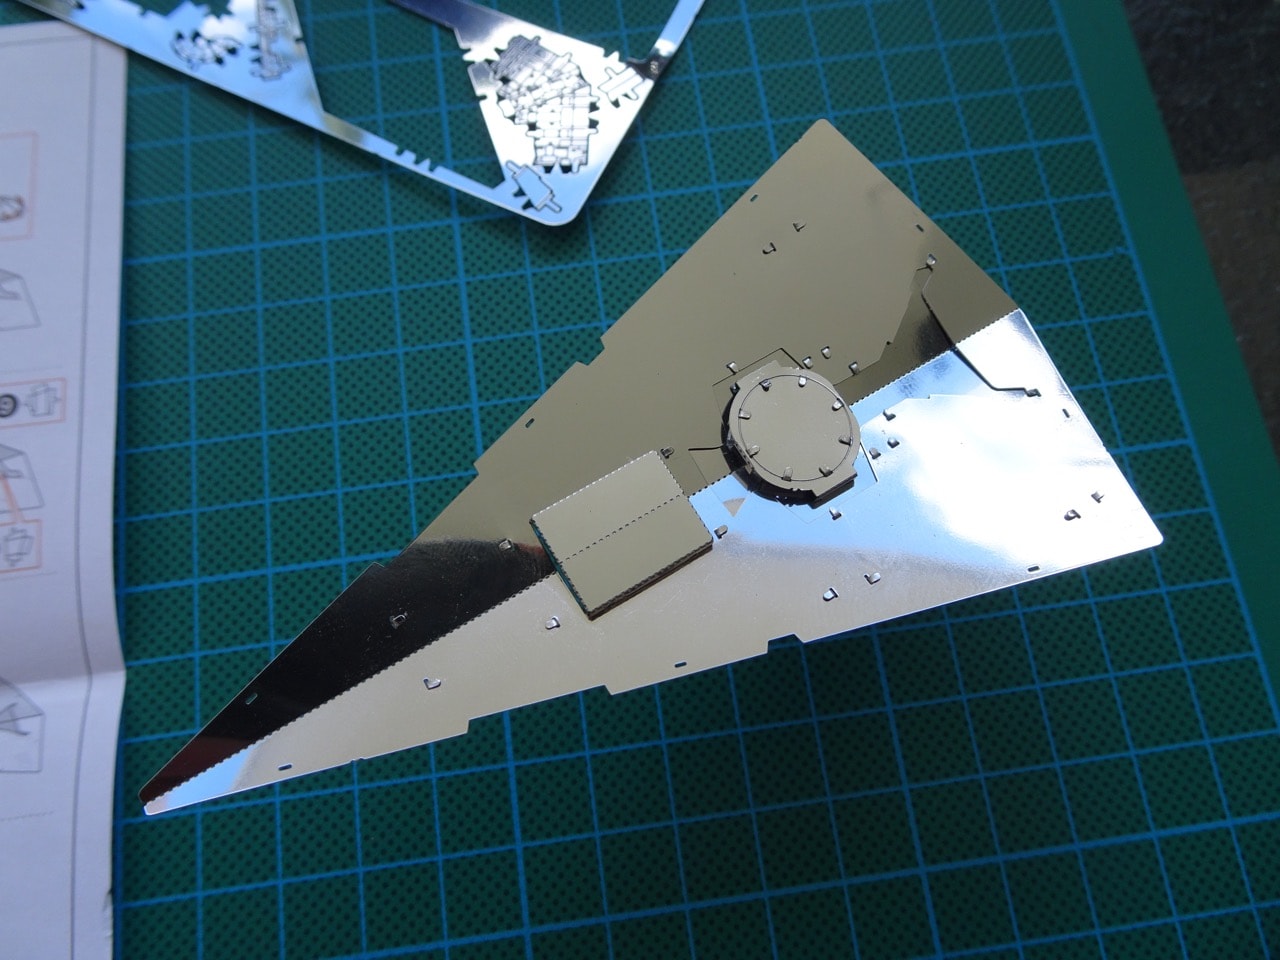
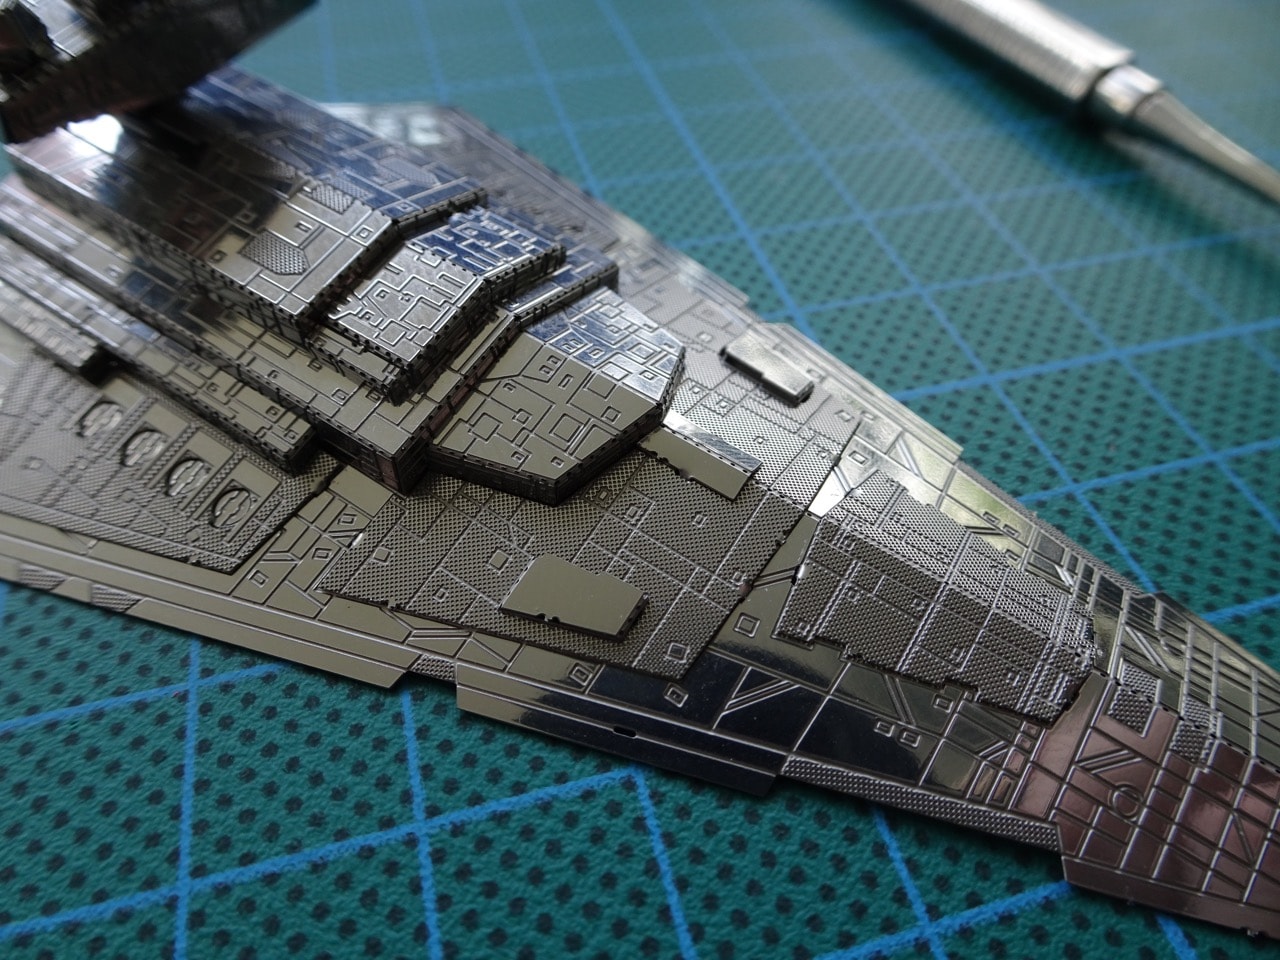
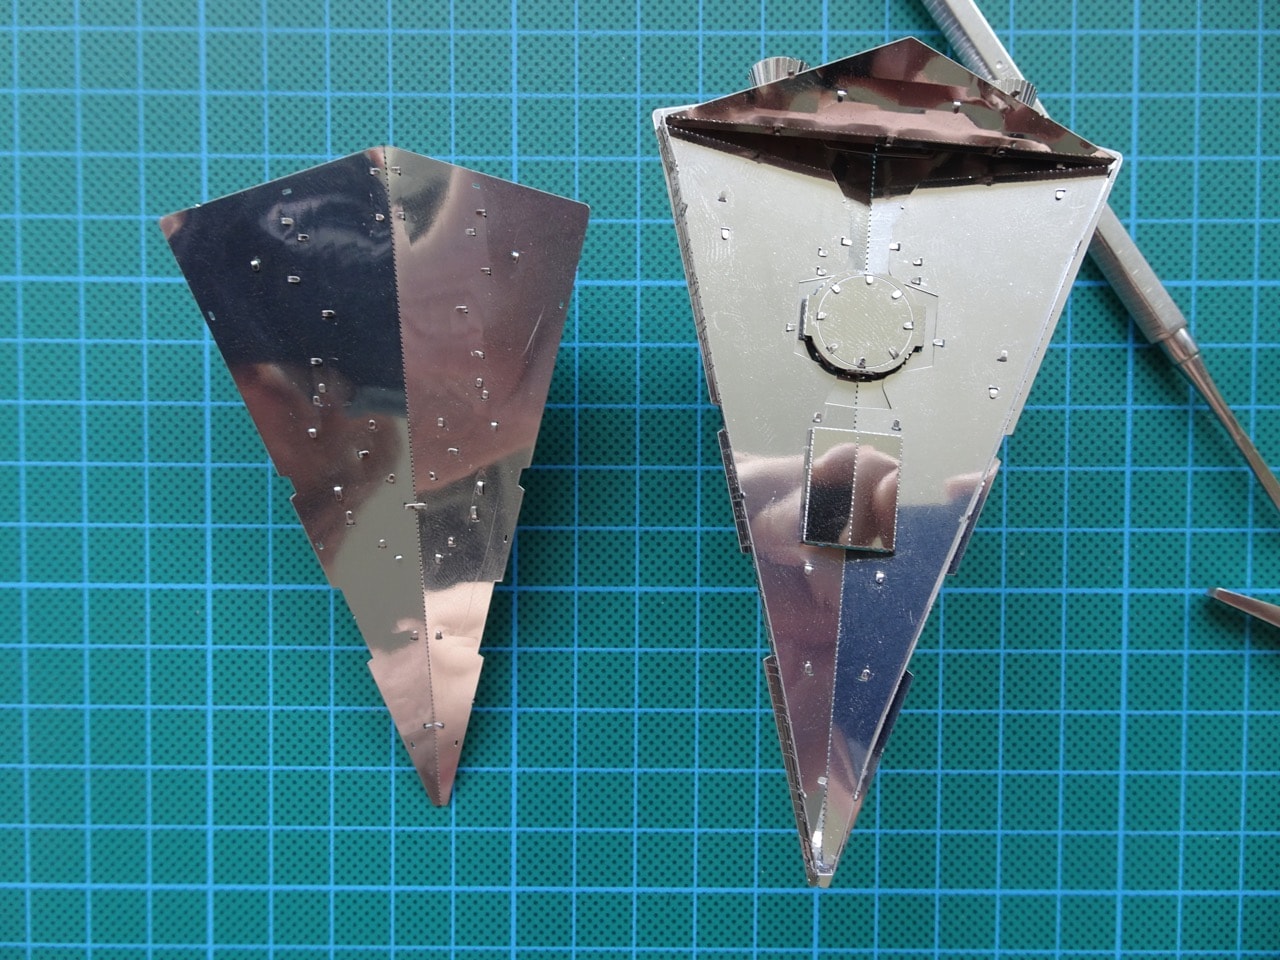
There was fair bit of detail pieces that needed to be attached to the surface as well as to the interior to make a 3D looking model. I quite liked how this all came together.
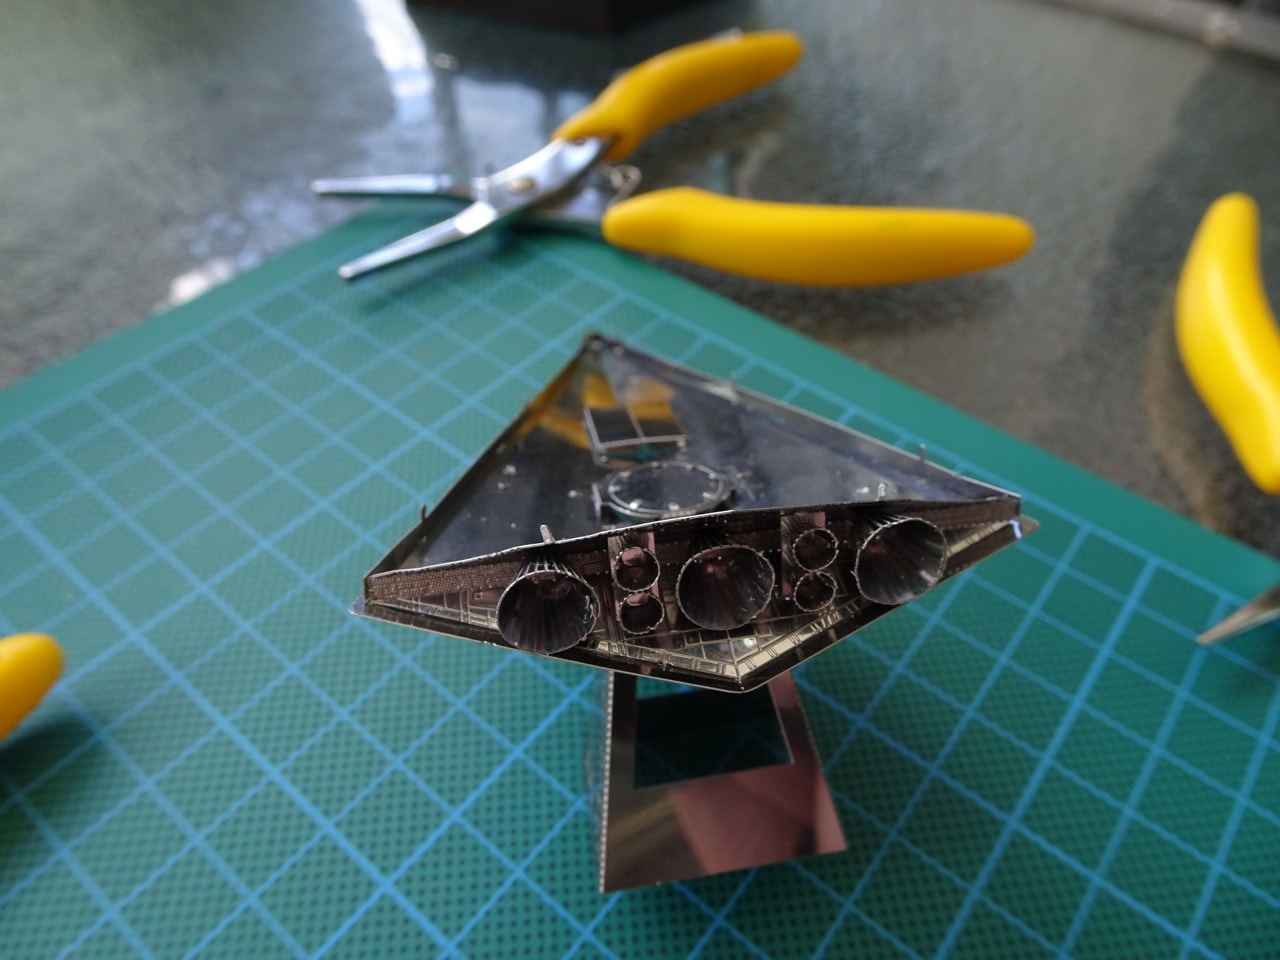
The rear thrusters were a pain! The large ones were easier compared to the tiny smaller ones and it would not have been possible to put either together without needle nose pliers.
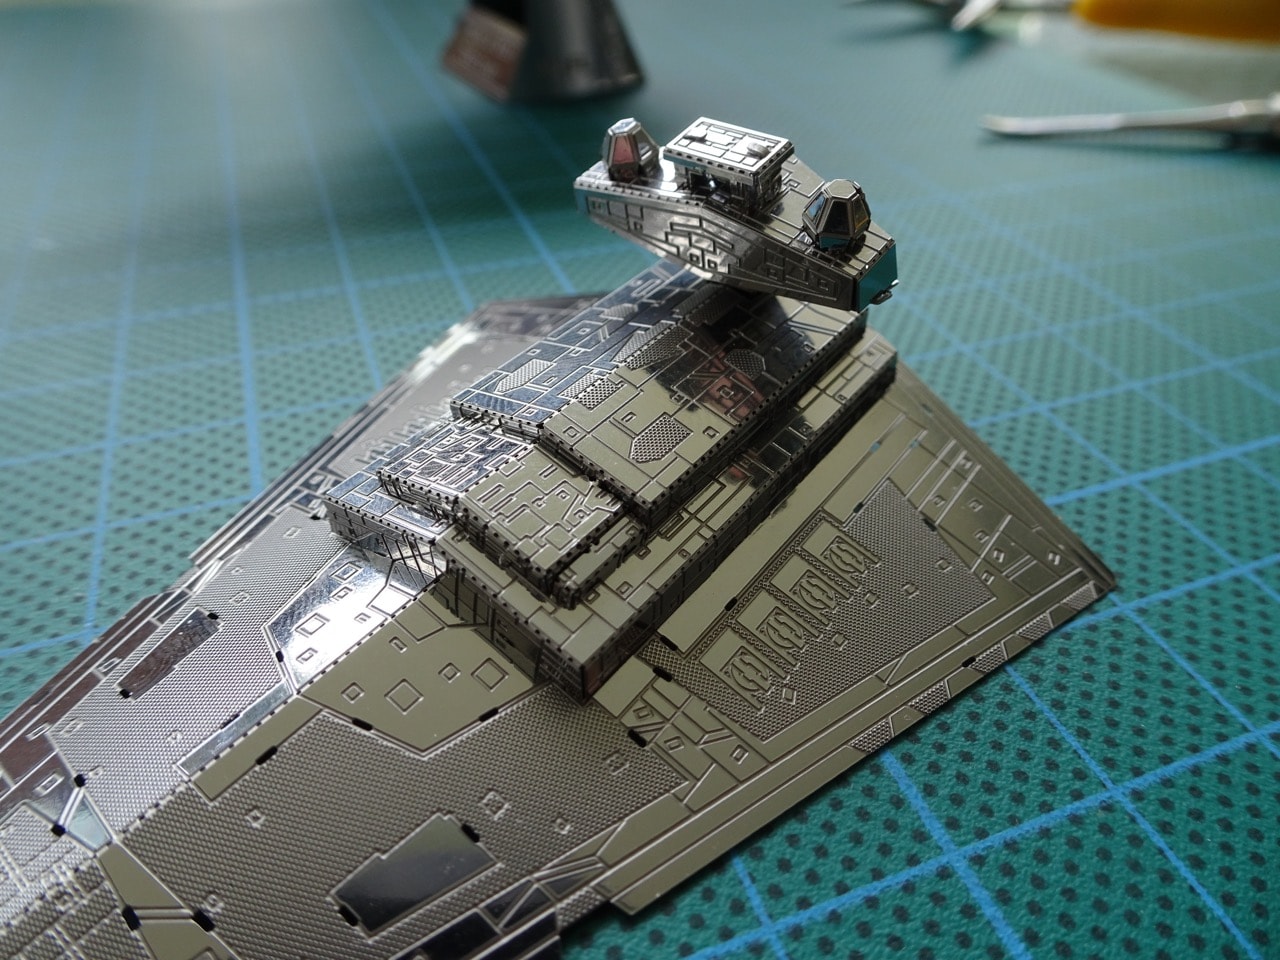
Around the bridge assembly area there was quite a lot of fiddly detail too, some pieces no larger than 2mm in width/height. Cool looking end result, but lots of work to get it right and in position.
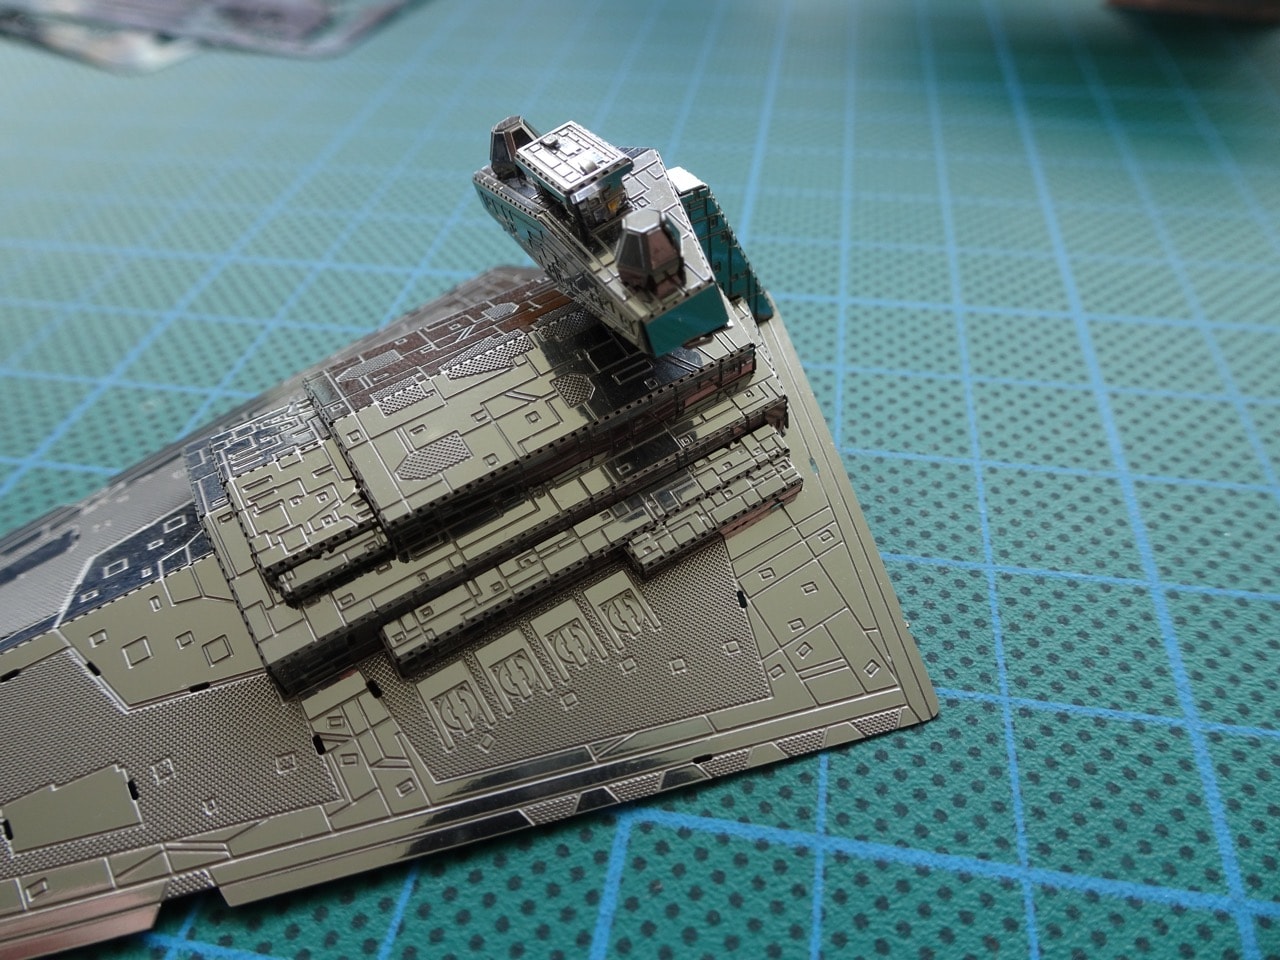
All the surface detailing really made for an amazing look!
Finally in the end I had the top and bottom parts of the Star Destroyer to put together and I was done.
So is it worth getting this kit? I say yes. It is a lot more work than the packaging implies but the end results are very cool. I'd like to get the AT-AT and AT-ST models some time too to see how they compare to the Star Destroyer build.
I've also put together a Guardians of the Galaxy Groot kit. Check it out!
-i
