I set out to build this in a day, from design to cutting, assembly and coating. This is the end result...

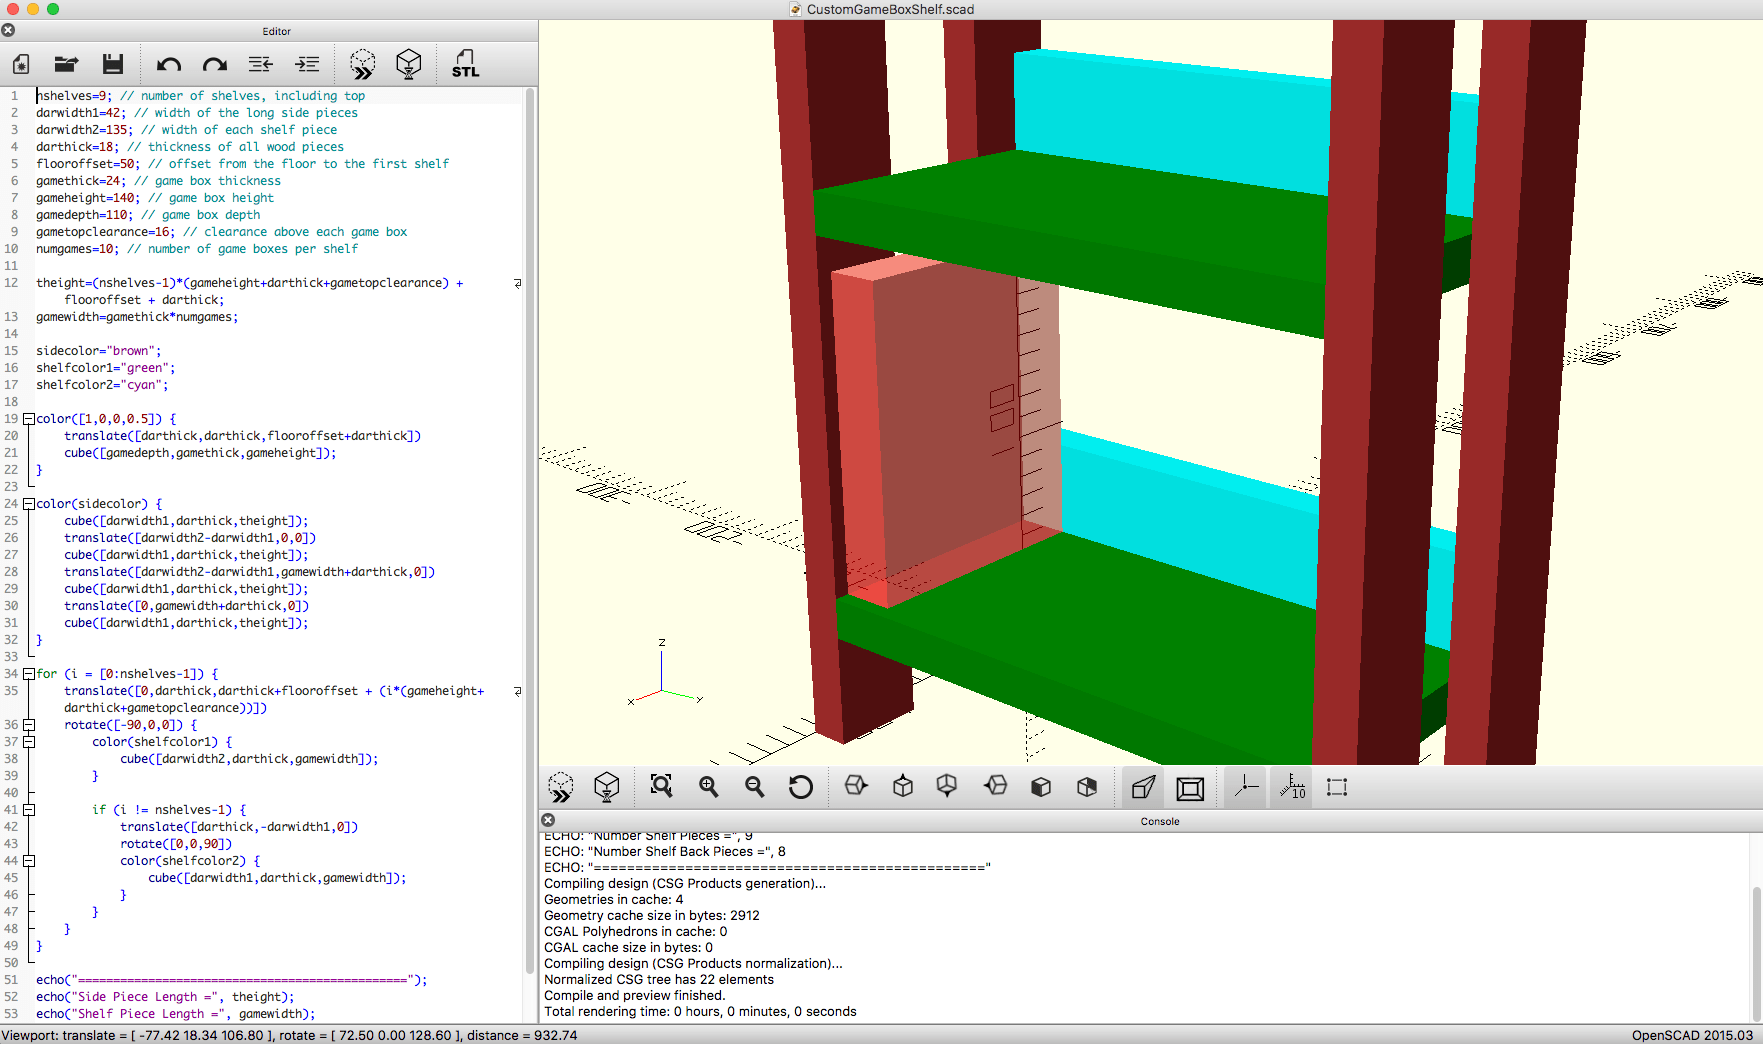
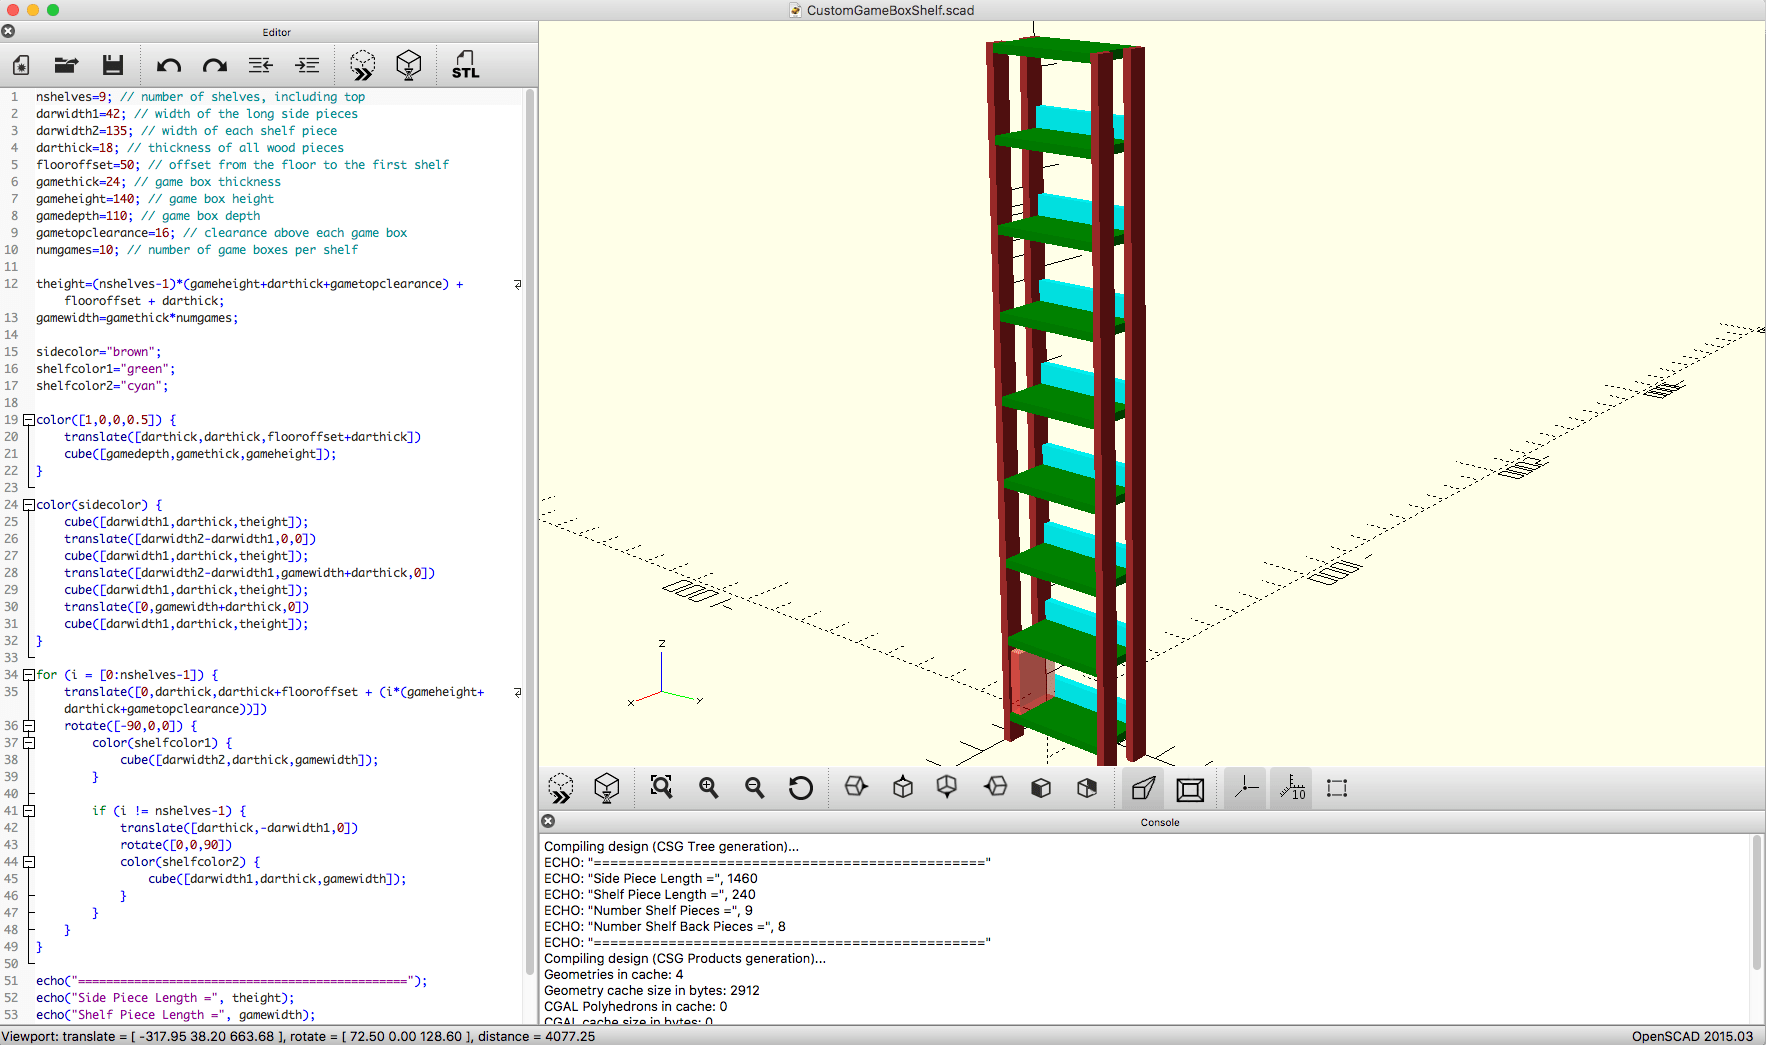
The design was created using OpenSCAD. I've uploaded it for anyone to use over at Thingiverse, download the files here. The design can be customised to other game box sizes, though the default is for an Atari Lynx game box. You can also customise how many game boxes you store per shelf, how many shelves, board sizes, etc.
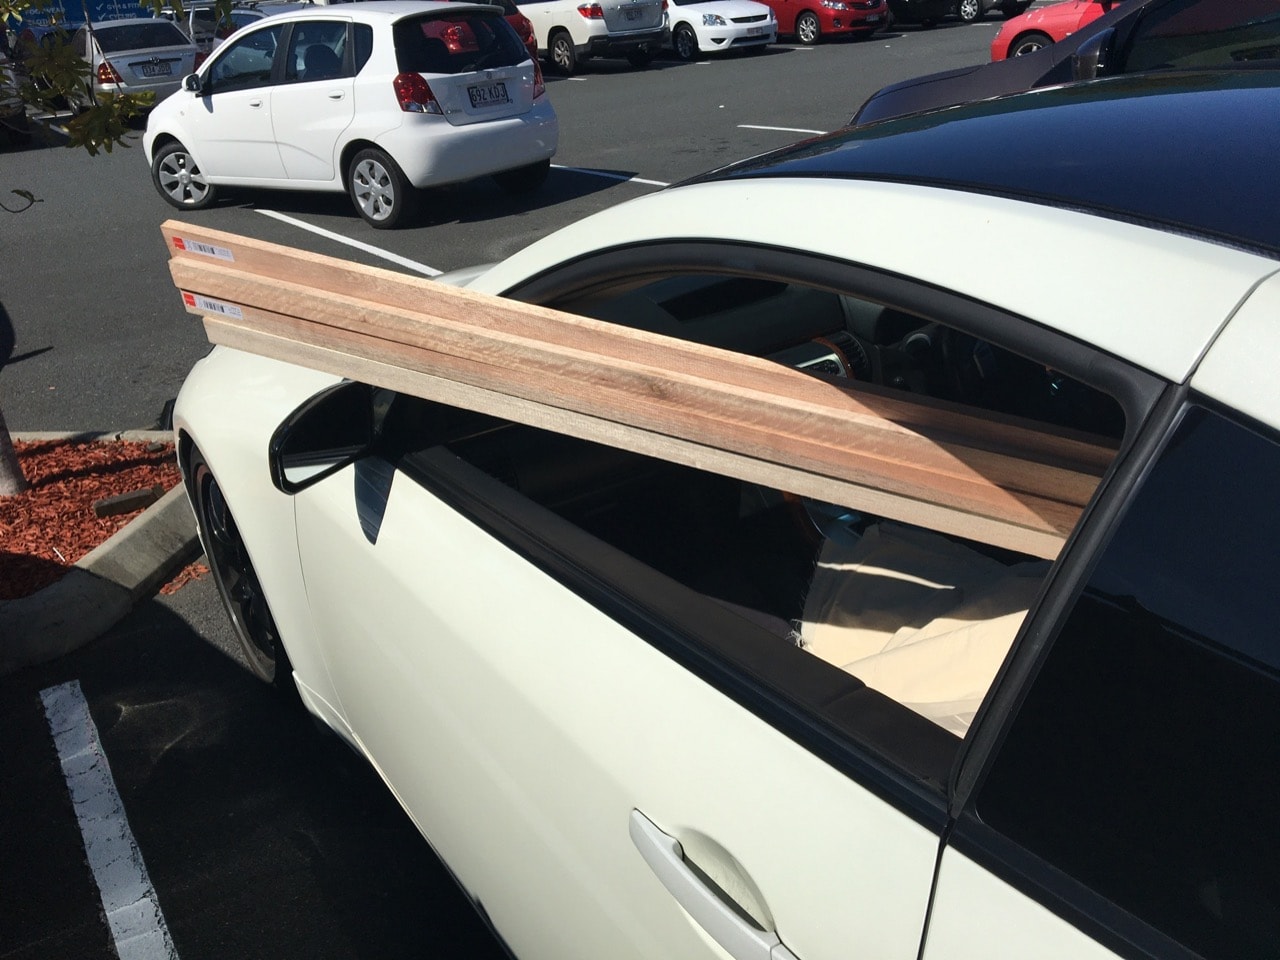
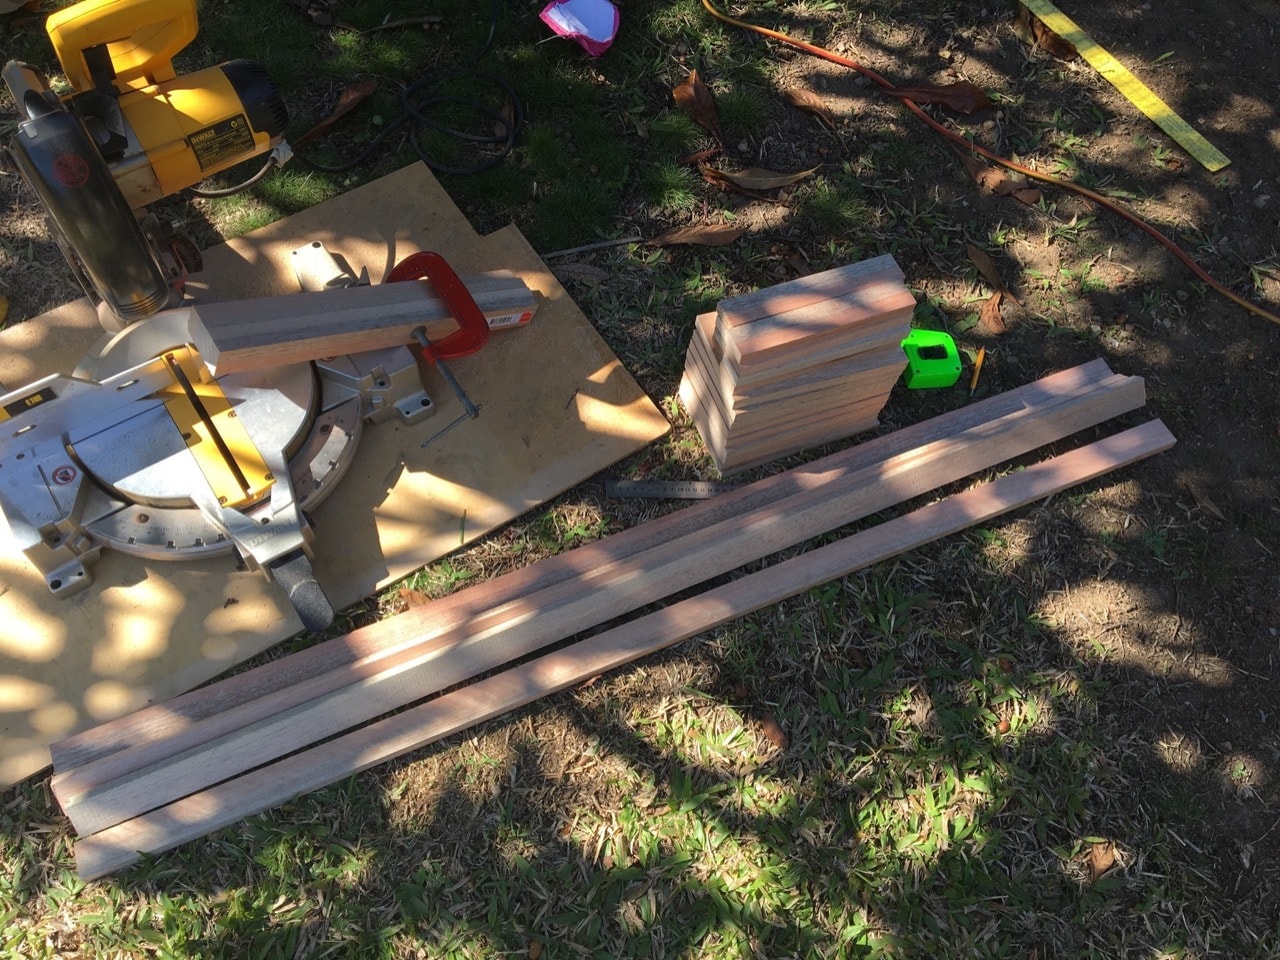
Once I had the design worked out, I purchased the wood. I used meranti primarily for its colour. Since the design of the unit used only two sizes of board, all I had to get was a single piece of wide board for the shelves and the rest was for the sides and back pieces which are made from the smaller boards. My challenge was fitting it all into my car, which was not designed to transport 3m long wood boards!
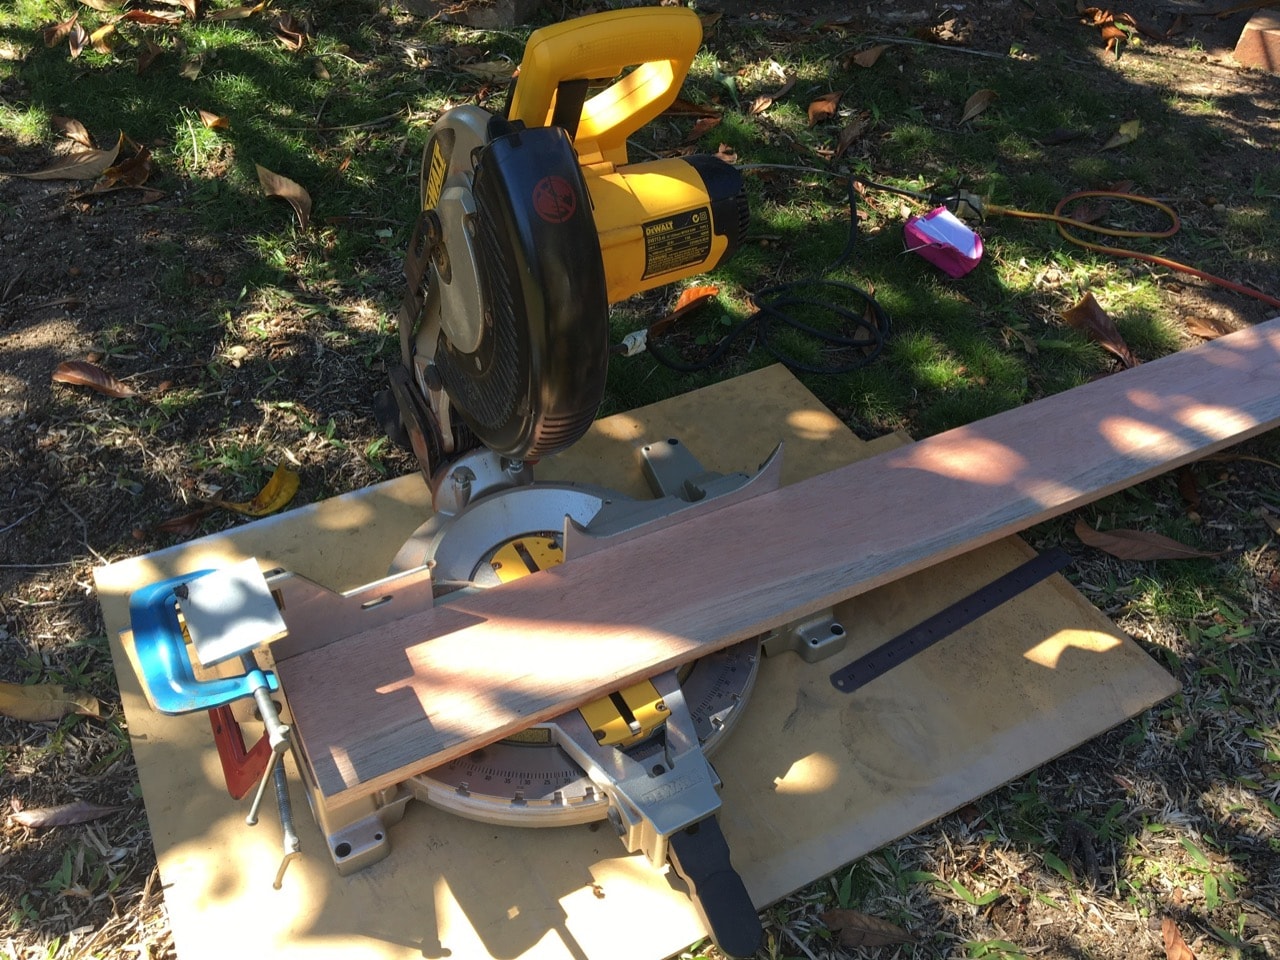
I used a circular saw to cut everything to size. Measuring out was easy, I set an end stop with a clamp that would give me same size cuts for each of the shelf and back pieces, then it was just a matter of cutting each one, no further measuring required there! The long side pieces were clamped together in the end and cut in one stroke, again this avoided having to measure each one individually.
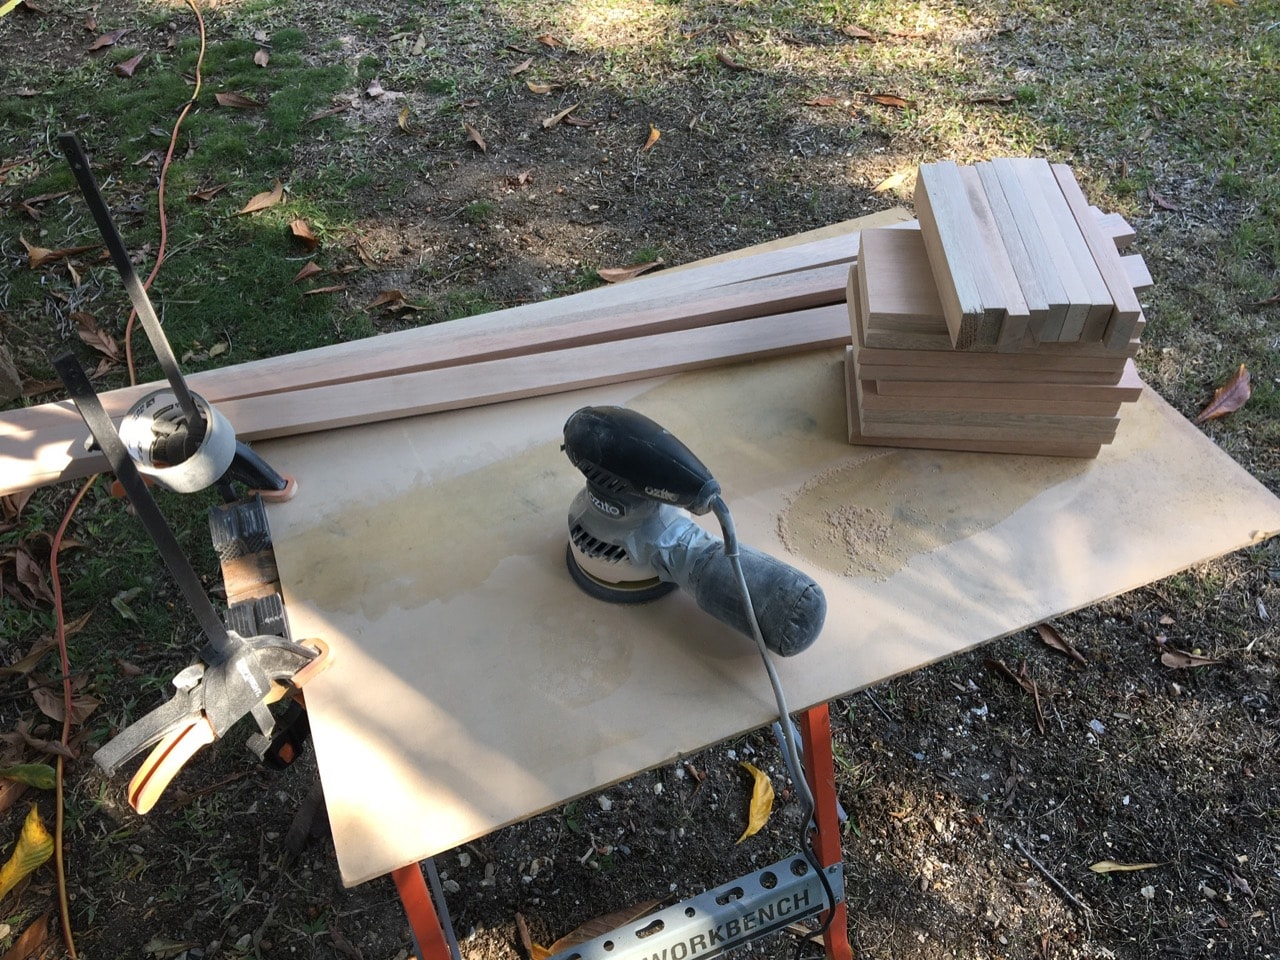
After cutting I sanded each of the pieces with 240 grit sandpaper using an orbital sander.
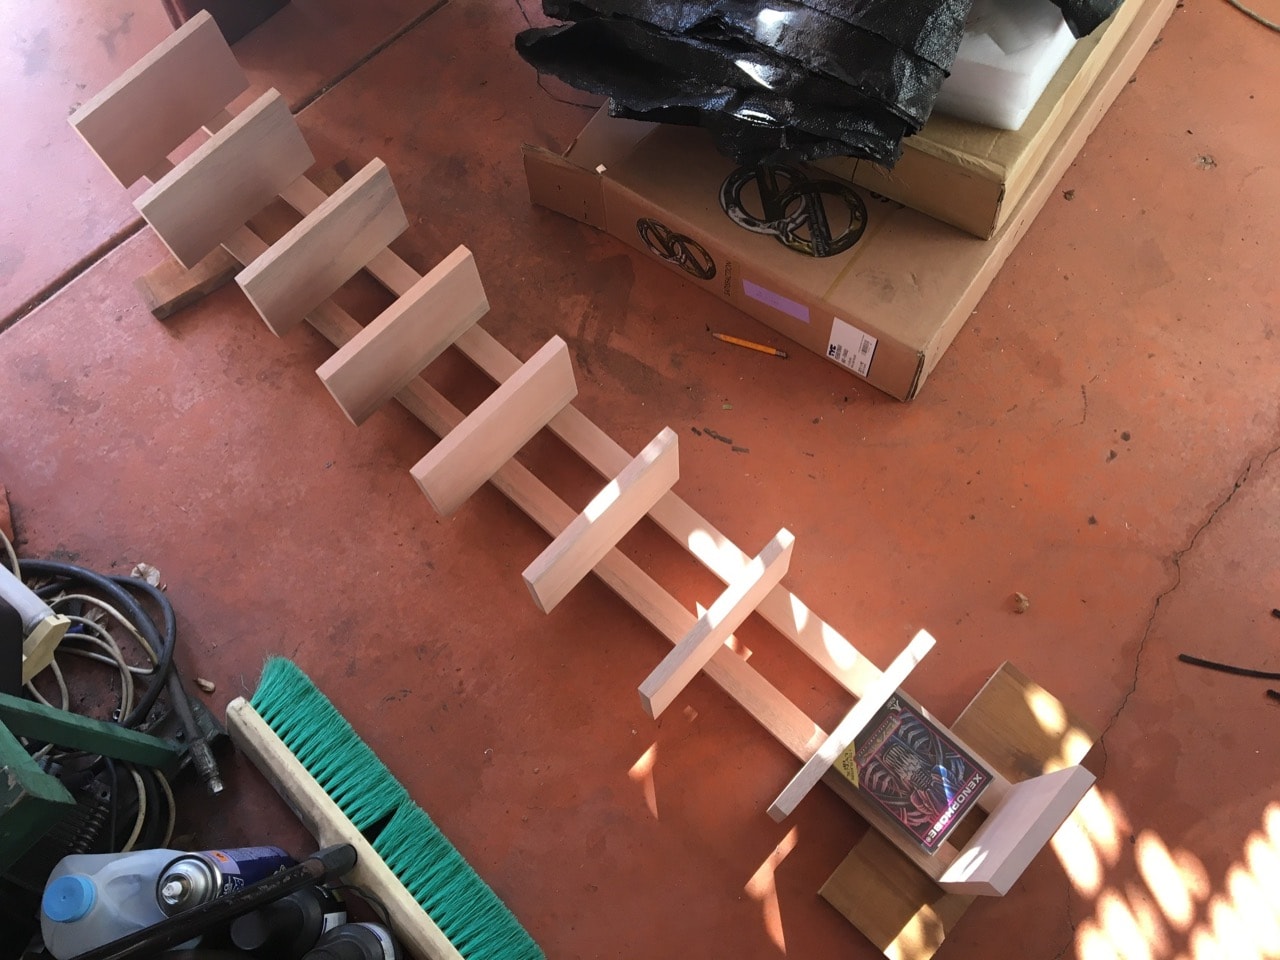
First dry fit...
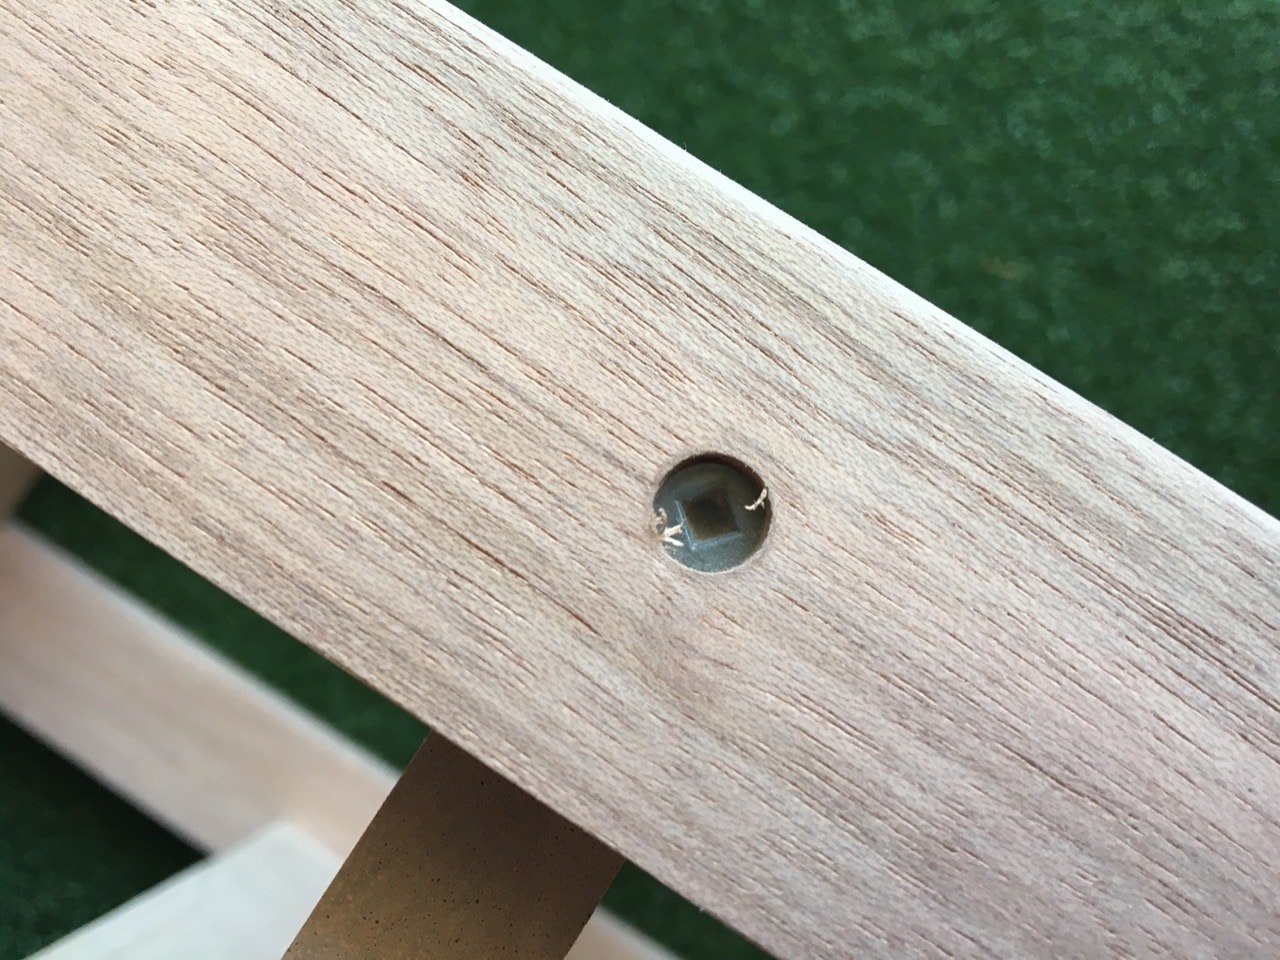
Initial assembly was quite difficult. I had to get my dad to help out with this, definitely a two person job here. We clamped everything down and started to pre-drill and screw in the boards. All of the rear side was done first, then the unit was flipped over and both the front long side boards screwed in place.
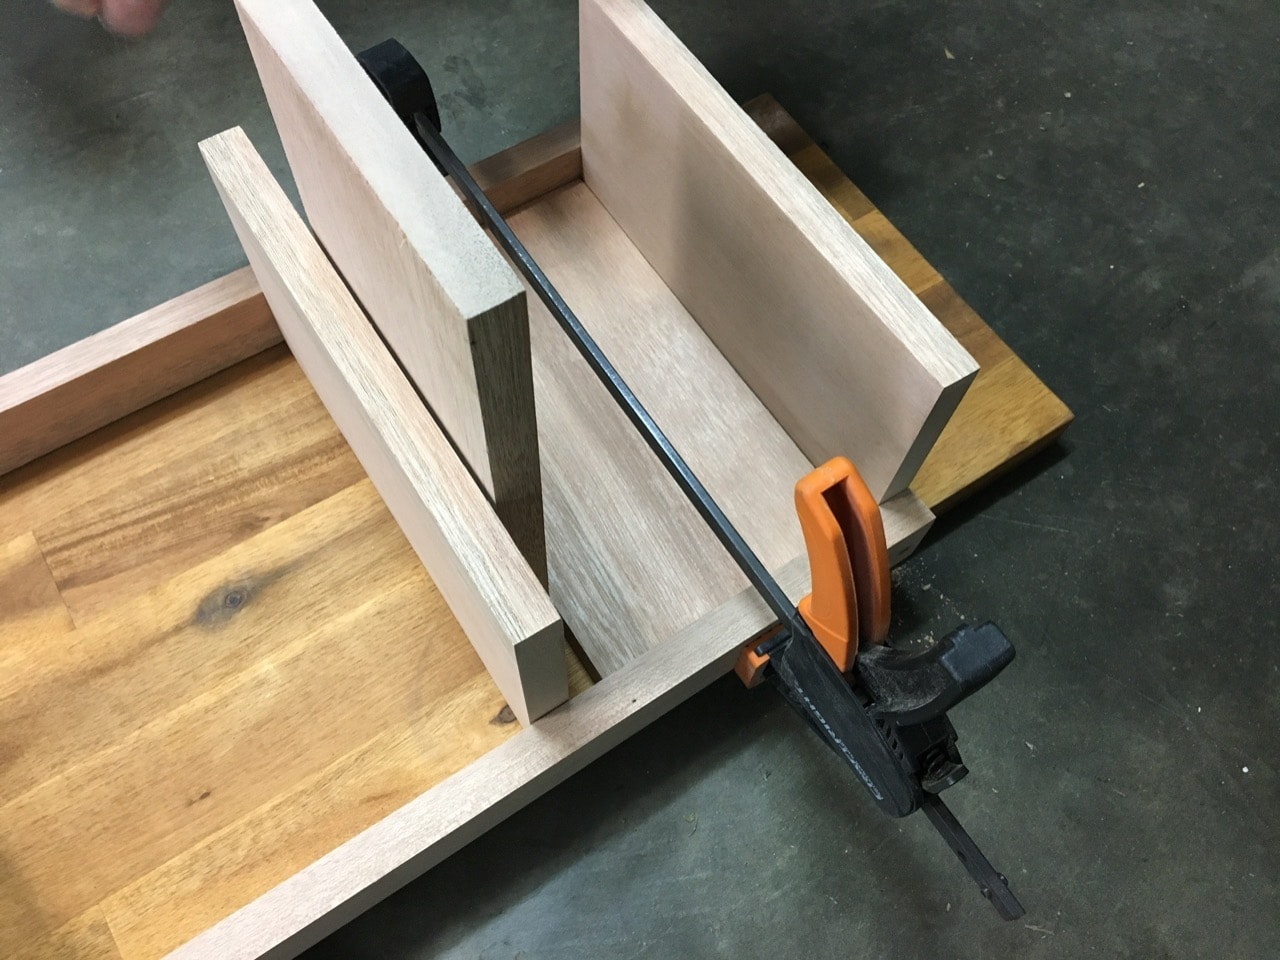
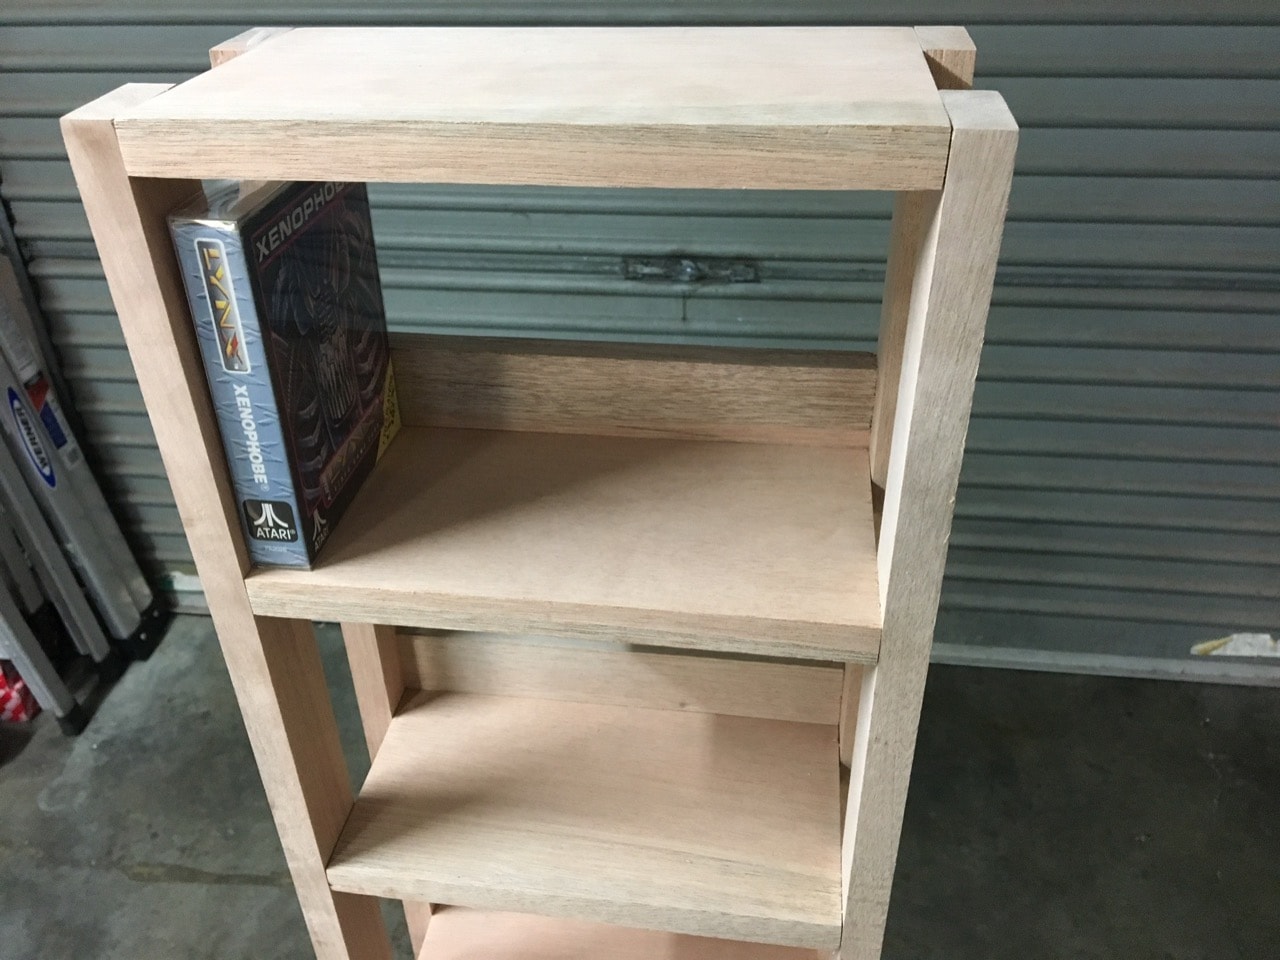
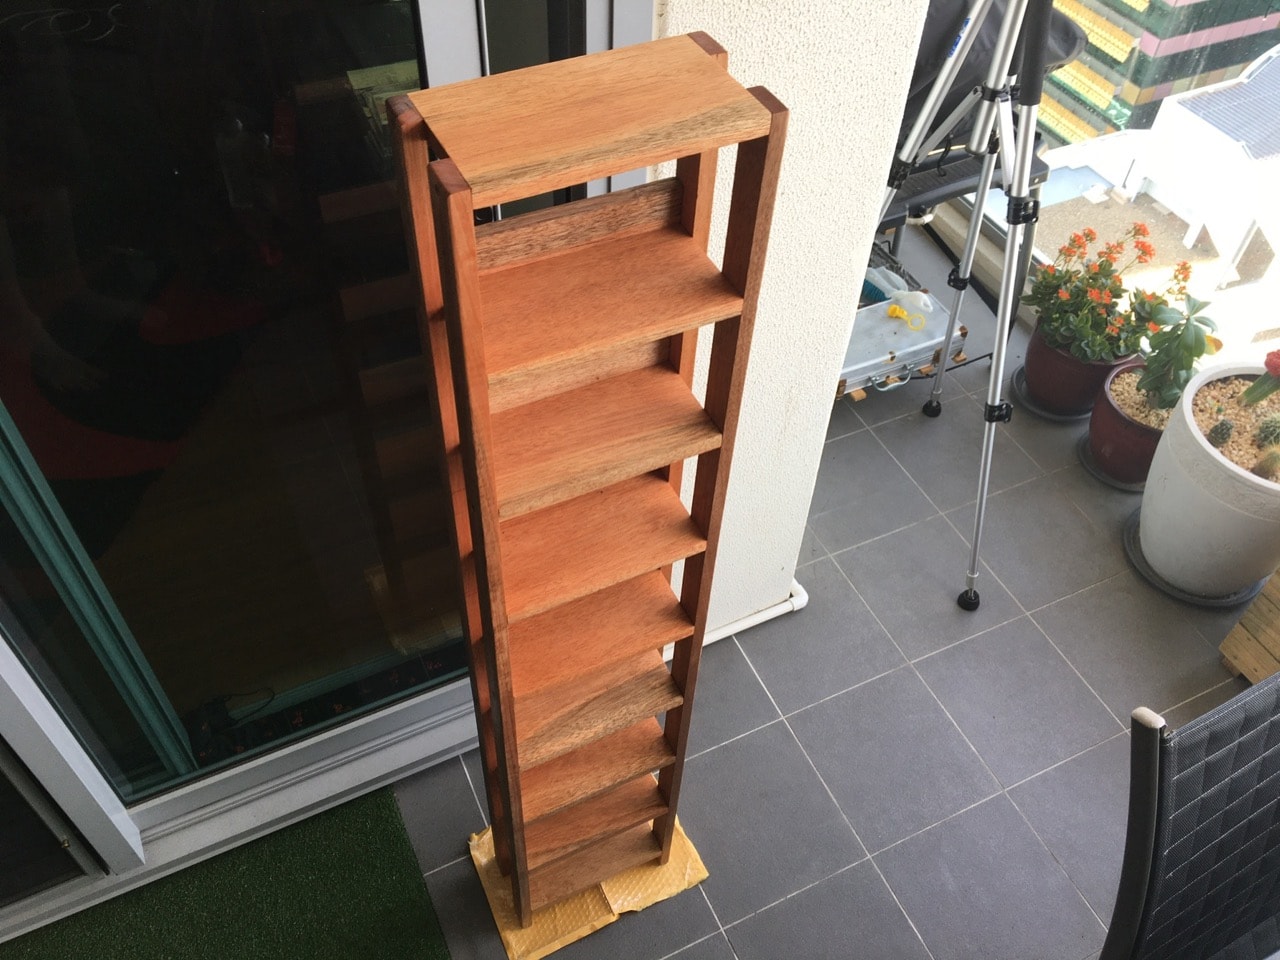
The unit came up pretty good in the end. It was square and didn't wobble and didn't have any twists. Initially it was slightly twisted, however once the front pieces were screwed in, the twist was gone (it did take some amount of coercing to make that happen).

I only had one game box with me during construction of the unit, but it looked like the fit was right on target!
The burrs around the screws were removed with a scalpel before sealing the wood.
To seal, I used linseed oil. I've not used this product before and picked it purely because I didn't want to do multiple apply/sand/repeat cycles as you would with varnish.

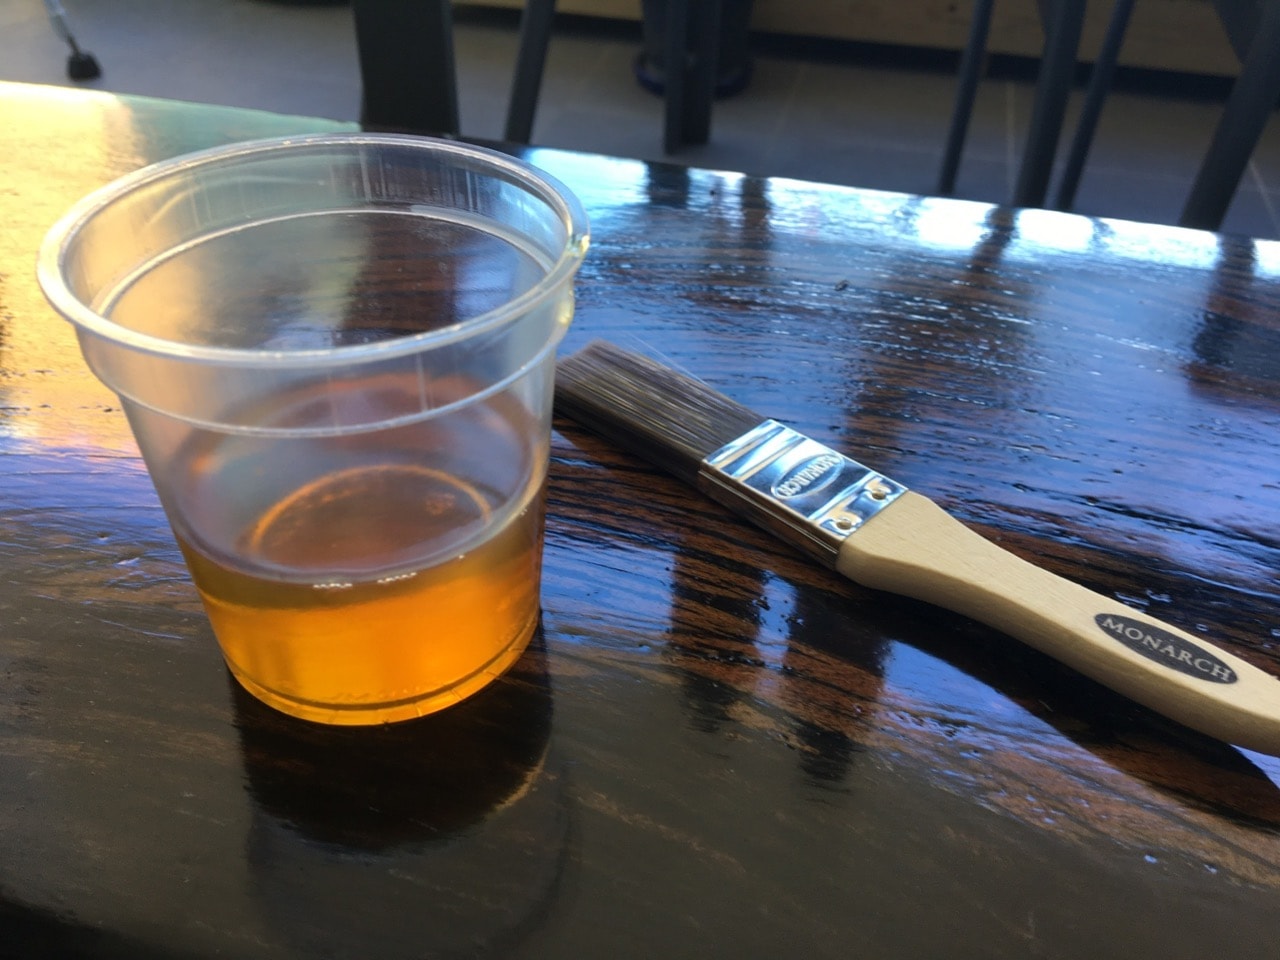
Linseed oil was amazing with bringing out the colour of the wood.
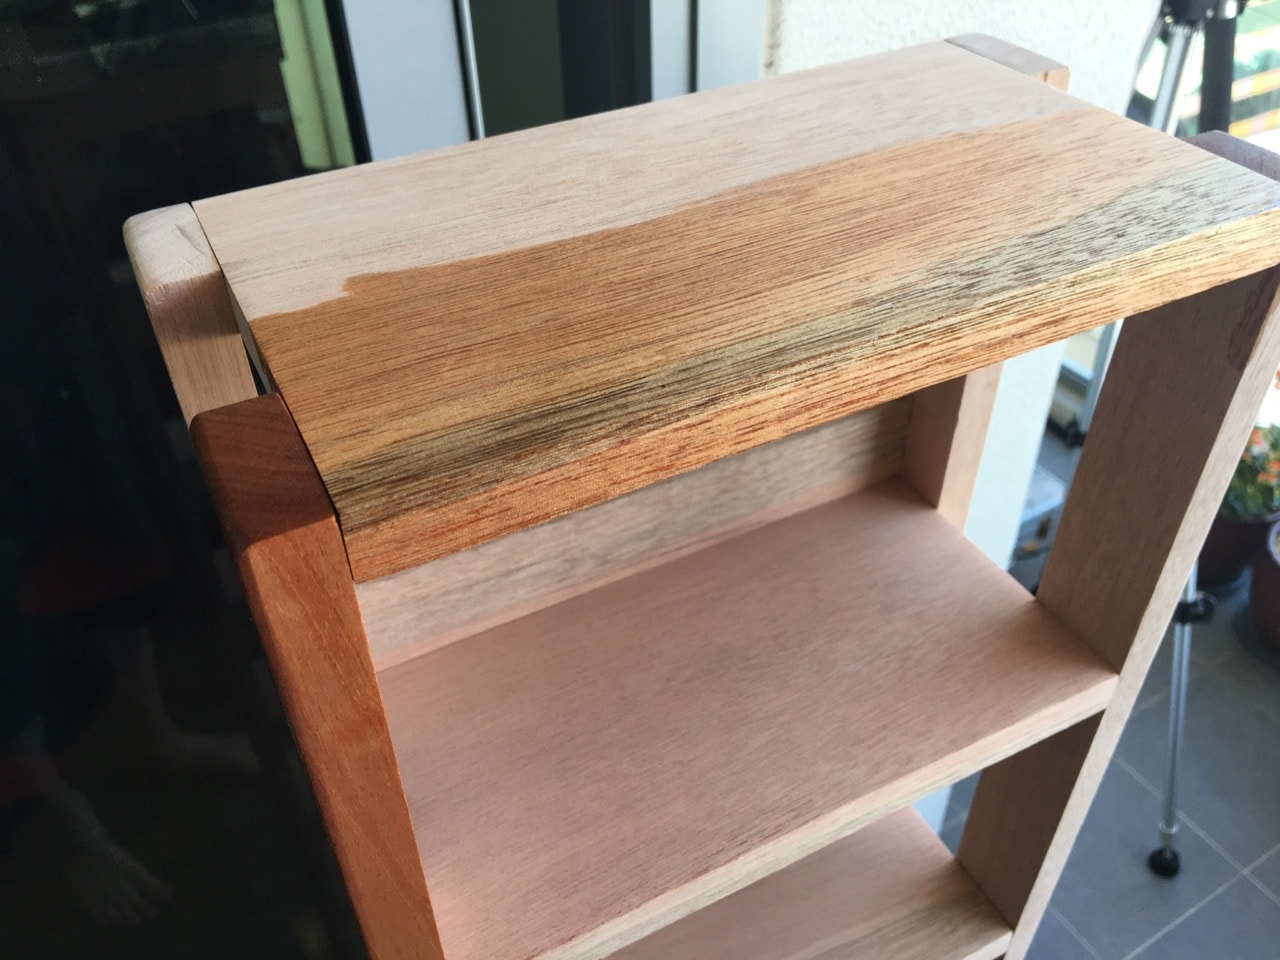
All coated! It took way longer than I expected. In the end I ended up doing two coats with a day drying time between them. This did mean that the unit wasn't completed in a single day if you consider sealing and drying time, however the actual construction was done in about half a day which was my main goal anyway.
I'm very happy with the end result, the unit is solid yet doesn't use much material to construct. Its minimal construction allows for games to be seen easily and to let light through it so it's not an eye sore like some shelving units can be. All I need to do now is to finish getting the rest of the Atari Lynx games to complete my collection!
The link to the full image gallery of the construction can be found below.
♣ Open image gallery
-i
