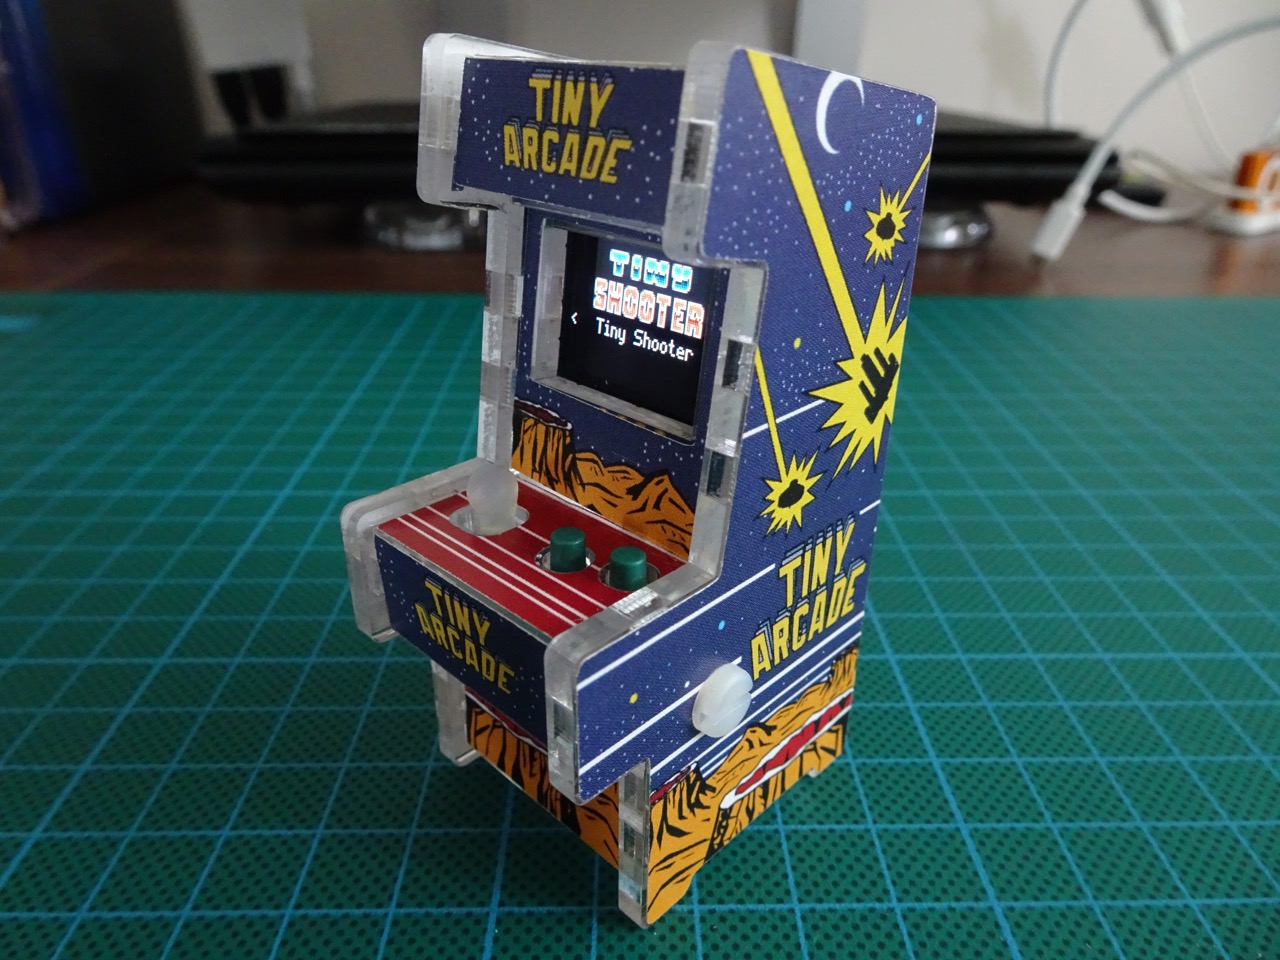
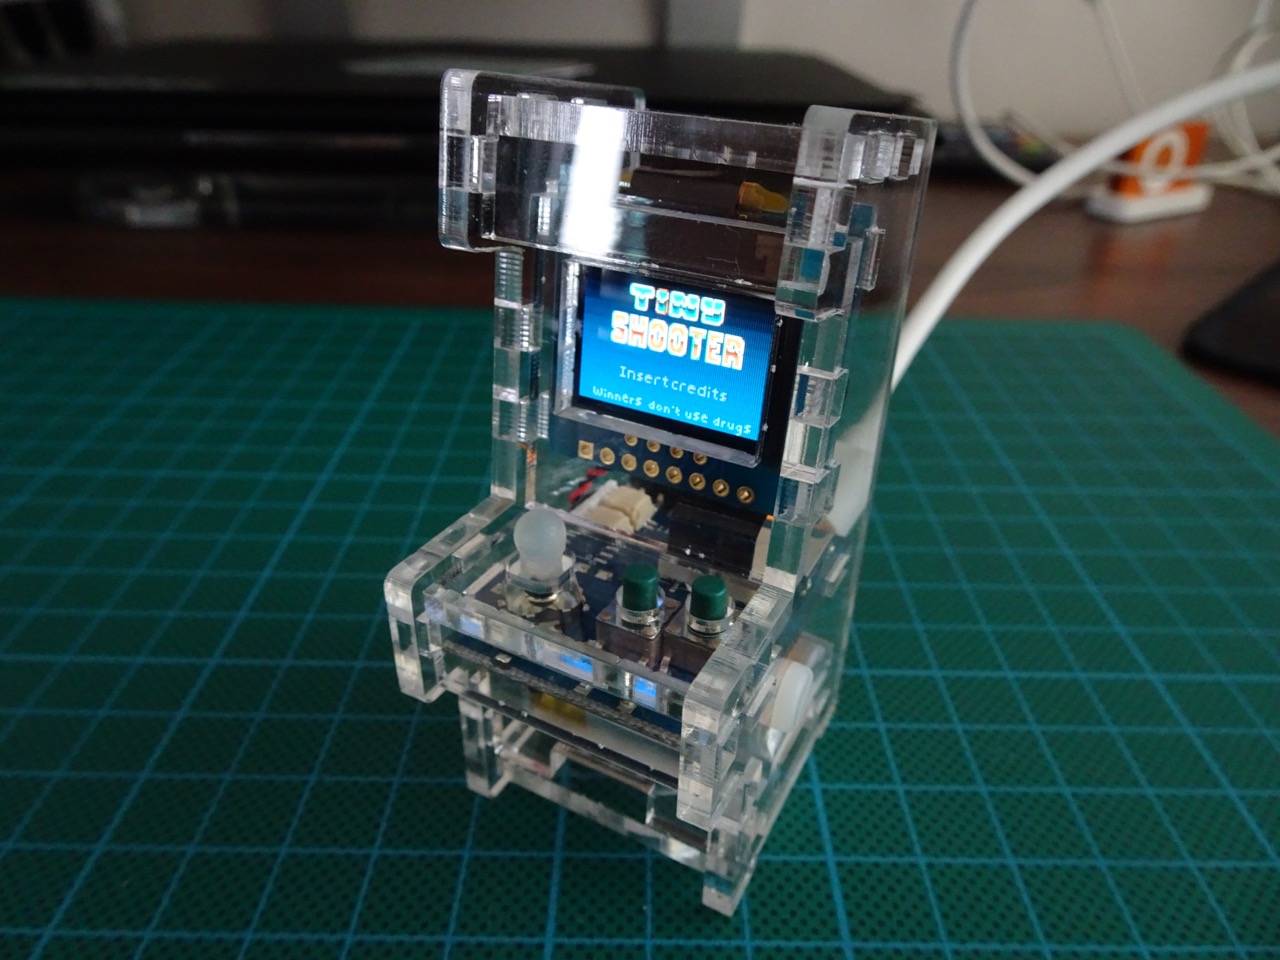
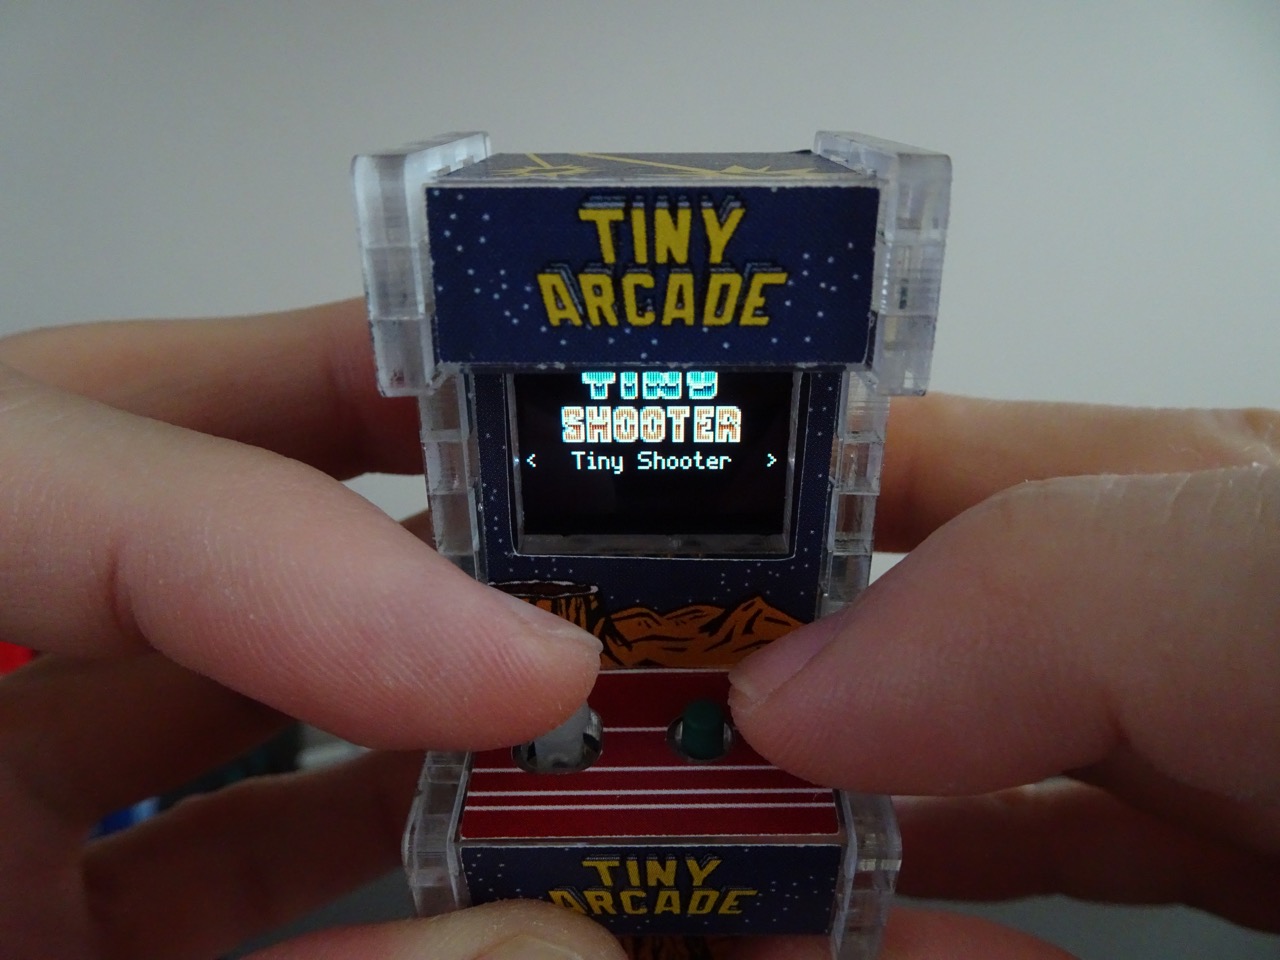
This was the end result, pretty cool...
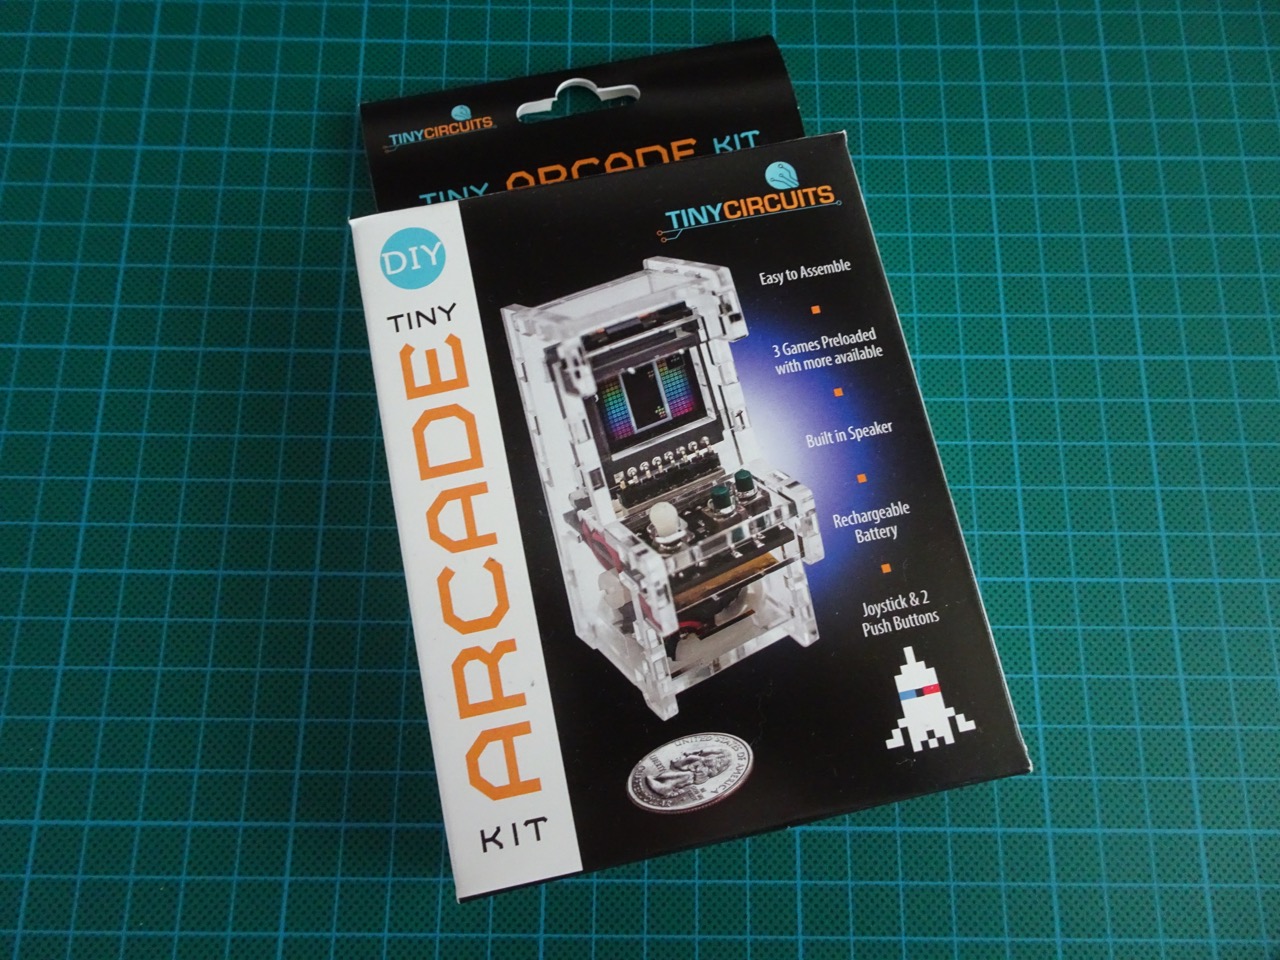
The kit I received was a revision 6 kit. It wasn't immediately obvious where to find instructions for that particular version as the kit as the card in the box pointed towards an earlier information page which had completely different components and assembly instructions listed. After searching around a bit more I found this page with updated instructions.
Take note that the instructions link above doesn't mention anything about decal application. I learned this the hard way - after assembling the whole thing I had to take parts of the mini arcade apart to apply decals. I would recommend that decals are applied prior to doing a full assembly, more on this further down.
Anyway lets see what was in the box...
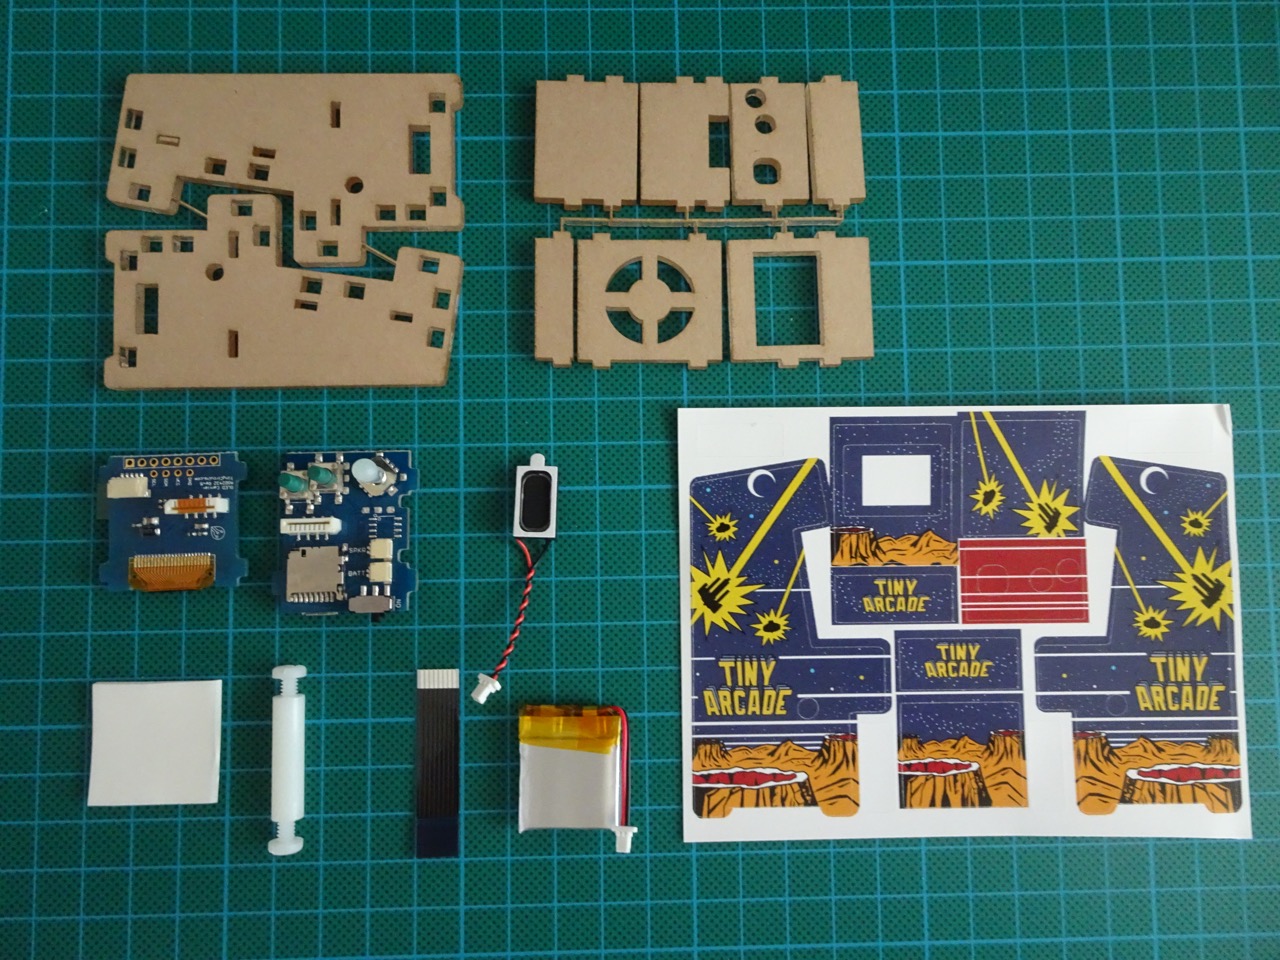
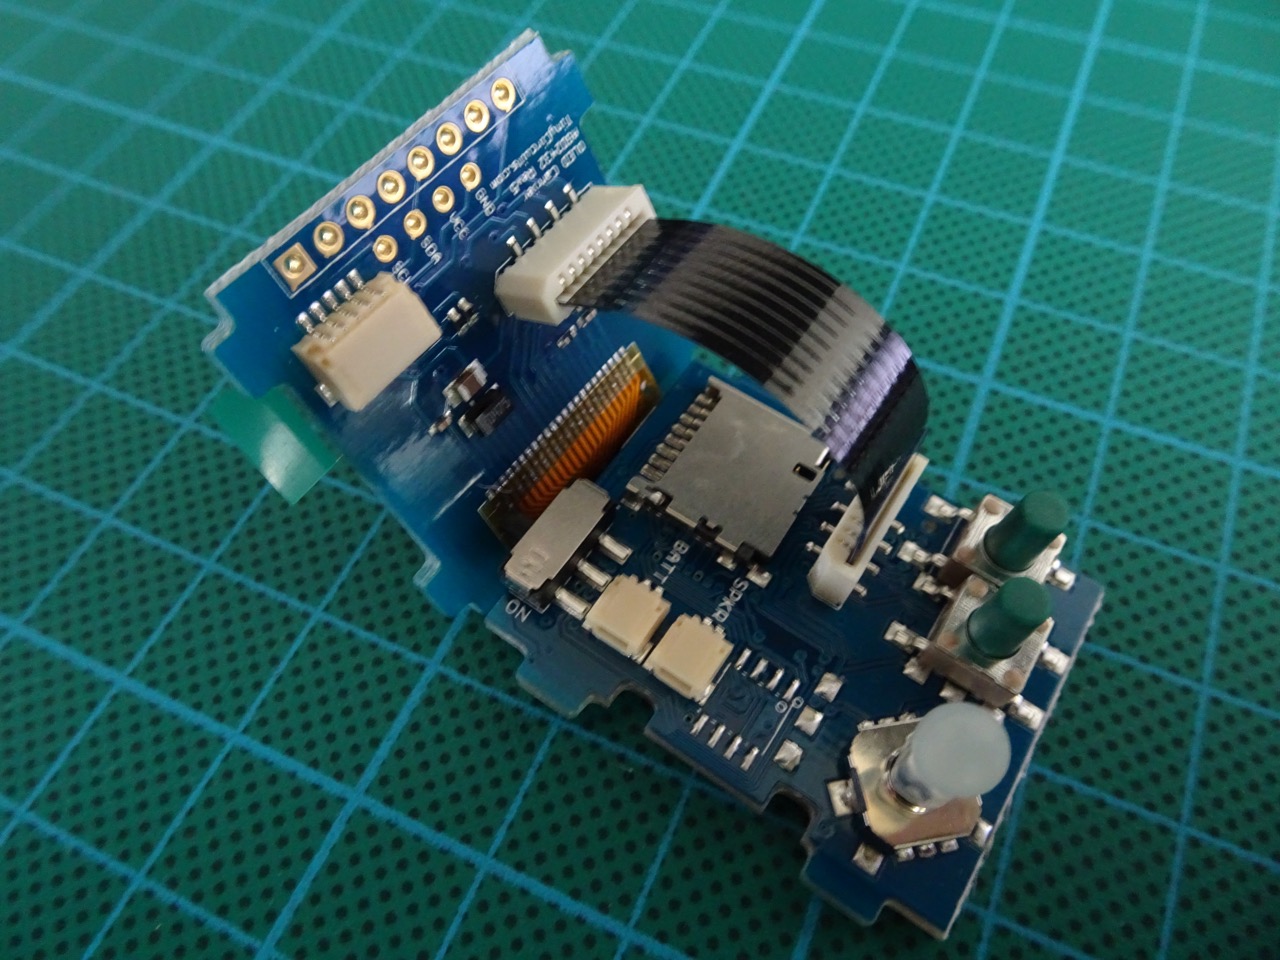
Laser cut acrylic sheets, CPU board, screen board, ribbon cable, speaker, battery sticky double sided pad and a standoff post that connects both of the sides of the kit together.
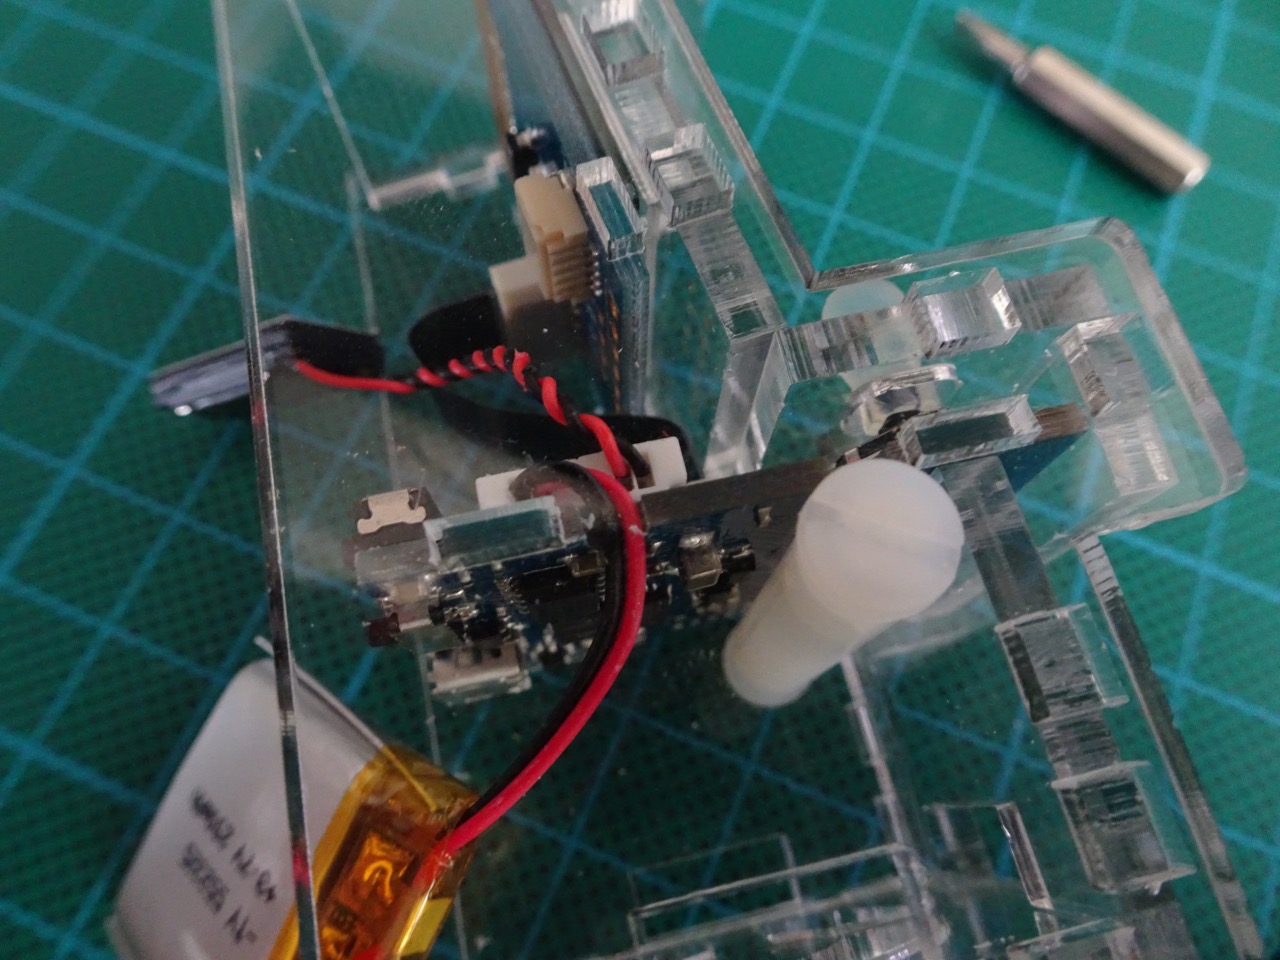
The PCBs were fully assembled. The joystick and buttons were a part of the CPU board. In terms of wiring, everything was very simple - snap in connectors. The ribbon cable was pushed in on both boards with the metal parts of the connector touching the contacts on the cable.
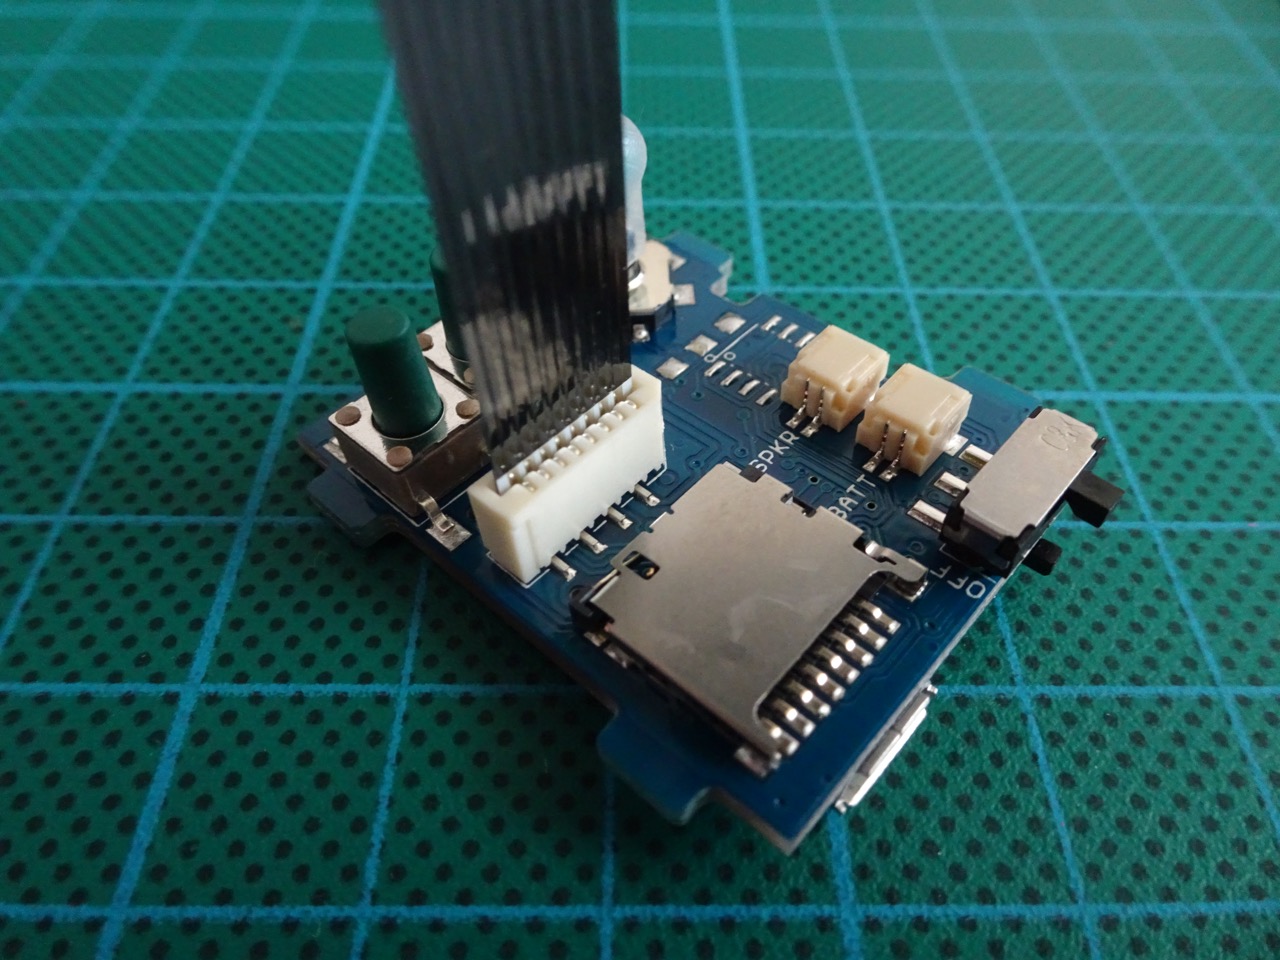
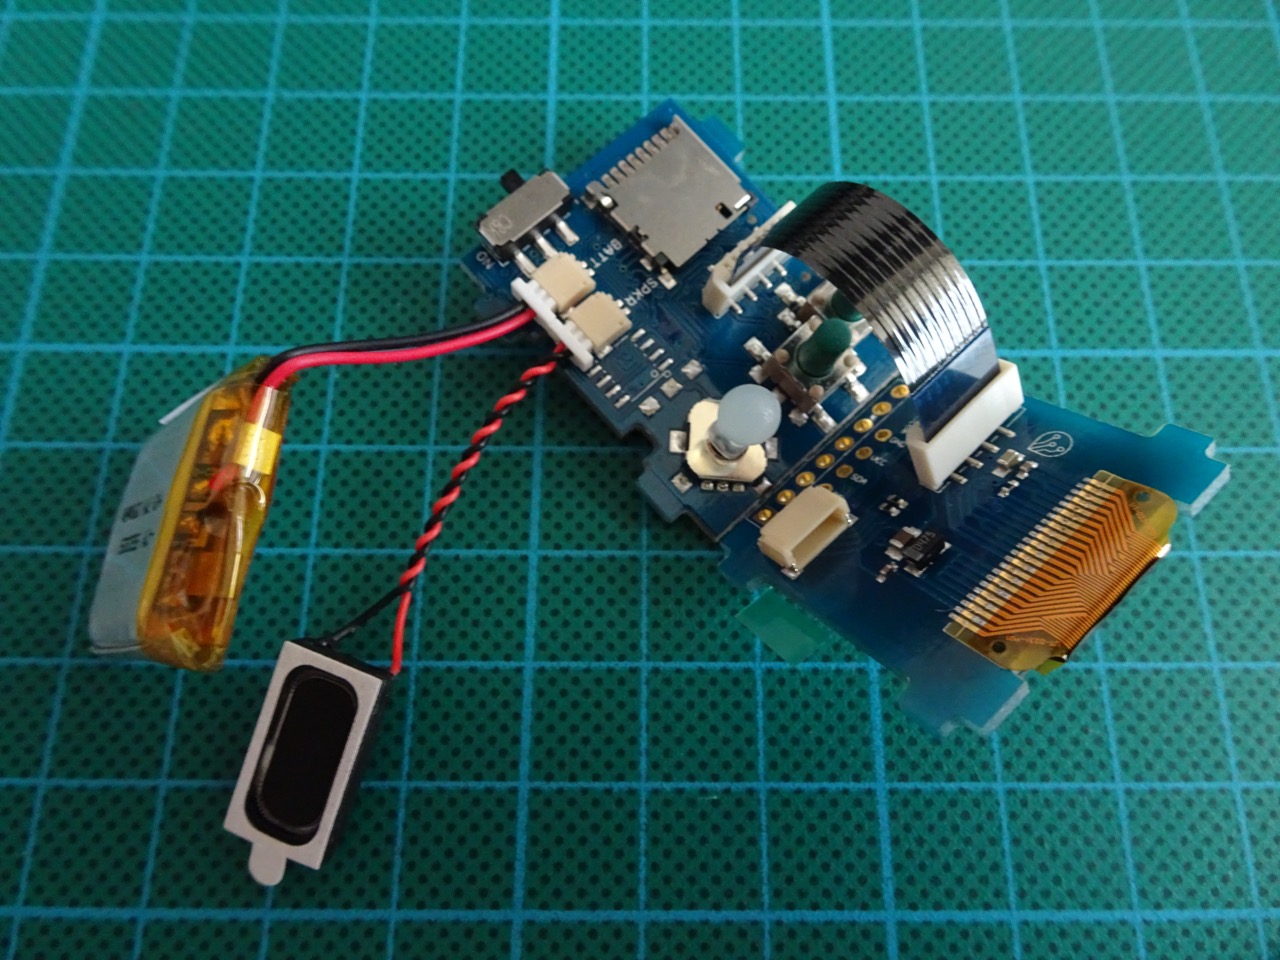
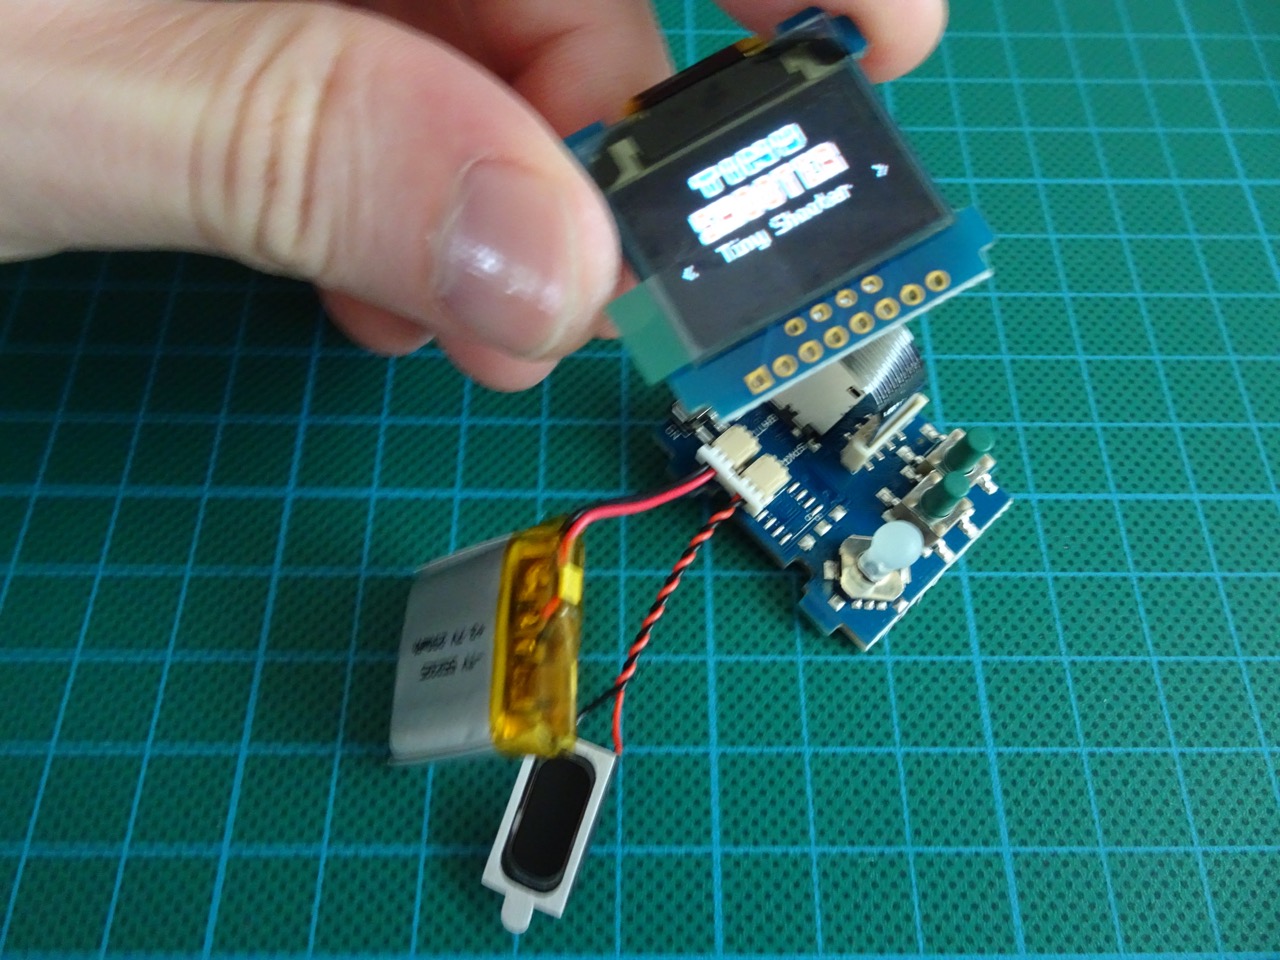
I connected the battery and the speaker next and turned the CPU board on to check that everything was working as expected. It was!
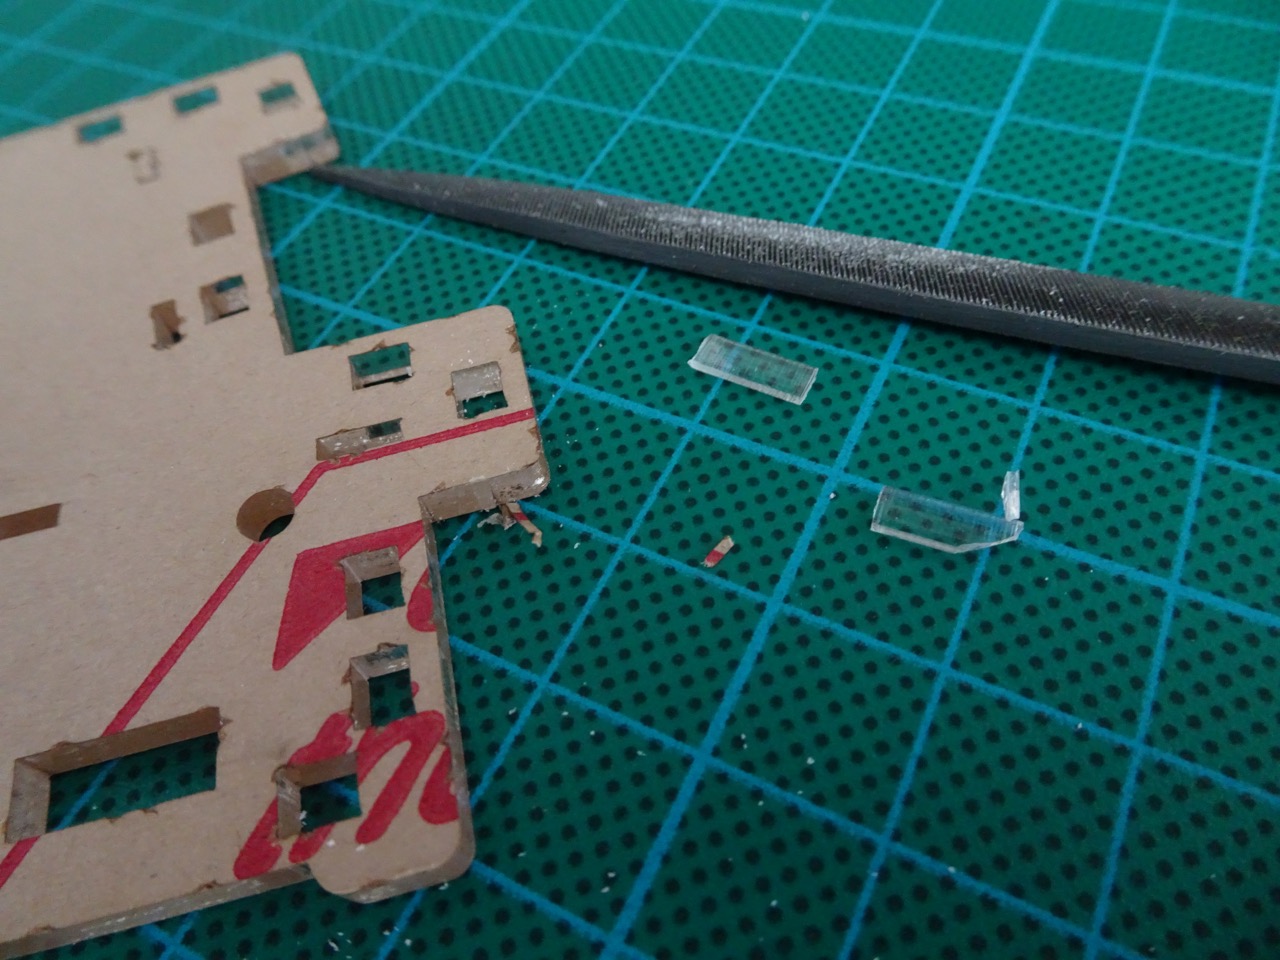
The next part wasn't mentioned in the official assembly instructions. Since the acrylic sections were laser cut but still attached by thin bits of plastic, they needed to be separated first. The small bits of plastic were very sharp when snapped off so I had to file down every piece with a small hobby file.

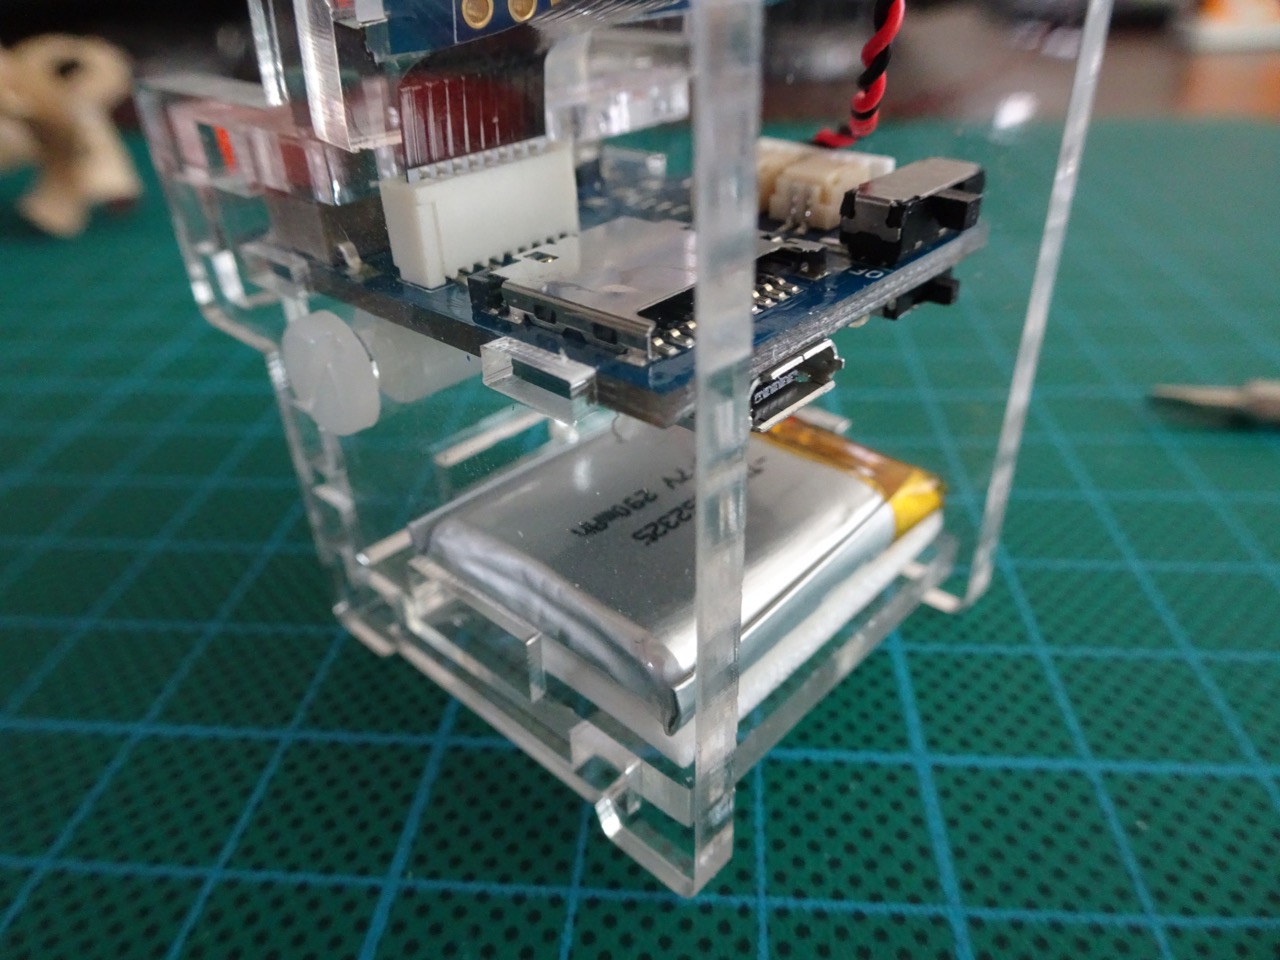
The rest of the assembly was as per the install instructions. One thing to note was that the battery wired needed to be put in place as soon as possible and without being pinched. I missed this step the first time around. It was also not mentioned in the instructions about attaching the battery with the double sided pad, which was placed at the bottom of the cabinet and the battery was stuck to the top of it on the inside of the case.
At the end of the official instruction page I had the fully assembled kit, but no decals on it. Since the decals had holes for the standoff post but those holes were not large enough for the screws, the standoff needed to be removed on either side temporarily while the decals were applied. This meant I had to hold everything together with one hand while trying to align the decal - not so easy!
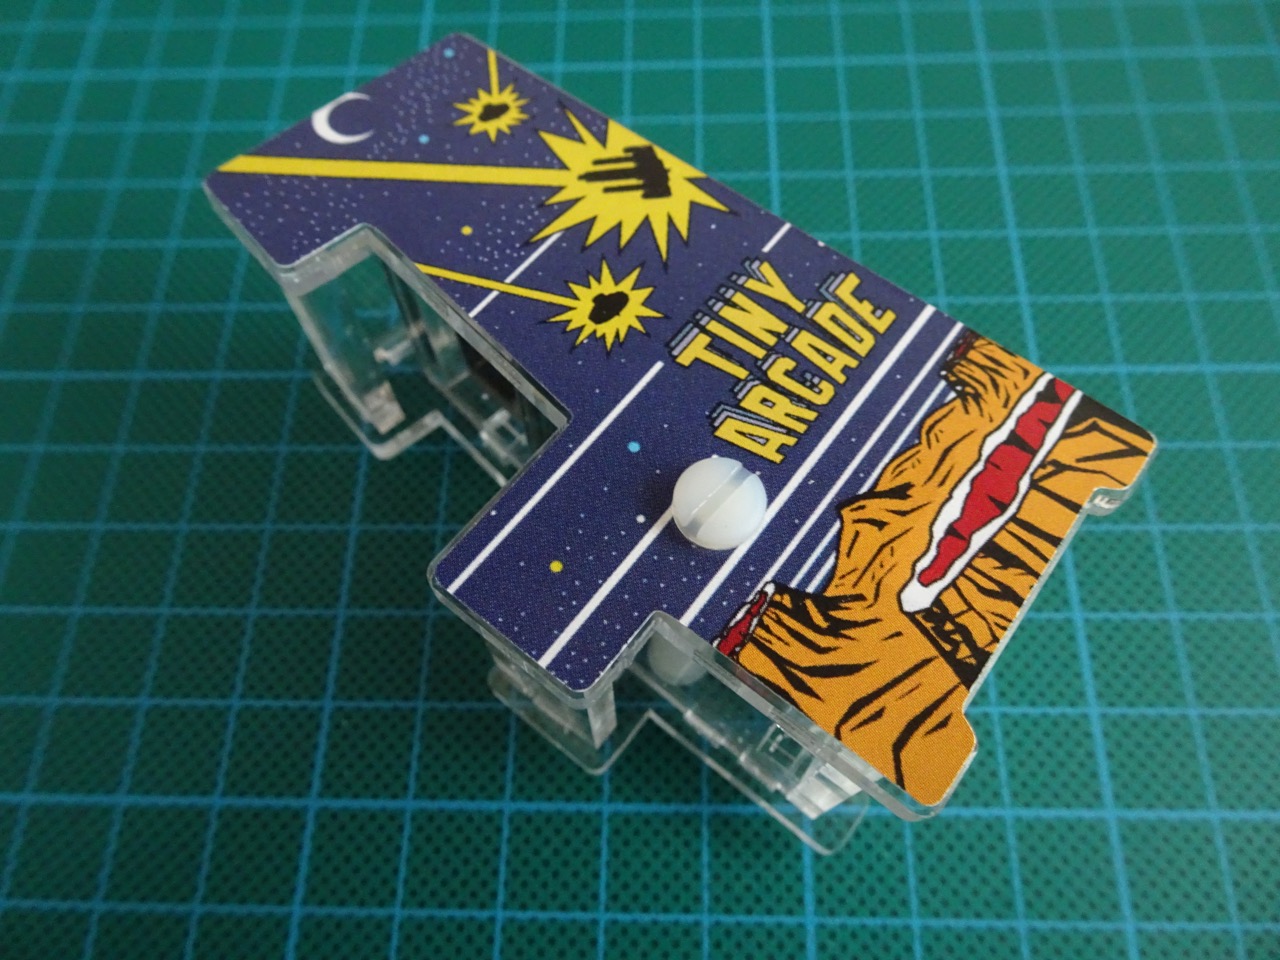
Most of the decals were challenging to apply once the kit was fully assembled. If I were to build the kit again from scratch, I would apply the side, screen and controller decals before case assembly. The rest of the decals still had to be applied after assembly as they covered some of the joins of the case.
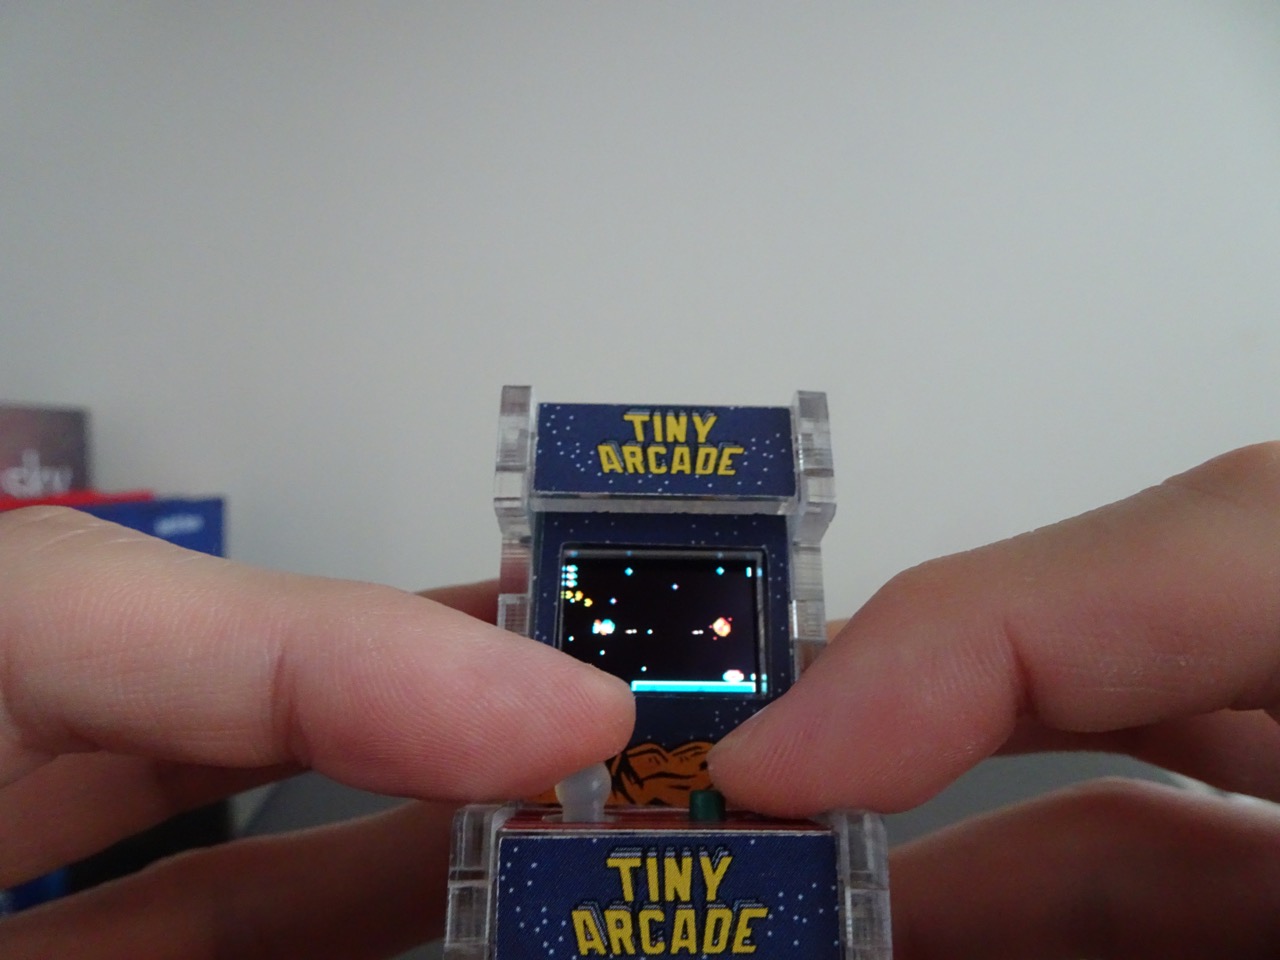
Here's a video from all angles showing the decals in place...
In terms of playability - unless you have very tiny hands you will find it challenging to play! The kit is definitely small but it's actually so small that it's painful to play for too long. Still a very cool kit to build! The selection of games is nice too, it comes preloaded with three games but more are available to download as a zip file of all of the available games. To install, just format your microSD card as FAT and unzip the games there, easy.
There are more pictures of the assembly in the image gallery -
♣ Open image gallery
-i
