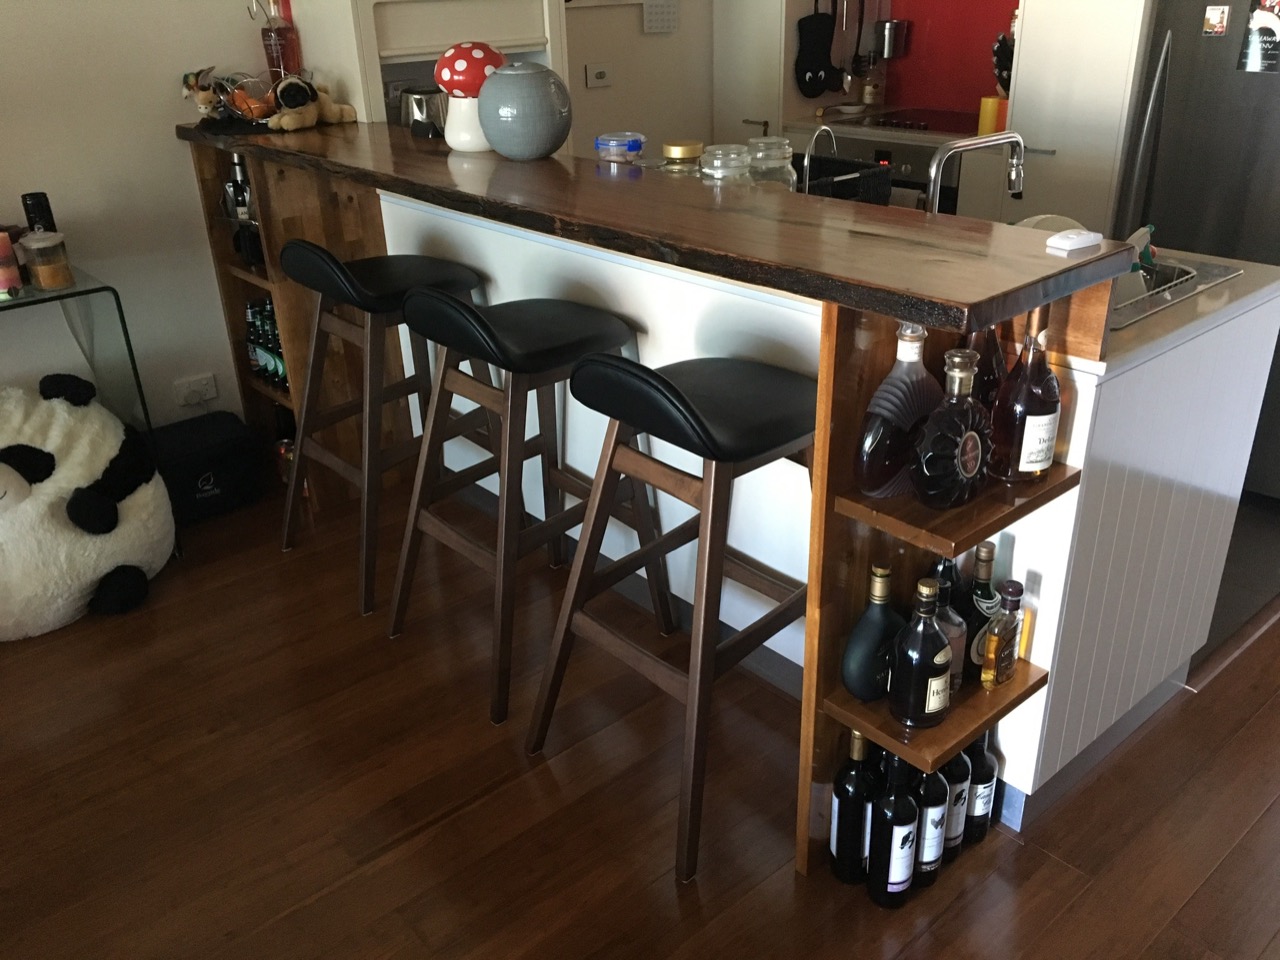
This was the end result...
The breakfast bar wasn't my first endeavour with hardwood, I've already had a few similar projects under my belt but this was the first really functional and permanently installed piece.
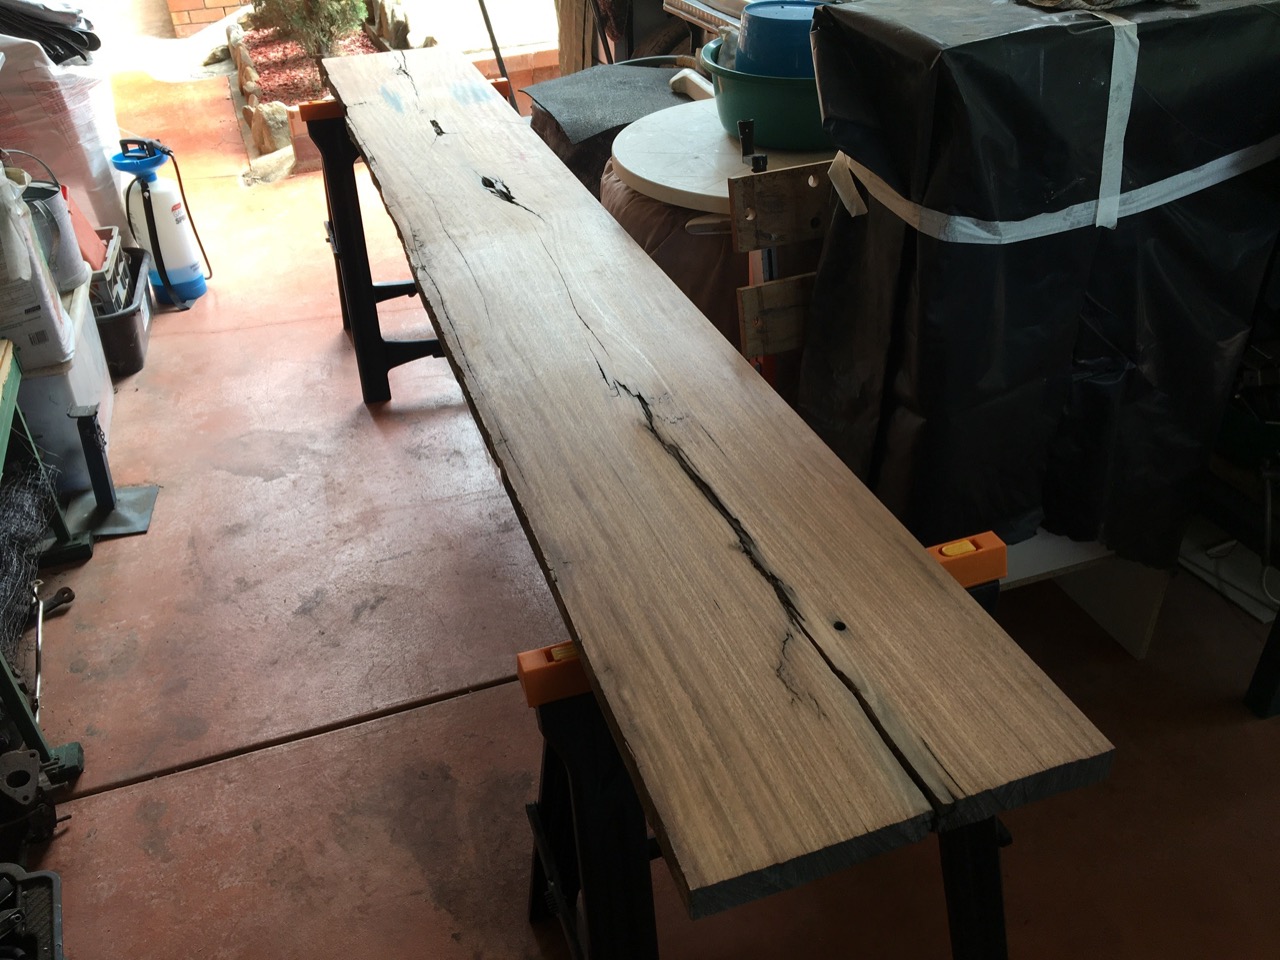
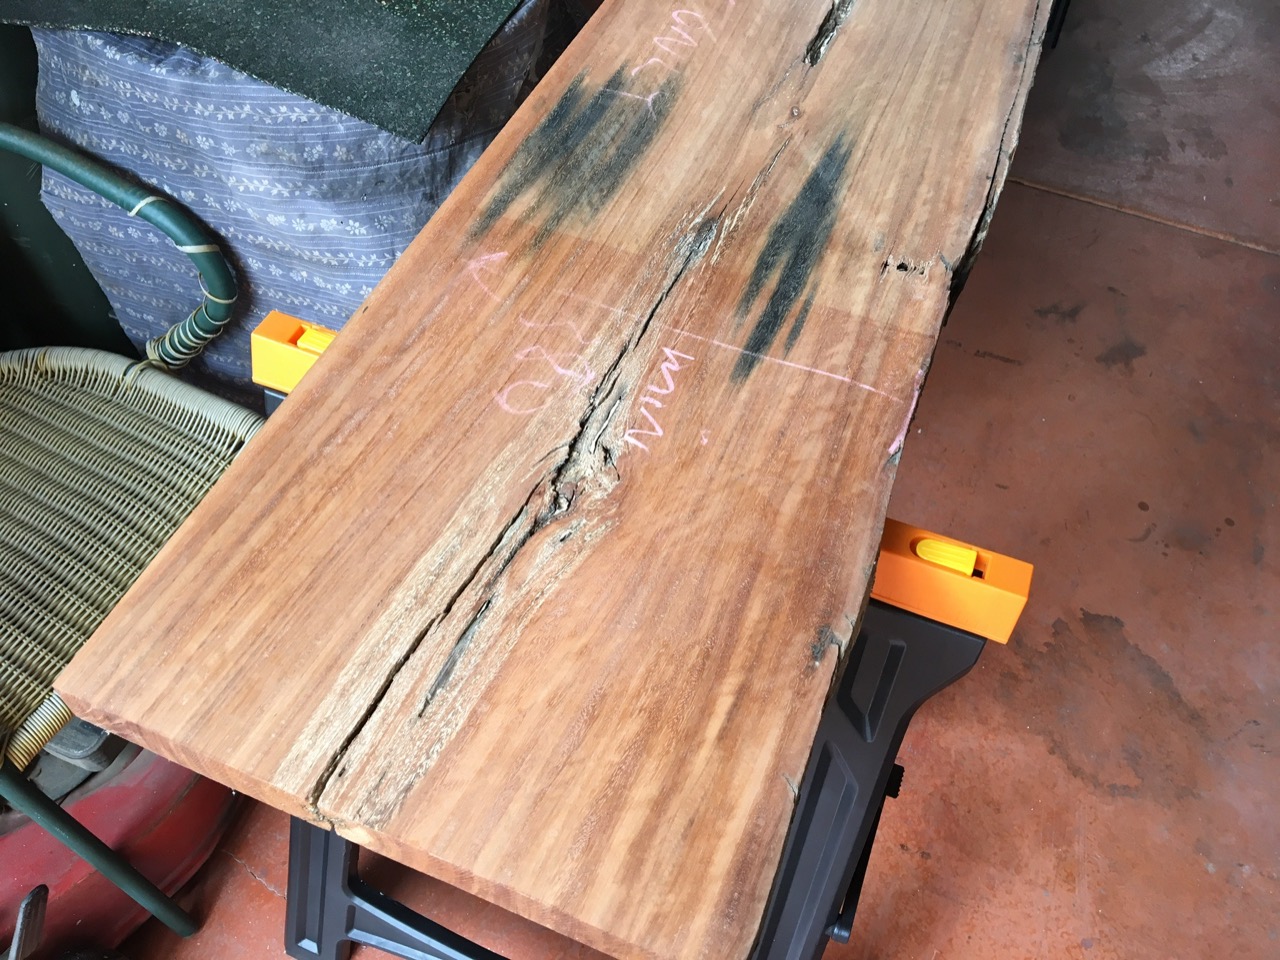
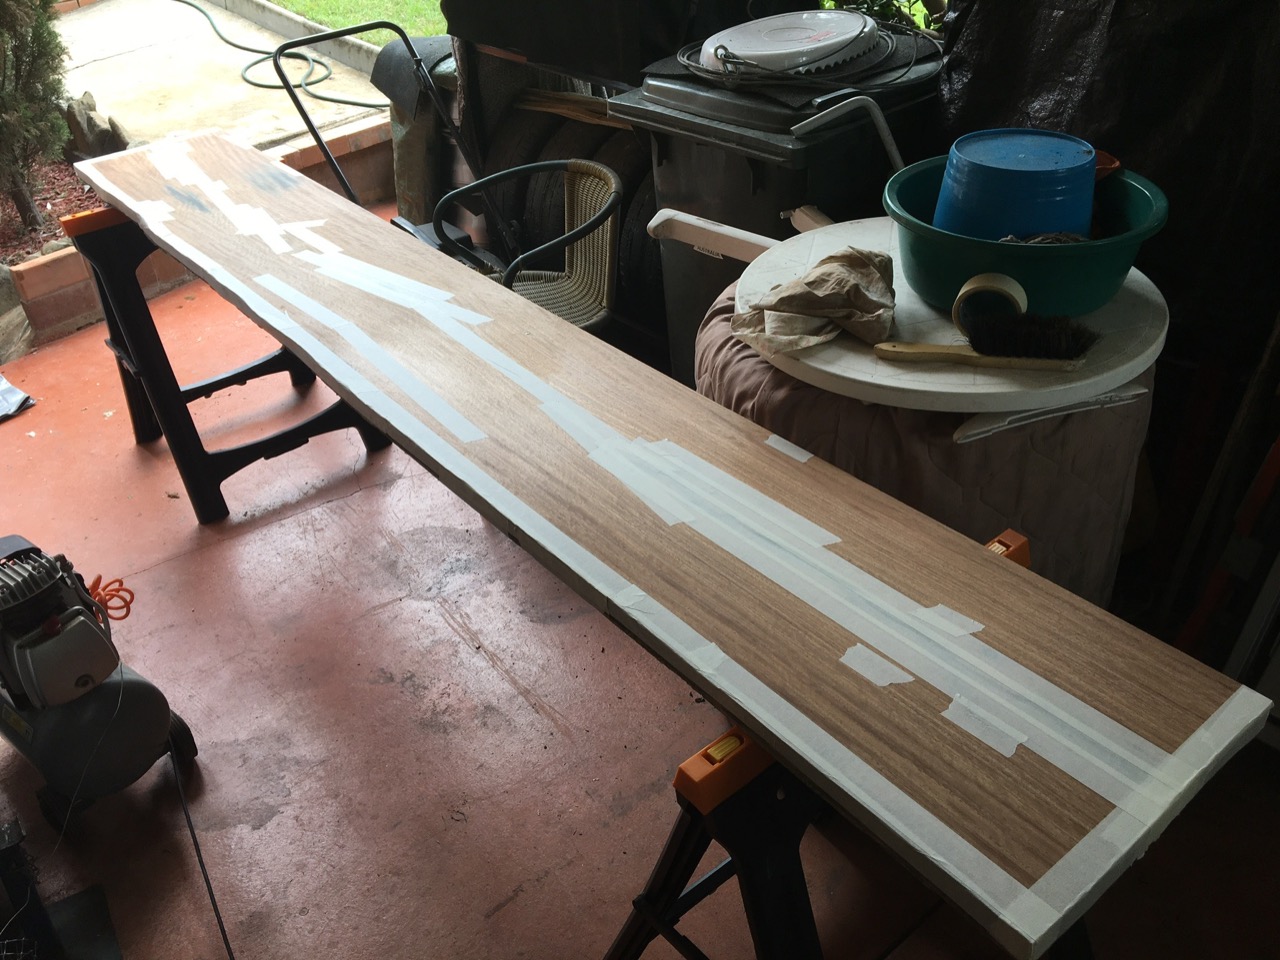
The slab that we chose had a number of large cracks and bolt holes that needed filling with resin first. Apart from that it was in quite a good shape. These cavities were not going to be an issue.
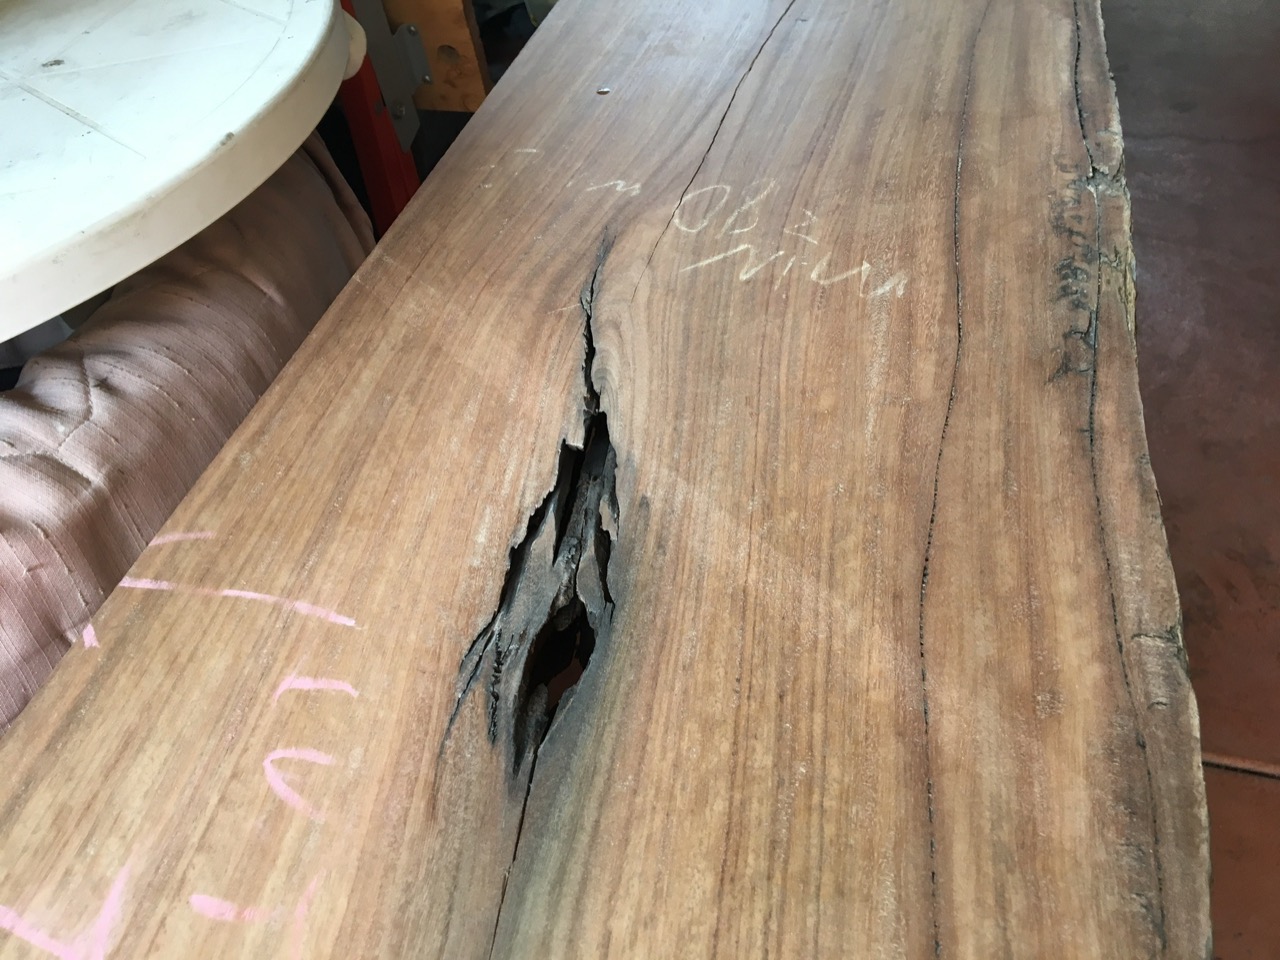
Some of the cavities needed to be cleaned out with an air compressor because they had mud in the cracks. This has been a repeat pattern with every piece of bridge timber I bought in the past.
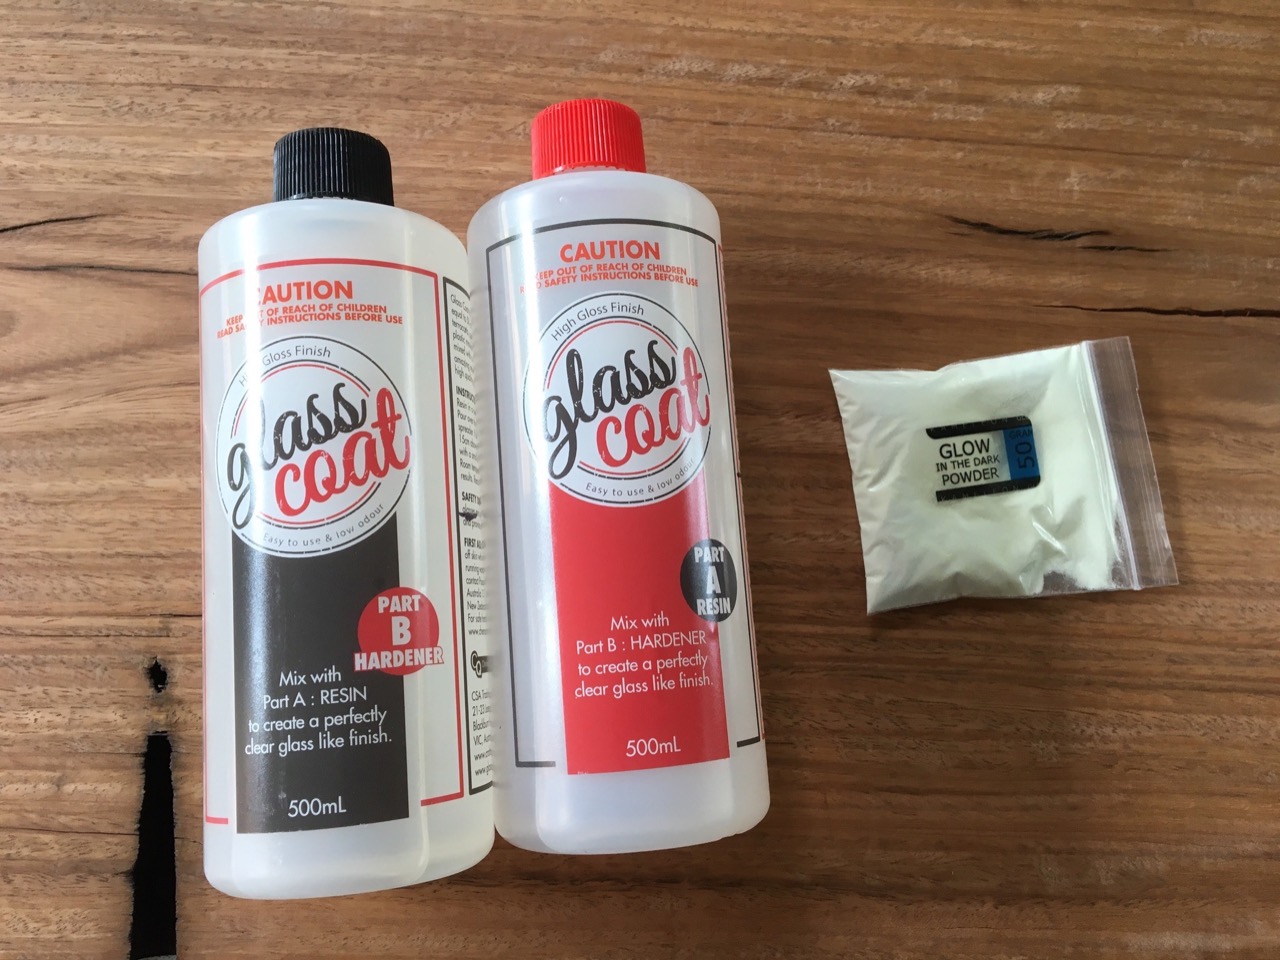
After cleaning and masking off all the gaps it was time to fill with resin. I used the "Glass Coat" two part clear glass resin for this. It was my first time using this particular resin and I quite liked it. It wasn't polyester so didn't shrink and since it was a 50:50 mix it was much easier to prepare vs a resin that required MEKP as a catalyst.
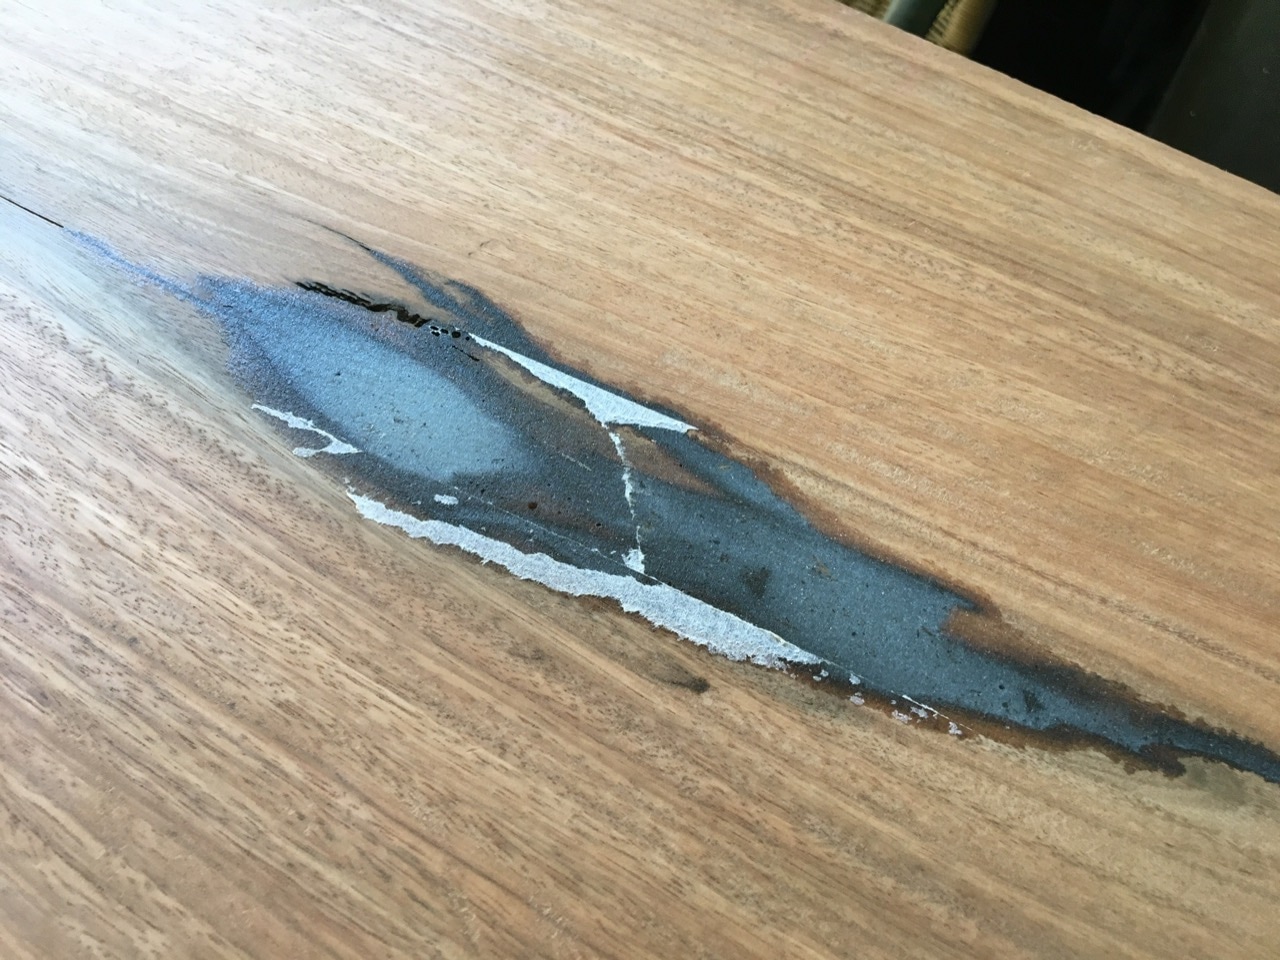
I added some glow in the dark powder to each batch of resin I mixed. I went a little overboard with this in places which made the resin not fully see through. For any future projects, I'll have to clamp down on how much of this powder I use!
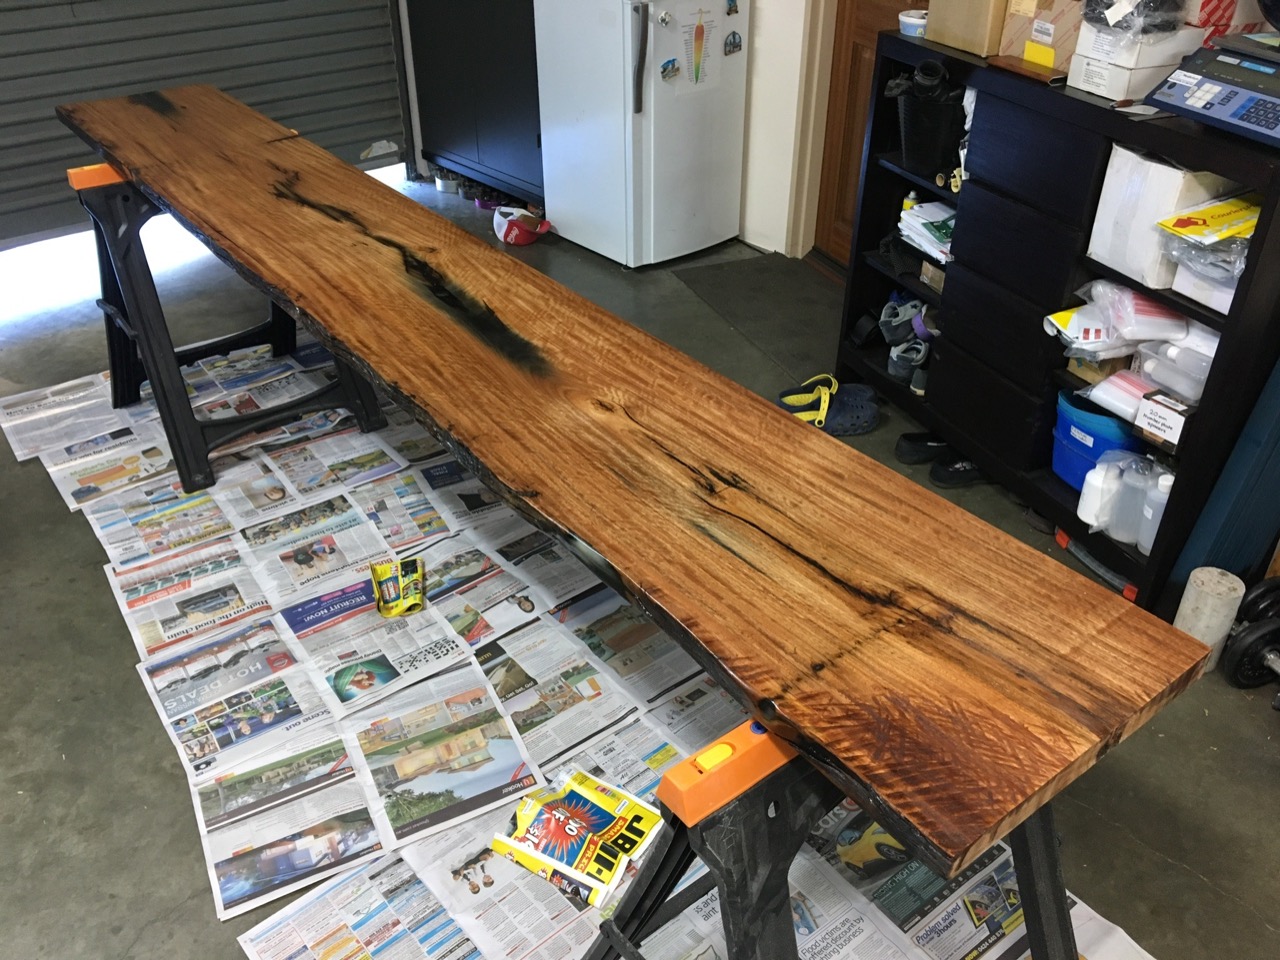
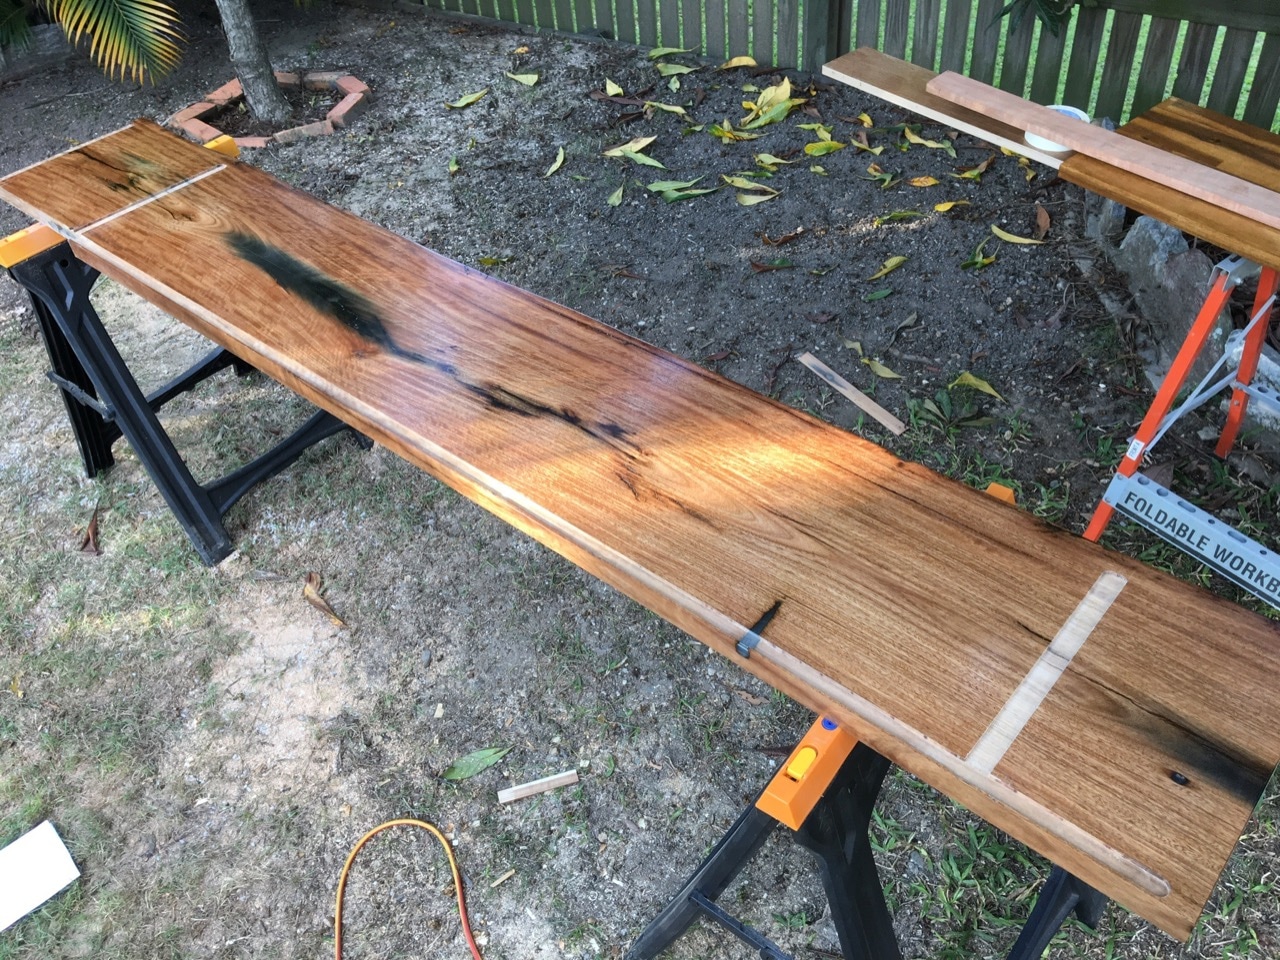
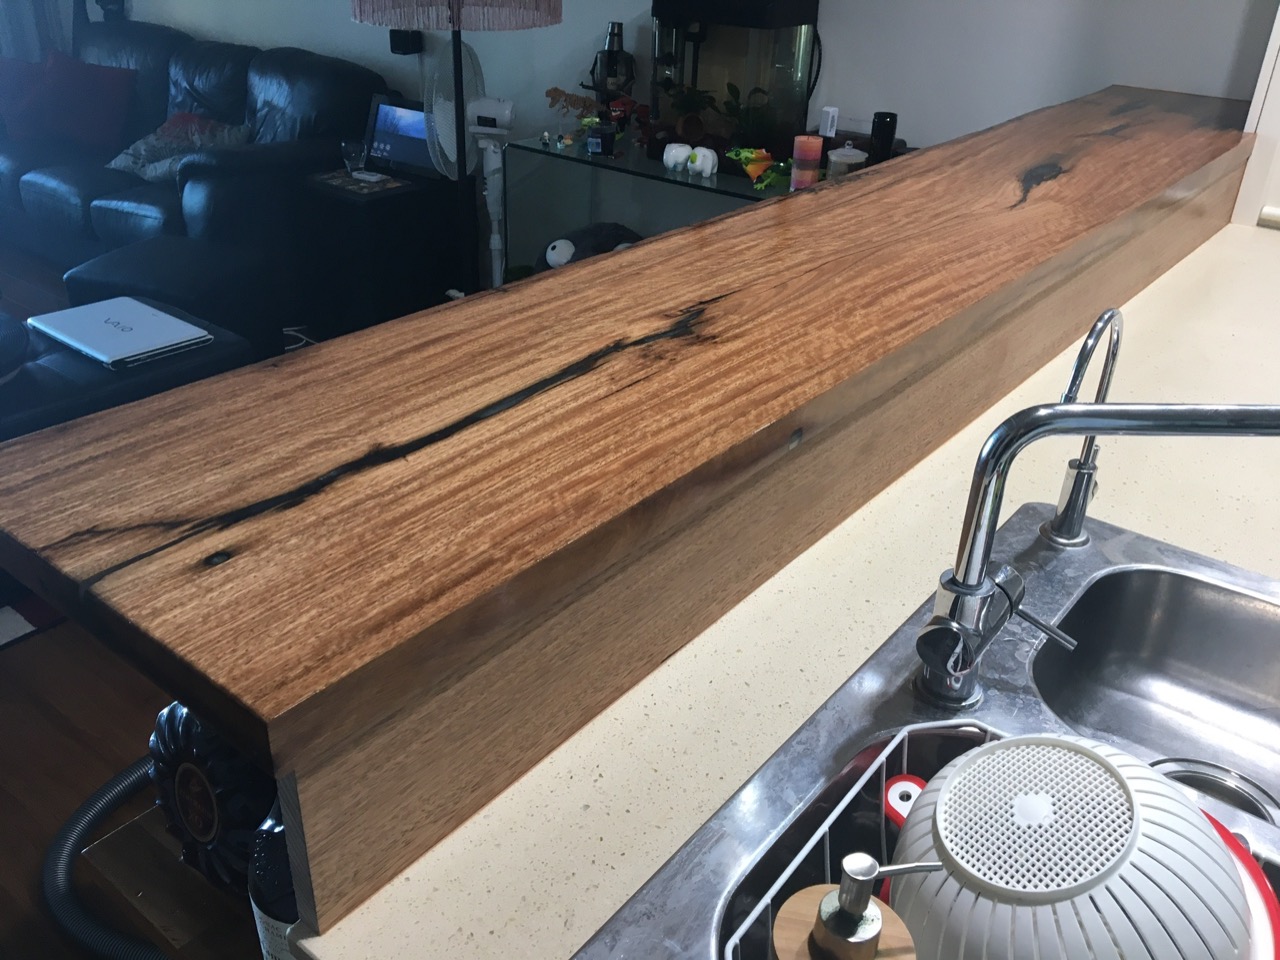
The curing time was quicker than polyester resins and it already looked quite decent without sanding. I knew it would look amazing after all the finishing.
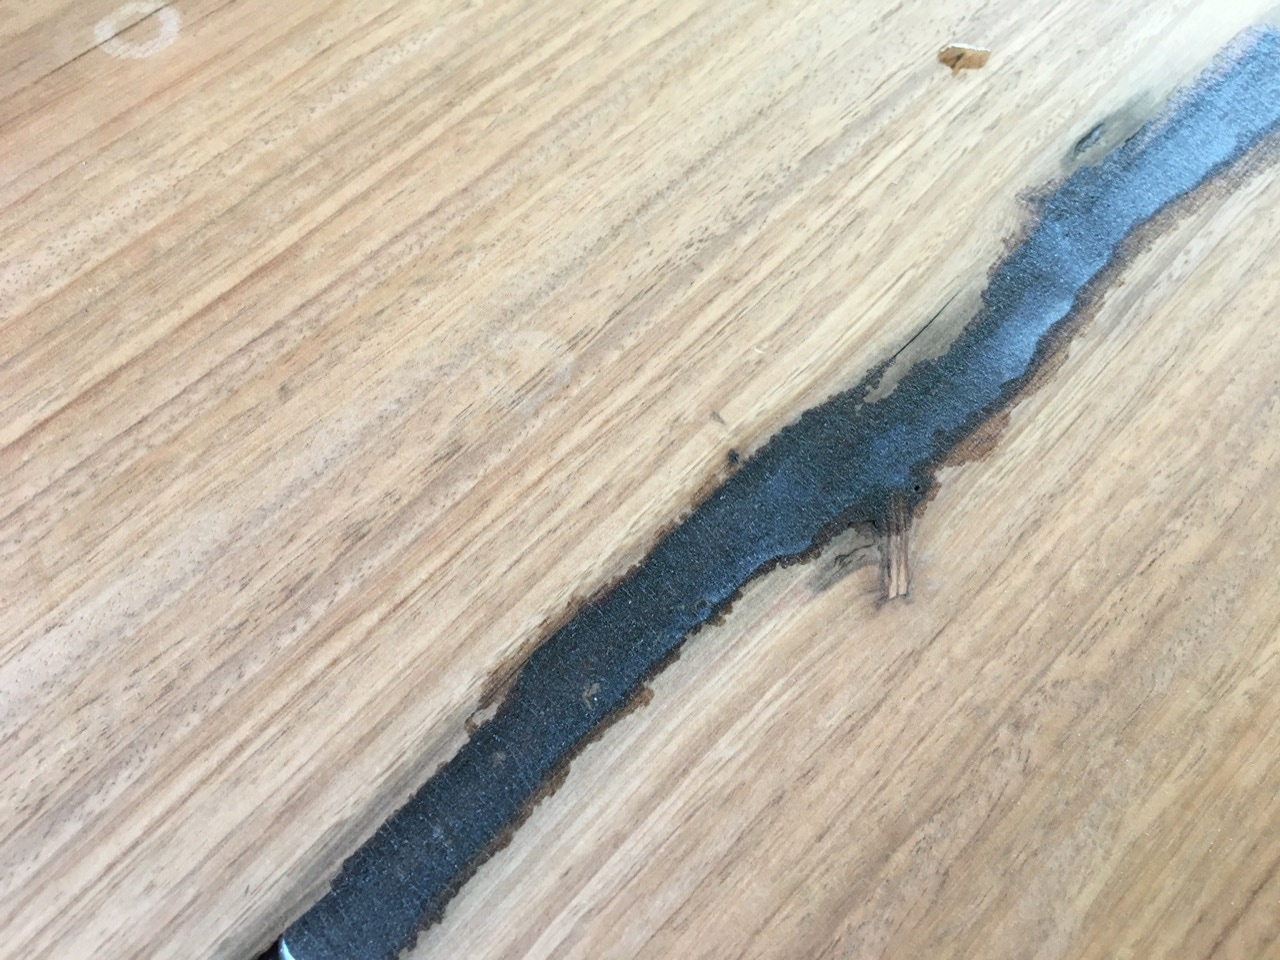
Test run of the glow in the dark powder while the resin hasn't yet cured looked great!

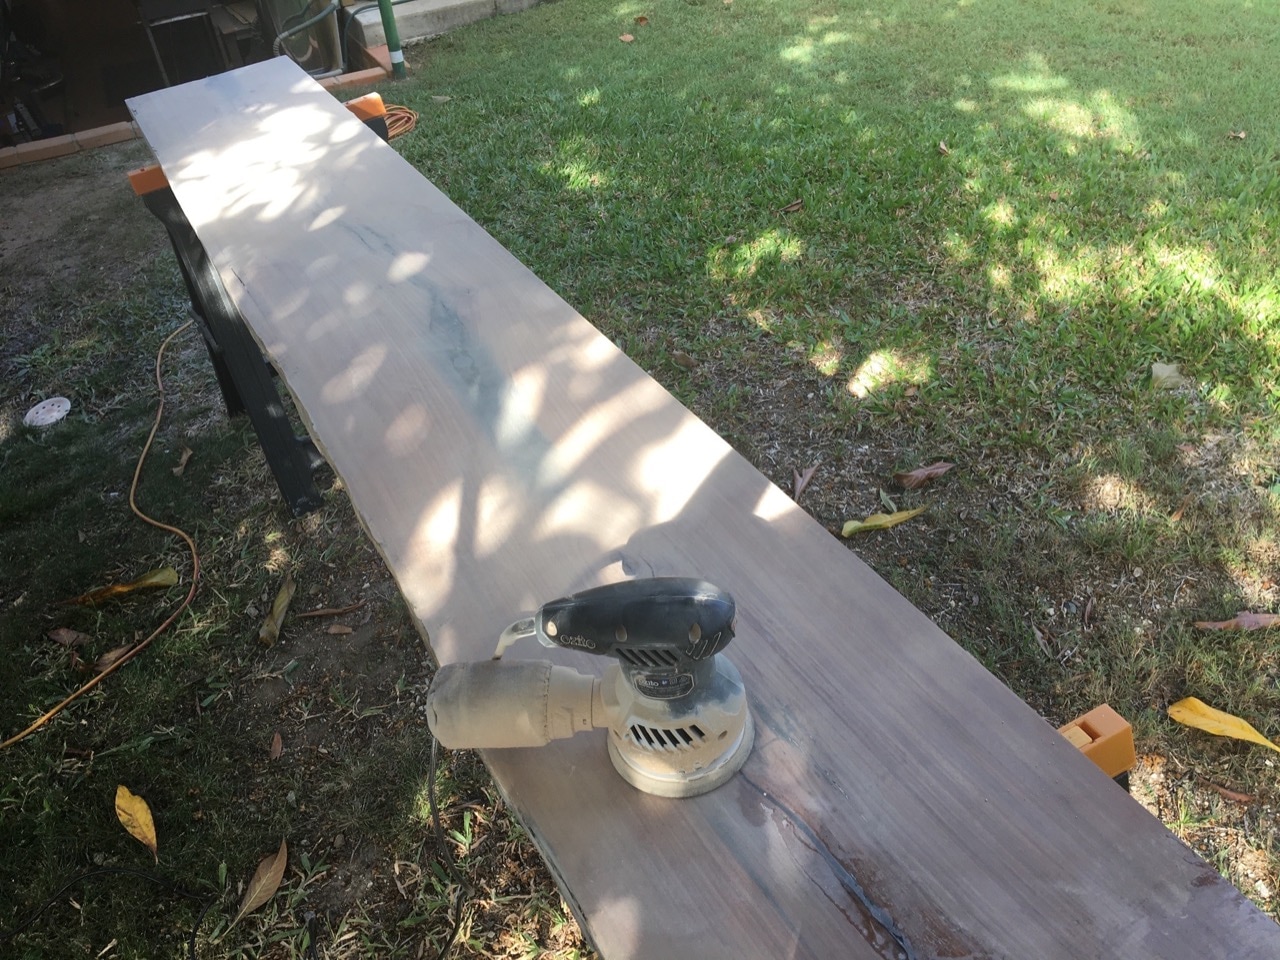
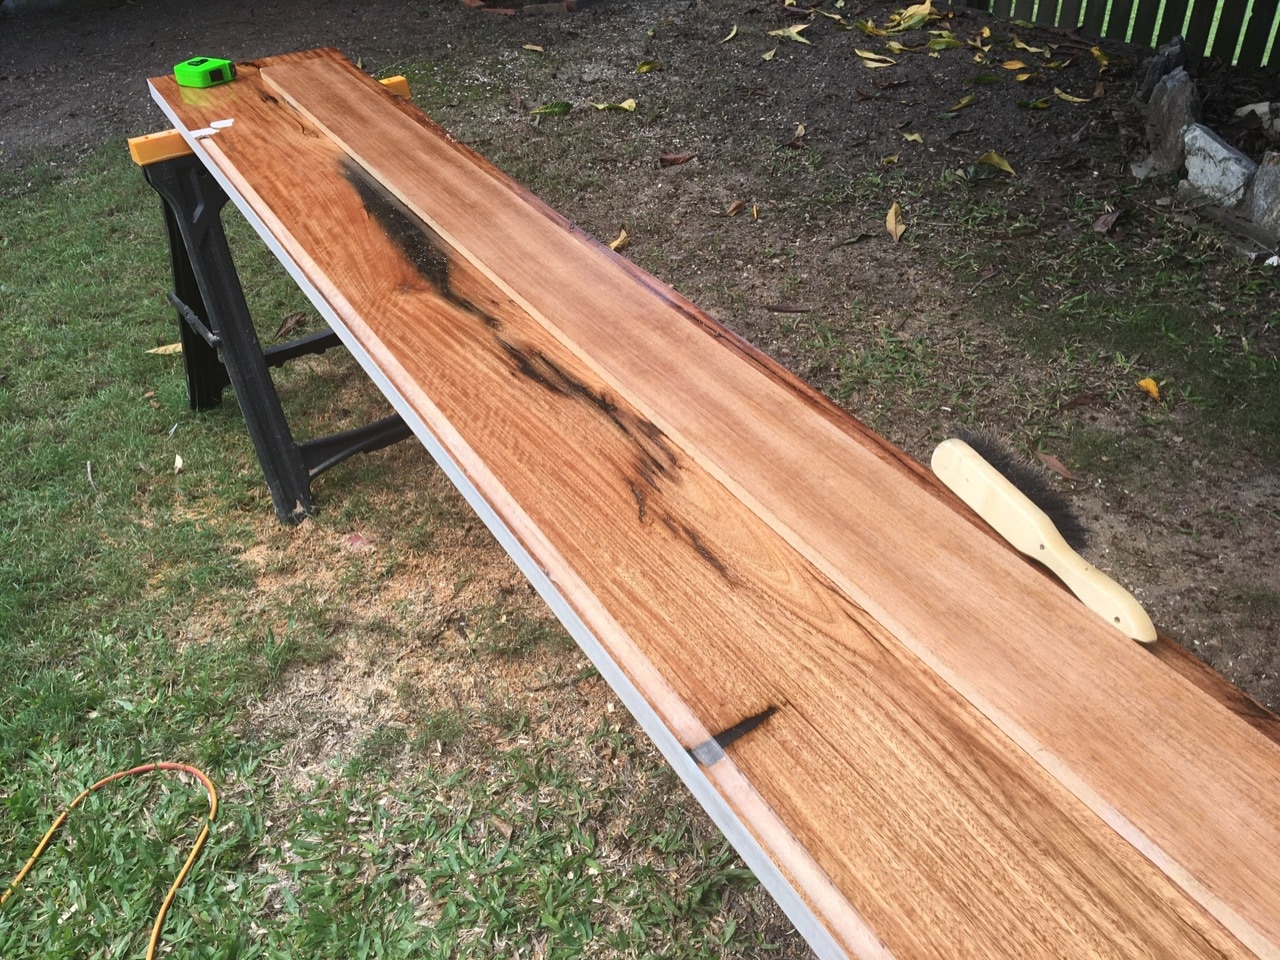
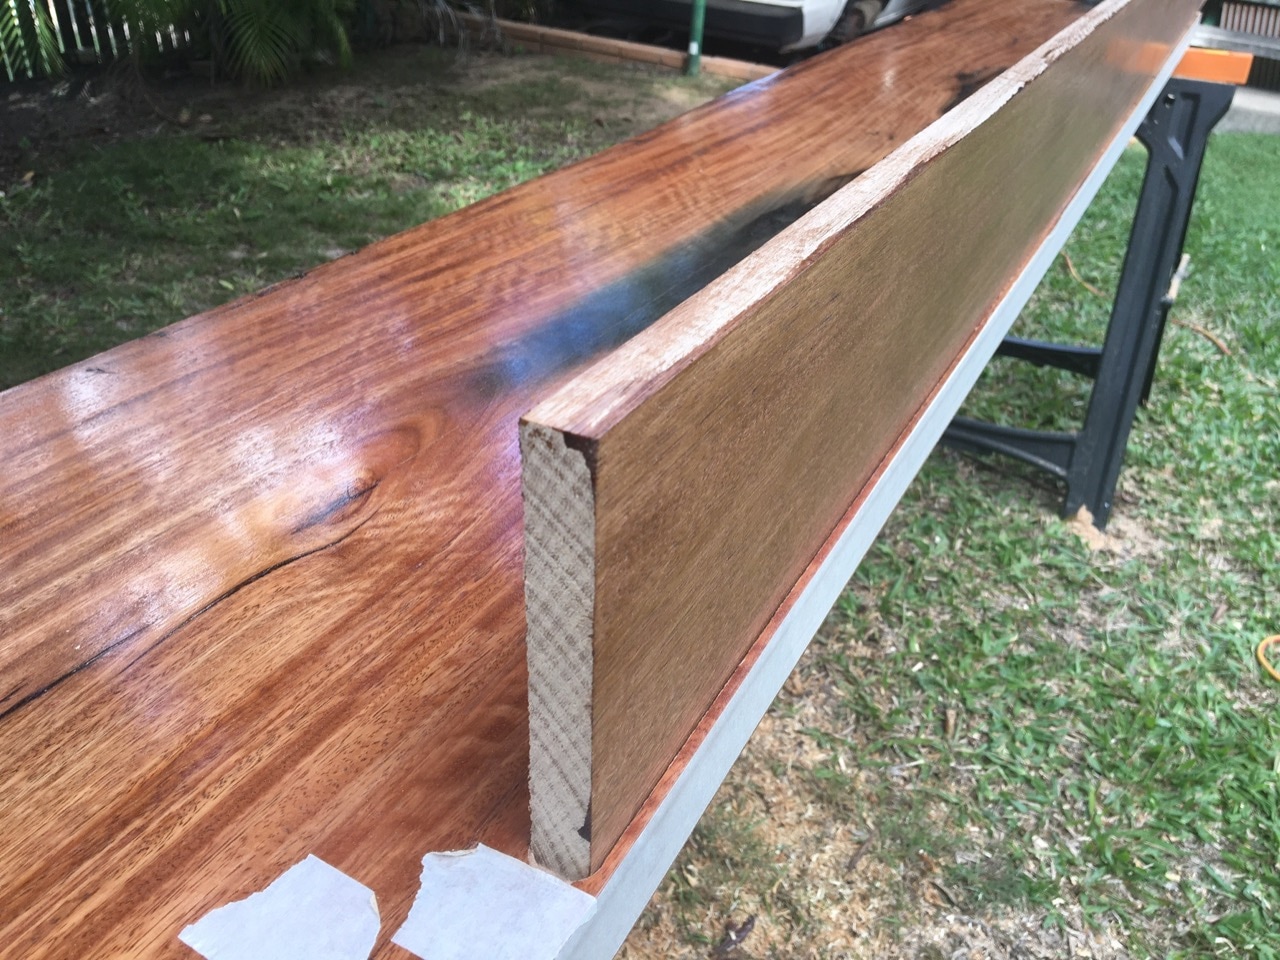
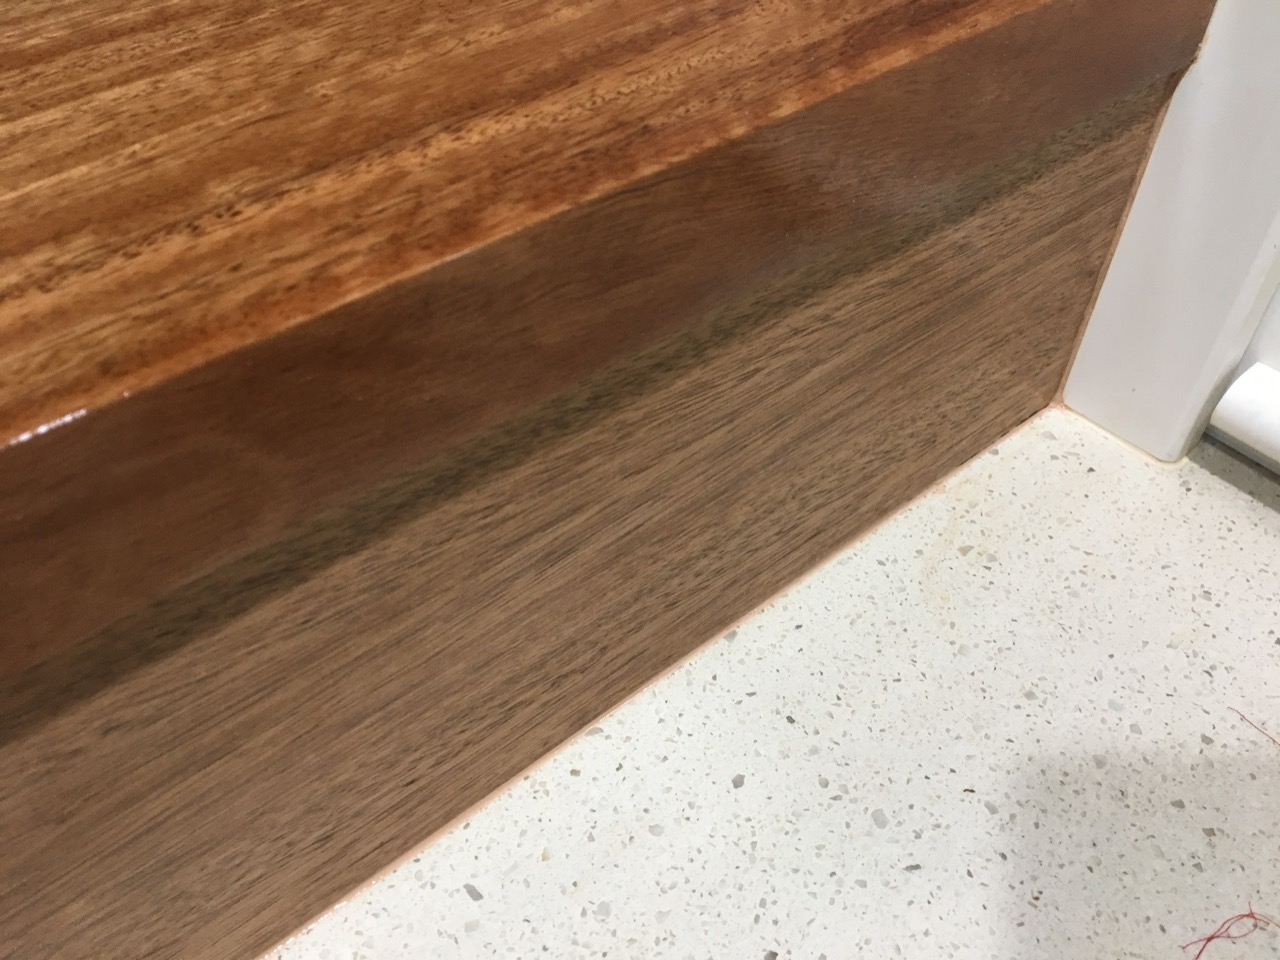
After everything was filled, it was time to sand and apply the first coat of varnish! For the varnish I used the usual high gloss floor varnish - Estapol Flooring 7008. I ended up doing 4 or 5 coats of this varnish to get the look I wanted. This was mainly because I wanted to preserve the natural looking edge of the slab. This edge couldn't be sanded so the only way to make it splinter free and smooth to touch was to smother it in varnish.
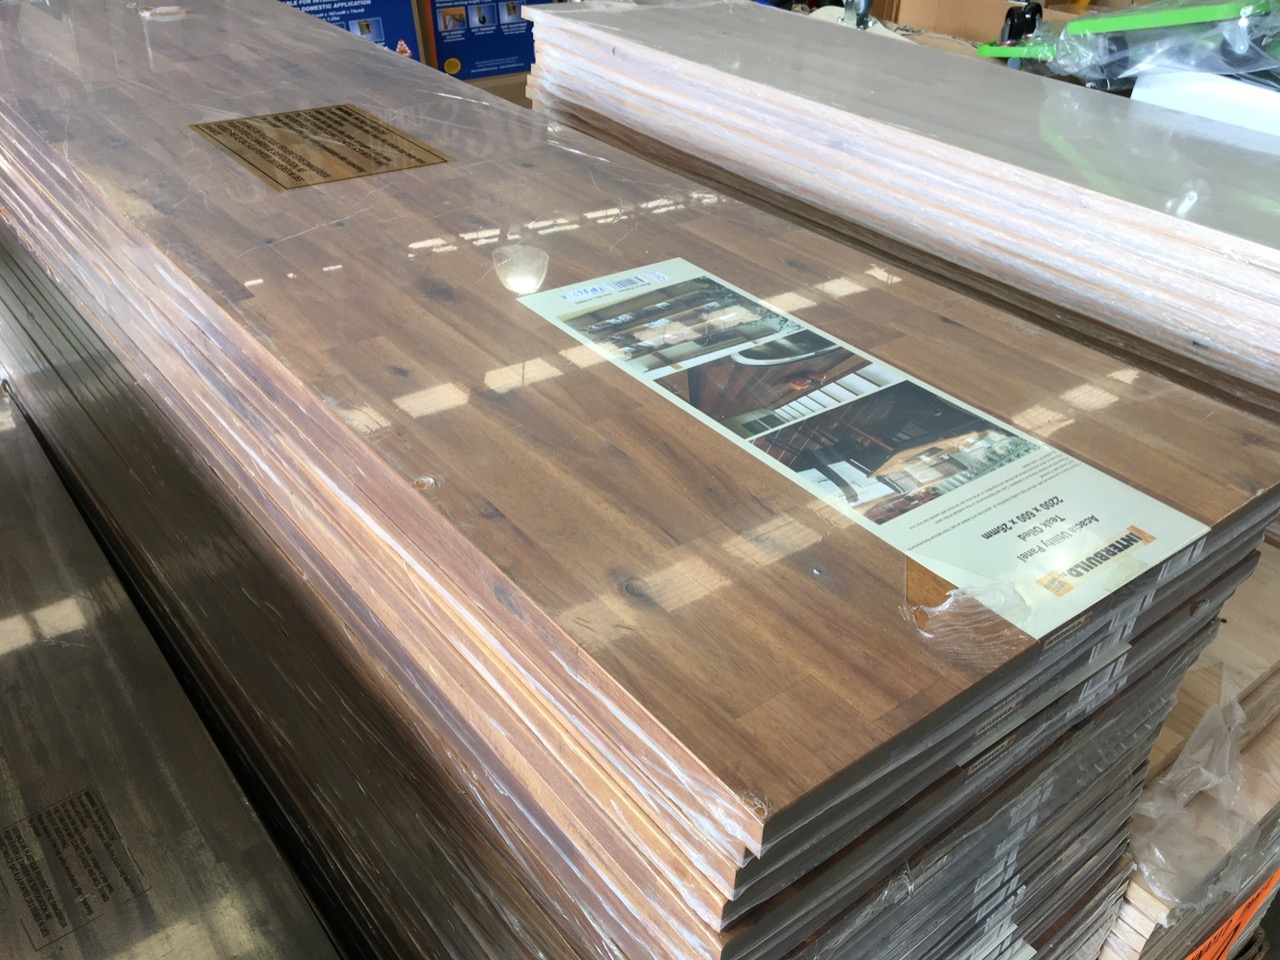
The bridge timber slab was going to be used just for the top of the breakfast bar. For the supports and shelving I decided to use some pre-made utility panels that I bought from Bunnings. They matched the colour of the wood slab pretty well and were cheap.
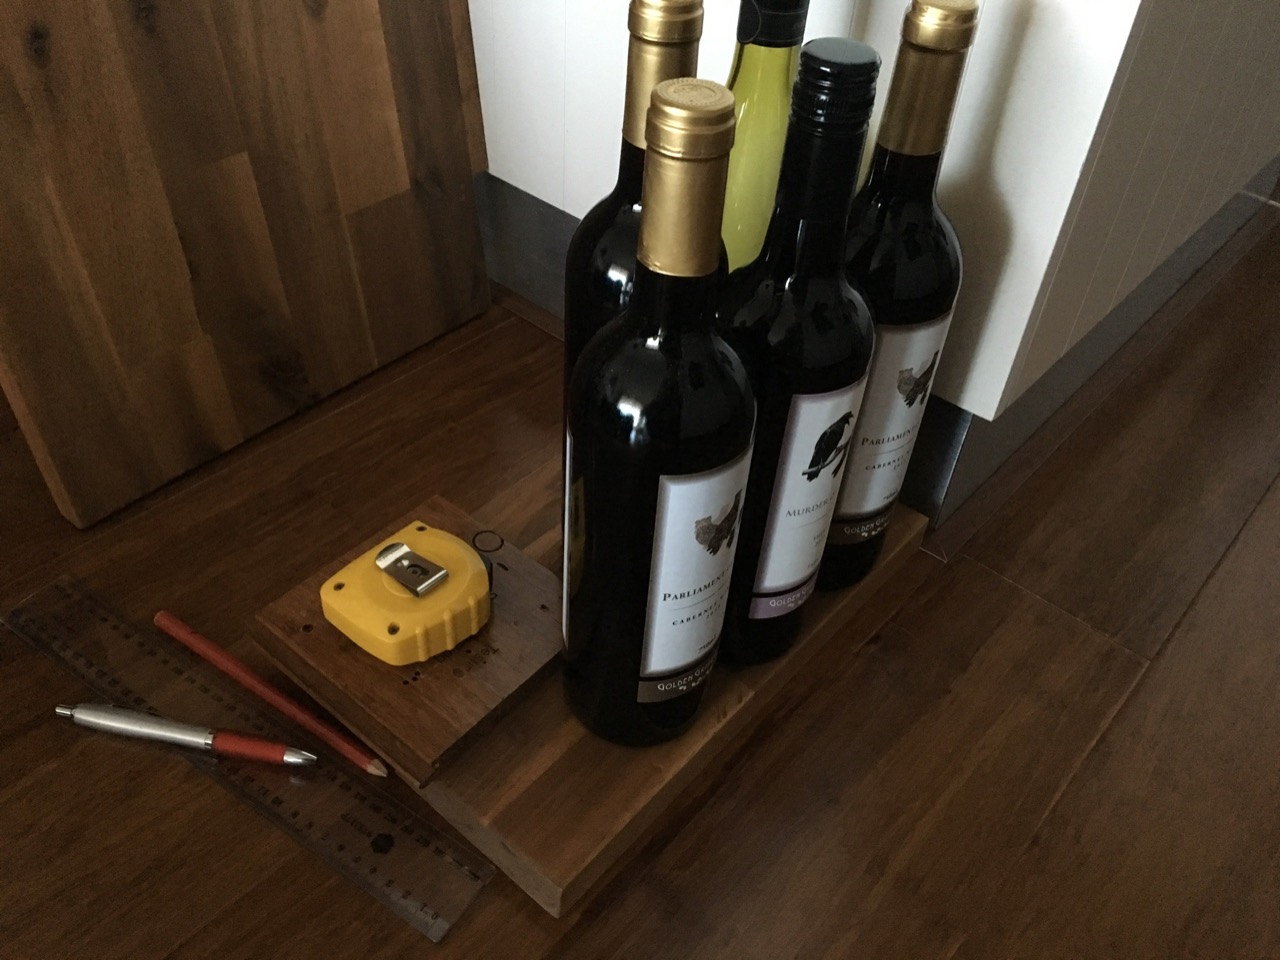
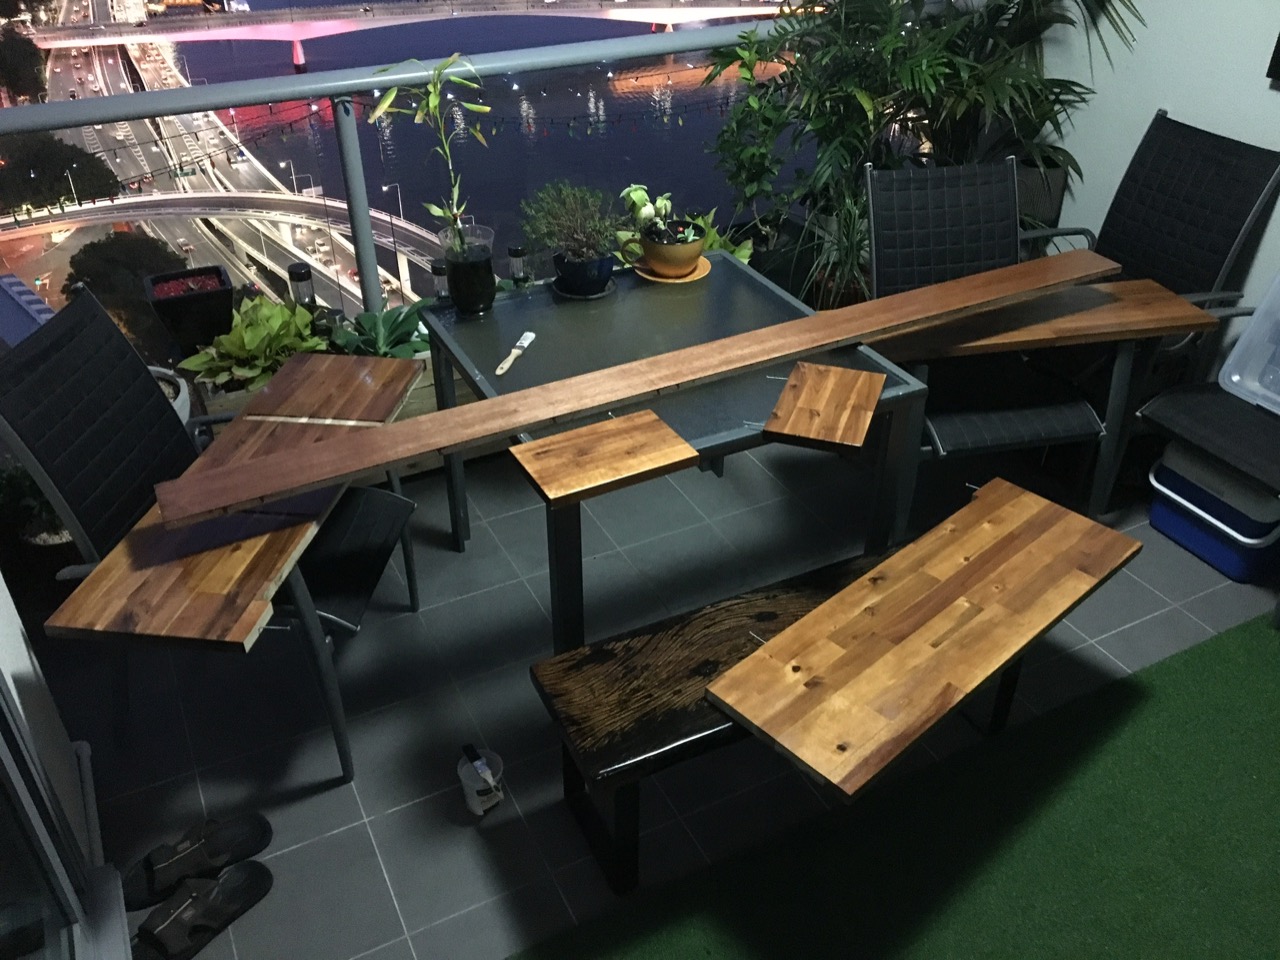
Mandatory test run with some wine to get the correct dimensions!
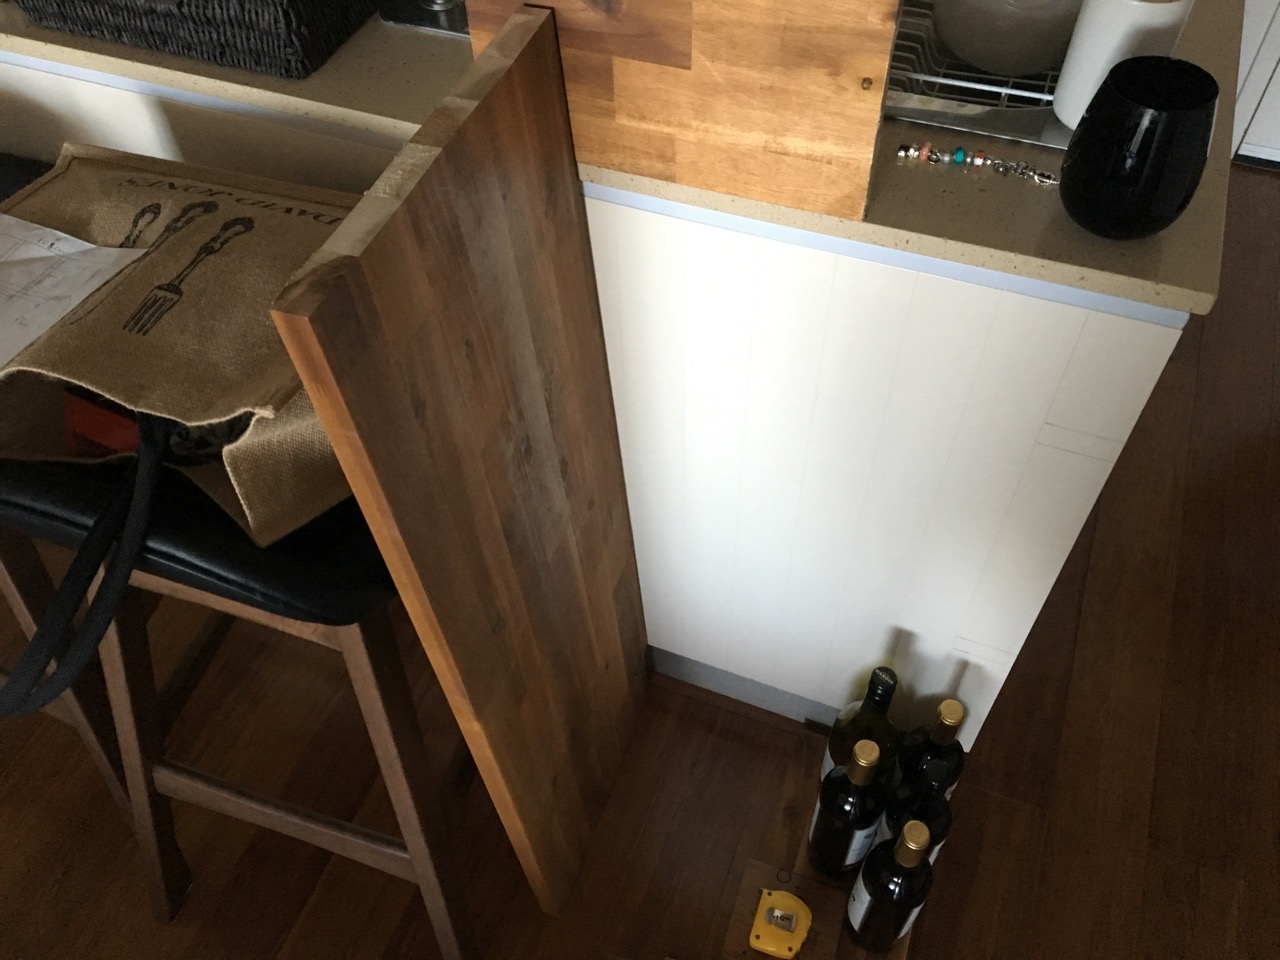
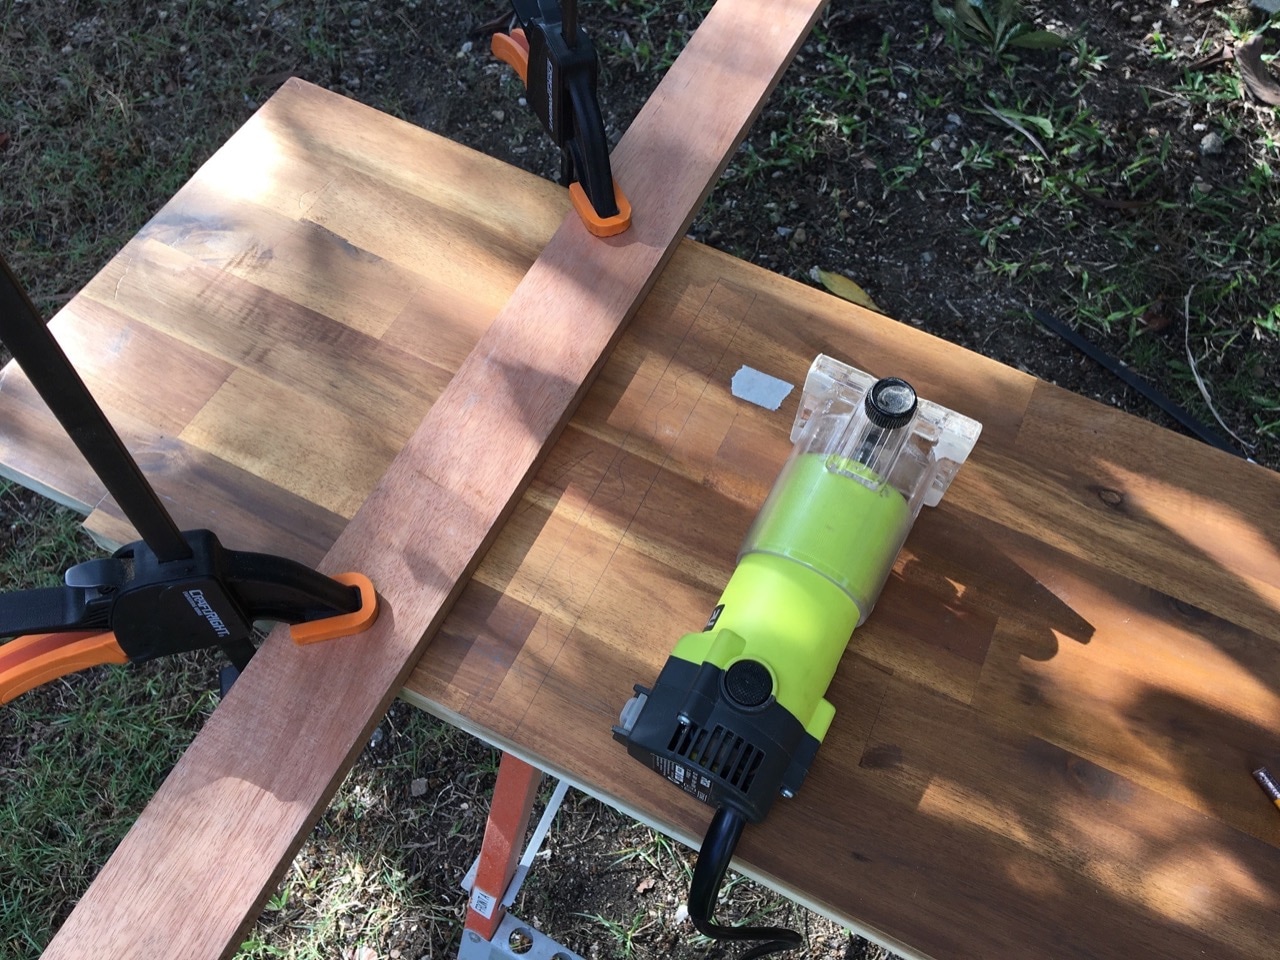
I used a router extensively to cut the utility panels down to size. It was used both for cutting in grooves for shelves to slide into and to get the rear edge of the panel straight.
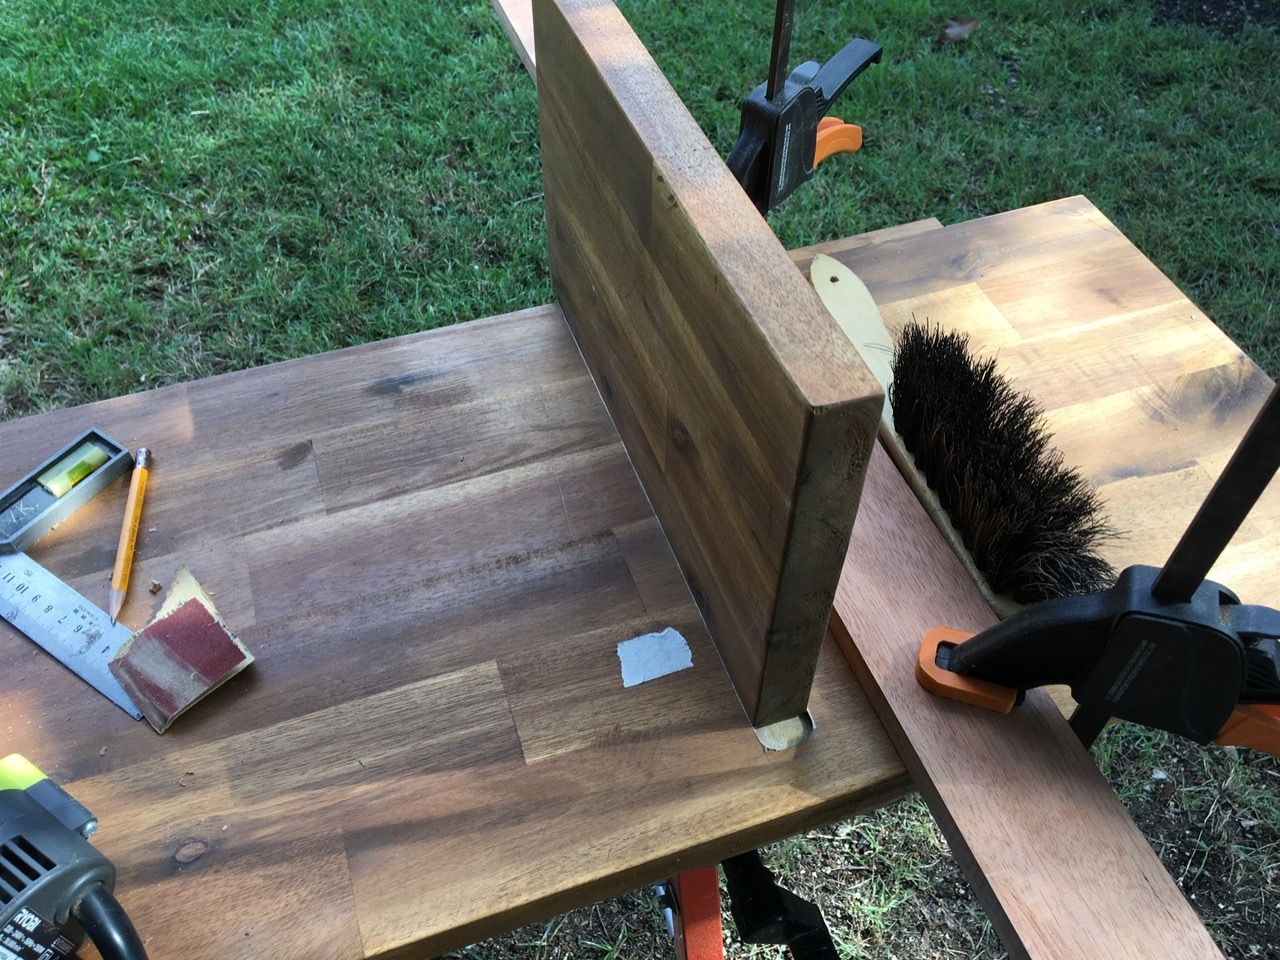
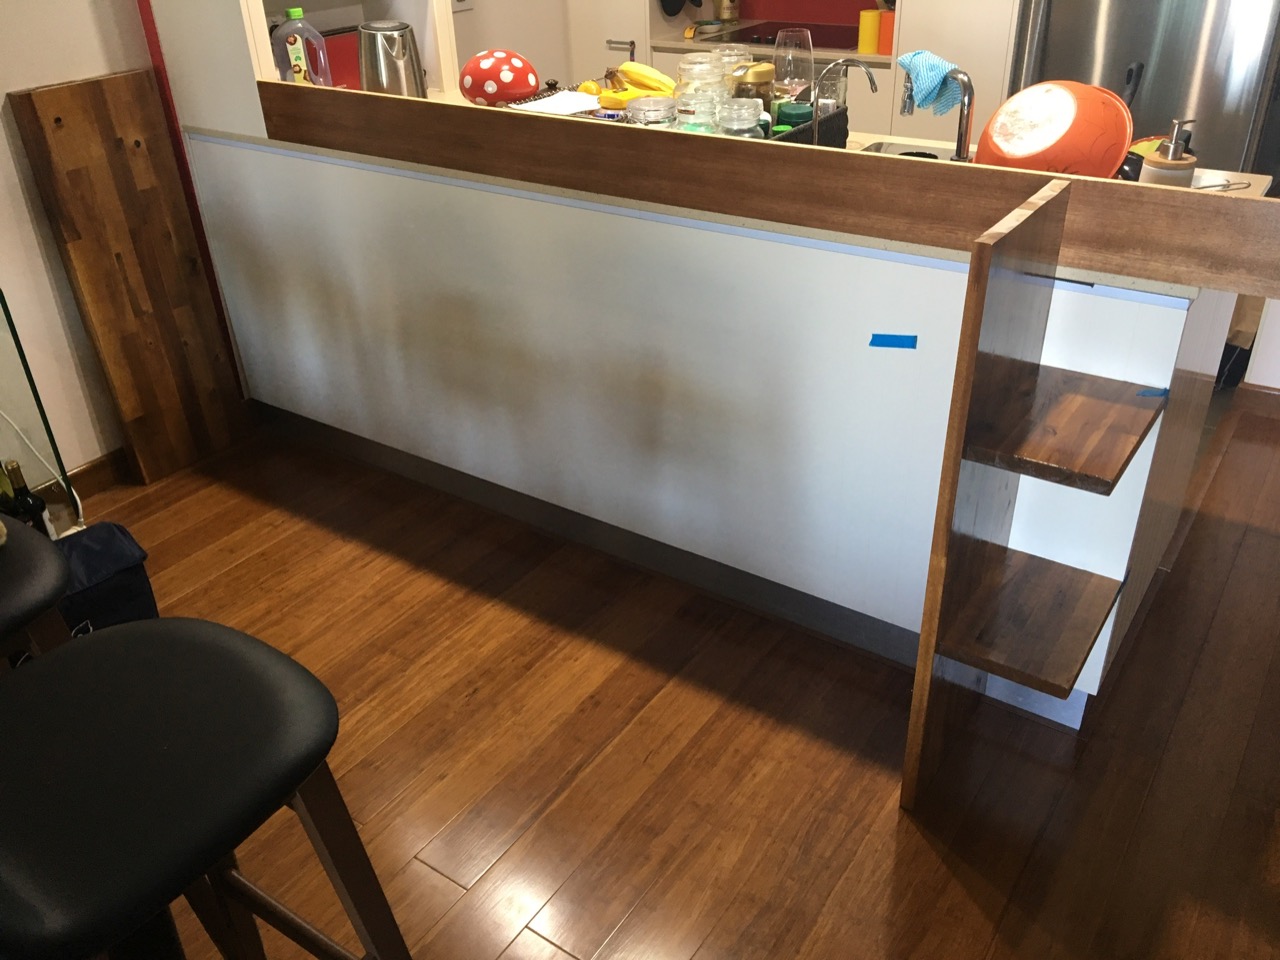
A couple of hours of work and I had the first support panel with shelves! The second support was cut down later, I also ended up using a third vertical support, even though it was not required. The third support was more for decoration along the wall than anything else.

The hardwood slab had to have a groove cut into it for the back panel. At first I tried to match this back panel to the rest of the cabinets in the kitchen but the costs of getting a custom made laminated panel were too much. I decided to go for a stained piece of Oak instead - it was a fraction of the cost and turned out very well.
A few days before the install I took most of the pieces home (I was preparing them at my parents place since I can't do this kind of work at the apartment). I applied a couple of coats of varnish at home and worked out the final positions for the vertical supports.
After all the final measurements at home I cut the vertical support grooves into the top slab. Shelf support holes were drilled into the vertical support pieces. It was time to assemble!

Dry fit. There were a few places that needed adjusting, nothing major though.
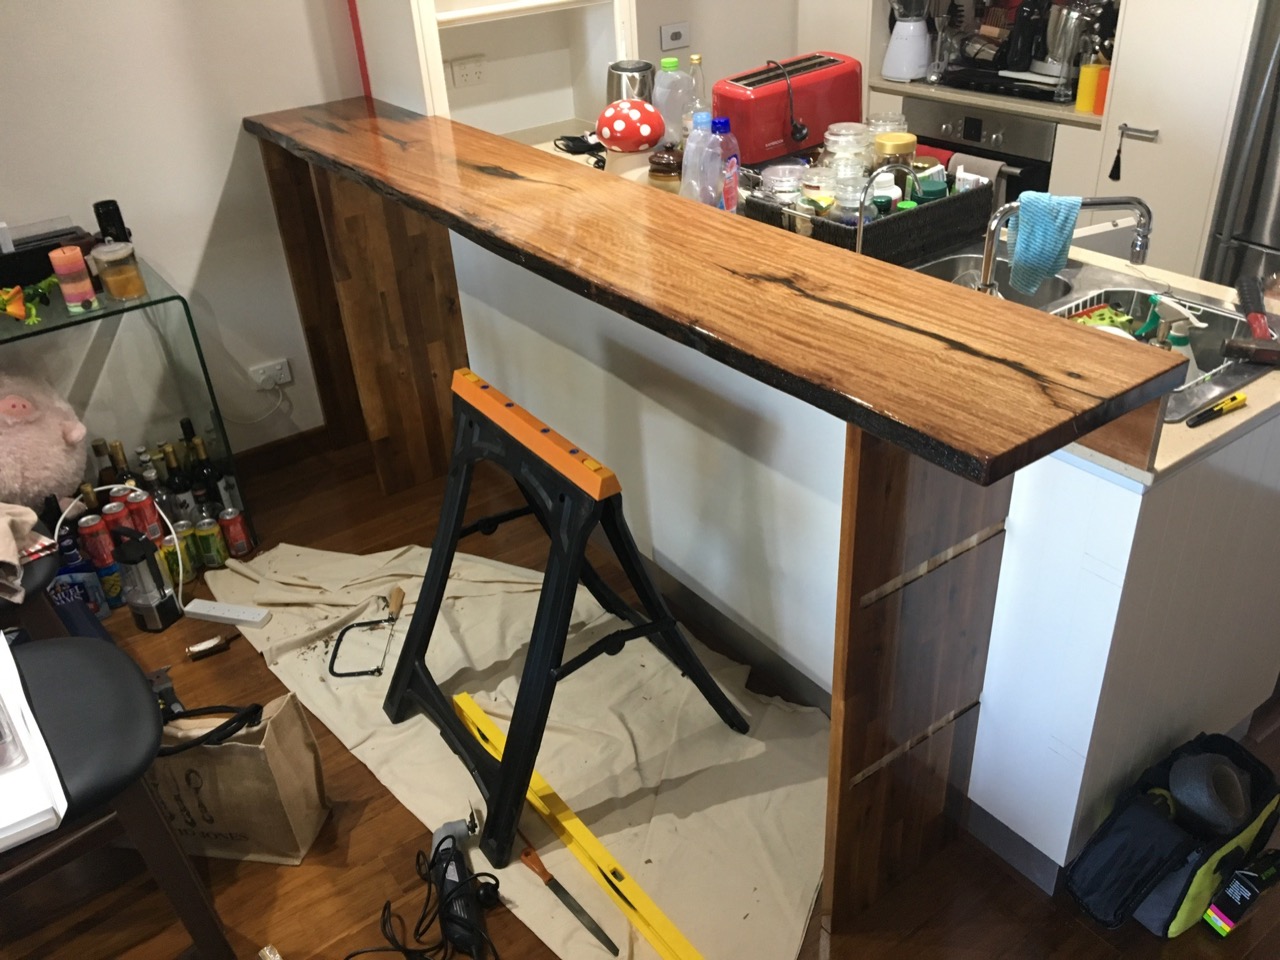
Once we had everything fitting, we mixed up 30 minute epoxy, applied it to the cut out grooves and fit everything together. I also used some caulk of a matching colour to fill gaps between the kitchen bench and the wood, which also made it more stable once dry.

A little bit of clean up later and it looked really good!
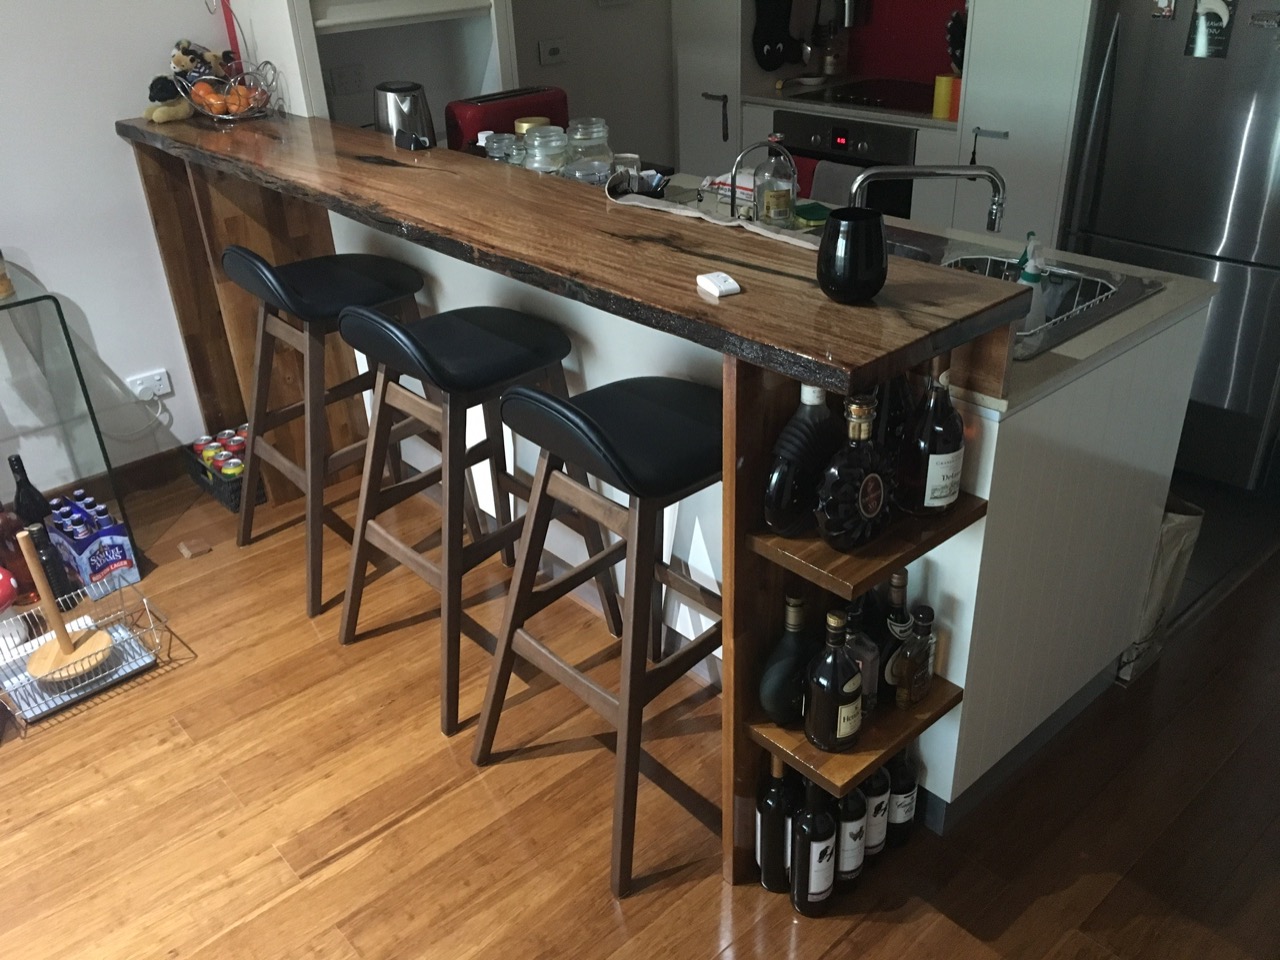
I'm very happy with the end result. The breakfast bar has been an amazing addition to the apartment. We've used it way more than the dining table, it doesn't get in the way, it has storage space and most importantly it looks good. This project cost around than $800 (AUD) in materials. It did take a bit of time and effort but was completely worth it in the end.
-i
