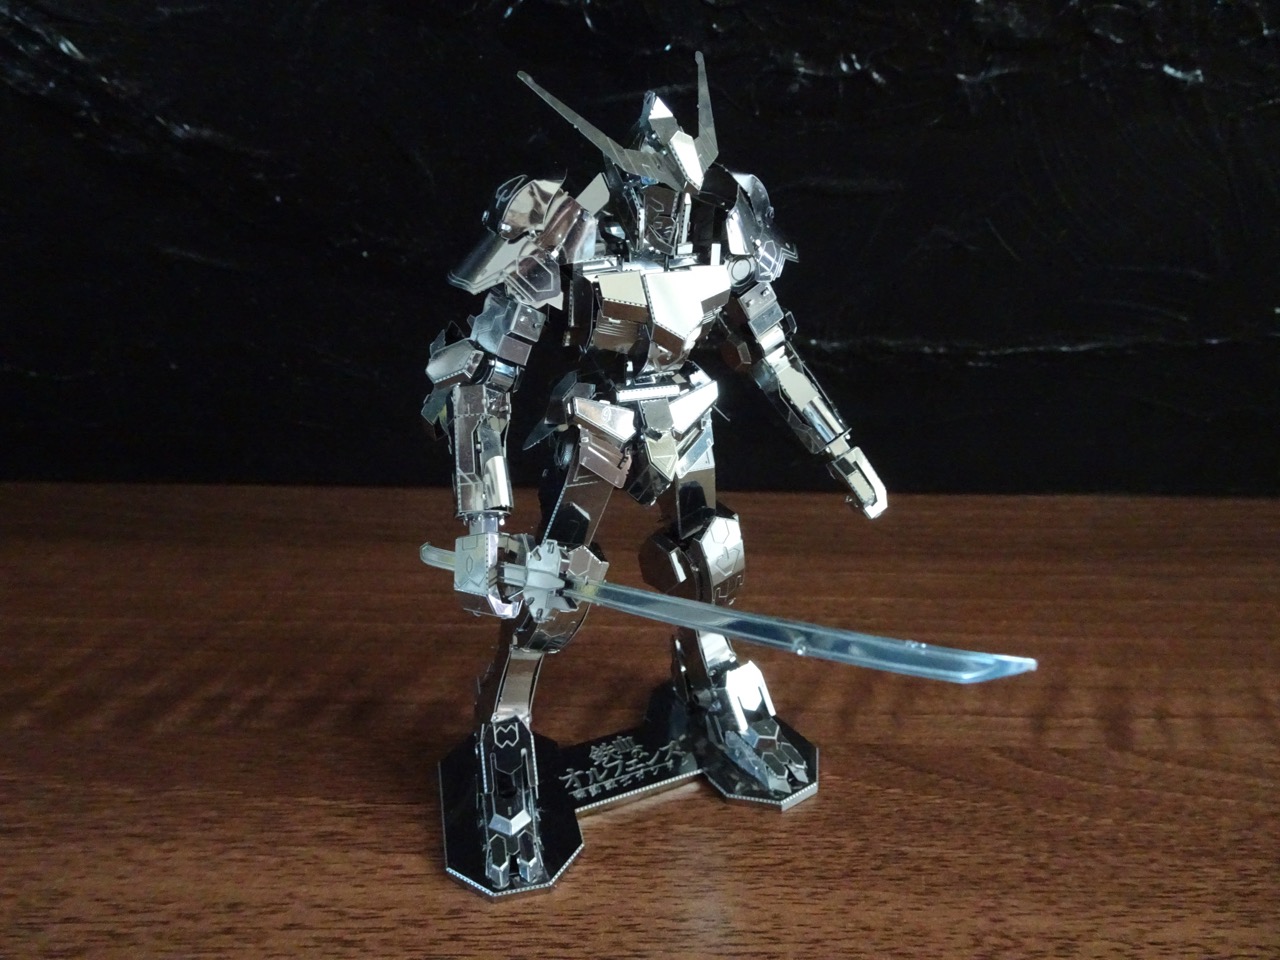
From start to finish it took me around 10 hours to complete this kit, over 6 separate sessions. The end result was quite breathtaking and really spoke for itself...
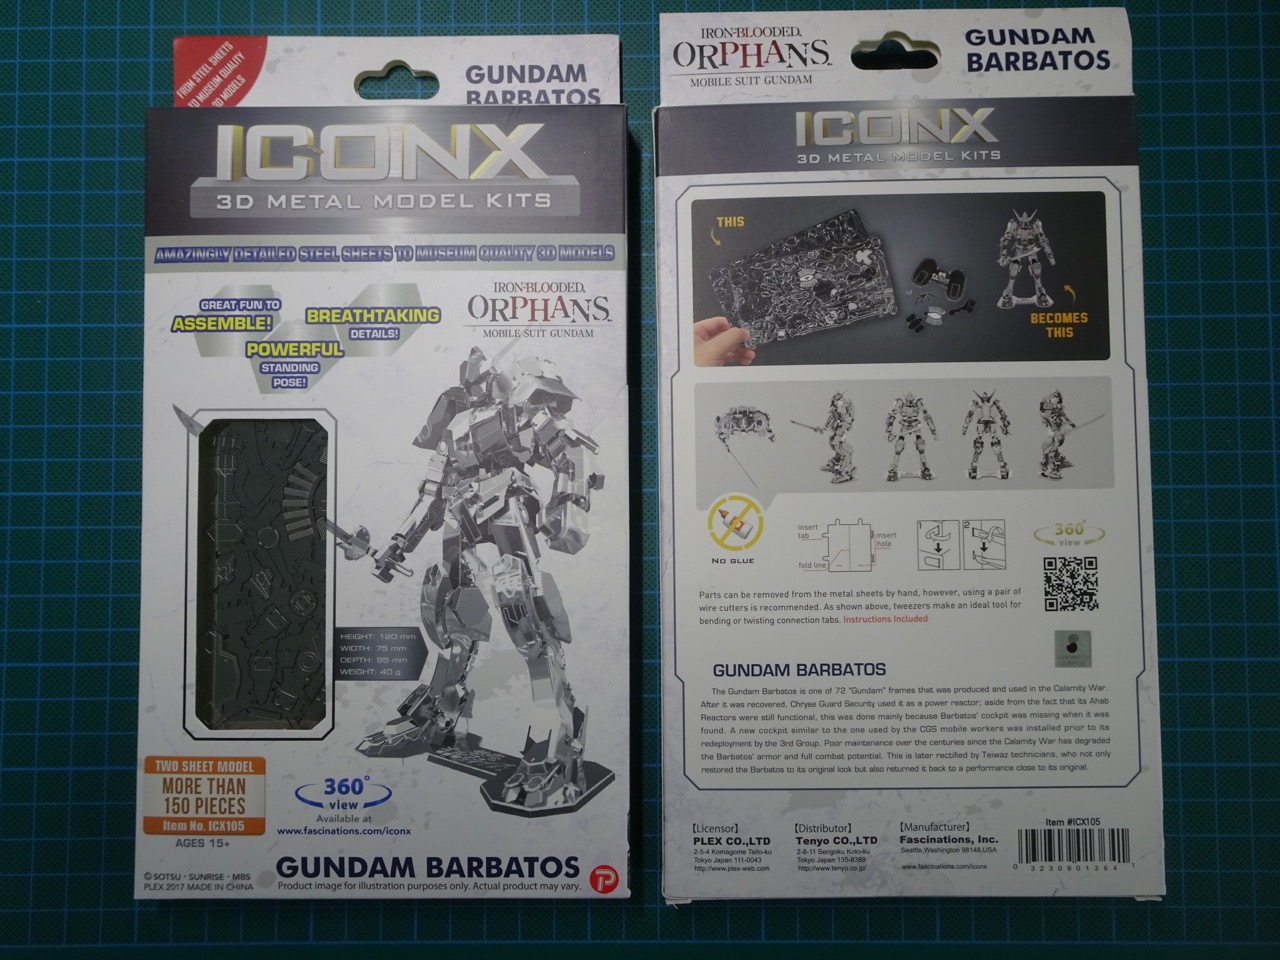
Unlike the previous kit I put together, the Guardians of the Galaxy Groot, I didn't have any reservations about the Gundam Barbatos - I loved it even before having it fully assembled.
When the kit arrived, I knew there'd be something different about it...it came in a parcel, not a flat envelope. This was because the packaging was not flat like a typical Metal Earth 3D kit. There was quite a bit crammed inside the box! Compared to the Groot, this kit was massive!

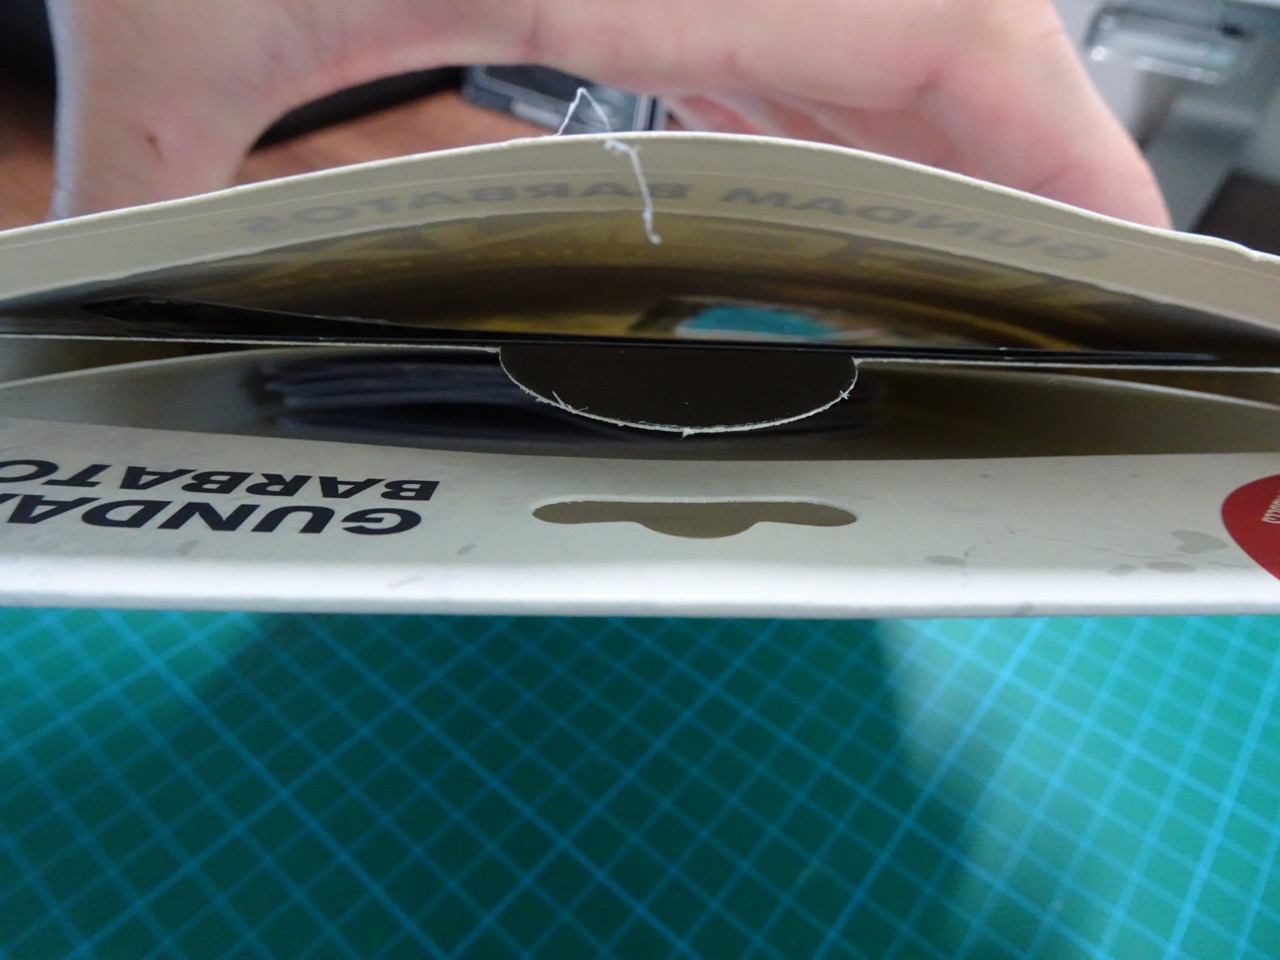
I was fascinated by the way the metal sheets were arranged inside the box...they had a slide out shelf which was inside the front compartment of the box. The rear compartment held instructions and a complimentary tweezer tool.
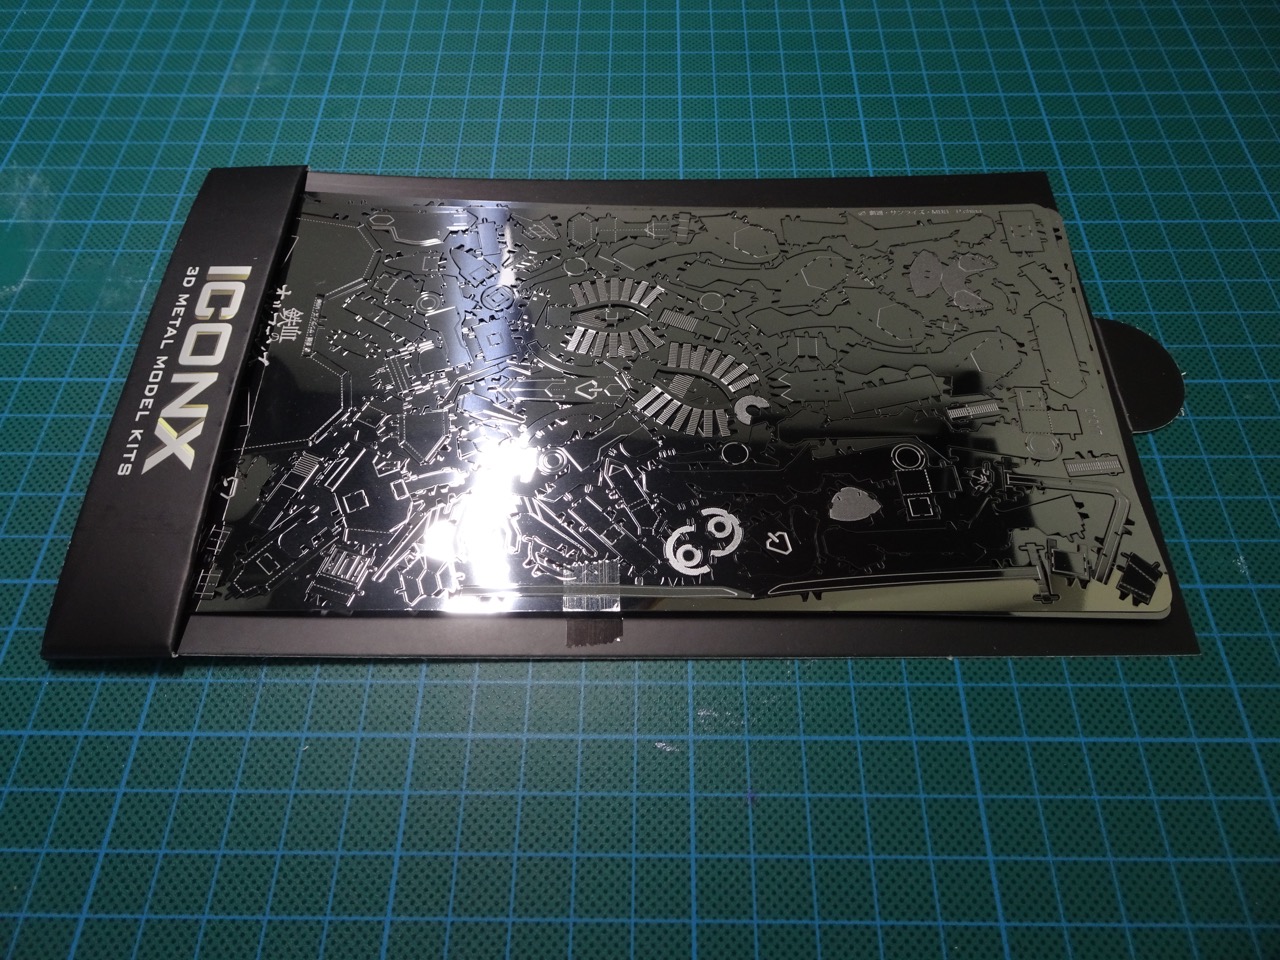

This was all that was included...
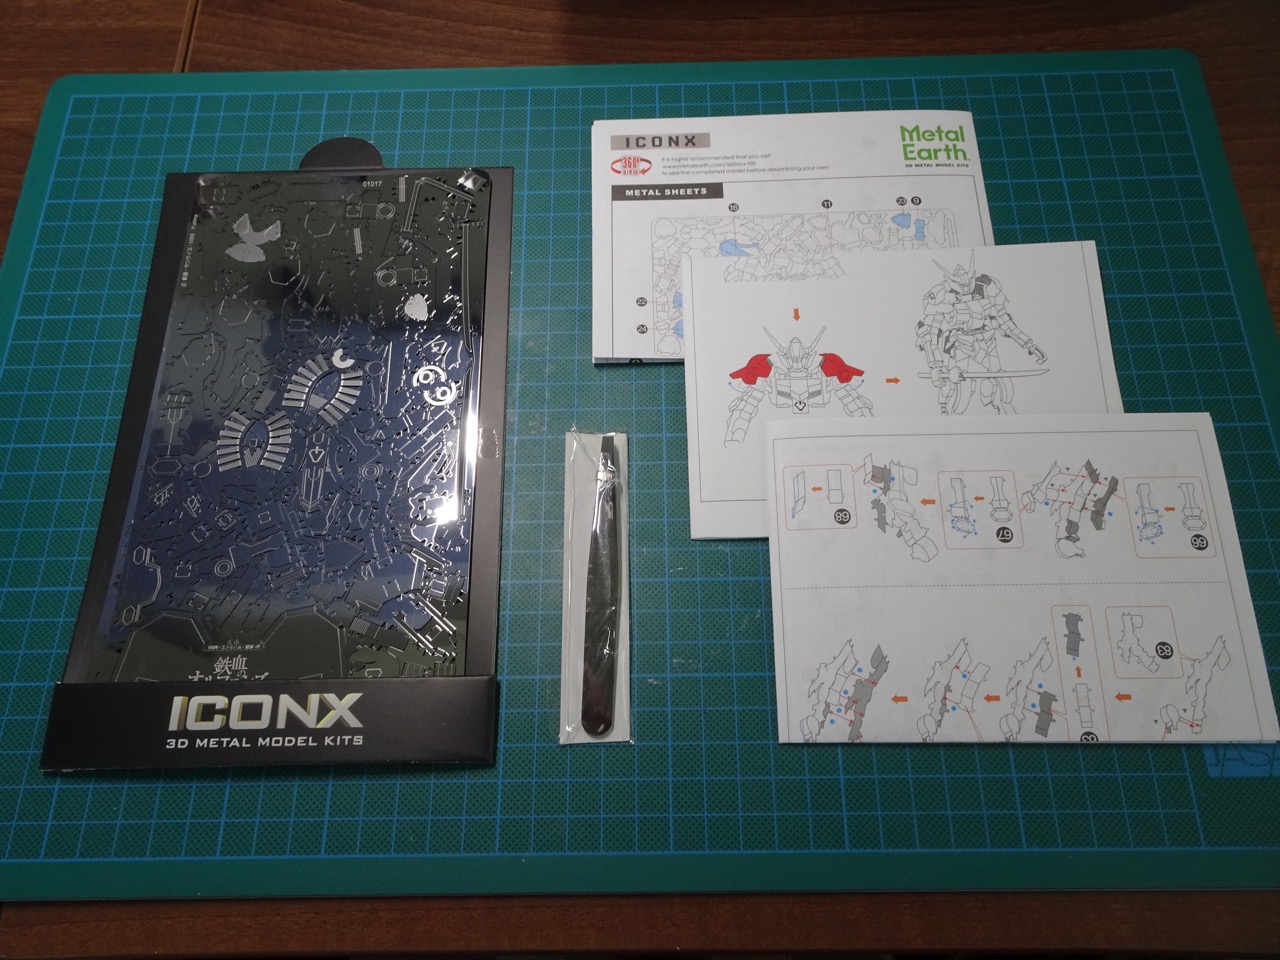
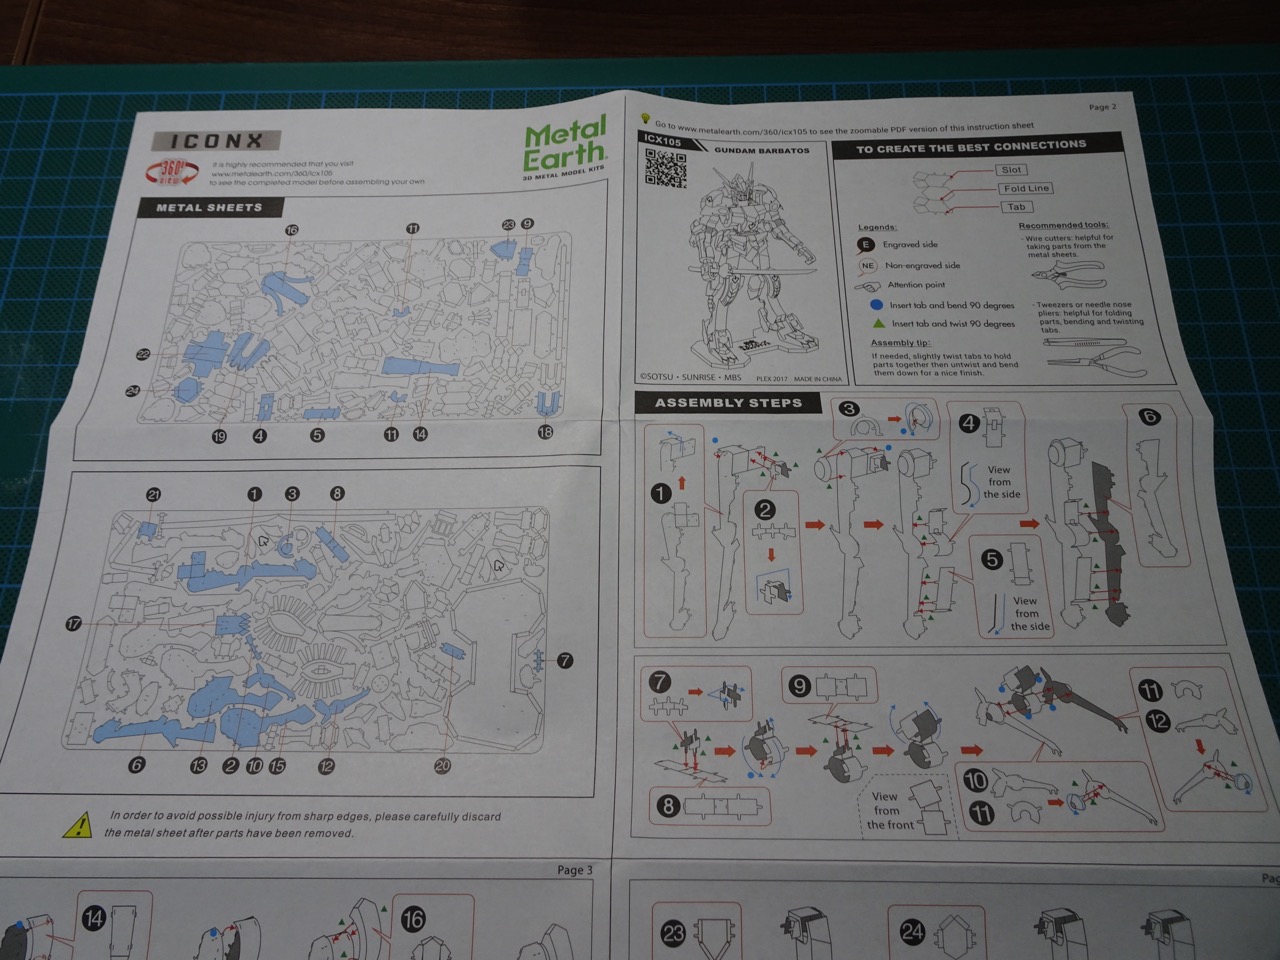
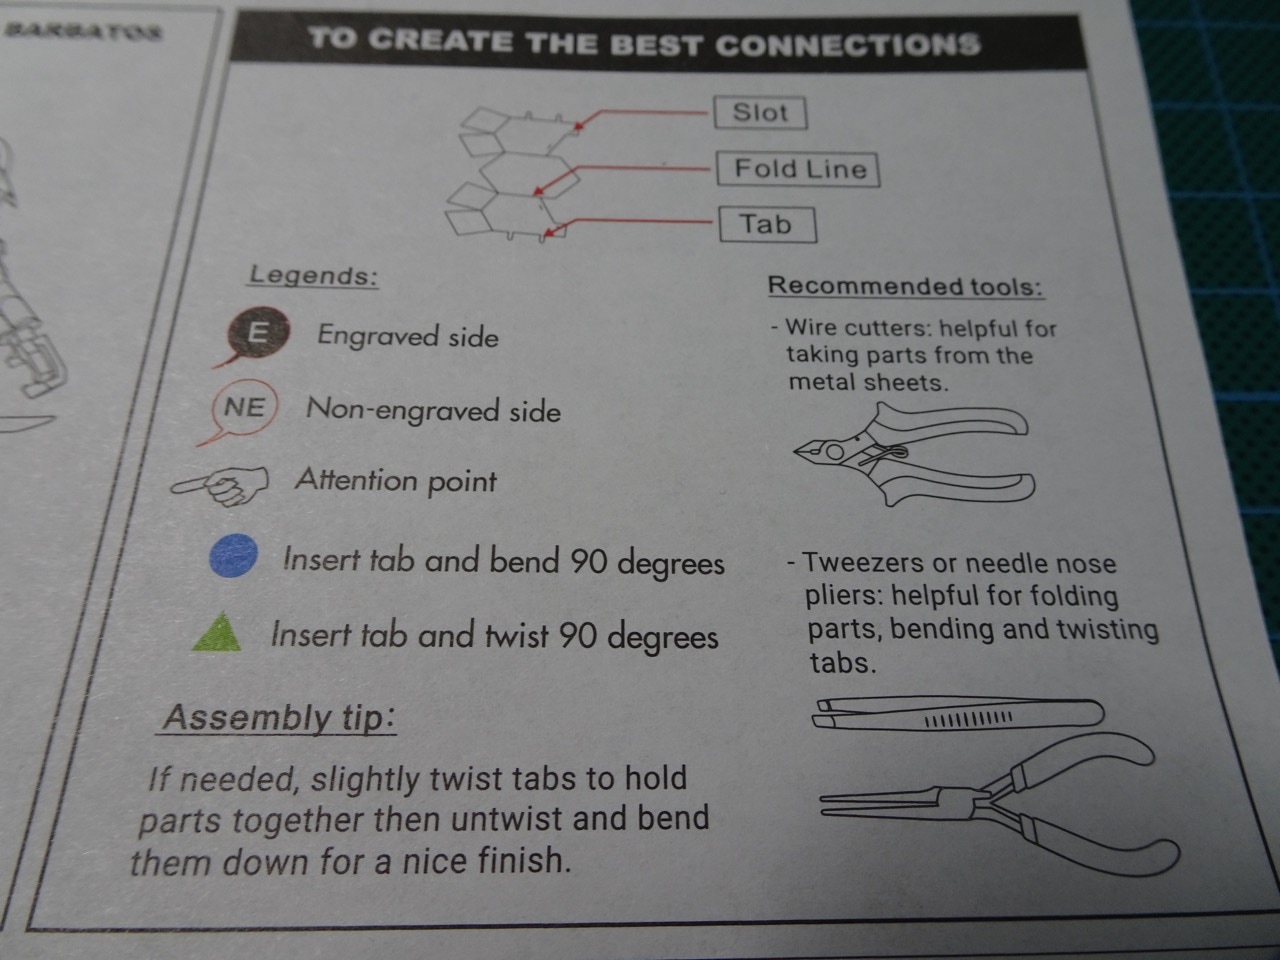
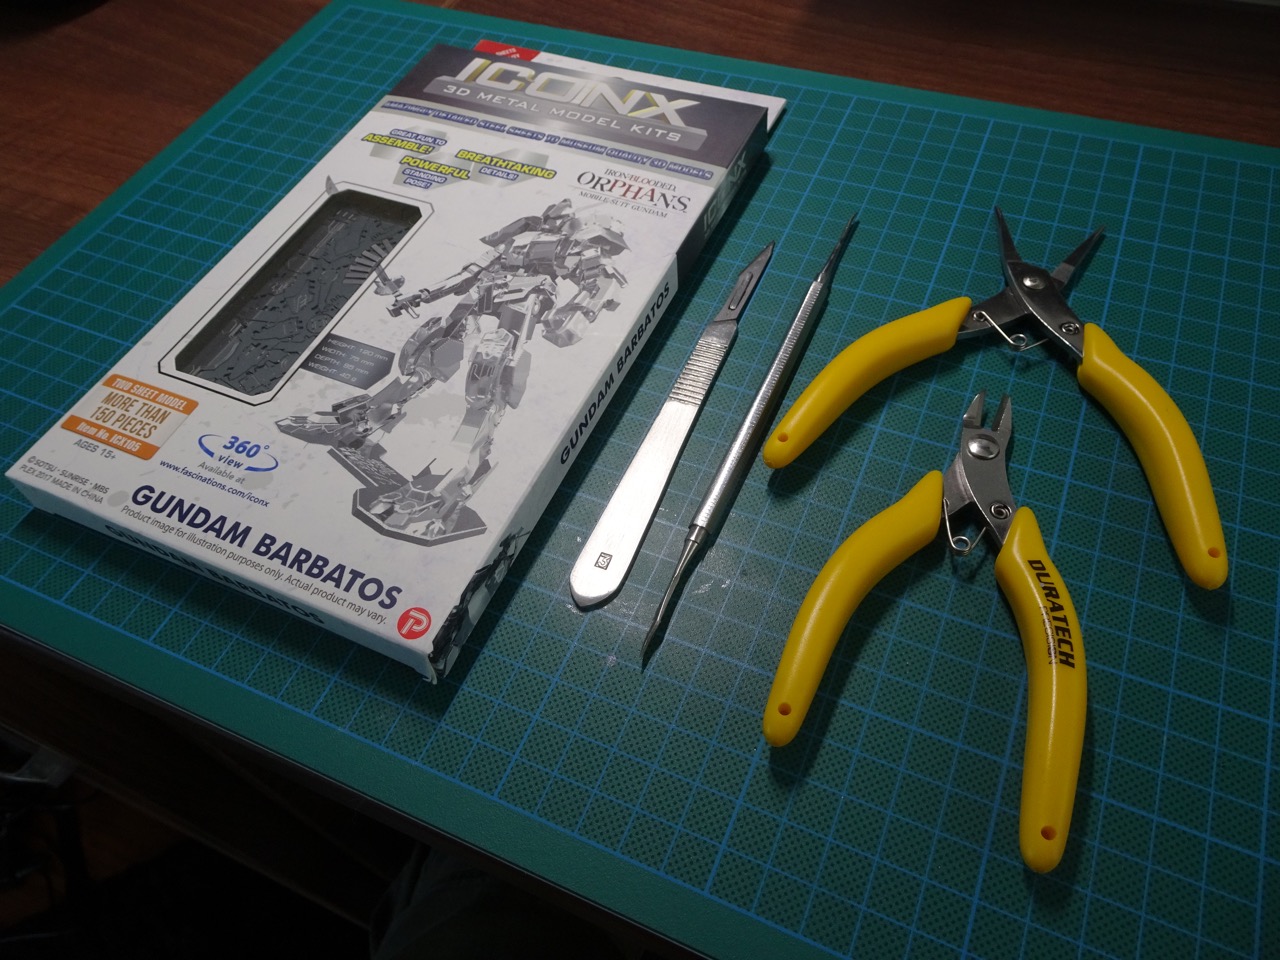
There were 3 separate sheets of instructions! I really liked that the first page went into quite some detail about how to make best connections. That's not something I've noticed for other Metal Earth 3D kits. The included tweezer tool was not mentioned per se, but it was obvious that this kit would need more tools than side cutters! As for those included tweezers - I didn't really like them as they were a bit too thick to grip tabs so I opted for using my usual tools instead.
It was time to start!
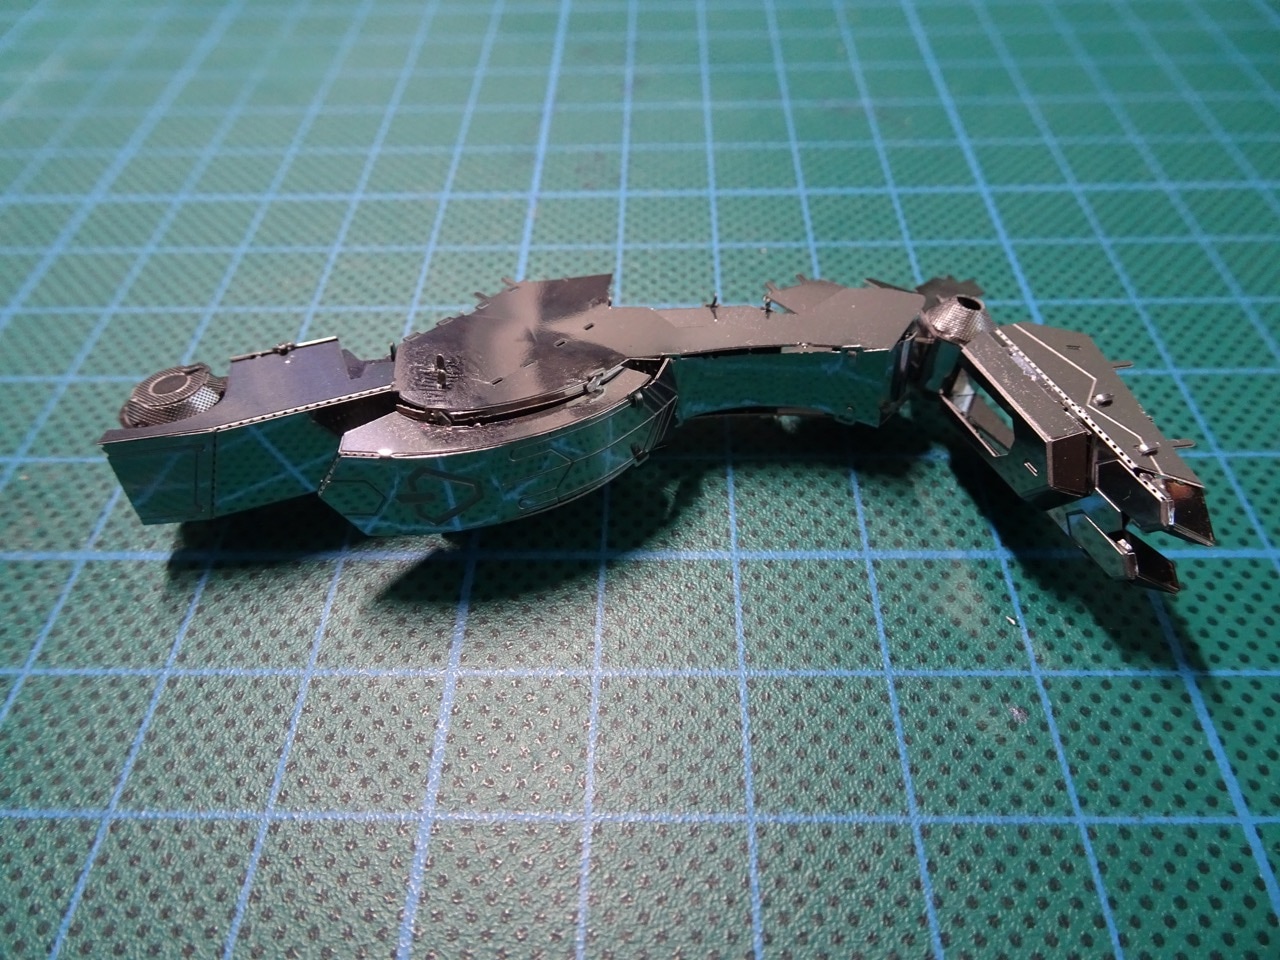
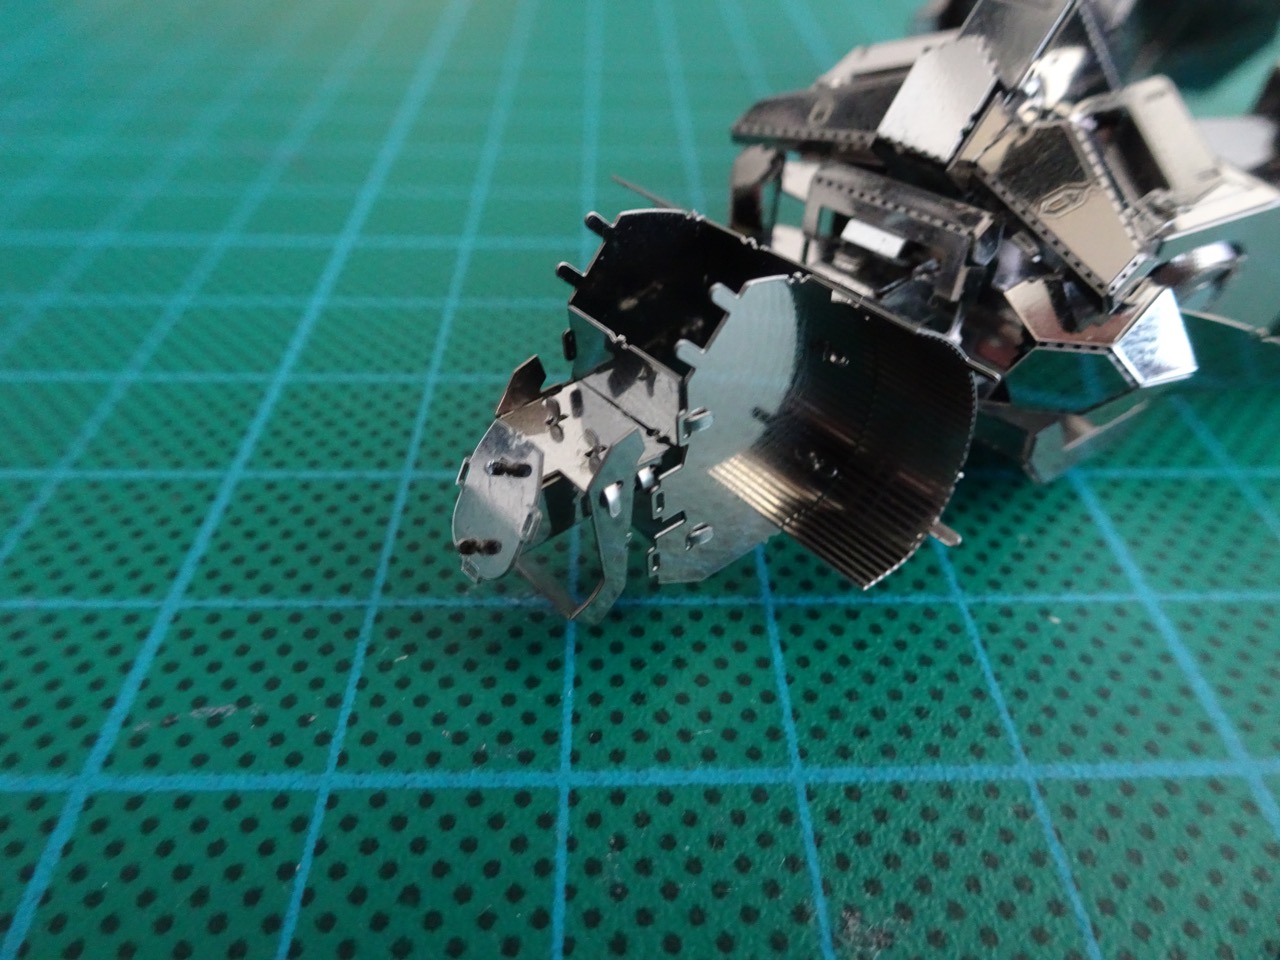
This kit did not mess around! Straight away it was bending parts, twisting and interesting angles to lock in place. I didn't realise what I was building at first but it turned out to be one of the legs of the Gundam and it had many components! Many. Components.
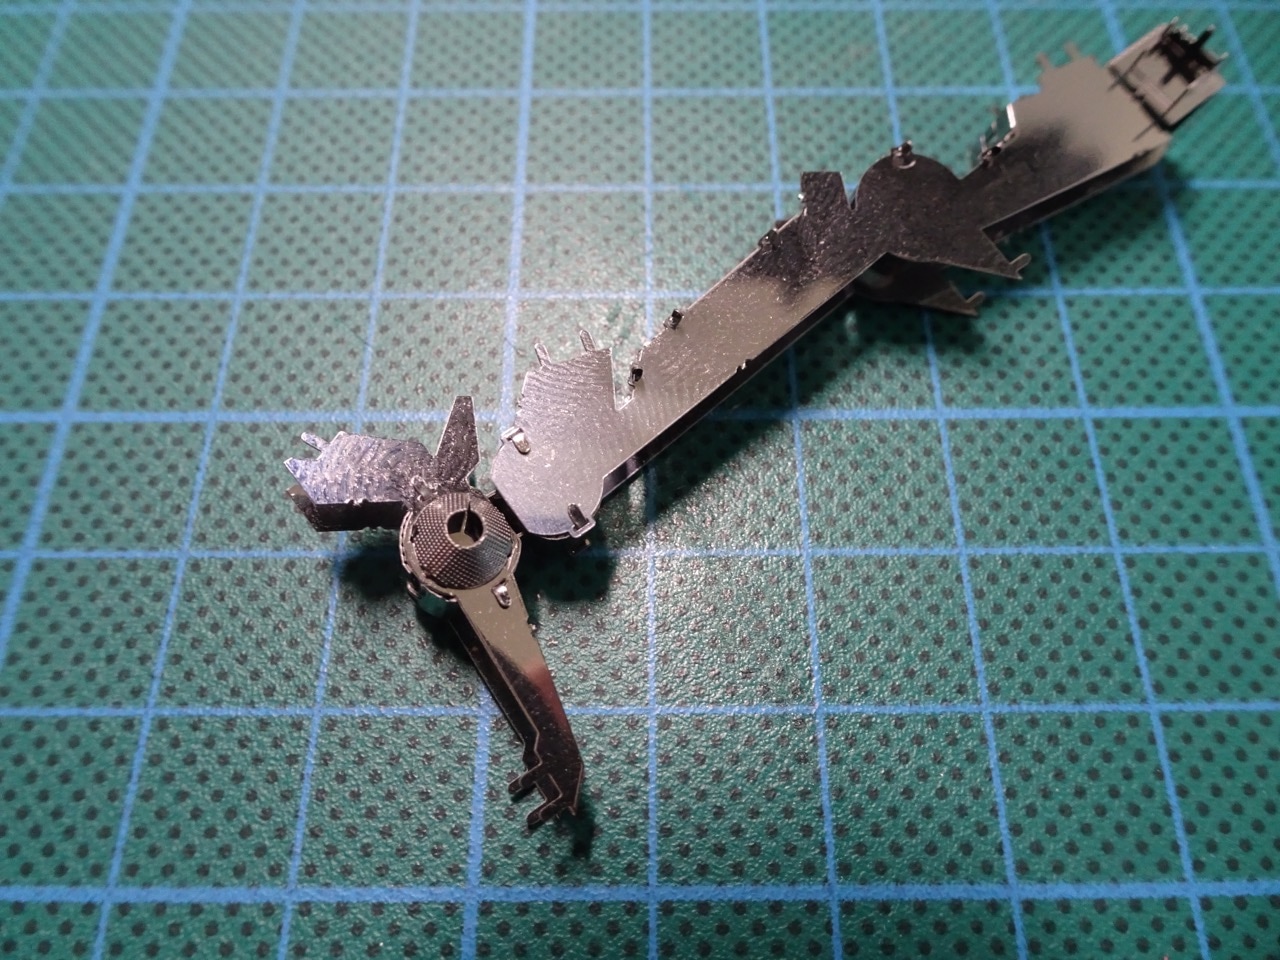
To assemble the leg required to build several parts of the leg first, which then connected together.
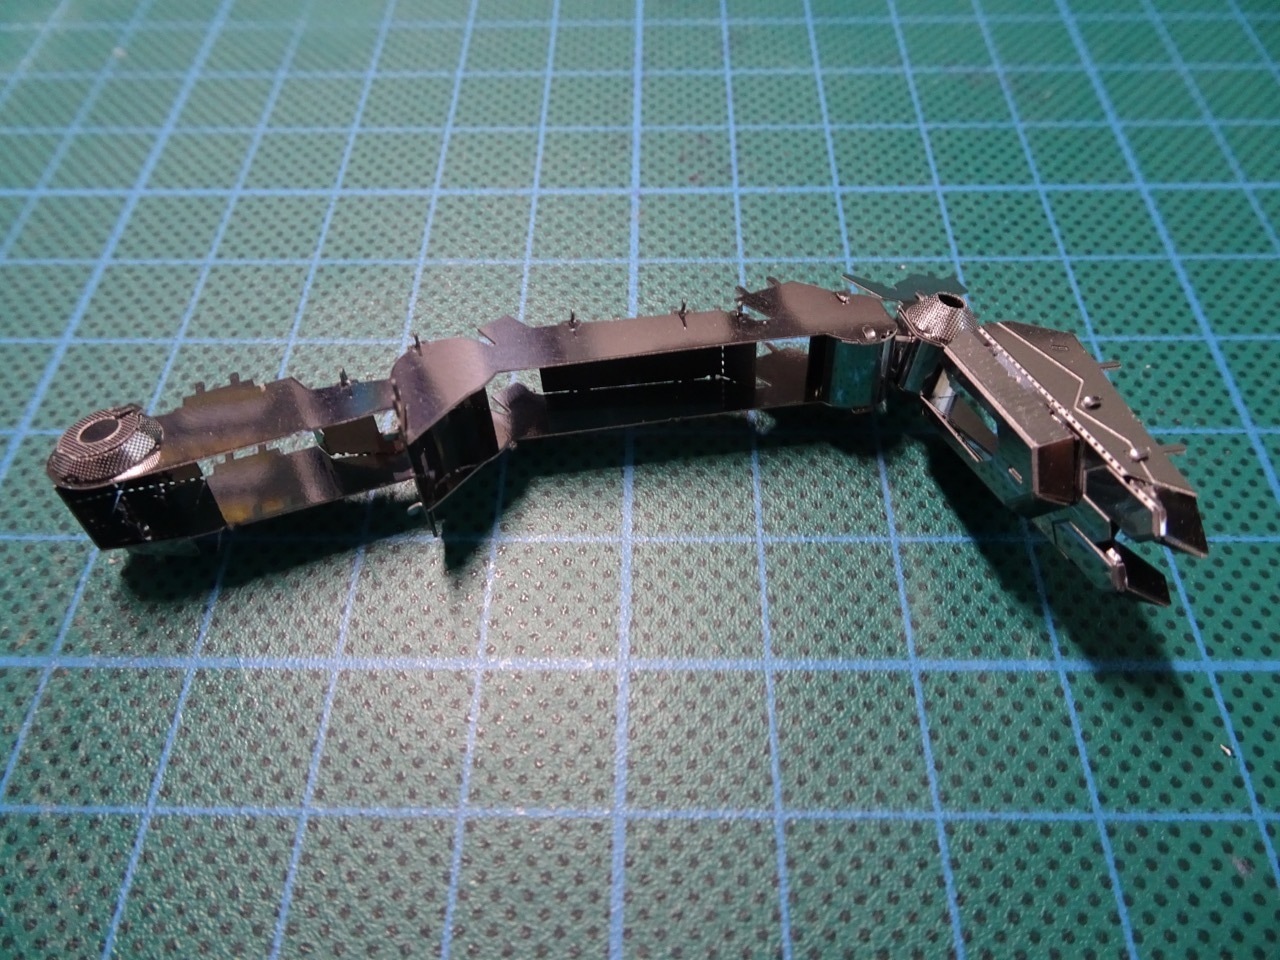
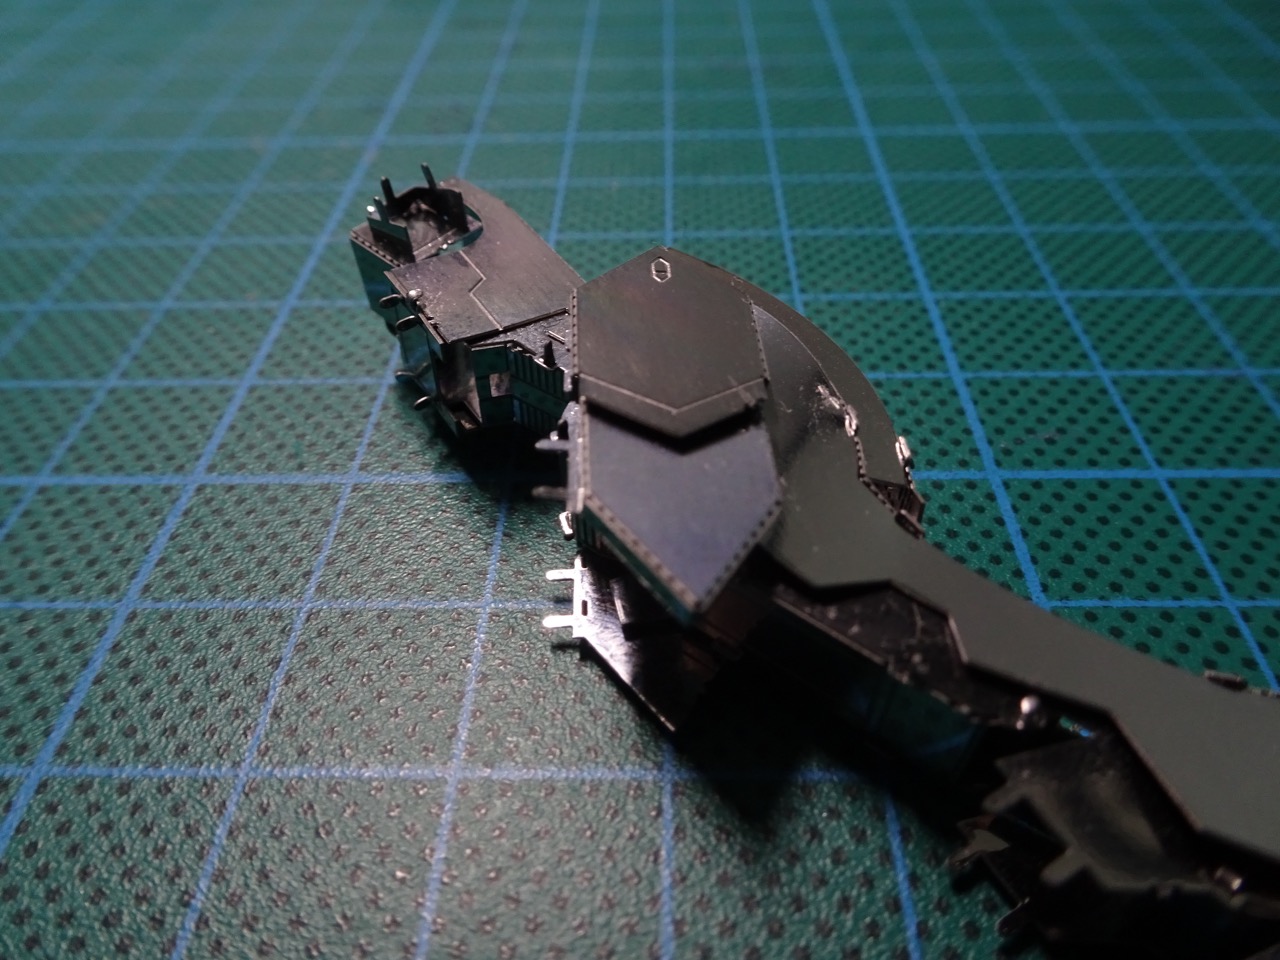
Then there was this...
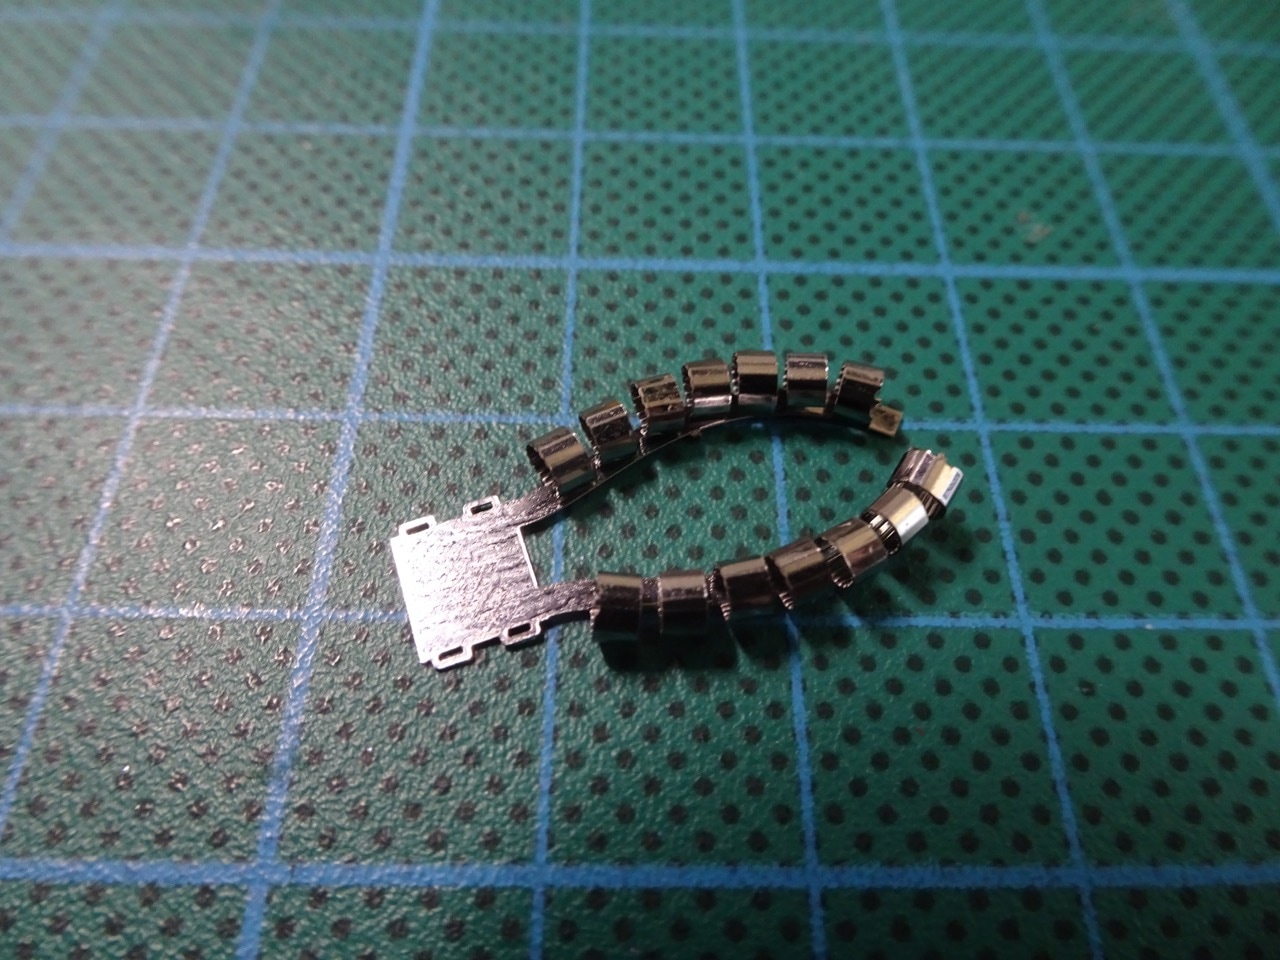
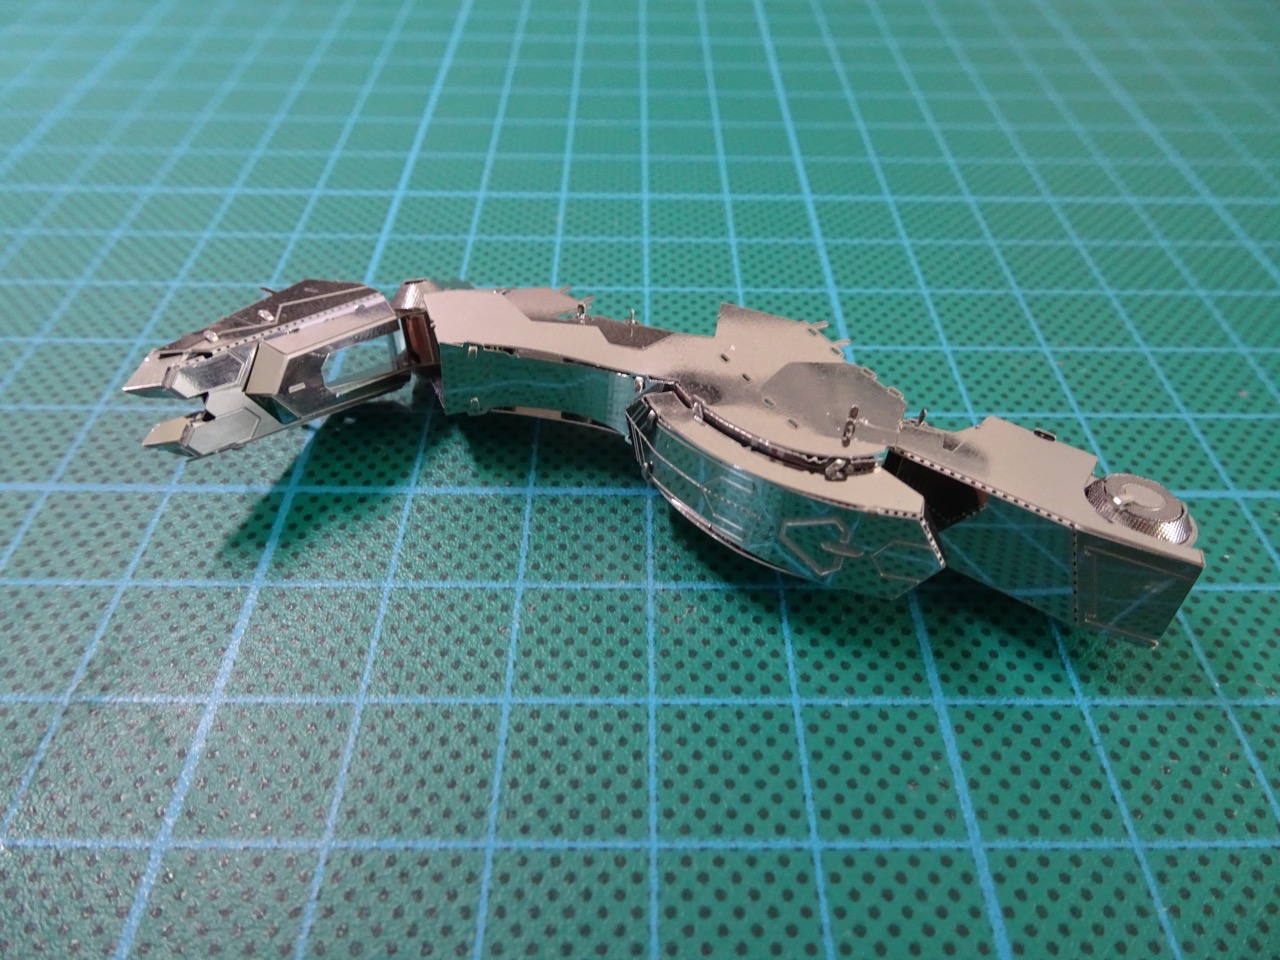
Yep it took a while to make all those bends and after a couple of more pieces, the leg was complete! The second leg was a mirror version of the first one and it took me slightly less time to put it together. By the time the second leg was almost ready it was time to move onto the second instructions sheet.

What I didn't like about these instruction sheets was that the diagrams that showed all of the part numbers were split across sheets and it was sometimes on the opposite side of the instructions while building. This meant I had to flip instructions over just to look at the reference. It wasn't a huge deal, just an inconvenience. What I'd love to see in the future is a smaller instruction sheet showing all of the part numbers which could be kept on the side at all times.
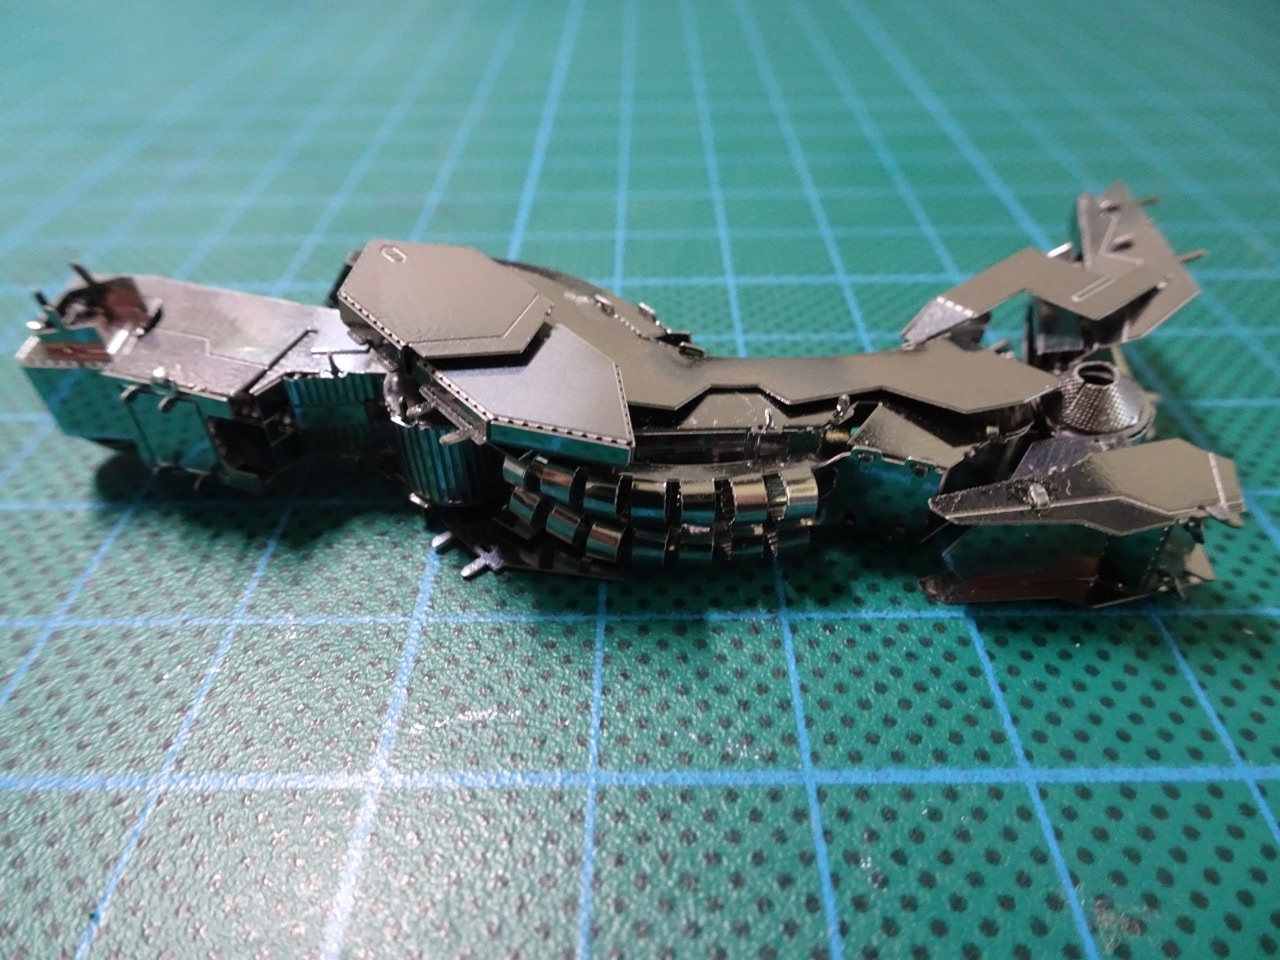
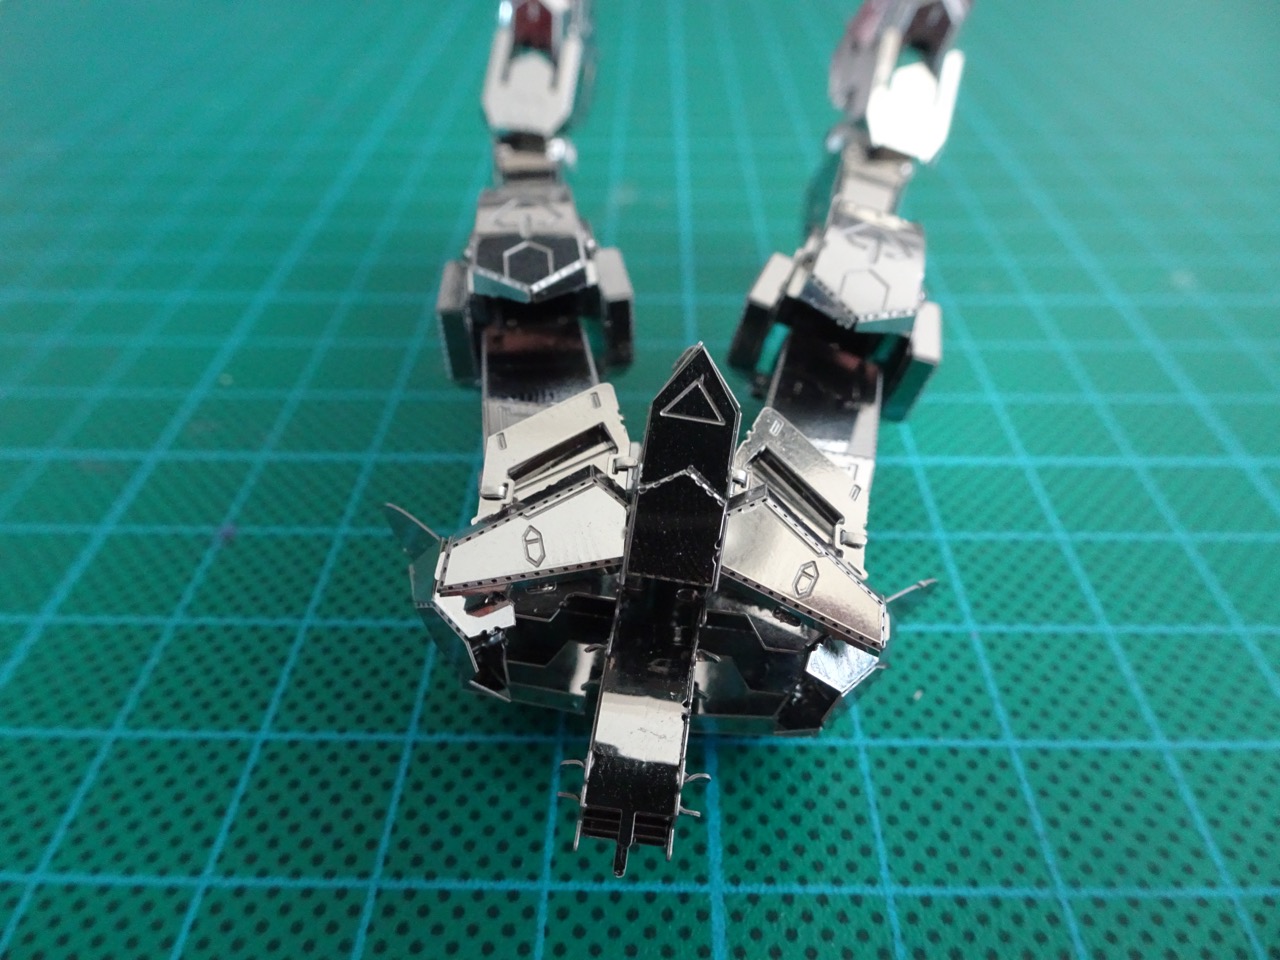
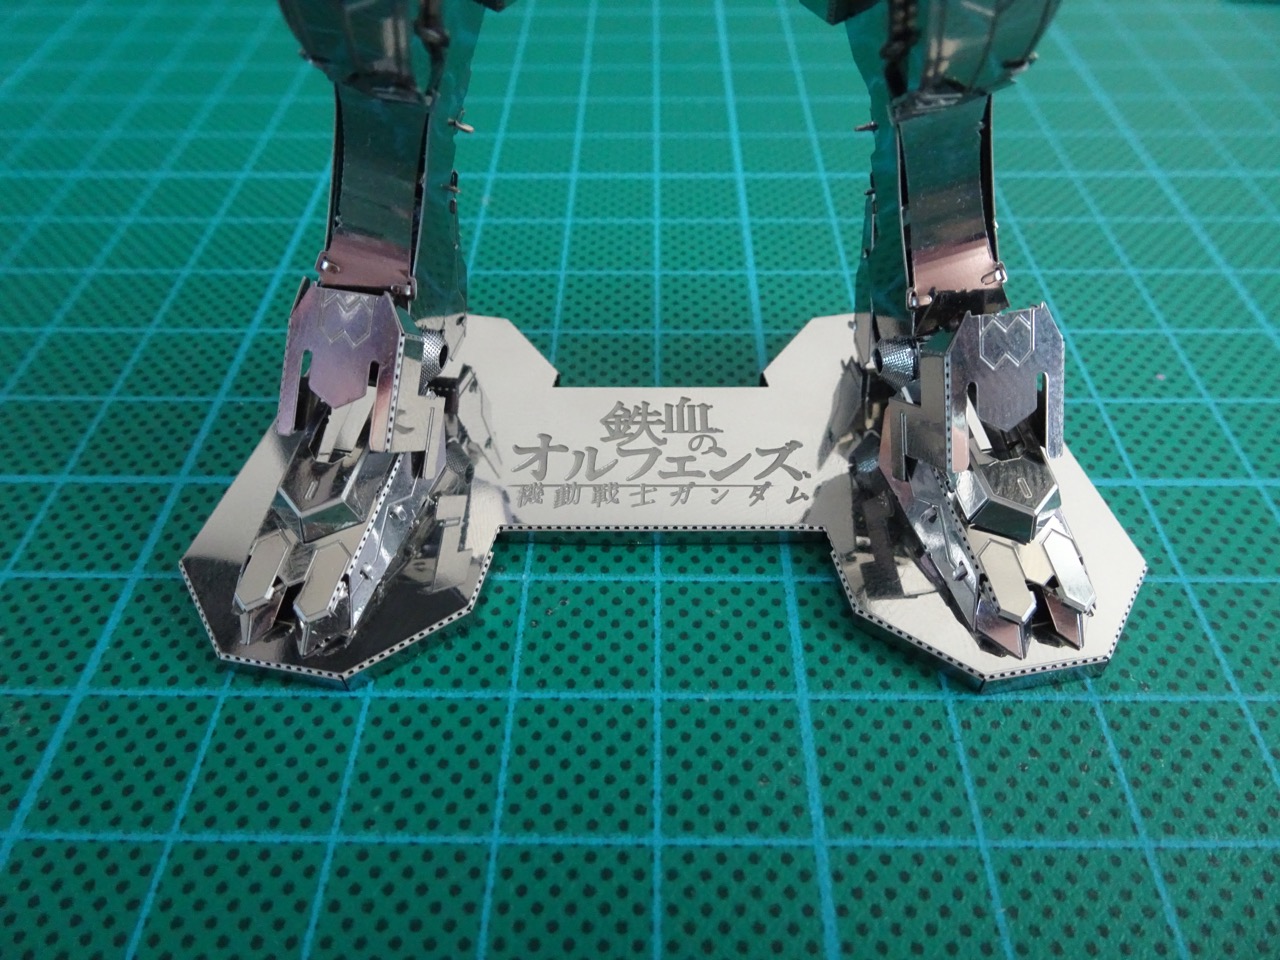
Once the second leg was completed, it connected to the first leg by a centre piece and then both legs were attached to the podium stand. It was finally starting to take proper shape!
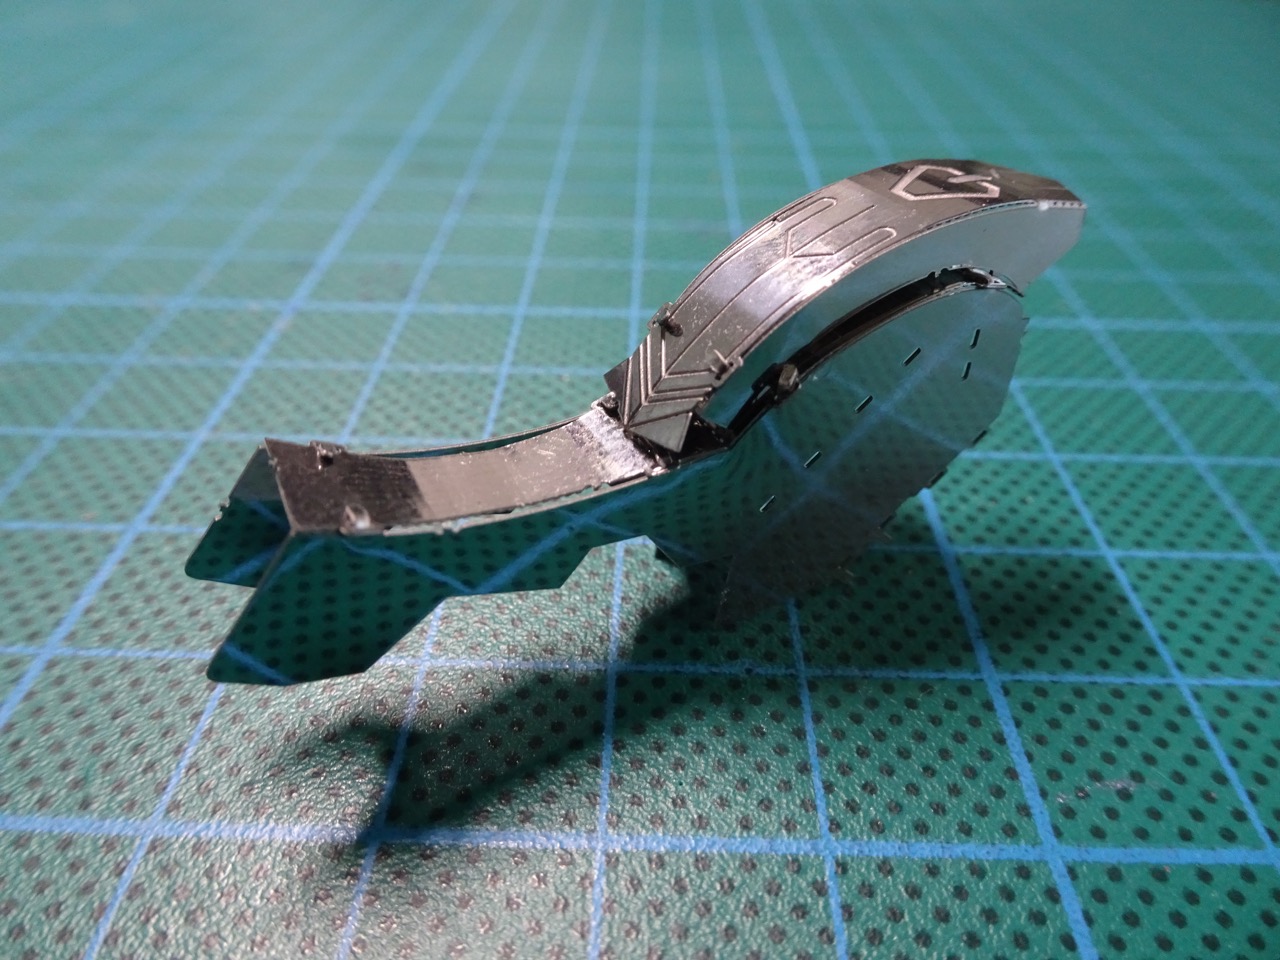
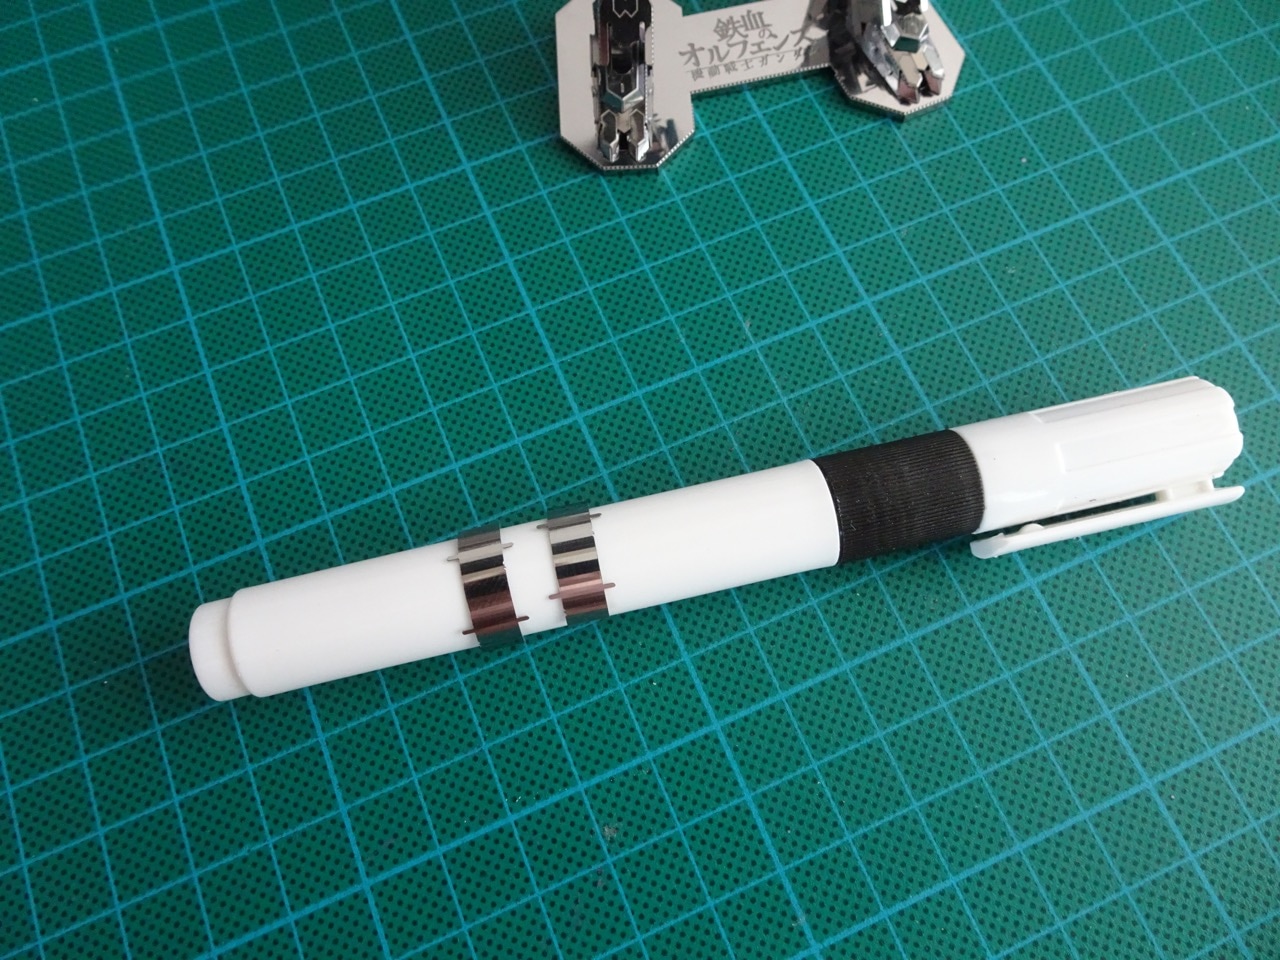
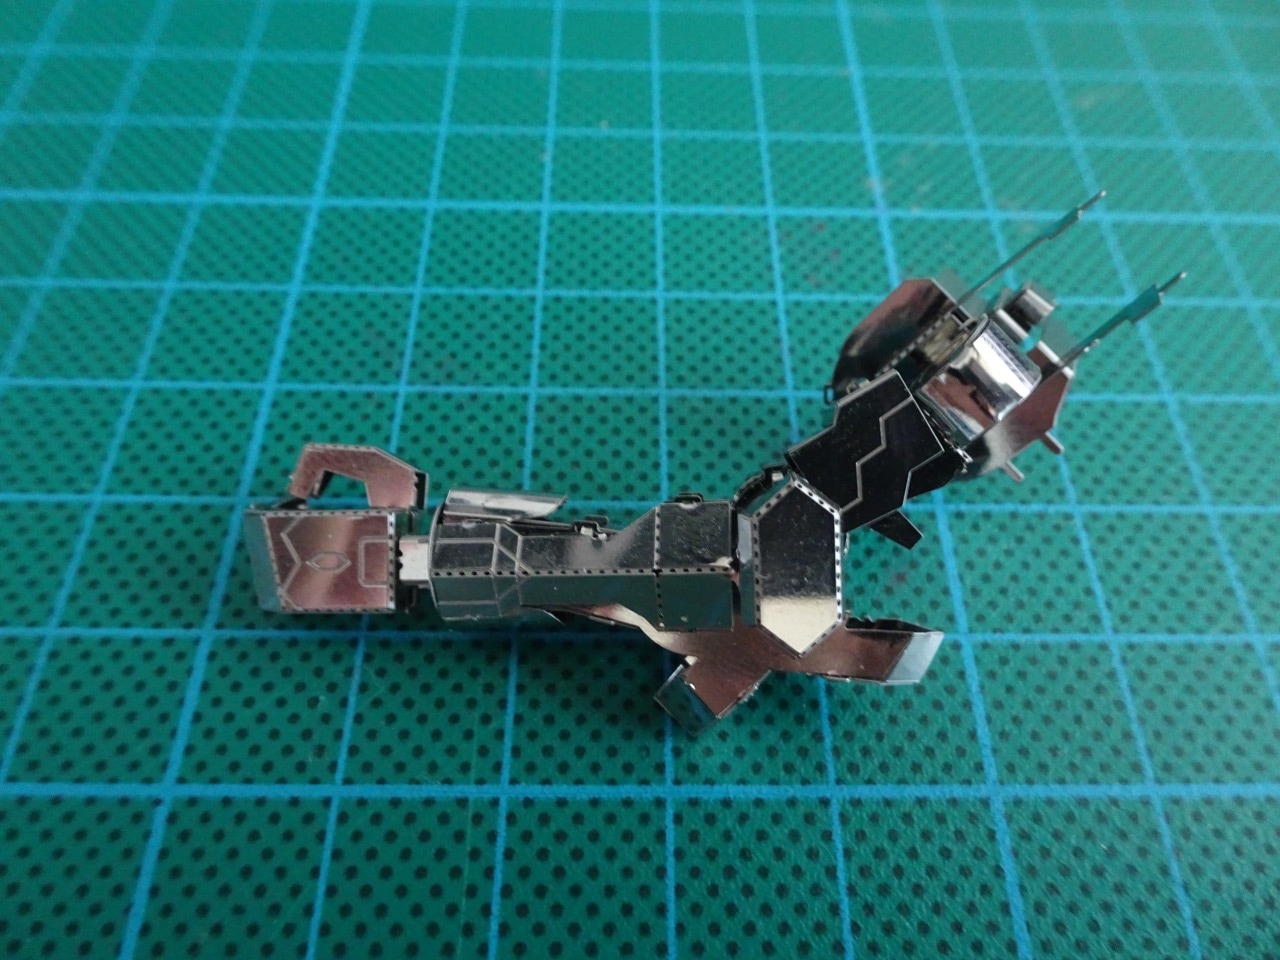
When it came to the torso, I found it easier to bend some of the parts over a marker pen. It gave me nearly the exact shape I was after. The torso section didn't have many components to it as most of it was made up of connecting parts from the legs and later the arms.
Speaking of the arms...they looked amazing, especially the arm with the sword.
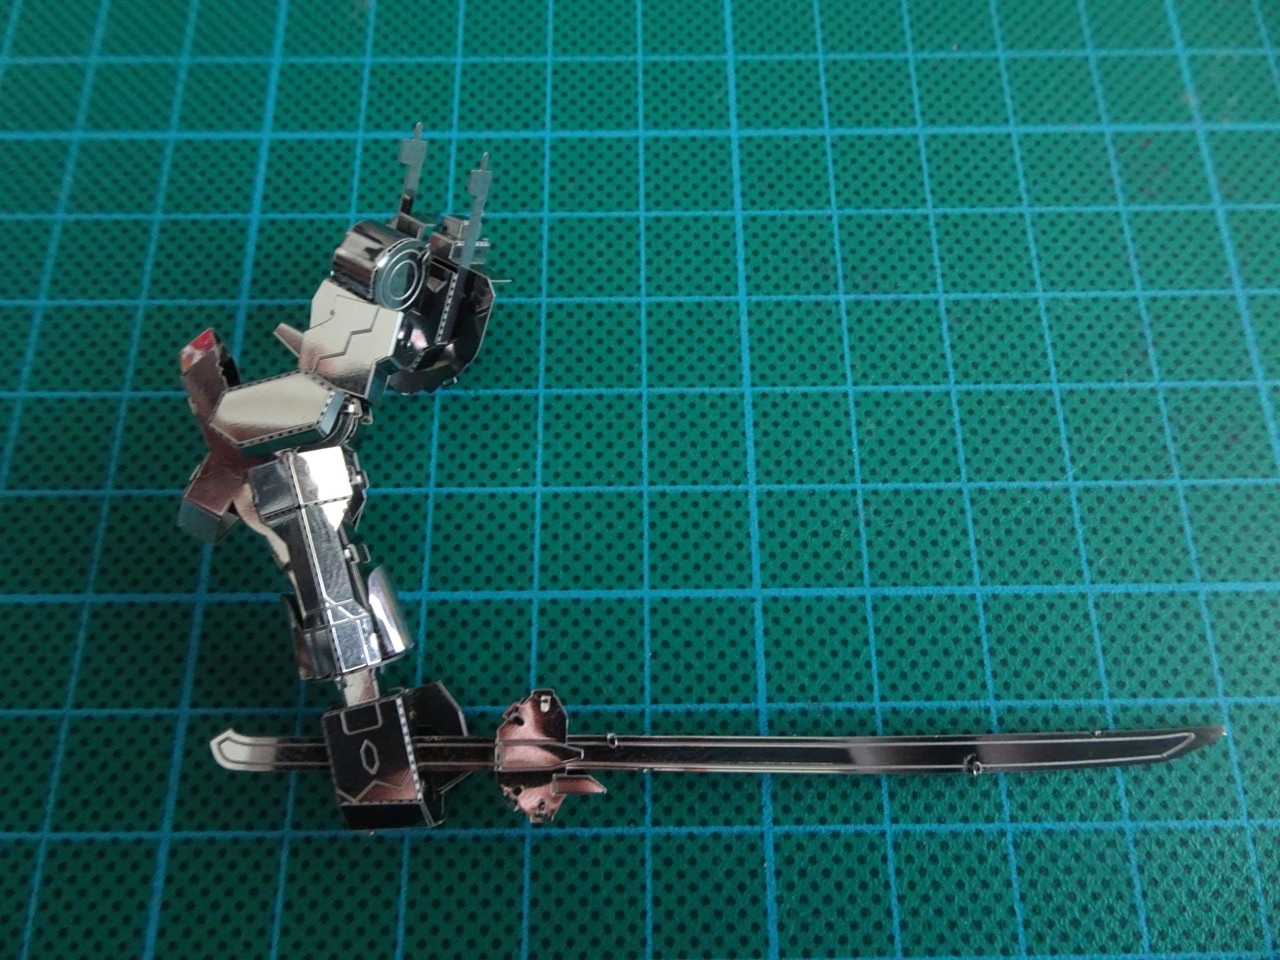
After attaching the arms to the torso section it was time to move onto the third and last instructions sheet.

The last instruction sheet was only single sided, not double sided like the other two. It covered some back and chest detailing and of course the most importantly the head of the Gundam.
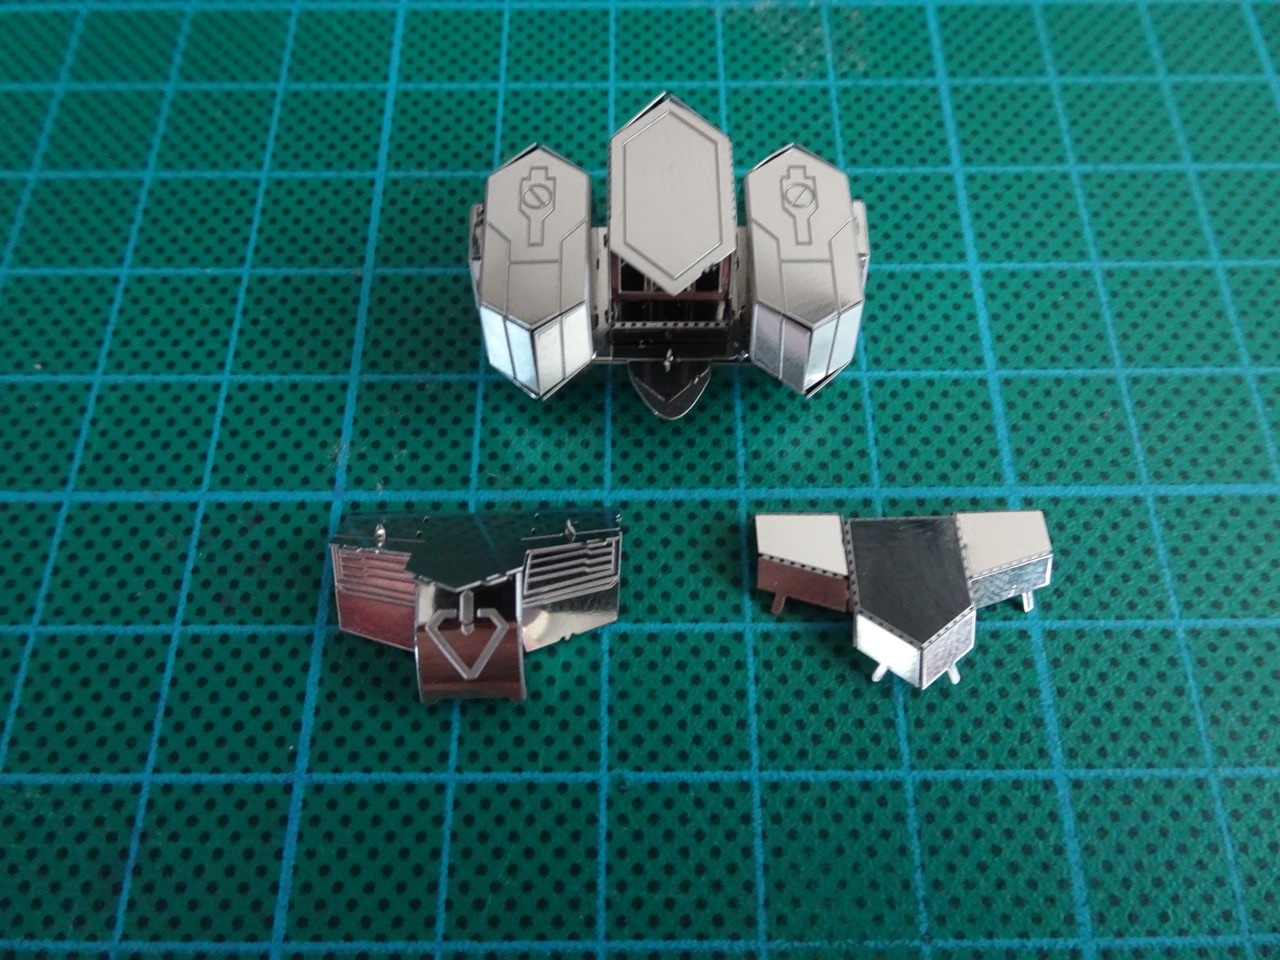
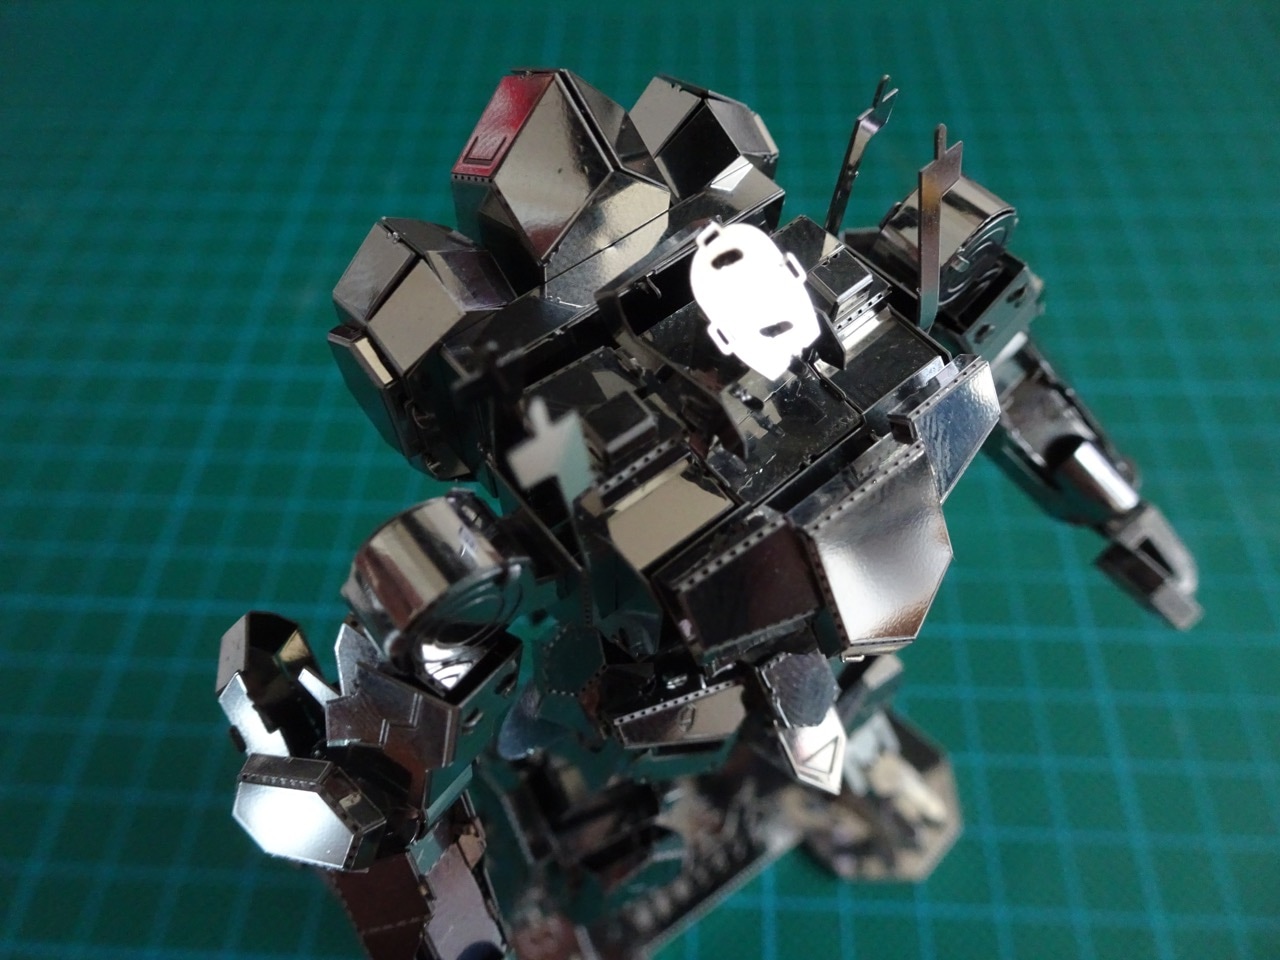
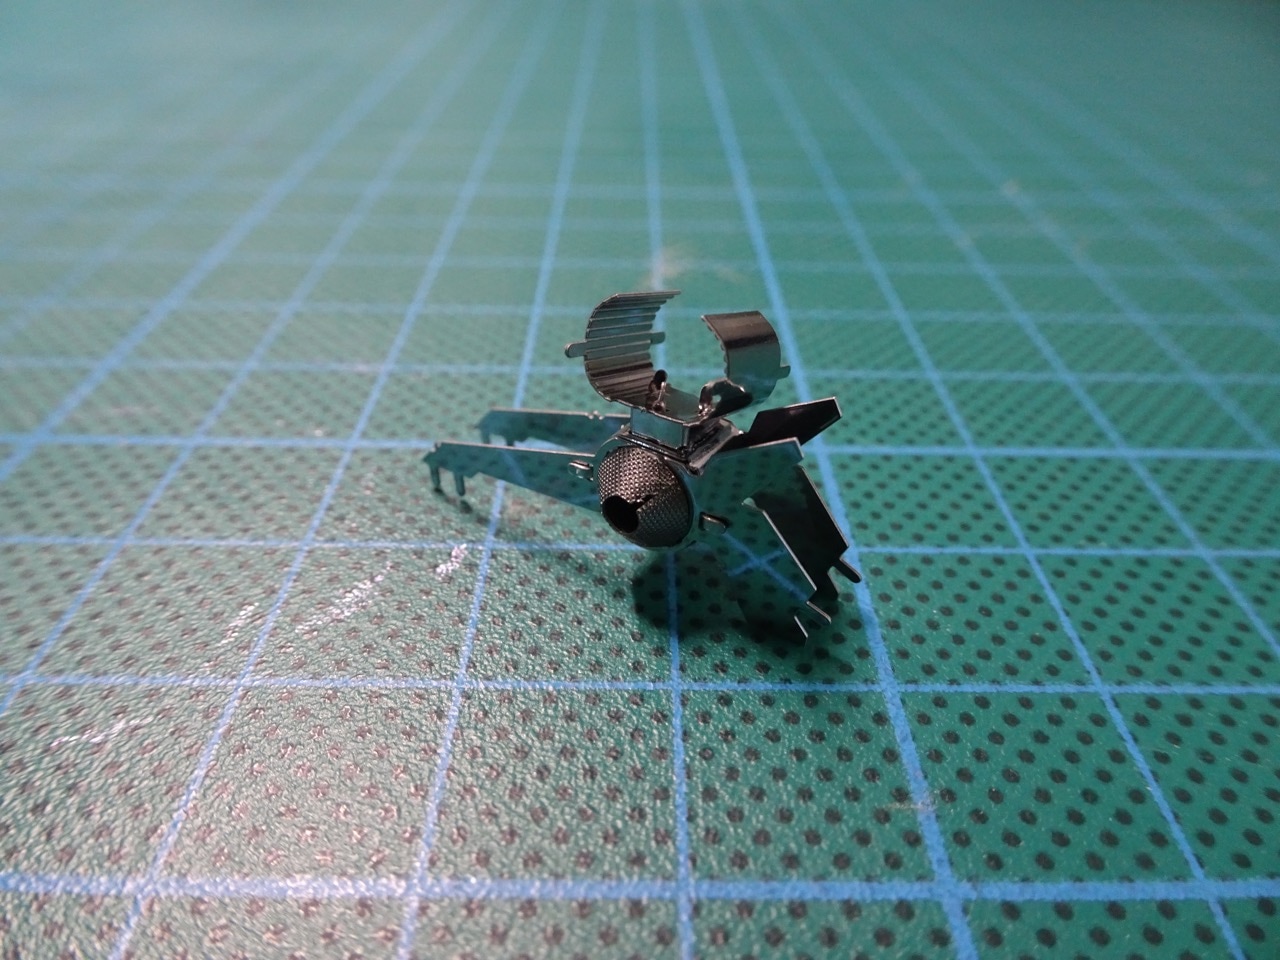
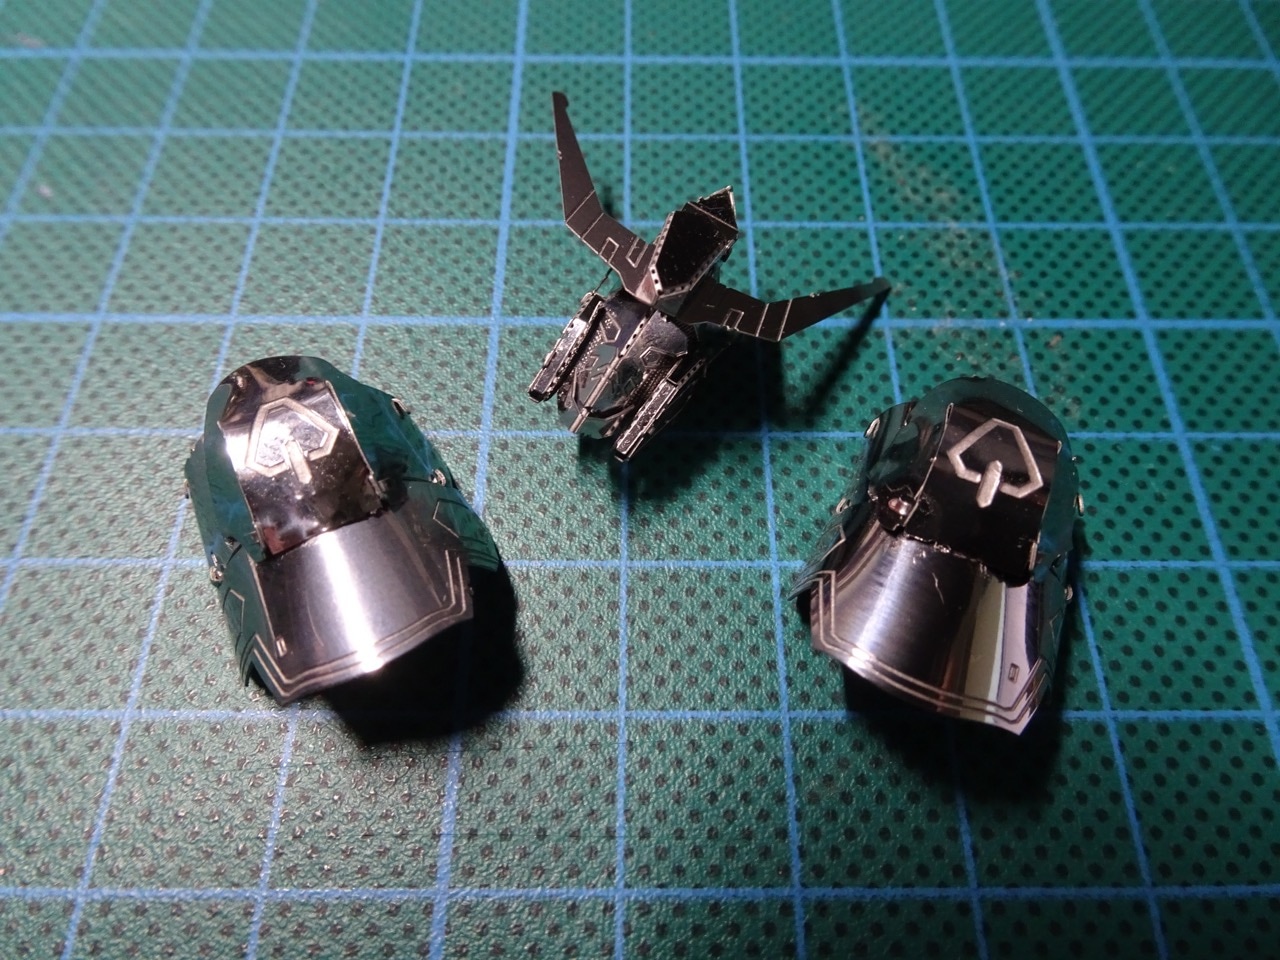
The last three pieces were the shoulders and the head. It took quite a long time to get the head into correct shape since it required bending a few pieces in both axes to make a spherical shape. I had to revisit and rebend it several times. It was by far the most challenging part of the kit.
After those pieces were attached, the kit was complete!
Here's a 360 degree view of it. There's quite a fair amount of detailing in this kit, it took a long time to finish but when it finally came together it was really satisfying and looked very impressive!
If you love the Gundam series or just love robots or are up to a challenge, this kit is a must. I'd completely recommend it to most people, unless you don't have much patience.
-i
