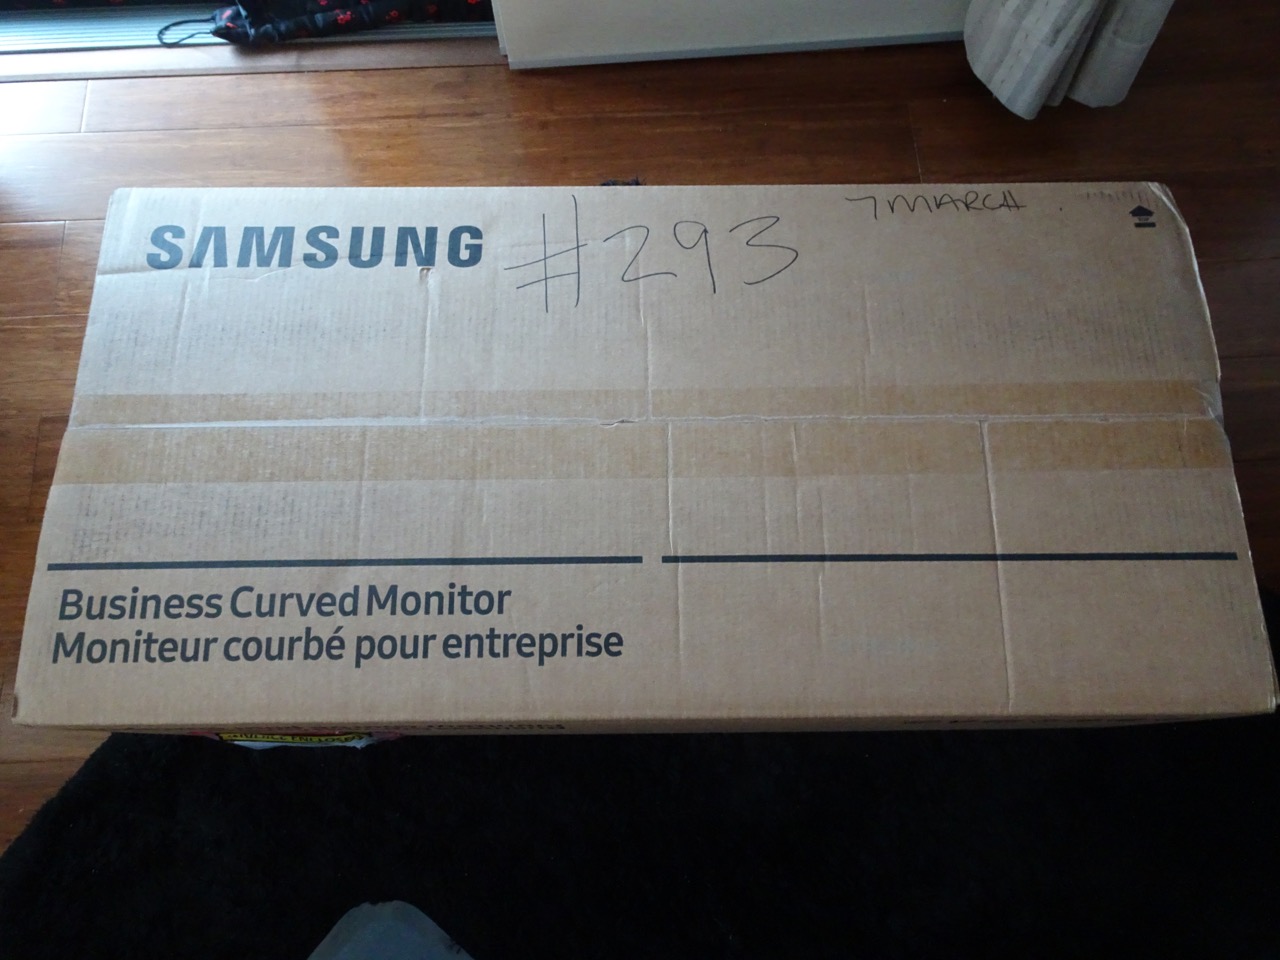
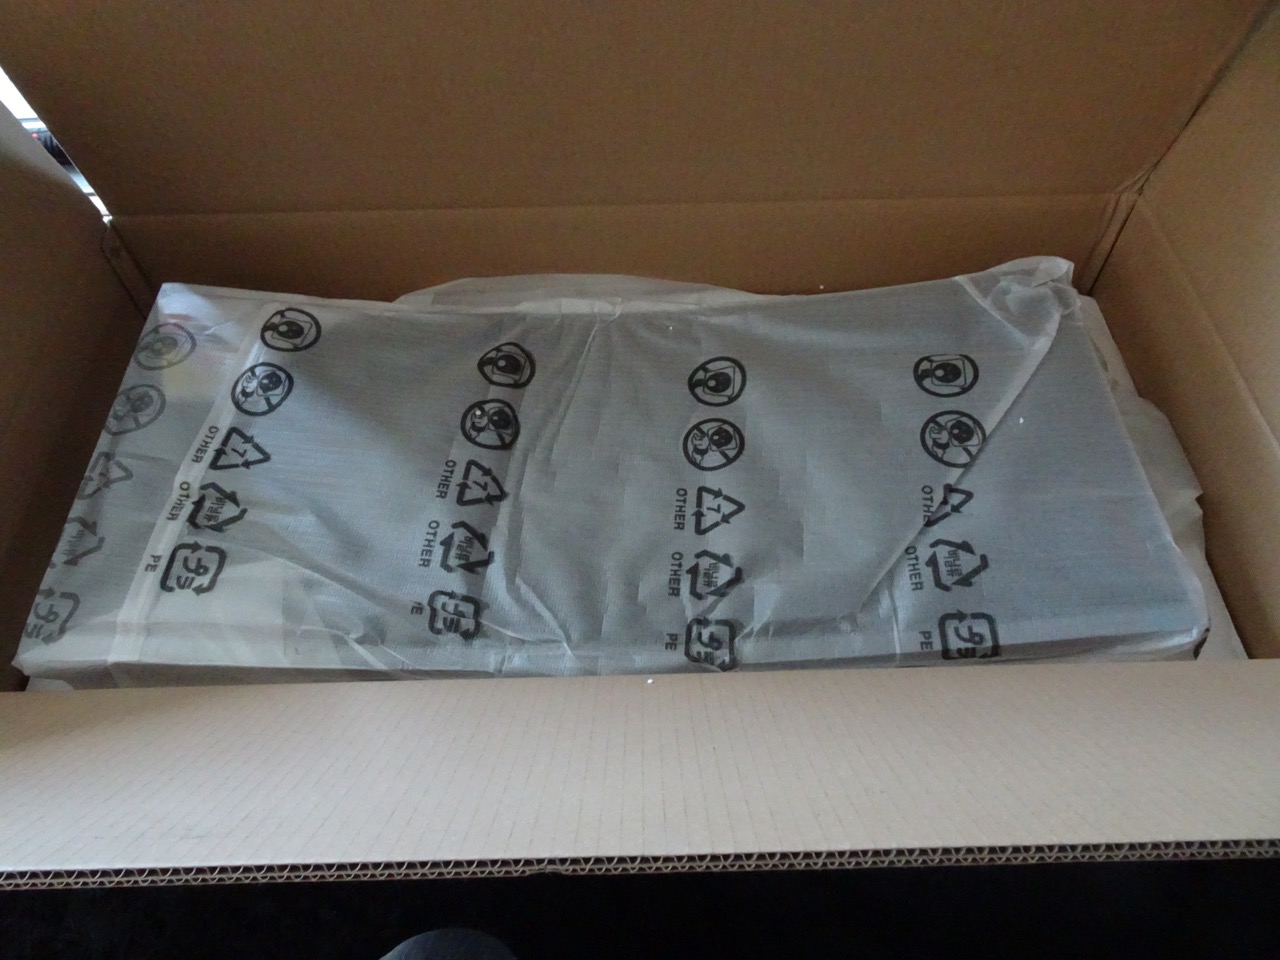
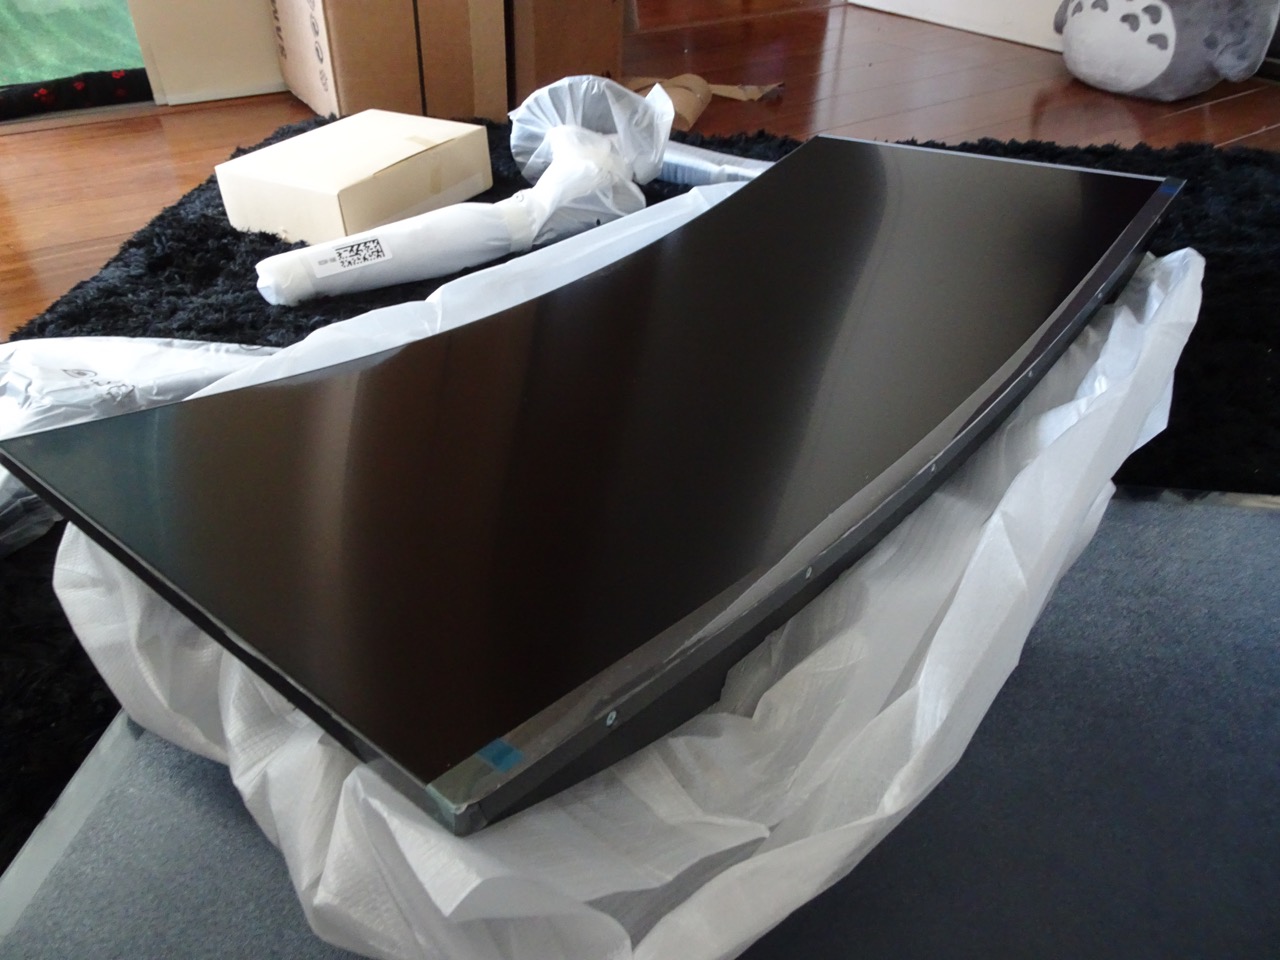
The box that the monitor arrived in was pretty unspectacular, it was sturdy, well packed and just right for the job. The usual foam packing was inside, curved appropriately to suit the screen panel of course.

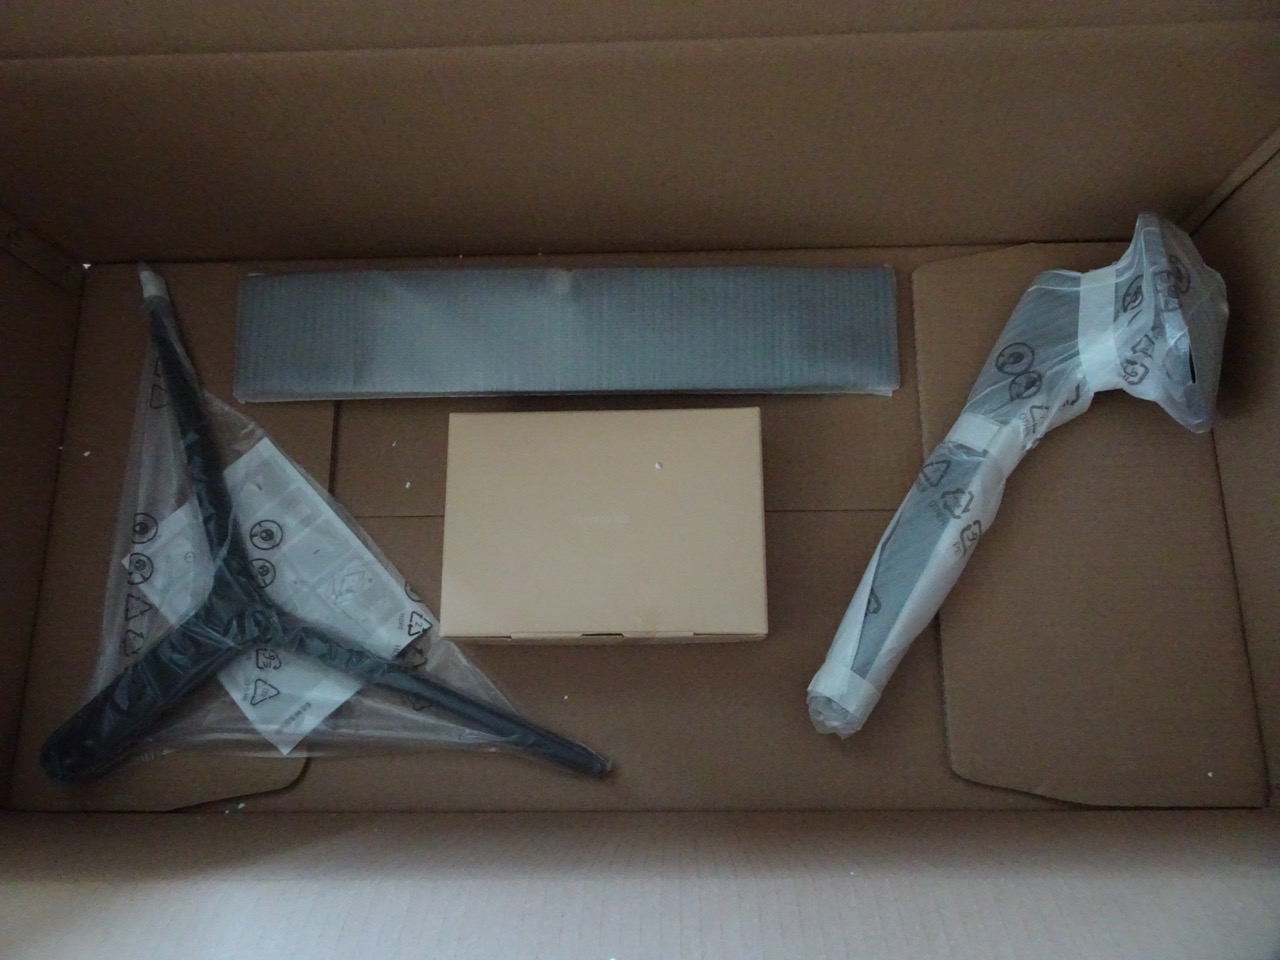
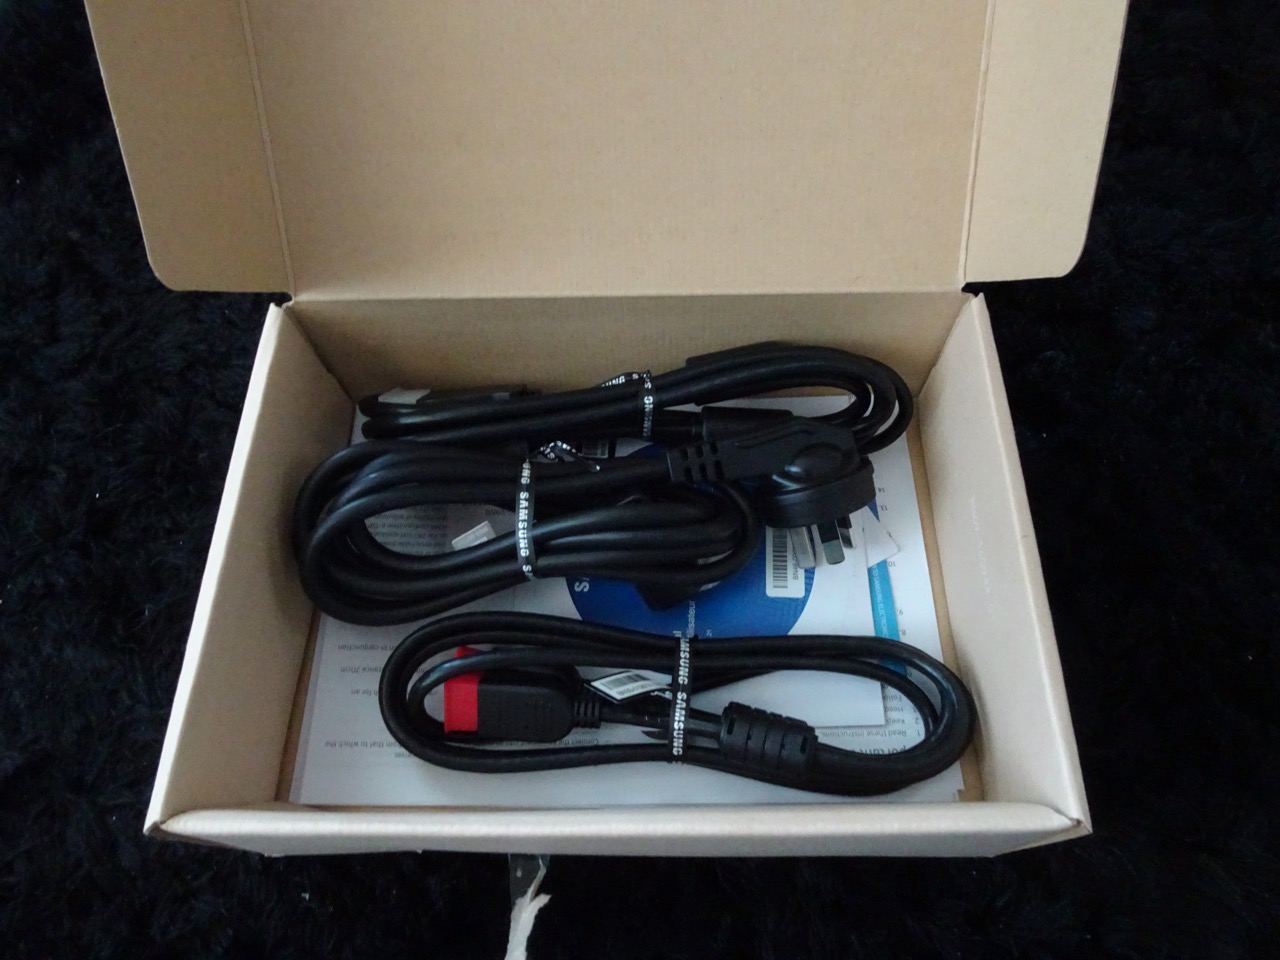
Under the screen panel's lower foam support were the remainder of the included items - stand parts, cable cover and accessory box (mostly cables). It was a little odd how these other parts were packaged, but it worked.
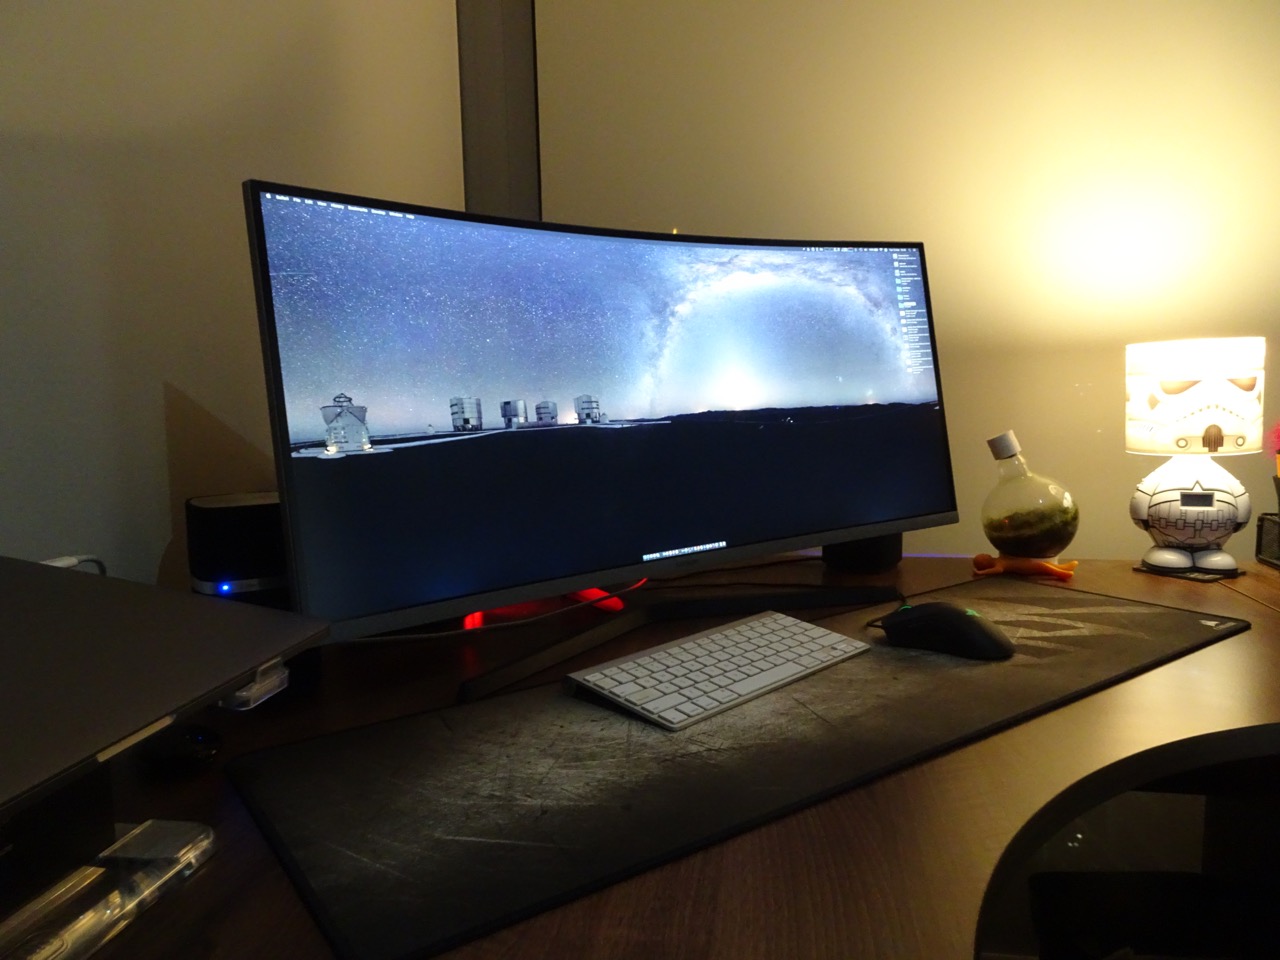
The immediate difference I noticed to my previous curved screen monitor was how curvy the panel on this monitor was. The curve radius was quite pronounced. I was a bit worried at first about this but now that I've used the monitor for a few days it feels completely natural.
I thought the stand felt a little flimsy when it wasn't assembled yet, more on this later.
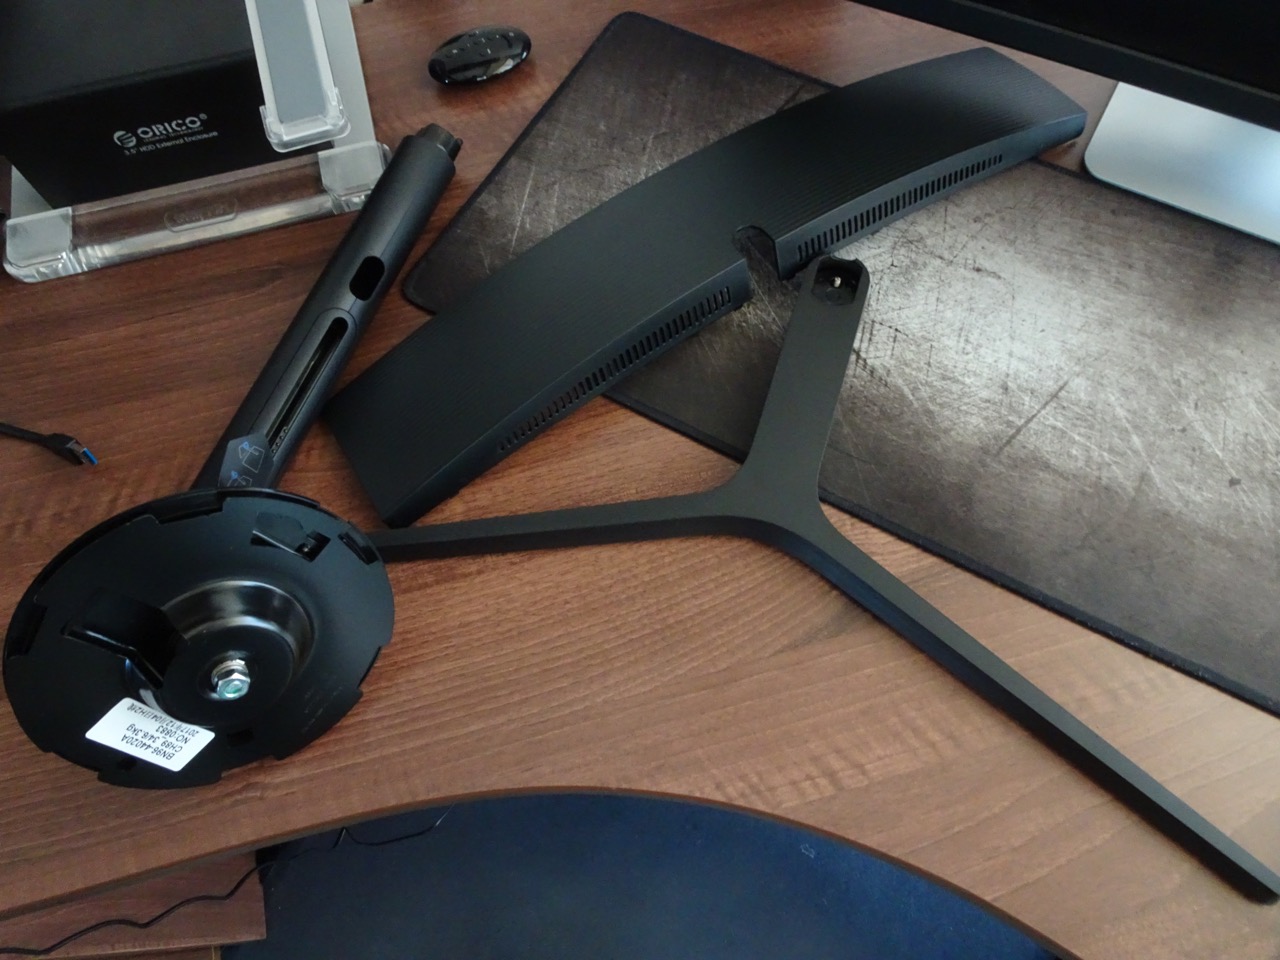
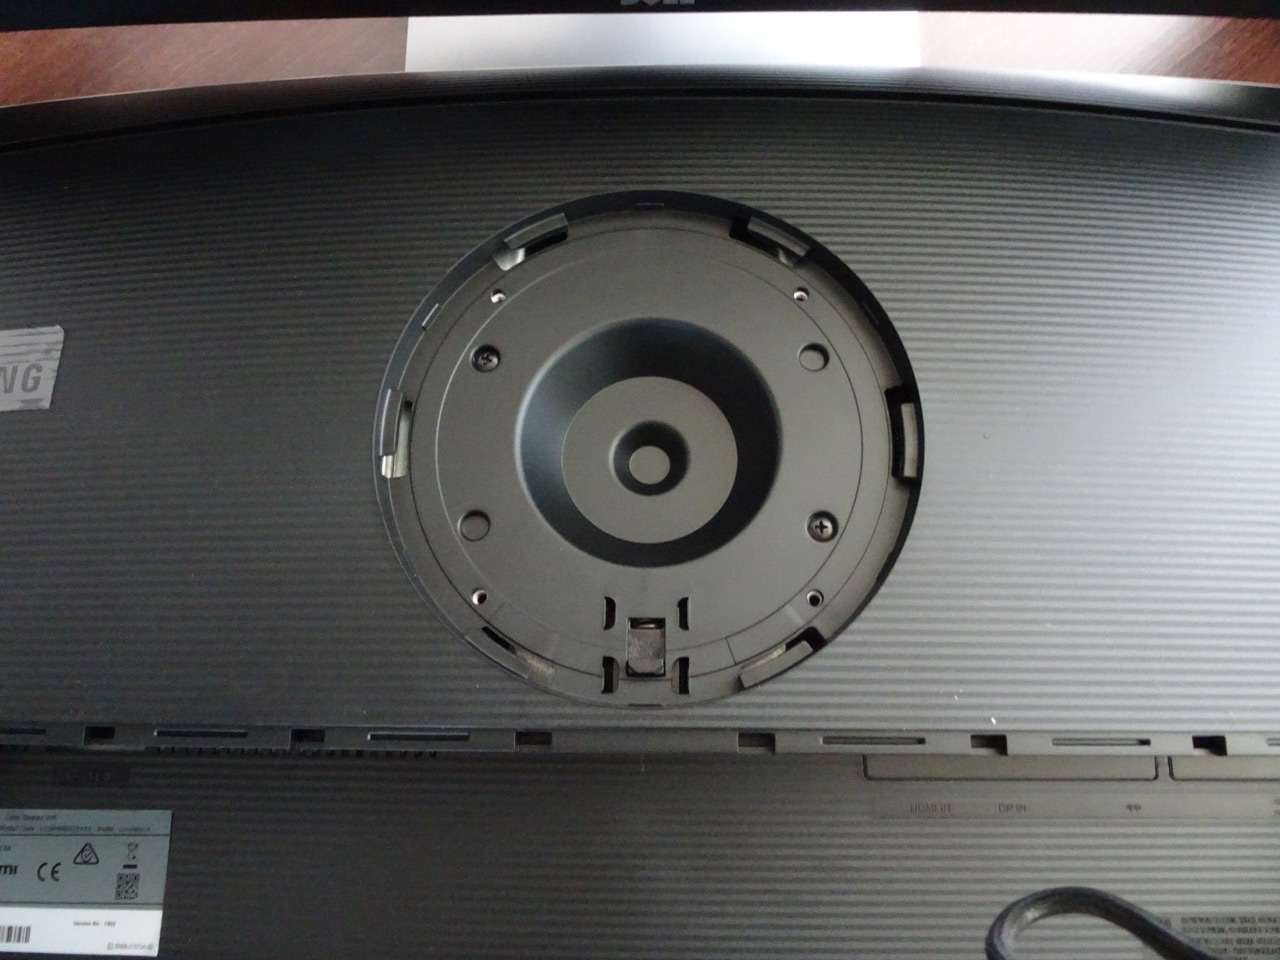
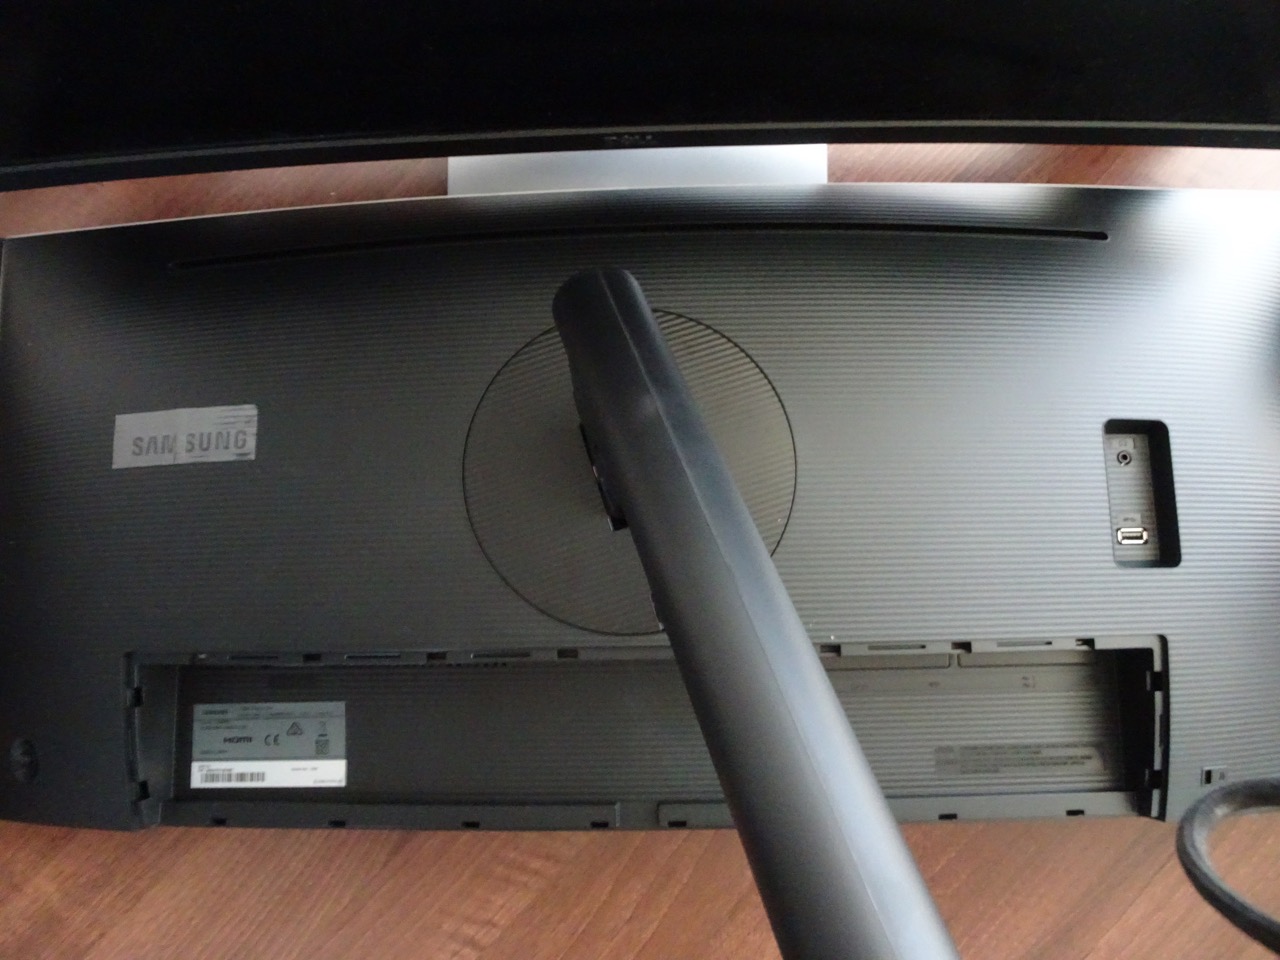
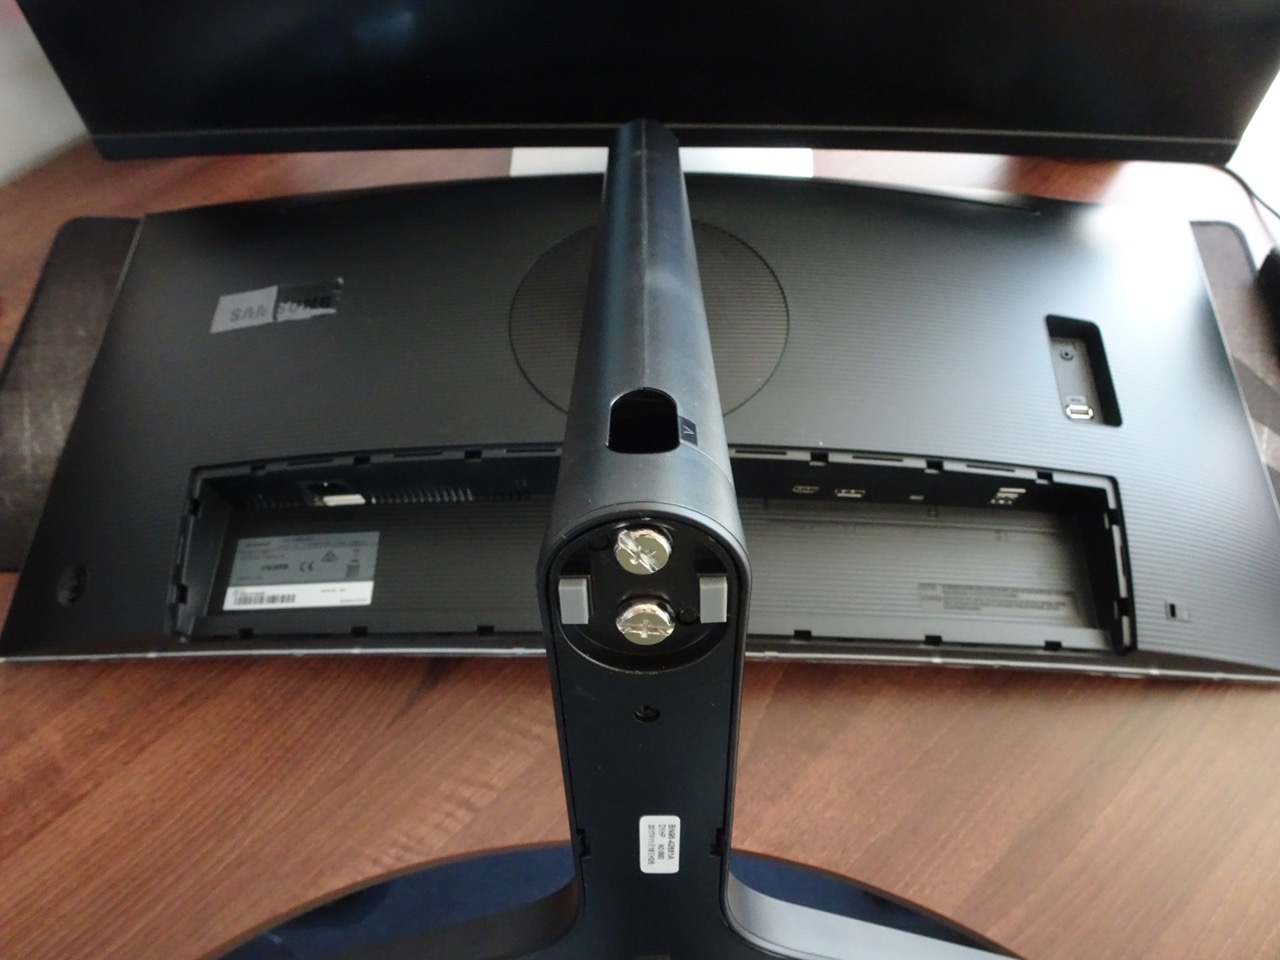
Putting it together was simple, everything just locked in place on the rear of the monitor with a twist and the stand was pretty much ready.
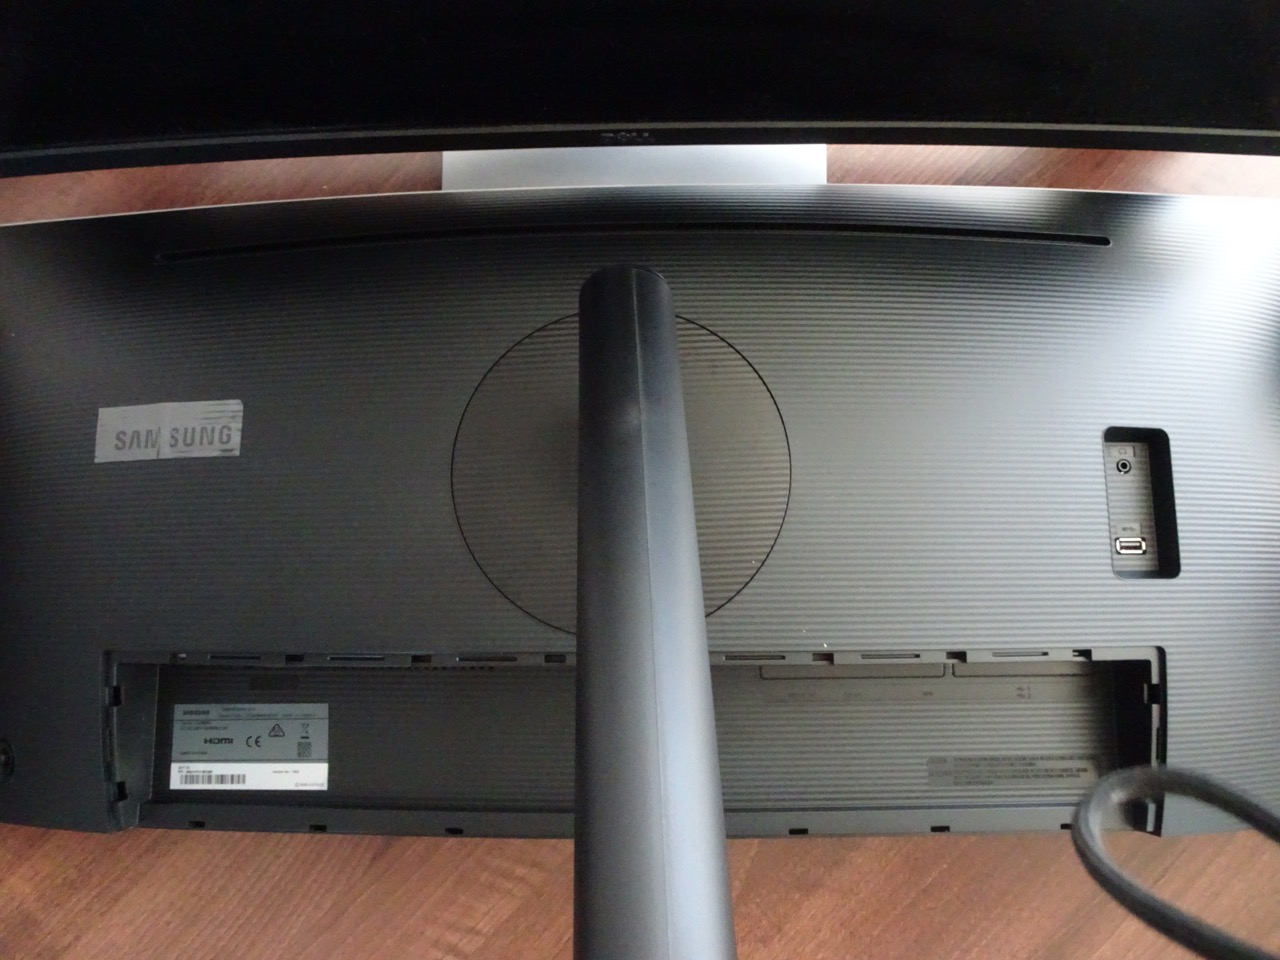
The bottom part of the stand had a couple of screws to attach and that was it!
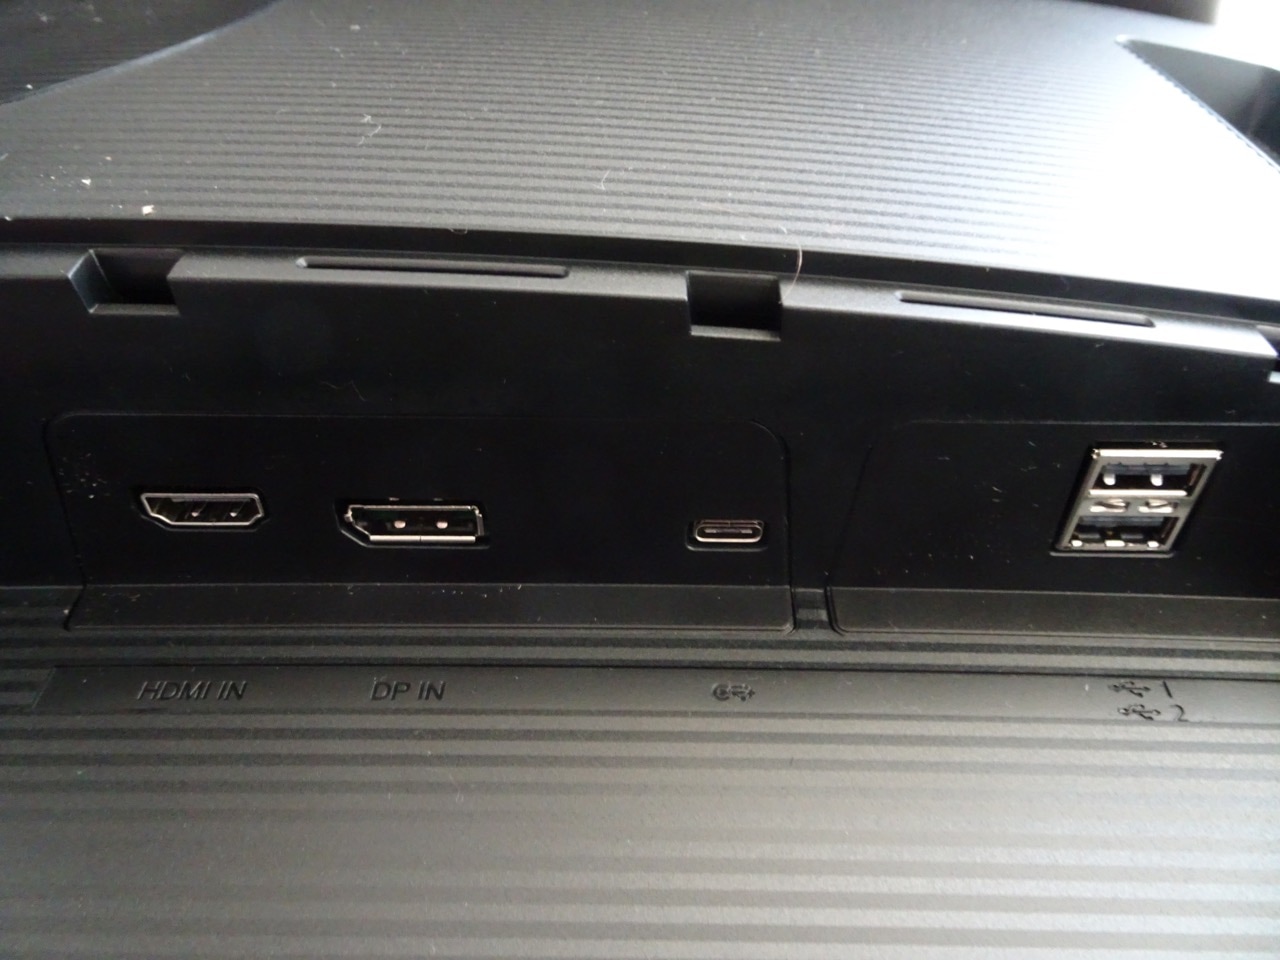
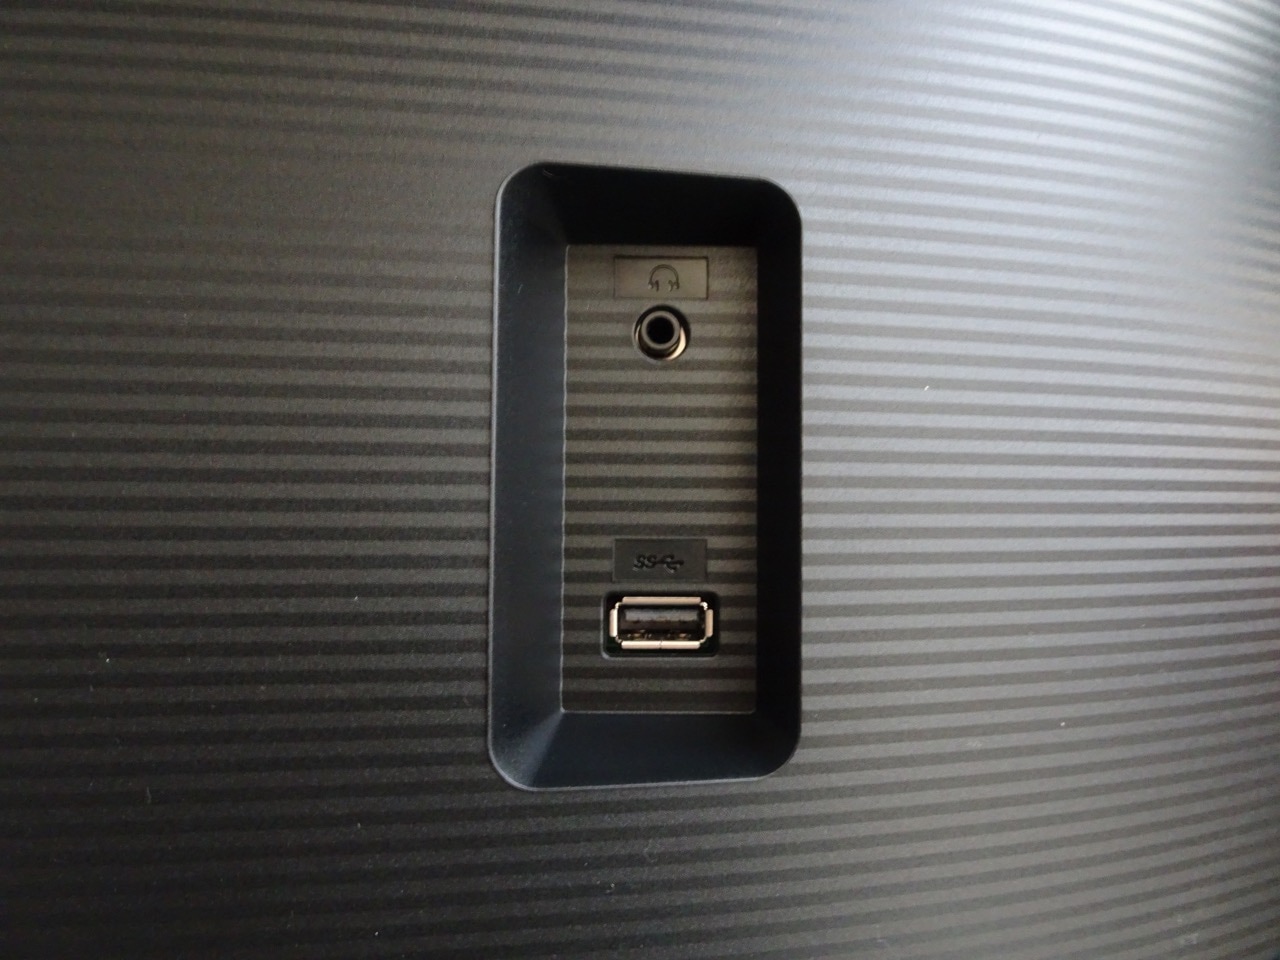
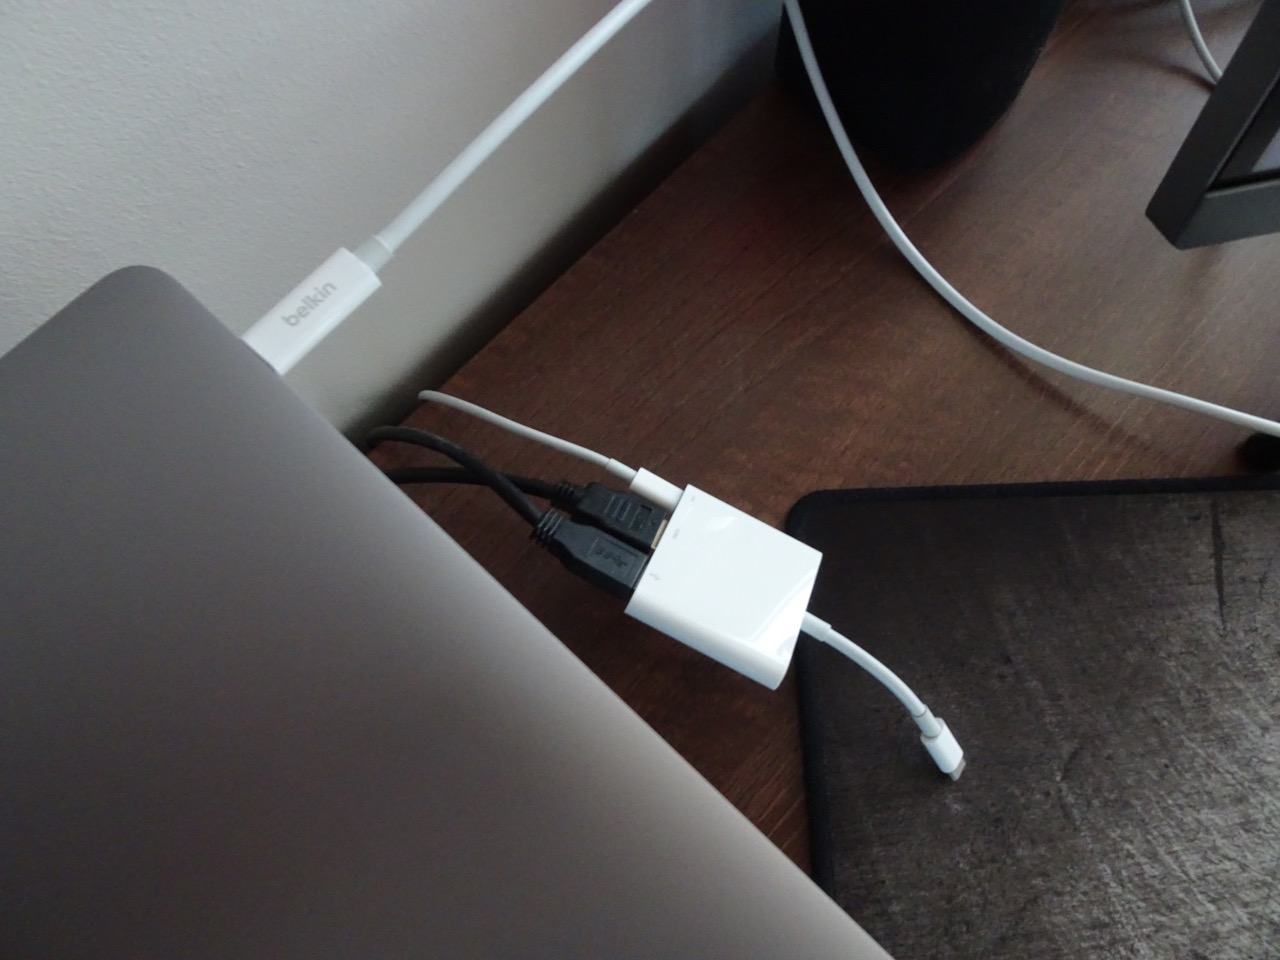
A quick look at the available ports on the monitor...HDMI in, DP in, USB-C in, 2x USB out 1x USB 3.0 out and Audio out. This monitor doesn't win any prizes for having a versatile array of connection options but what it has are probably the most useful for the currently available hardware. Anyway, I was only interested in USB-C so this suited me just fine!
On the side of the power connector was this odd looking joystick button. This was the control pad for the menu! It was accessed by reaching around the rear of the monitor and actually felt very natural to use - though very different to anything I've seen used on a monitor in the past. There were no other buttons on the monitor and turning it on/off was done via this joystick and the on screen display.

I felt the included cables were a little bit limited, only having a DP, HDMI and power cables come with the monitor. No USB-C cable was in sight! Really though, I think monitors should go the way of printers - just don't include anything apart from a power cable, there is no point including cables that would not get used.
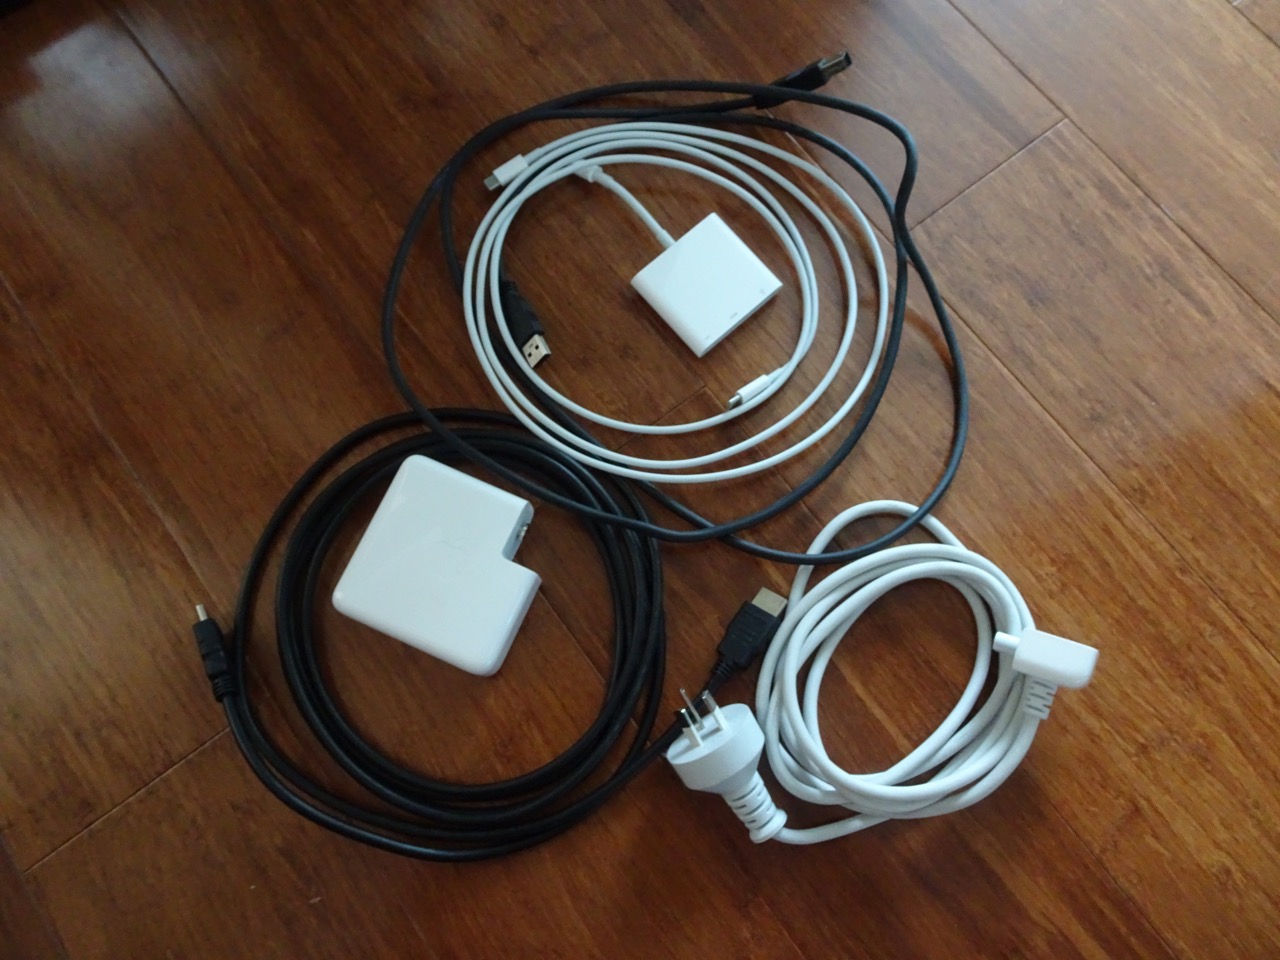
After a bit of fidgeting around with different cables I was able to get my 2017 MacBook Pro working with the monitor using a single USB-C cable. I tried the cable that came with my Mac but that would only carry power, no other signals. I then tried another cable I had, which was the Belkin USB-C to USB-C (USB 3.1) cable from the Apple Store and it worked. With that I was able to replace the USB-C dongle and a multitude of other cables with a single cable between my Mac and the monitor! I ended up removing 4 cables and a power brick from around the back with the new setup.
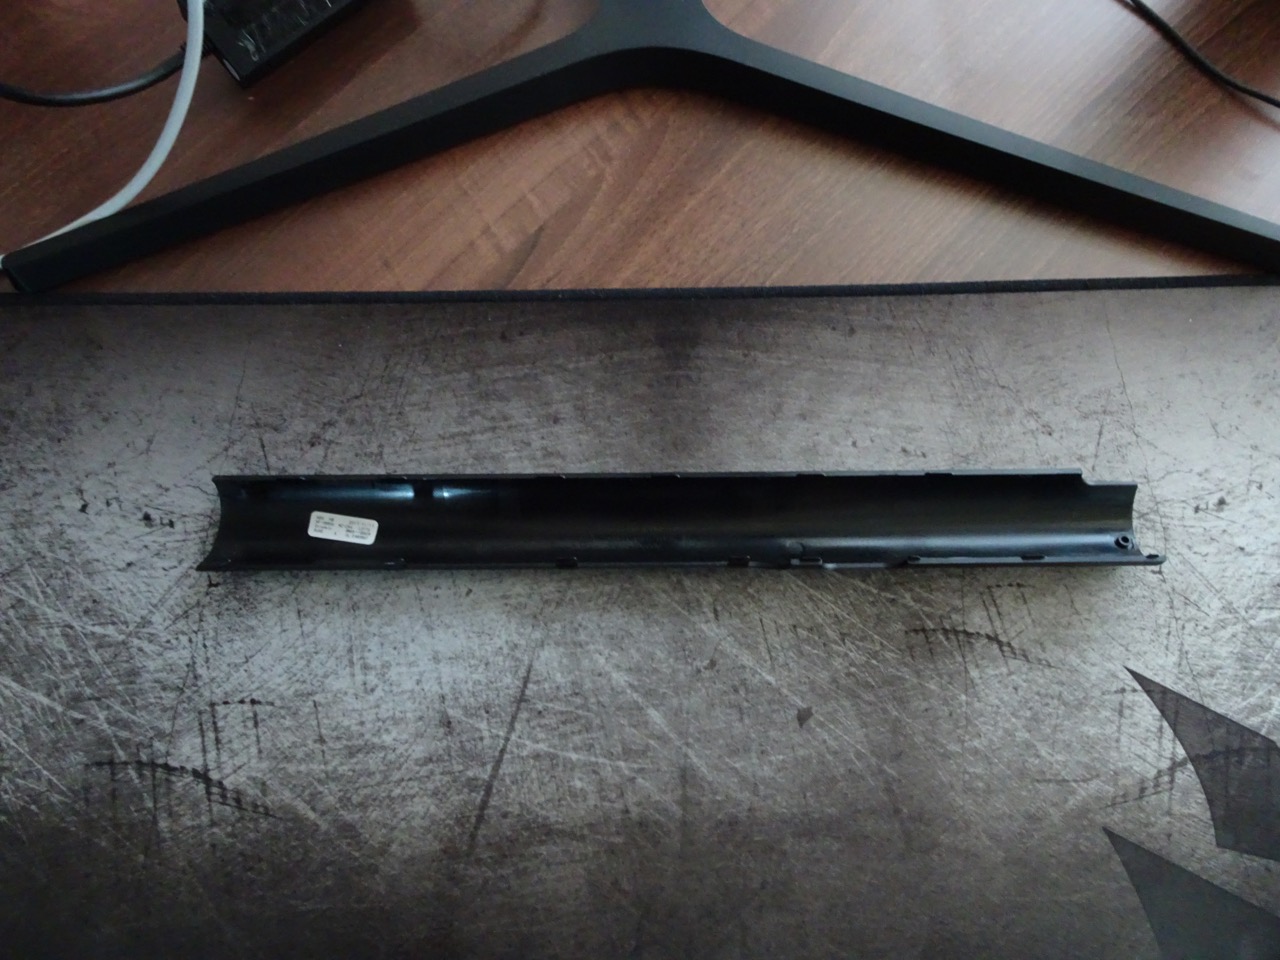
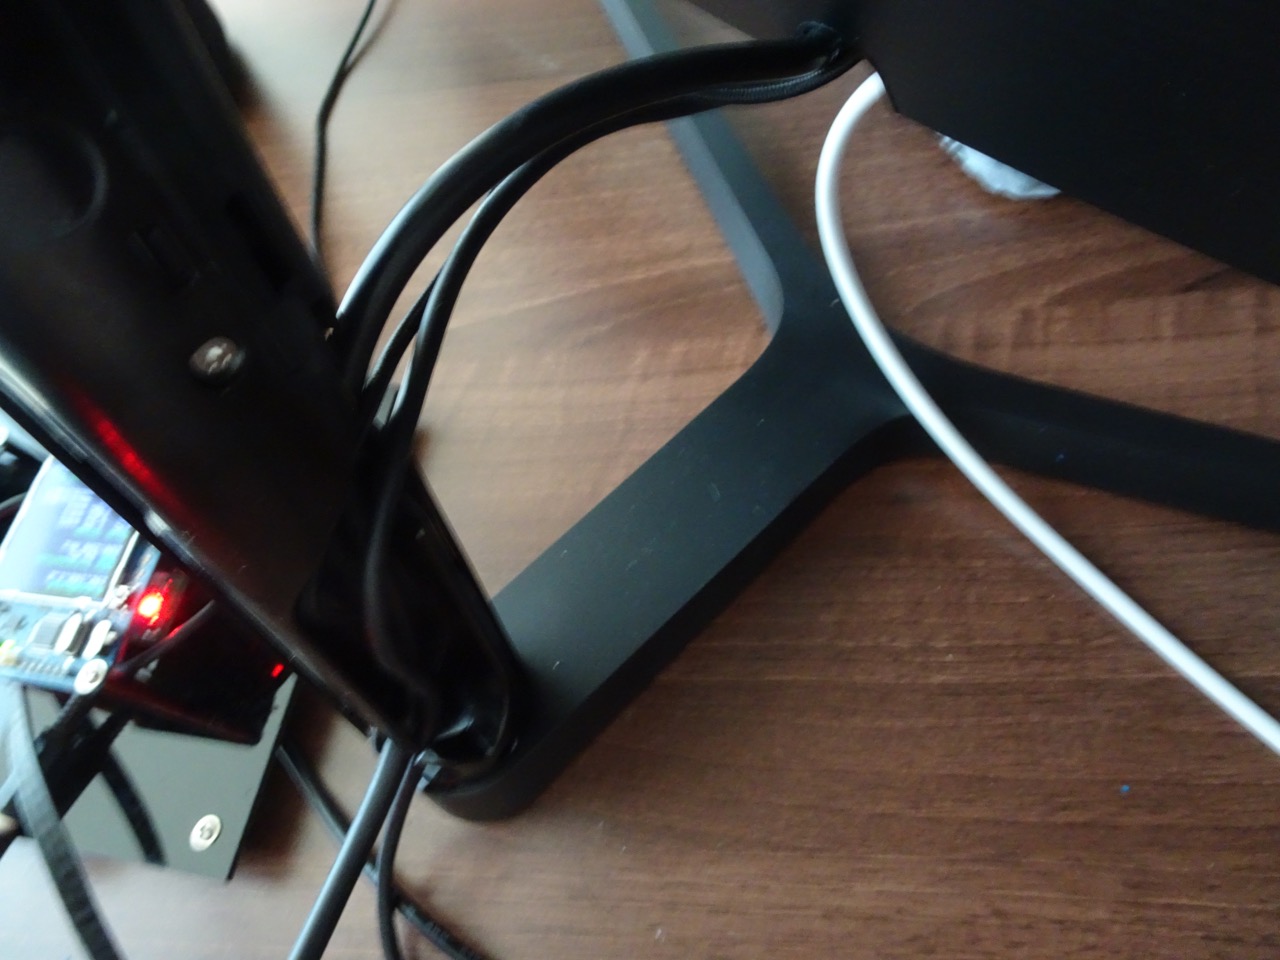
I then noticed that the stand had a removable side so I could hide all the cables coming out from the monitor itself. I had a number of cables here - my B&W MM-1 speakers via USB, a mouse via USB, the USB-C cable, an ethernet cable connected via a USB 3.0 adapter to the rear port on the monitor, and of course the power cable to the monitor itself. All these fit nicely inside the monitor stand and the plastic cover sealed them in nicely.
That was everything set up. I had so much clear space around the back of the monitor now it was amazing! However there were some downsides to this monitor. It was adjustable up and down, tilt-able forward and back and could also be rotated around; all of these adjustments are great except for the fact that the support stand is just too flimsy to keep the monitor completely stable. I find that it shakes a bit too easily, even from typing sometimes. I also couldn't figure out how to permanently set it to USB-C as the input source so it sometimes cycles through inputs multiple times before it finds my Mac's signal.
The monitor runs at the 3440x1440 resolution at 100Hz and can support other lower resolutions (not that you would want to!) The colours are nice and crisp and the picture is quite sharp. In the several days that I've used it so far I've not experienced the several second black out problem that has been reported with other monitors when used with a USB-C enabled MacBook Pro.
Having just a single cable between my Mac and the monitor has been my dream ever since I got this MacBook Pro. I still find it amazing that it can carry power, video and USB signals over one cable, but it's definitely something just feels right now.
Overall this monitor is great and the price is quite decent too so I give it a big thumbs up!
-i
