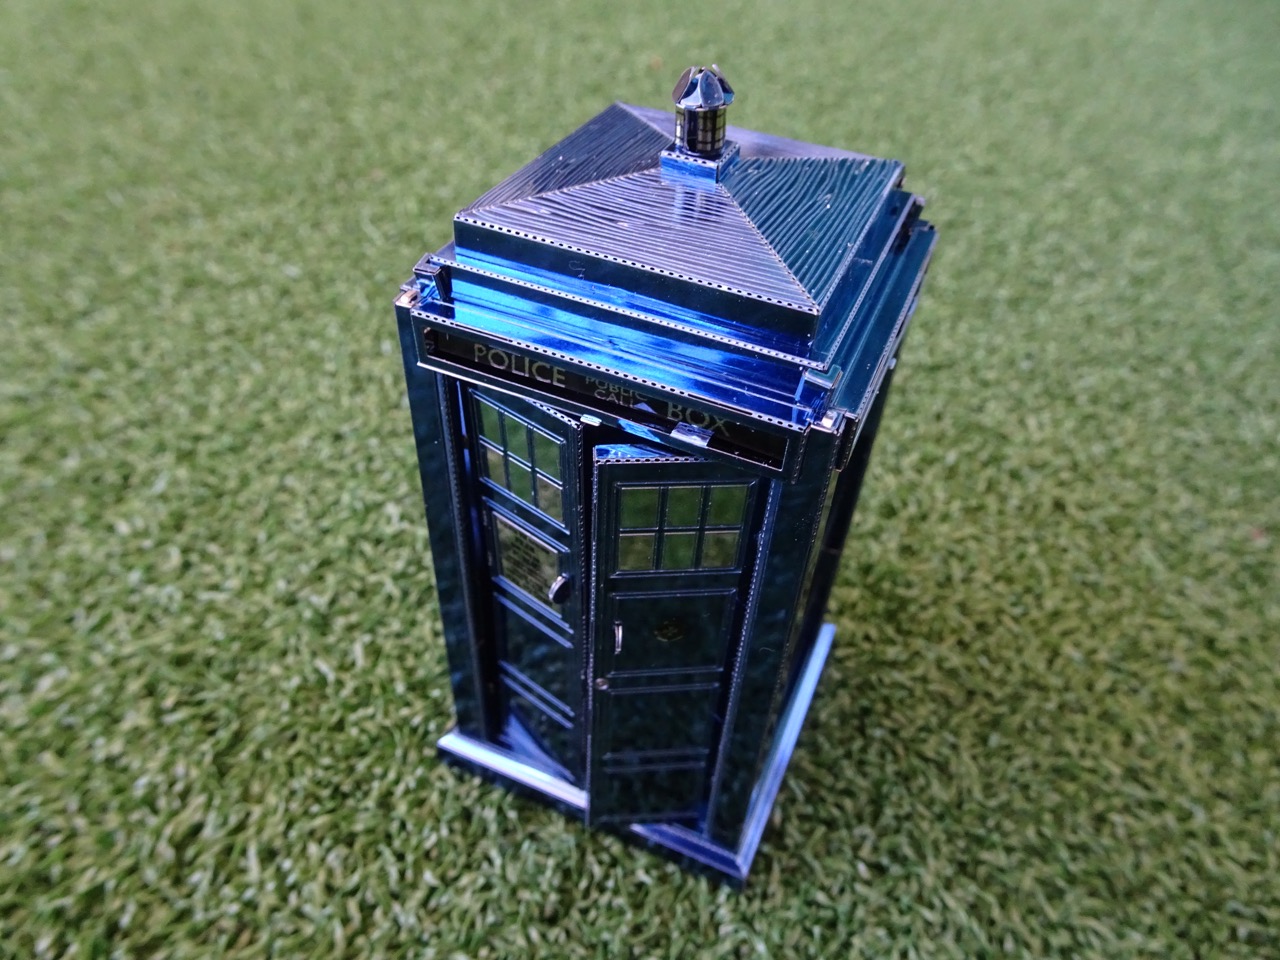
Even though I am not a huge Dr Who fan, I quite liked the result...
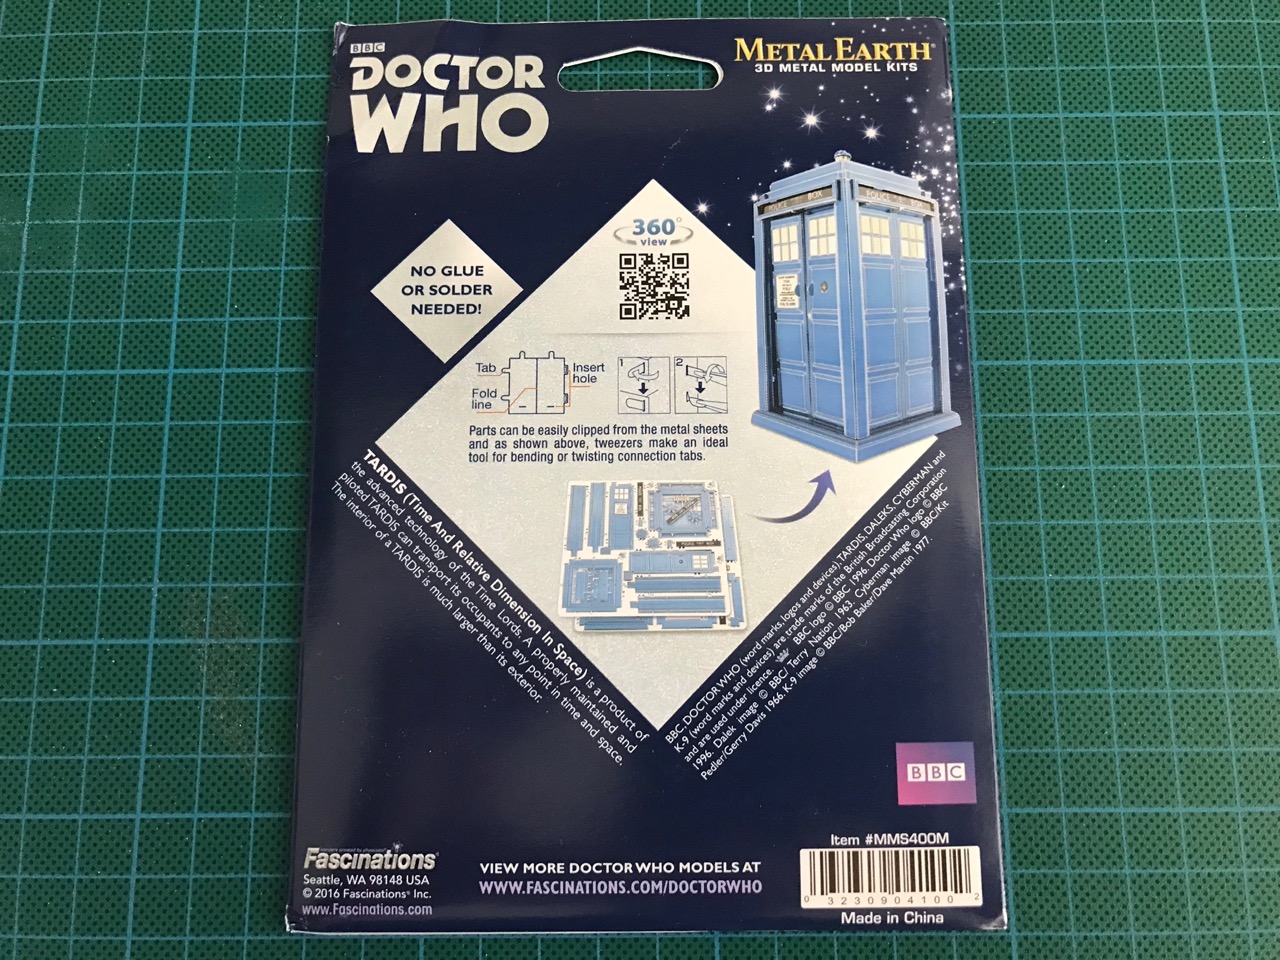
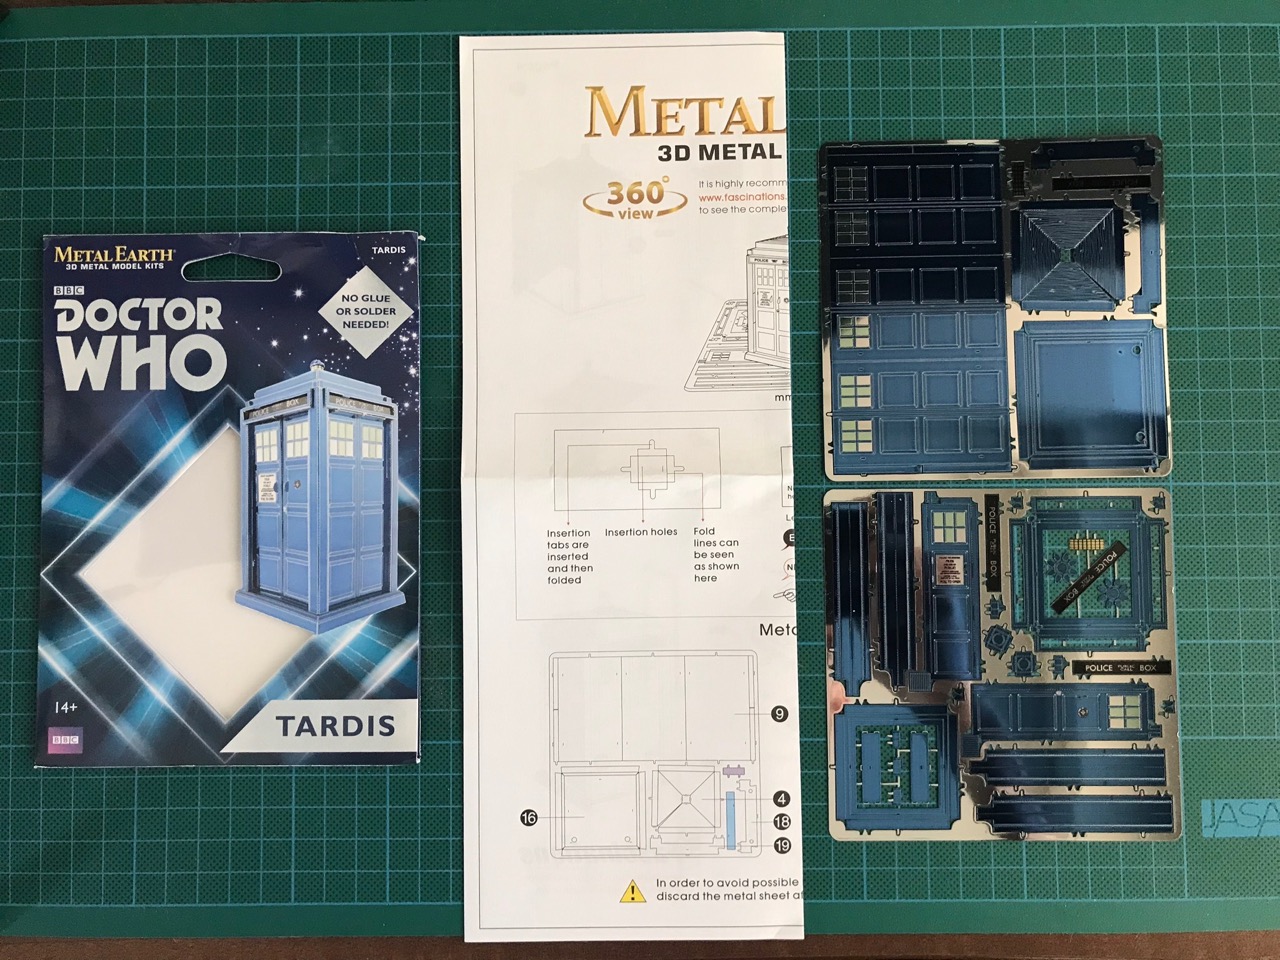
This was a two sheet kit and was listed as moderate, though I'd probably rate it as easy-moderate myself. As expected for something that looks like a big box, there were quite a few large pieces in this kit. There were also a few of extremely small detail pieces, which took time to put together. The instructions that came with the kit were on a single piece of paper and there were no tools included. This was a flat pack kit, the usual for this size/complexity of model.
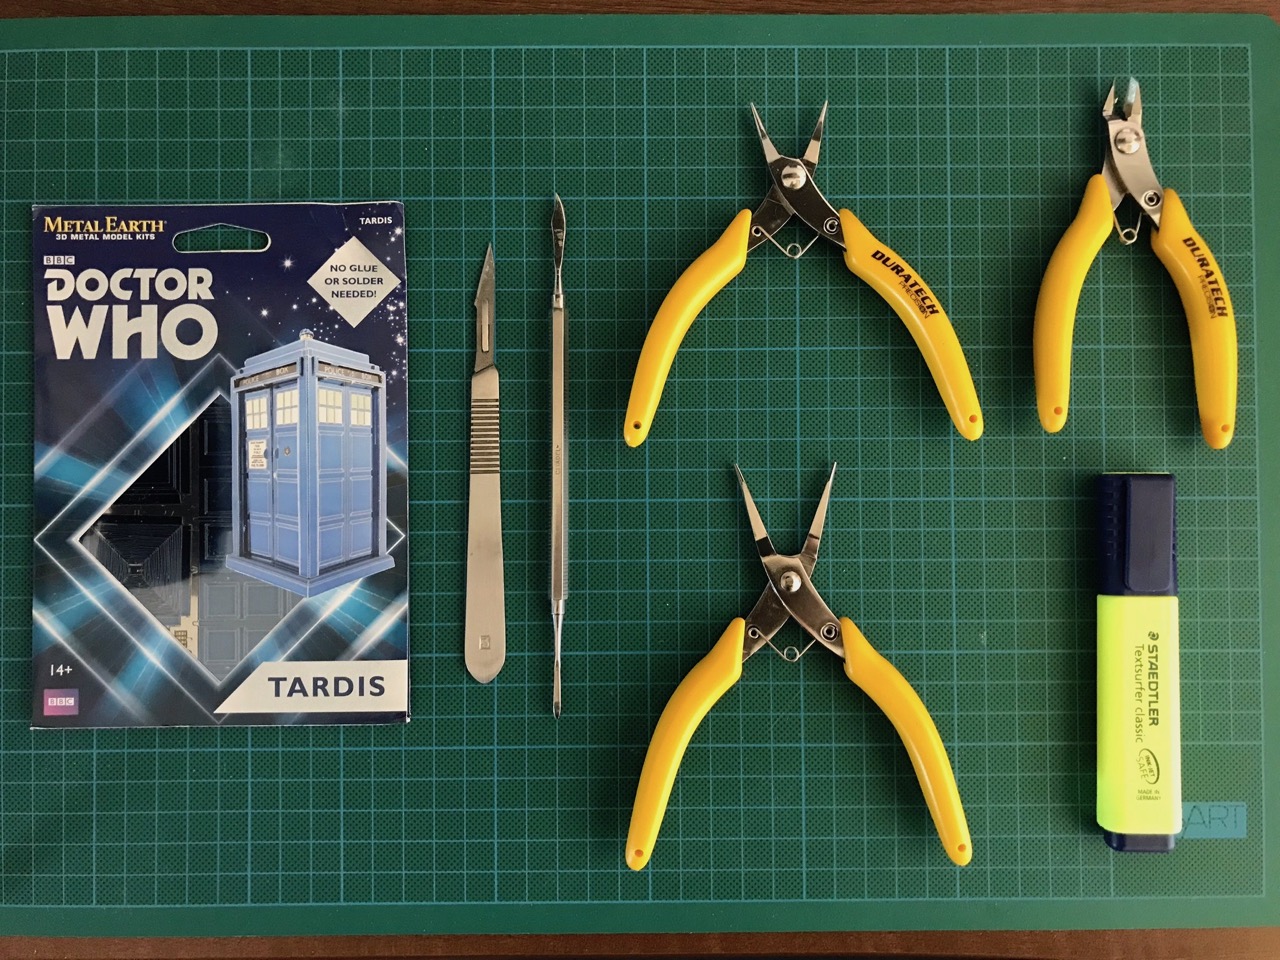
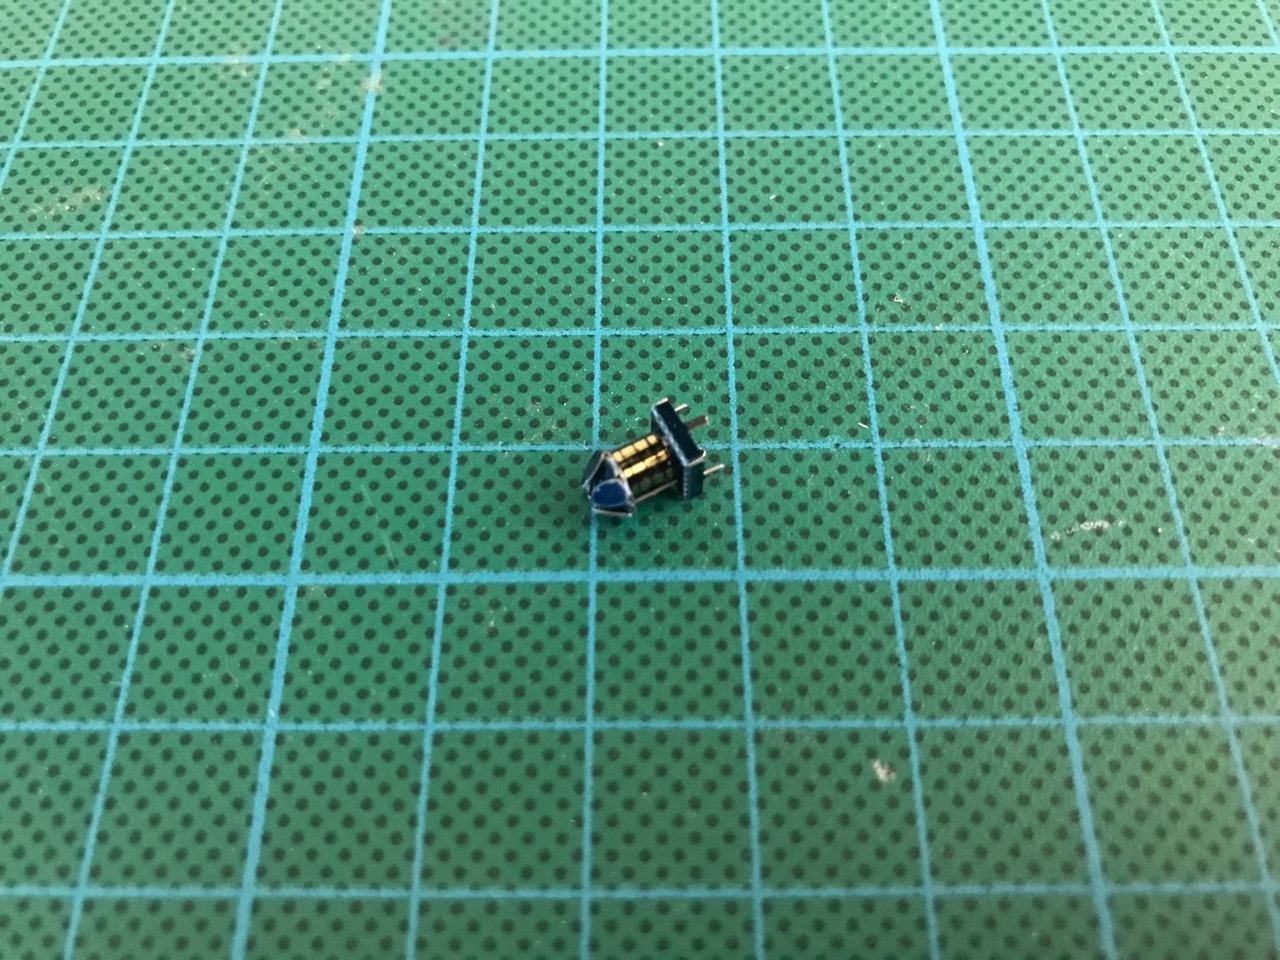
I used my usual selection of tools for assemble this model, including needle nose pliers (round tip and flat tip), scalpel, model making spatula tool, side cutters and of course a highlighter to mark off used pieces. The first part was to make the top chimney looking thing that sat atop the box. I don't think that I folded it quite right, but I could not work out any better way to to do it.
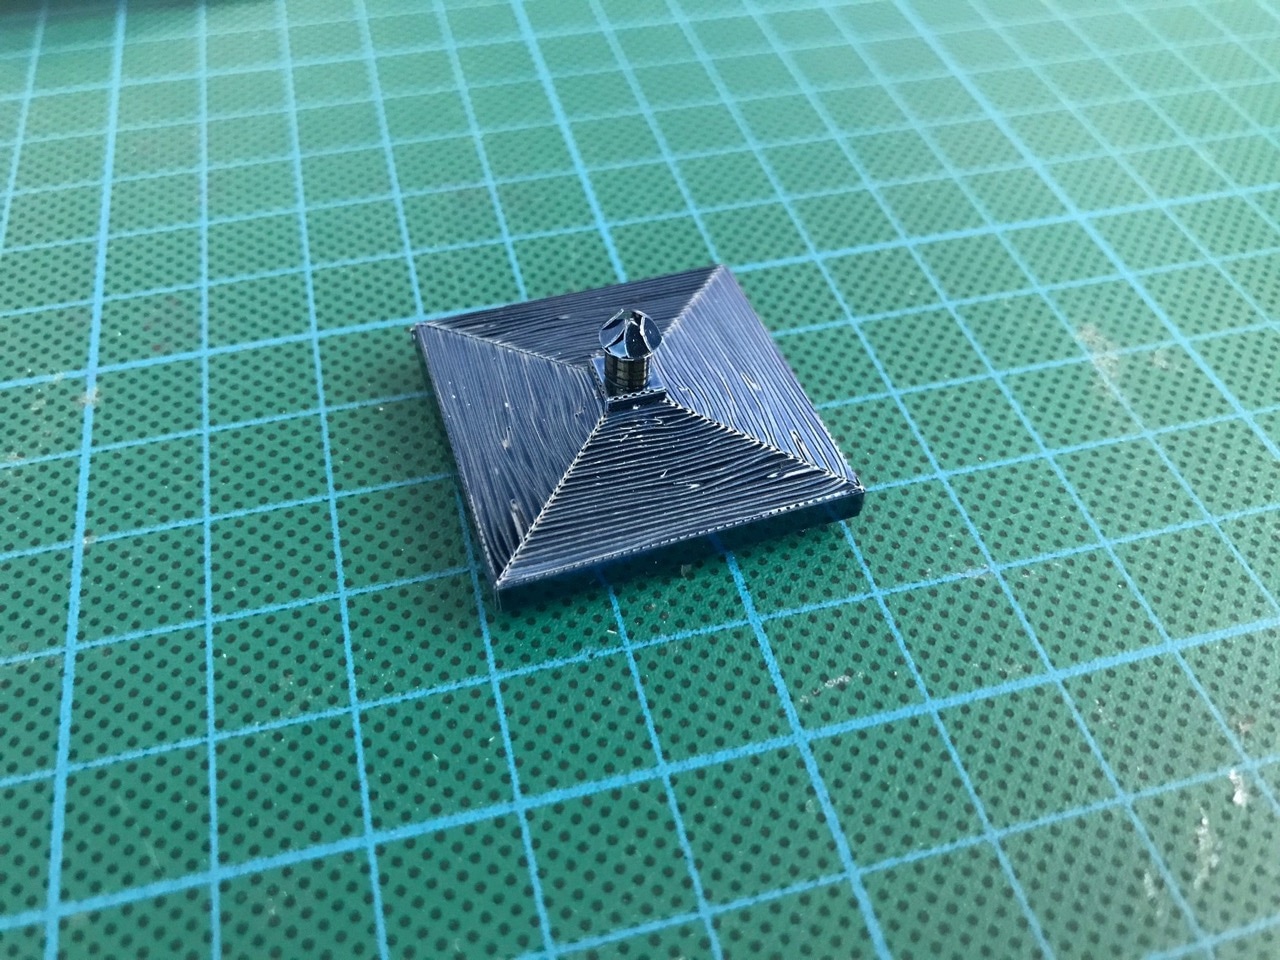
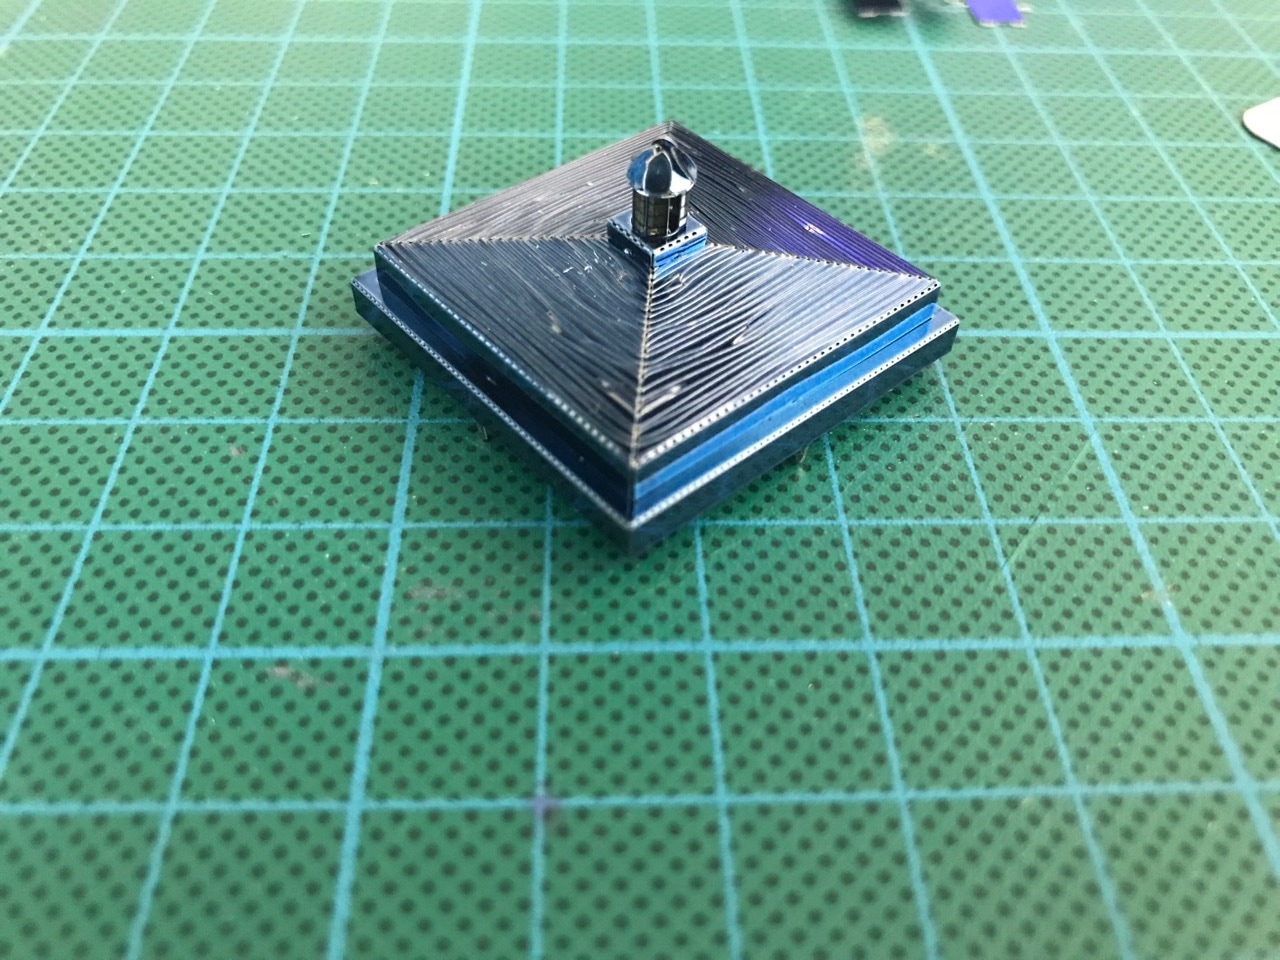
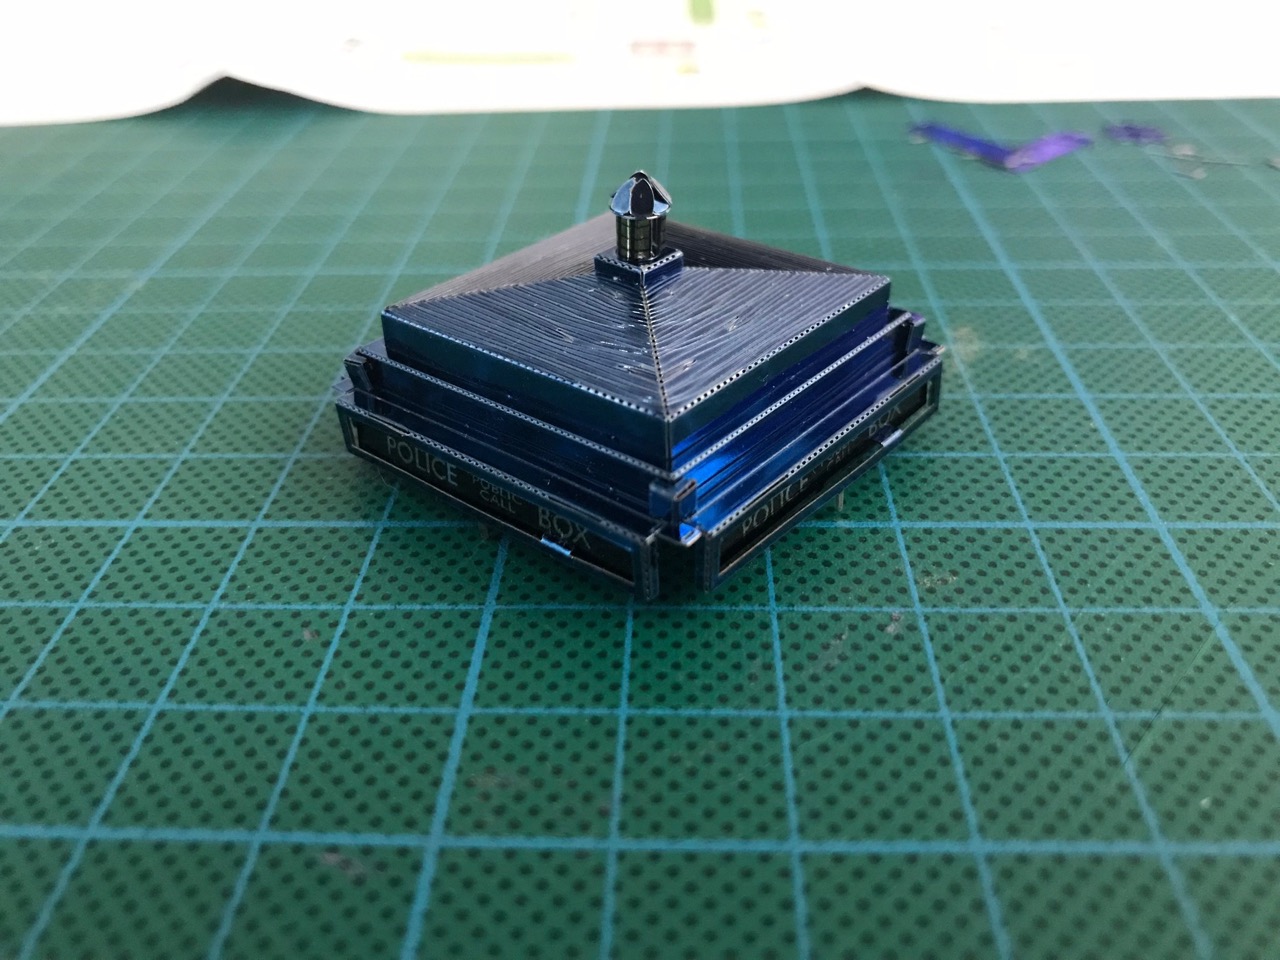
The roof pieces followed next. There were three main levels to the roof. The bottom-most part that had the 'Police Box' signage was the part that had me stuck for quite some time. This signage was held in place by tabs that needed to be bent 90 degrees, their positioning next to some very thin supports made this extremely difficult. I kept on bending the entire side piece instead of just the tab, eventually I got them to the right shape though! The inset of the signage looked very nice. There was also additional details made up of very small corner pieces added here.
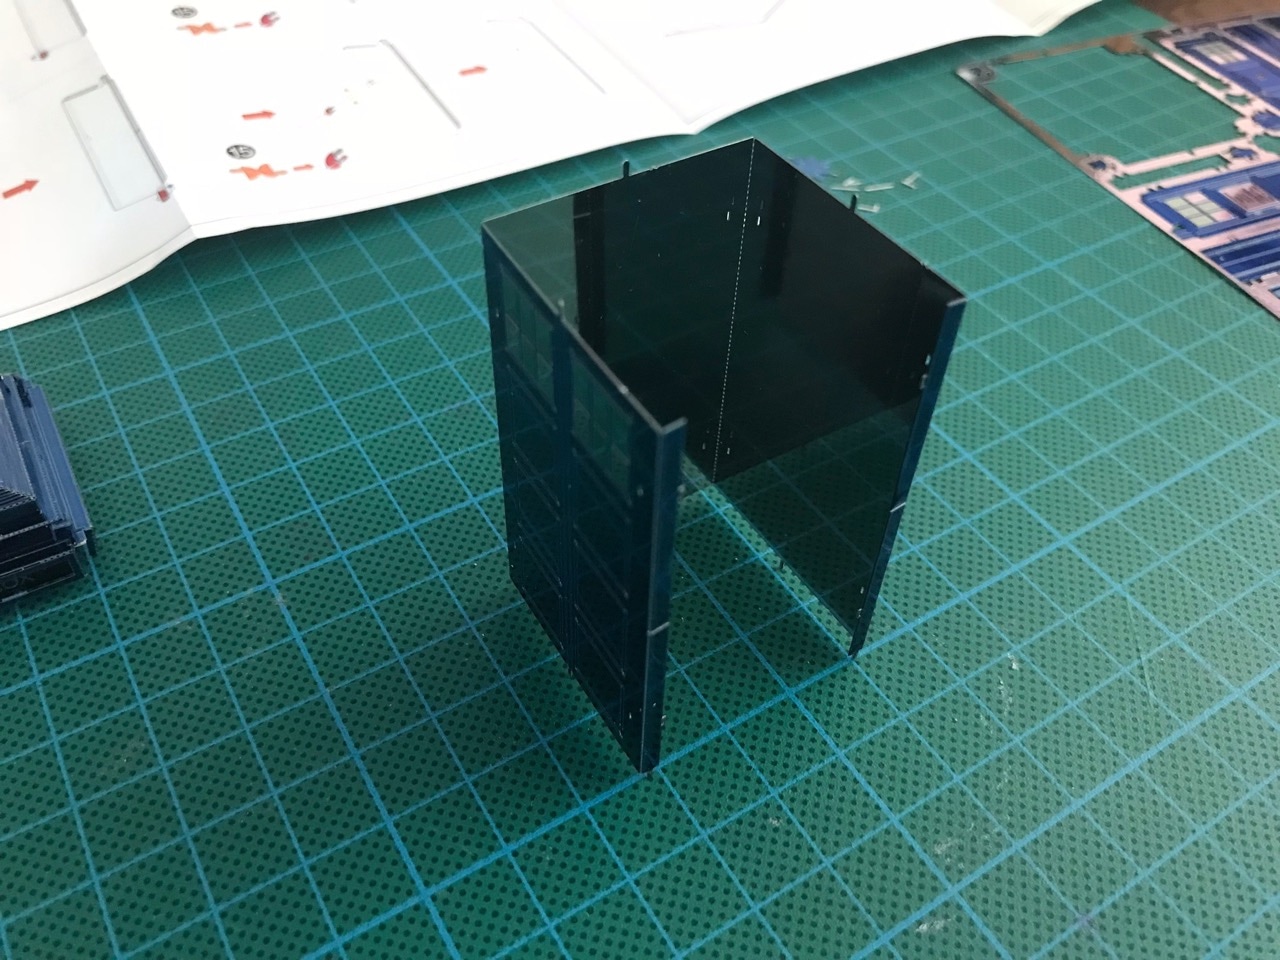
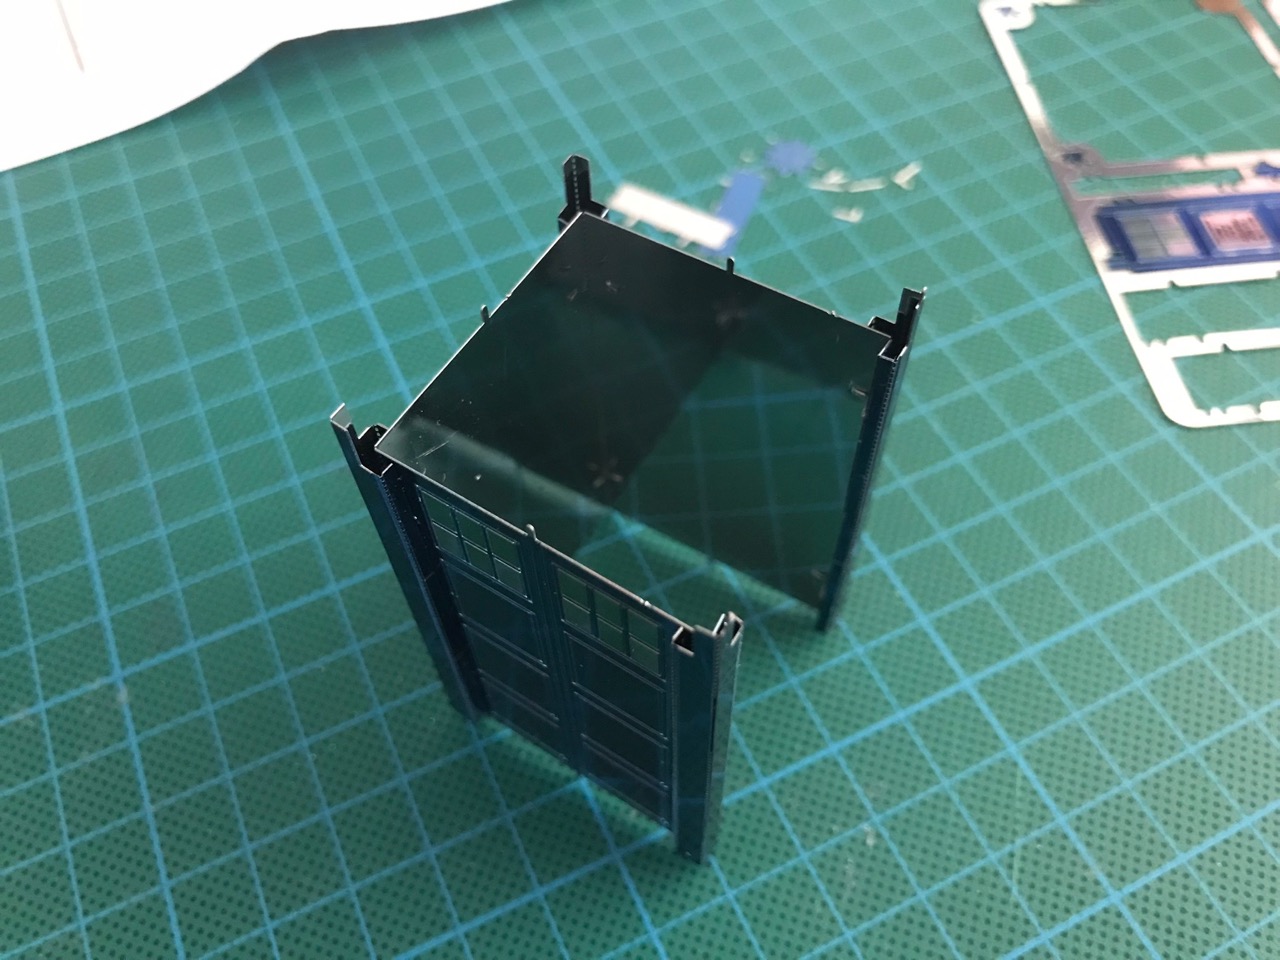
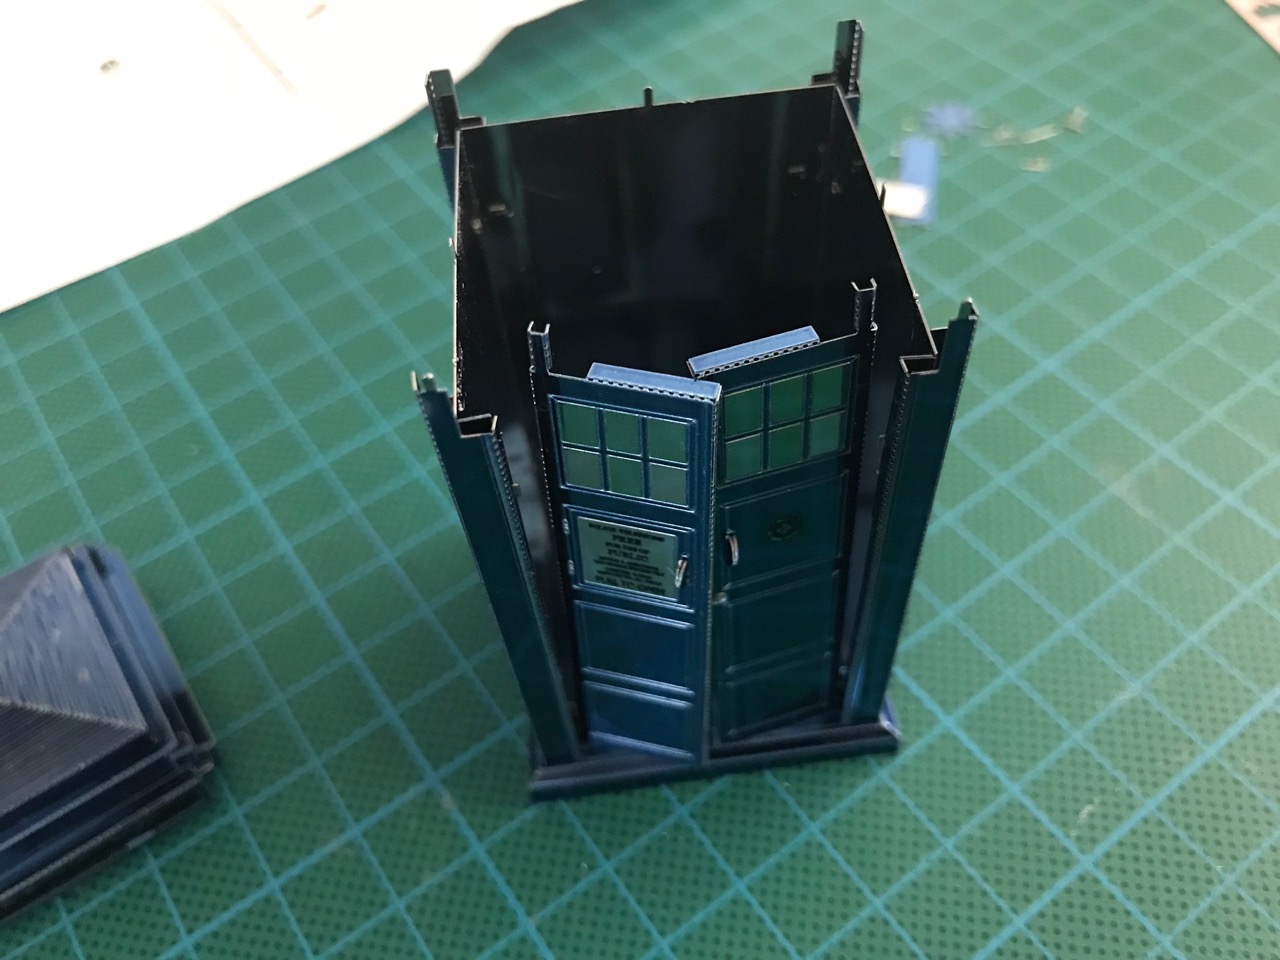
The main structure of the box was next. This was mostly made up of a single large piece! There were detail pieces on each of the corners.
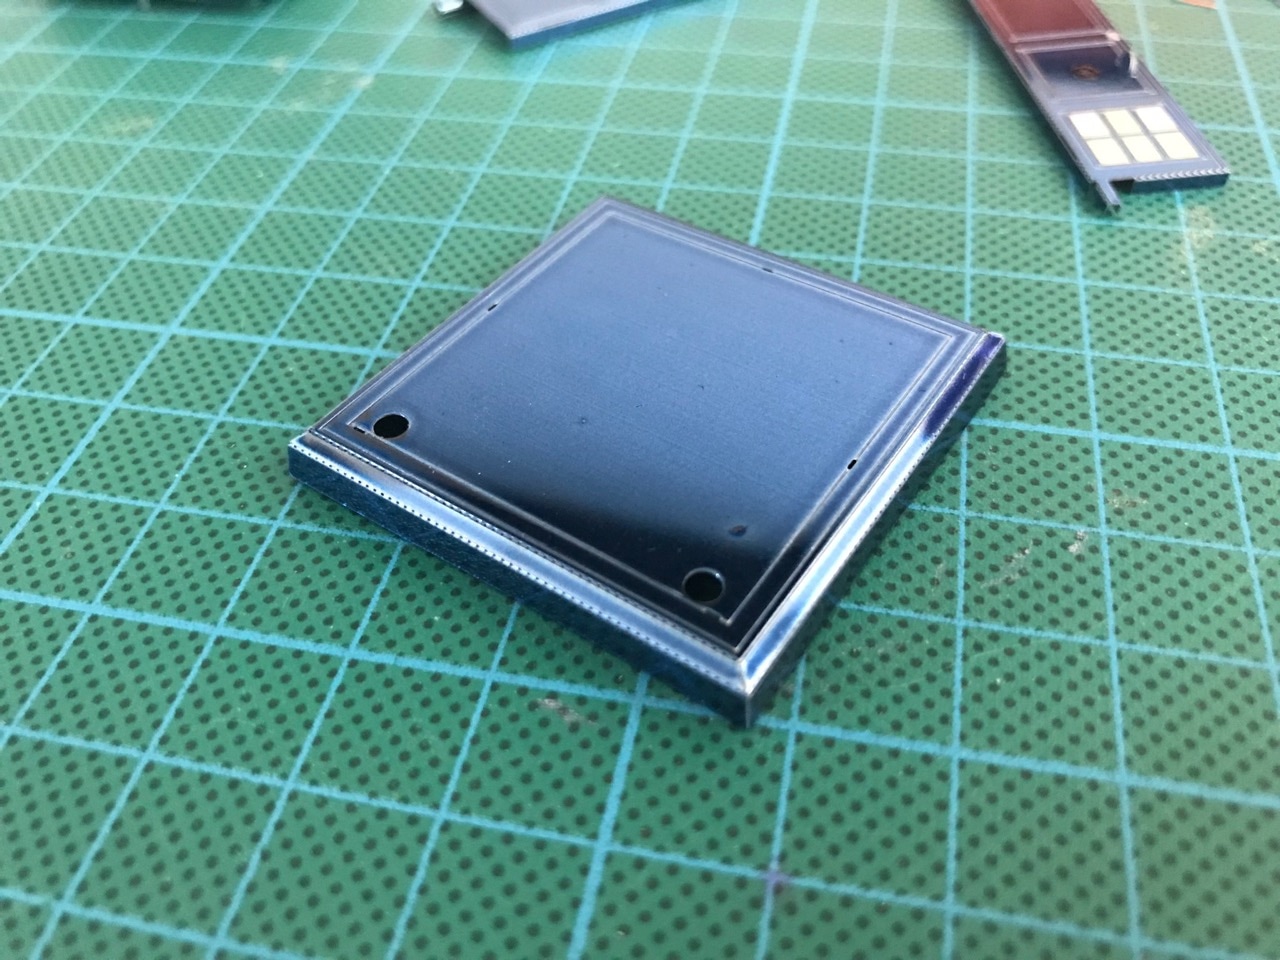
The doors and the base were fairly simple to assemble. I quite liked the little handles that the doors had. The base had cut outs where the door supports would slide into, which meant that these doors would be operational!
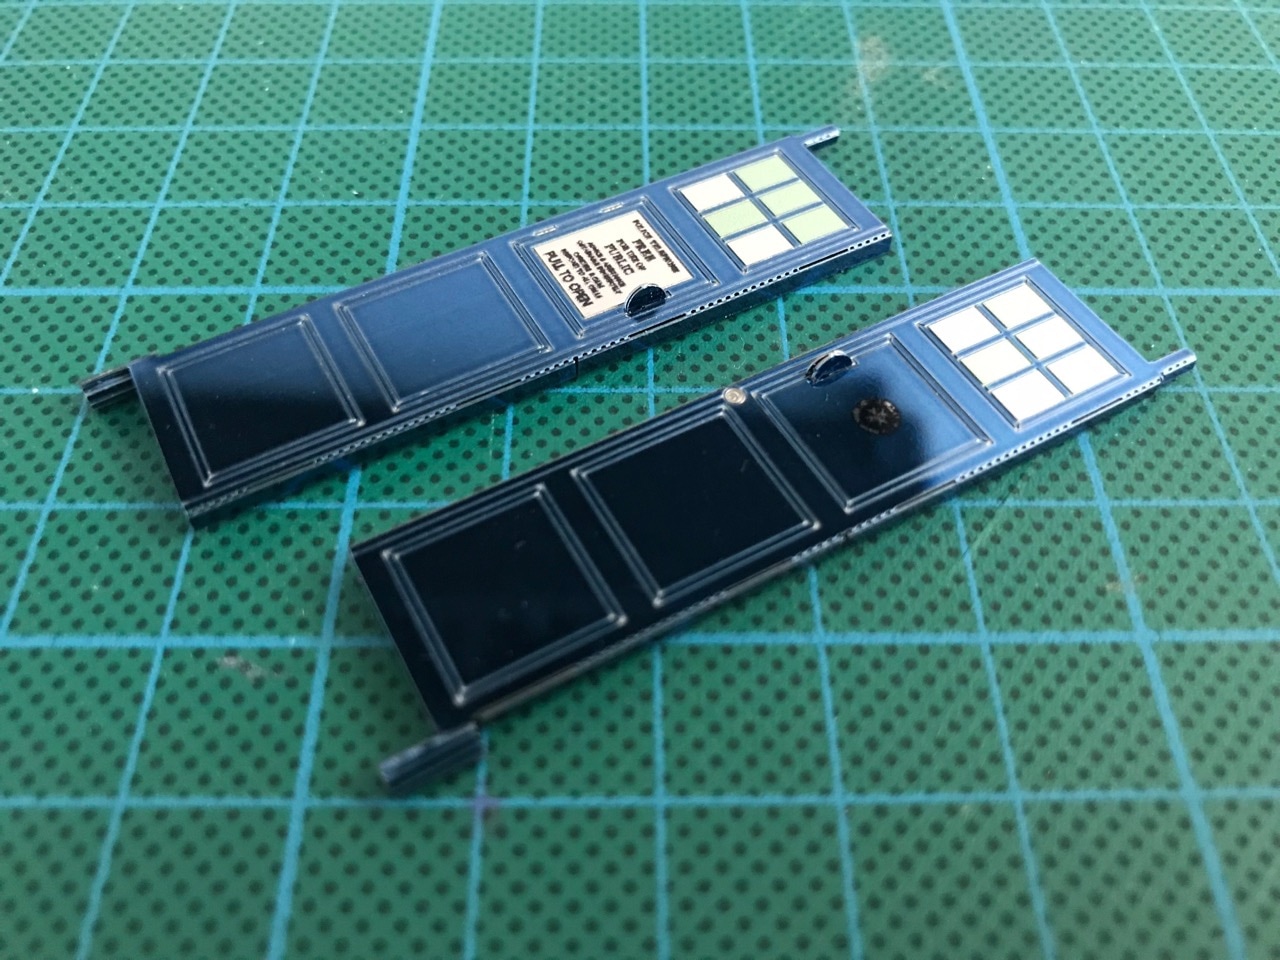
With the base connected, I tried out the doors, they were a bit crooked - as expected - since they were only balancing on their bottom supports at this point.
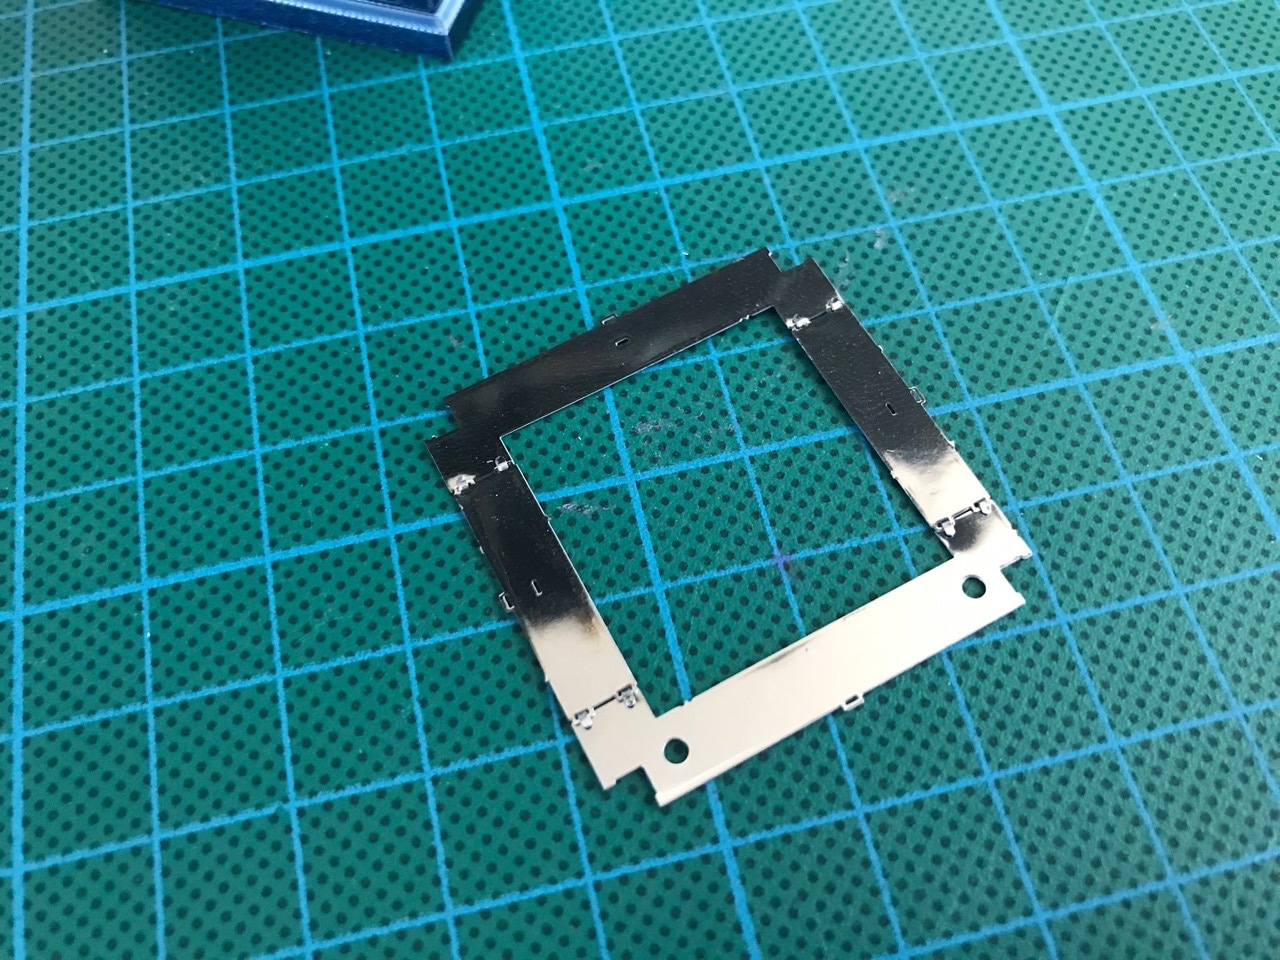
The top piece that held the doors in place was made up of multiple sections. I thought this was a little strange given how so many other large parts were single pieces. Maybe it was due to space limitations, but this part was made of four separate pieces.
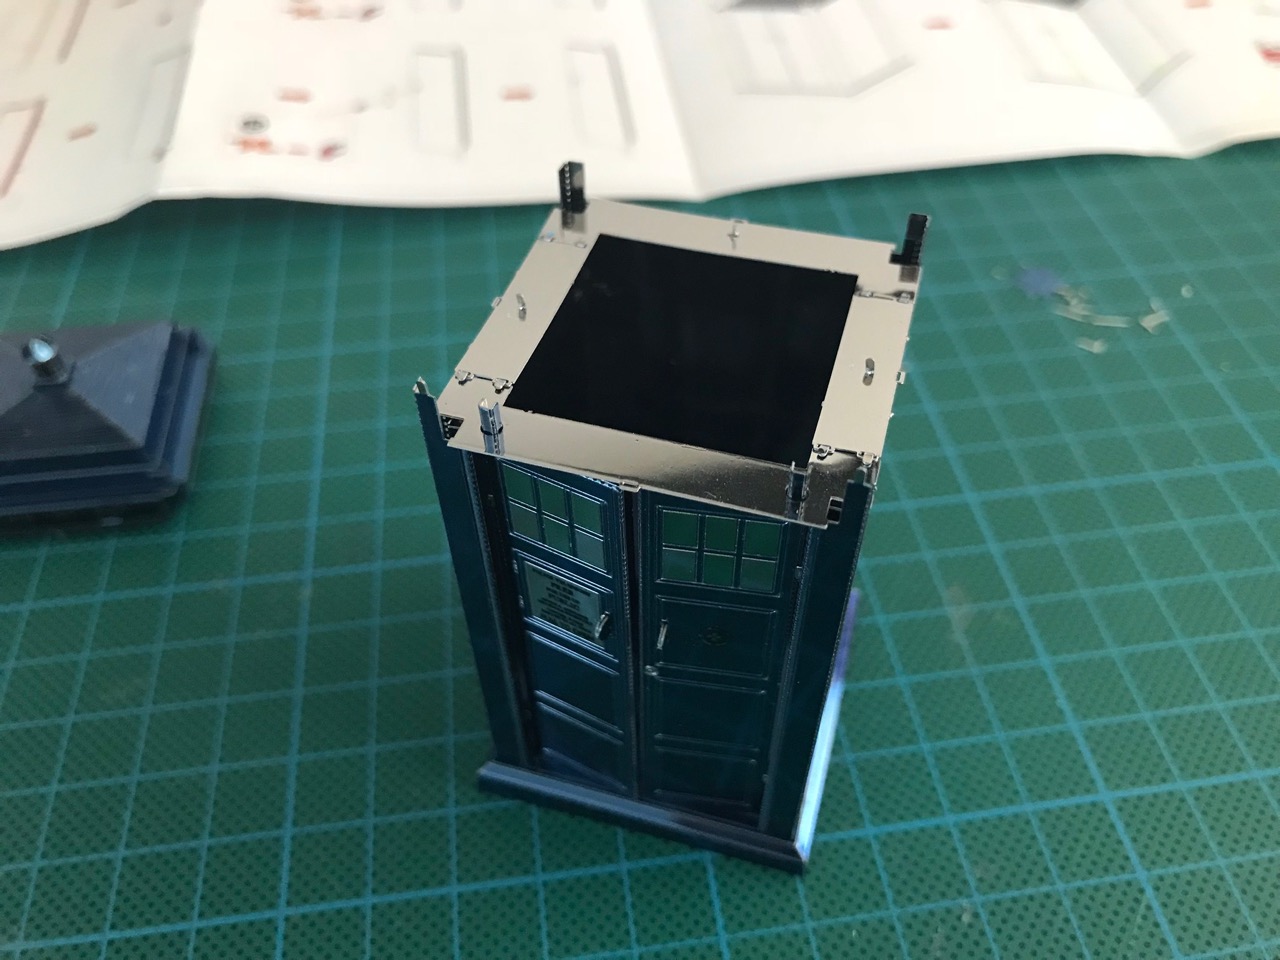
The only other thing left to do now was to attach the roof and the whole kit was done! Nice and (sort of) easy! Here's a time lapse video of the assembly...
If you're a Dr Who fan or just want an easy kit to assemble, this kit is for you. I love the colours used and the level of detail is very nice. At some point I'd like to try to assemble some of the other Dr Who kits like the Rusty K-9 or the Cyberman Head too.
-i
