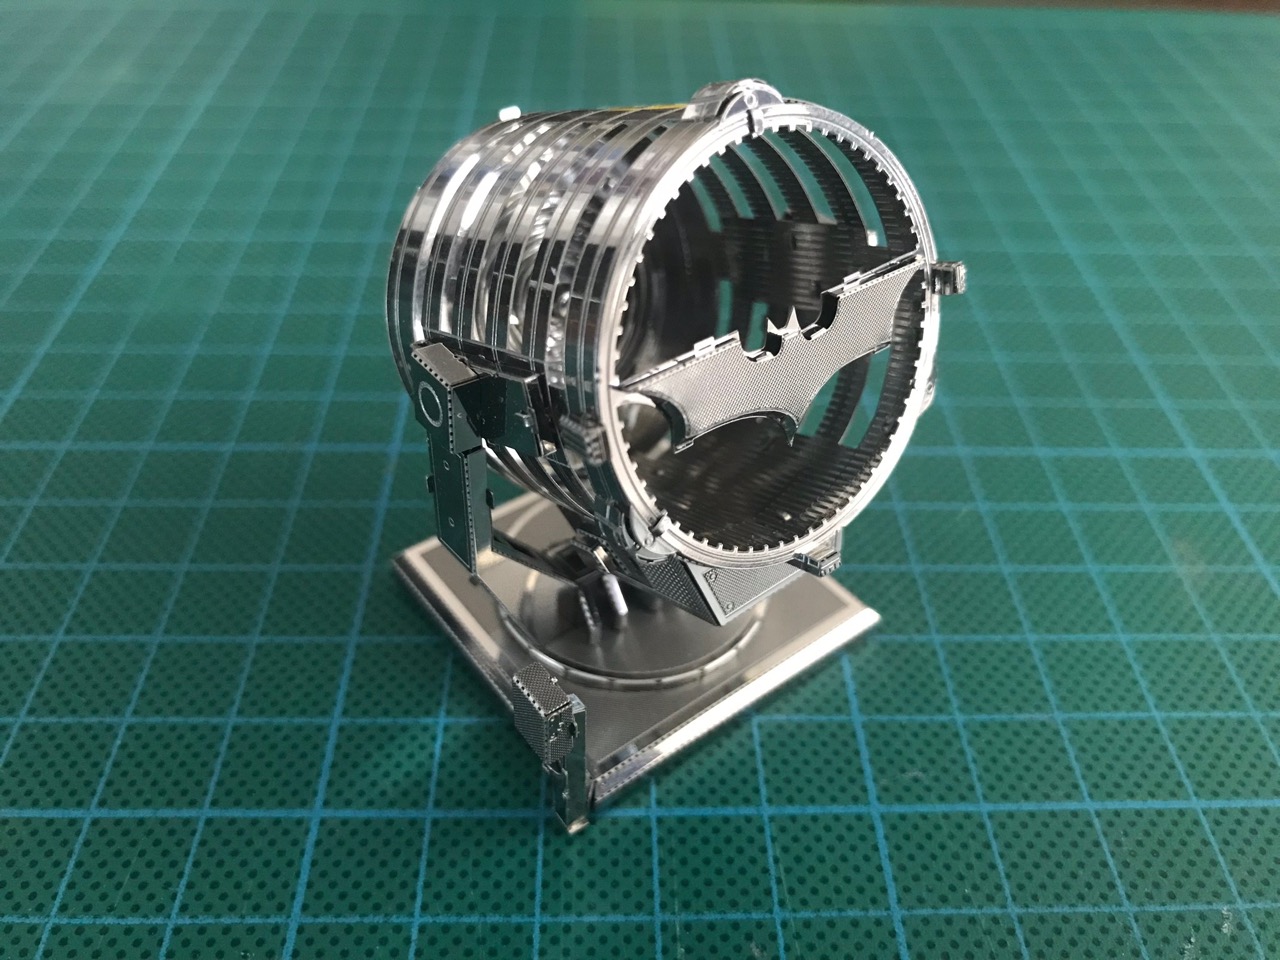
This was the end result...
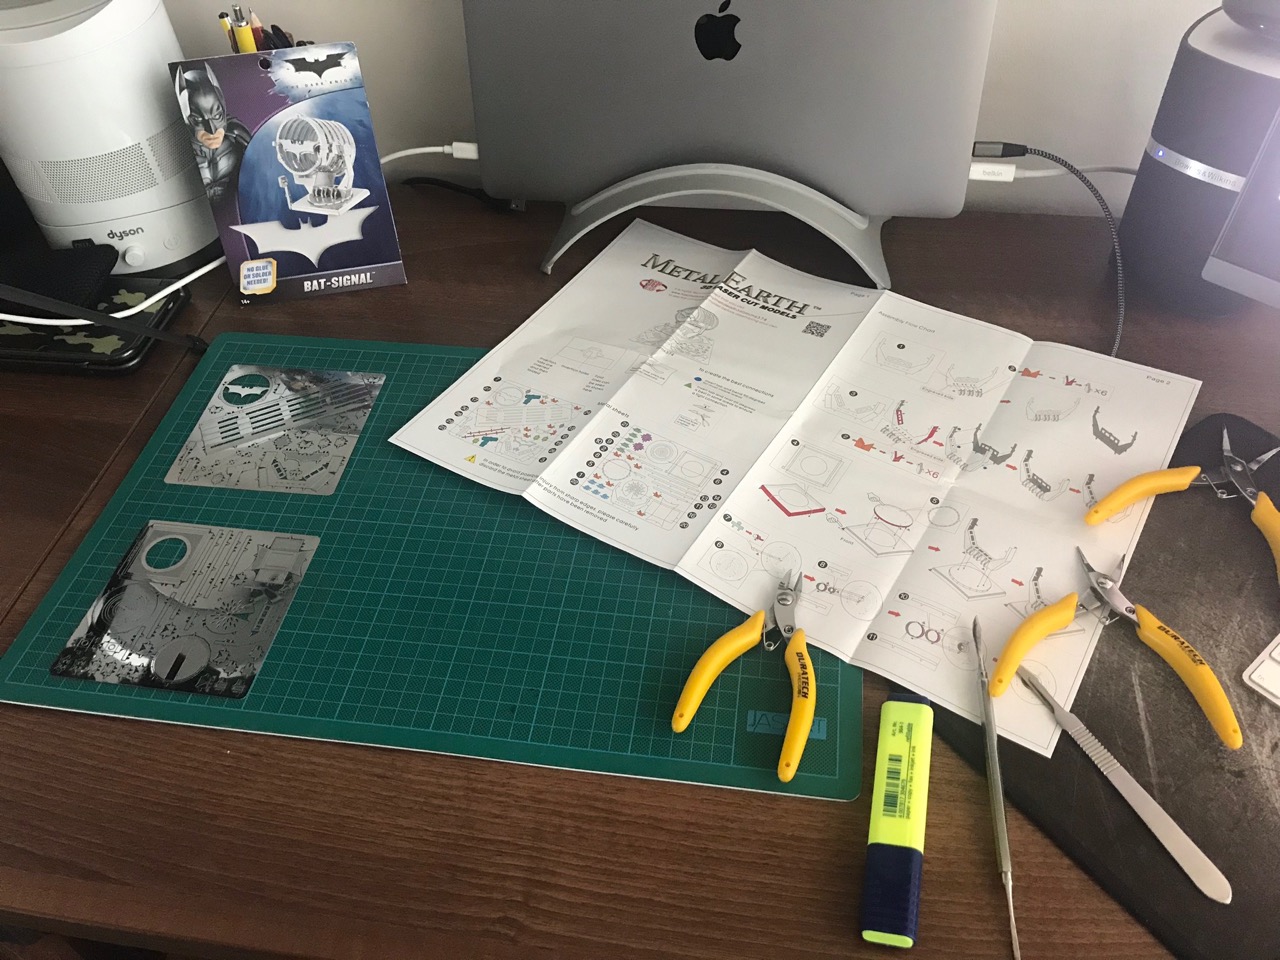
The kit is made up of two sheets of metal, though it's not a very complex kit and took around 1.5 hours to put together. There were quite a few round parts that needed to be bent from straight strips of metal - that was the most complex part of the entire kit.
Of course I had my usual tools for this - scalpel, moulding tool, various needle nose pliers and side cutters.
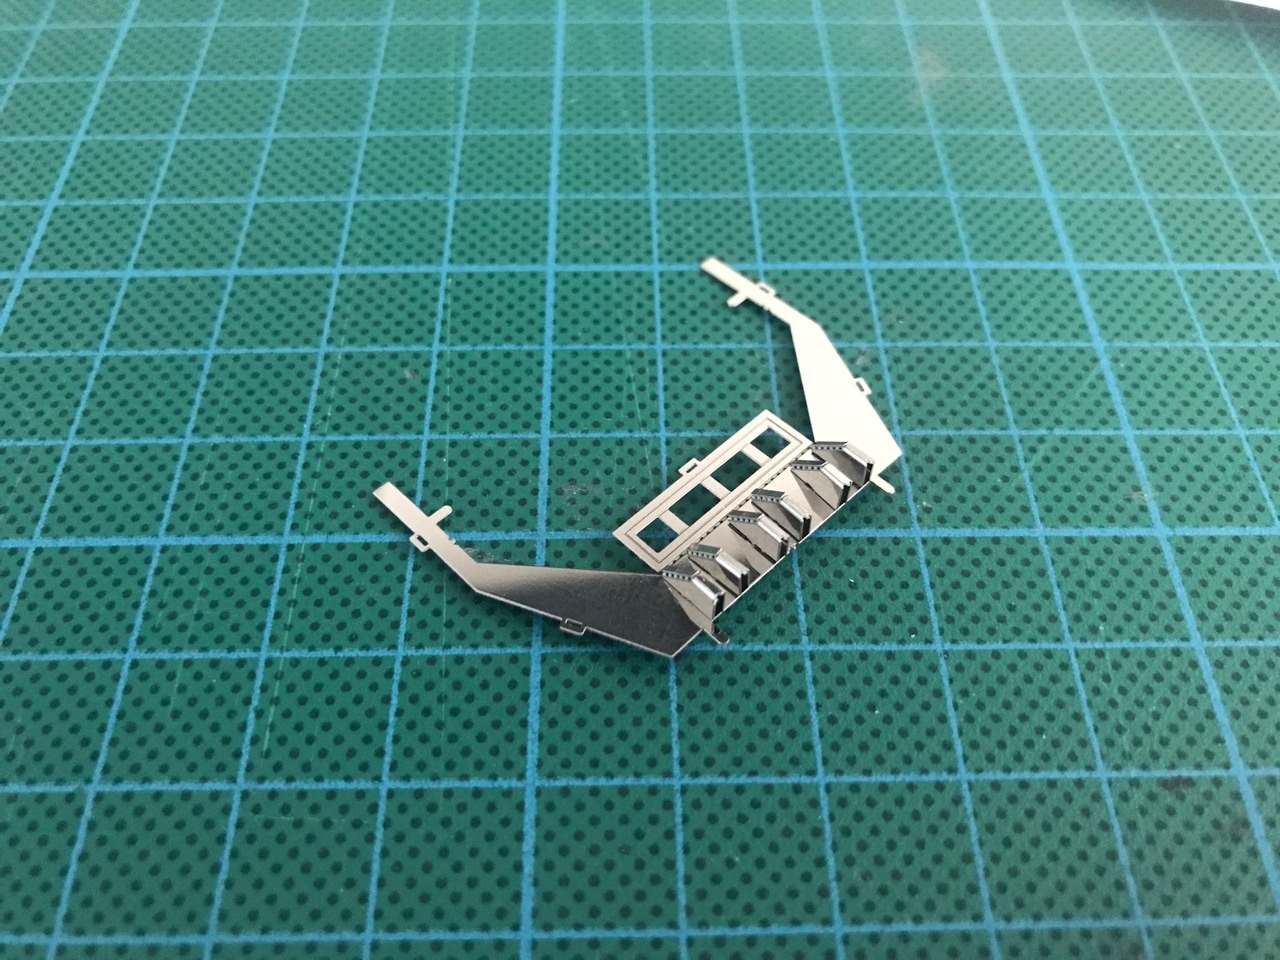
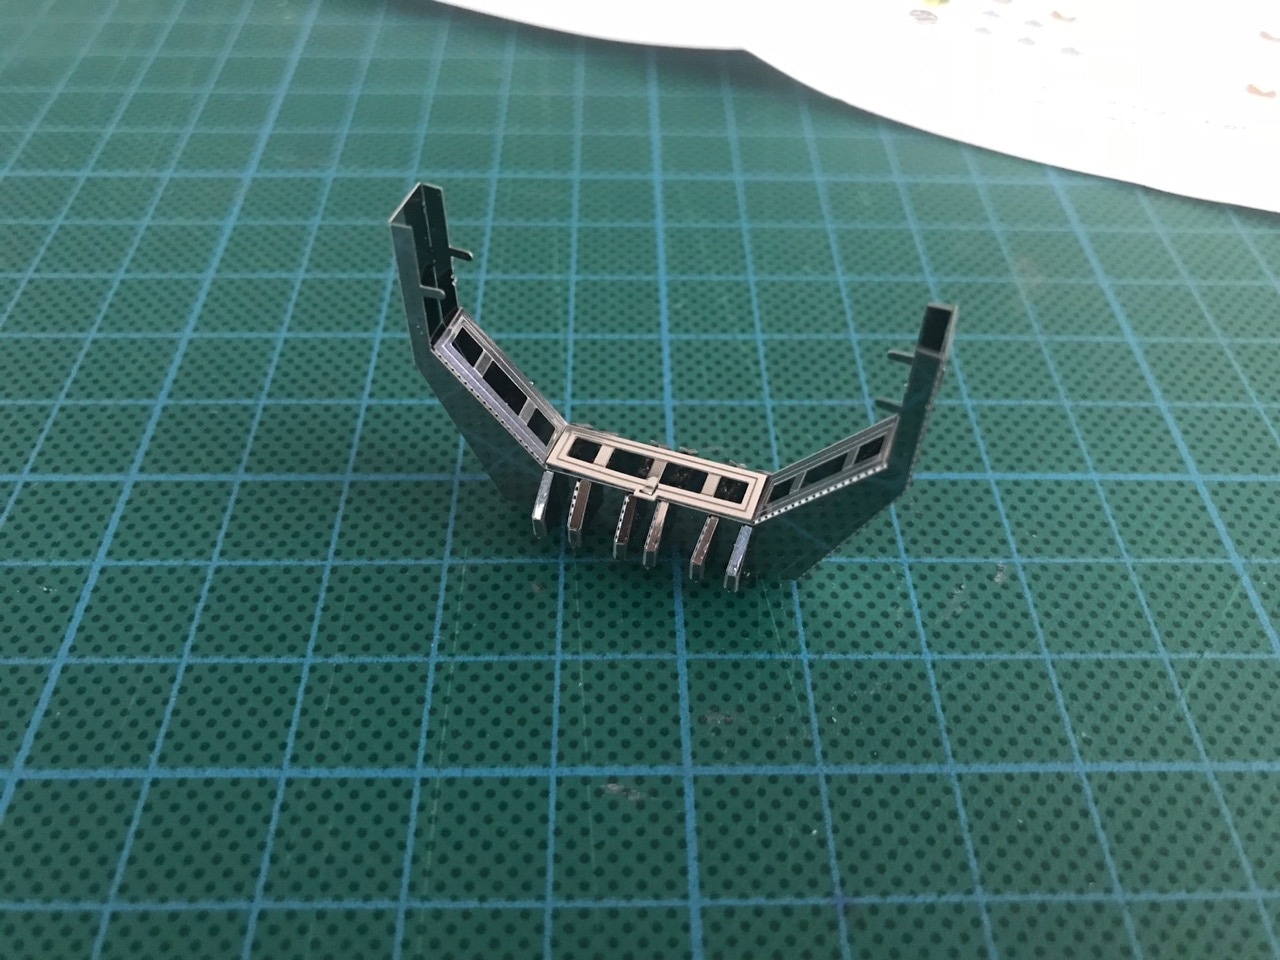
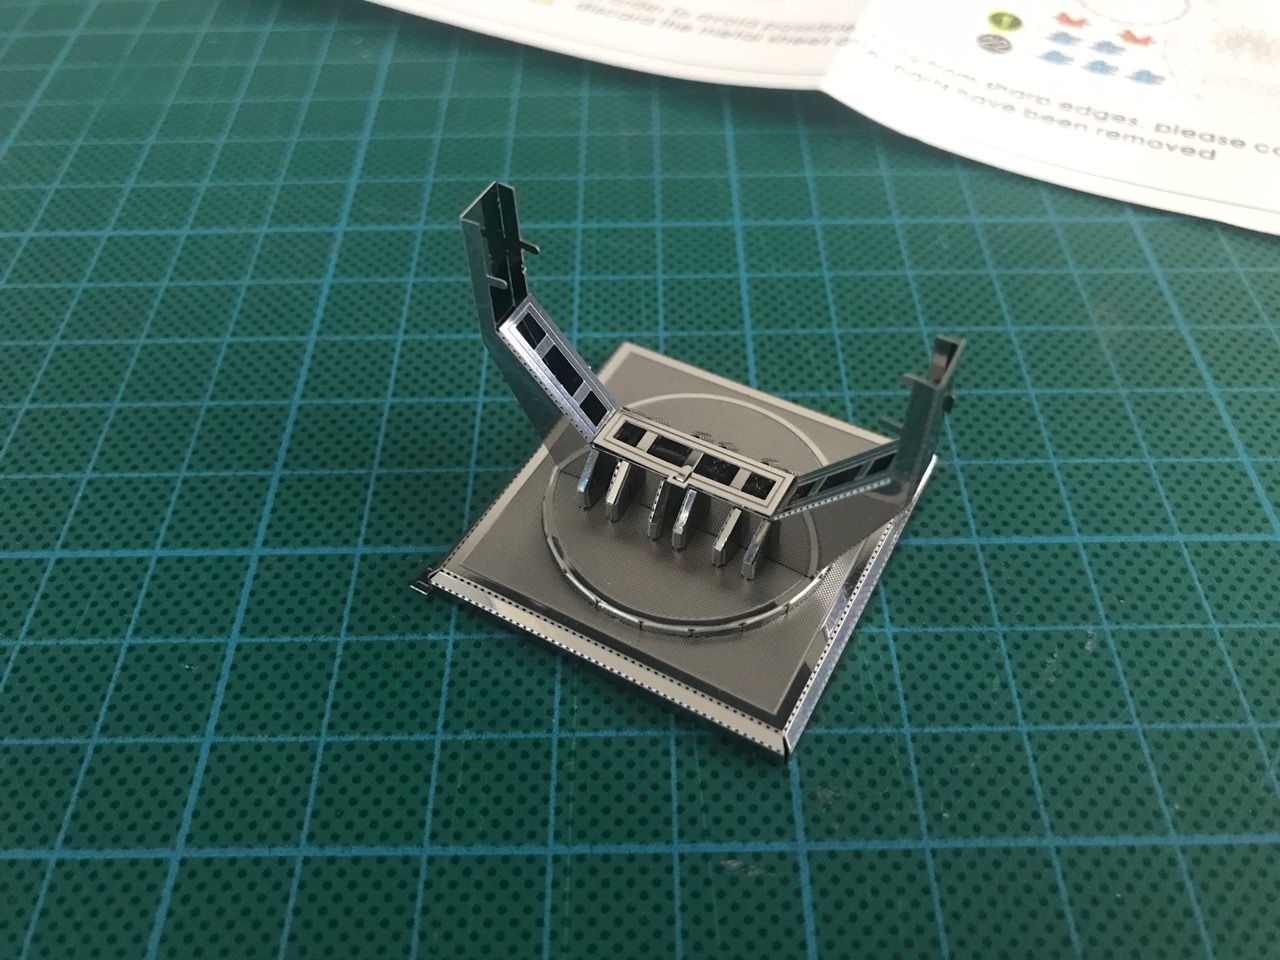
The light support structure was first to be assembled. It had 12 very tiny parts jotting out of it (6 per side), but these were fairly easy to assemble.
The support structure was then attached to the base.
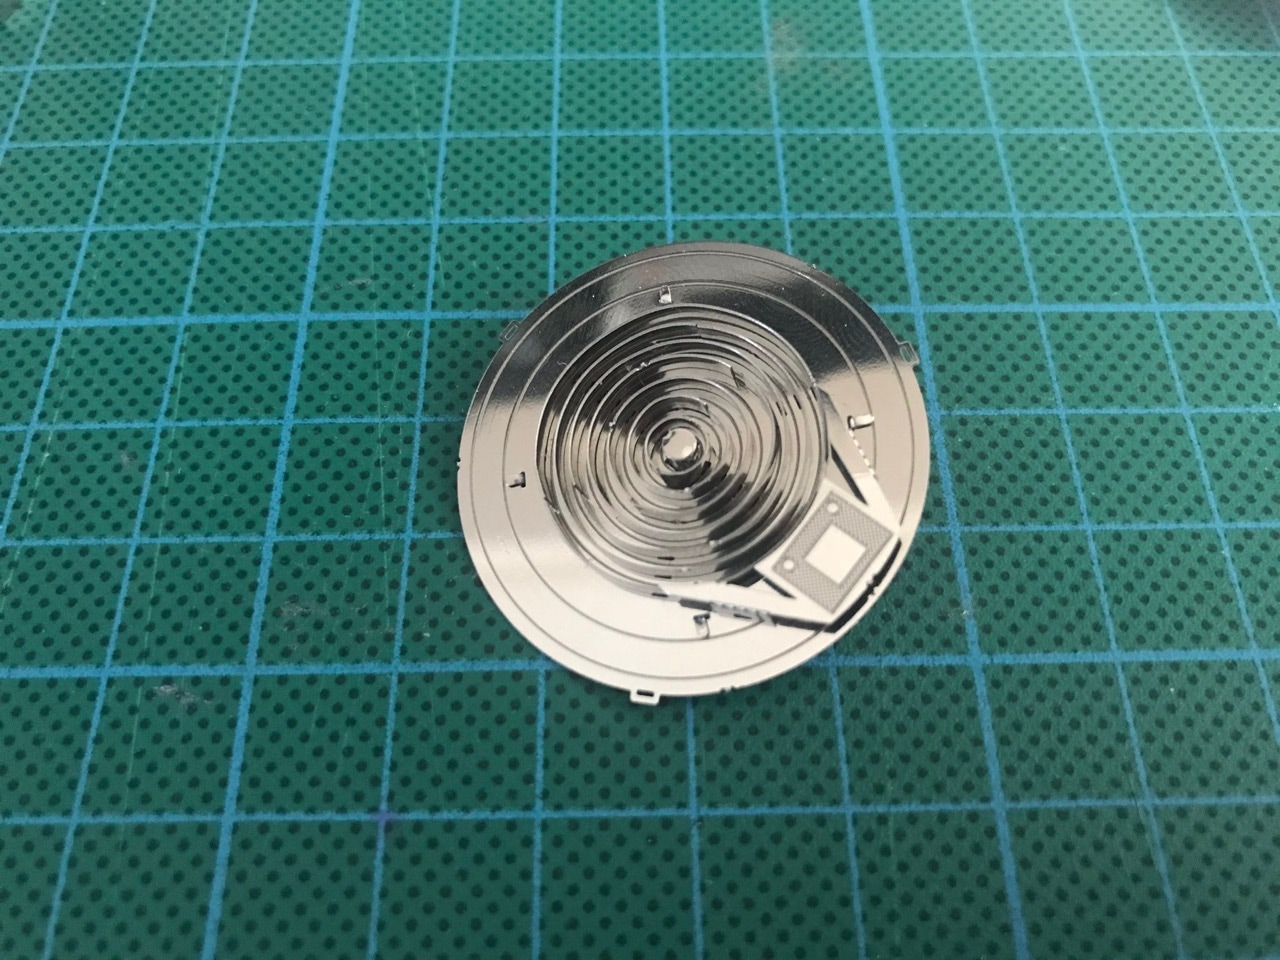
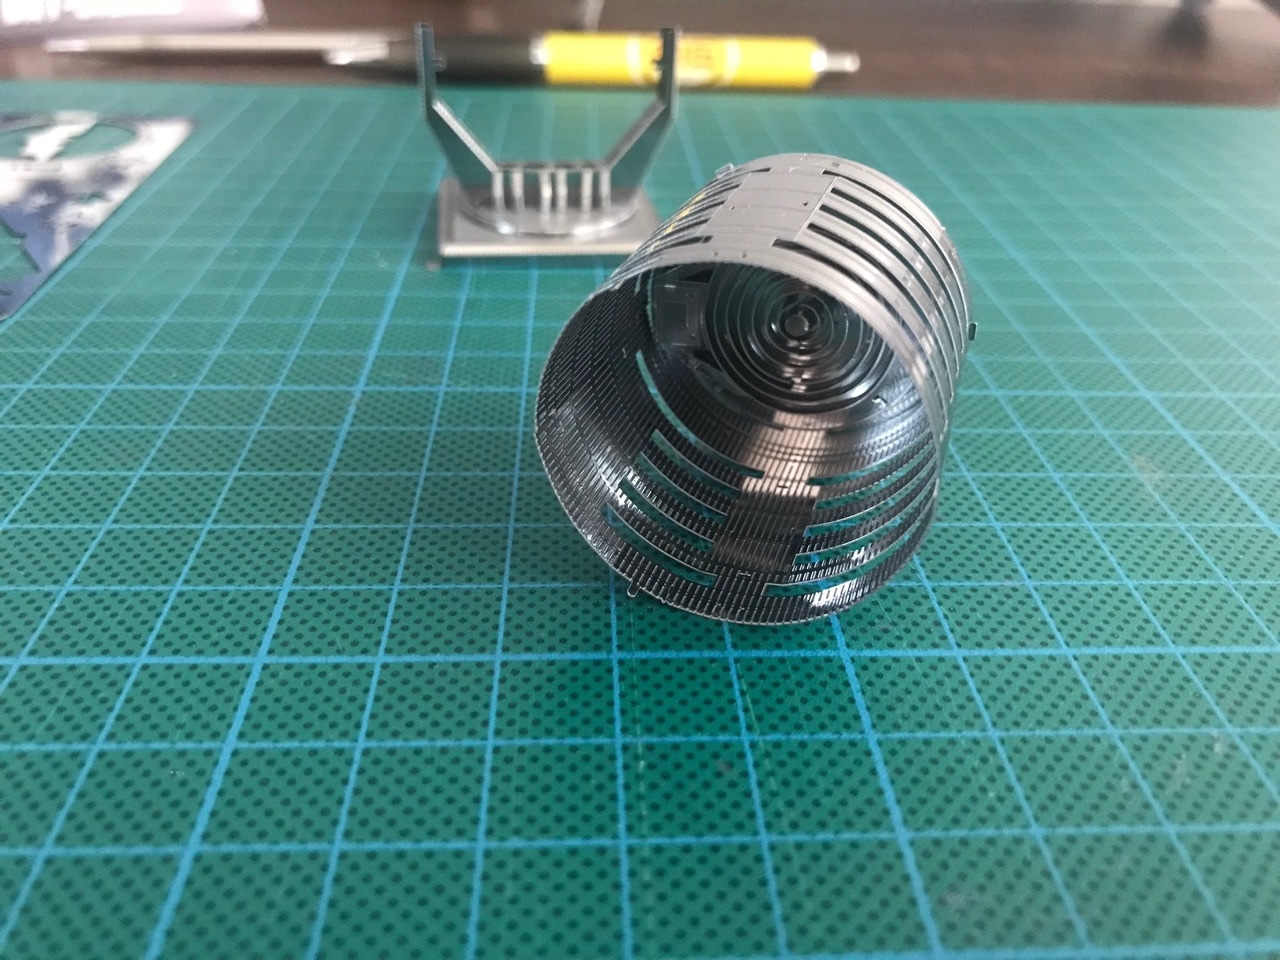
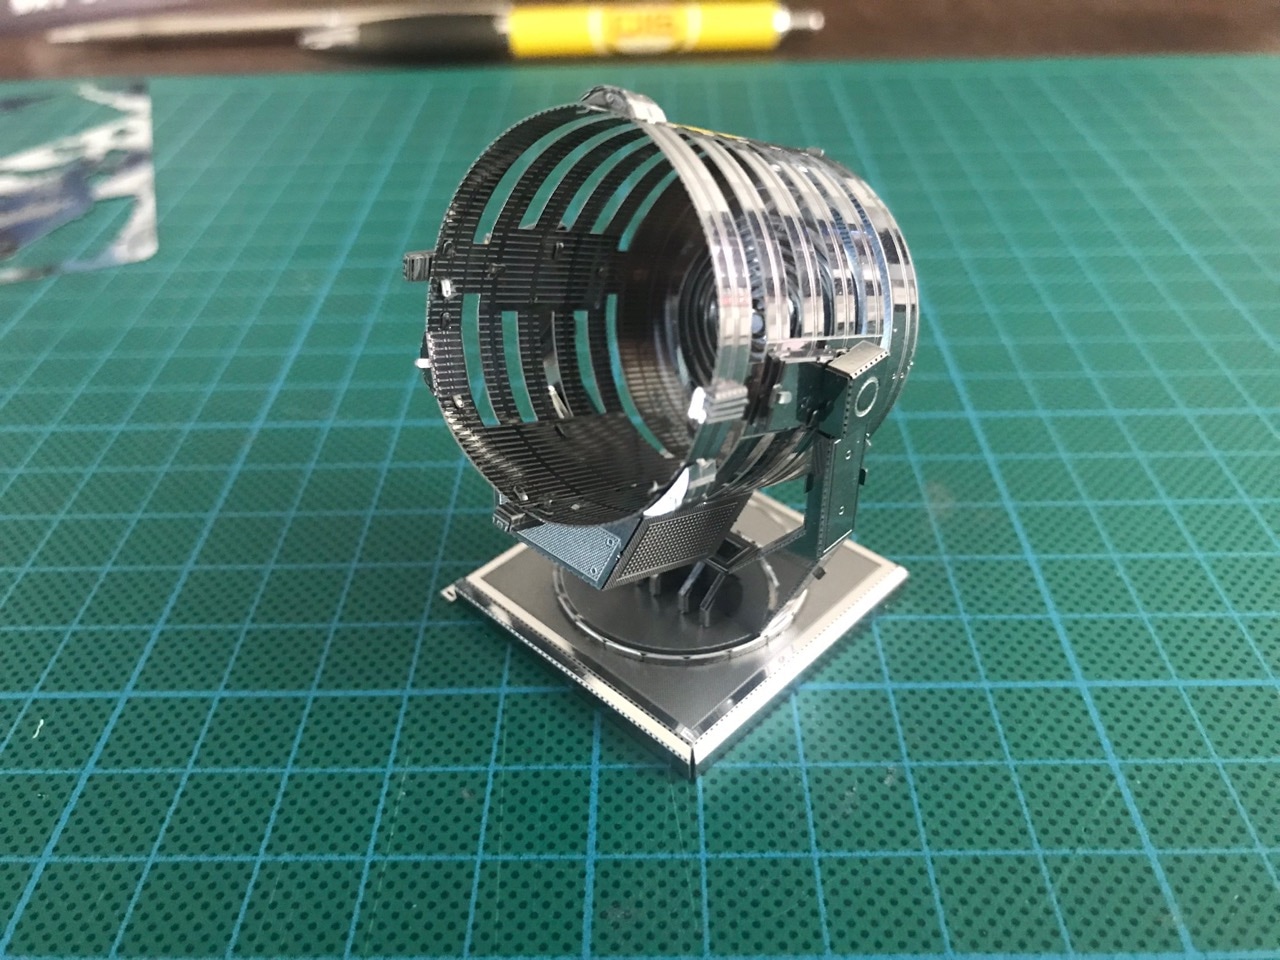
The light/lens part that sits at the bottom of the light tube was where all of those straight strips had to be bent into concentric circles and took the most time to put together by far, compared to the rest of the kit. The rear portion of it had a nice design - a conical shape that covered where all of the circular strips from the opposite side had their connection tabs.
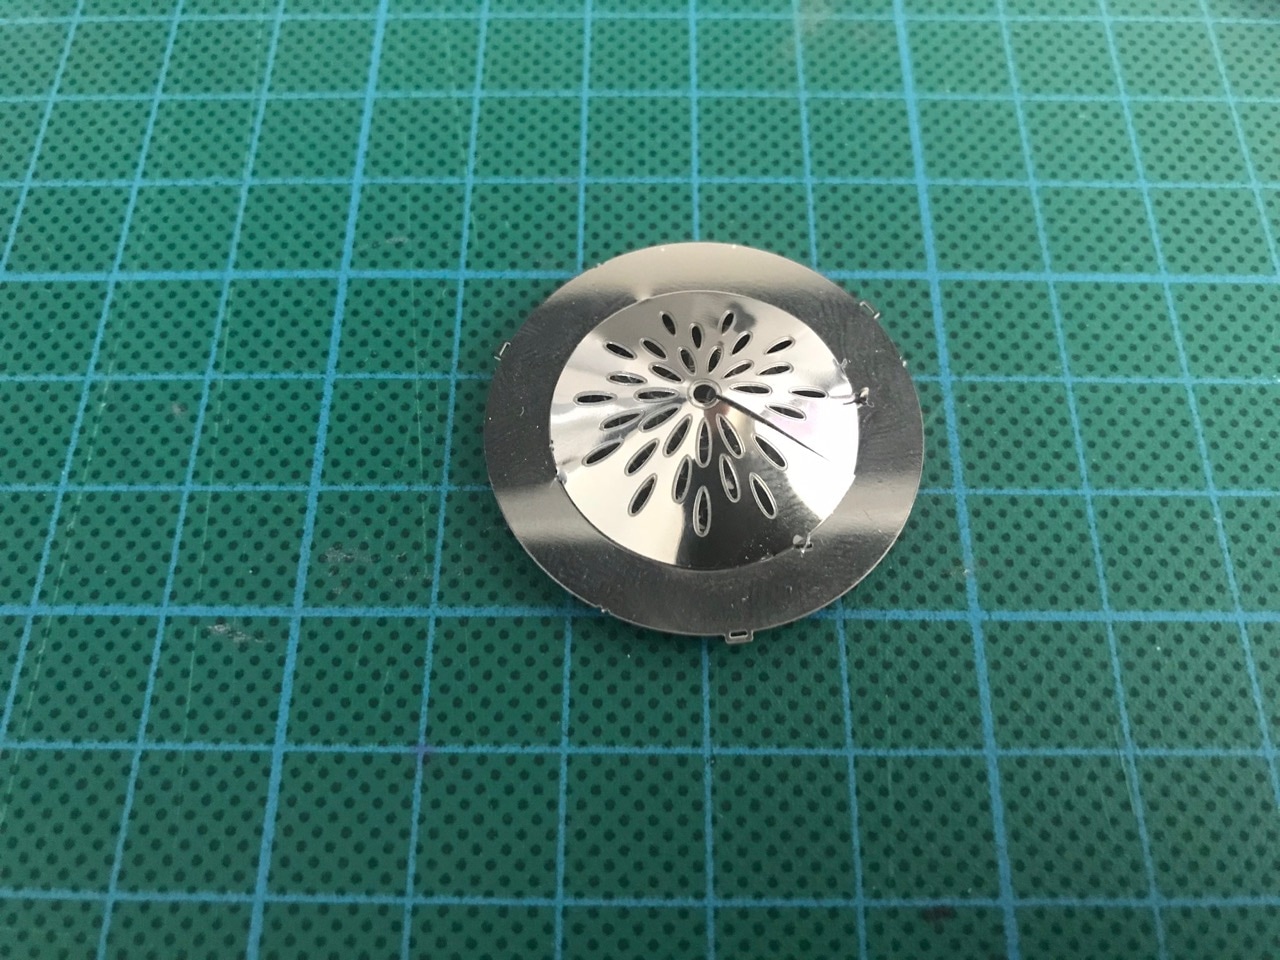
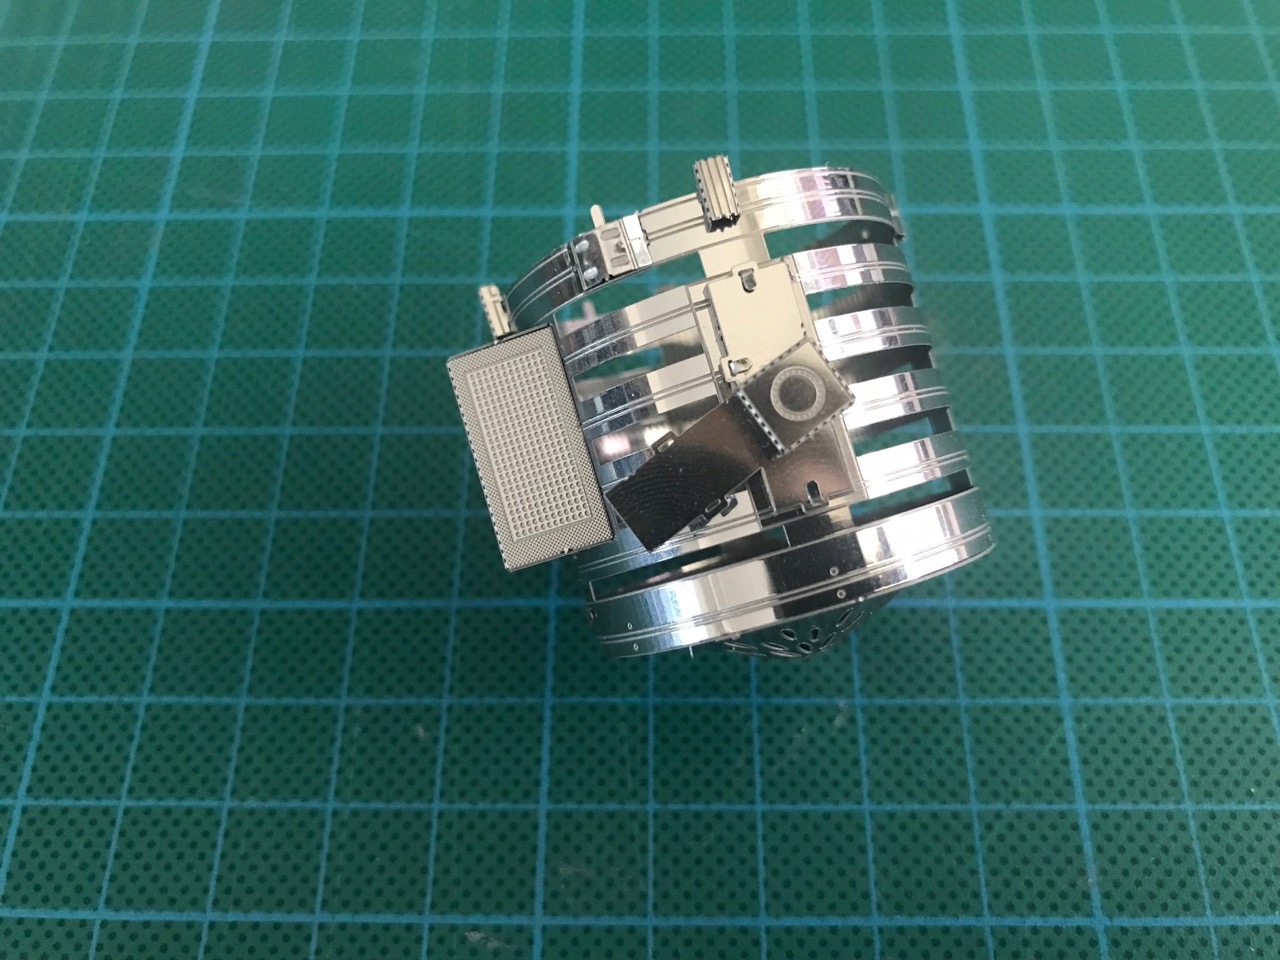
The main body of the light assembly was easy to put together and the light/lens portion was attached to one end of it. Then the bottom and front details were attached afterwards.
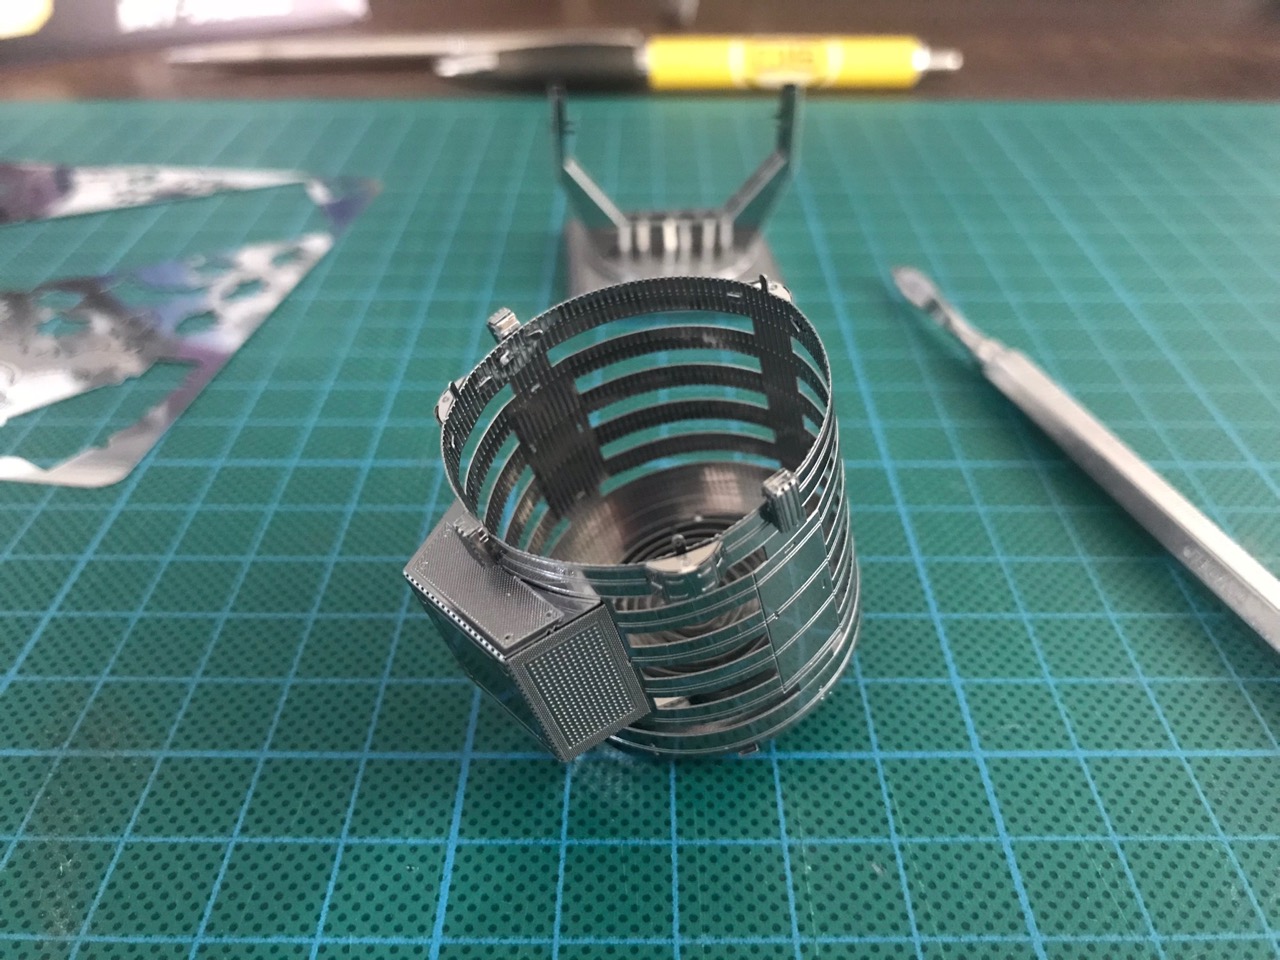
The side supports had me stuck for a little while because at first I assembled them incorrectly. Be careful with the positioning of the long strips here, they can only fit one way.
Once attached to the base, the Bat-Signal was looking almost complete!
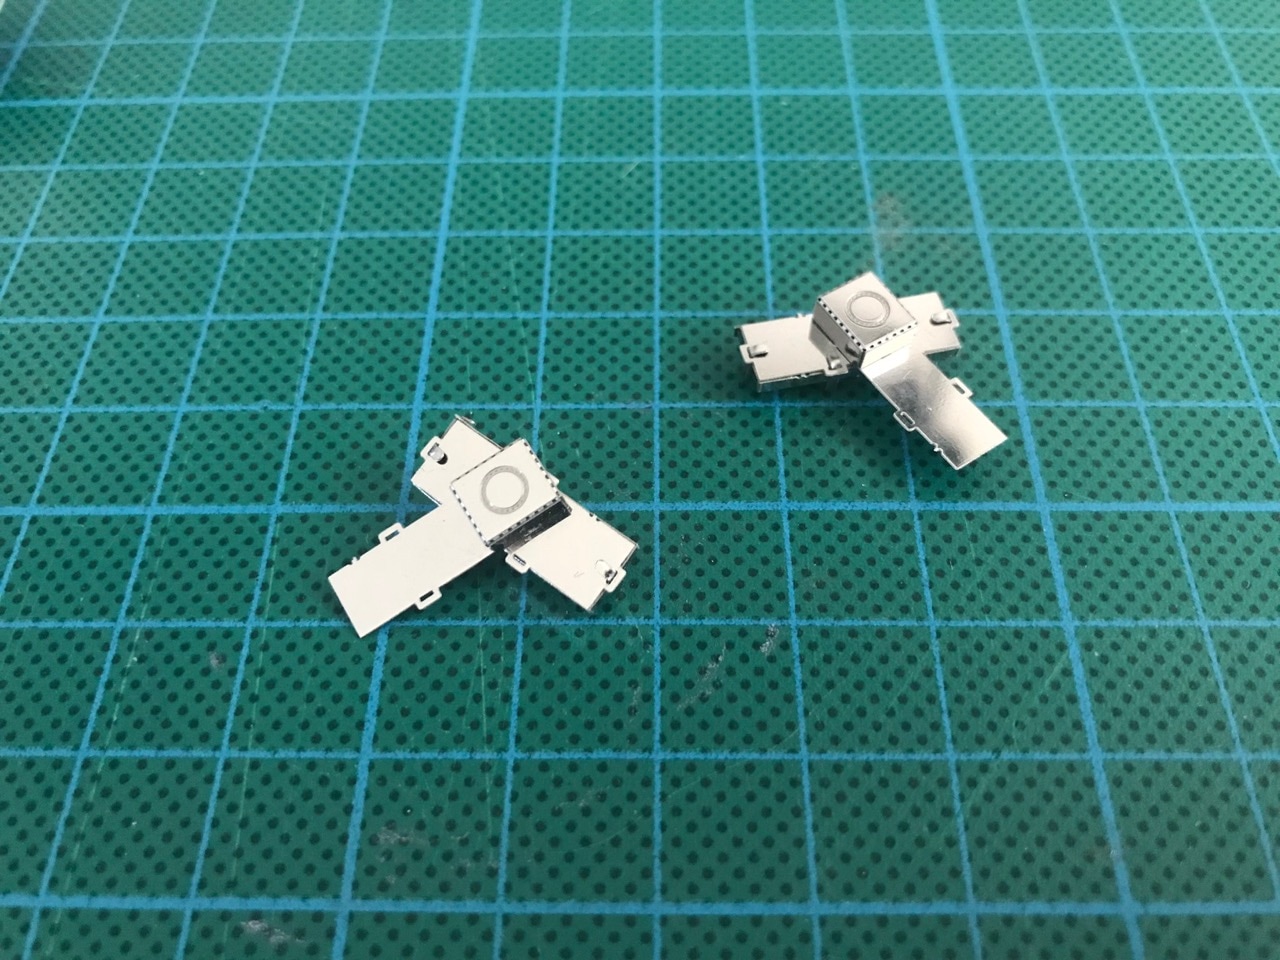
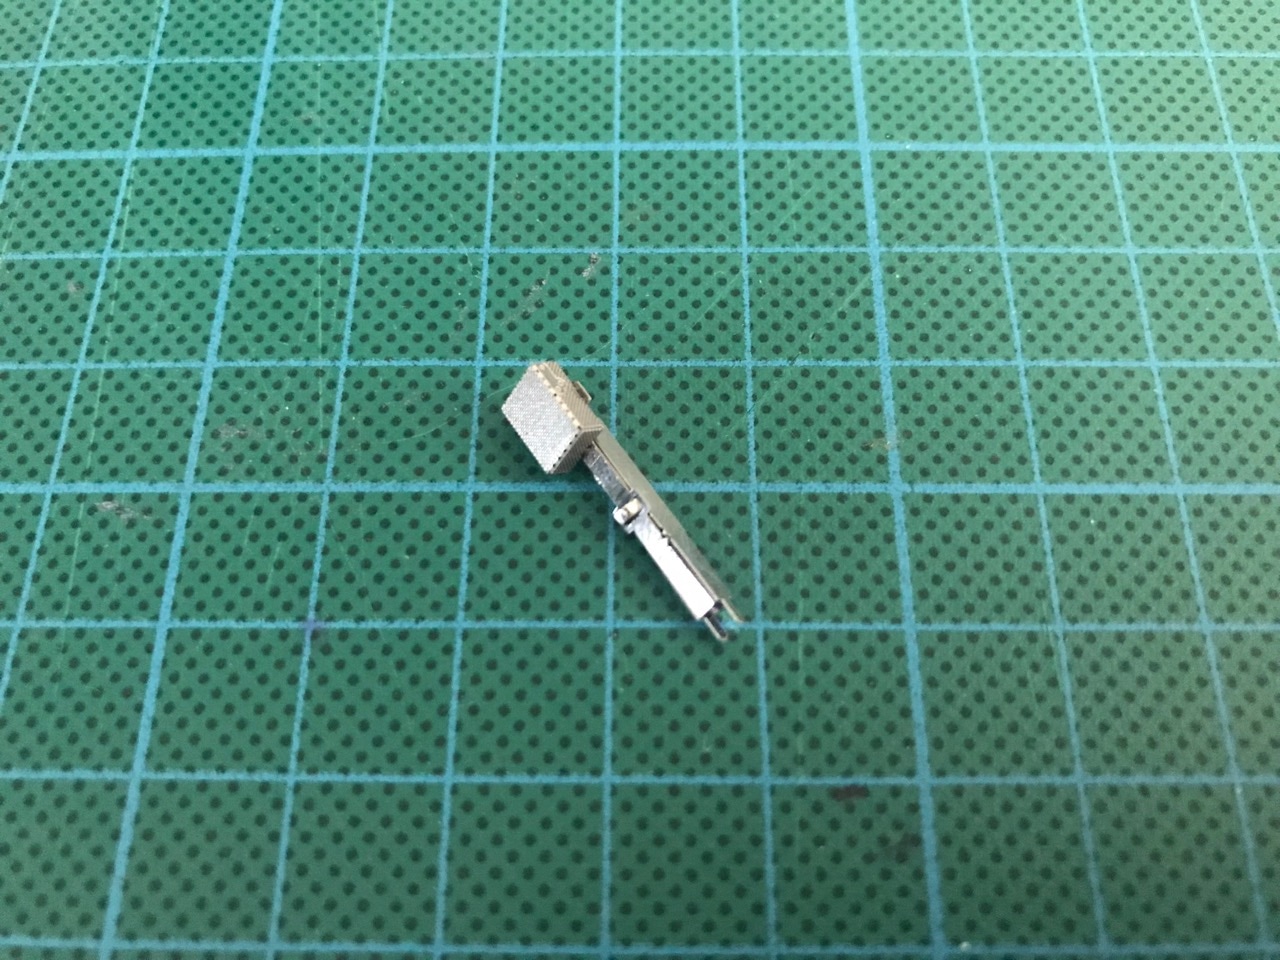
The only parts left to go were the Bat symbol and the operator controls.
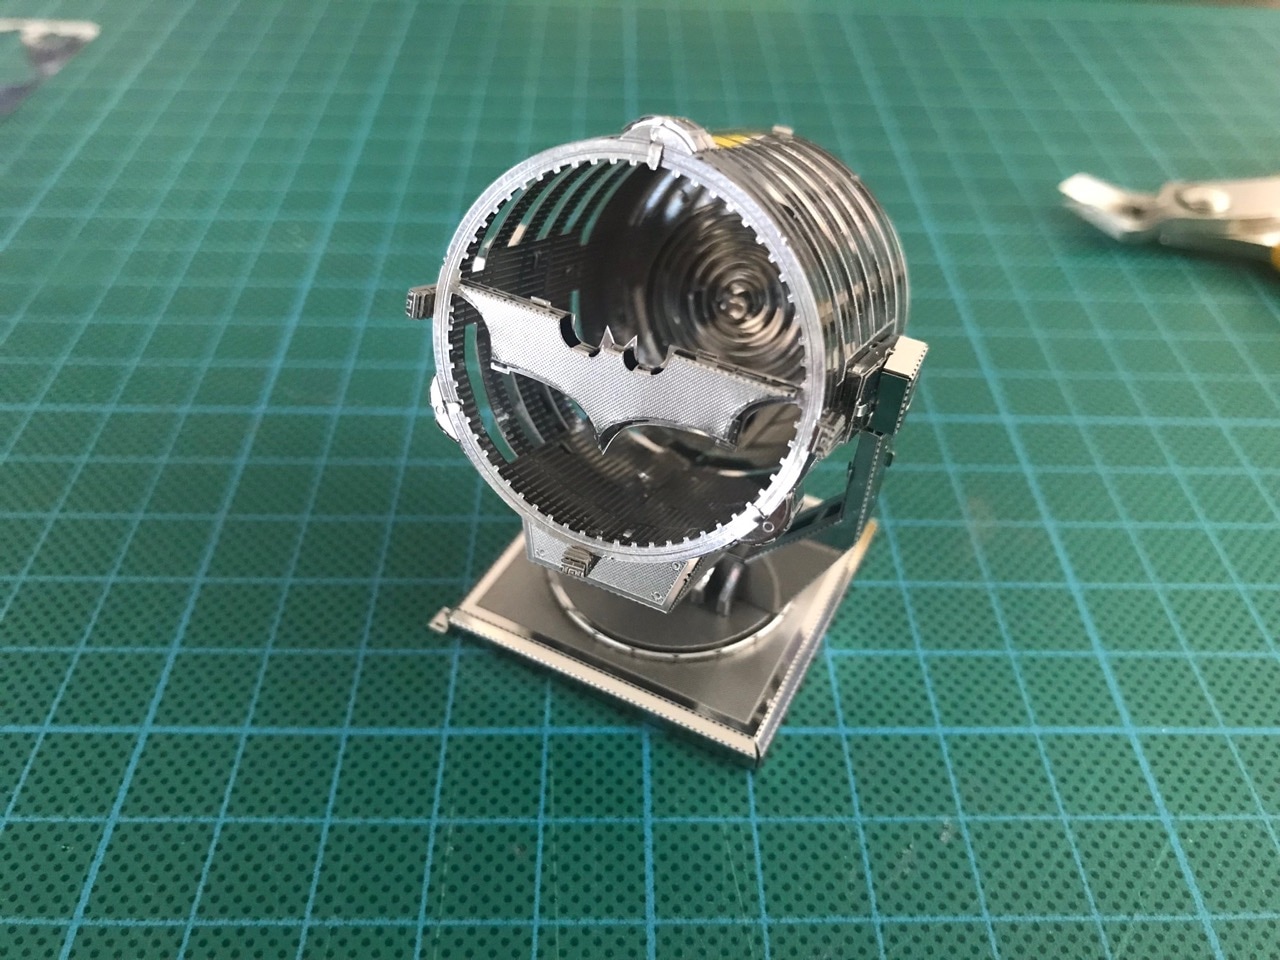
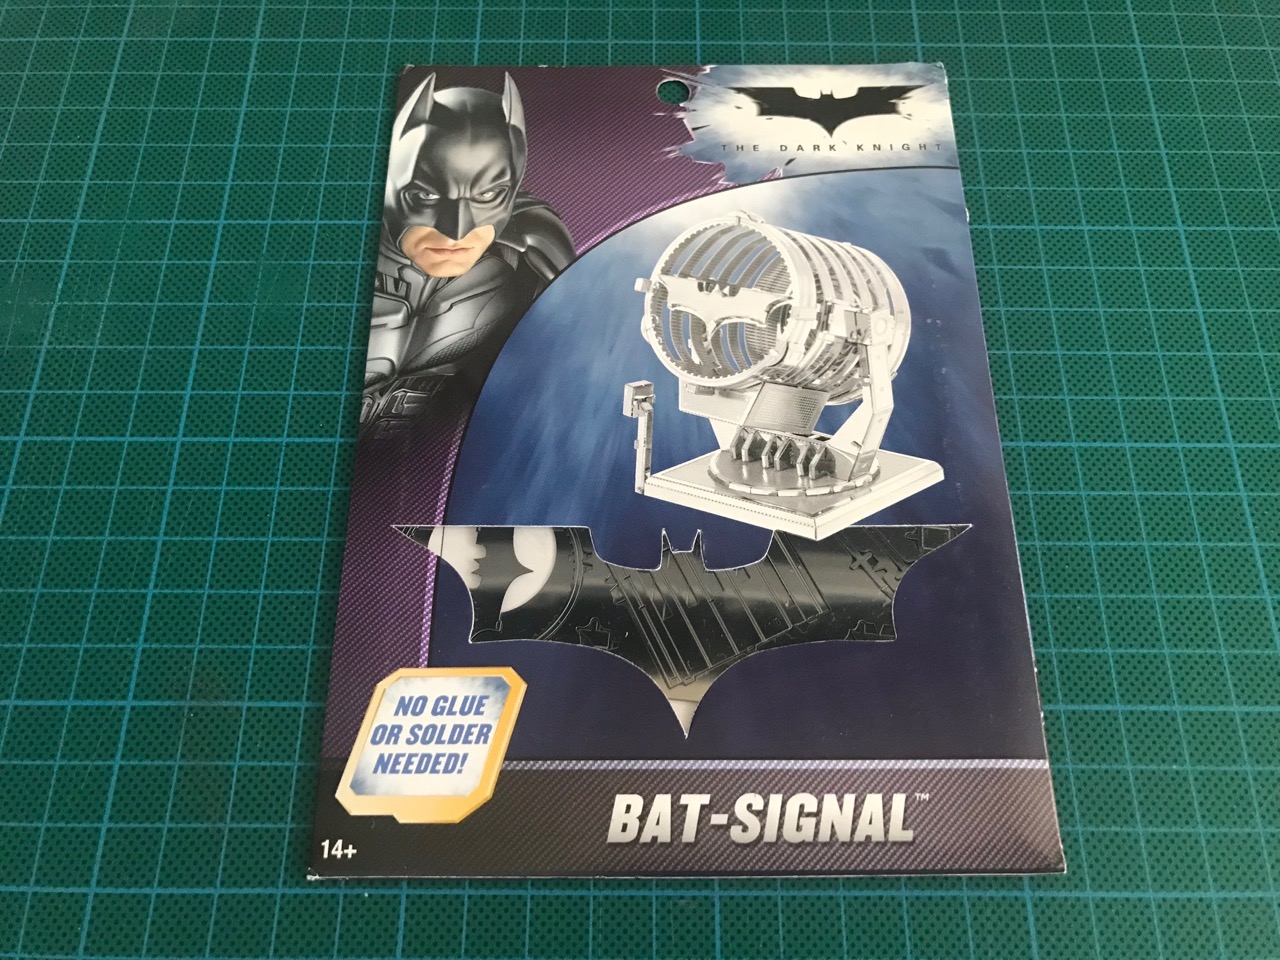
That was it! A very simple kit to assemble, but it looks very nice on display with the rest of the kits I've put together so far. If you want to see a time-lapse video of the assembly, it's just below...
-i
