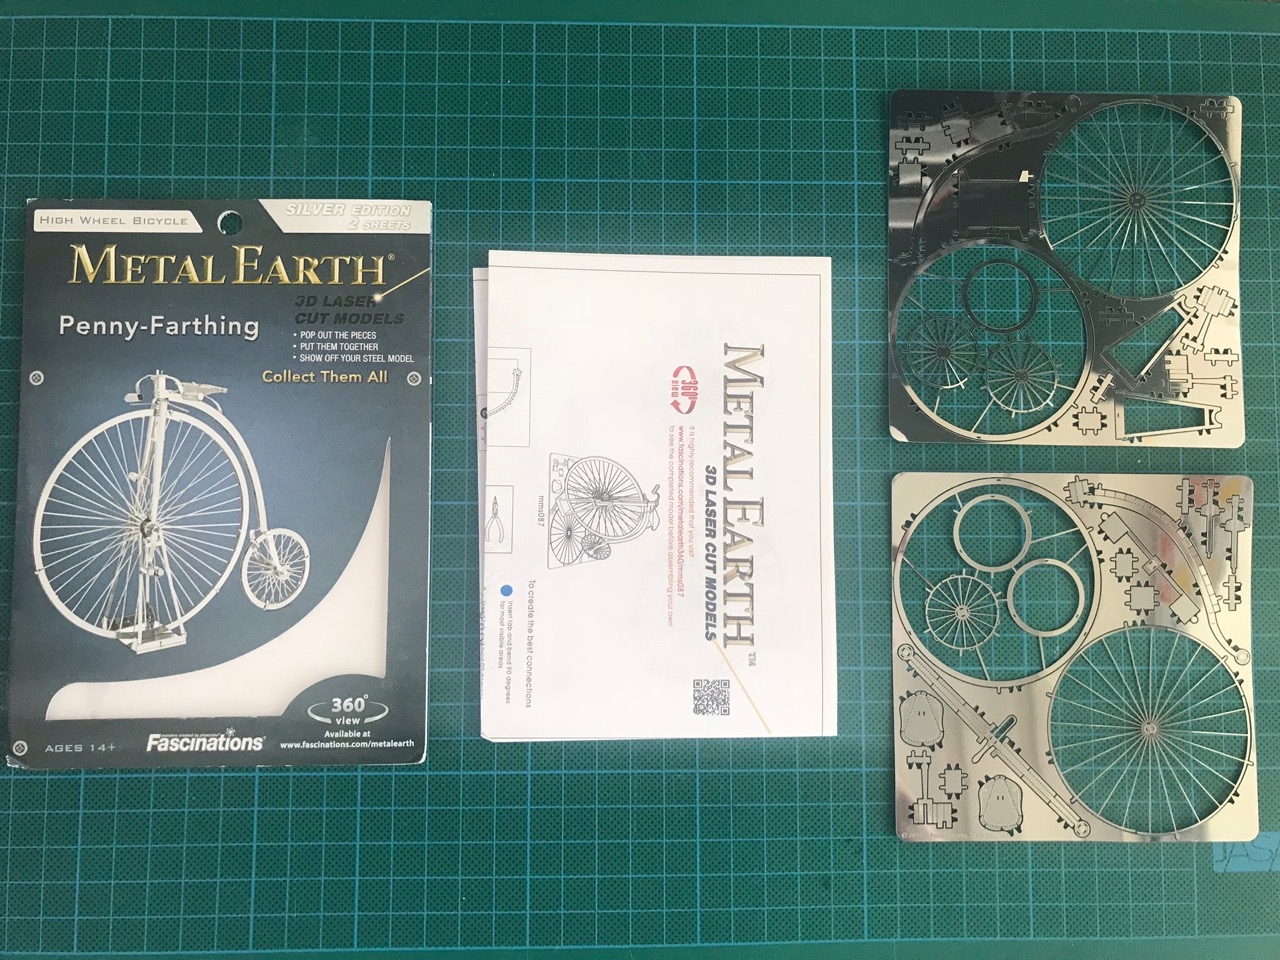
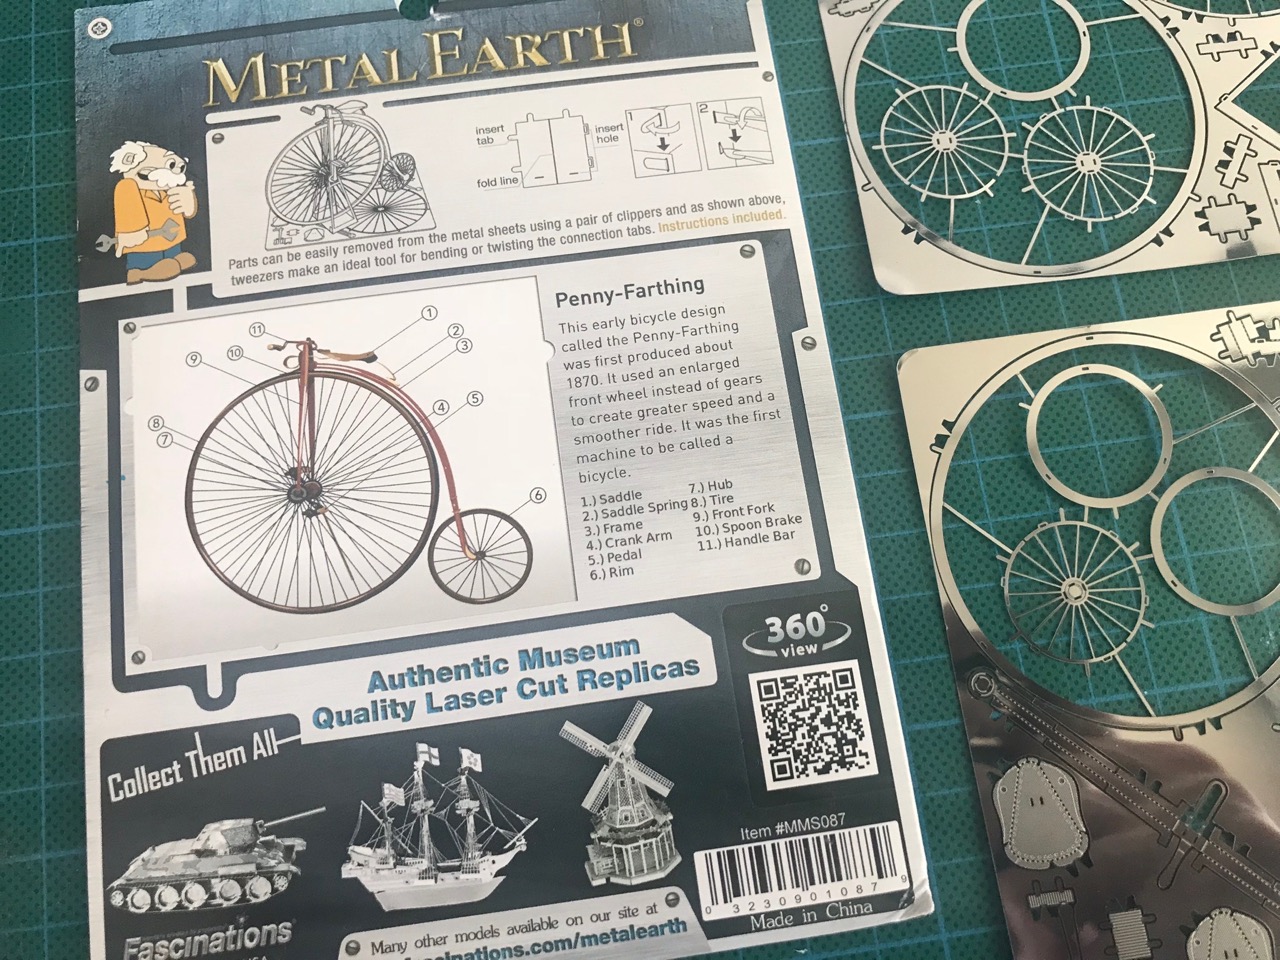
This kit had two sheets of laser cut metal, which was expected given how large some of the wheel pieces were. There were quite a few redundant pieces left in the end as well - I guess those sheets had to be filled with something. One complaint I had about instructions for this kit was that same type of pieces were not coloured the same in the instruction booklet like they are on other kits. There was a nice touch on the packaging though - the design of a Penny-Farthing was described on the back with a little historical blurb to go along with it.
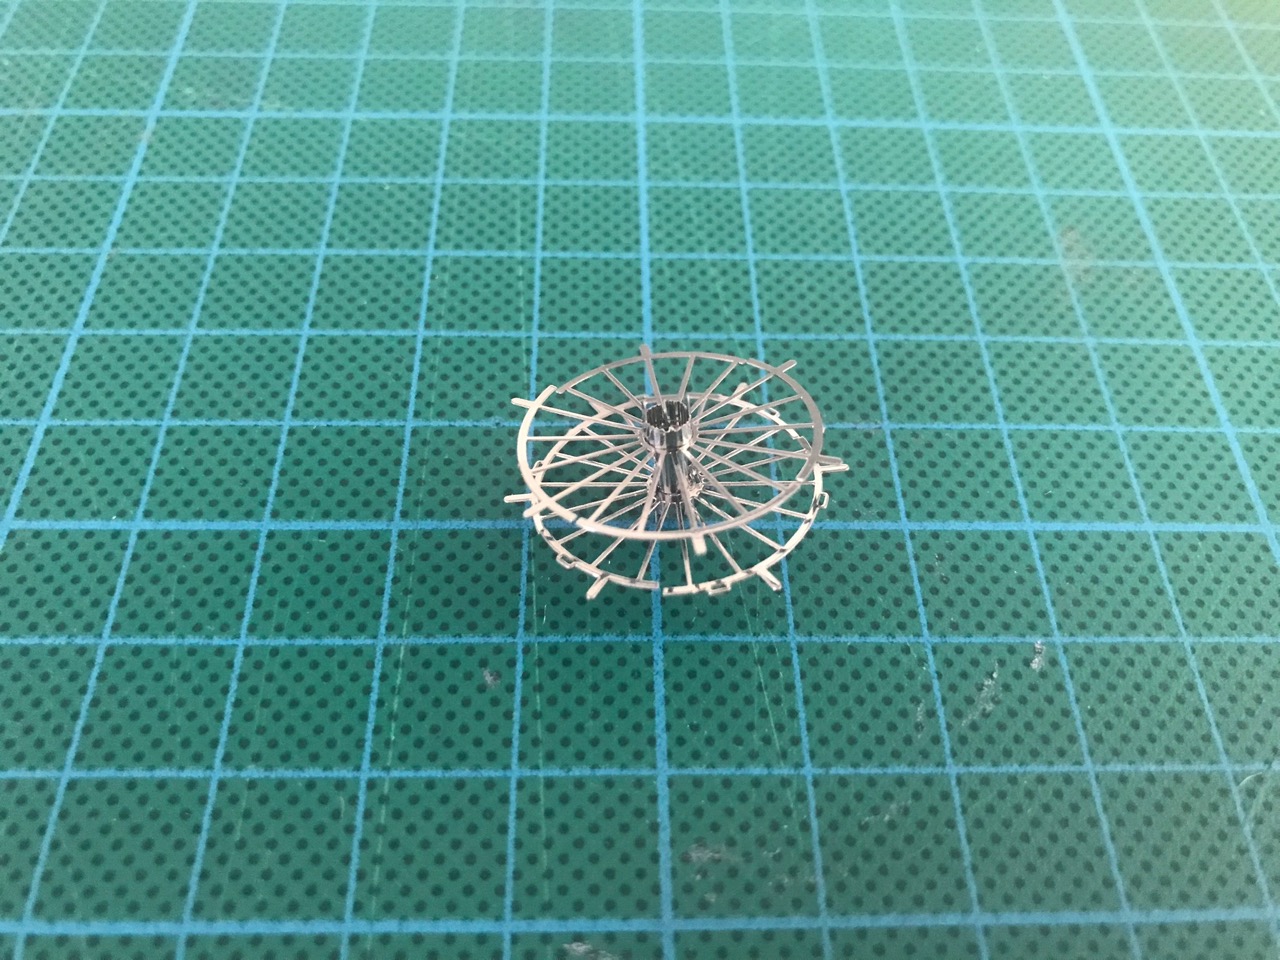
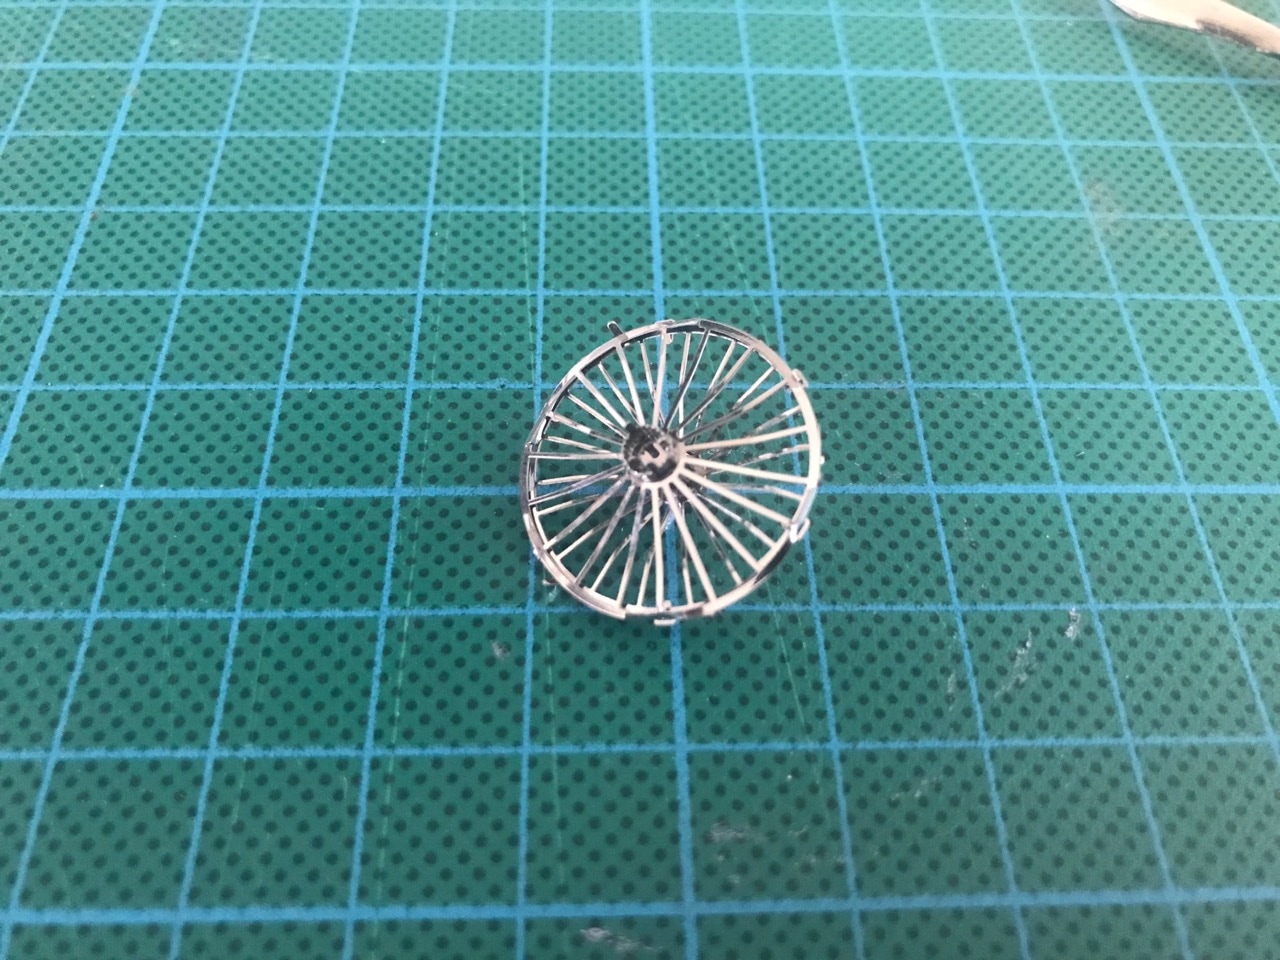
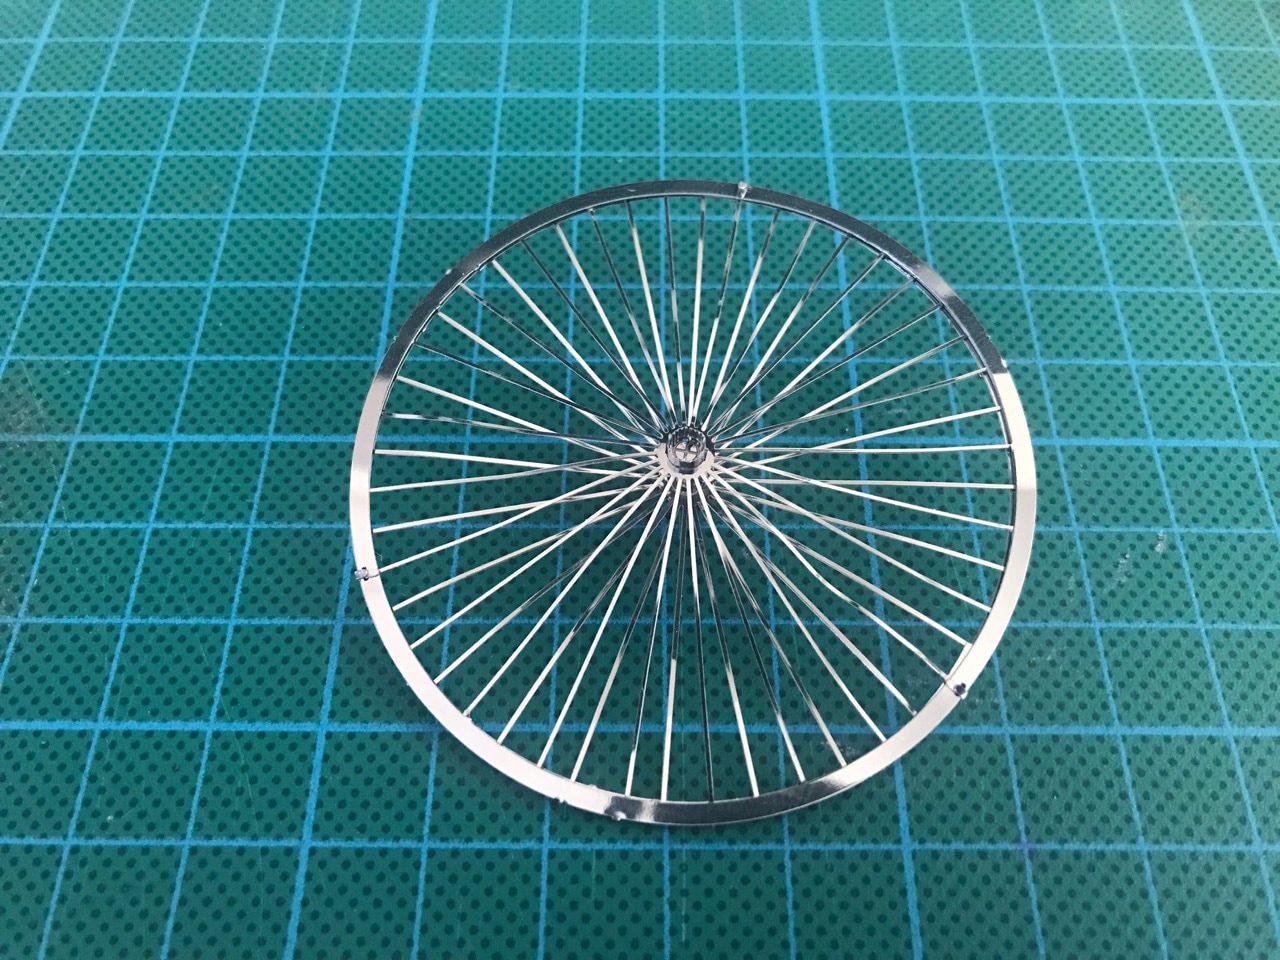
The smaller wheel was first to be assembled. Those pieces were very delicate, each of the spokes was extremely thin and easy to bend out of shape. In the end the two parts came together to make the full wheel with a rim/tyre portion.
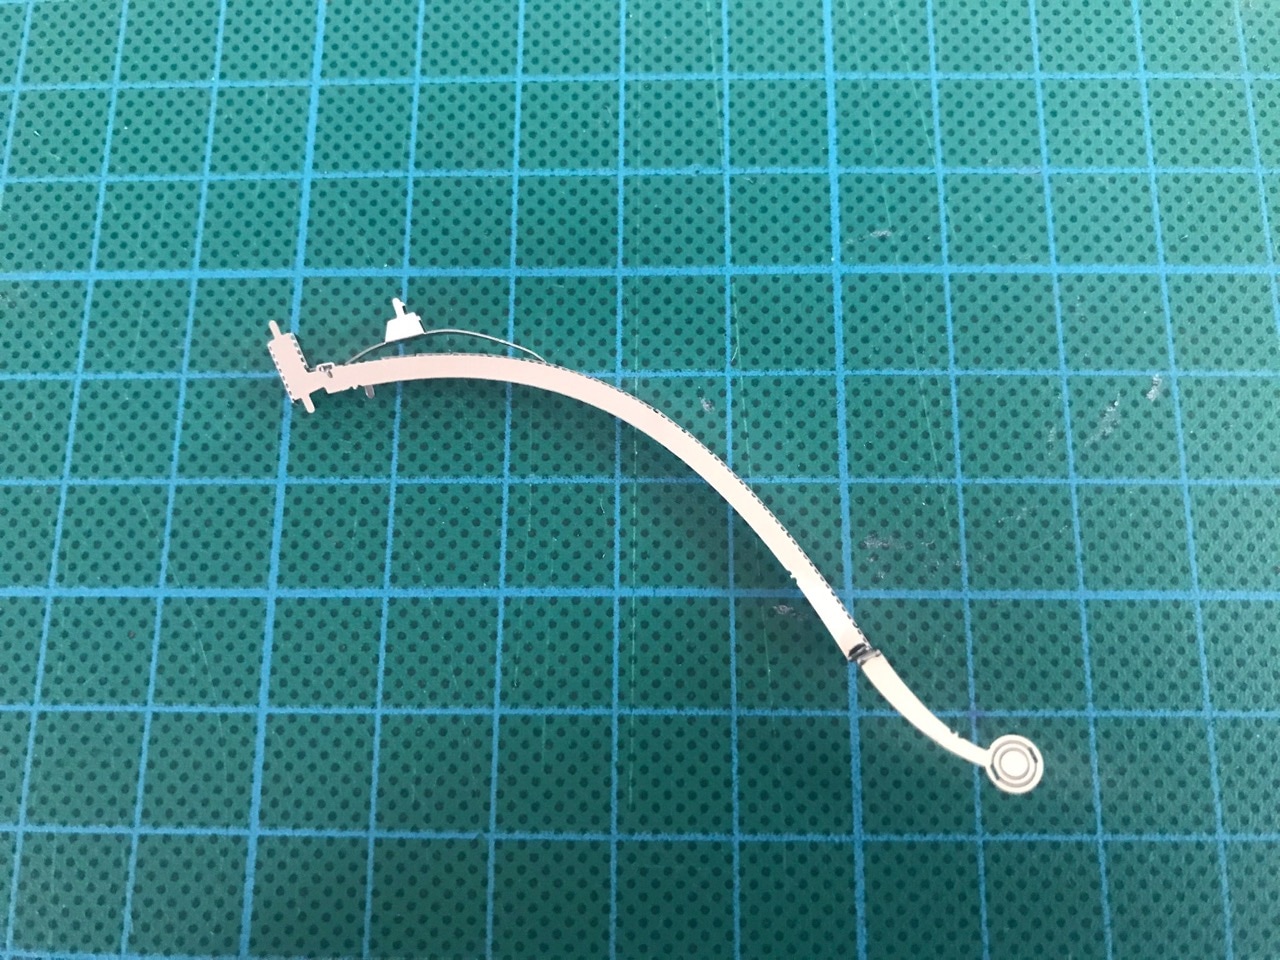
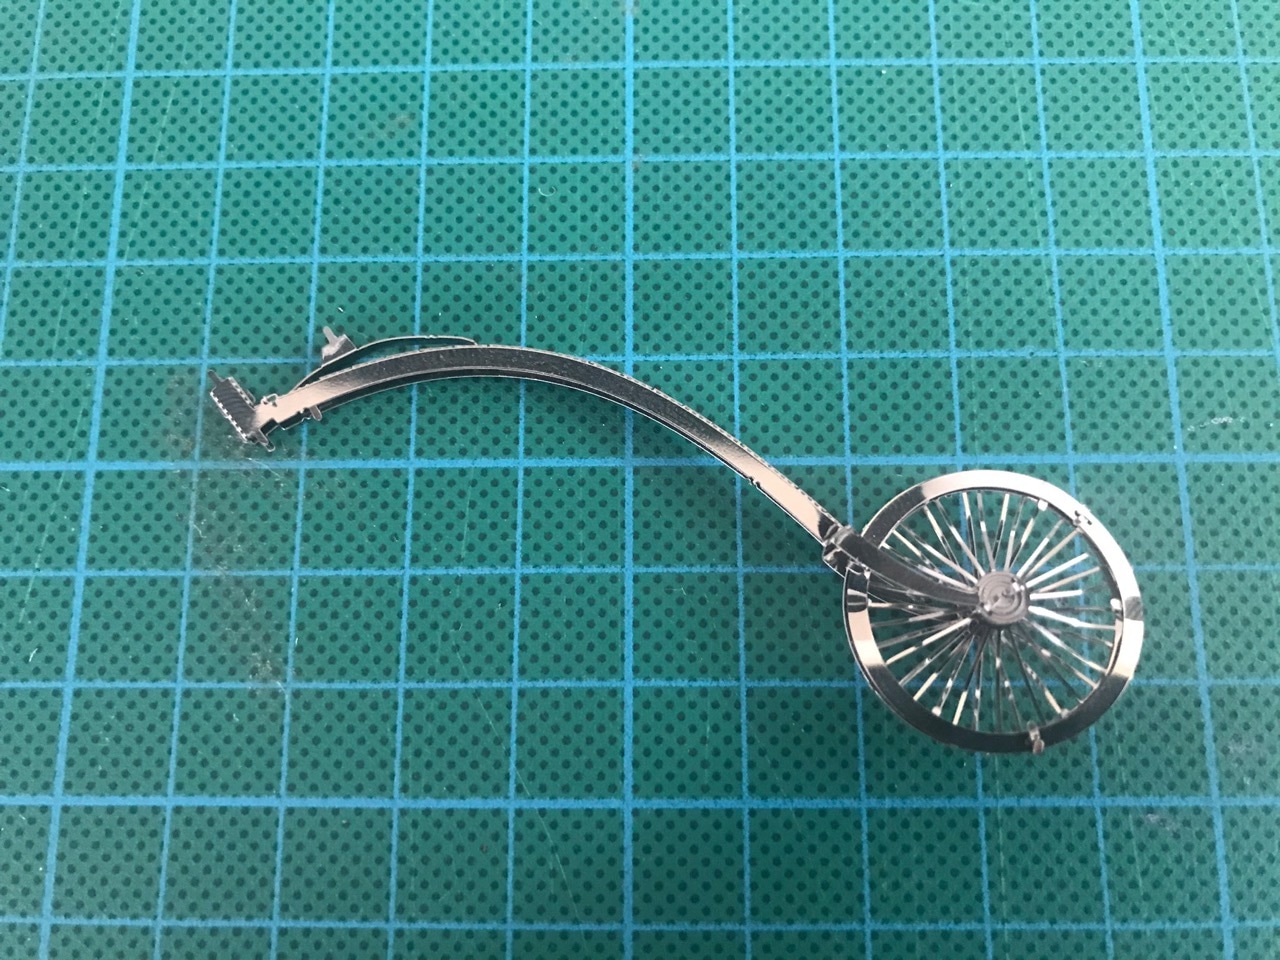
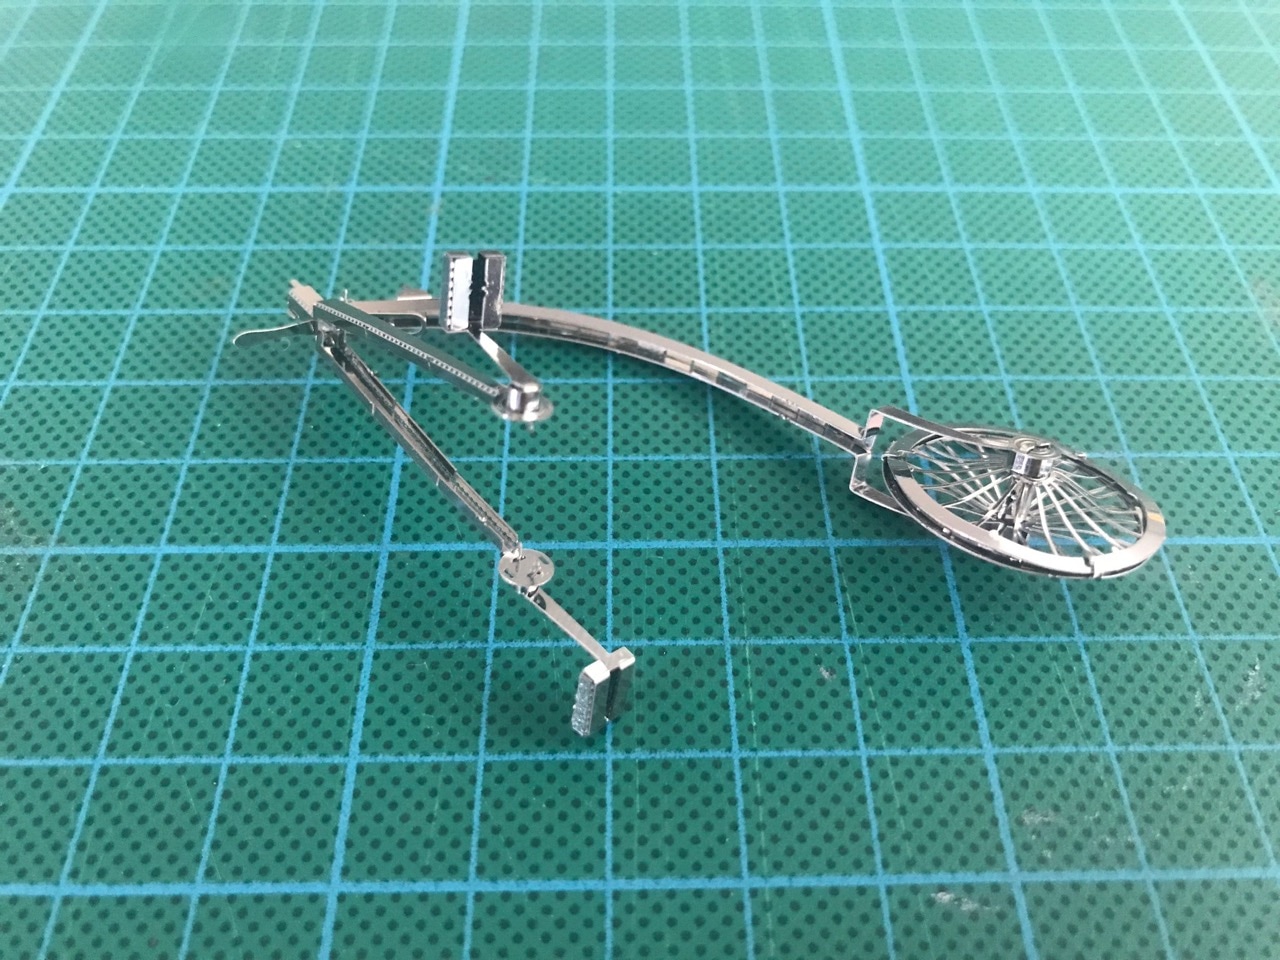
The frame was next. It didn't have a lot of pieces and the small wheel attached to it as a permanent fixture. As expected from a Metal Earth kit, the wheel didn't spin.
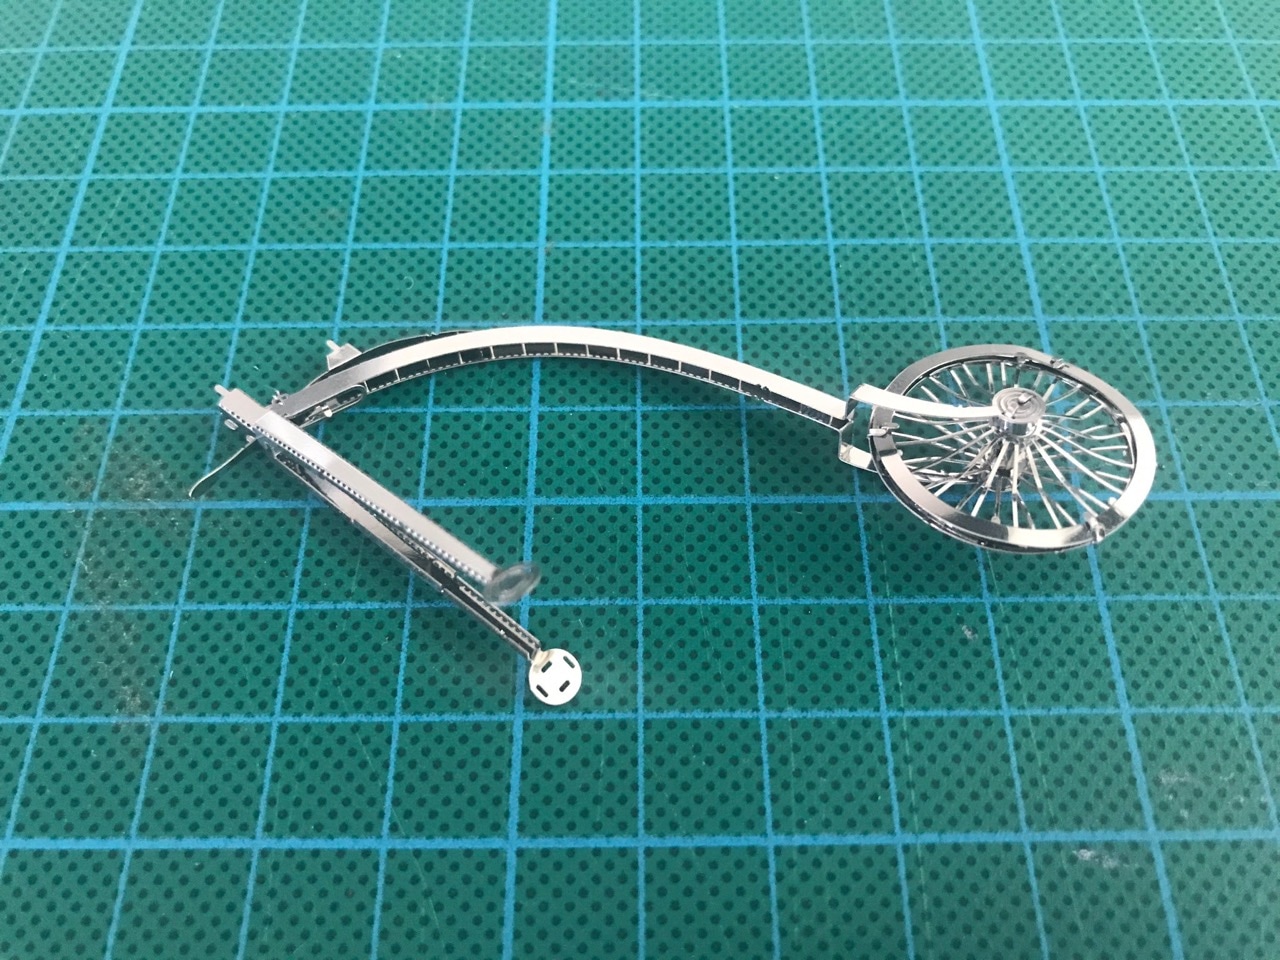
The front forks and pedals were next on the assembly line. I actually quite liked how the pedals looked here, it was too bad they were set in place just like the wheels.
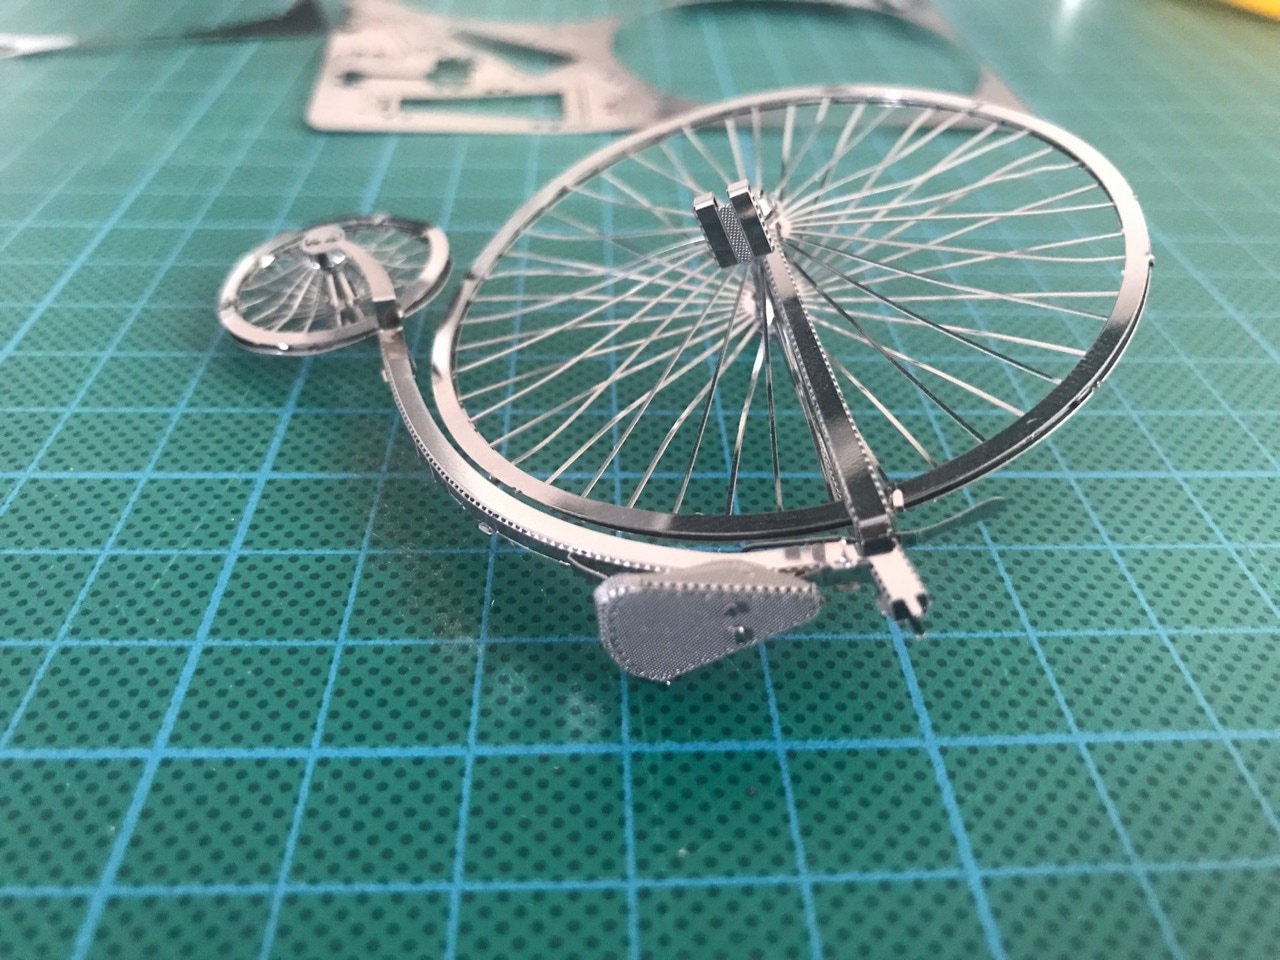
The large front wheel was next. Its assembly was more or less identical to the smaller wheel, just scaled up a factor. I bent quite a few spokes out of shape here, oops. The wheel was attached to the front forks after its assembly, leaving only two pieces to attach.
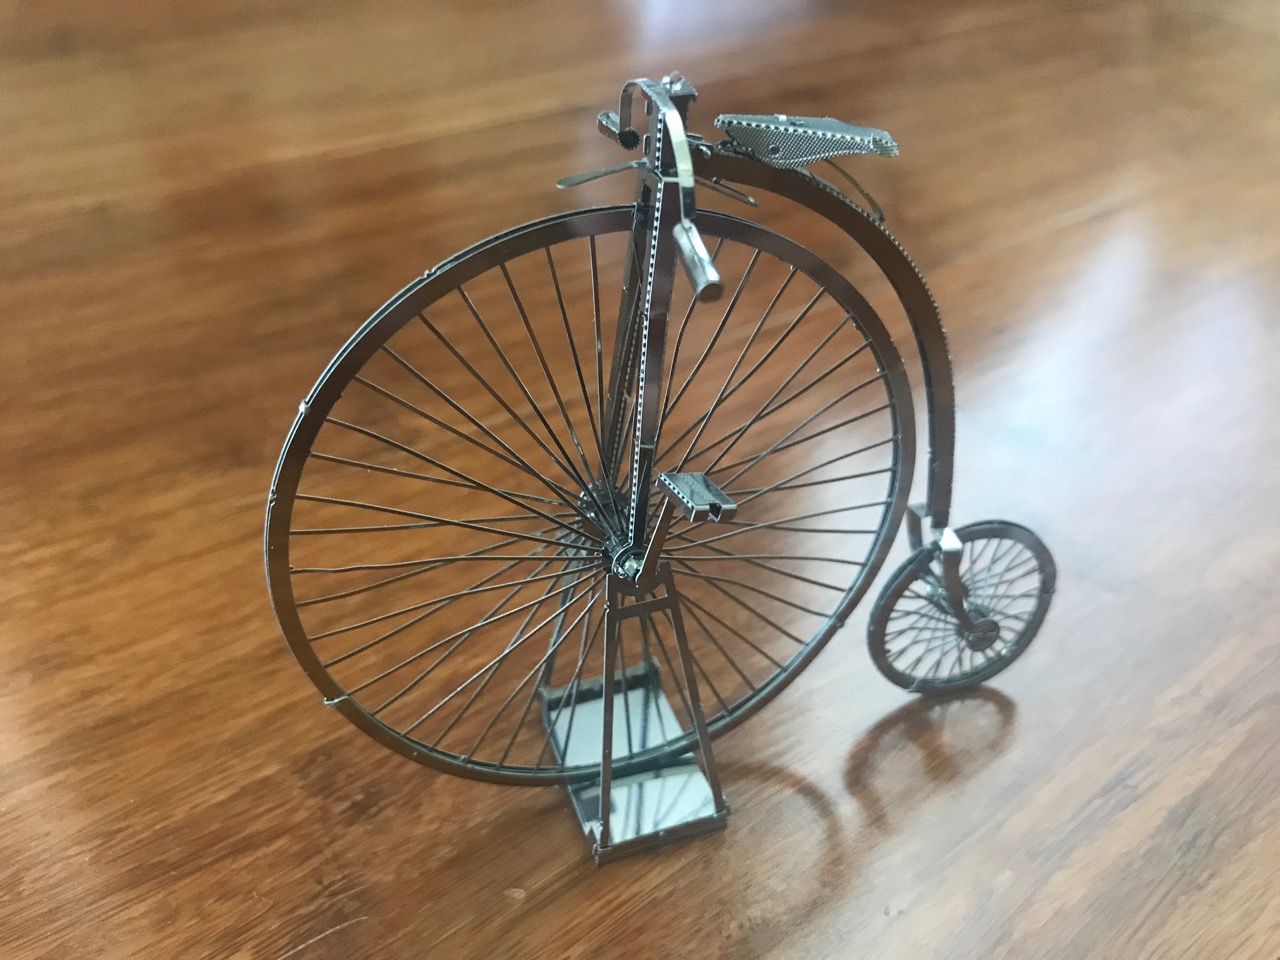
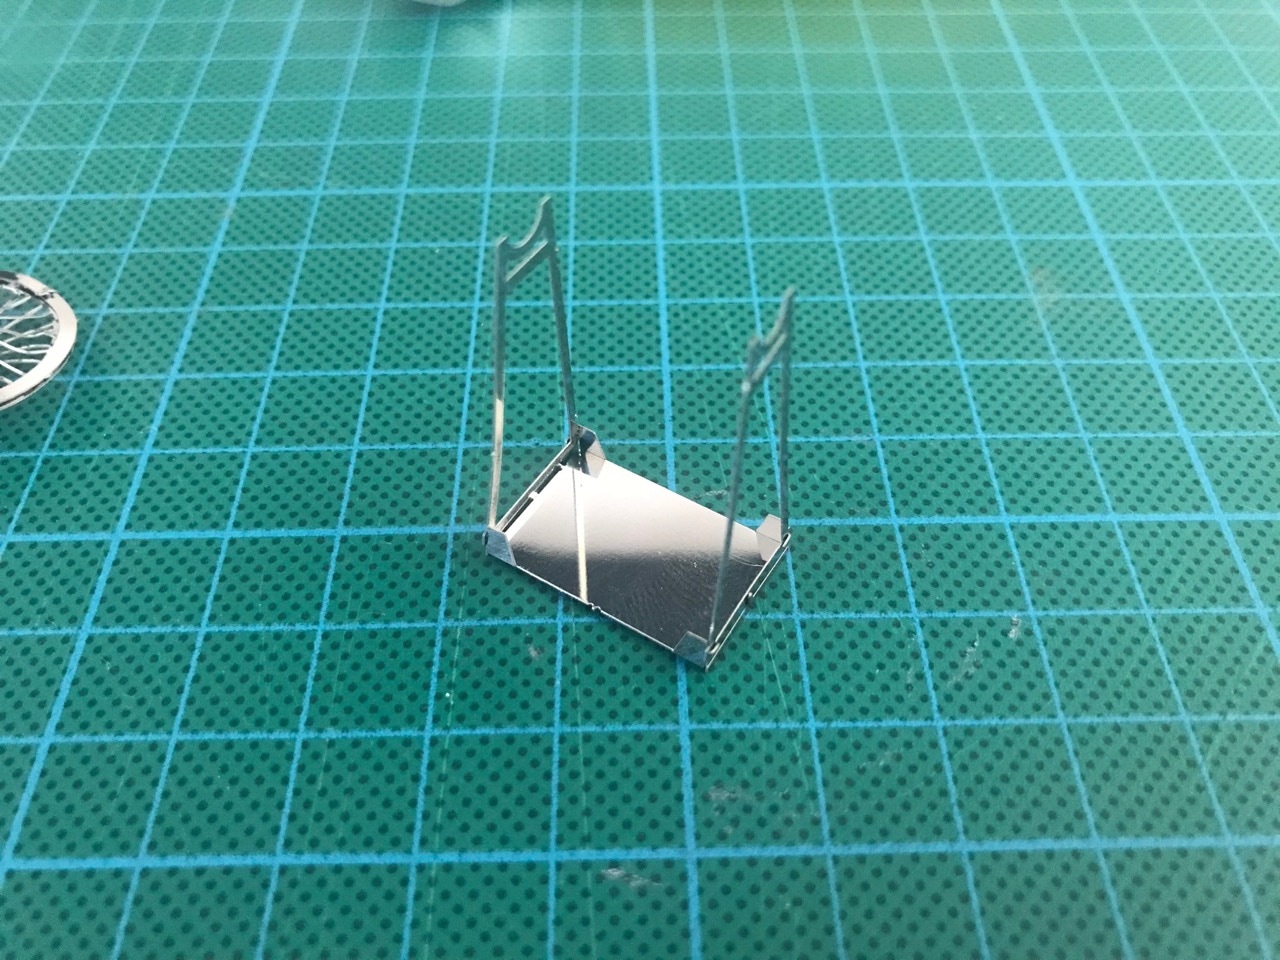
Those pieces were the handlebars and the seat. Also unlike other kits I've put together, this one had a stand that wasn't attached to the model. Interesting, but very annoying to position with all those spokes in the way! The Penny-Farthing sits on top of its stand, which fits in under the pedals.

And that was basically it! Here's a short assembly time lapse for this kit...
-i
