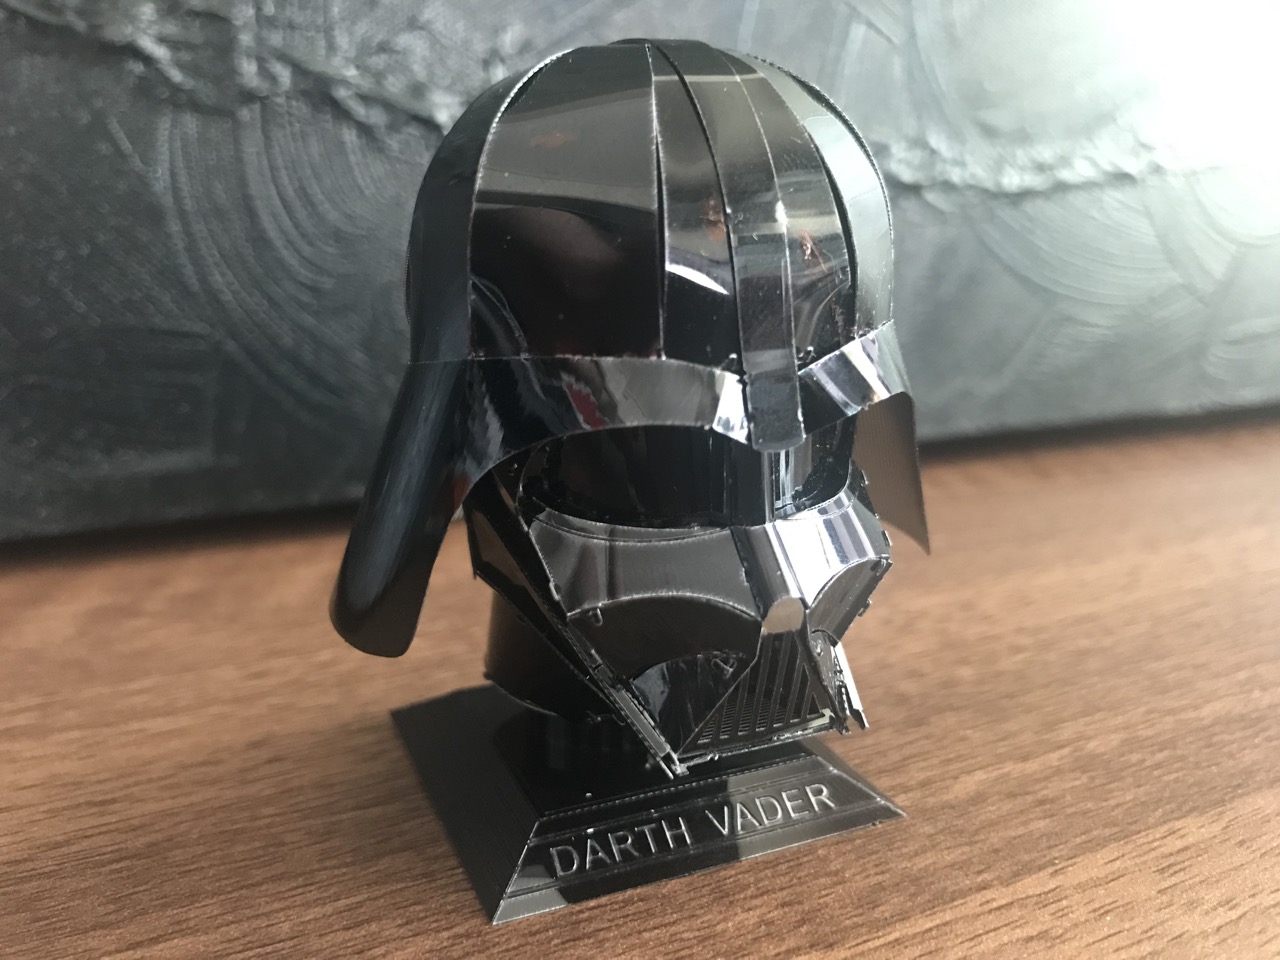
I like the new direction of painted kits that Metal Earth/Fascinations is going in. Though I do have some complaints on the ease with which this paint can be scratched during construction of a kit, overall these painted kits are truely something else! Of course the only colour (or lack of really) in the Vader kit is black. It looks so menacing and powerful when complete...
Now you may think this is a simple helmet/bust style kit and will be a breeze to put together. Think otherwise. As Vader would say - "You are unwise to lower your defences!" This kit is hard, mostly due to all those curves. There are very few tabs that easily bend at 90 degrees or snap in place. I had to spend significant time coercing panels to line up properly, but the end result was worth it.
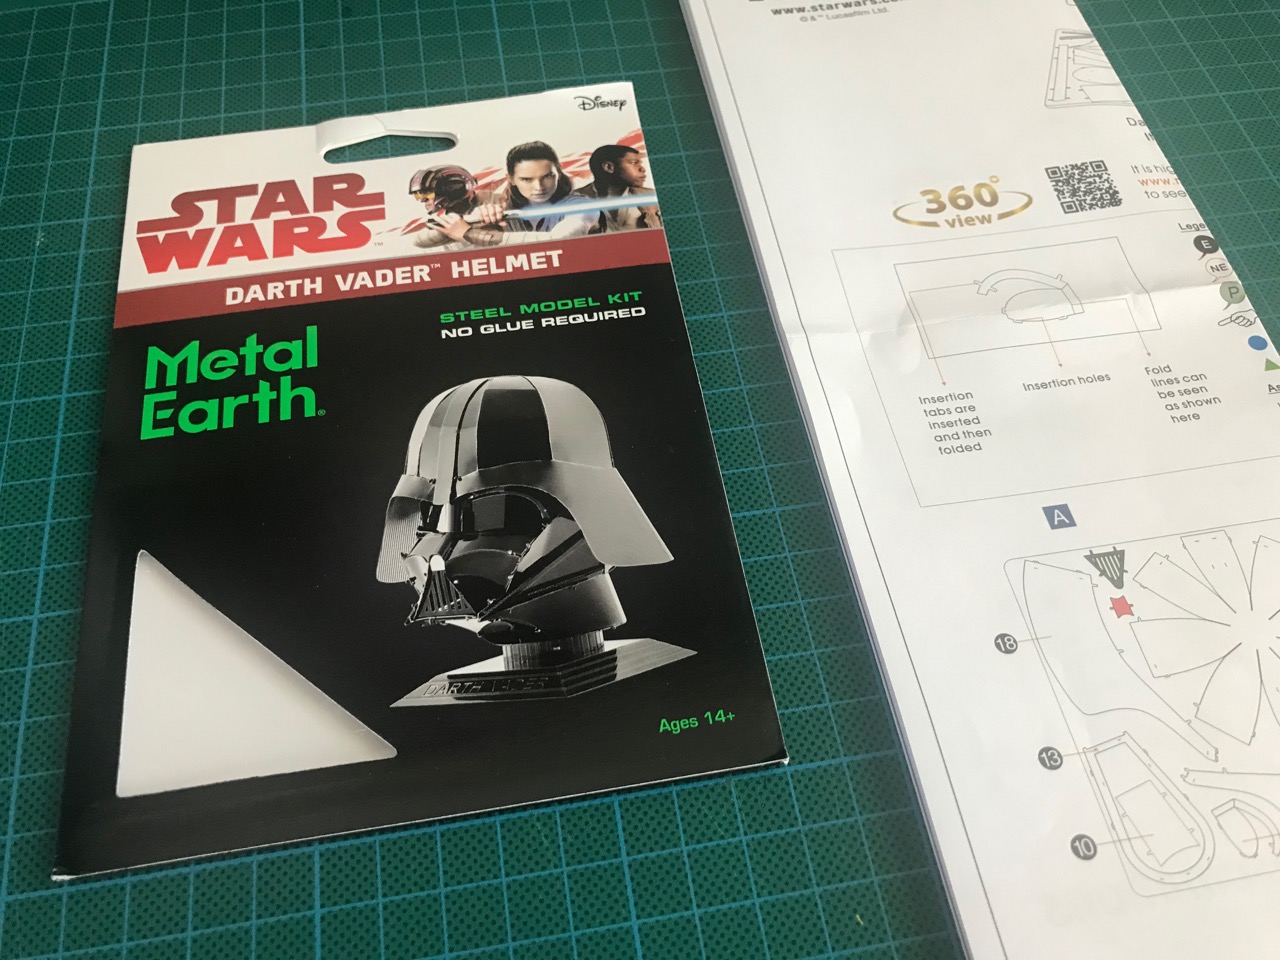
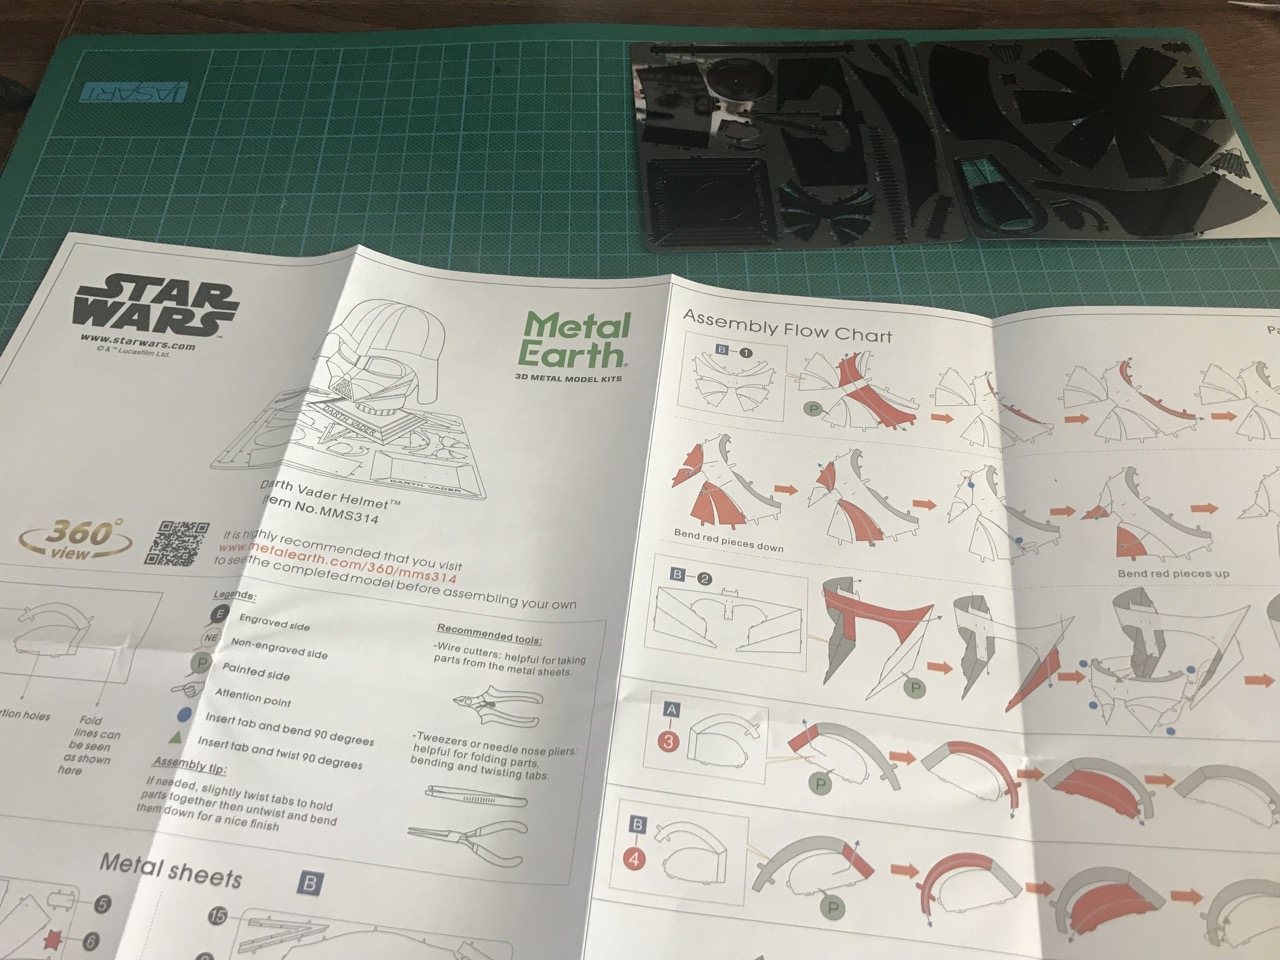
So lets see the kit and what's inside. It's a two sheet kit and has a single sheet instruction manual. Nice and simple. The instructions are improved here and have an A and B sheet referenced for each numbered part - this makes it so much easier to find what you're looking for.
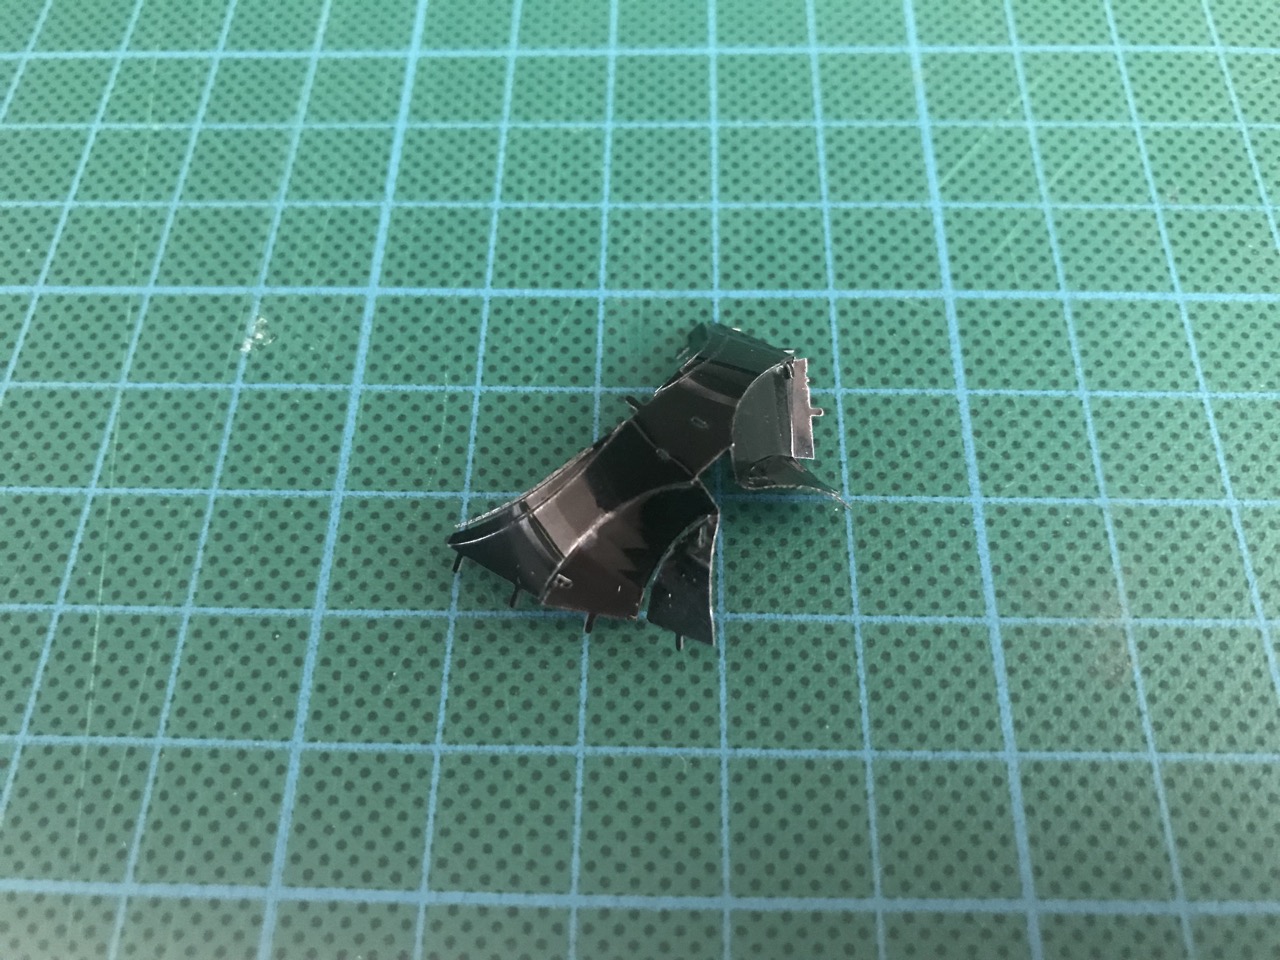
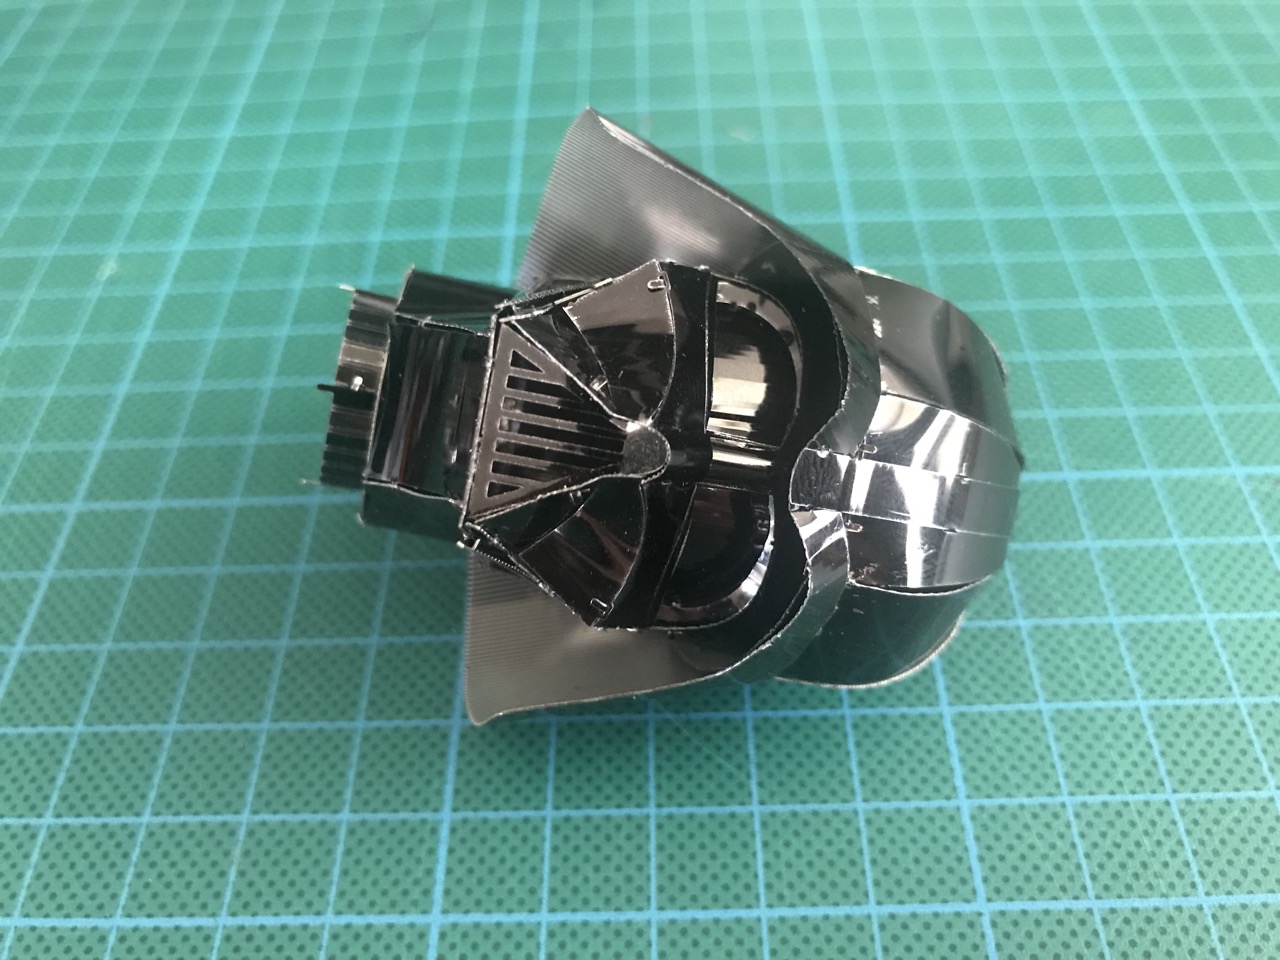
From the get-go the construction is not easy going. The first part to be assembled is the face nose/mouth section. There are a few tricky curves here and at first I curved those parts around where the breather grille goes in later - I had to straighten them out at a later point.
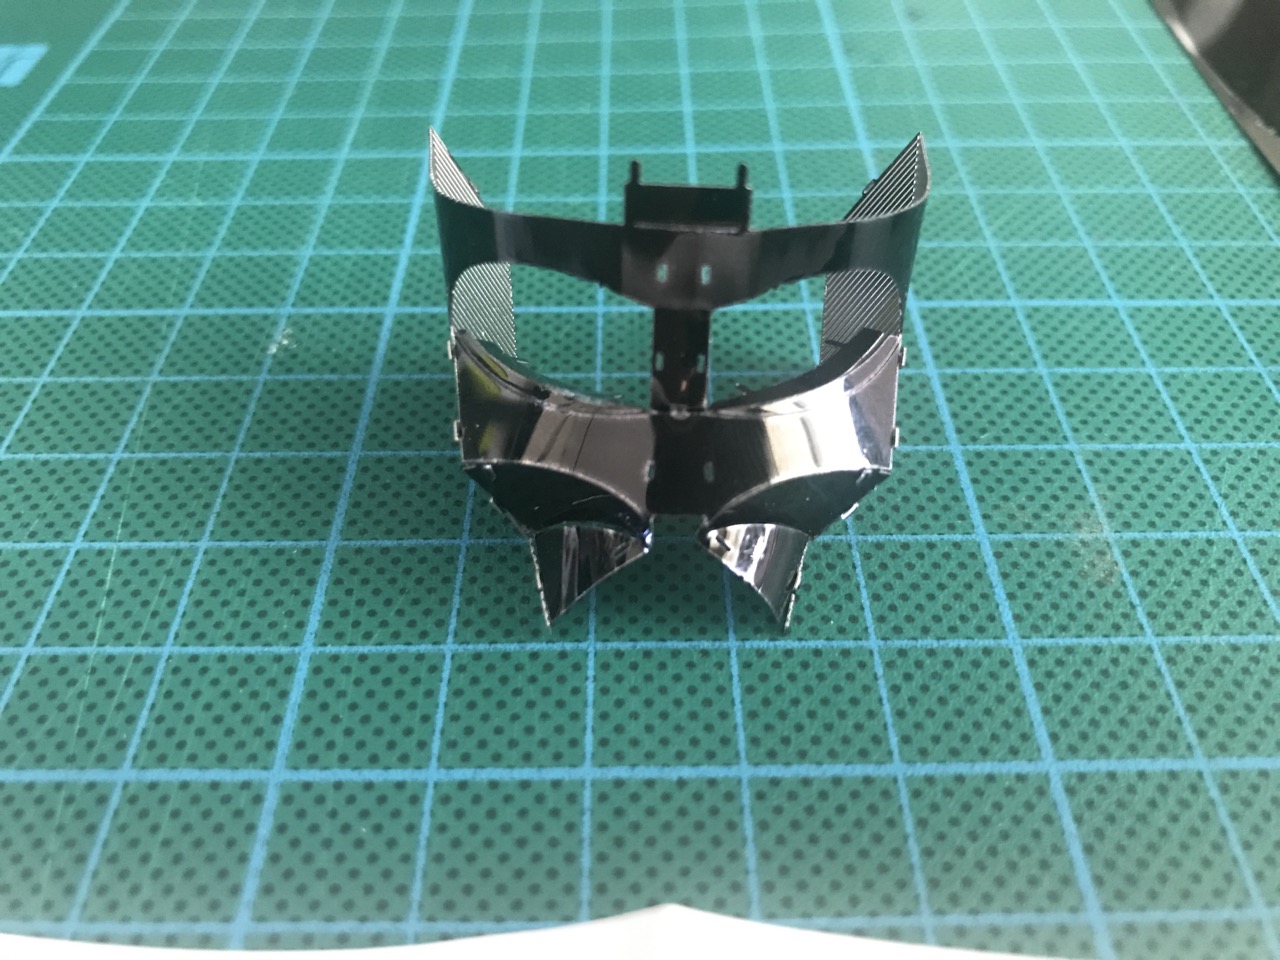
Eyes were next and then the nose section was fitted onto the helmet and then the eyes fitted on the inside. Getting those eyes in the correct place was quite a challenge and I had to reshape them several times to make them fit.

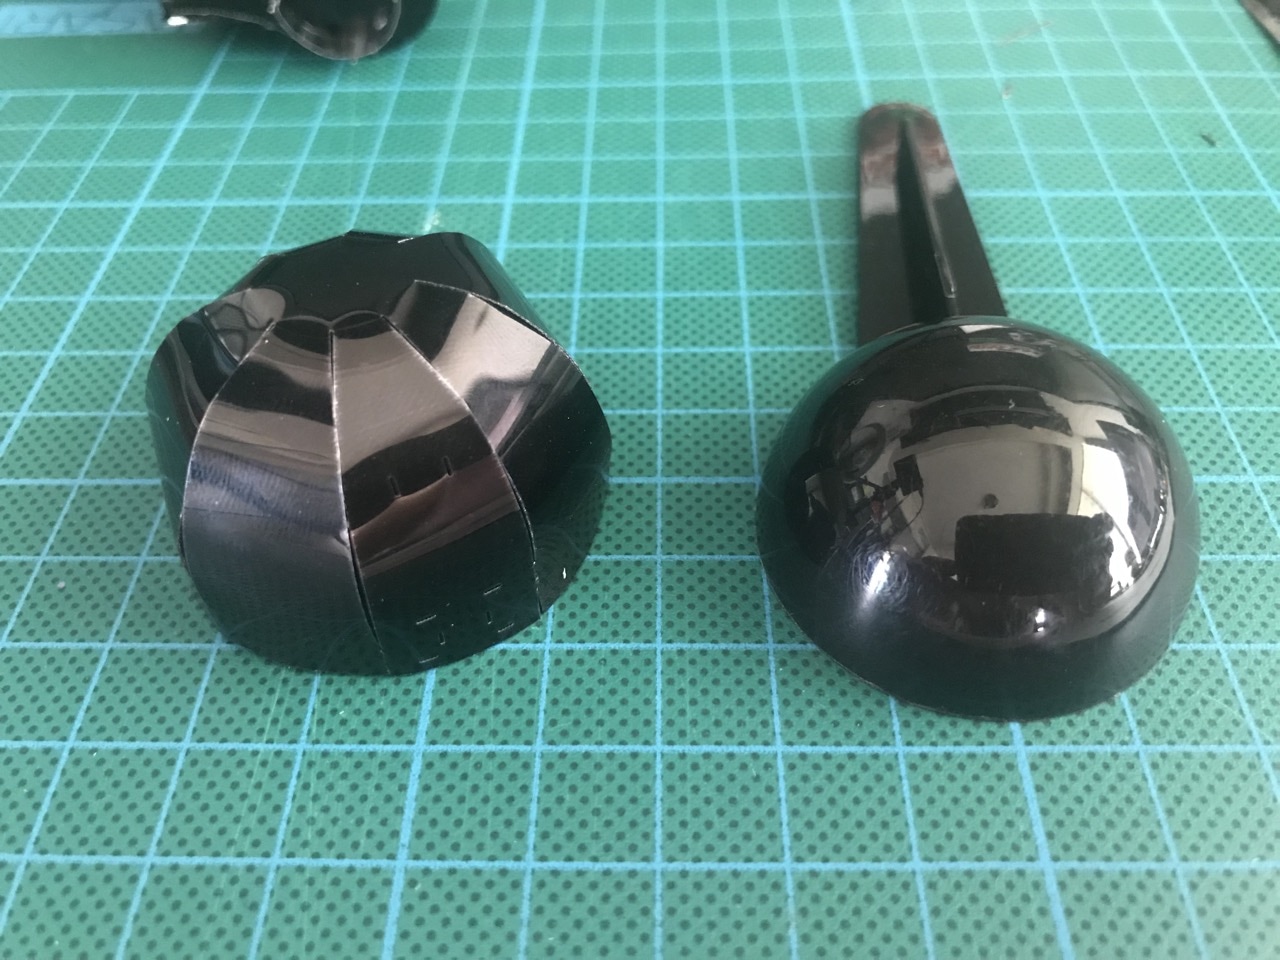
Next up were a couple of easy parts. First the back of the helmet was curved and fitted into place. Then the bottom side of the helmet was assembled.
The top and bottom parts could now be joined together.
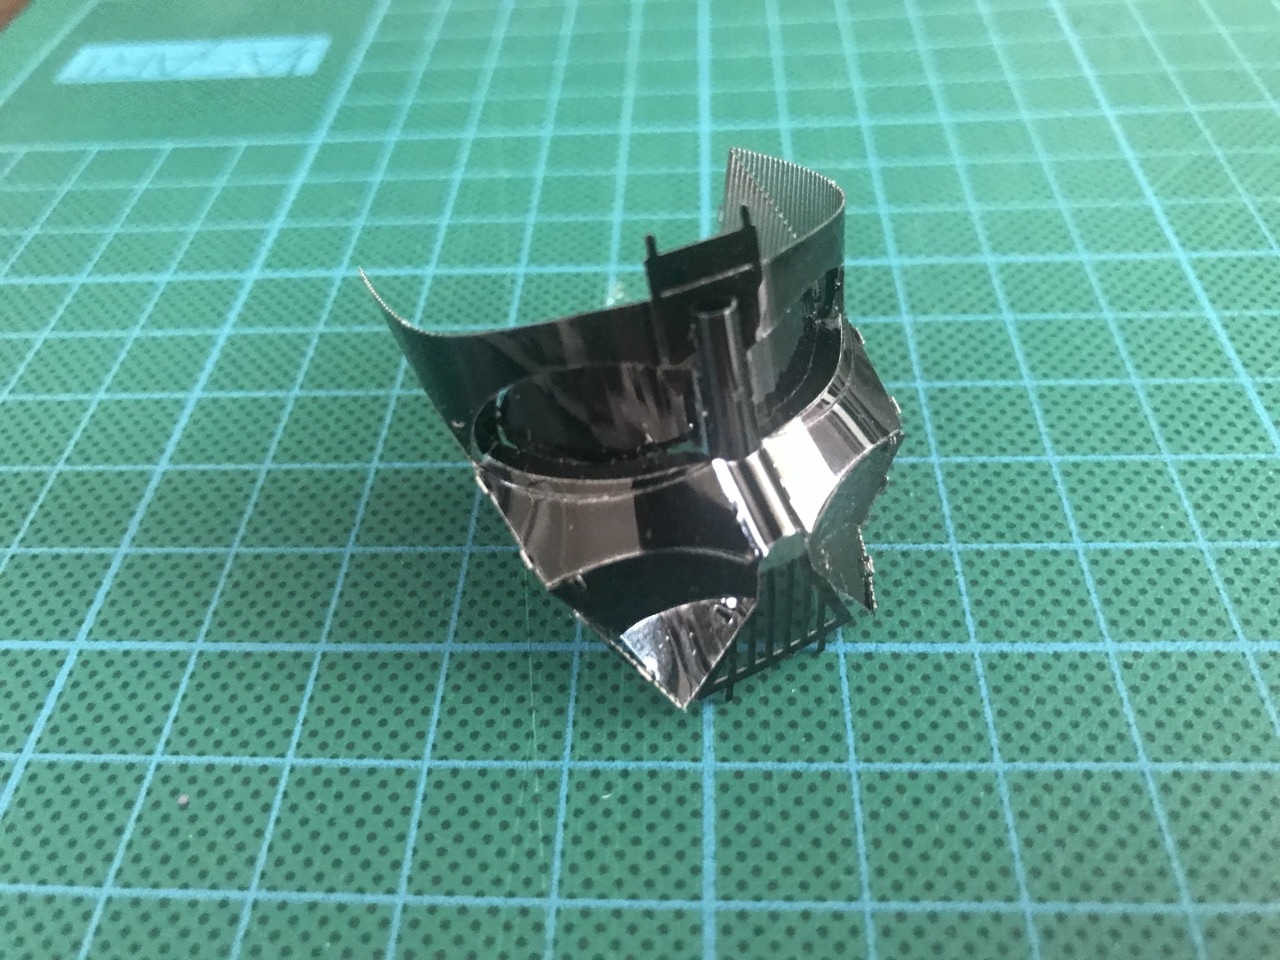
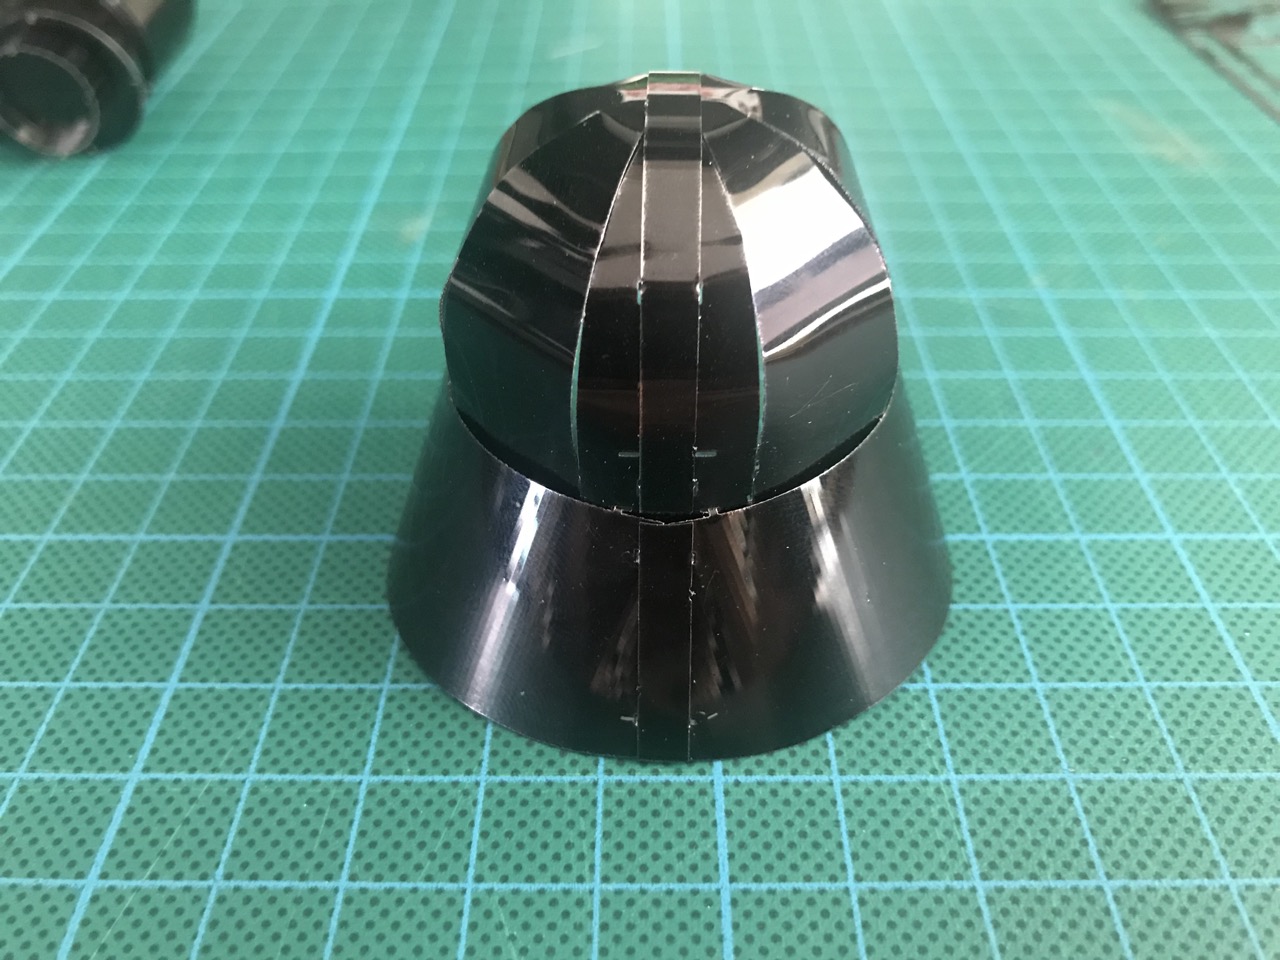
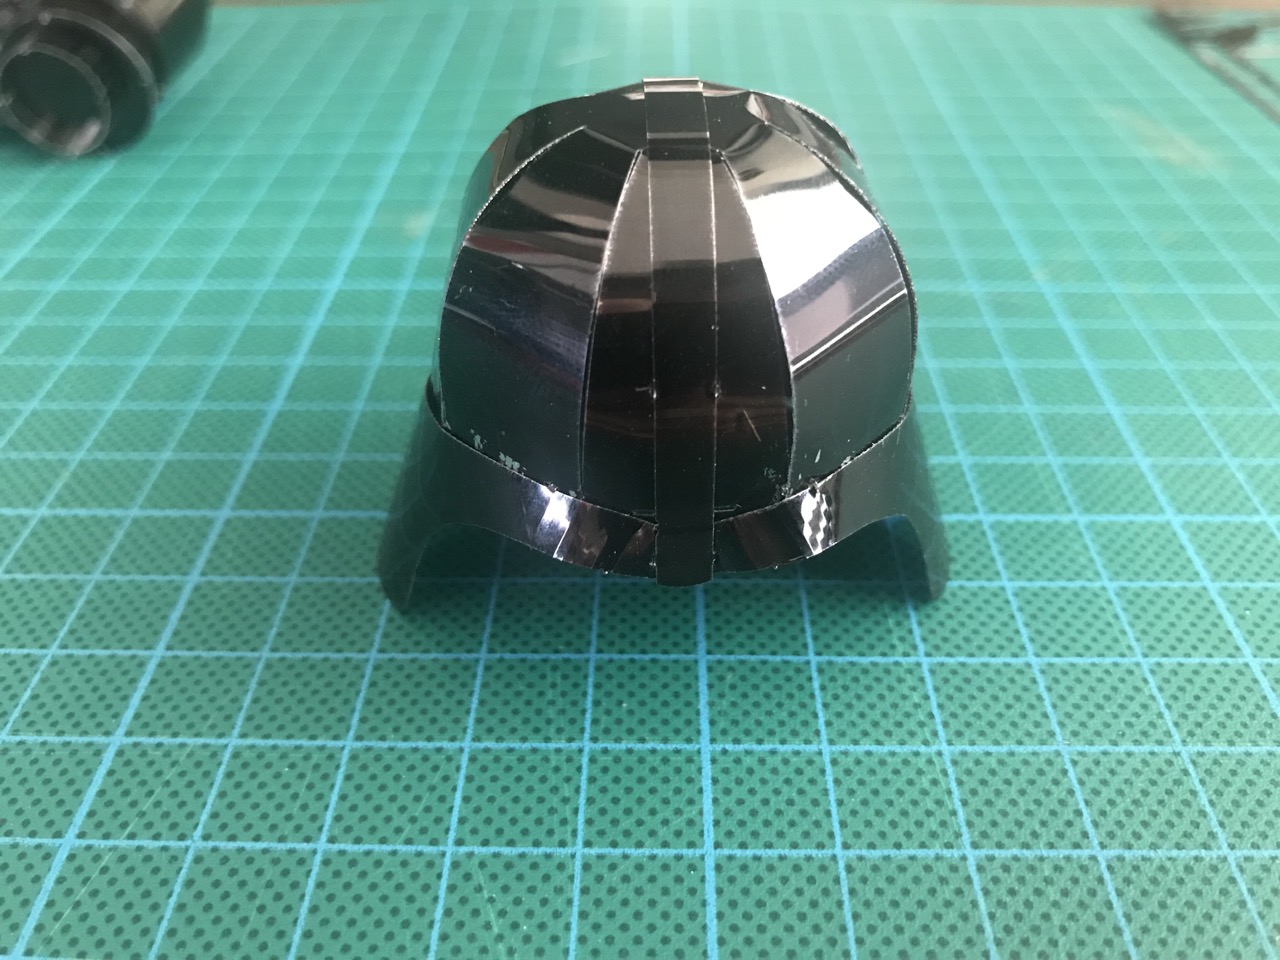
The outer helmet part was the most difficult to put together. To get the general shape I used a coffee measuring cup and then hand bent the rest into shape - this was the easy part of the outer helmet.
Attaching the curved sides to the top of the helmet was very hard. I tried starting from the rear portion but then the front 'brow' section would not fit. I then decided to attach the front first and eventually got the rear sections to line up and tie in together. This is where I scratched up the helmet the most.
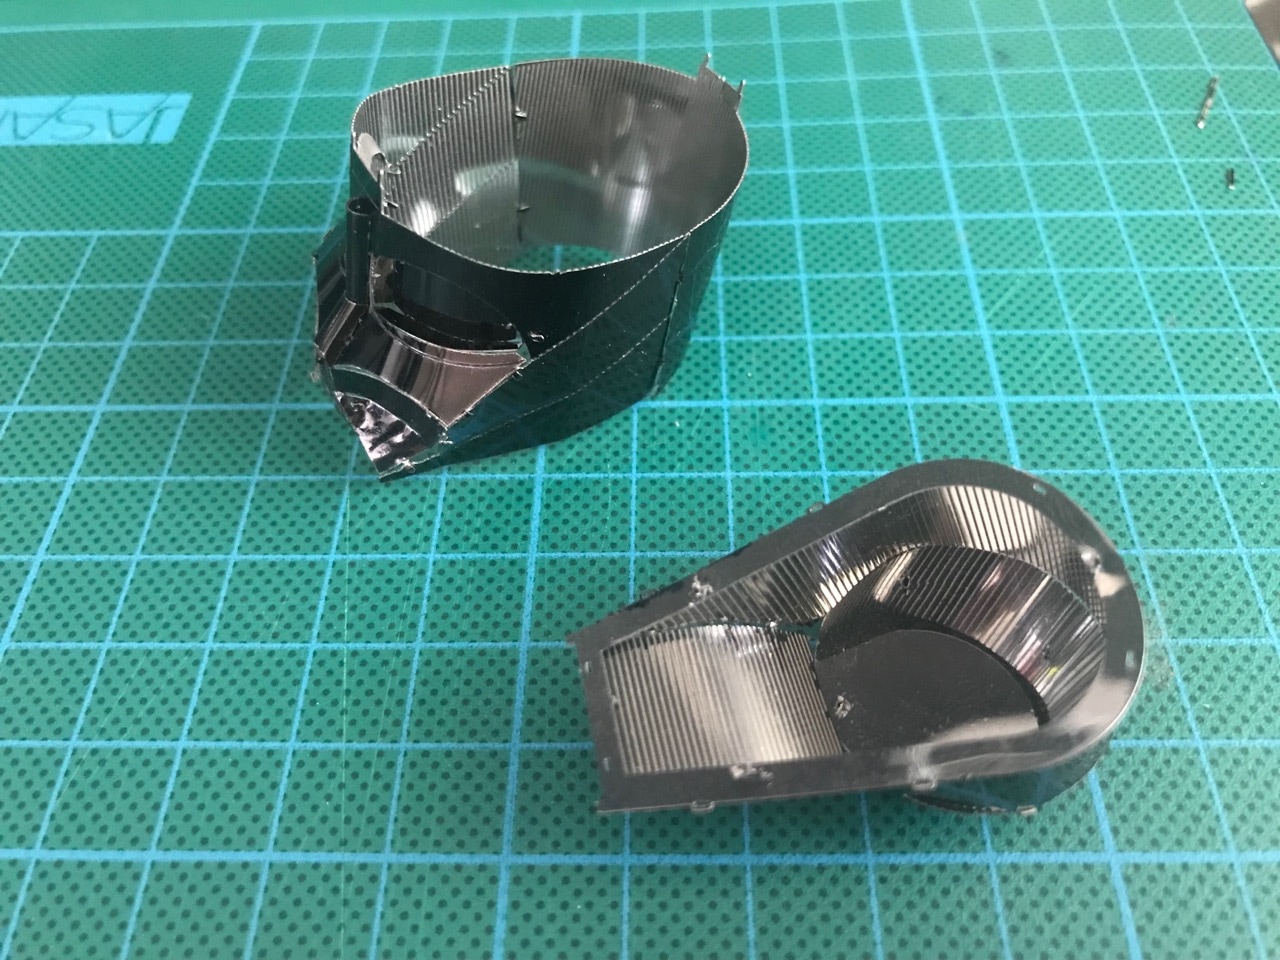
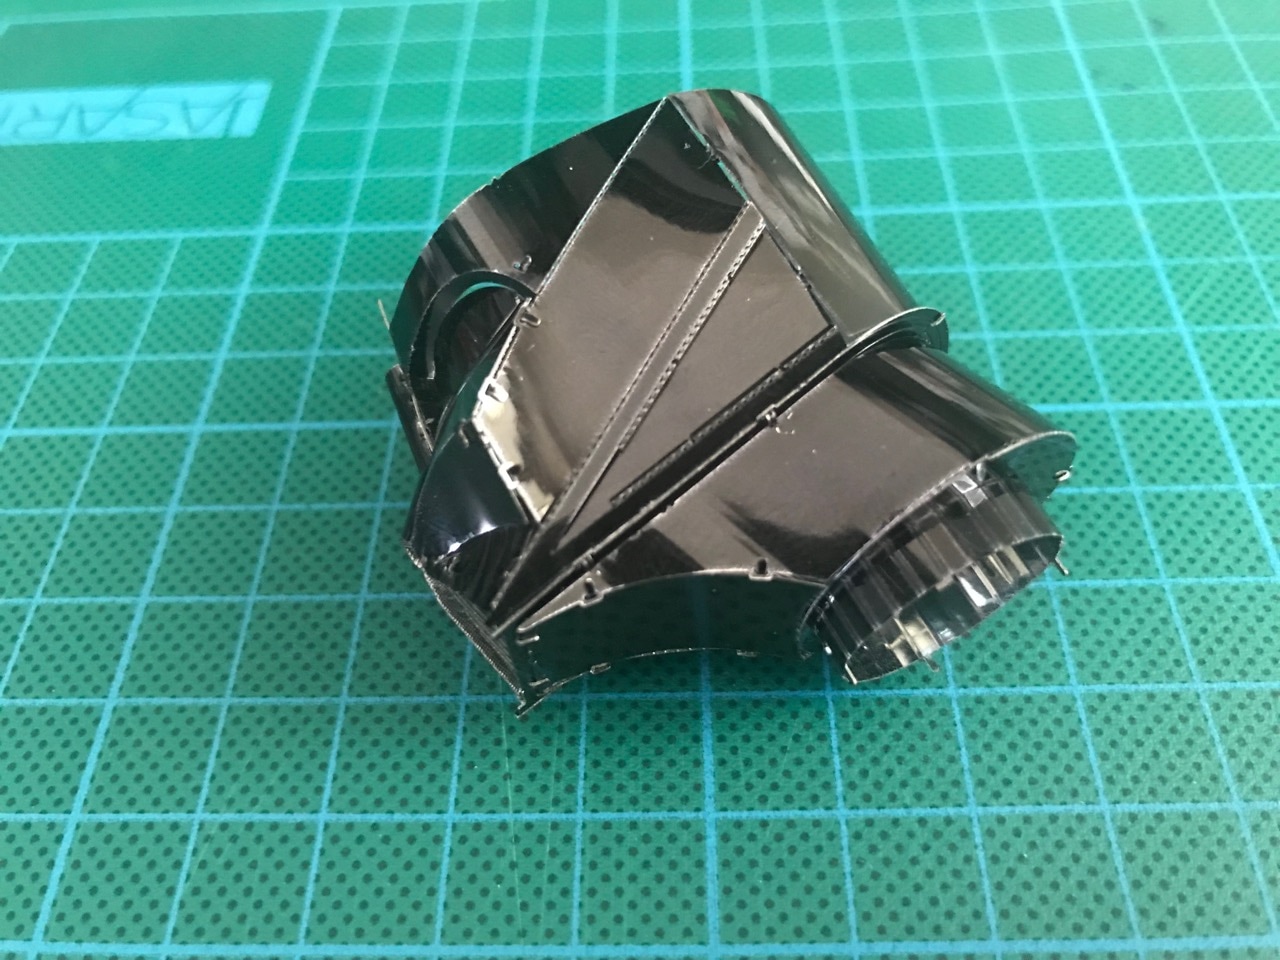
Attaching the inner part to the outer was surprisingly straight forward! I found it easier to first attach the front tabs. Then to position the rear tabs I squeezed the outer helmet on its sides (like those child proof lids on cleaning fluids) and the inner helmet tabs more or less just fell in place.
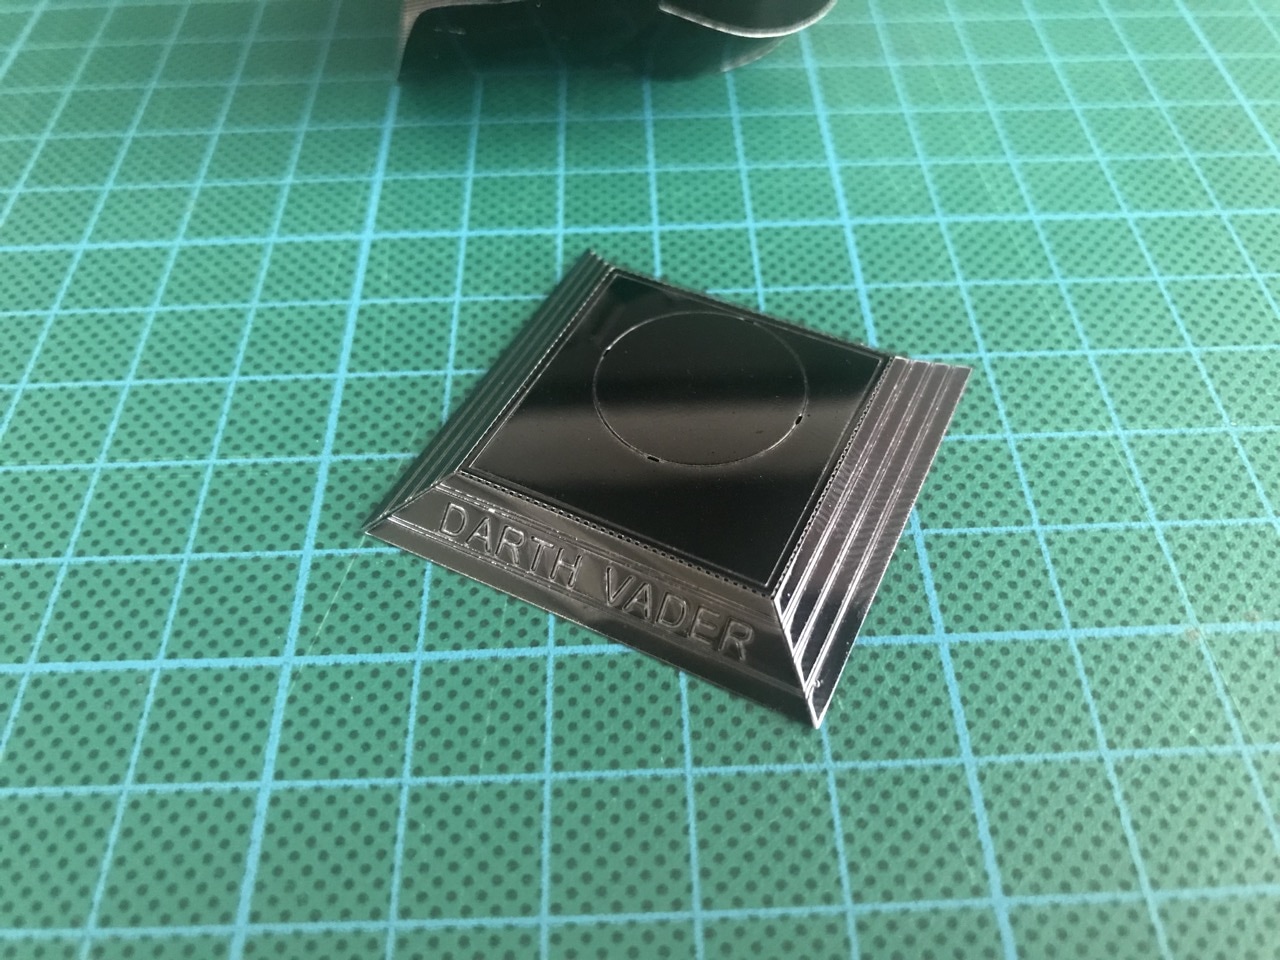
The only part remaining now was the base.
Here's a time lapse of the assembly...
So what do I think of this kit? It looks amazing - unless you really scratch it up! I used a sharpie to cover up my scratches where possible. It's a definite challenge even though overall the kit is fairly small. The end result is really worth it though. Whether you're a Star Wars fan or just want a kit that will test your skills, the Darth Vader Helmet is worth getting.
-i
