There is currently an offer of free assembly of 5 PCBs which is really worth taking advantage of. It's limited to being done once per customer but if you're unsure and want to try out PCBa before diving in and placing a bigger order, this is a good way to do it. I wish more PCB fabrication factories did this.
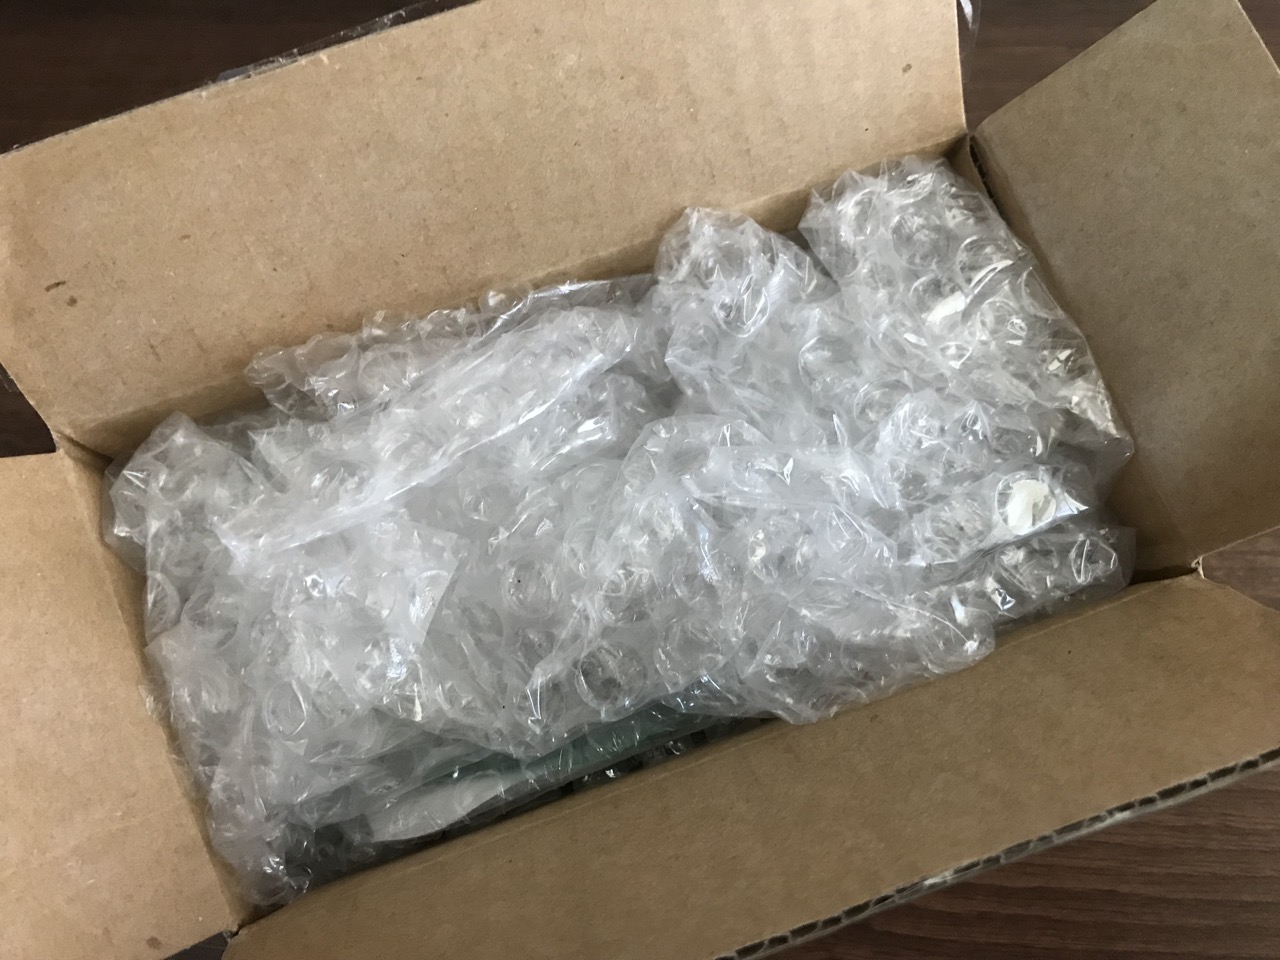
So lets look at the end result and then take a step back and see how the order process works. It took just 14 days from the time I placed my order to when I received it. It arrived in a rather large box, which was interesting considering I only had 5 assembled PCBs inside. It was really well packaged with lots of bubble wrap.
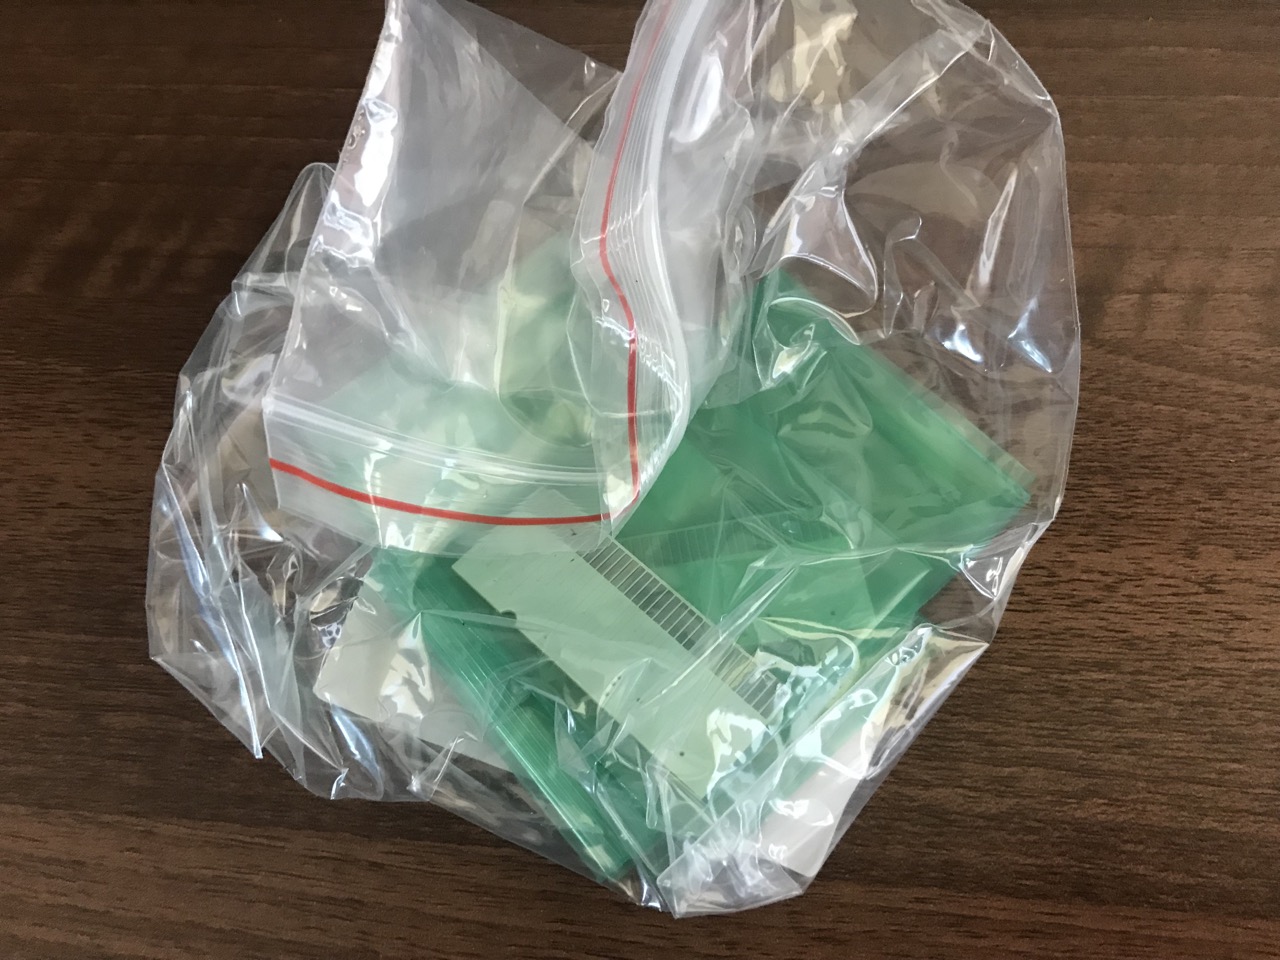
Each of the PCBs was packed in their own zip lock bag.
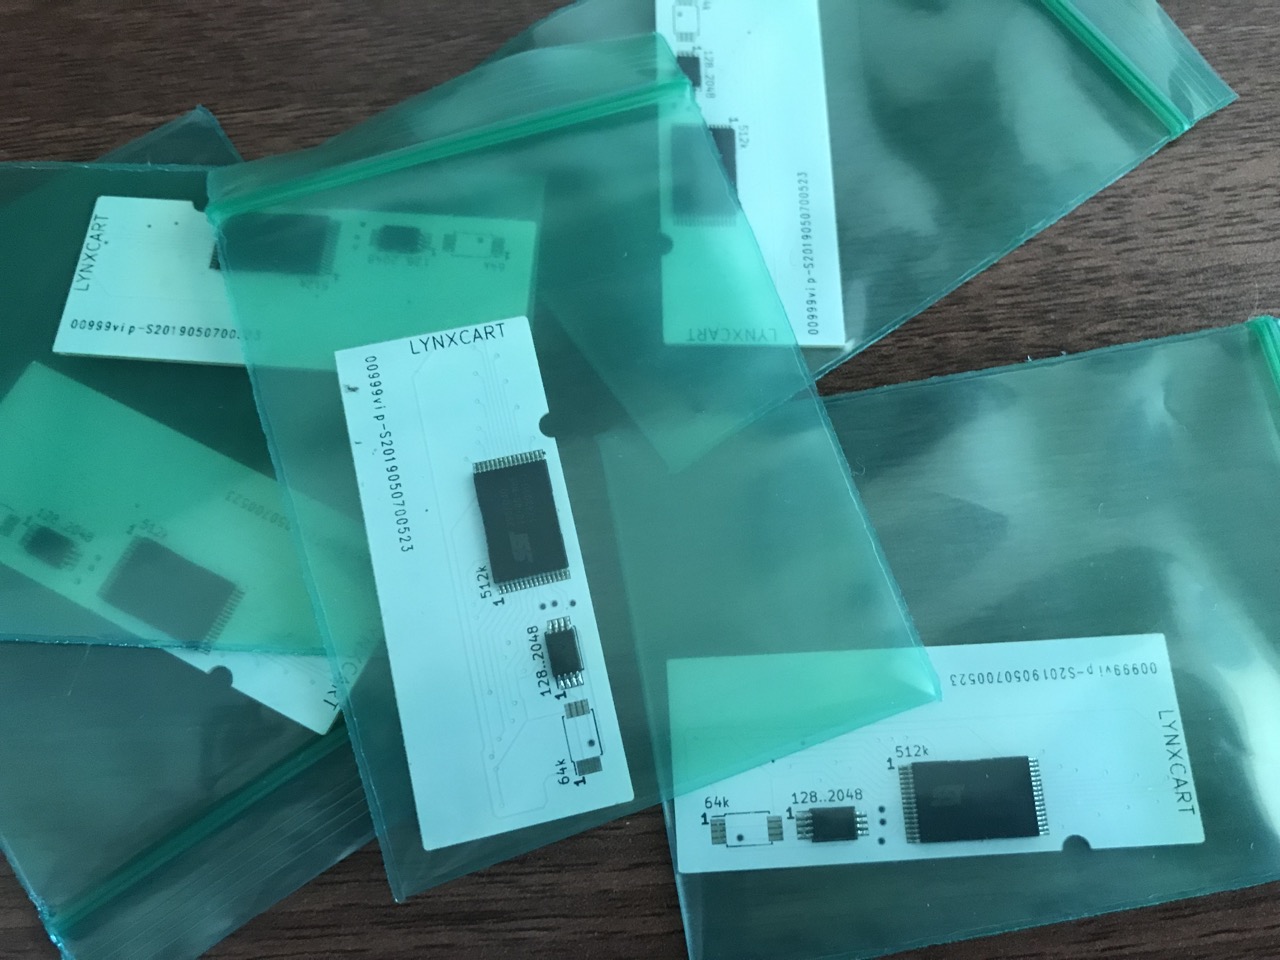
My PCBs were small but the quality was great. It's good to see that Seeed have maintained their production quality over the years. Note that my boards used white solder mask, which didn't incur any additional cost - just like many other PCB fabrication factories, Seeed is now also offering different solder mask colours at no extra cost. I used HASL surface finish, but you can also get ENIG, Hard Gold and HASL Lead Free. I was quite happy with the PCB itself.

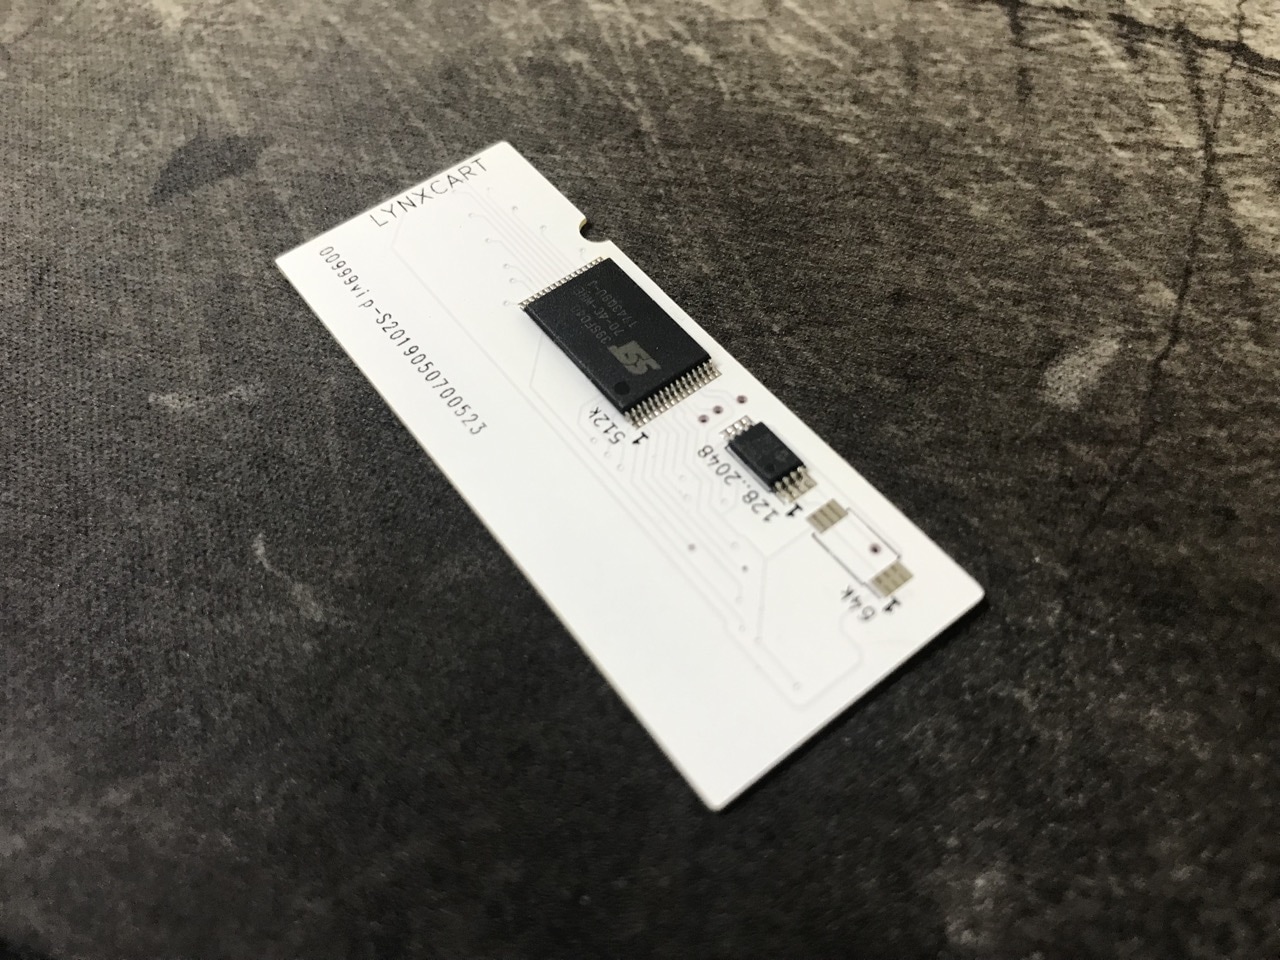
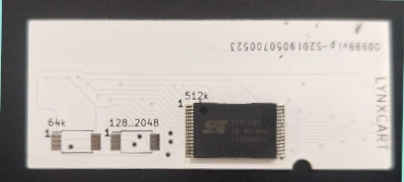
In terms of components, I only had two populated spots with one being filled by a 512k flash chip and the other with a 1k EEPROM. Soldering on these was perfect. The opposite side of the PCB had fingers for an edge connector and no components, the finish on these was very good. Overall the component assembly was flawless and the whole PCB with components worked as expected, I really couldn't find any fault with the end result.
Now lets go back to the order process. The first part of PCBa is the same as a normal PCB order - you provide the Gerber files, select the various PCB parameters like surface finish, PCB colour, thickness, quantity, etc. Then it gets a little more complicated because you need to specify how the PCB and its components are to be assembled.
You need to provide an assembly drawing and a pick and place file. These are exportable from most PCB design tools and Seeed provide tutorials on how to do it - very helpful of them! Unfortunately I didn't read the assembly file tutorial and sent in something that wasn't right, but the good folks at Seeed picked up on this problem and got in touch, more on that later.
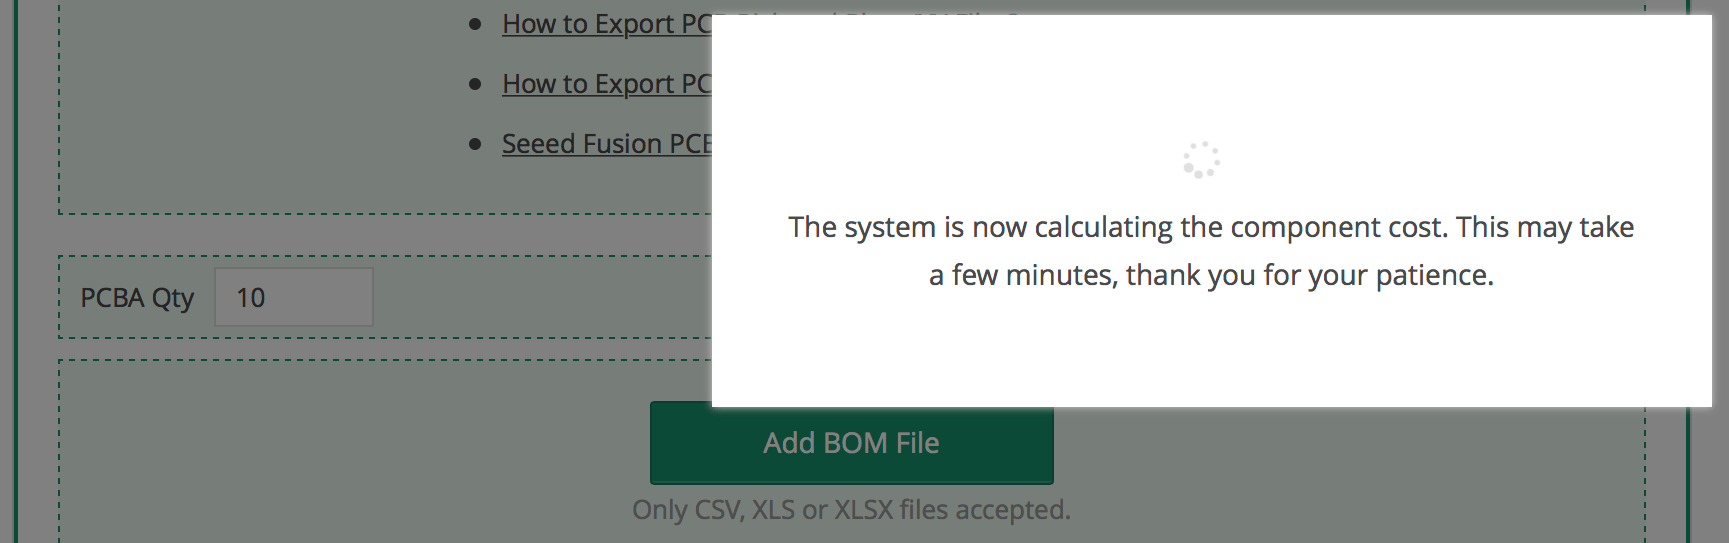
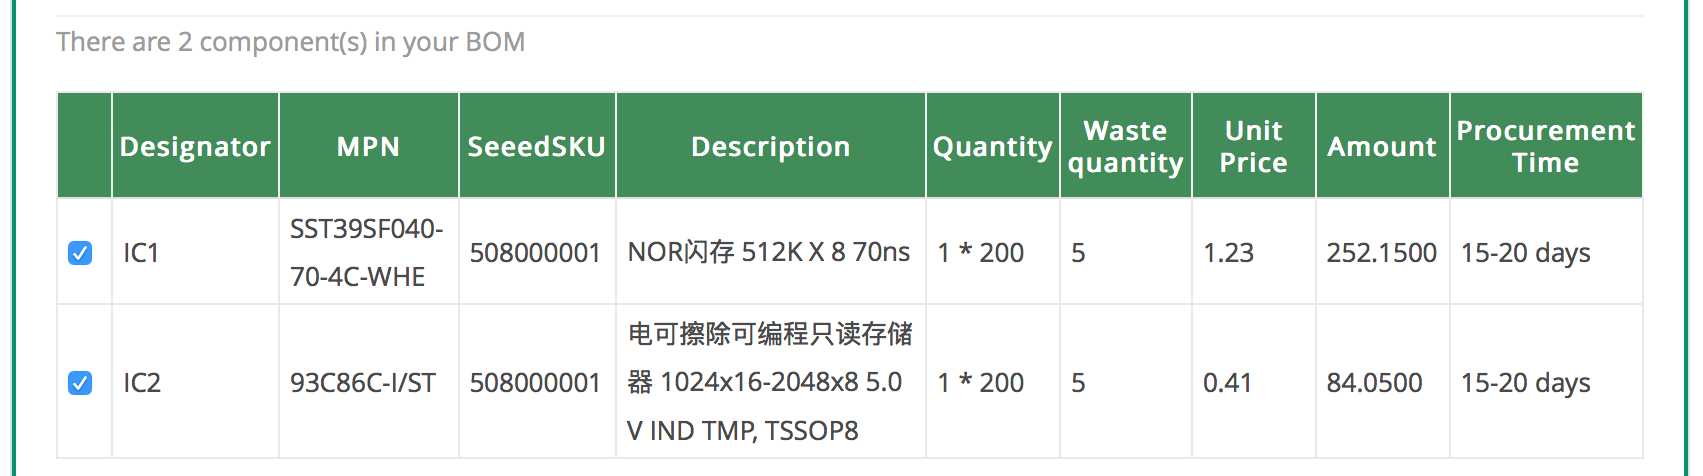
Then you need to provide a bill of materials (BOM) as a spreadsheet. There is a template provided and if you fill it out correctly, your order will be automatically updated with the pricing information. I thought this was very cool. Components can be ordered from any supplier, and Seeed offer their own OPL service which includes a good amount of components, but they didn't have the ones I was after so I asked the to procure them from DigiKey. Order from external suppliers does add to the overall production time since these components need to be procured first. Also remember that you need to expect to incur an additional cost for waste components, there will typically be a small number of extra components required during assembly and this is factored in automatically in your order.
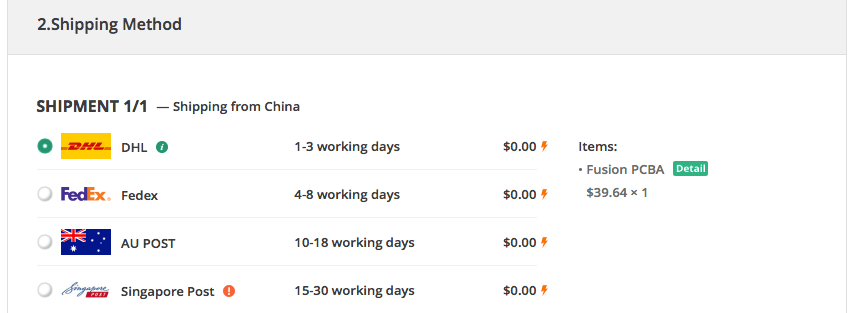
That's about it, the only step left is to choose the method of shipping, which is free for PCBa orders. If you want the SMT stencil for your board, it can be purchased separately and is not included by default. More details on assembly steps and times is available here - PCB Assembly Order Flow Chart.
Your order status is trackable. Depending on where you ordered components from and the complexity of your board, production and assembly times will vary, however mine took 14 days and I was happy with that.

So overall I am quite happy with Seeed Fusion Studio PCB Assembly. I will note that in terms of pricing they aren't the cheapest factory out there, this is the same observation I made in my previous article on them. However the results are well worth it. There is a nice Blog post that explains how the whole pricing structure works, which is worth reading before placing an order - SEEED PCBA SERIES 4: PCB ASSEMBLY PRICING EXPLAINED.
In case you're wondering what my PCB is all about, it's a flashable cartridge for the Atari Lynx console and it can be programmed/written to using my Atari Lynx Cartridge Reader/Write Raspberry Pi-Hat.
-i
