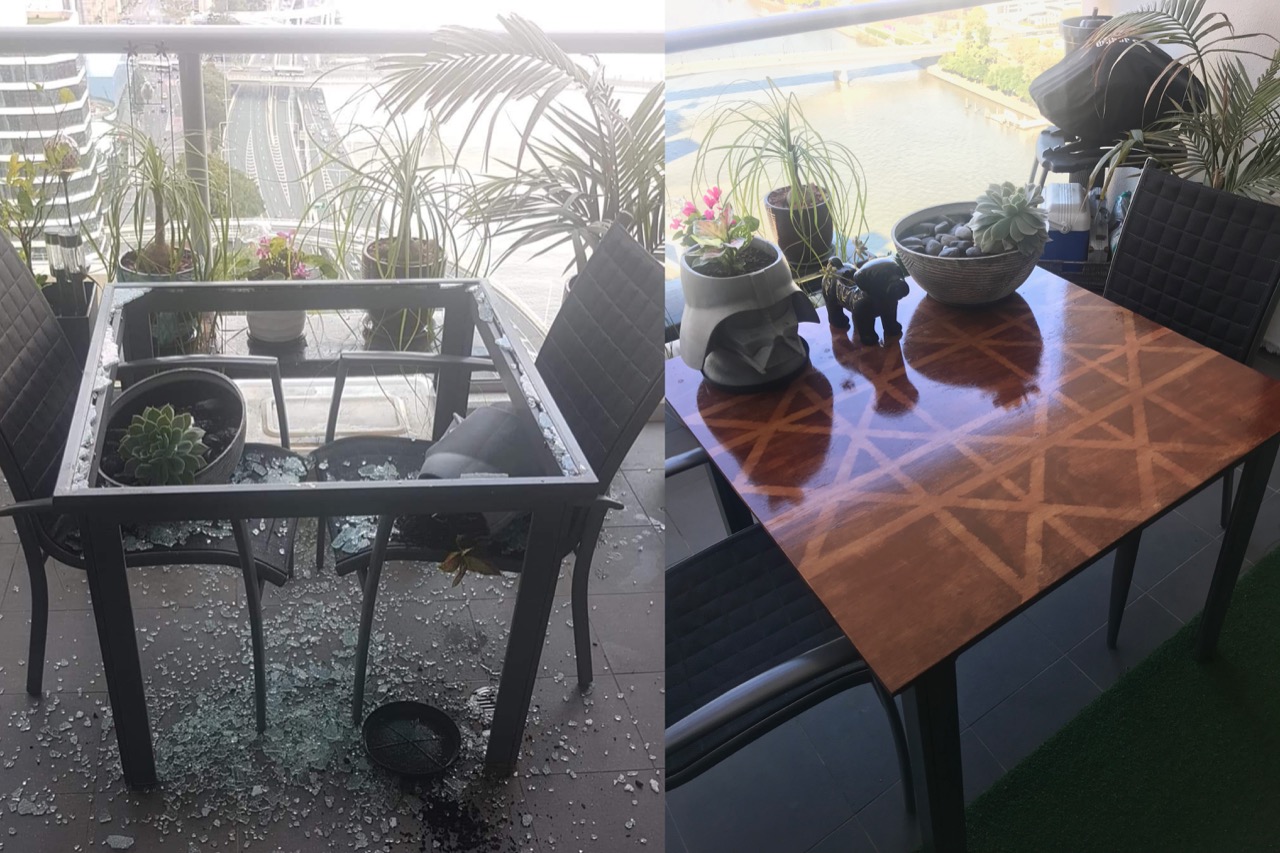
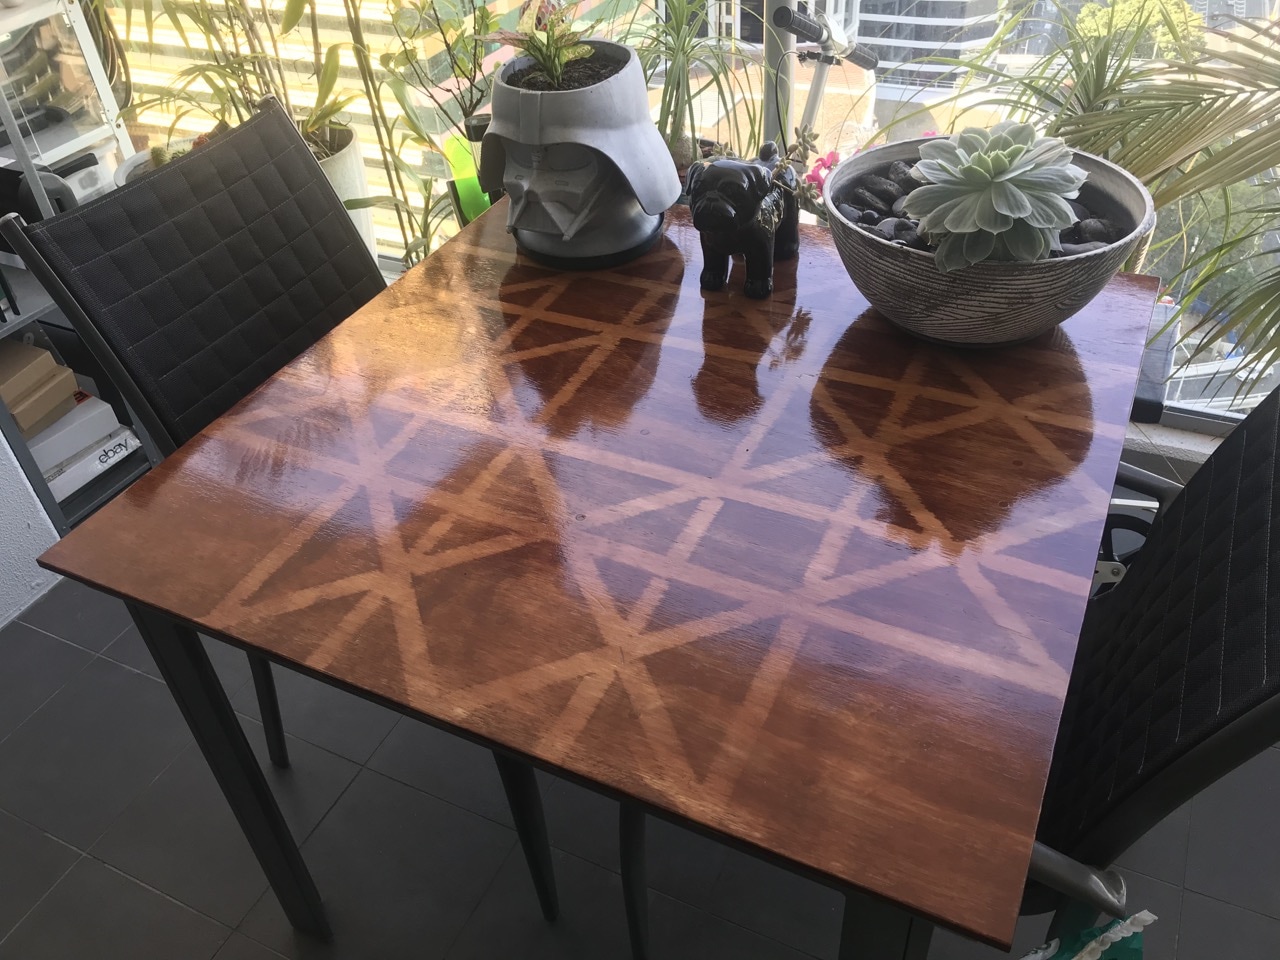
Here's the before and after photo...
I did use OpenSCAD to model the table and the new design for the top before getting into it. It looked quite good, it's definitely worth making a 3D model of something before building it for real since that allows you to visualise the final result.
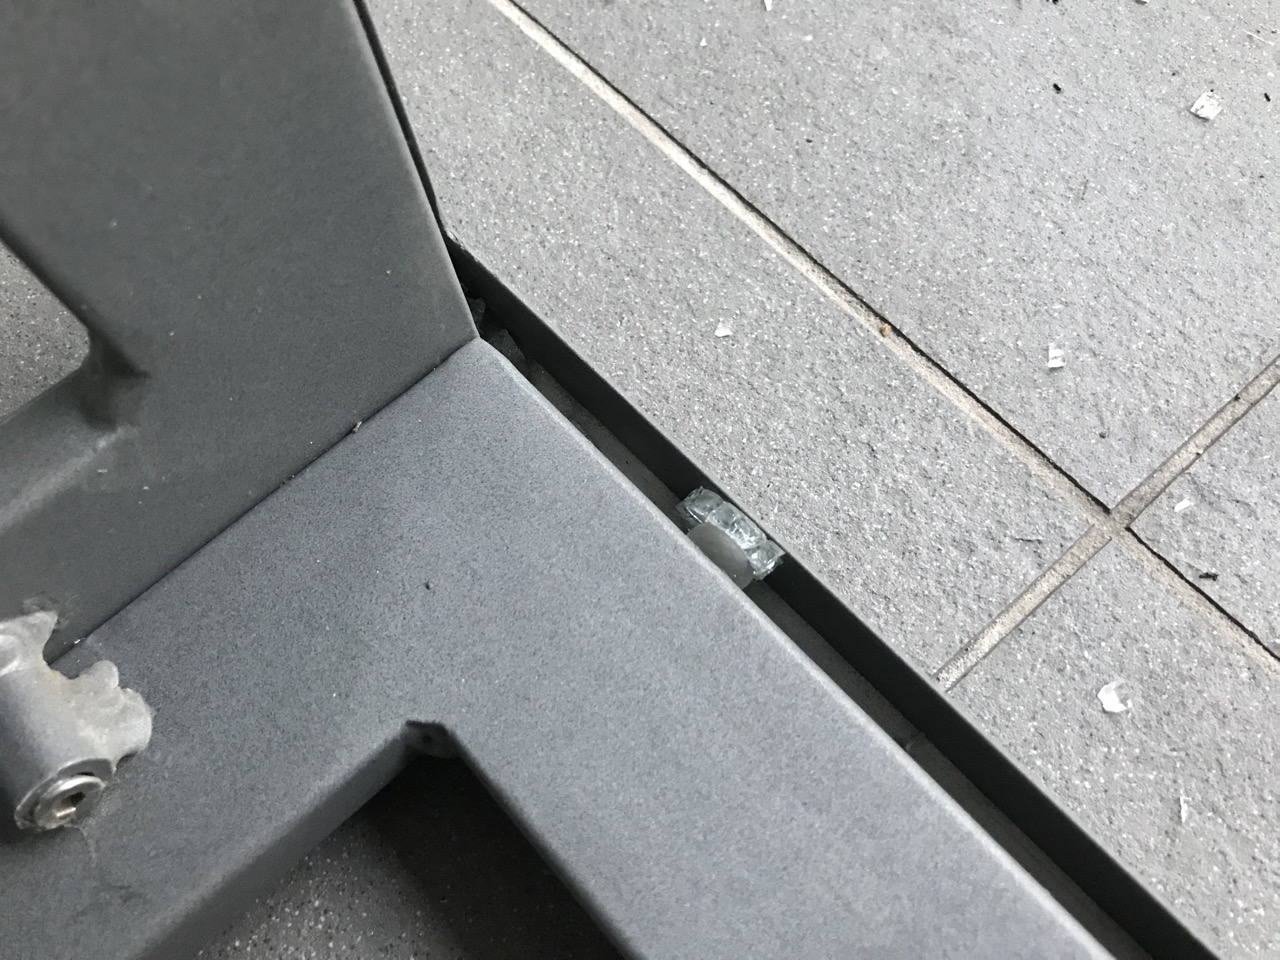
The first task was collecting all of the shattered glass and cleaning out the table frame. There were quite a few pieces embedded inside the frame but all of these were easily removed. All in all there was something like 3kg of glass. Weeks later I'm still finding the odd piece here and there!
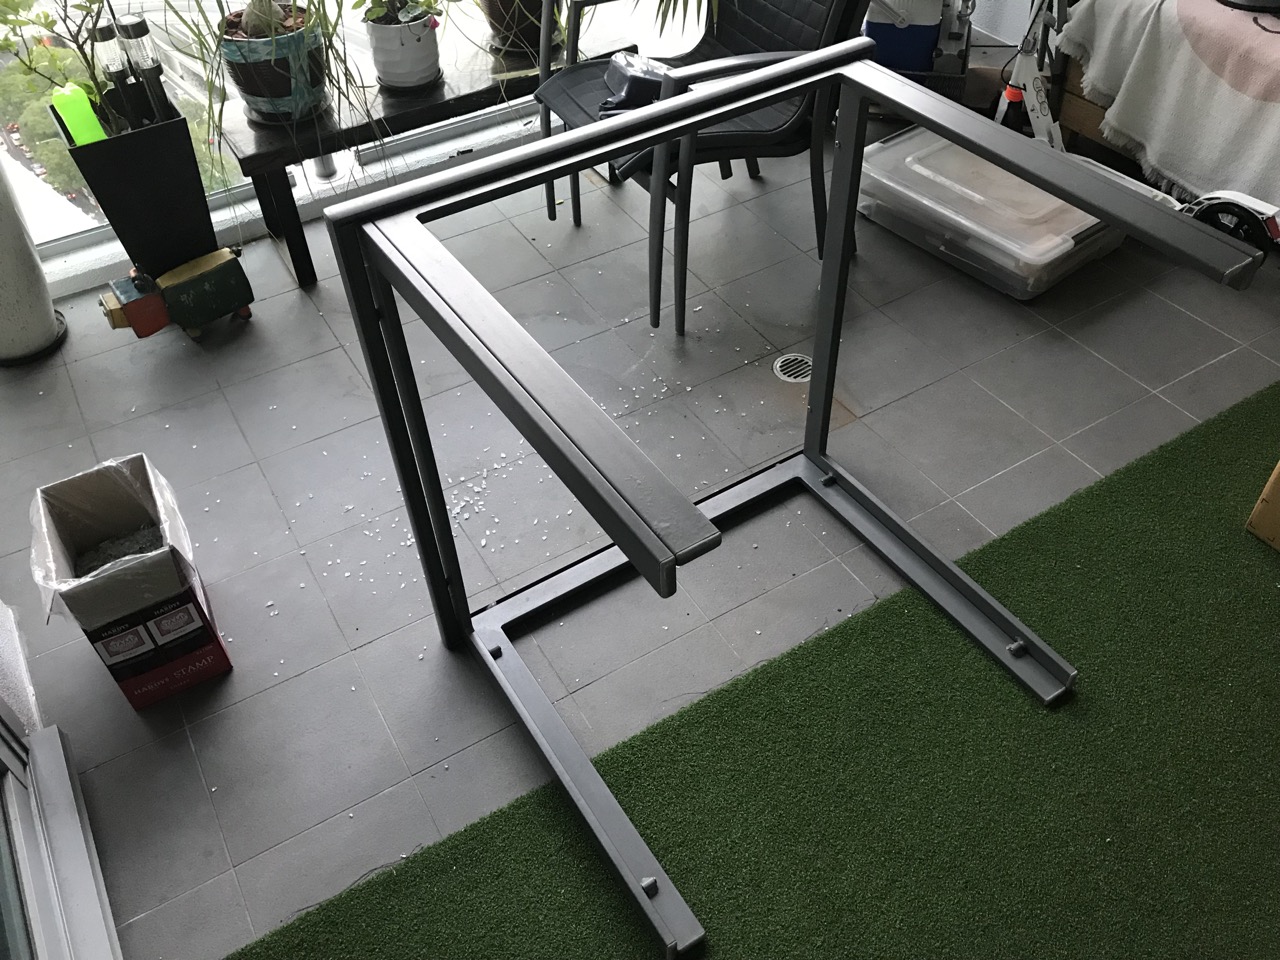
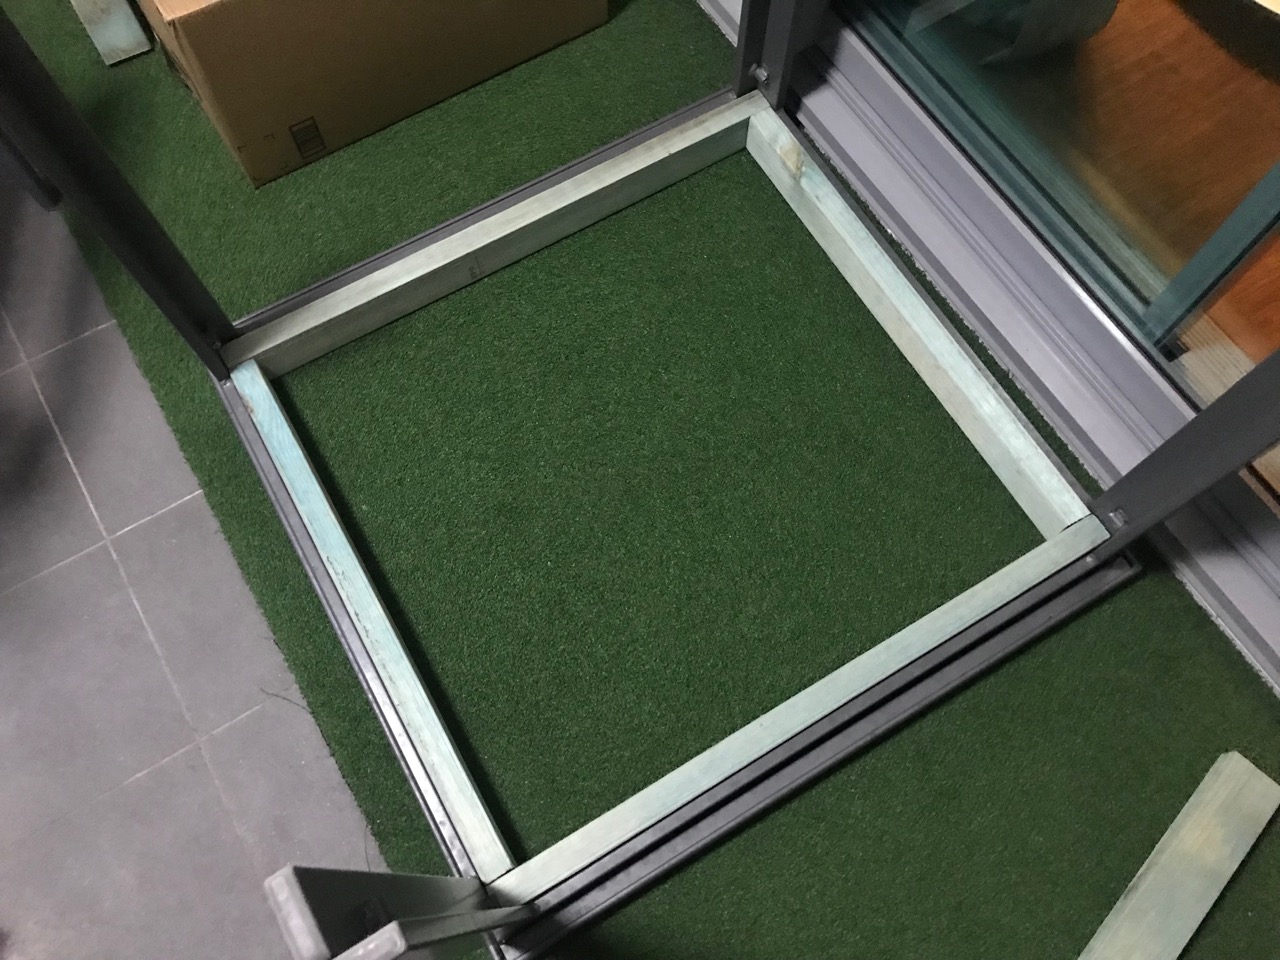
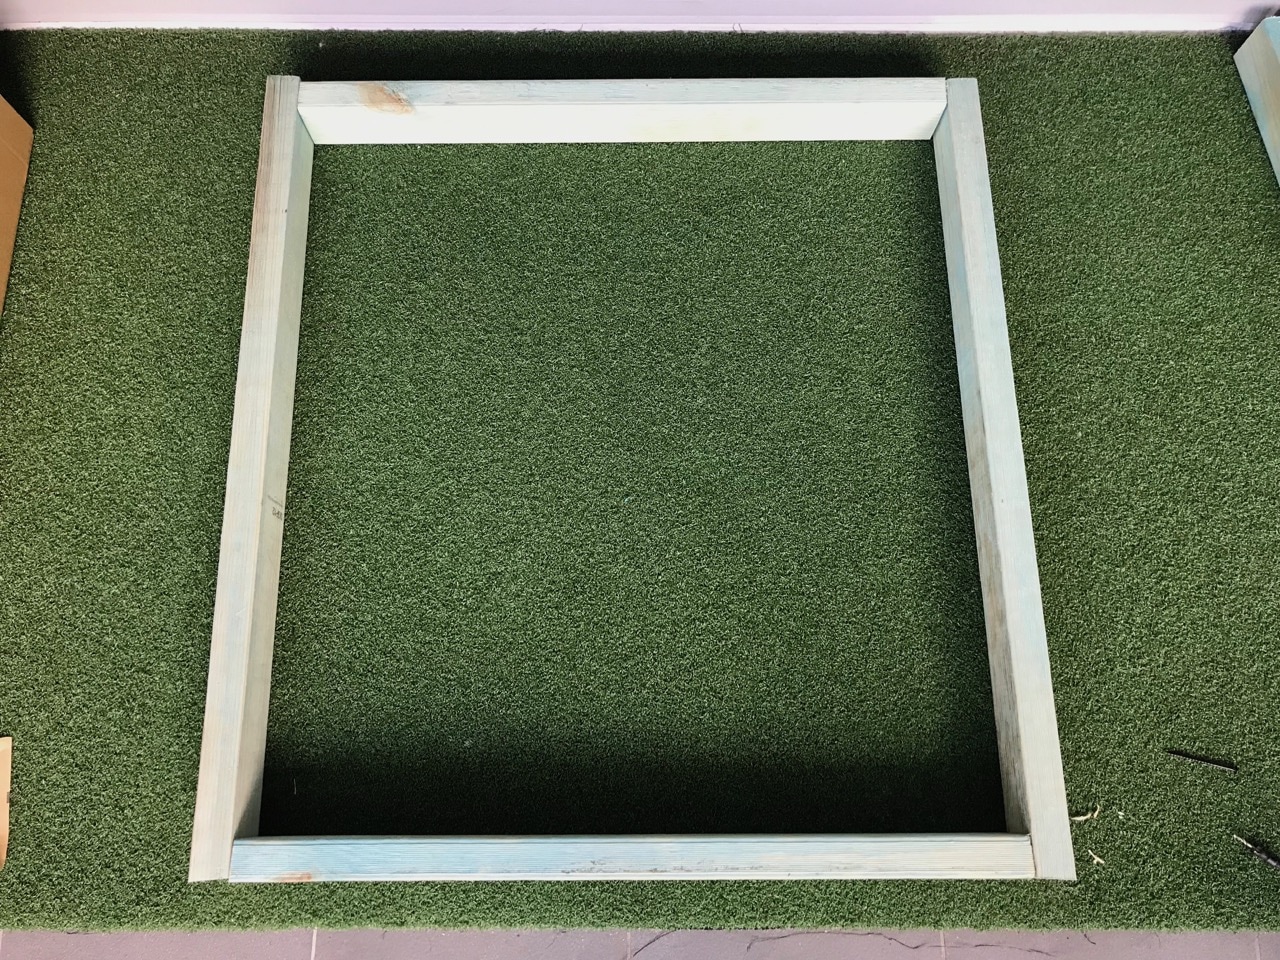
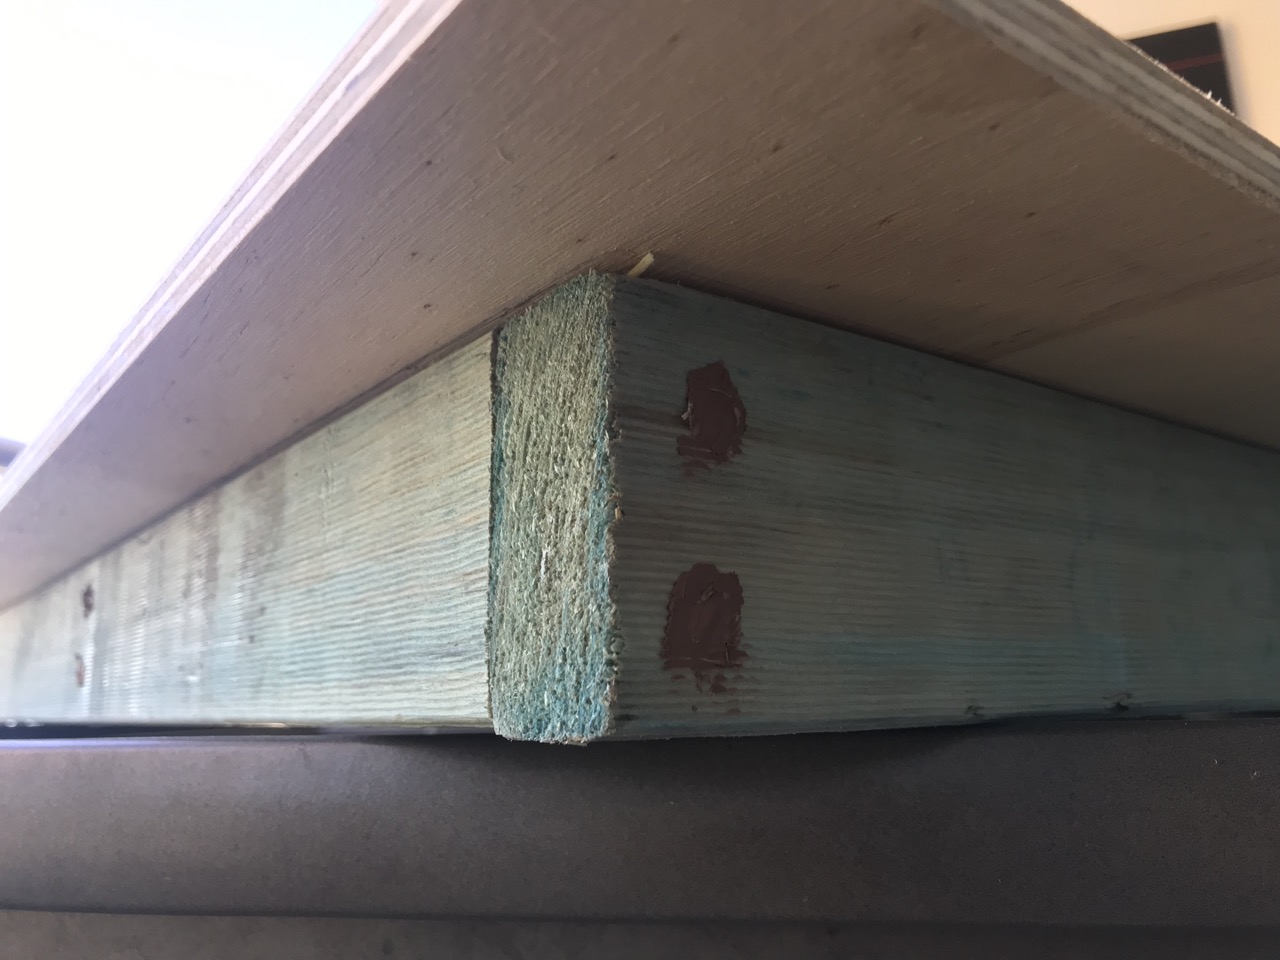
I used weather treated pine to construct a frame that would sit inside the frame of the table and would act as a support for the top. The intention was to secure this frame to the metal frame of the table, but that was not necessary in the end.
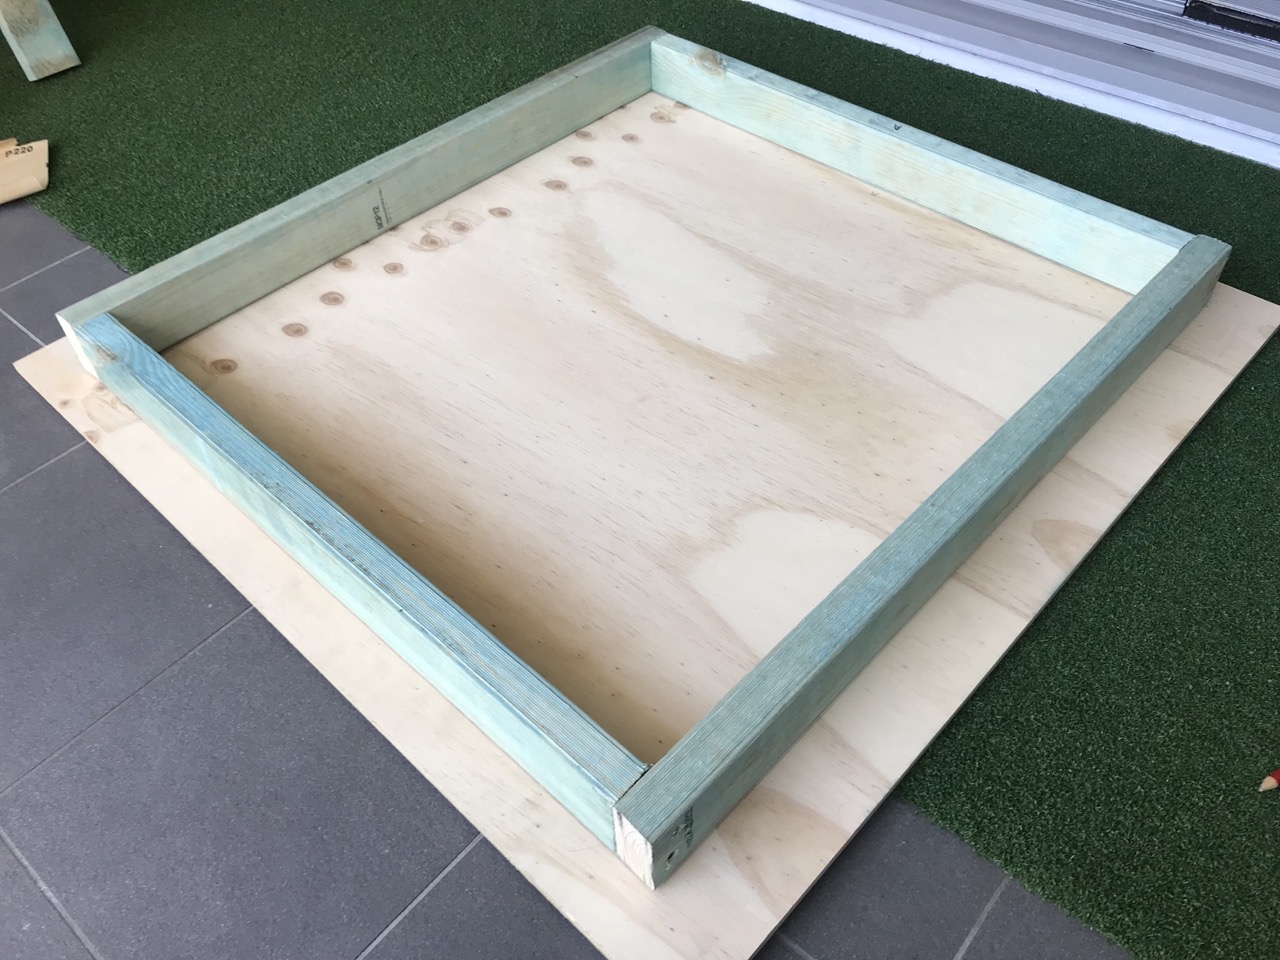
For the top I used 12mm plywood and decided to leave a little bit of an overhang around the original table frame. This was mainly to spread the load of the wood better over the metal frame and as a bonus it increased the overall surface area of the table.

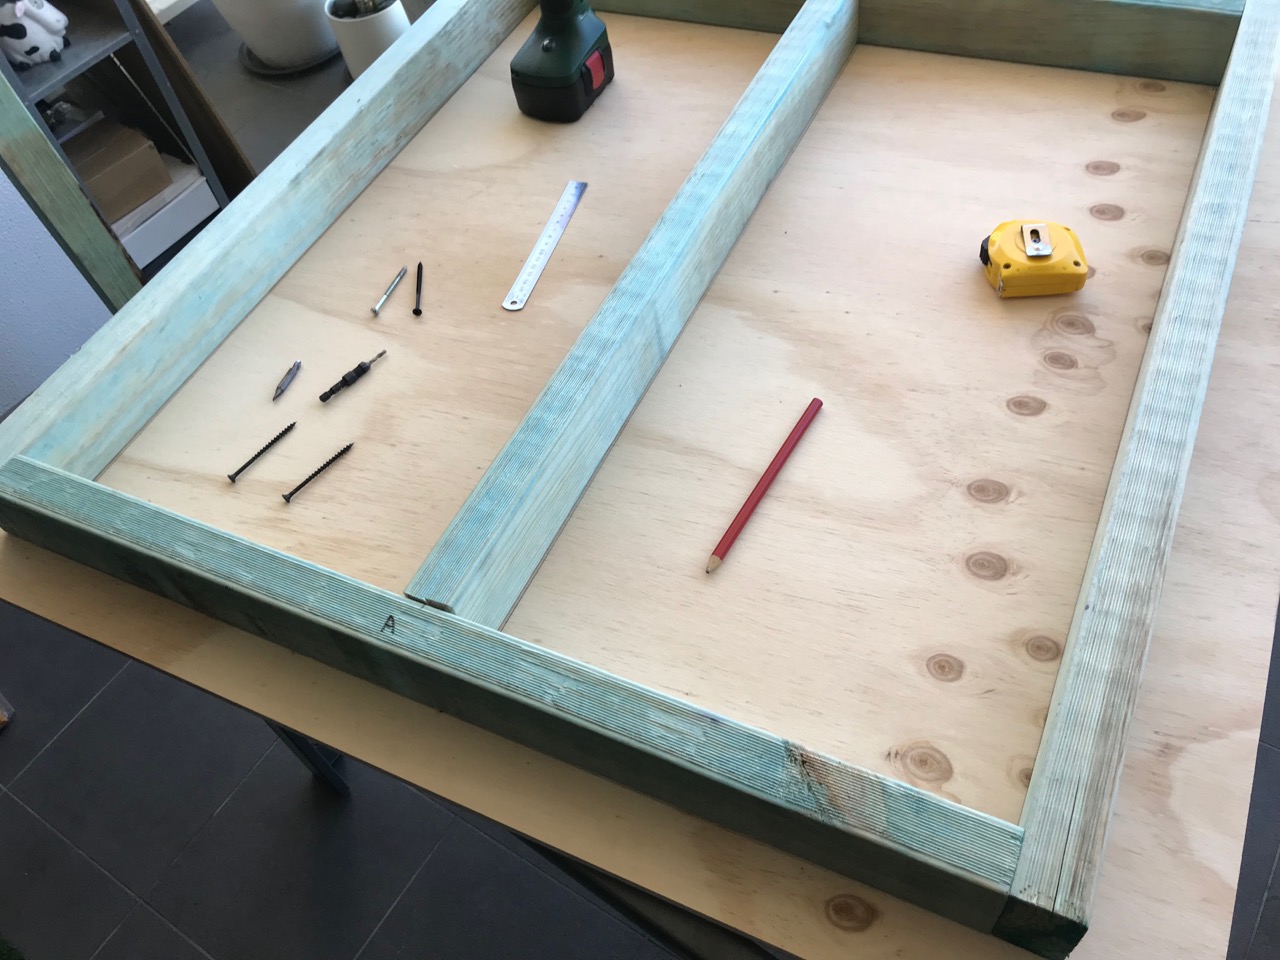
To reinforce the frame I used another piece of pine in the middle. Then everything was secured with screws (countersunk of course).
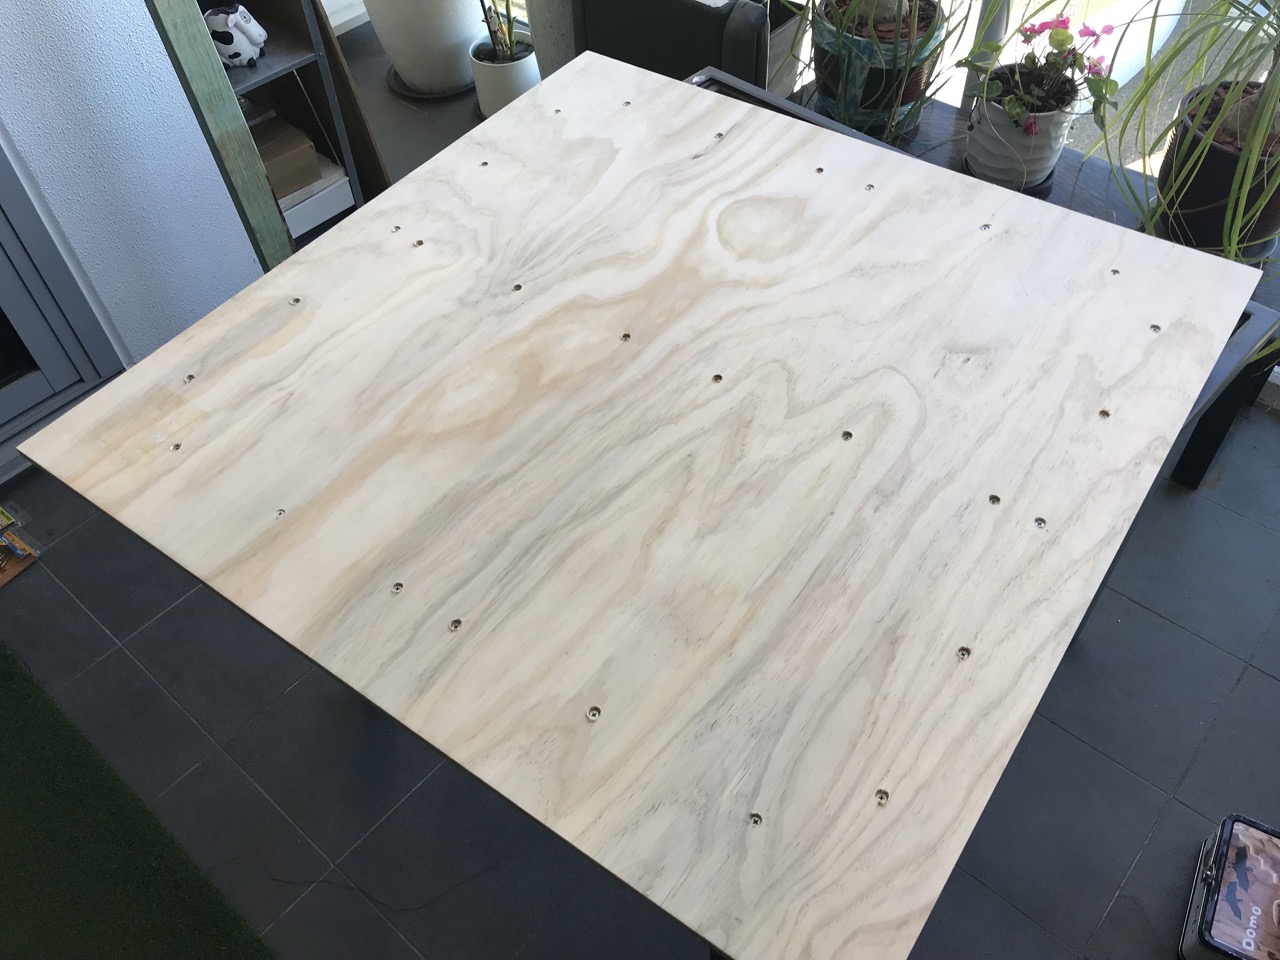
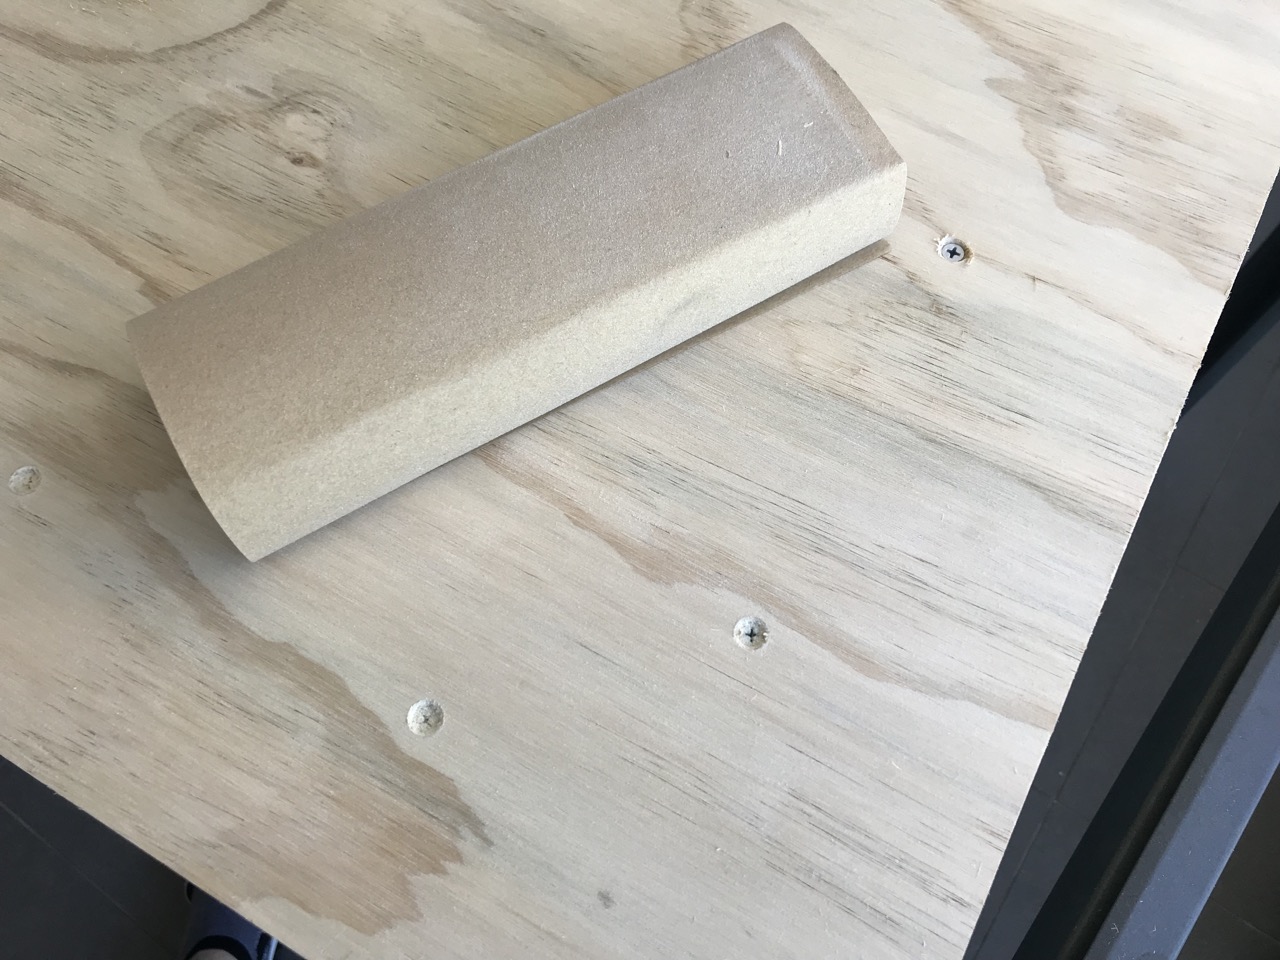
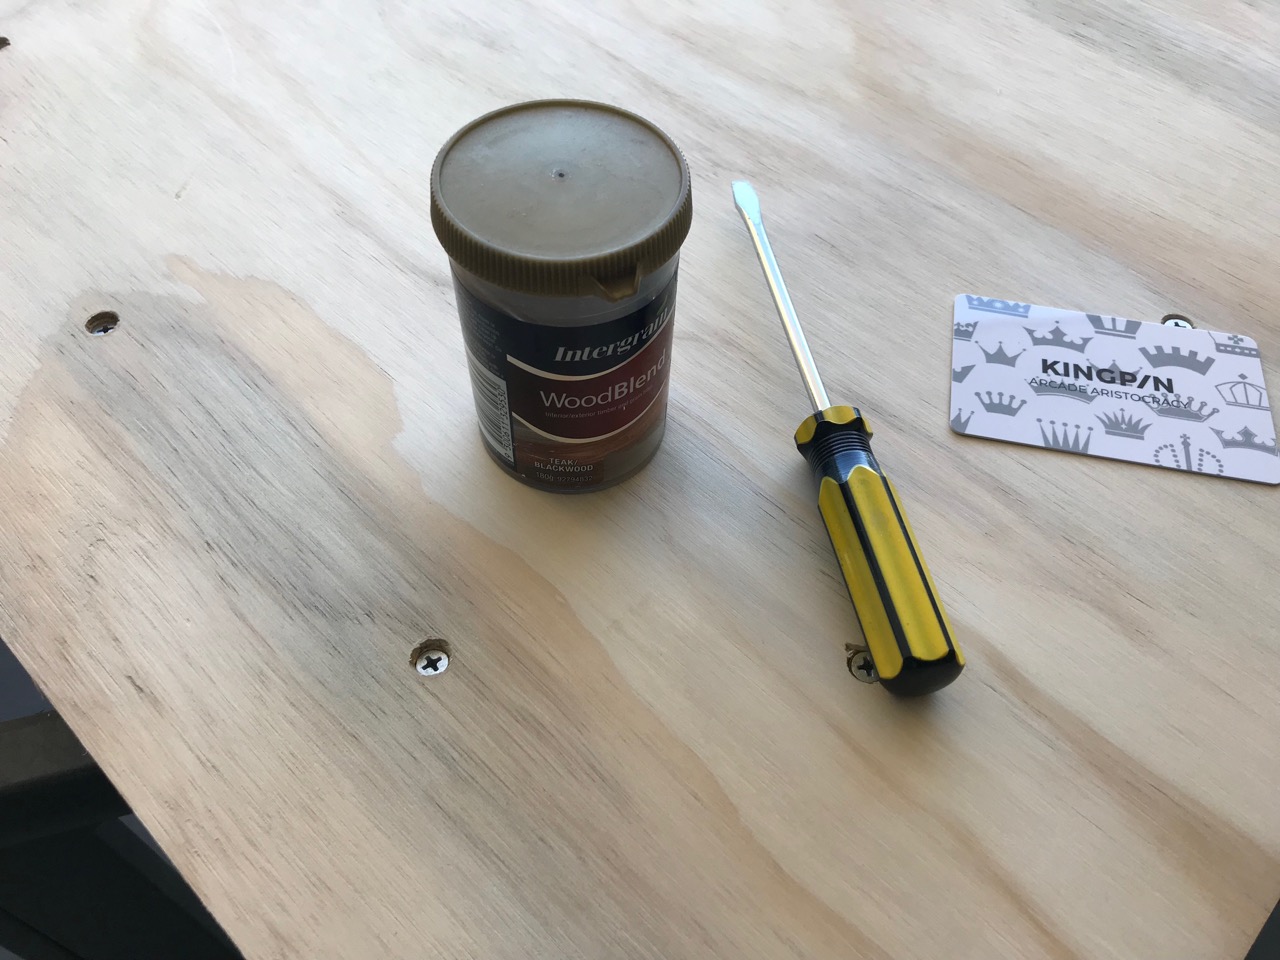
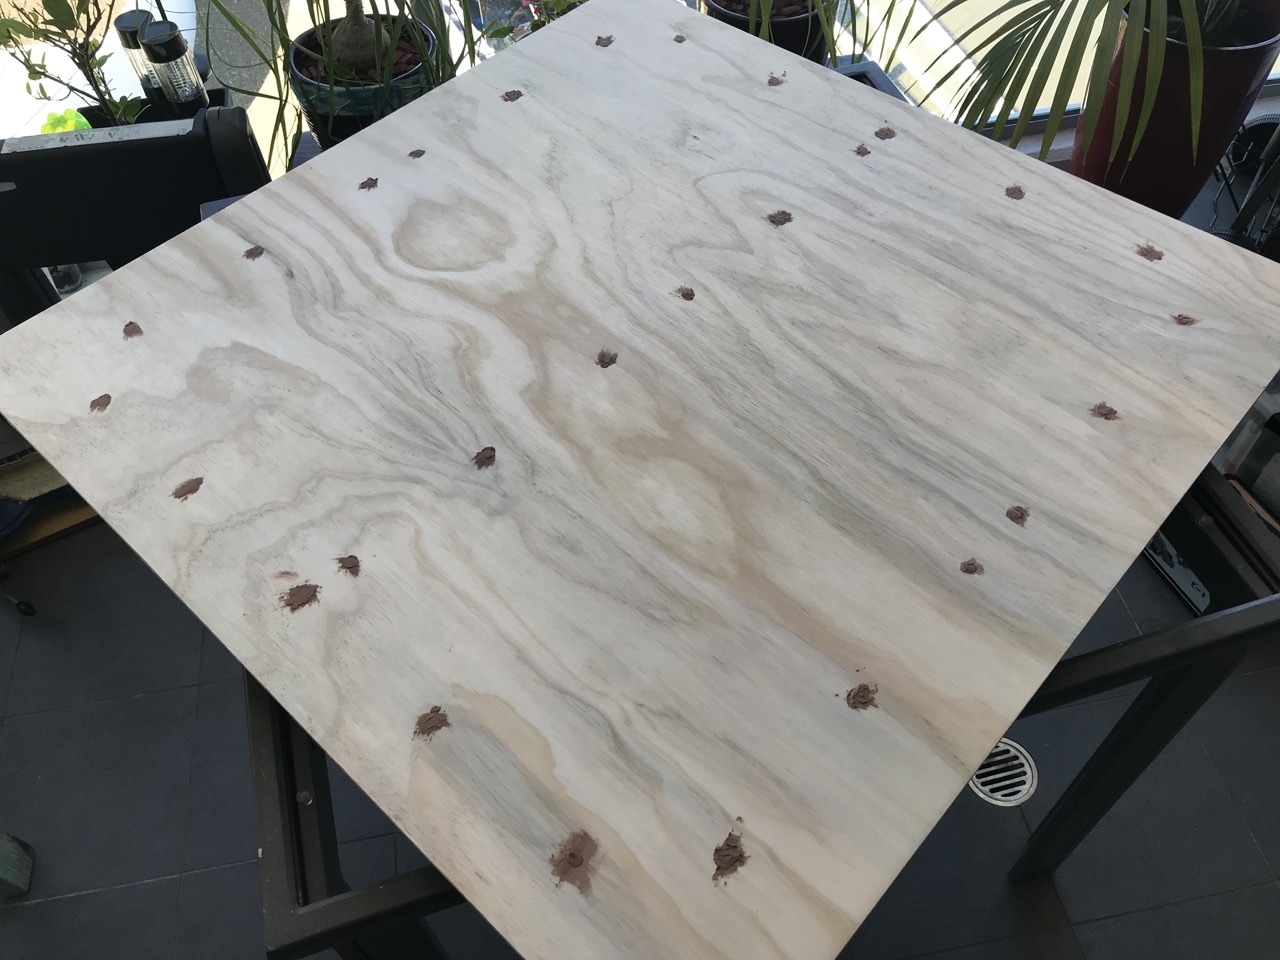
I've sanded down all of the holes to remove any large burrs and filled these with gap filler. I also decided to fill the holes in the frame though this wasn't really necessary.
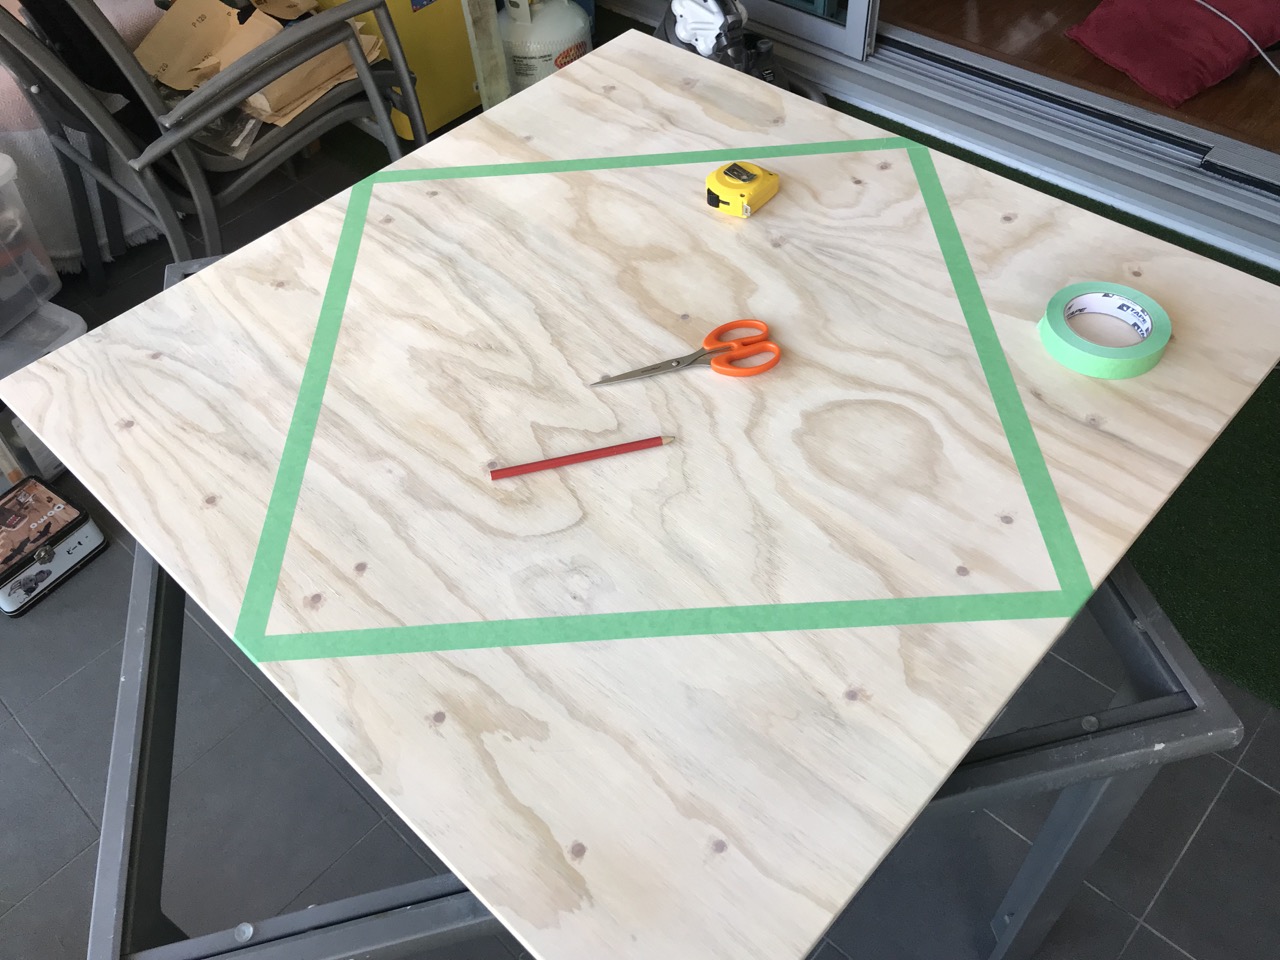
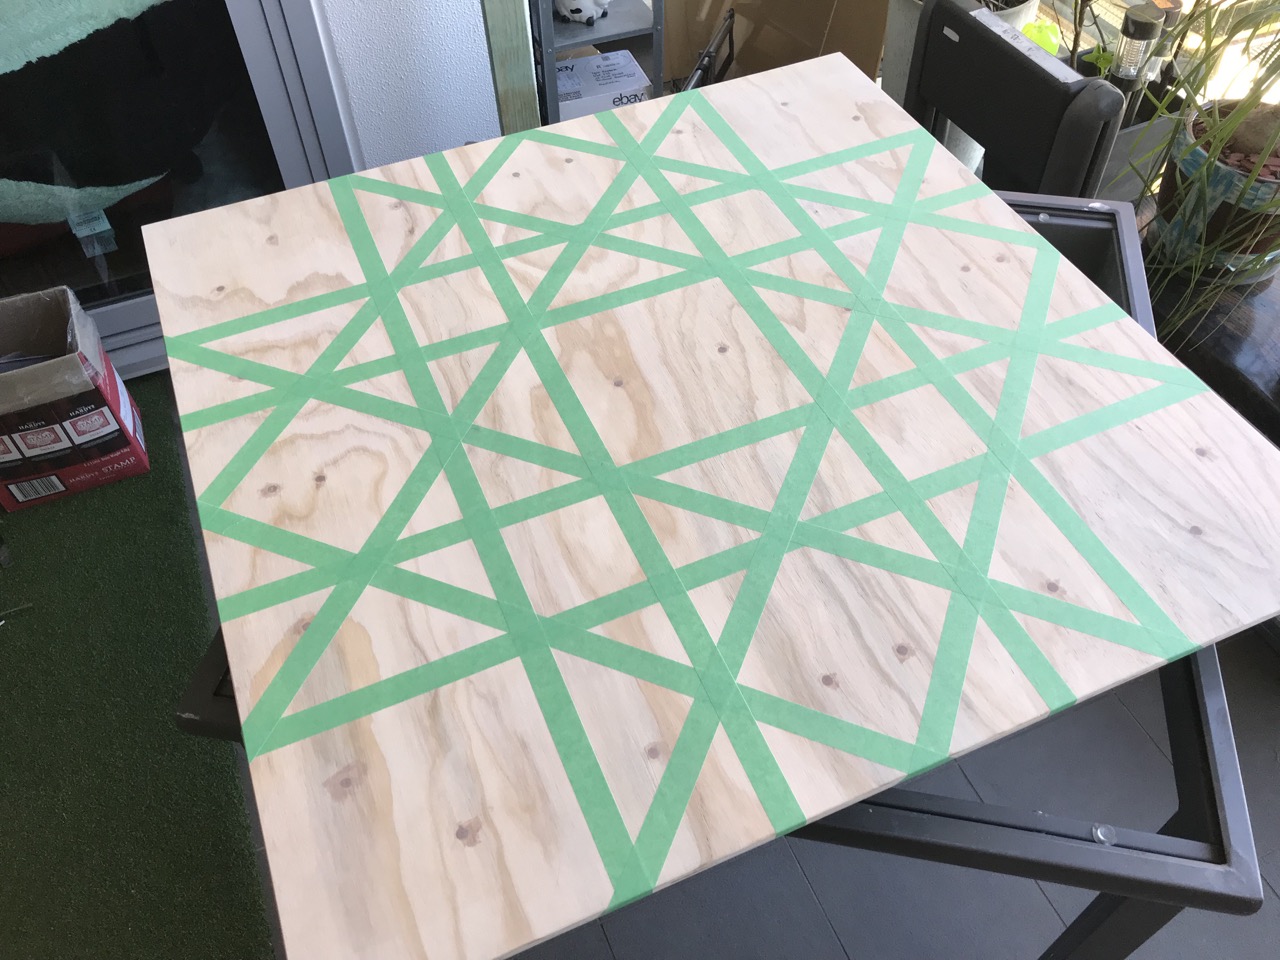
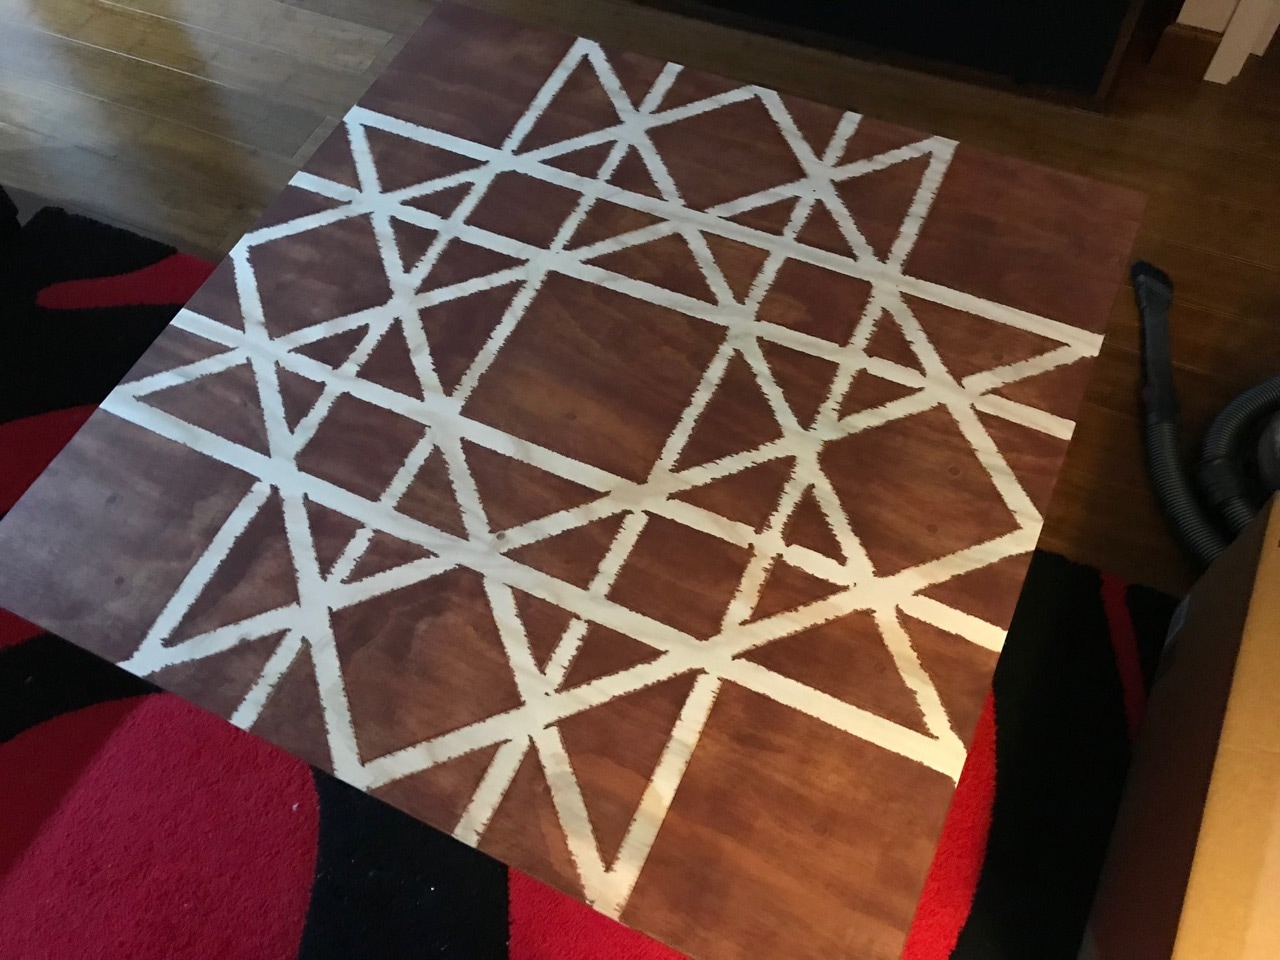
After sanding it was time to add a feature to the table top. A Fibonacci inspired pattern. For this I used masking tape and wood stain. The stain was applied to the top part of the table and the edges, the bottom was left as is.
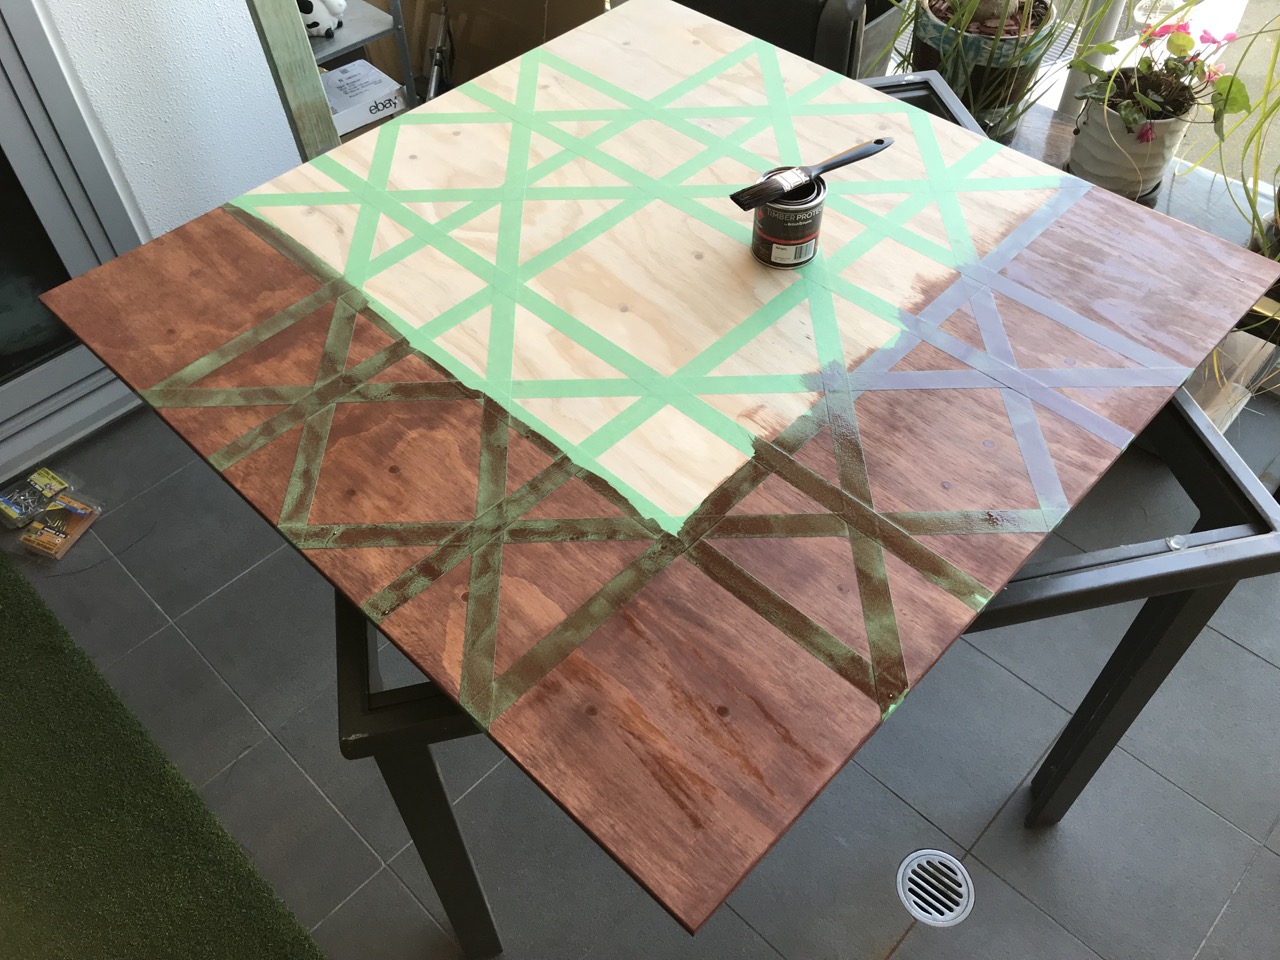
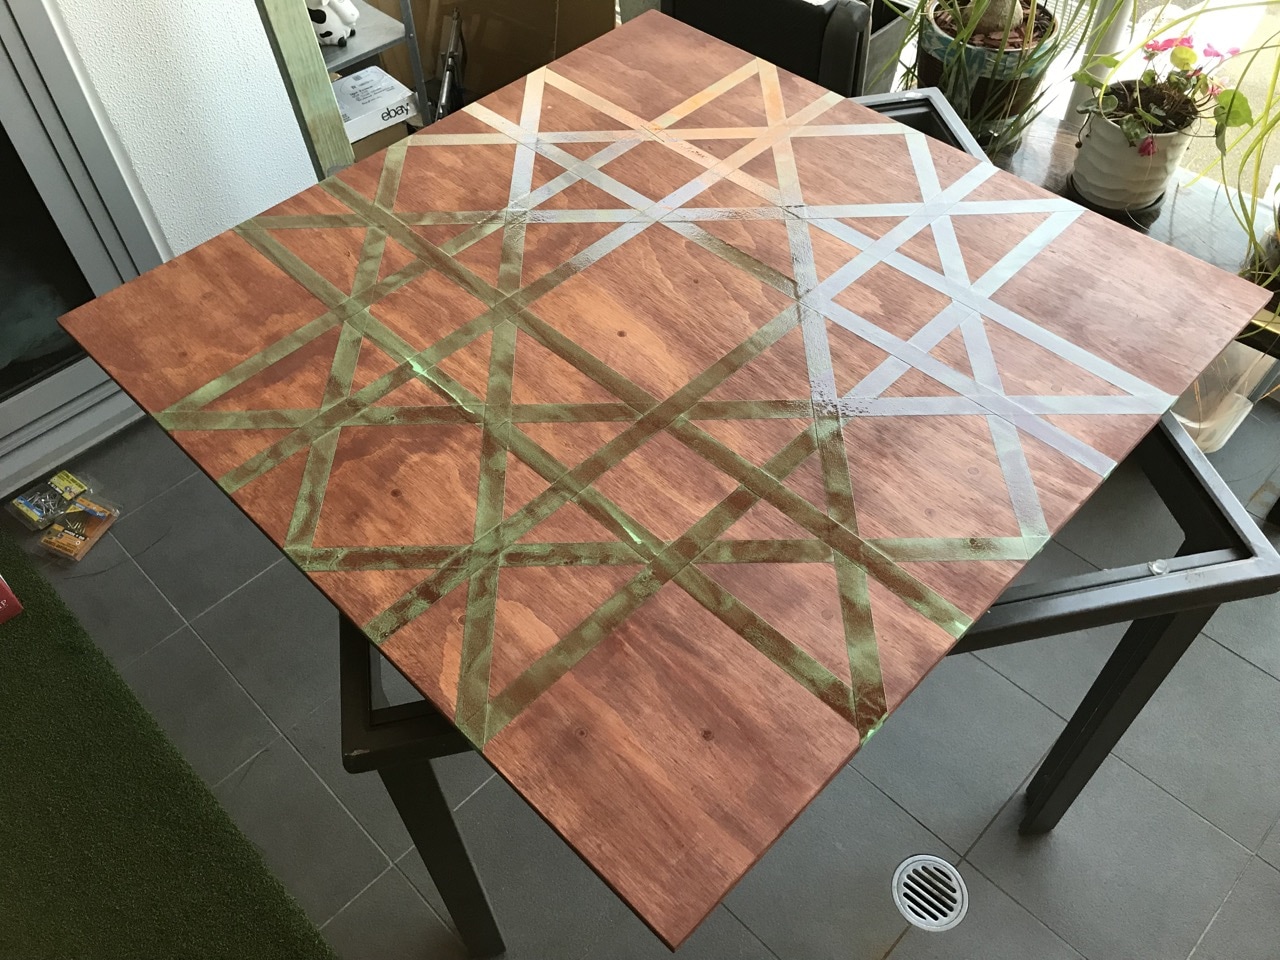
My original intent was to have nice crisp lines, but because this was plywood, the stain bled through under the masking tape. My initial thought after that was to mask off the stained parts and paint the lines in a white solid colour. However, I started with a coat of lacquer which had a fortunate side effect of smudging the stain and spreading it around more. I liked that effect so decided to go with it.

After 4 top coats of lacquer the table looked nice and shiny (only 1 coat on the bottom just to seal the wood). The surface was smooth to the touch, but there were small pits that could have still been filled in with more lacquer and sanding (if I used more expensive marine grade plywood this would not have been an issue). I didn't bother doing that as this was an outdoor table after all. Still, the table ended up looking very nice and is definitely a feature on our balcony now.
-i
