I was also sent the Grove Shield and a couple of Grove modules to check out - the light sensor and the relay. These will be used in an upcoming project. We'll take a quick look at these here but more on these will be available in a future blog post.
So lets have a look at the package...
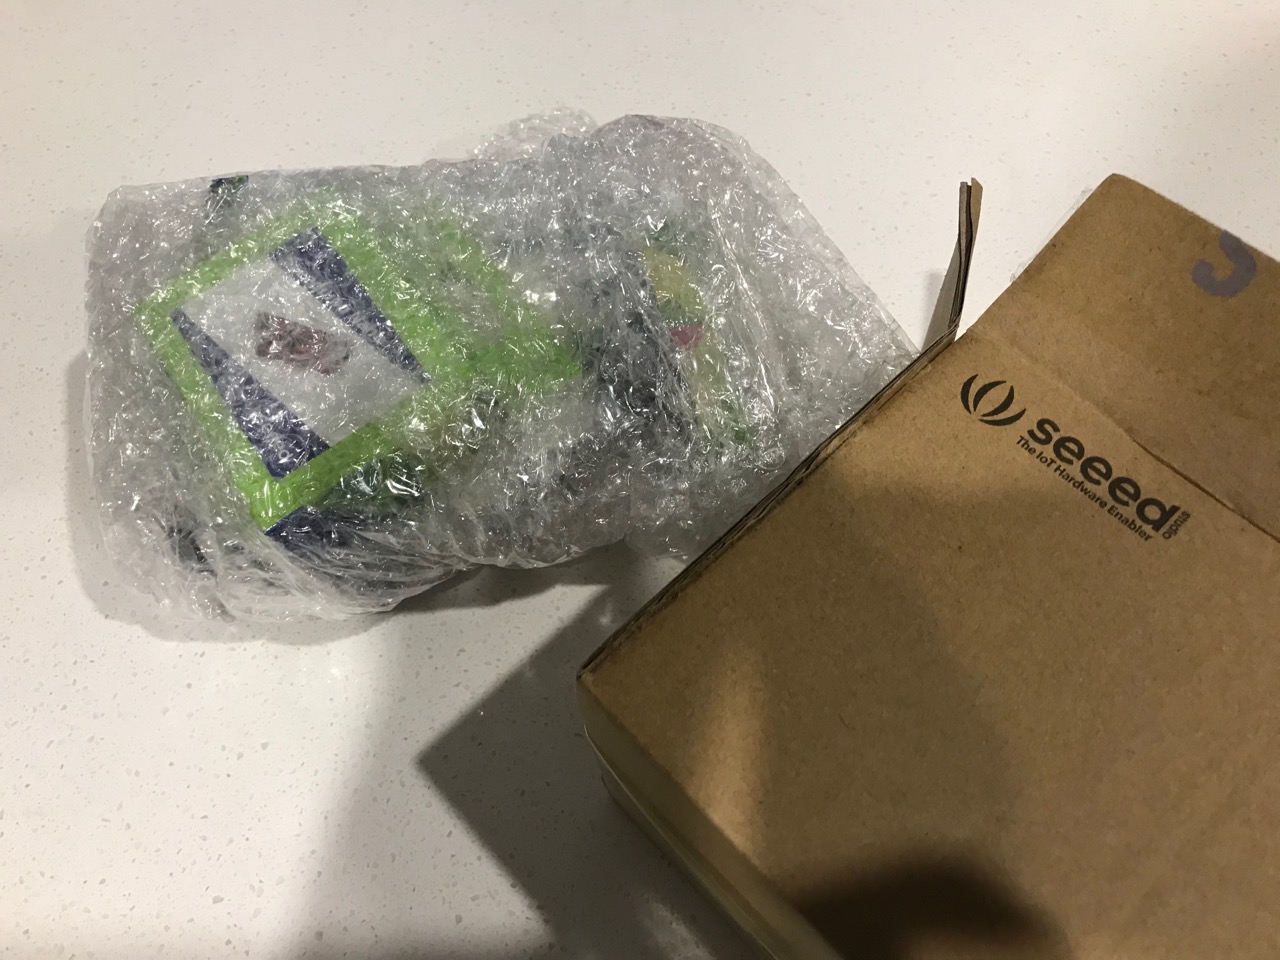
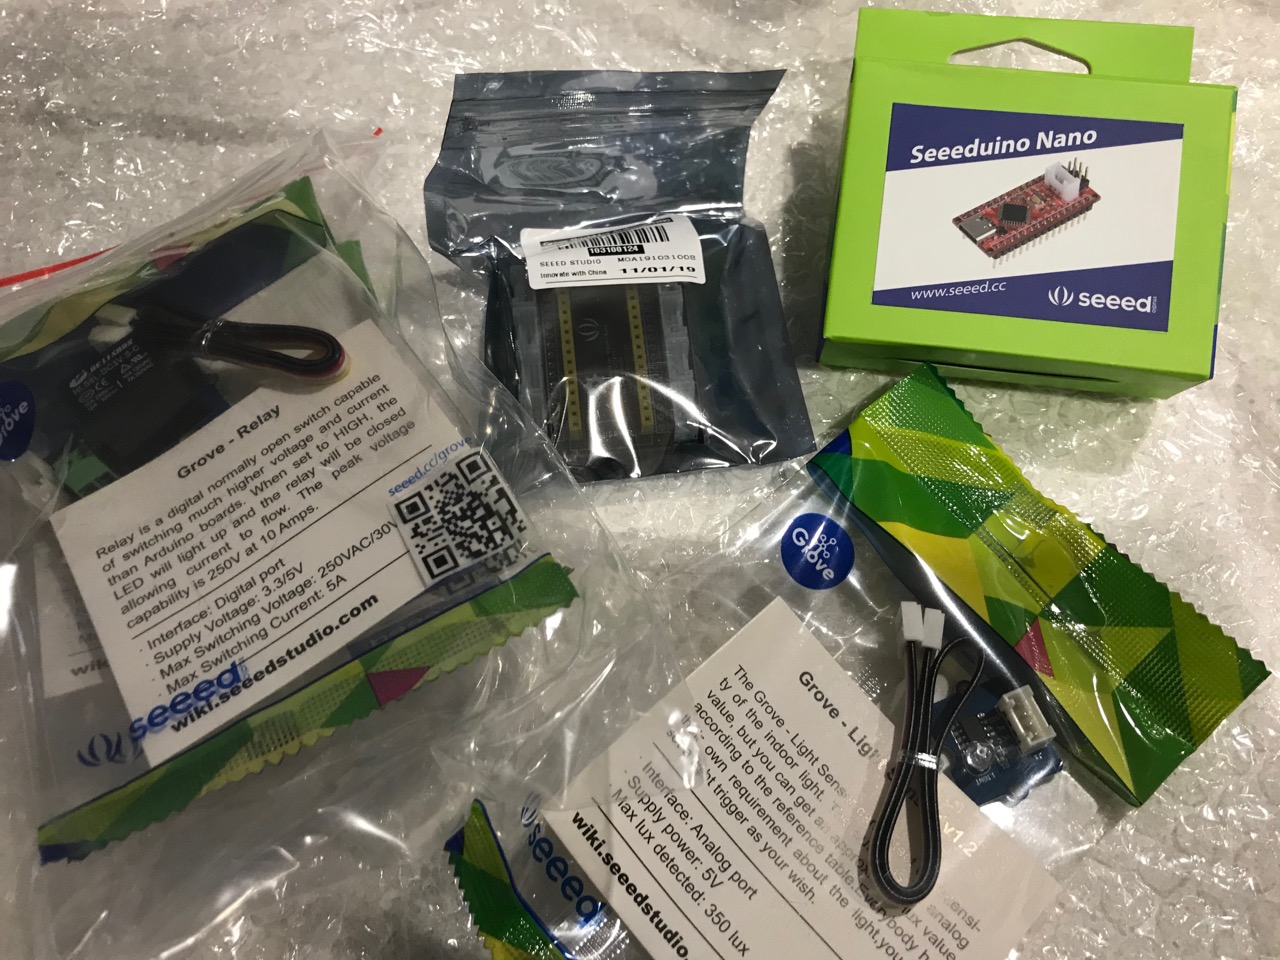
I've received packages from Seeed Studio a number of times in the past and their packaging has been excellent every time. A nice sturdy box and bubble wrap to protect your order. Nothing was damaged in transit and each of the items inside also had its own retail packaging.
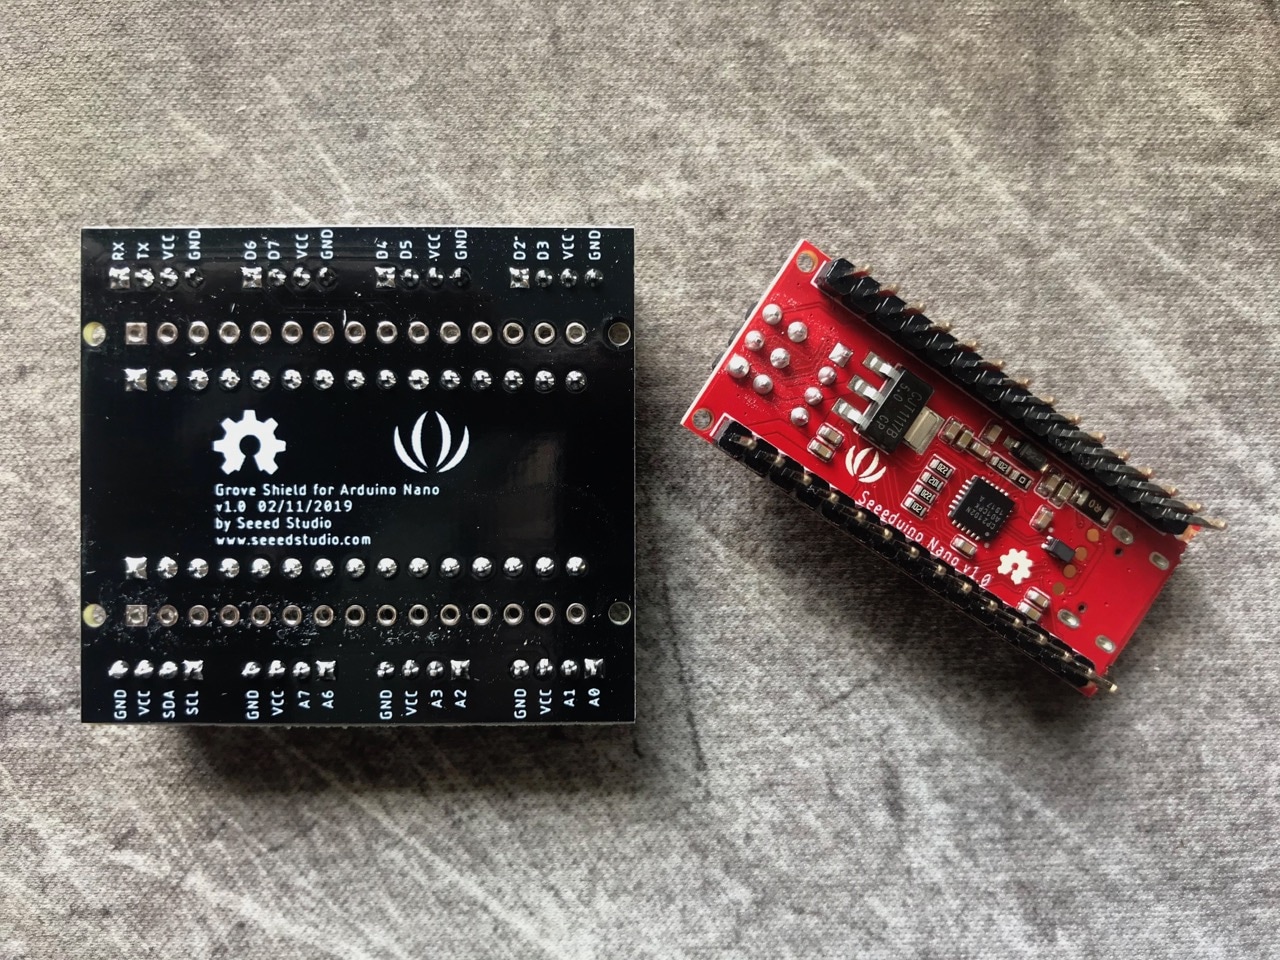
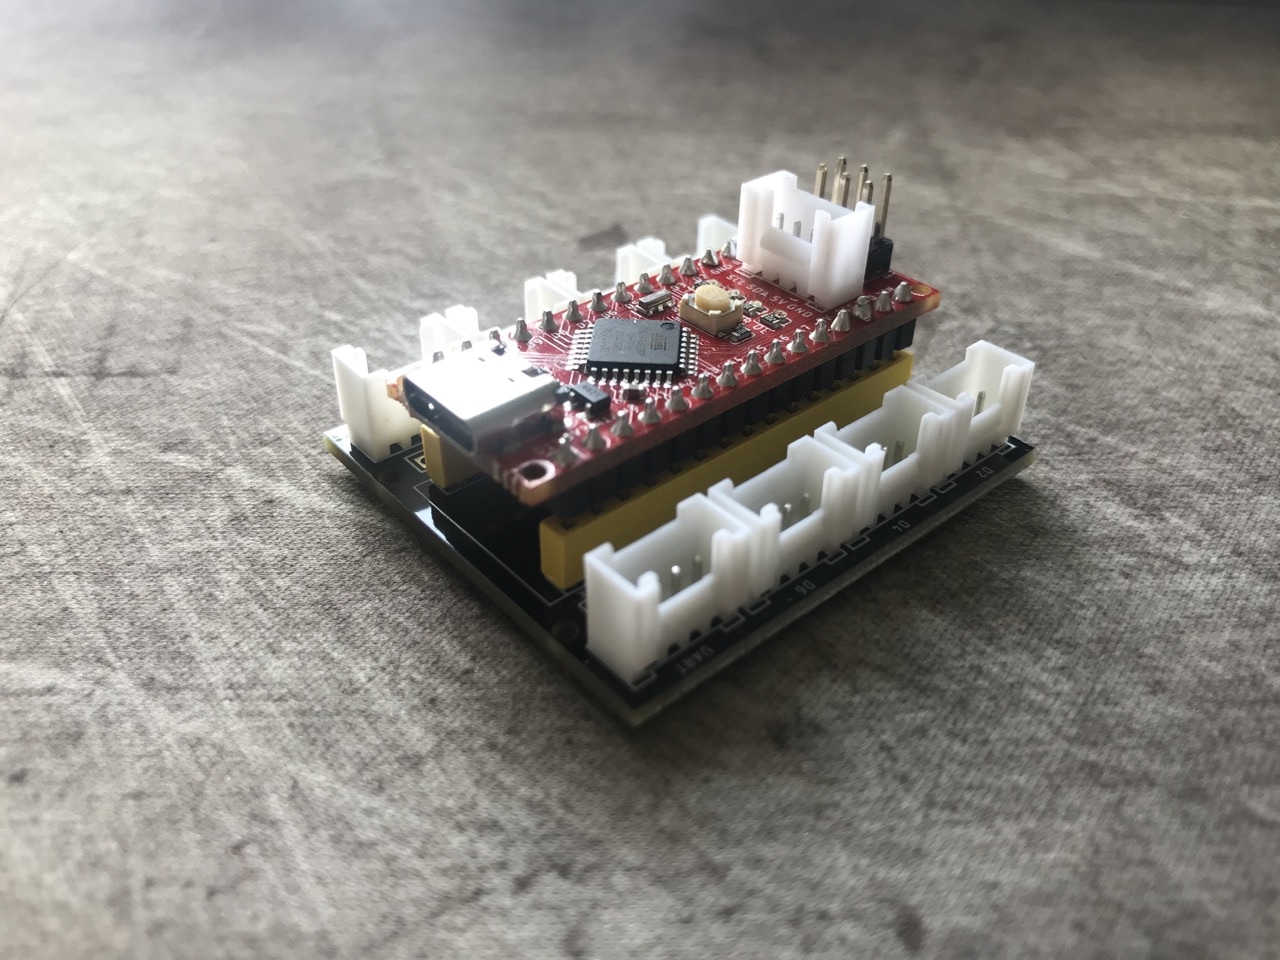
The Nano and its shield were built very well, however I did find that the yellow pin sockets on the shield were soldered on at a funny angle, which made the Nano a little difficult to insert. Apart from that I had no issues with the hardware side at all.
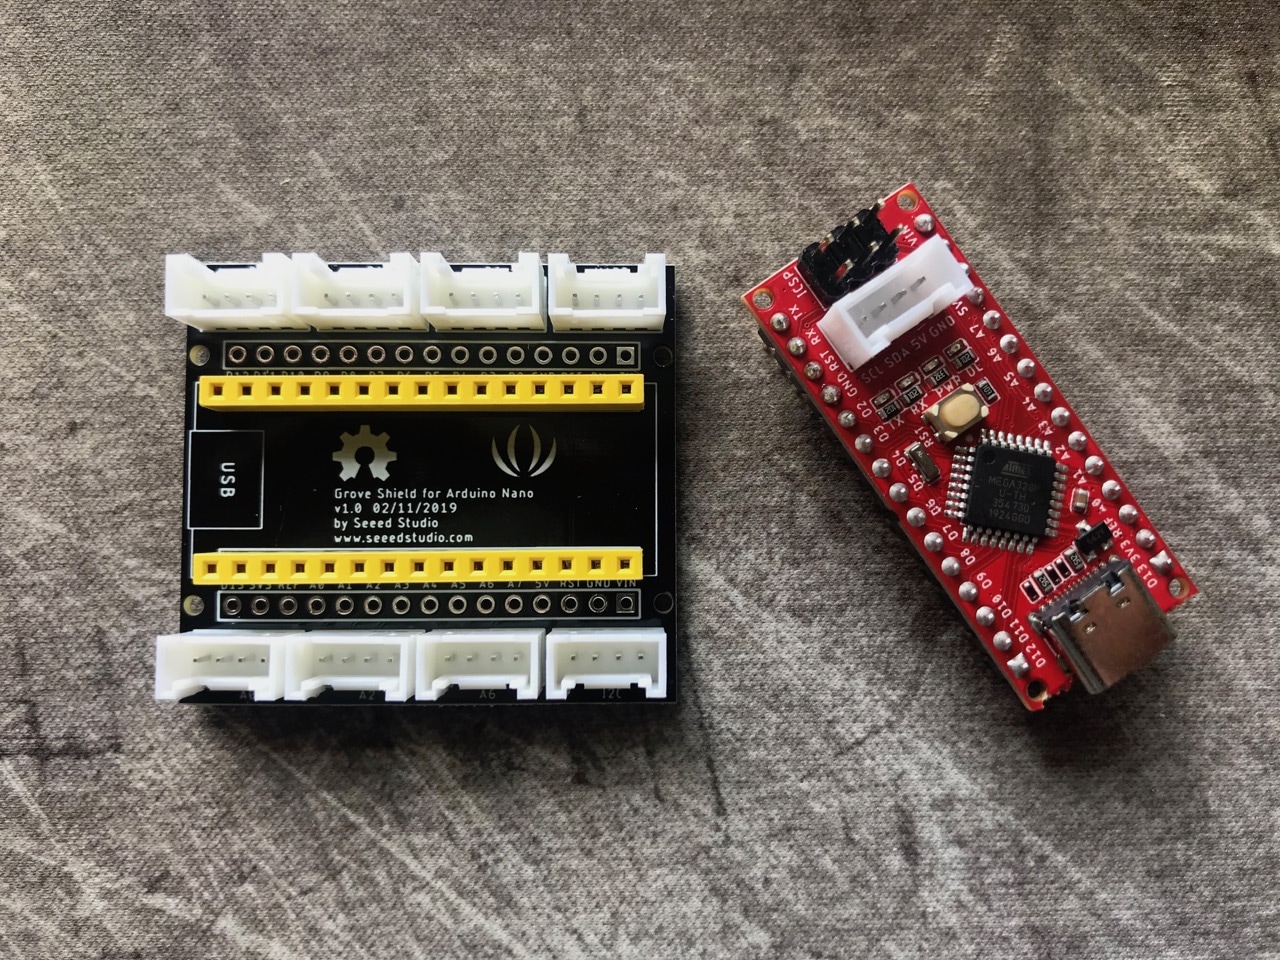
The Nano was inserted into the Grove shield and I was ready to try it out...
The usual Arduino IDE can be used with this board of course since it is completely compatible. There is a small amount of initial setup required to download board definitions but beyond that it's Arduino coding at its usual. Instructions on how to add the Seeeduino Nano are available on their very detailed wiki pages.
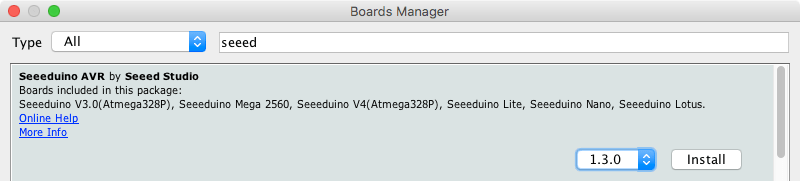
While on the topic, the wiki pages go into details of each of the Grove modules, e.g. Light Sensor and Relay. The Nano itself is documented very well too. Overall the quality of documentation is quite amazing and has really surpassed my expectations.
I followed the Getting Started instructions and within minutes was set up and had the Blink sketch running on the Nano. It was all so very simple!

Now I did promise to touch on some of the Grove modules here. I tried out the light sensor first, which was as simple as plugging it into one of the analog headers on the Grove Shield (A0 in my case). The following sketch was all that was required to get a reading from the sensor and out to the serial console...
Arduino Sketch
void setup()
{
Serial.begin(9600);
}
void loop()
{
int value = analogRead(A0);
value = map(value, 0, 800, 0, 10);
Serial.println(value);
delay(100);
}
The relay was just as easy, only requiring the basic of setup to set pin mode to output and then to activate the relay was as easy as writing high to its corresponding digital pin. Each of the Grove modules came with a short length of cable to connect it to the Grove shield. The shield of course made this all possible within minutes by providing an easy plug-and-play platform.
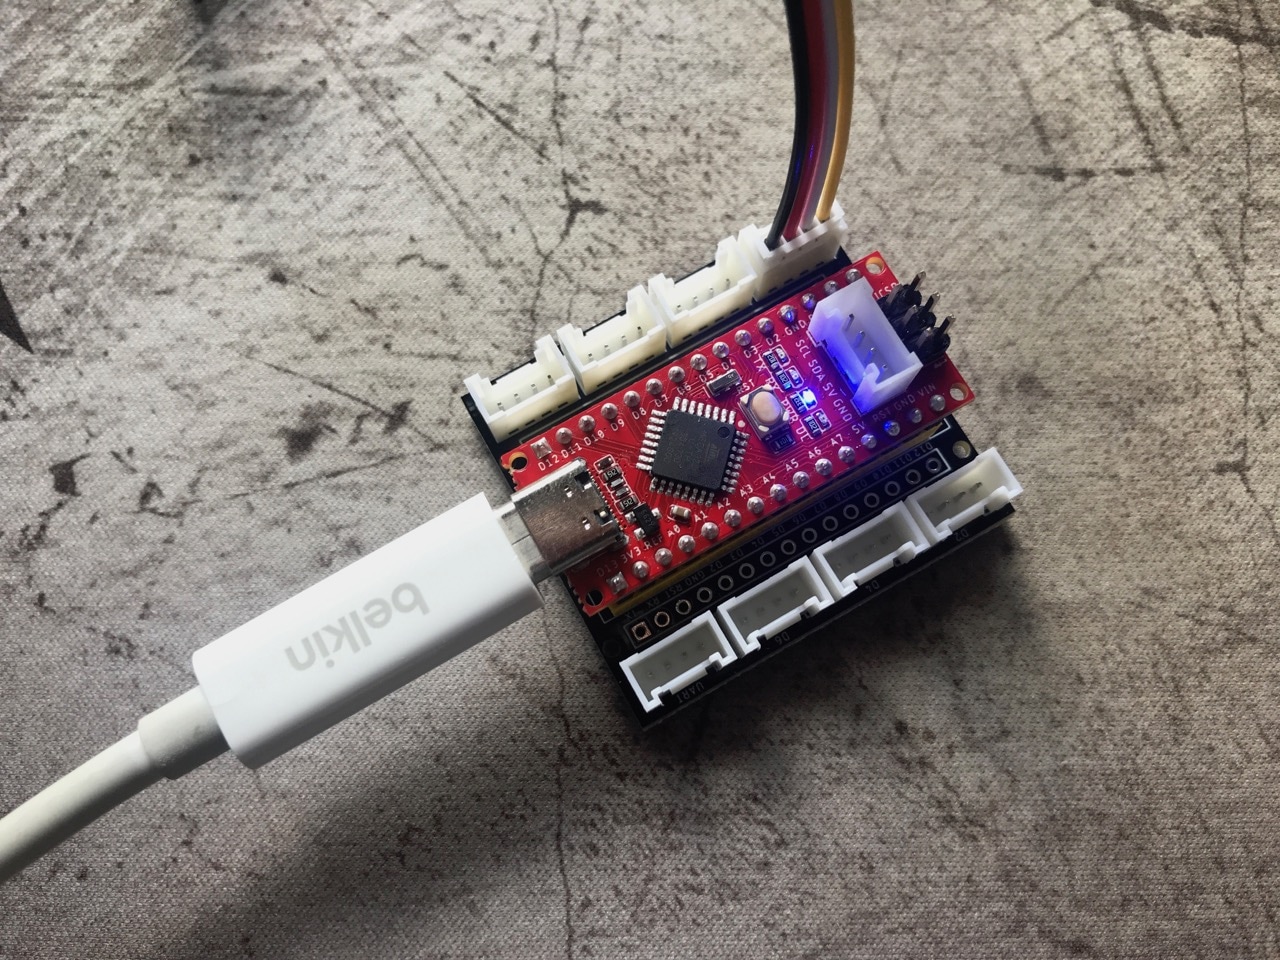
Since my initial playing around with the Nano and the Grove modules I've started to write more advanced code and have to say that having the USB-C connector is so refreshing. There is no need to worry about orientation of the cable, just plug it in and it works. Using the Grove Shield is also amazing, if you need to change which pin/port you want to use, simply unplug/plug where required. The documentation and examples on the wiki pages is quite detailed and has also been a very useful aid in my exploration of this platform.
However even with all the plug-and-play functionality and ease of use, the best feature of this offering is its price. At less than a third of what an Arduino Nano will cost you, Seeeduino Nano is simply amazing. In the next week or two I will be completing a project using the Nano, two Grove relays and a Grove light sensor to automatically control light mode in my fish tank (white day LEDs vs blue night LEDs). Keep an eye out for that post - I've already made good progress on the software and 3D printing side, most of what is left now is integrating it into the fish tank itself and getting it wired in and water proofed.
-i
