The price of the commercial LED floor corner lamps is usually around the $80USD mark. This project cost me virtually $0 since I had all of the components in my junk boxes already, but if you wanted to build it yourself it would cost you significantly less than the commercial price.
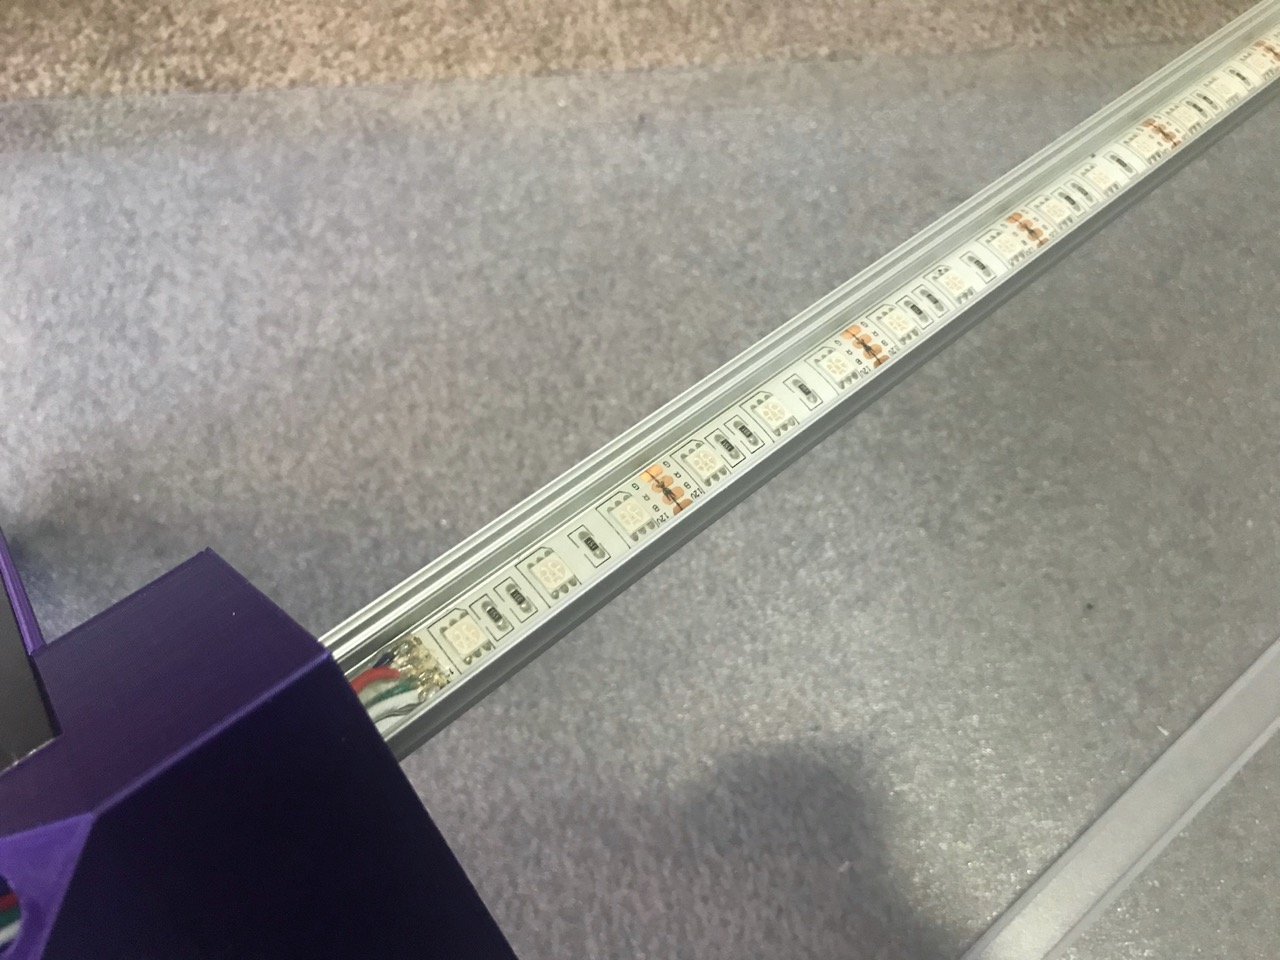
I knew that I had some old LED strip channel in my scrap pile in the garage. This was an older type measuring 17.5mm x 15mm, which seems hard to find now. The channels being sold seem to be around 8mm deep instead of 15mm, however the parametric OpenSCAD model I've made can be adjusted for this.
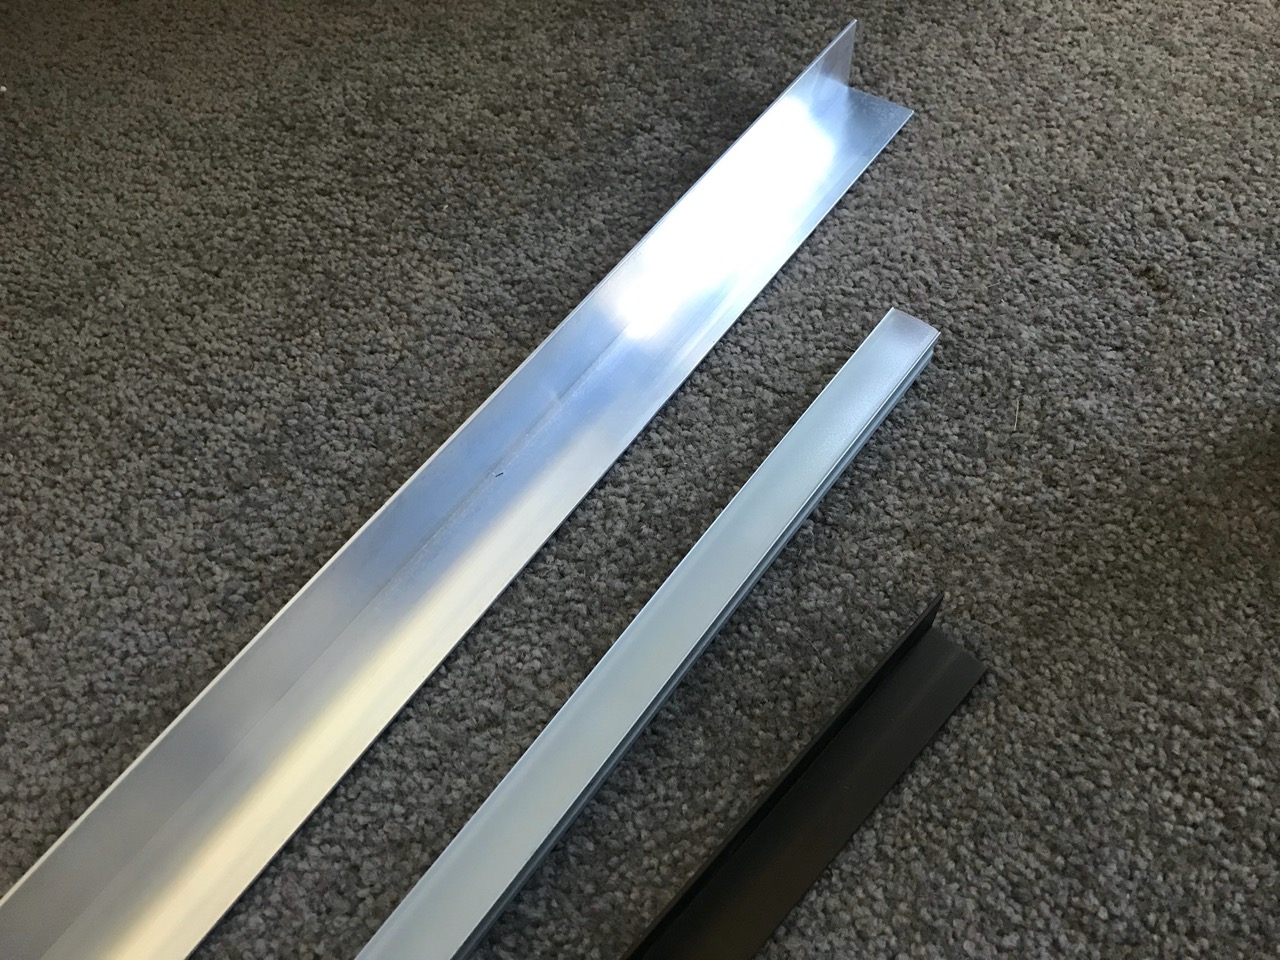
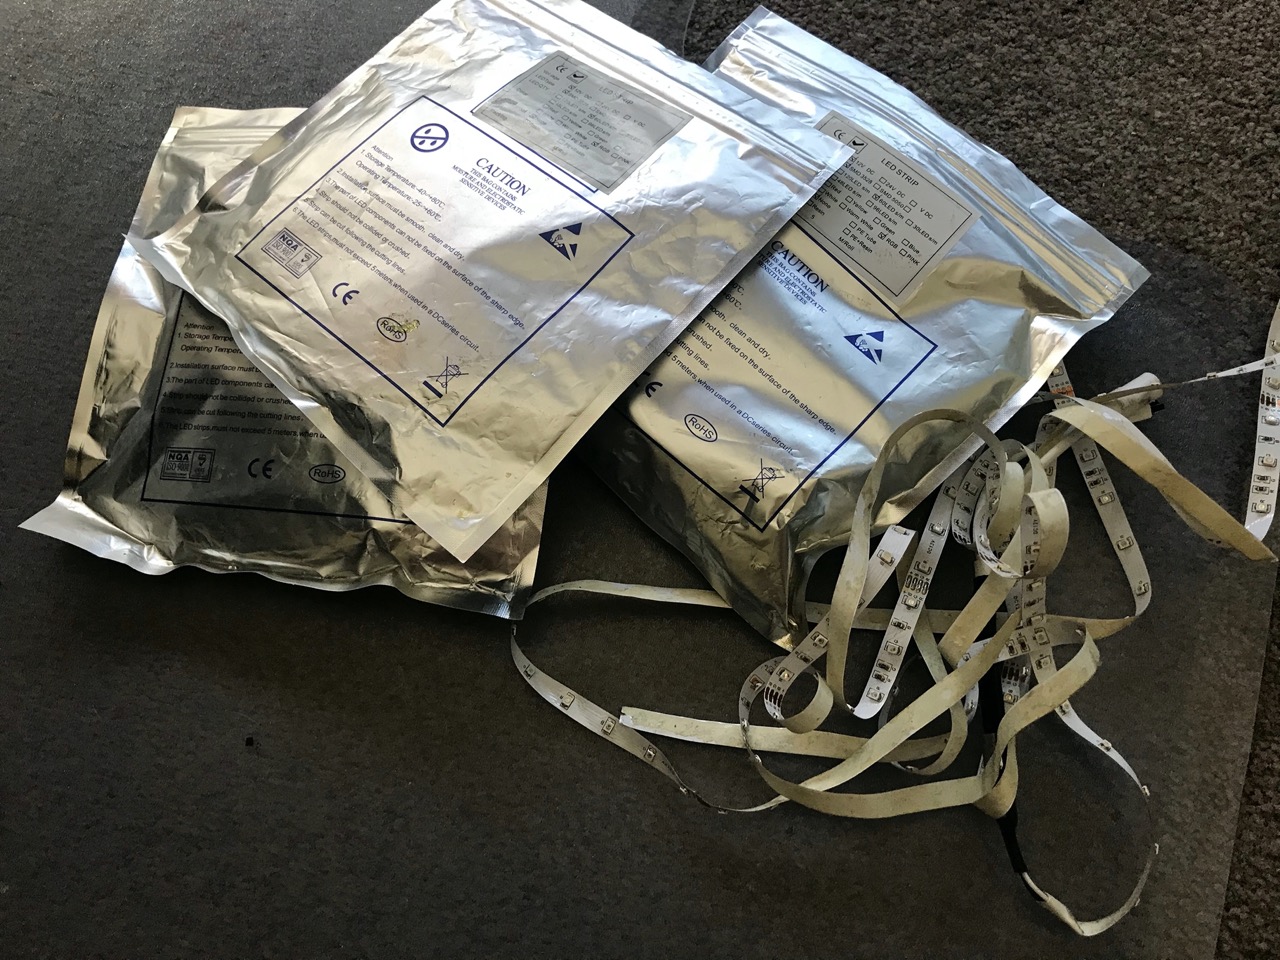
I also had some 20mm x 20mm x 2mm aluminium angle extrusion that I could use for the feet. There was a piece of a larger, 30mm x 30mm x 2mm angle which I didn't end up using. Then of course I had a pile of LED strips, some standard RGB, some weather proof RGB, some working, some not.
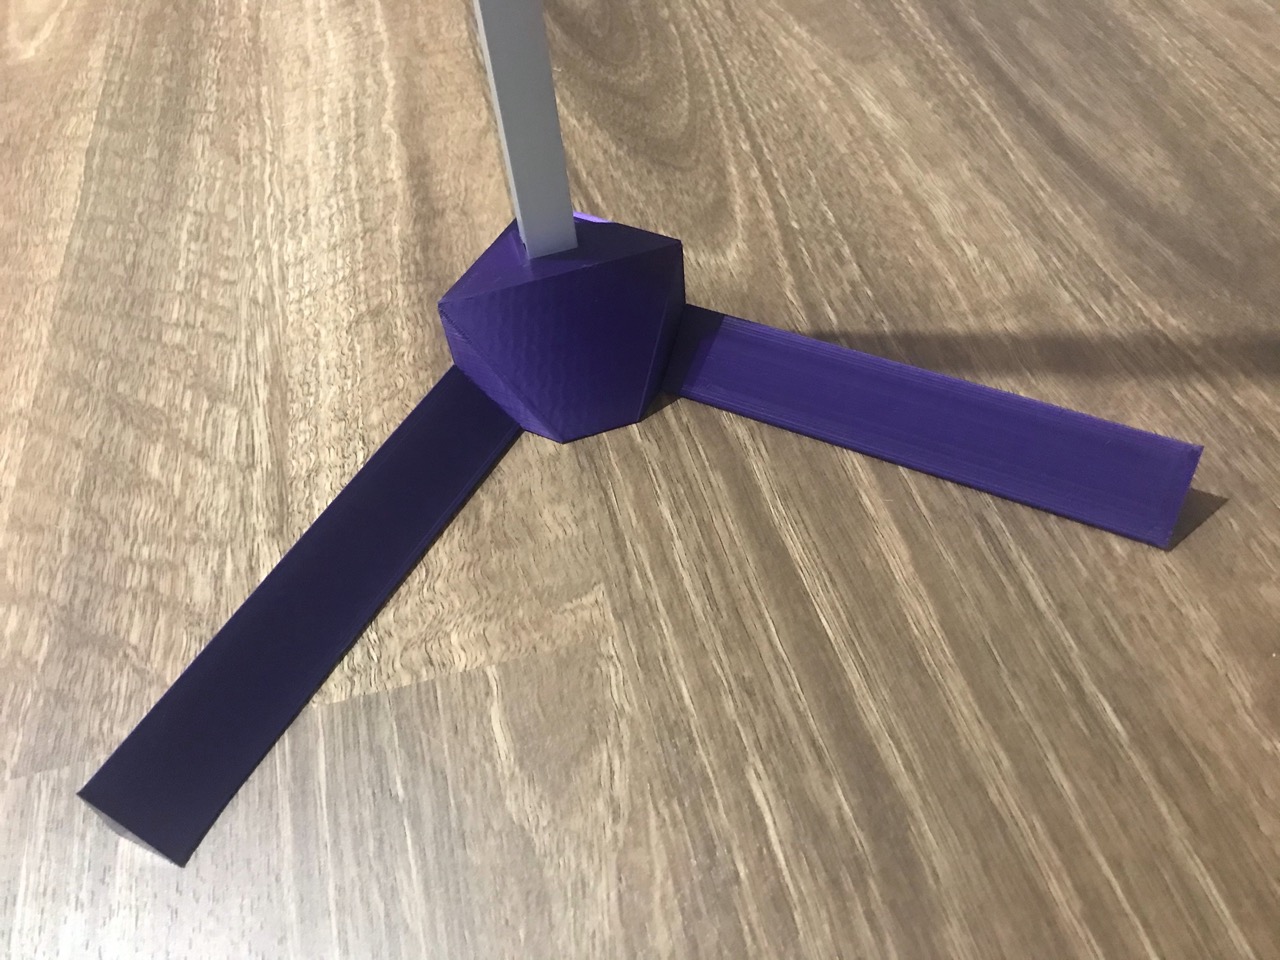
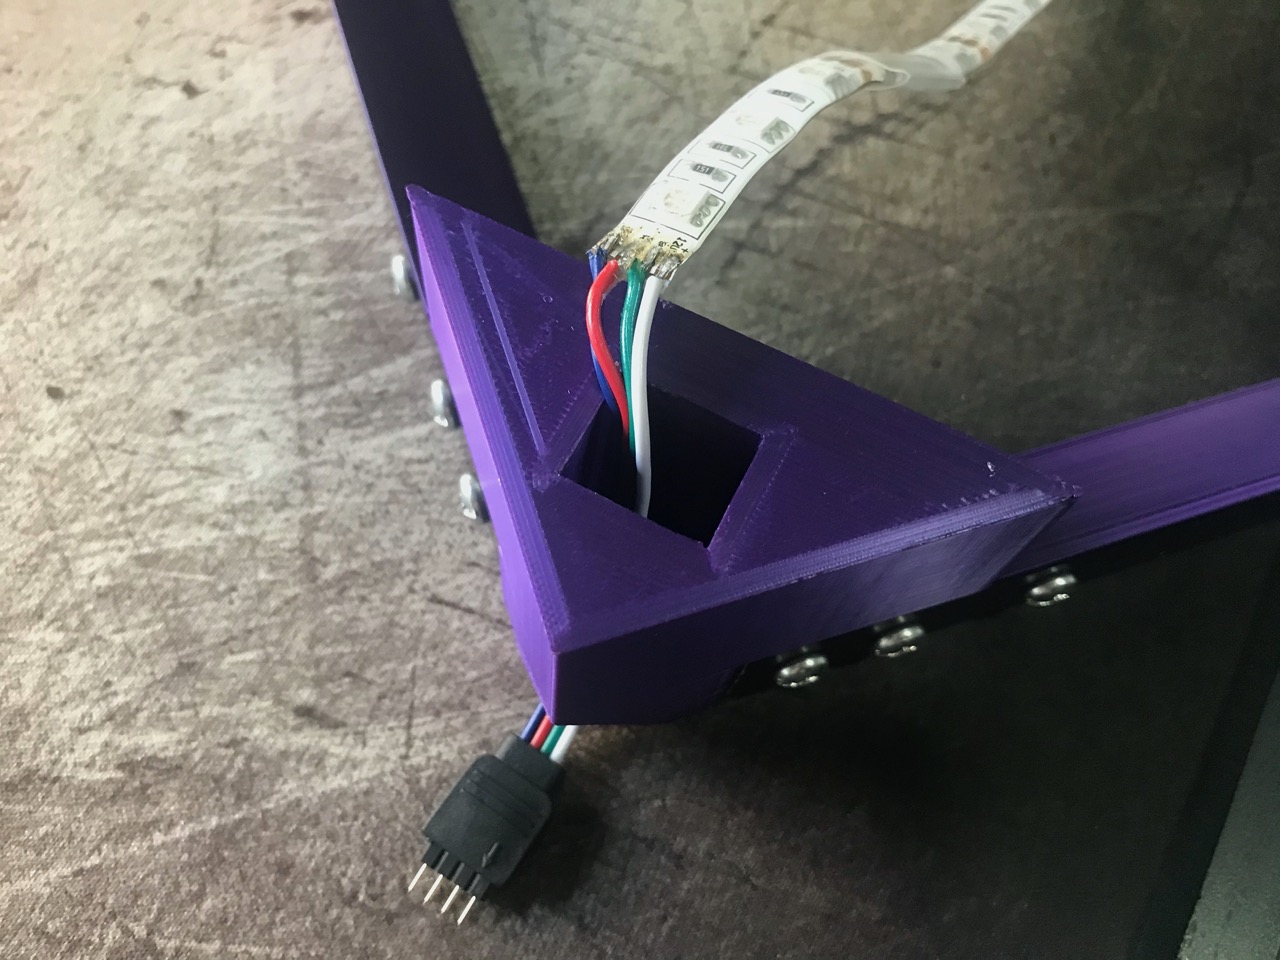
It took me a while to find a working strip and remote control, the one I was able to get to work was a weather proof strip with a chunky 12V controller. I put together the first version of the model for the base 3D print and printed it, trying out the aluminium angle fittings with it.
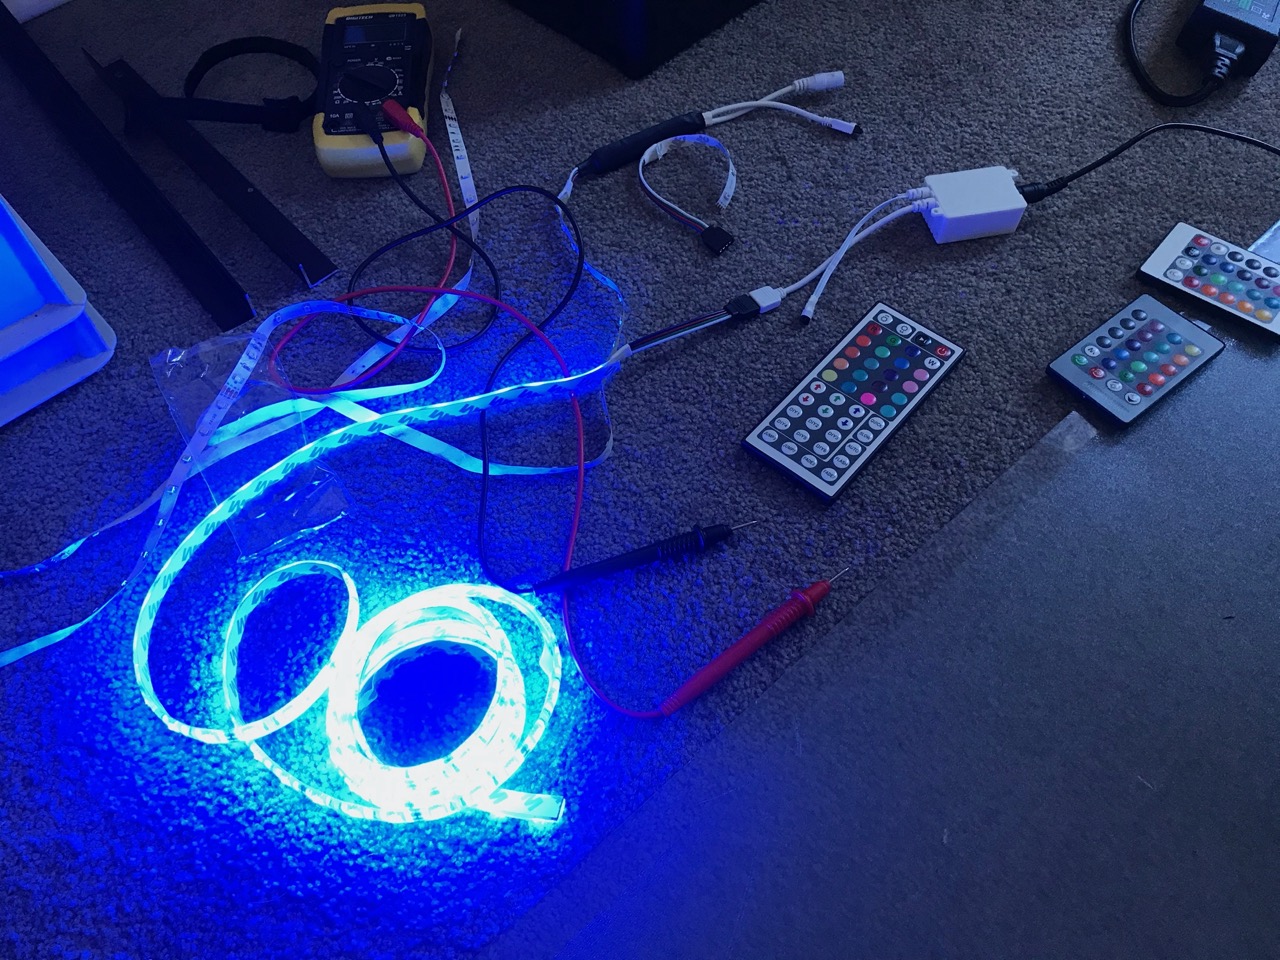
Some temporary wiring in place and I could test run the lamp. It looked great already!

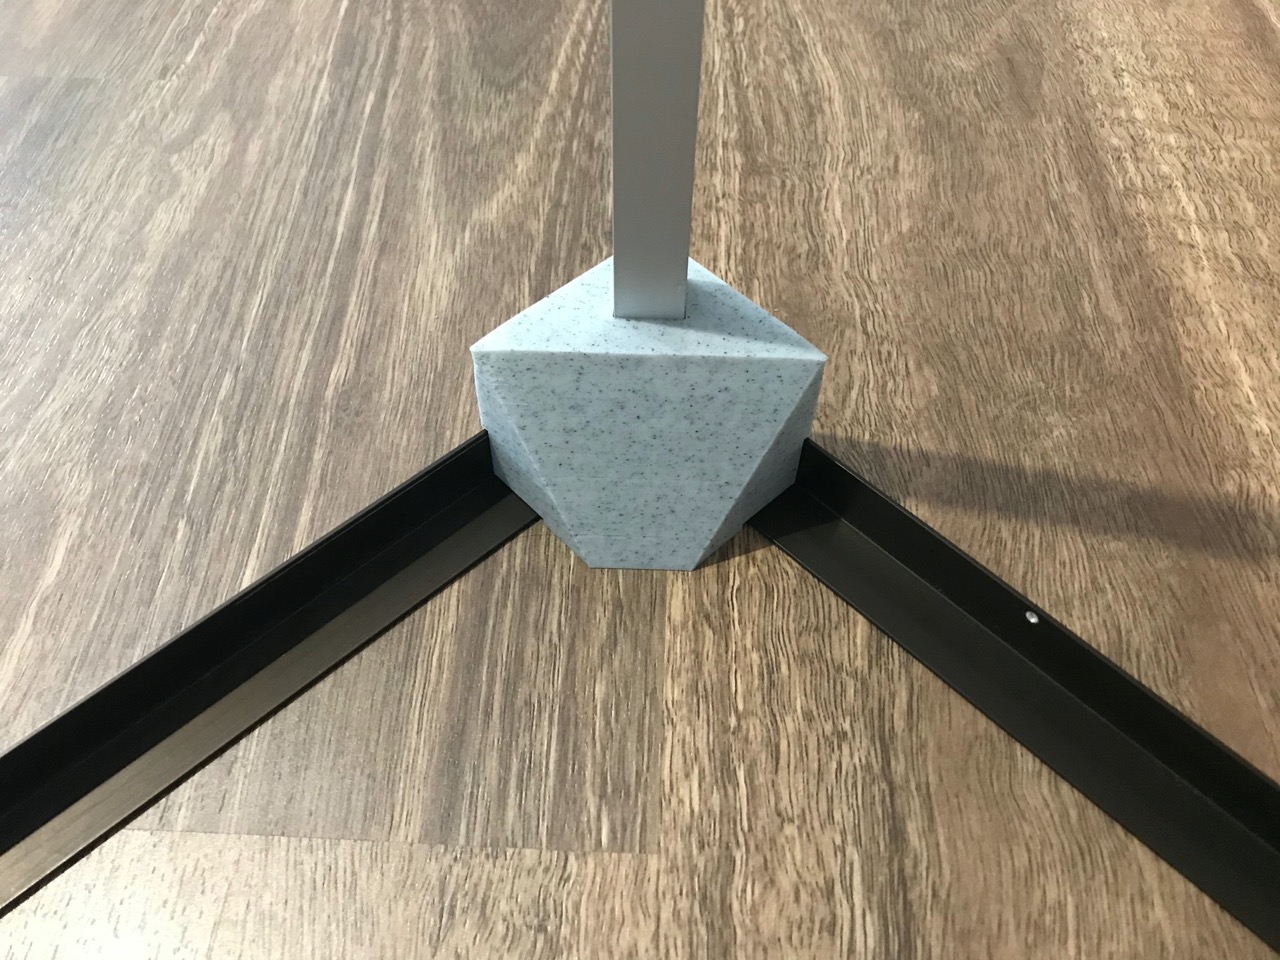
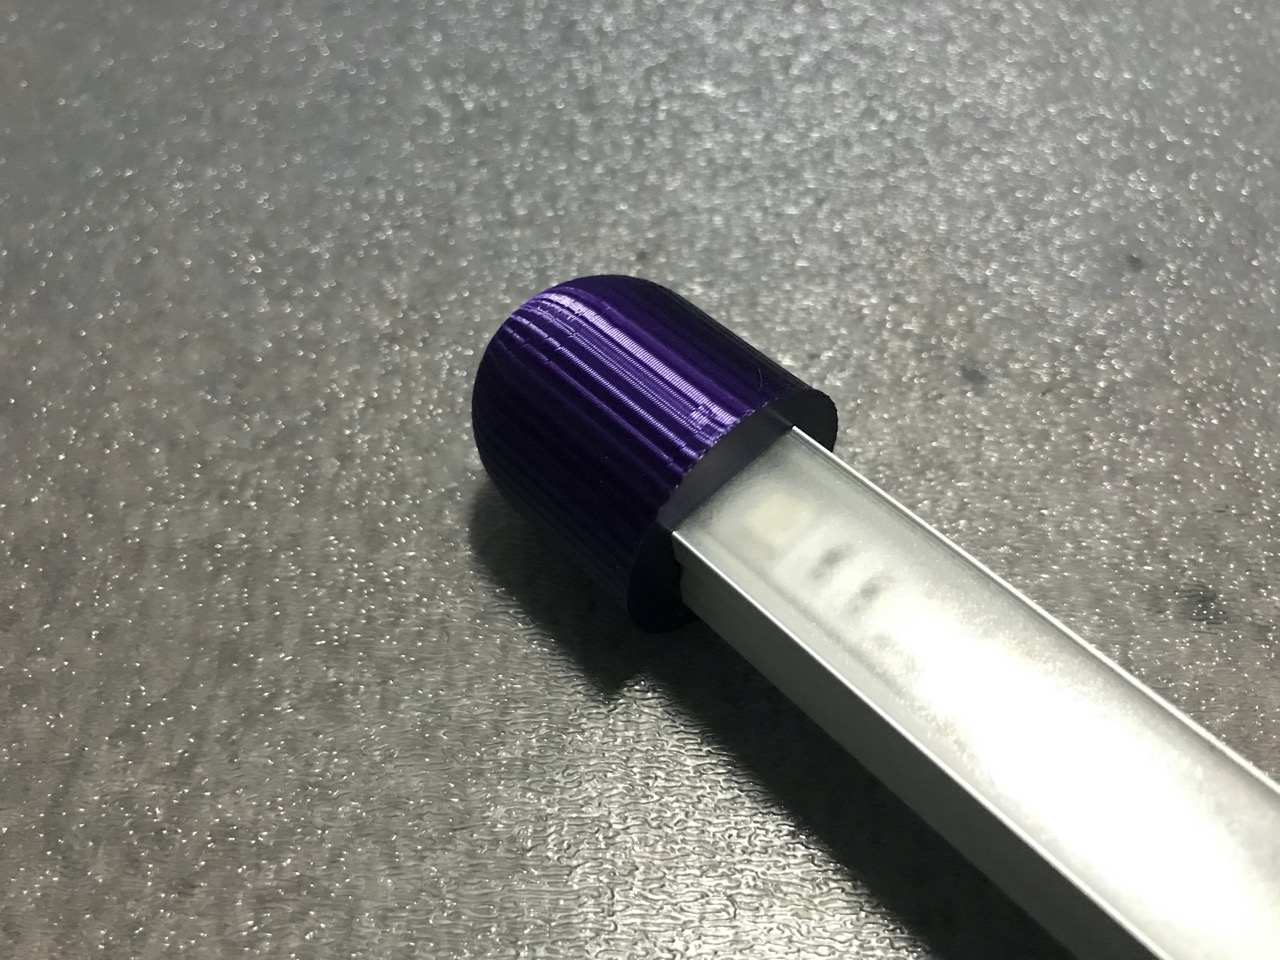
I then made the rest of the 3D printer models for the end-cap and the feet, printed them, cut the aluminium angle to size, drilled holes for screws, secured it all together and soldered the wiring in place.

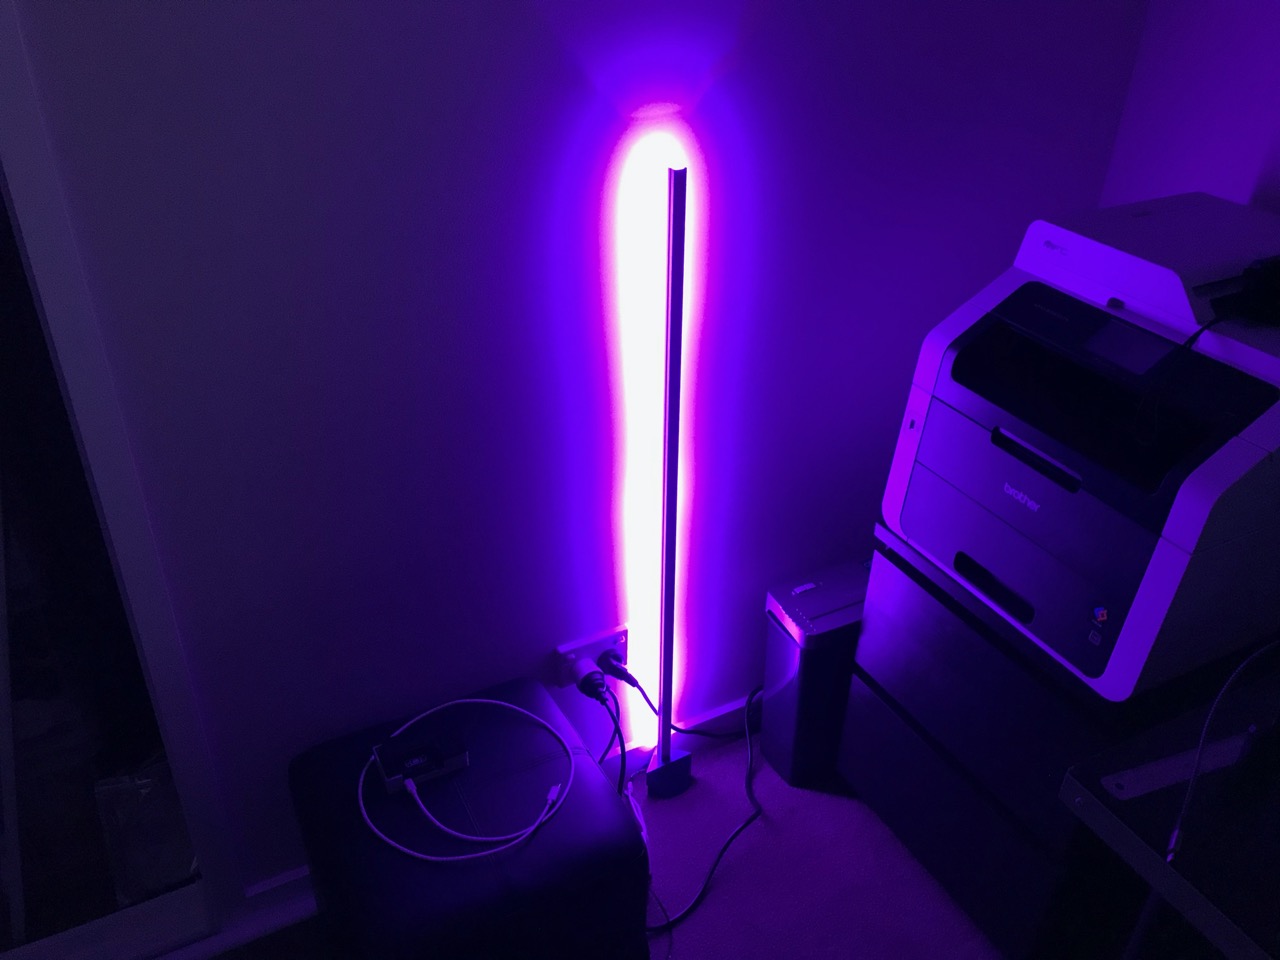
This was the end result...
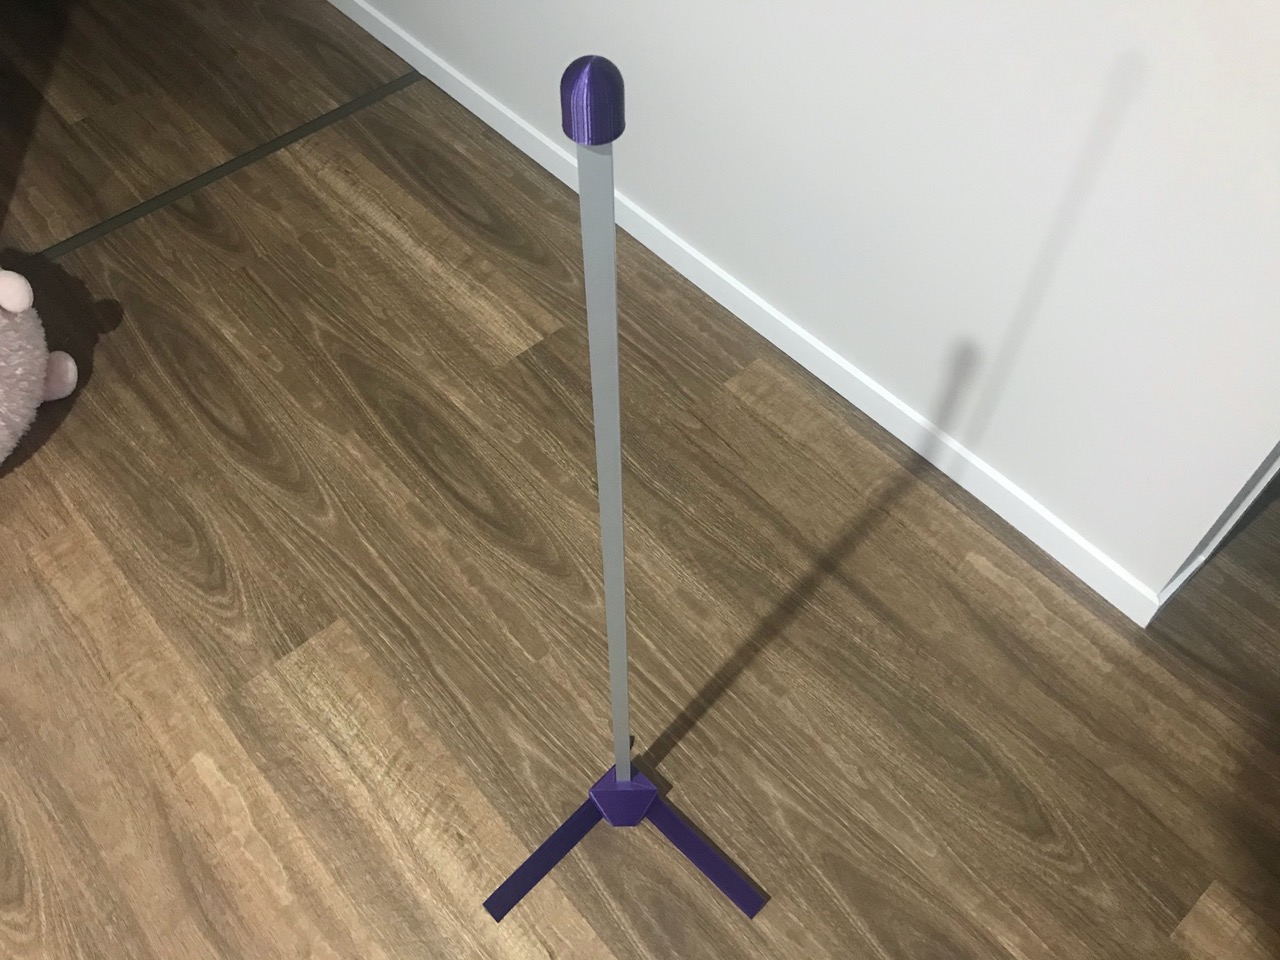
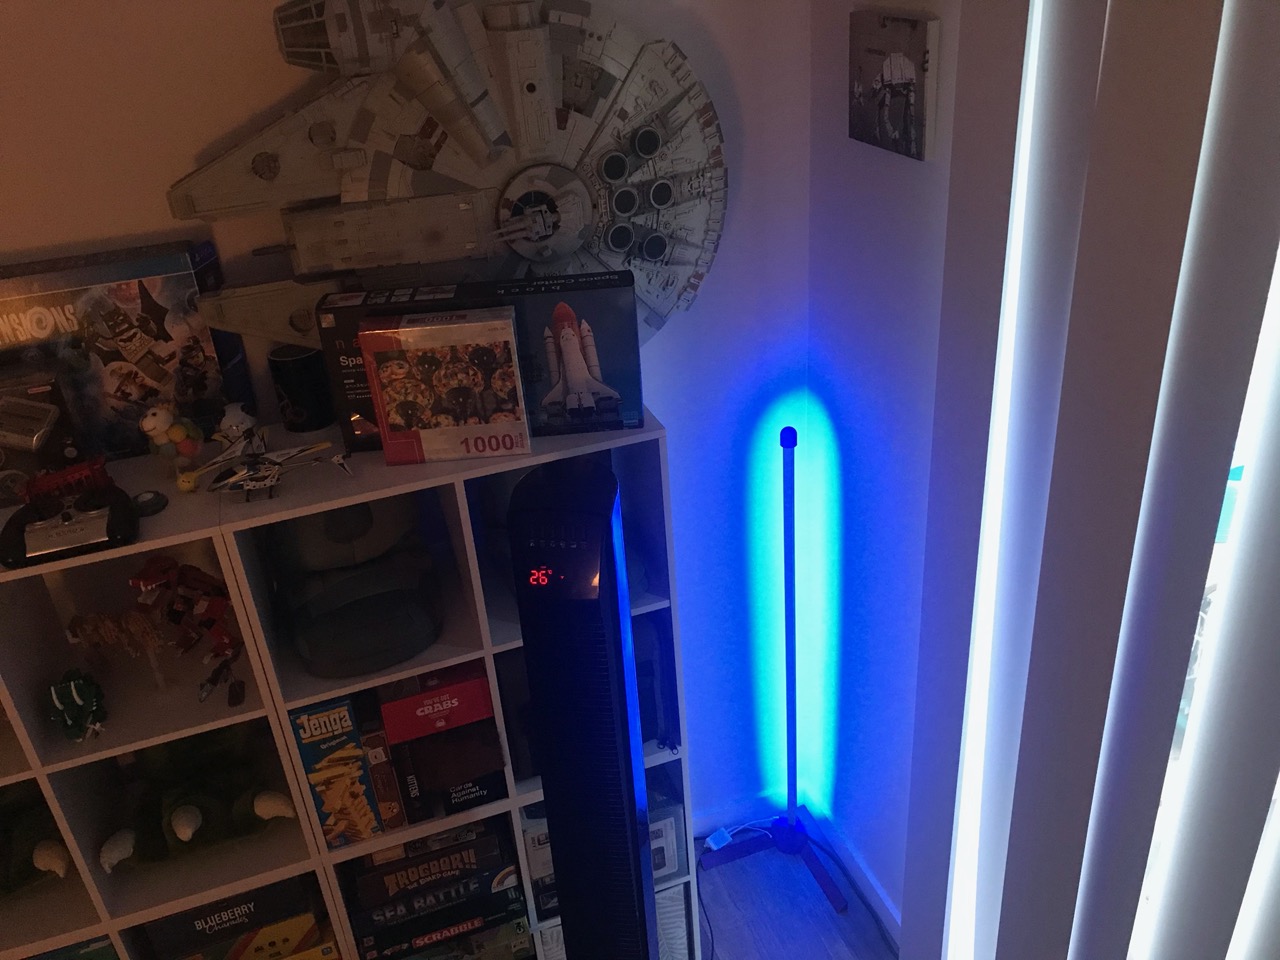
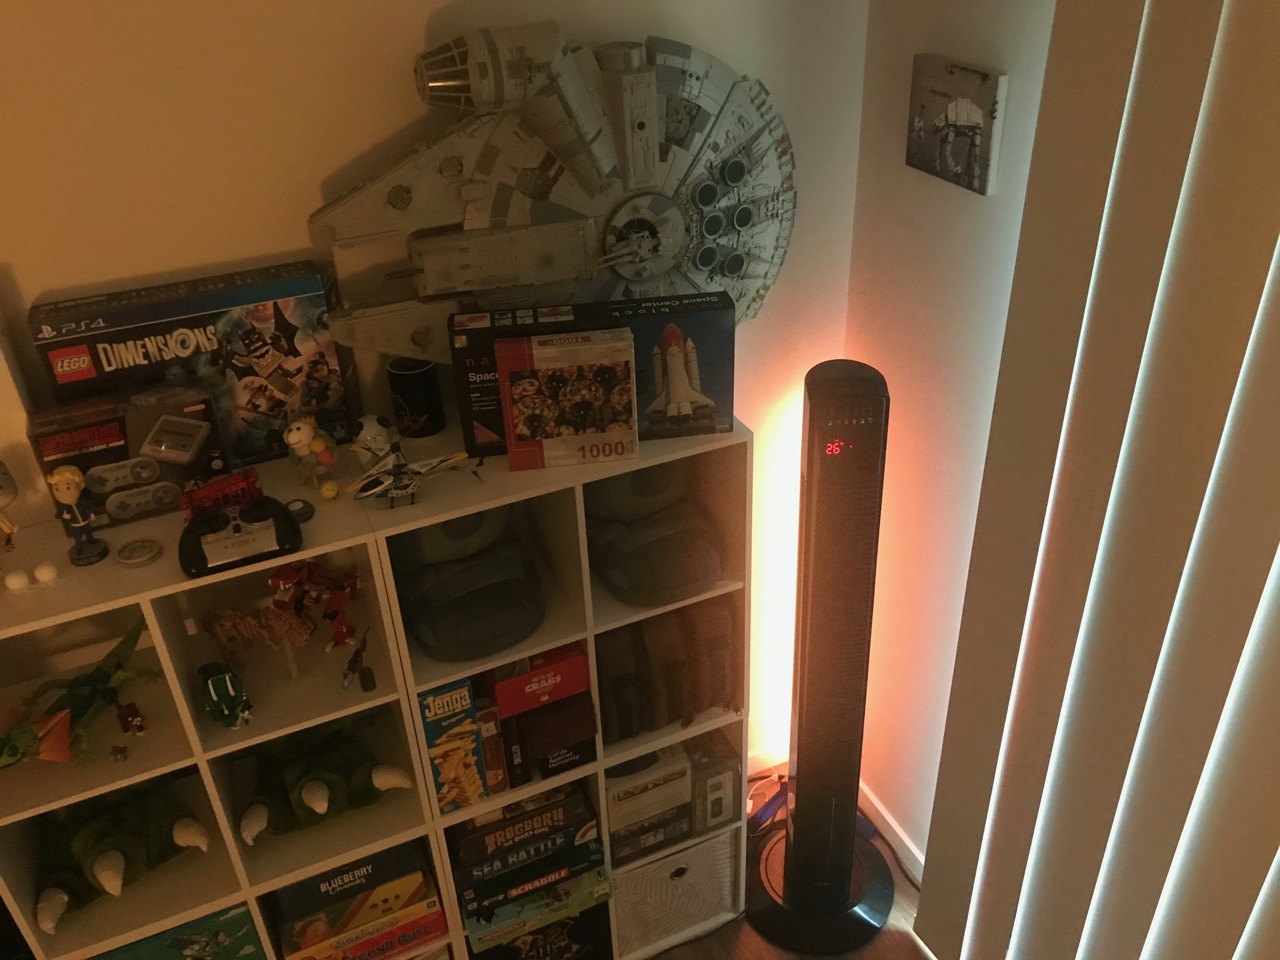
Doesn't look very impressive in the light, but when it's dark and it's on, the glow it gives off is very cool!
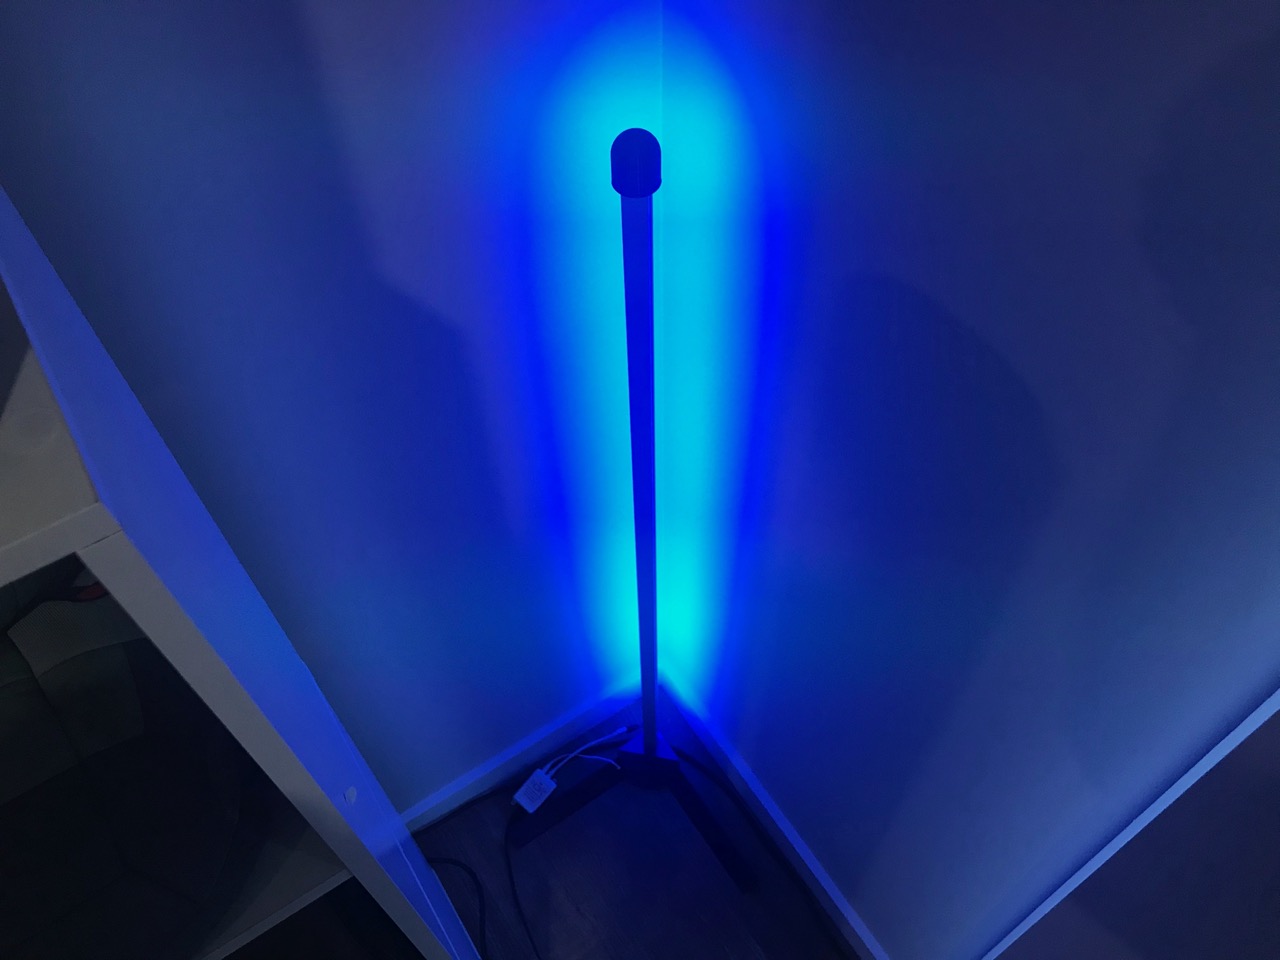
I ended up putting the lamp in a corner behind a vertical fan to make it look like the glow is coming from the back of the fan. It looks very nice I think. The LED controller allows me to set colours or moving patterns too...or it can be used a s while light.
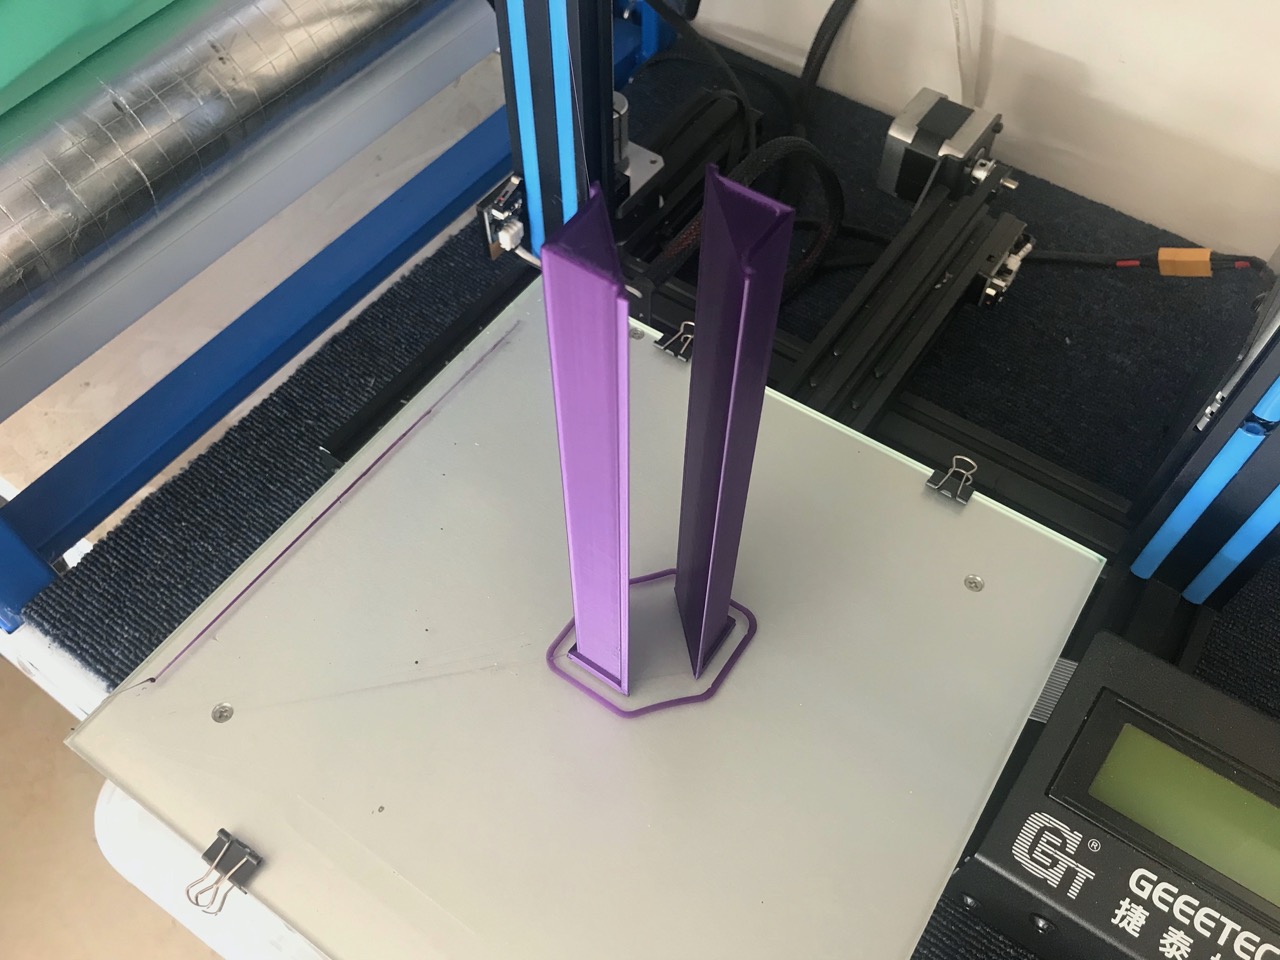
You can get the STL and OpenSCAD files for the 3D printer models over here: Vertical corner LED lamp parts. When printing it's important to use at least 30% fill to make the base heavy enough to support the LED channel and stop it from toppling over.
-i
