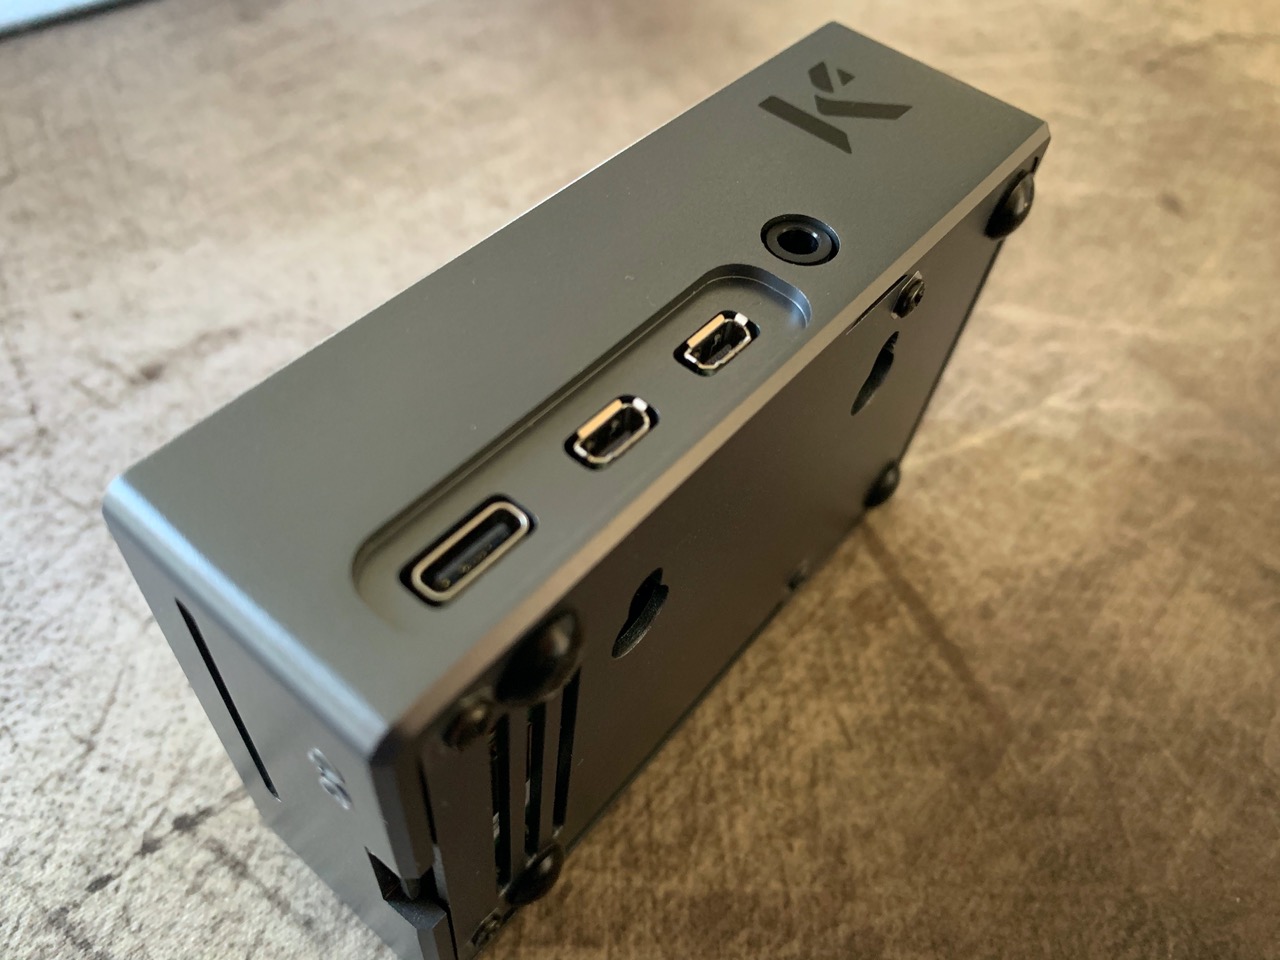
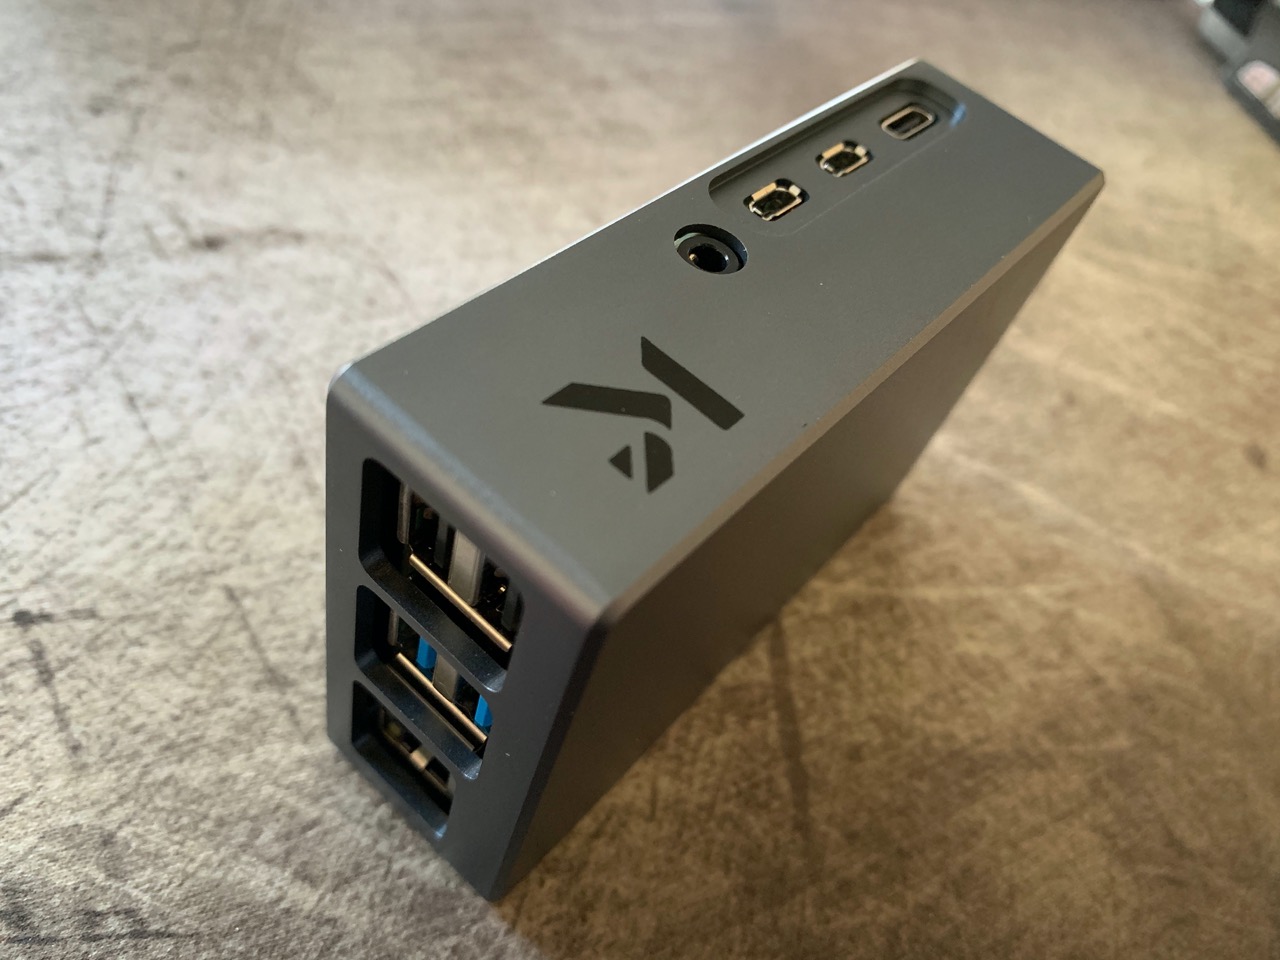
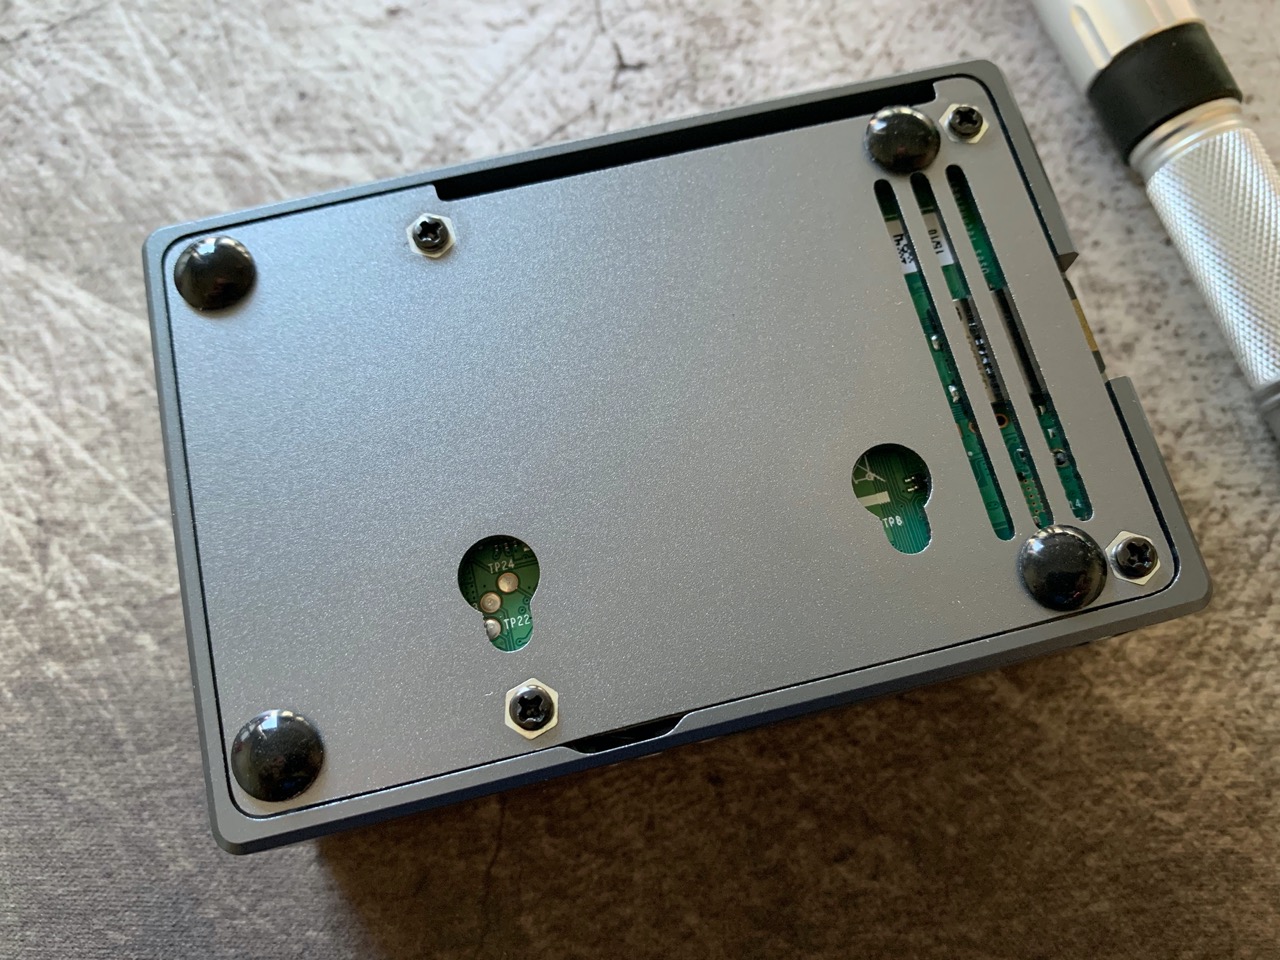
First we have to talk about the aesthetics however. This case is a pure machined beauty! The edges retain their sharp looking angles while being bevelled enough to feel nice and smooth. The voids for ports are perfectly placed and if you want to add a ribbon cable for the GPIO pins or camera, there are a slots cut into the base and side of the case for that.
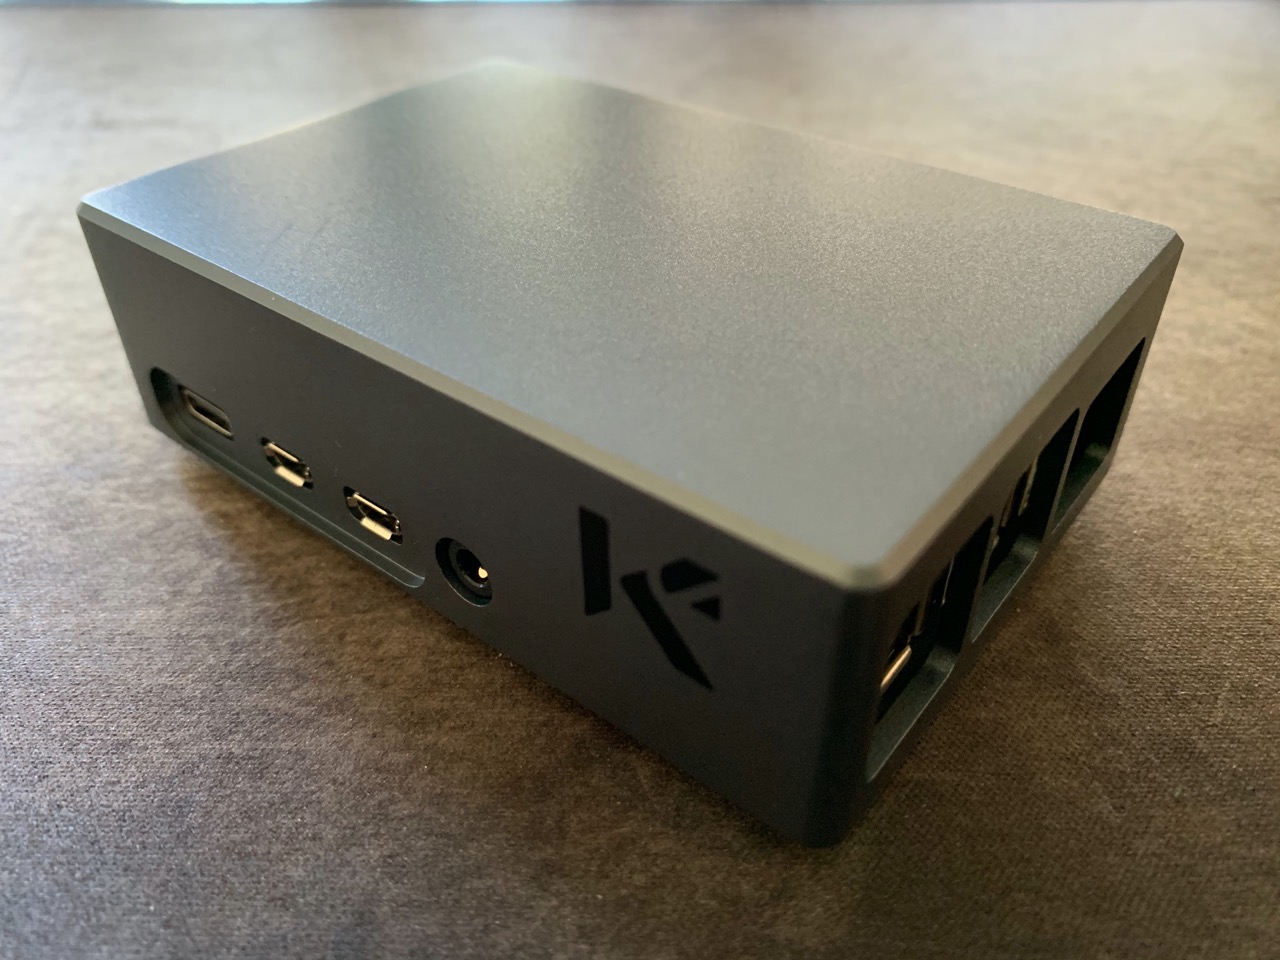
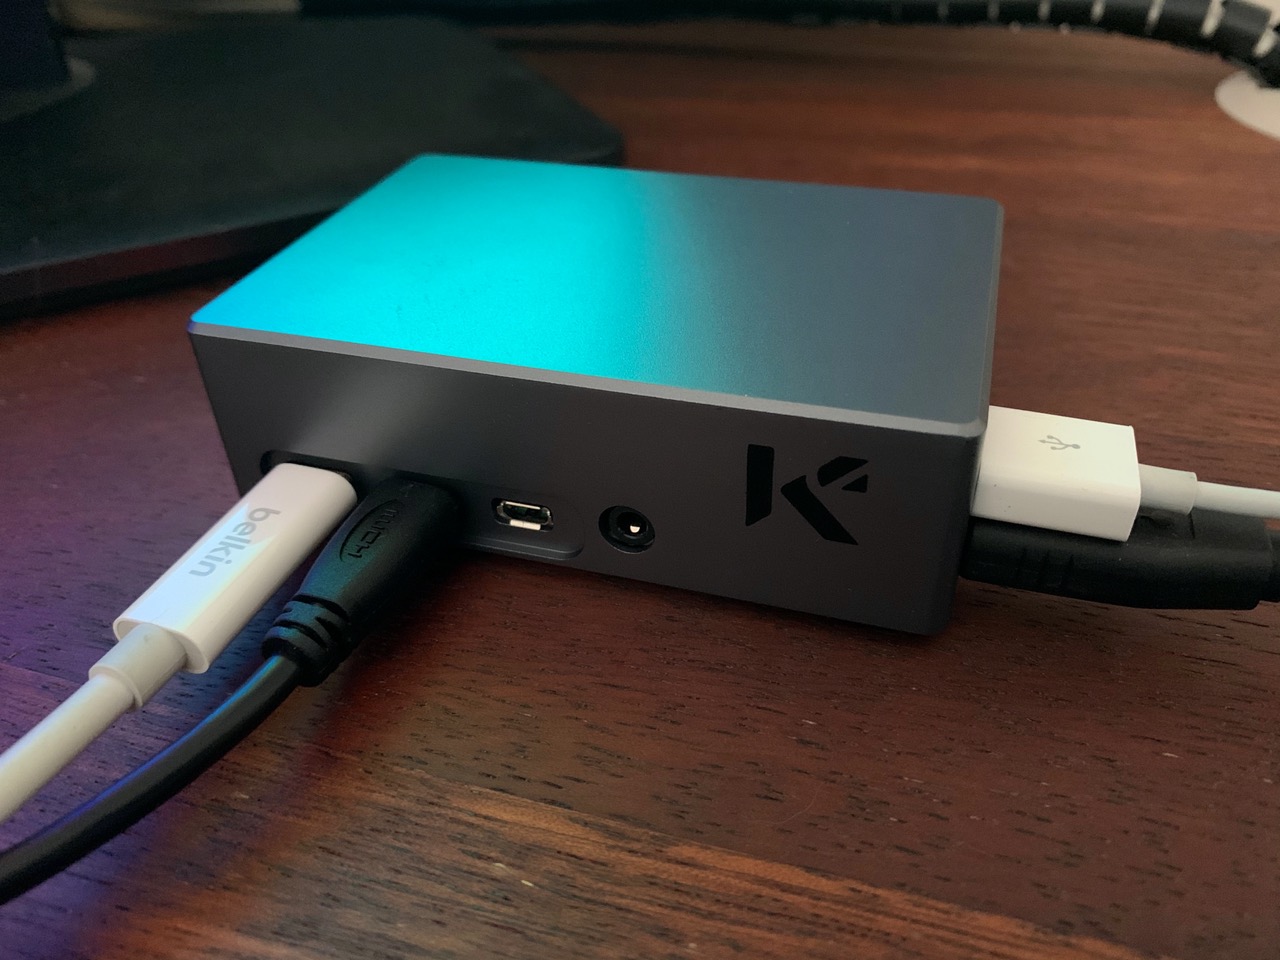
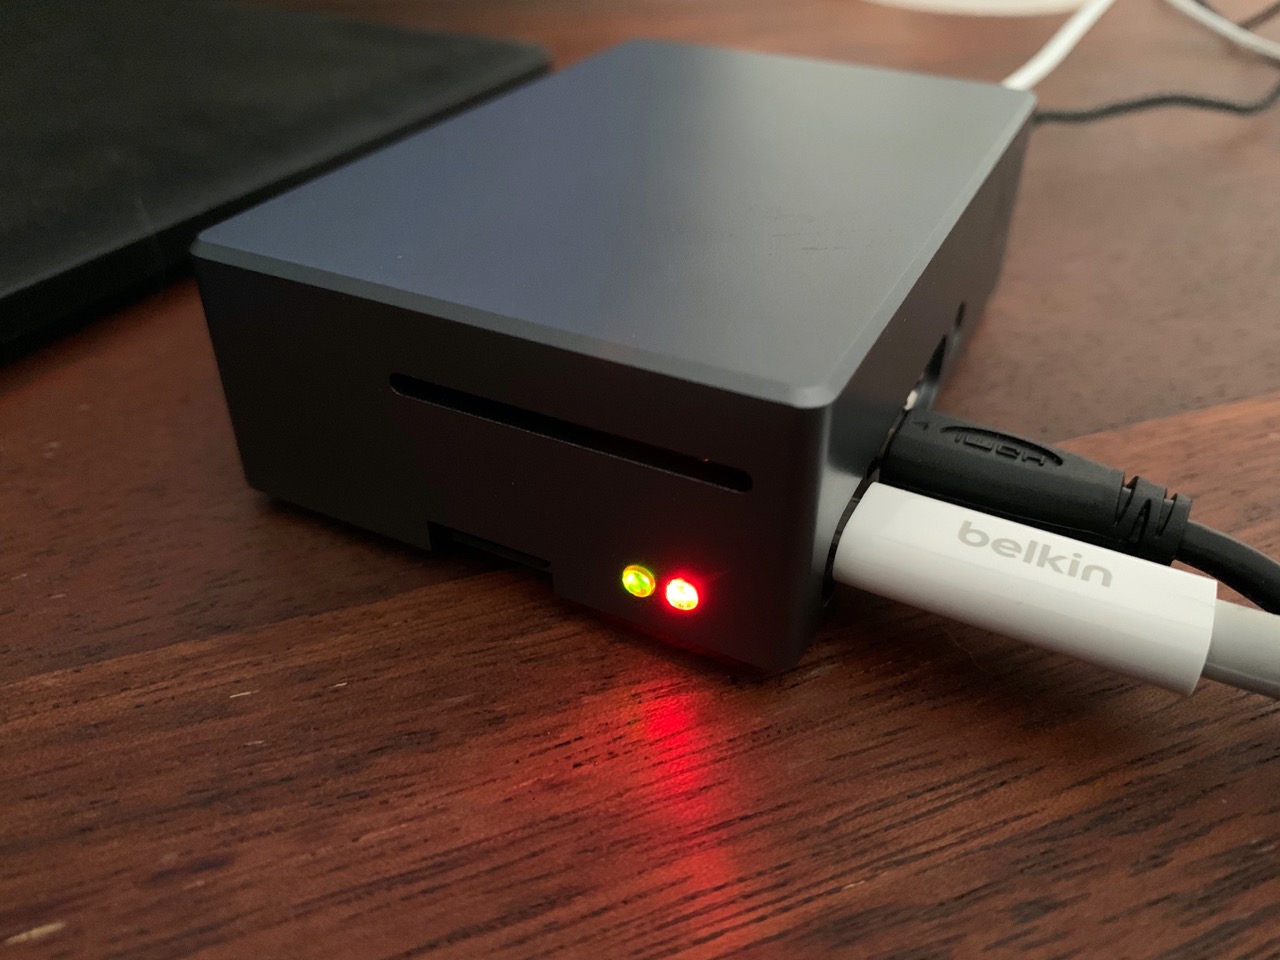
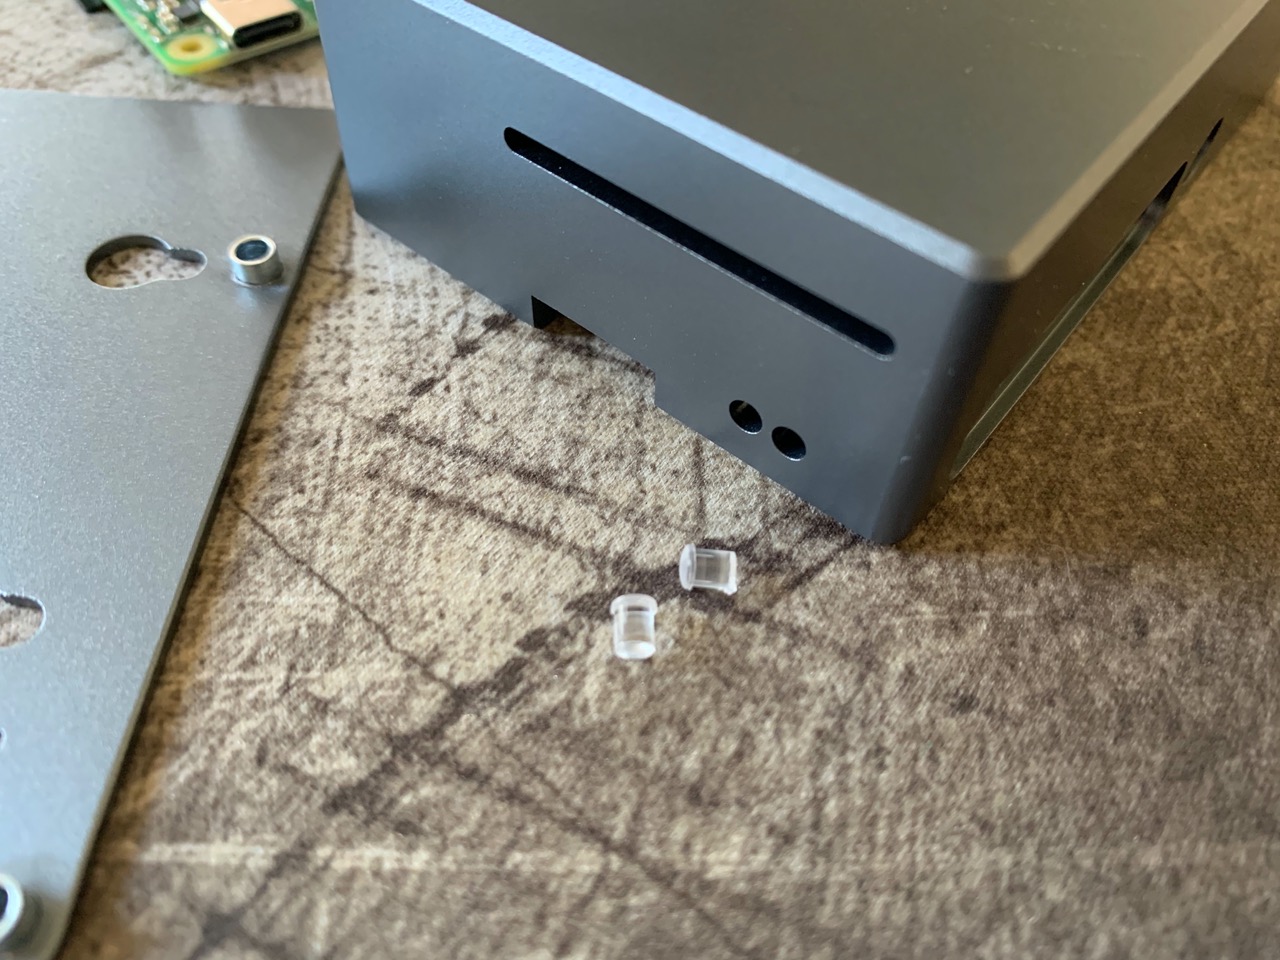
Many of the cases forget about the status LEDs, but not this one...there are two crystal acrylic pieces that insert into the case in just the right spots and light up when the LEDs of the Raspberry Pi are lit. It looks really cool. This case really stands out with its raw functional style yet manages to look amazing at the same time.
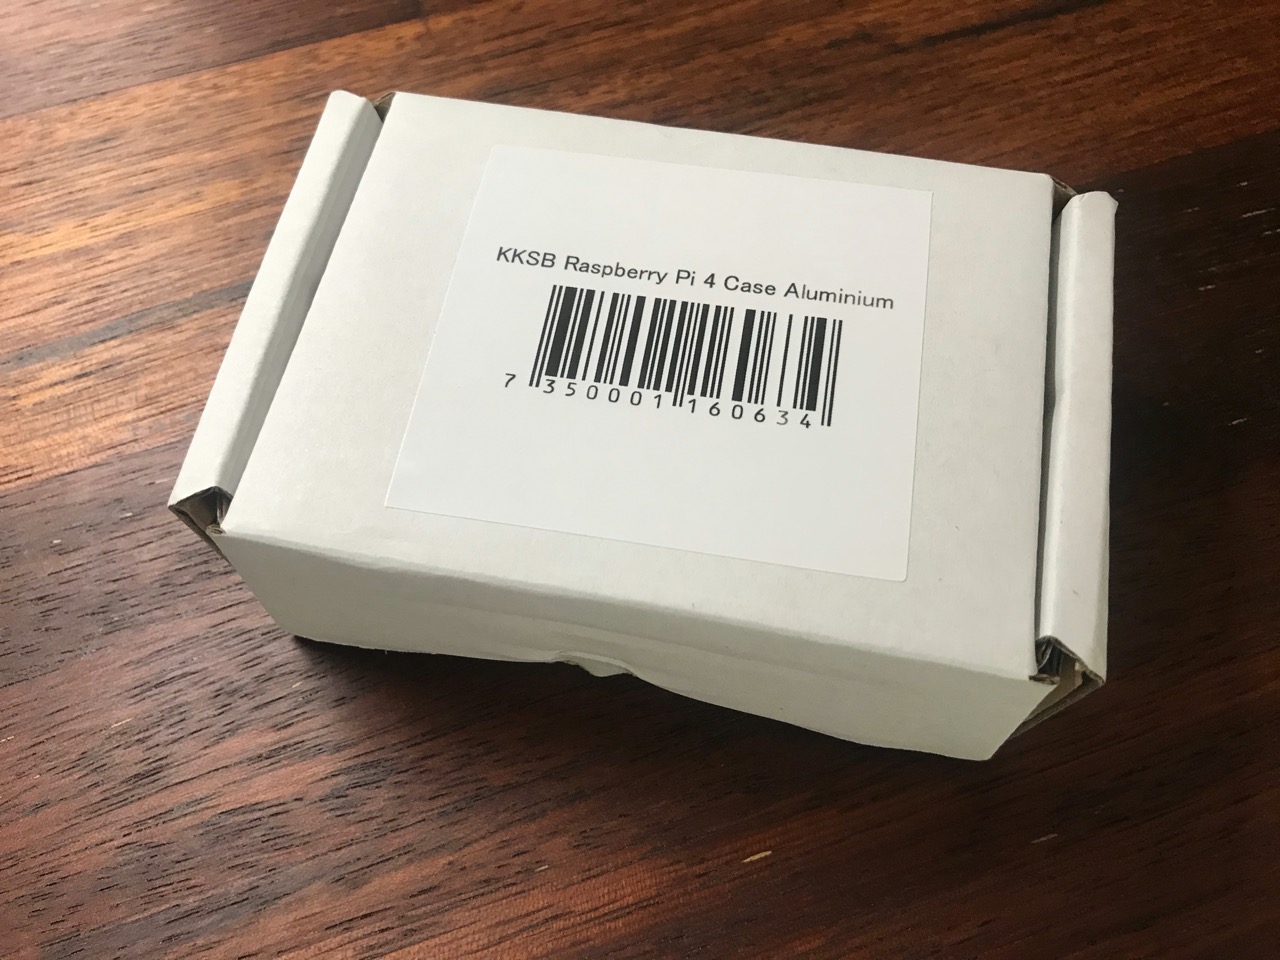
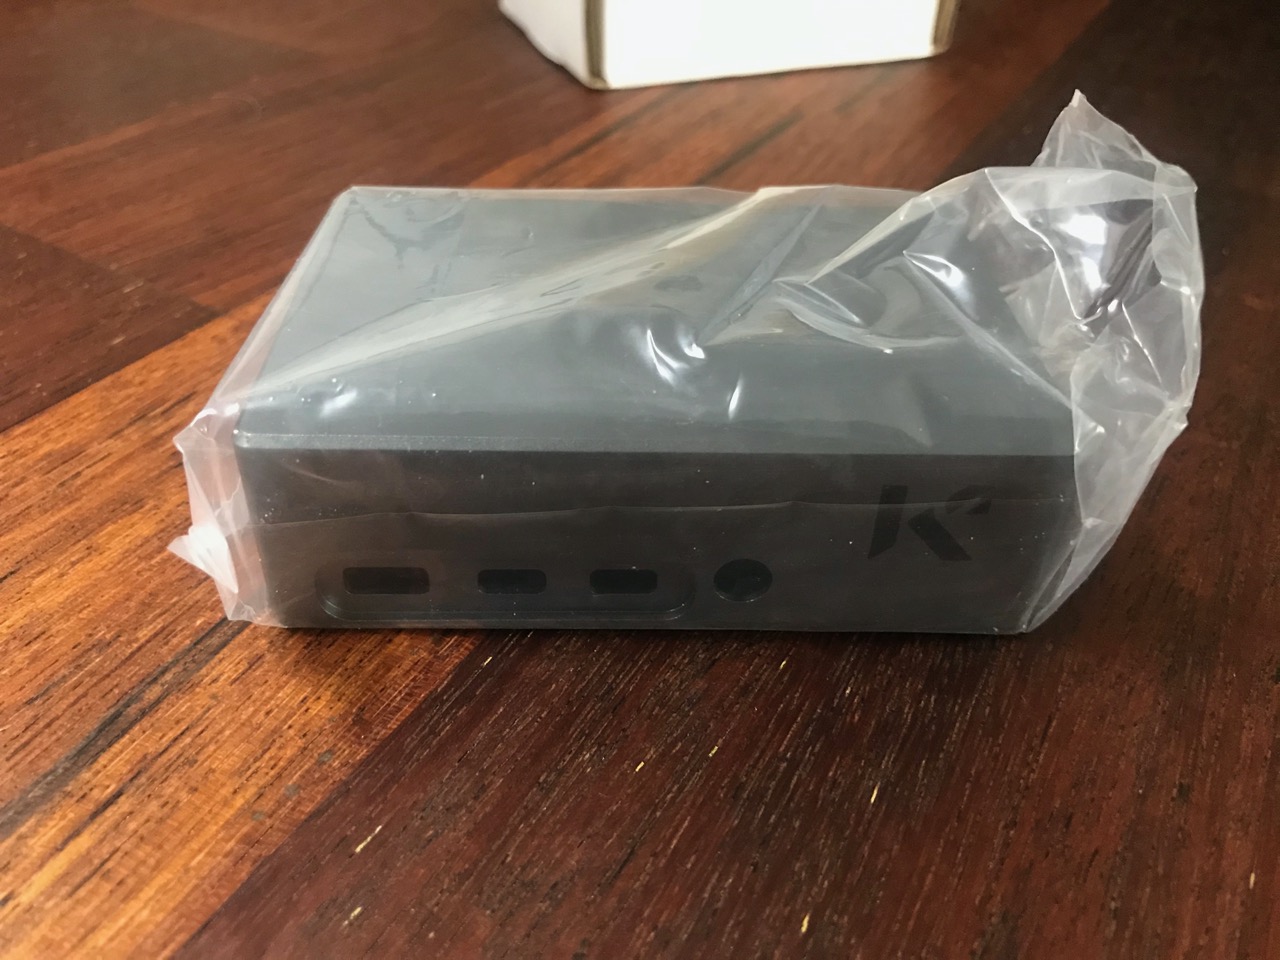
A quick note on the packaging - there was nothing terribly special here, the case came in a plastic bag which was in a cardboard box. No bubble wrap or any other junk. Everything for the case like the acrylic inserts, screws, the heat transfer pad and the rubber feet were inside in their own plastic bags.
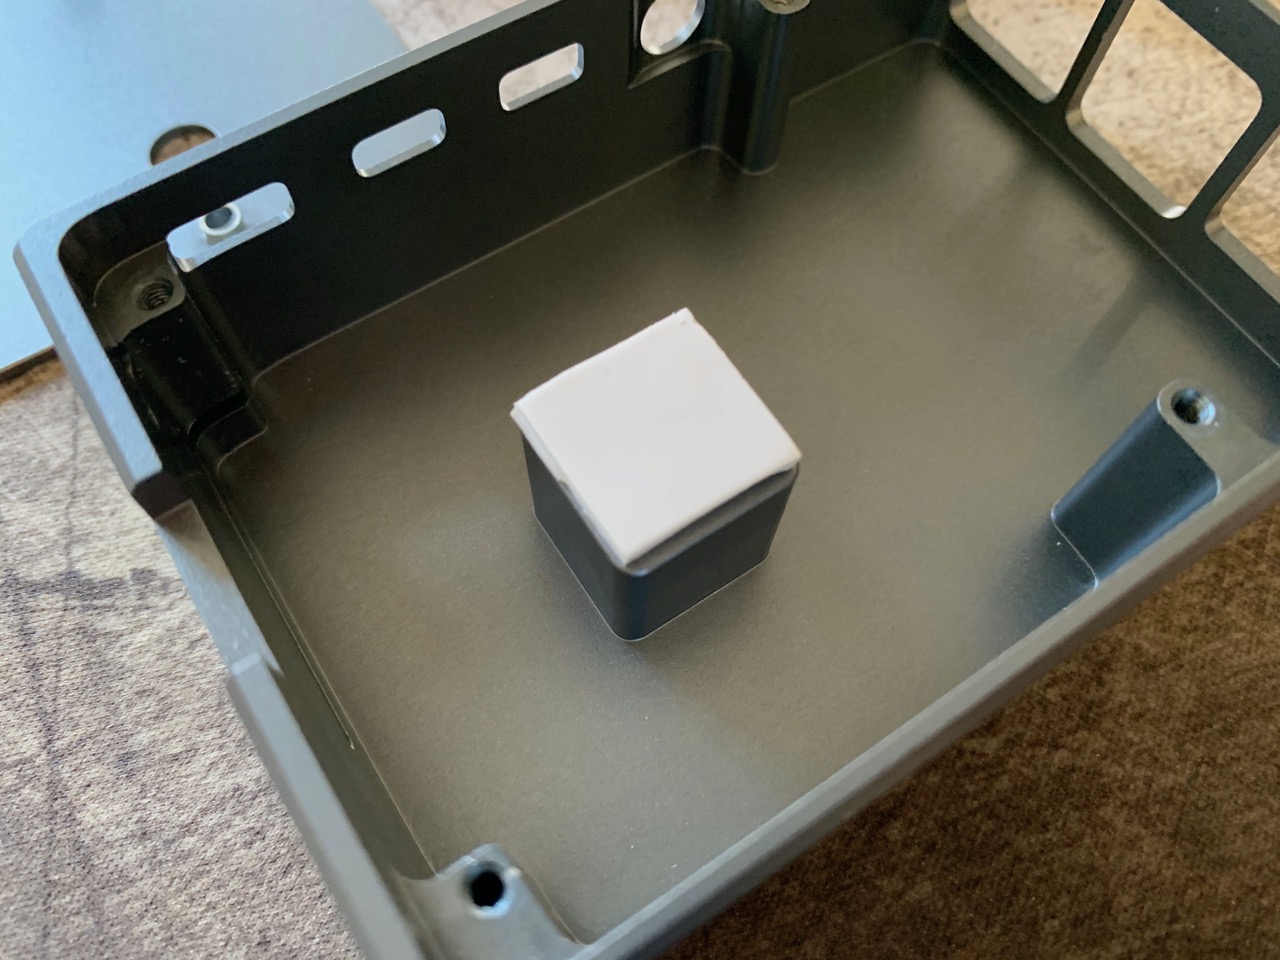
Assembly was dead simple. First the heat transfer pad was attached to the heatsink protrusion inside the case. The other side of the heat pad had a protective cover which was also removed.
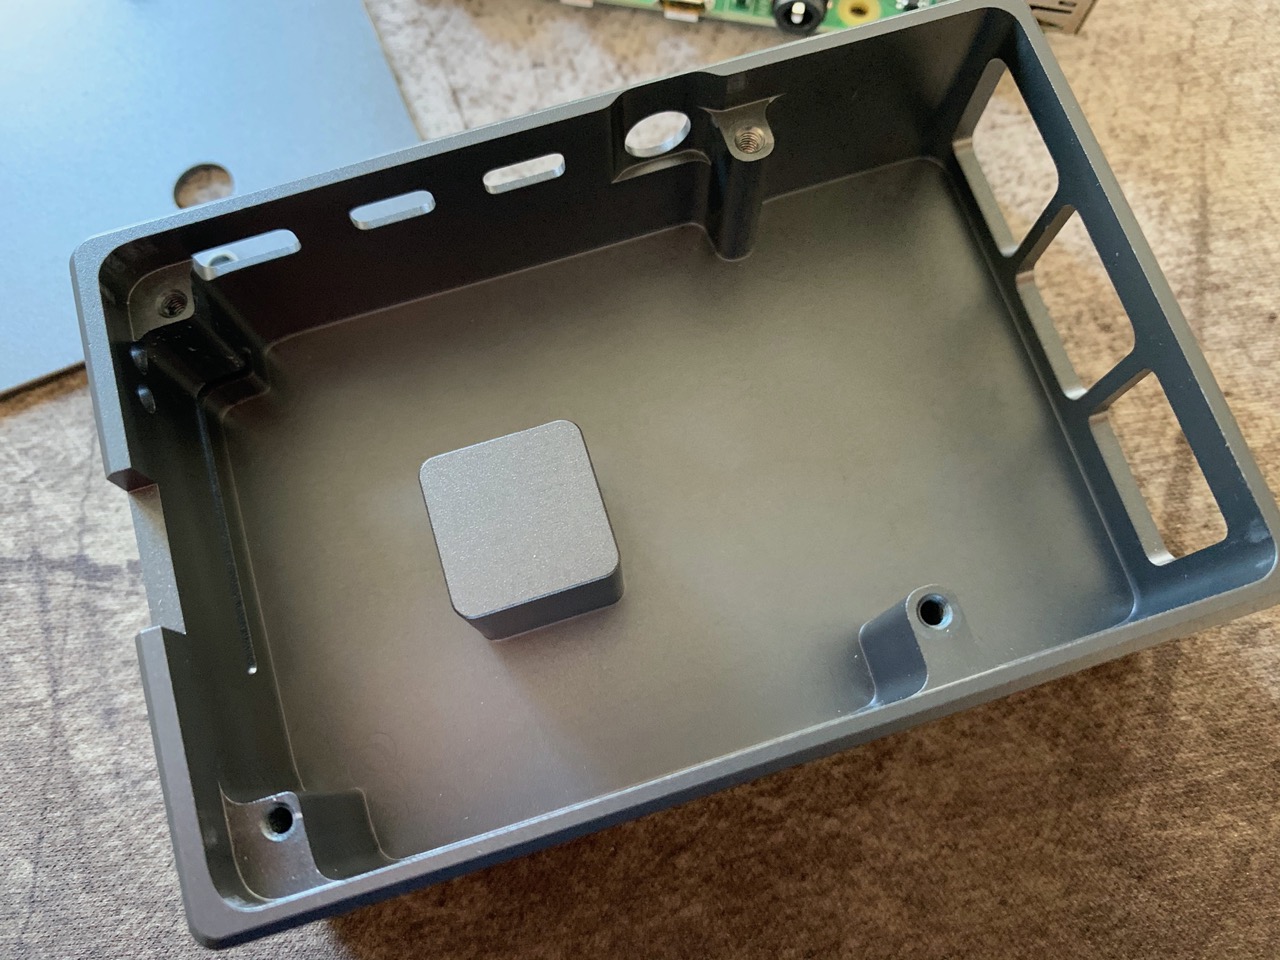
The acrylic inserts were next. These have a mushroom shape and have to be inserted with the top of the mushroom on the inside of the case to prevent them from falling out.
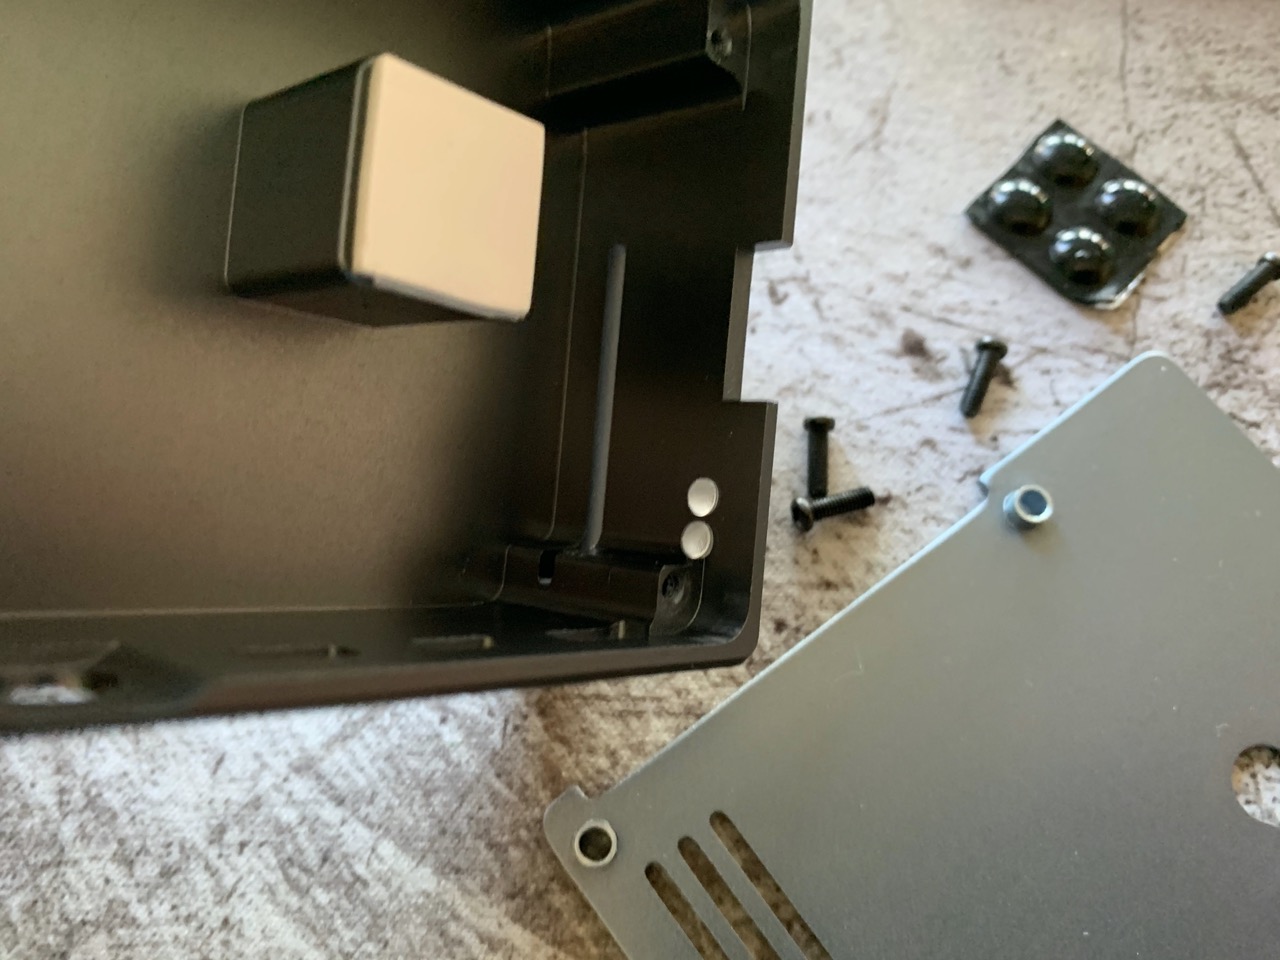
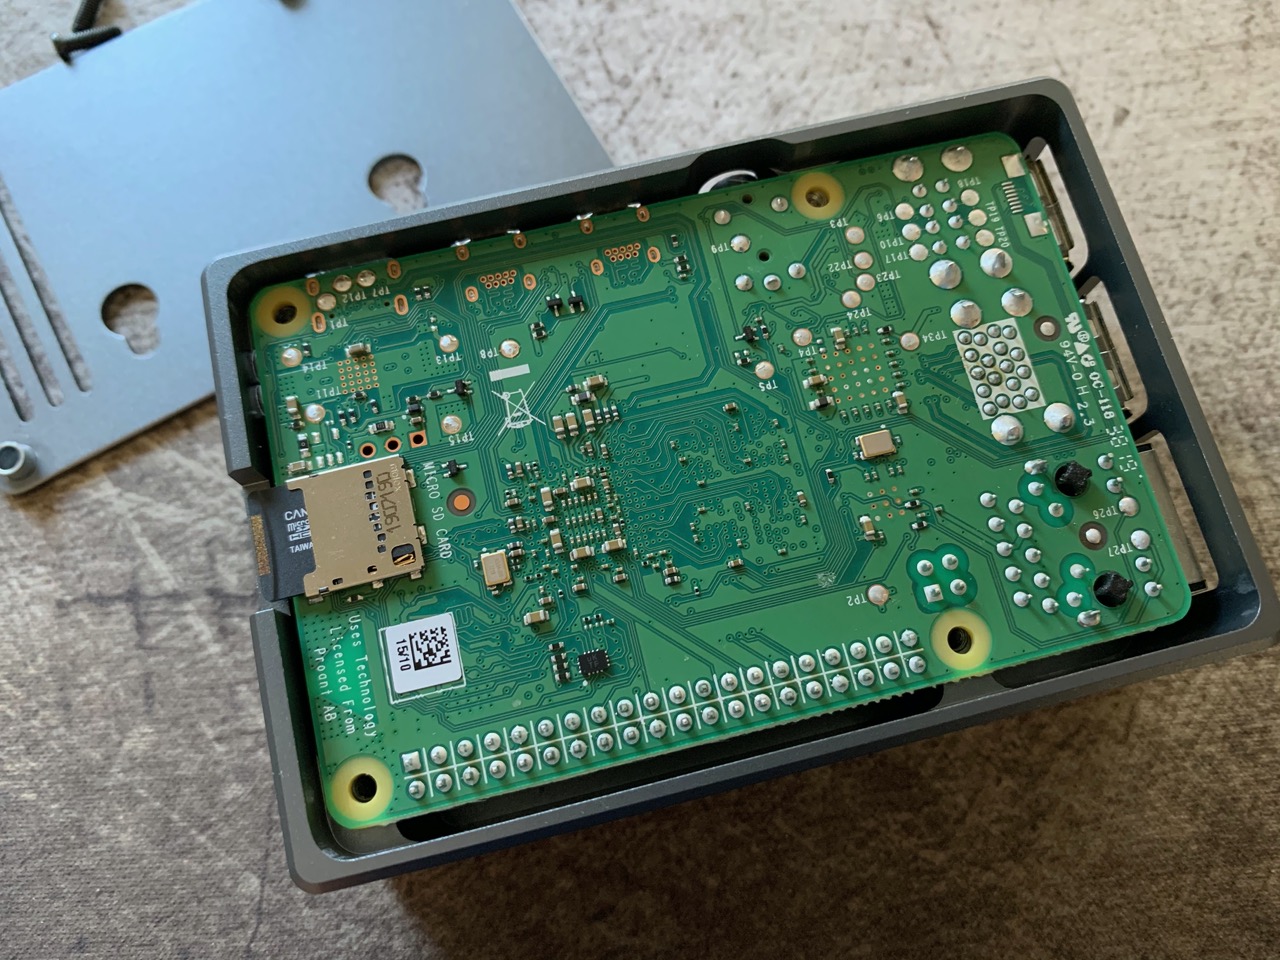
The Raspberry Pi 4 went in next. It took me a bit of jiggling to get it in place property, though that was mostly due to my initial impatience. The base of the case was then screwed in and the rubber feet attached. Done.
What really interested me about this case was how well it would perform with cooling the Raspberry Pi 4. For this purpose I decided to run some stress tests using stressberry and loosely following this guide.
To run the stress tests, I used the following commands...
Commands
/home/pi/.local/bin/stressberry-run -n "No Case" -d 1800 -i 300 -c 4 nocase.out
/home/pi/.local/bin/stressberry-run -n "KKSB Case" -d 1800 -i 300 -c 4 kksb.out
These were 30 minute tests with 5 minute idle times. Both runs were done at ambient temperature of 23C and I left the Raspberry Pi 4 to cool down between tests for around 2 hours.
Results were plotted with the following command...
Commands
MPLBACKEND=Agg /home/pi/.local/bin/stressberry-plot -d 300 --not-transparent -l 400 1600 -t 30 90 -o combined.png nocase.out kksb.out
The results were quite impressive for a passive cooling solution. After the 30 minute mark the KKSB case was around 12C cooler than running the Raspberry Pi 4 without any sort of cooling. Half way through the test the results were even more impressive, with around a 21C difference in temperatures. It was also interesting to see that the KKSB case cooled down to several degrees less vs no case when the stress test was finished.
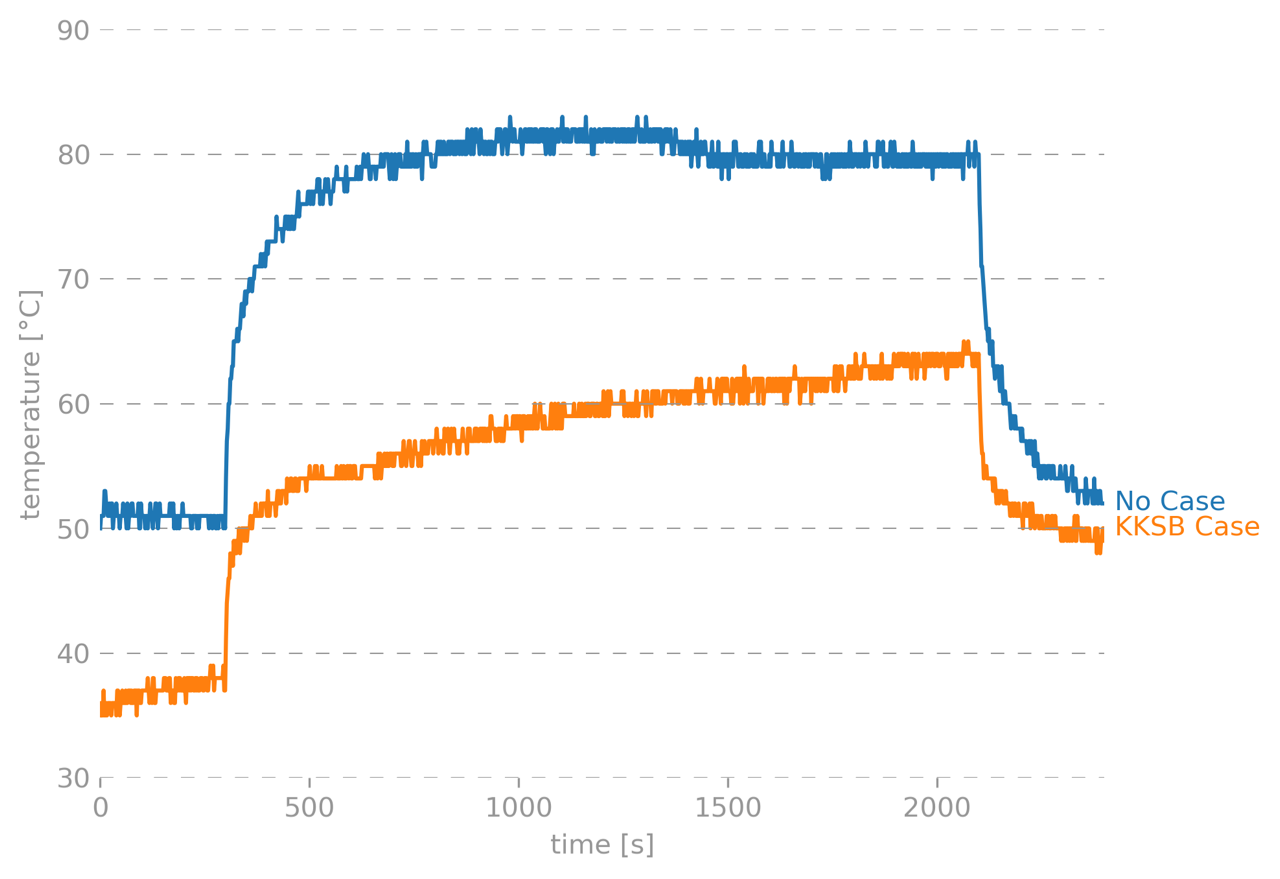
From those results it was obvious that the KKSB case was considerably better than not having any cooling solution, but the graph indicated that the thermal capacity of the case hasn't been reached as the line didn't quite flatted out. For this reason I decided to run the same stress test again, but for 60 minutes. These were the results...

It took a little longer than 30 minutes to reach a stable stress temperature, but then it held quite steady for the remainder of the test.
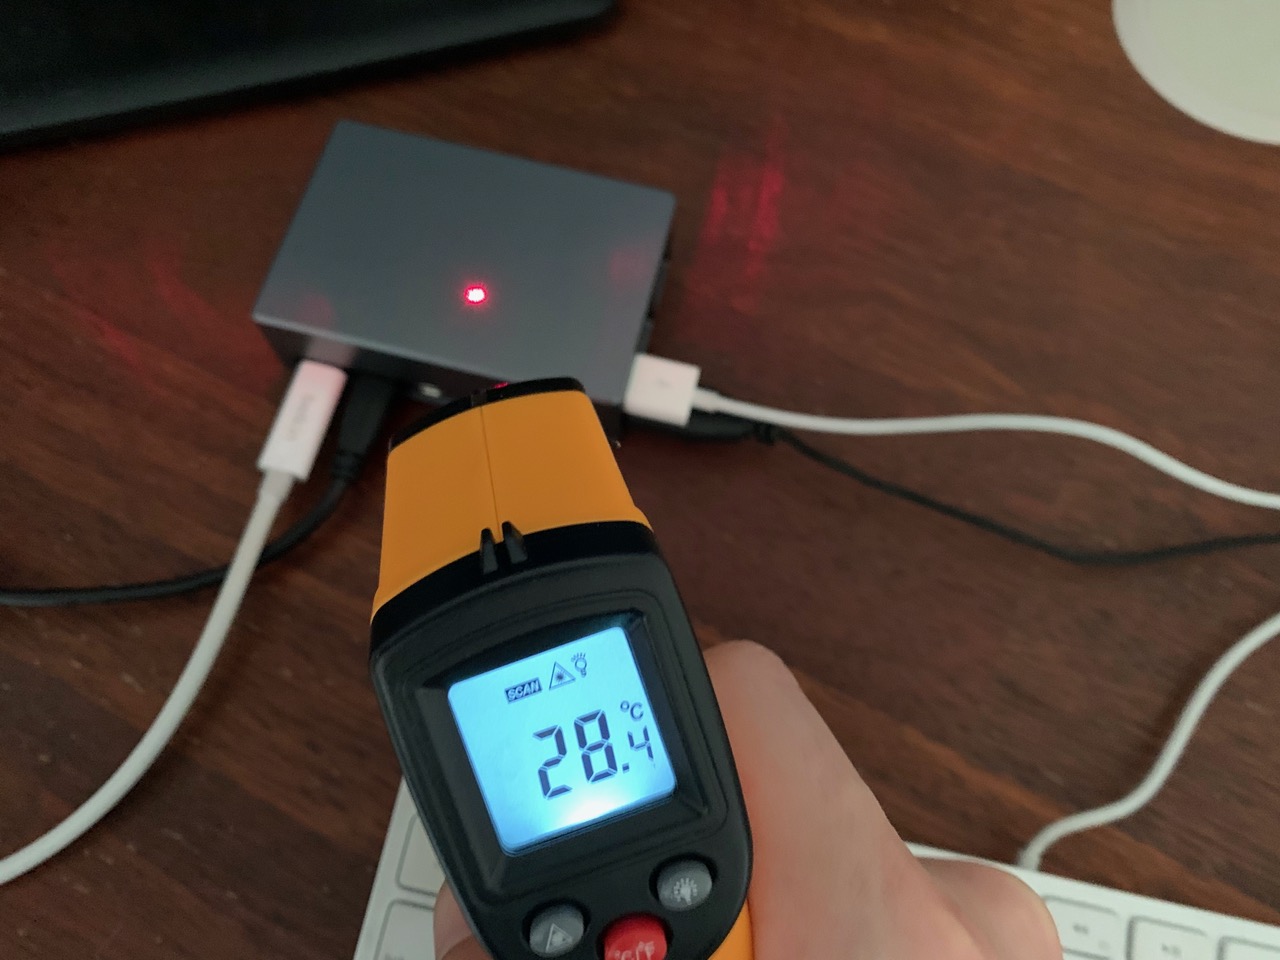
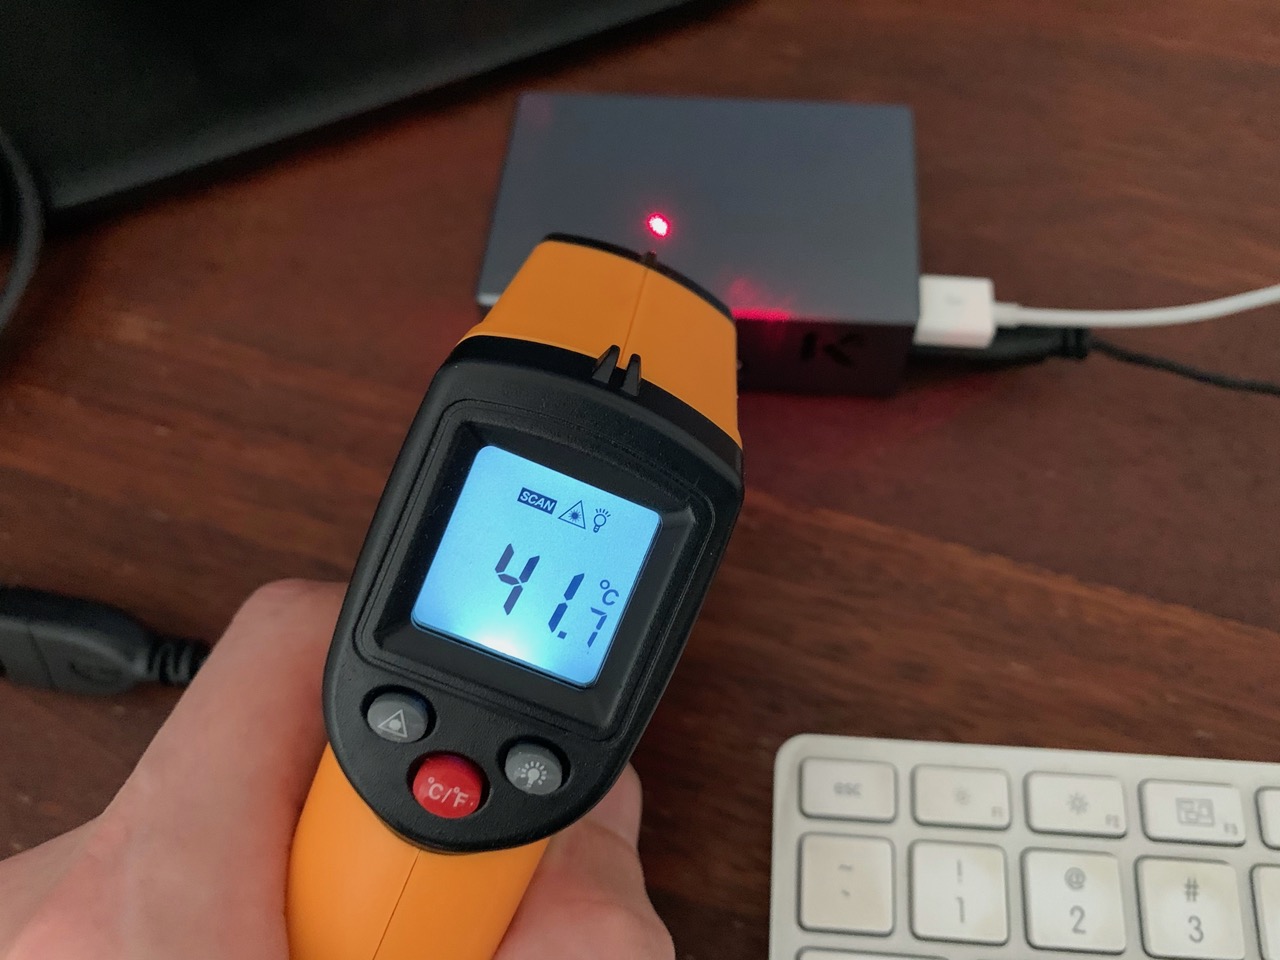
I also took temperature measurements of the case before and during the stress test. The before measurement was taken during the 5 minute idle time of the test i.e. the Raspberry Pi 4 was running for a few minutes but not doing the stress test yet. The difference in temperature between idle and stress was around 13C, not huge but at around 41C case temperature, it's probably not something you want to hold onto for a long time. Still, a very impressive result!
The case costs around €32 (EUR) and can be purchased from the KKSB website. It's definitely something to get for your Raspberry Pi 4 because without it, you will expose it to a lot more thermal stress and will reduce its lifespan. The whole case essentially becomes a heat sink, so there is quite a large amount of surface area to dissipate the heat, it's a nice approach to passive cooling.
I plan to use this Raspberry Pi 4 and the KKSB case in a bar top arcade machine build soon, so keen an eye out for that post!
P.S. I've done a review of another couple of KKSB cases for Odroid XU4, check them out here - Beautifully crafted Odroid XU4 and XU4Q cases from KKSB keep your device cool.
-i
