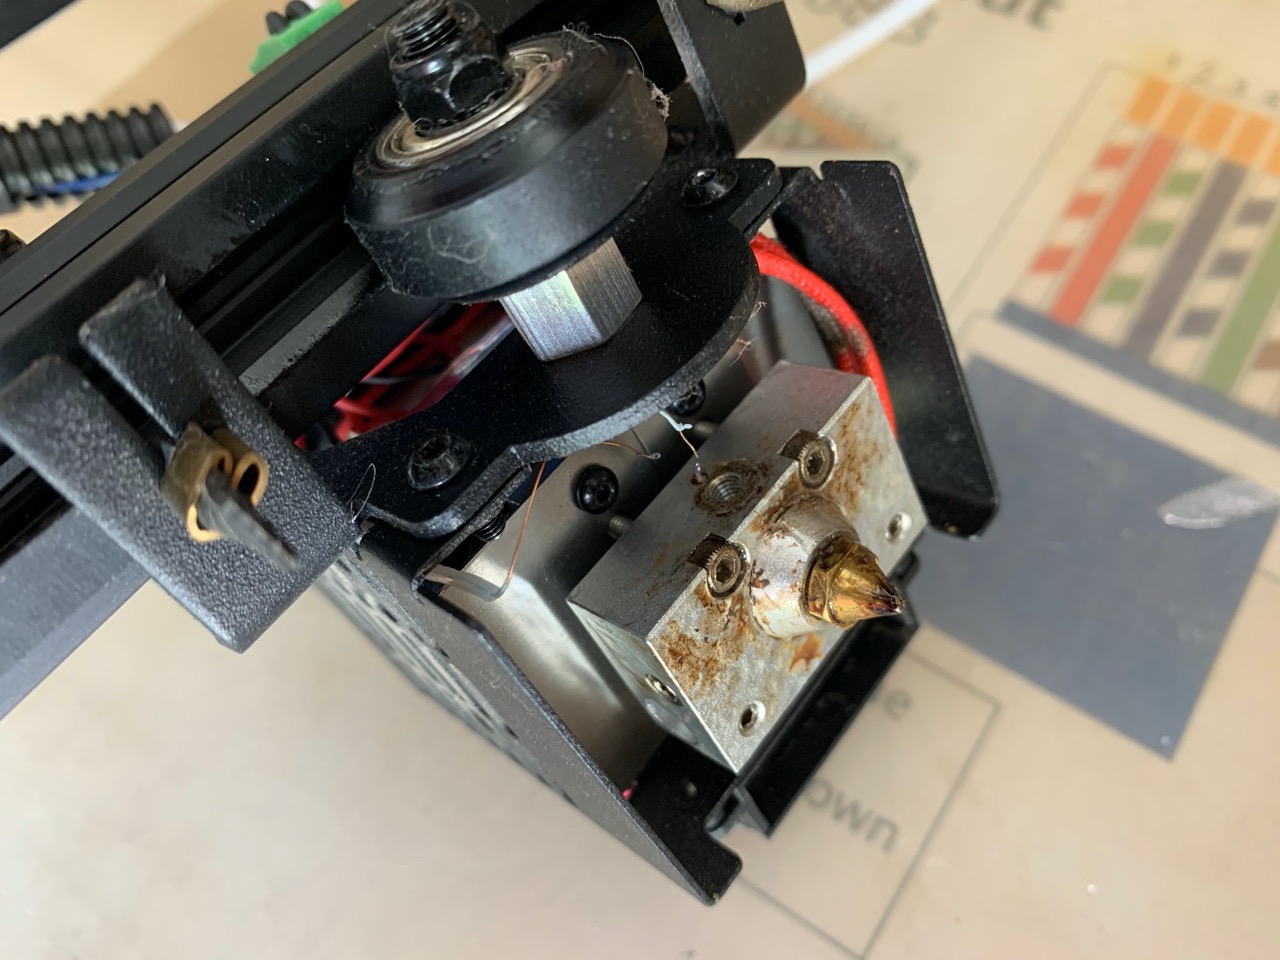
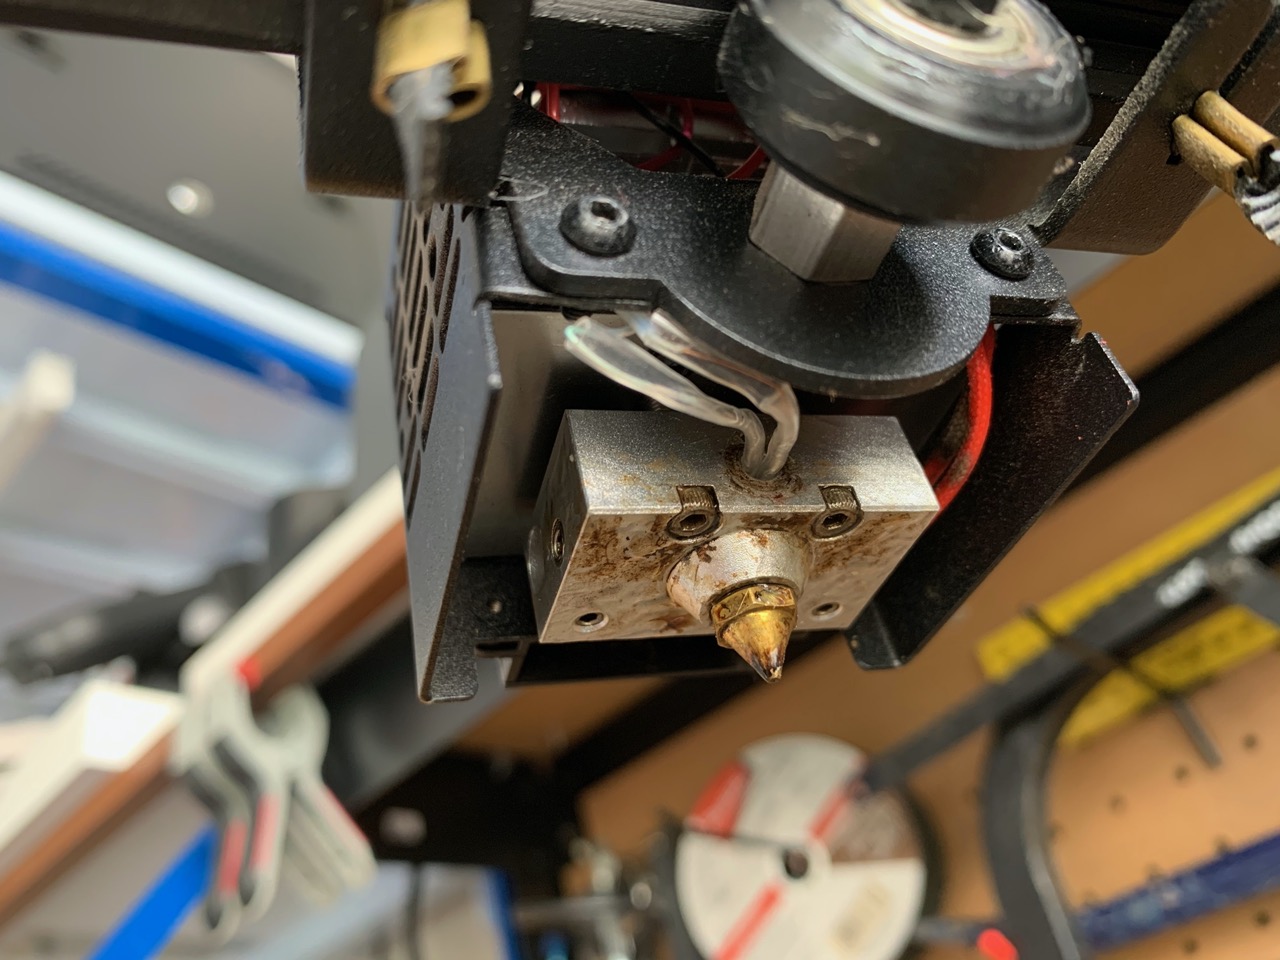
It's been quite hot and humid here in Australia so my workshop hasn't been the most ideal location for 3D printing, but the show must go on so I kept on trying to fulfil orders. Unfortunately what ended up happening with one of the prints is it came loose off the hot bed and the plastic was deposited all around the extruder hot end. It was an ugly sight to see!
After cleaning everything up, I realised that the thermistor wiring was broken off by the extra plastic that melted around the hot end and I was left with a thermistor lodged inside the hot end with its legs snapped off (bar 1 or 2 mm of wire). I've tried to reconnect it with solder, of course that was useless, so I didn't really have much choice but order a new hot end or try to find a replacement thermistor. I did have a lucky break there though, the A10M thermistor is held in place by a small bolt (removed in the photo), so that was my point of attack...
The part number for the A10M hot end thermistor is PT3-25E2-S2, it's a very small 100kΩ thermistor which seems to be available only from Geeetech. I didn't have time for that, so ended up buying a standard sized 100kΩ thermistor from my local electronics store. Here's the new (left) and the new and old (right) for size comparison...

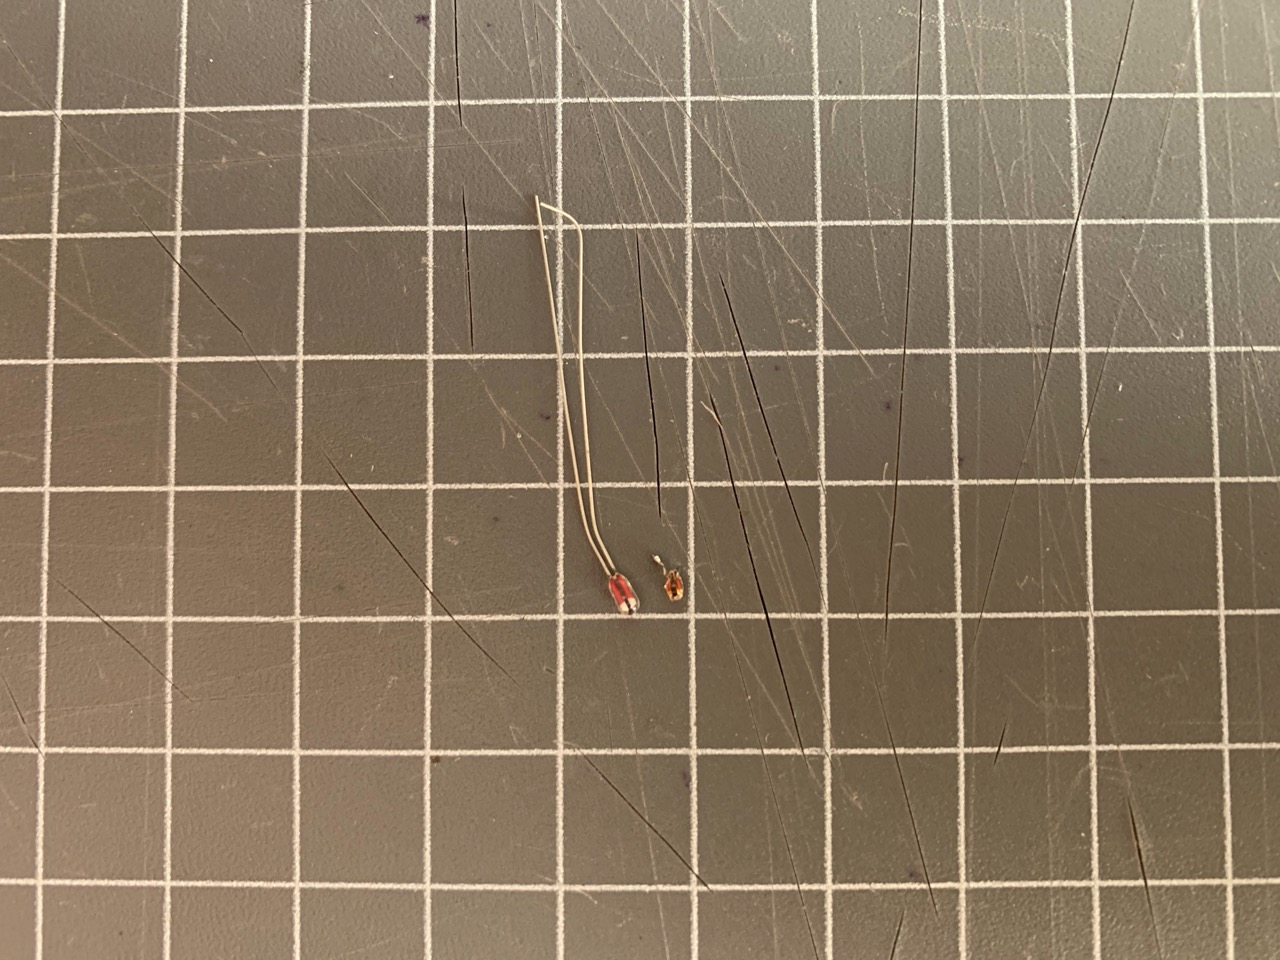
The original thermistor was around half the size of the standard one you can buy, so my new one was not going to fit into the available space in the hot end...but remember that bolt holding the original one in place? Well that was a place that the new/standard thermistor could fit!
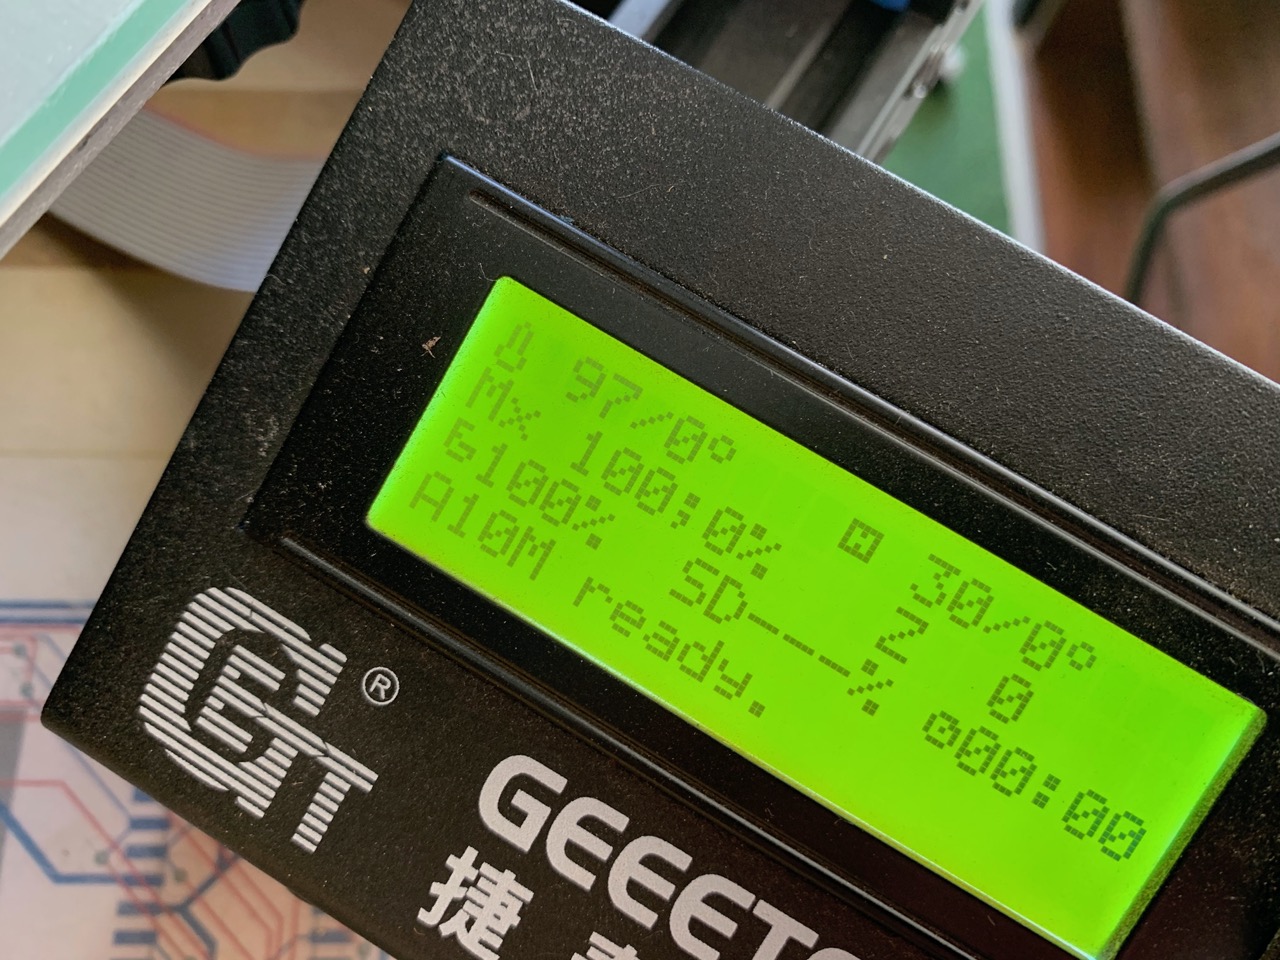
First I wanted to check that things worked. I've booted up the printer without the thermistor connected (left) and then with (right)...
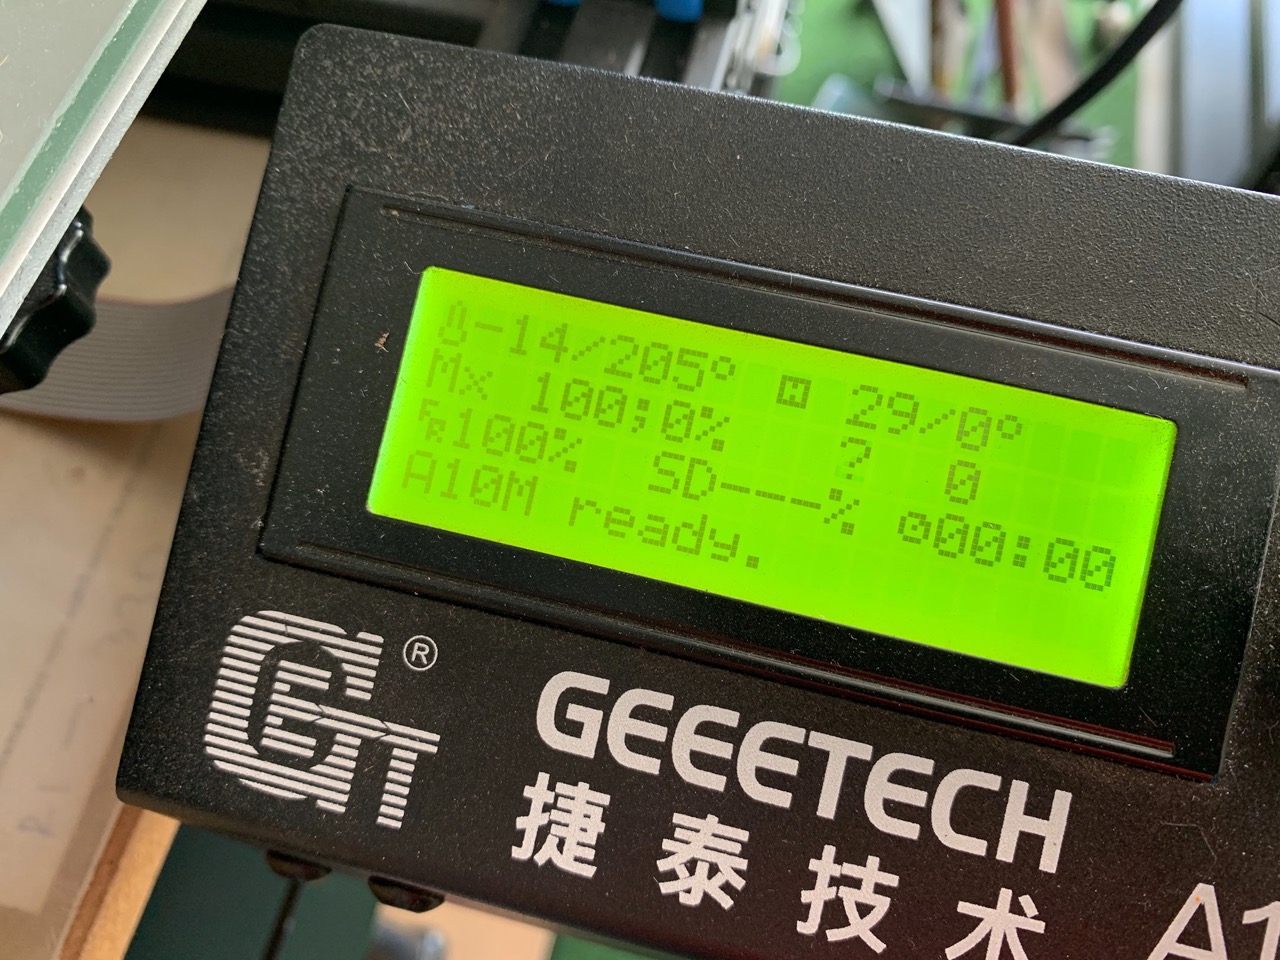
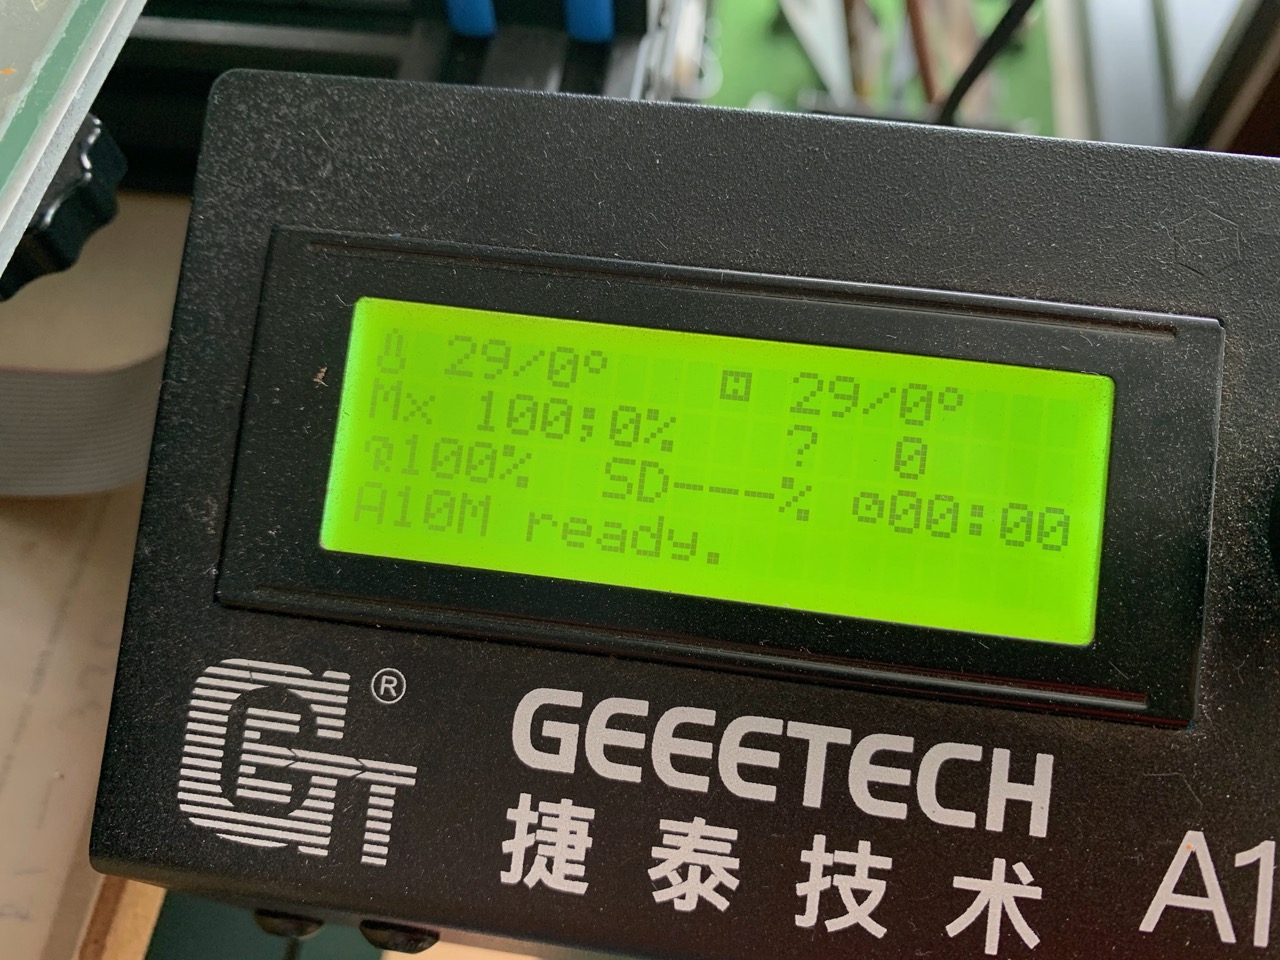
Immediately that was looking good (yes it really was 29C ambient temperature).
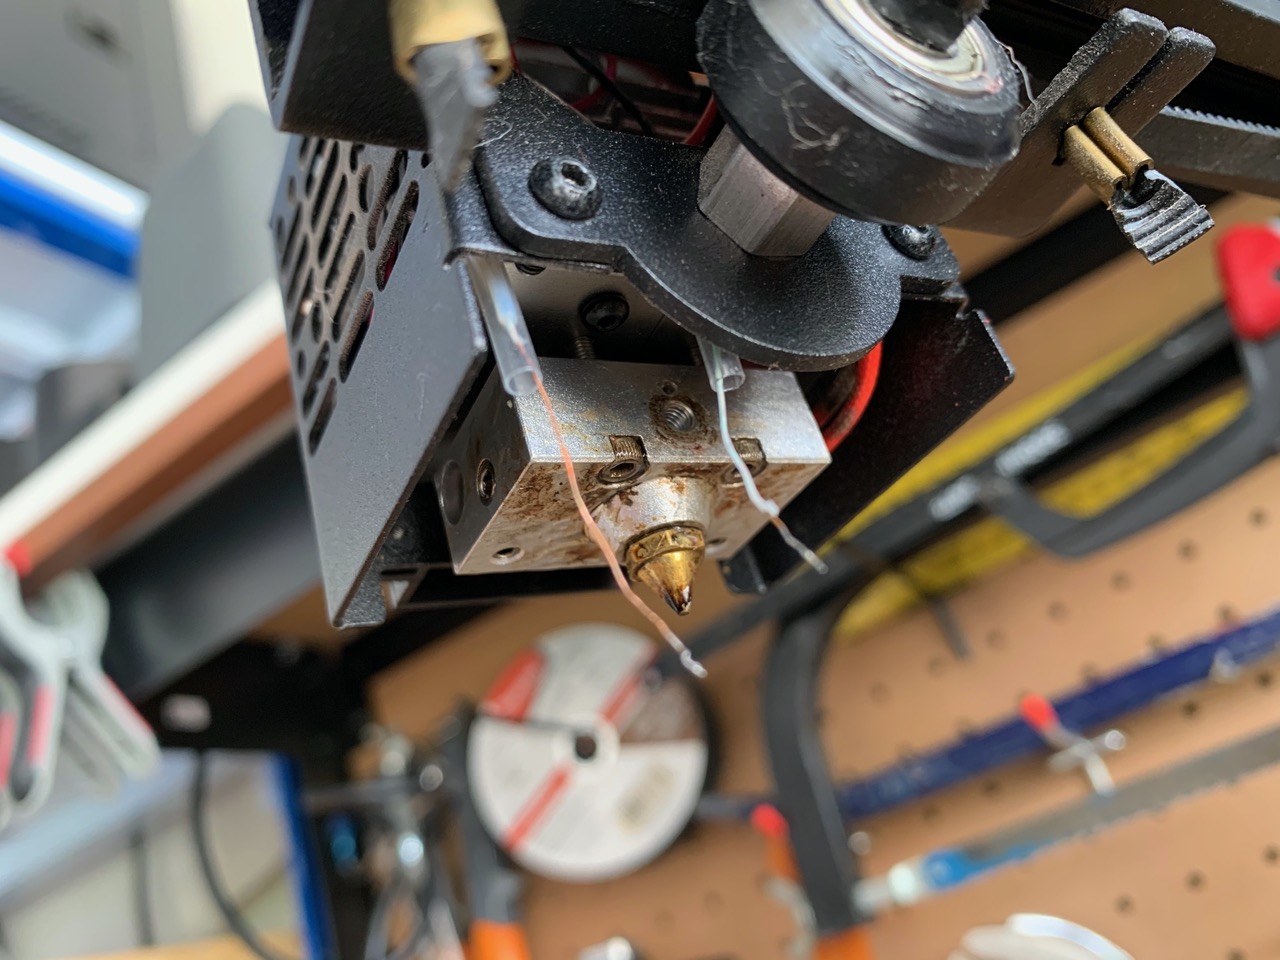
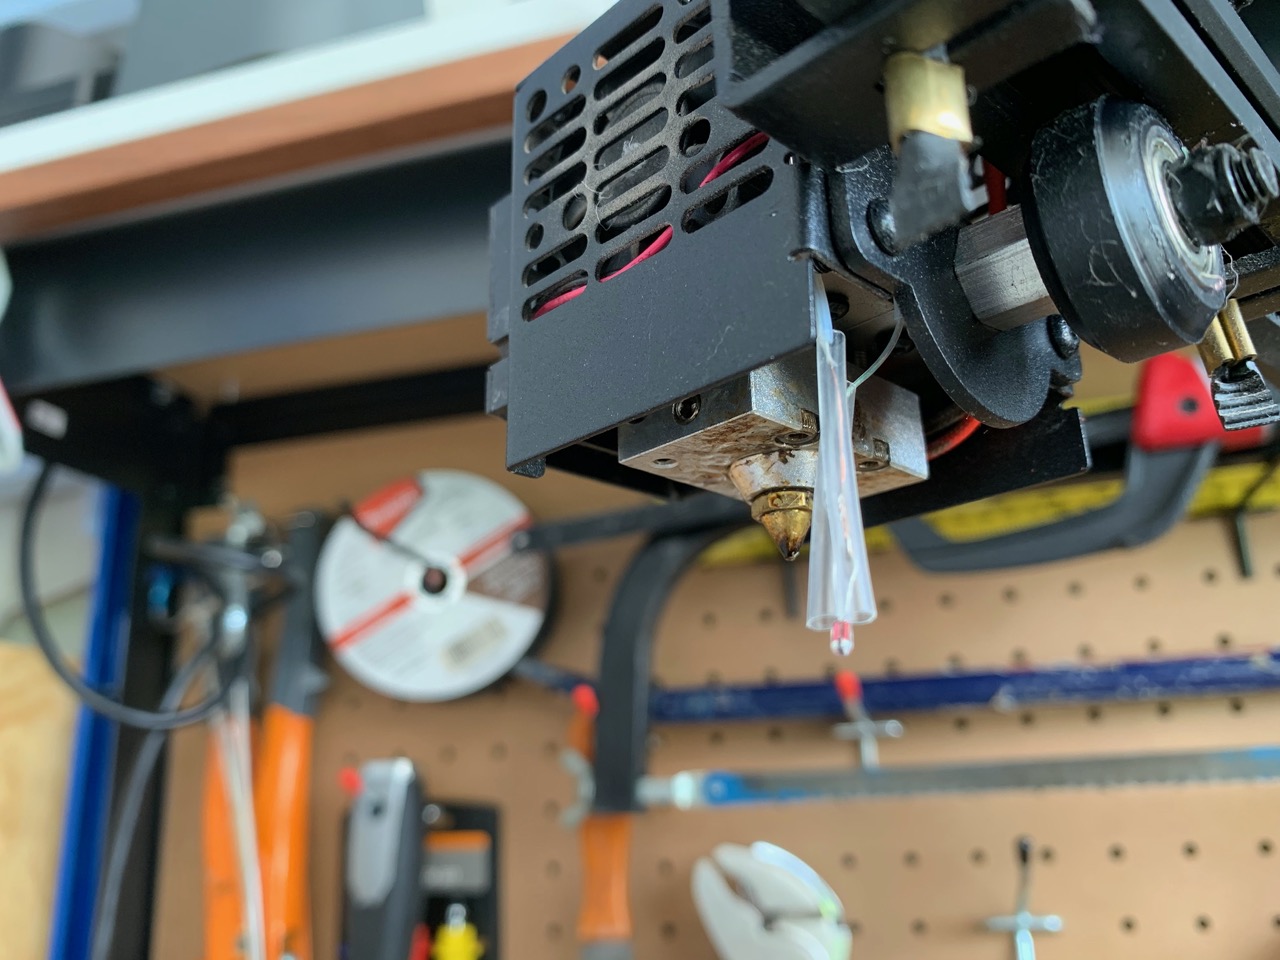
I took the wiring that was going off to the control board (and up to the top of the extruder) and put some clear heat shrink on it since some of the wire coating was stripped off. Then I wound the legs of the new thermistor around the exposed wires from the printer (I cut the thermistor legs so they weren't too long first).
Then using a heat gun (actually a reflow station) I got the heat shrink down to size around the wiring and positioned the new thermistor into the bolt void that held the original thermistor in place. With the additional bulk of heat shrink it stayed in place very well!
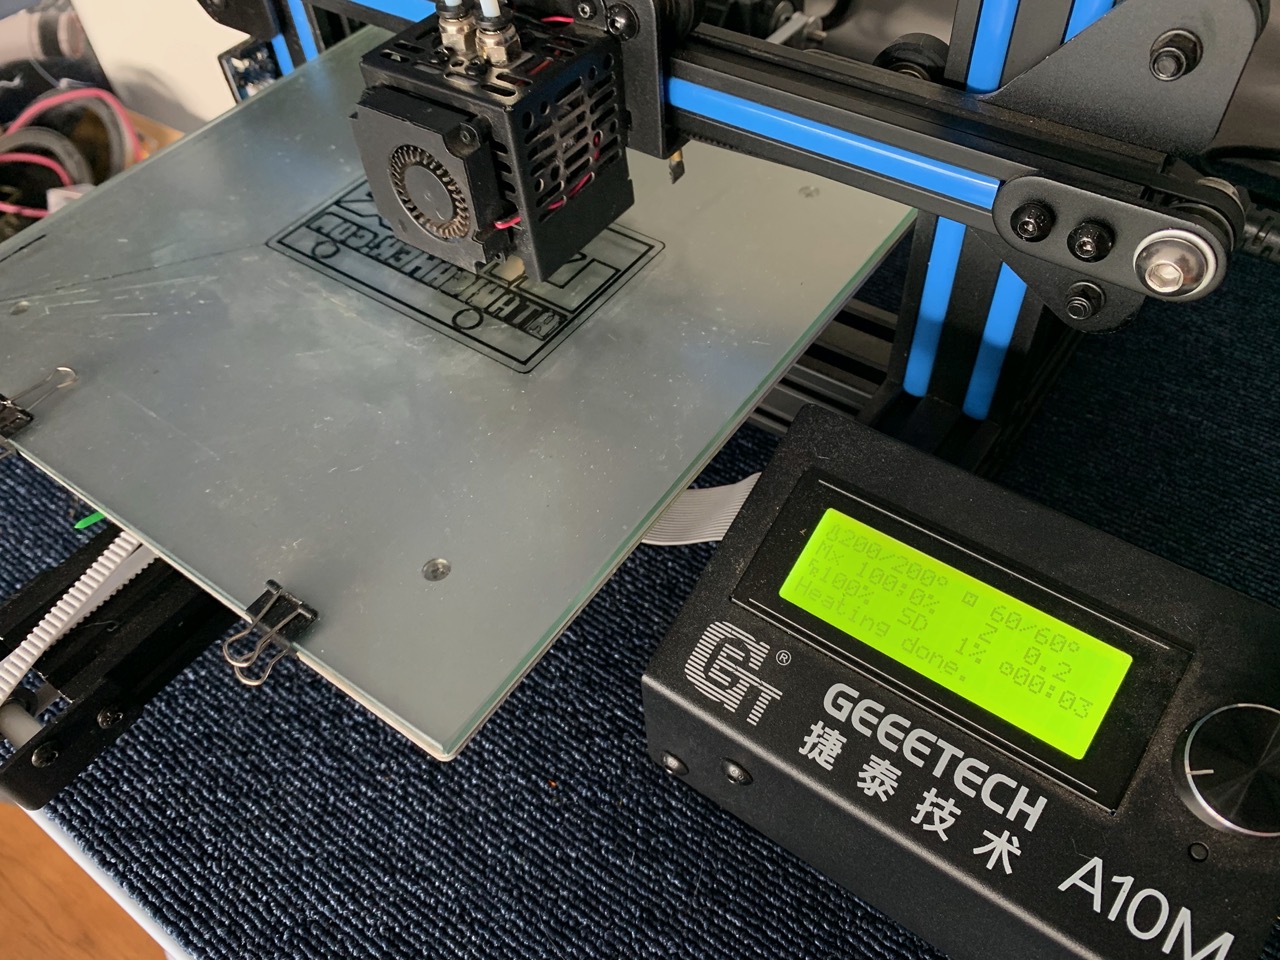
All that was left to do was do a test print. The printer and the replacement thermistor worked very well together, with the hot end running at 200C it had no issues whatsoever...
So the conclusion is you don't need to buy the Geeetech A10M thermistor as long as you can get a similar 100kΩ glass NTC thermistor that will fit into the bolt screw hole, you will be just fine!
-i
