After making the space available inside the case, the next task was going to be to work out how to fit the motherboard into it. Luckily, the Octane has sliding rails inside for its original modules, I thought that I will reuse those for a motherboard tray that I was going to cut out of acrylic.
Measuring up the available room in the Octane, I've started cutting the tray out.
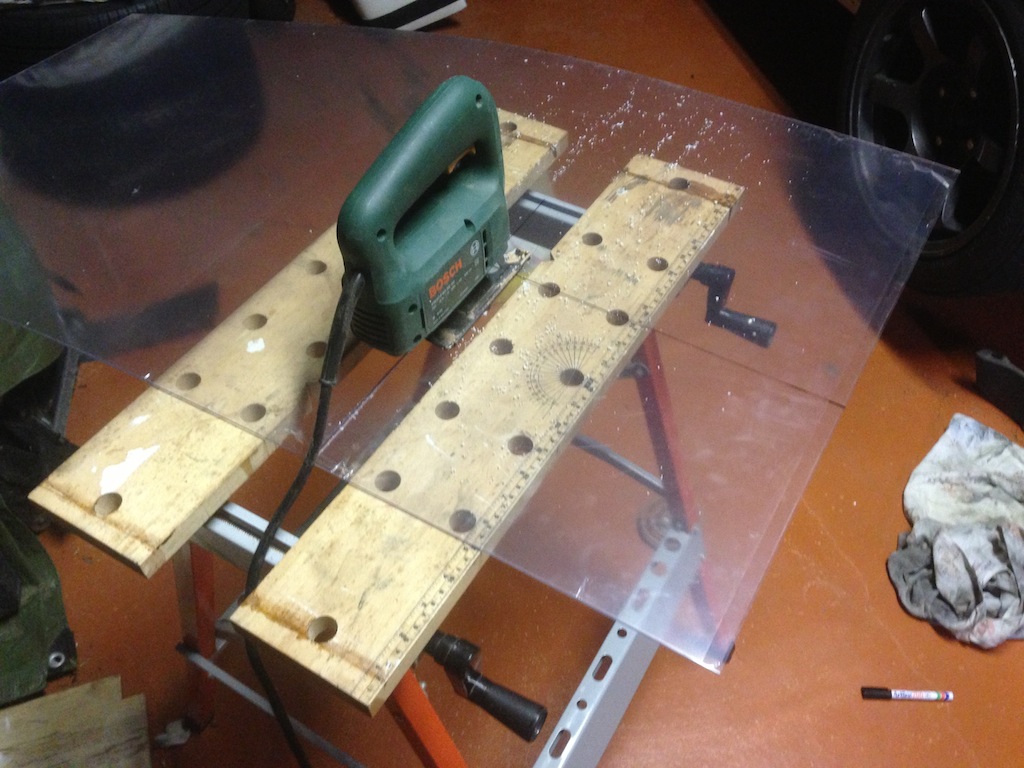
The cut out needed a few trimmings, but after a while it was sliding in quite easily.
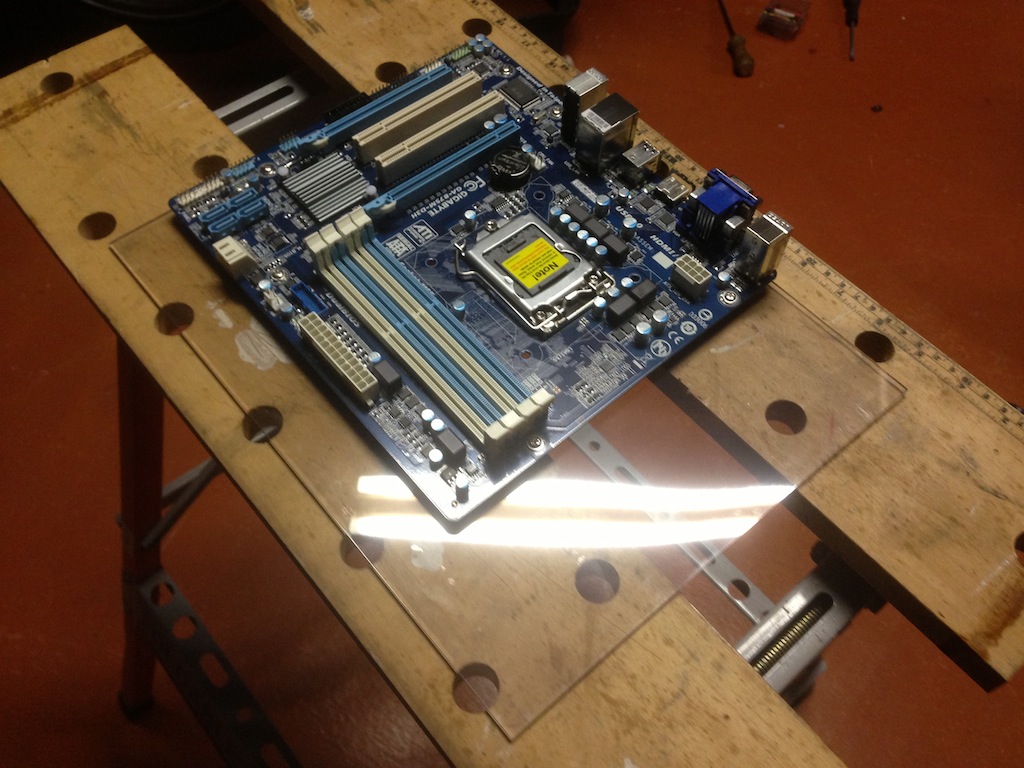
Then I've fitted the motherboard mounts into acrylic.

Bolting the motherboard into place, it fits as it should, great!
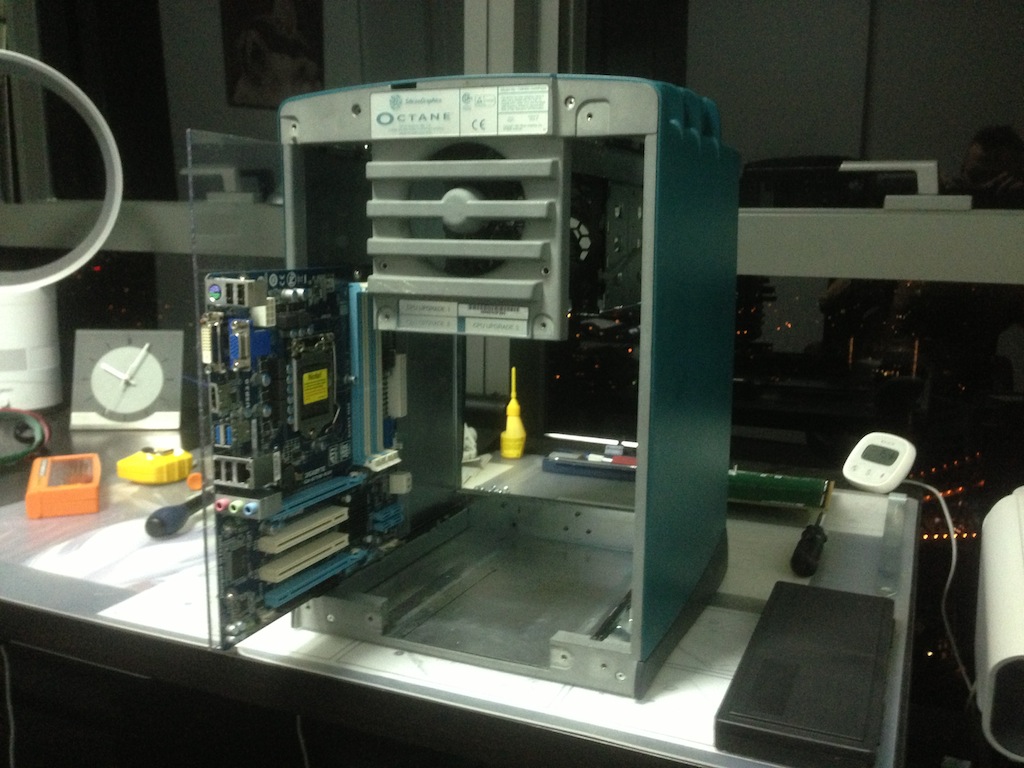
Finally to slide it into the case...
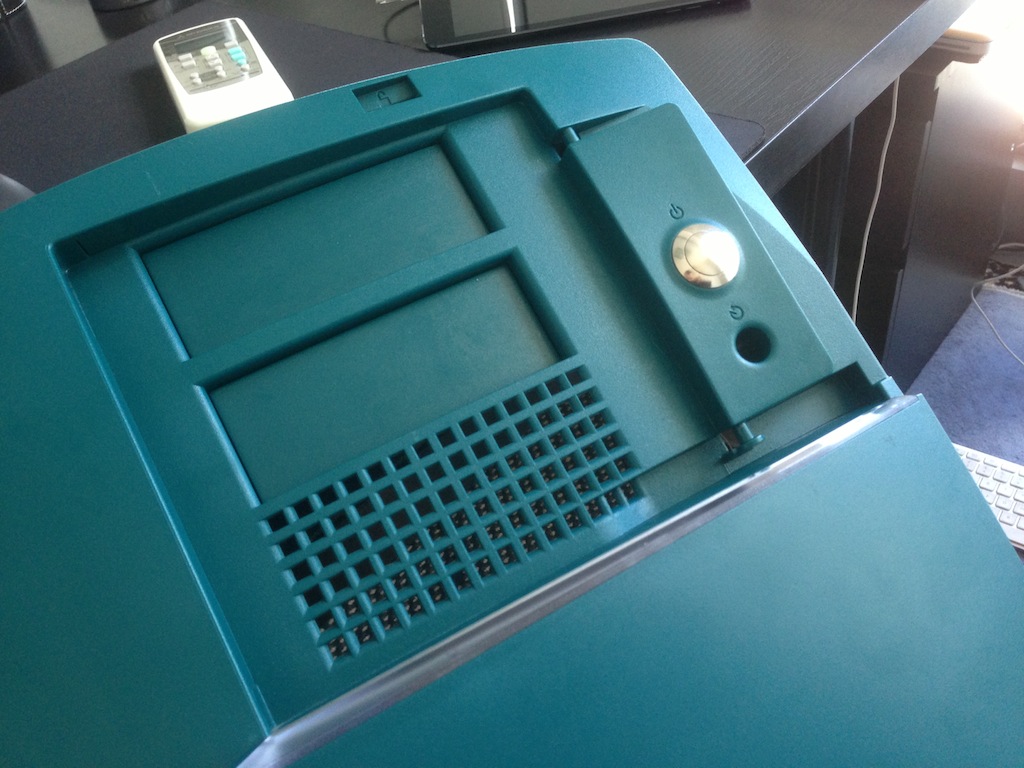
Next thing was the power button. The Octane had a power button on the front already, however this was just a bit of plastic that pushed a button wired into the front plane board in the original setup, this was of course removed. This presented a problem because there was nowhere to mount another switch behind the plastic push button.
After looking around a little bit at Jaycar, I found the following switch that was pretty much a perfect size to replace the plastic button.
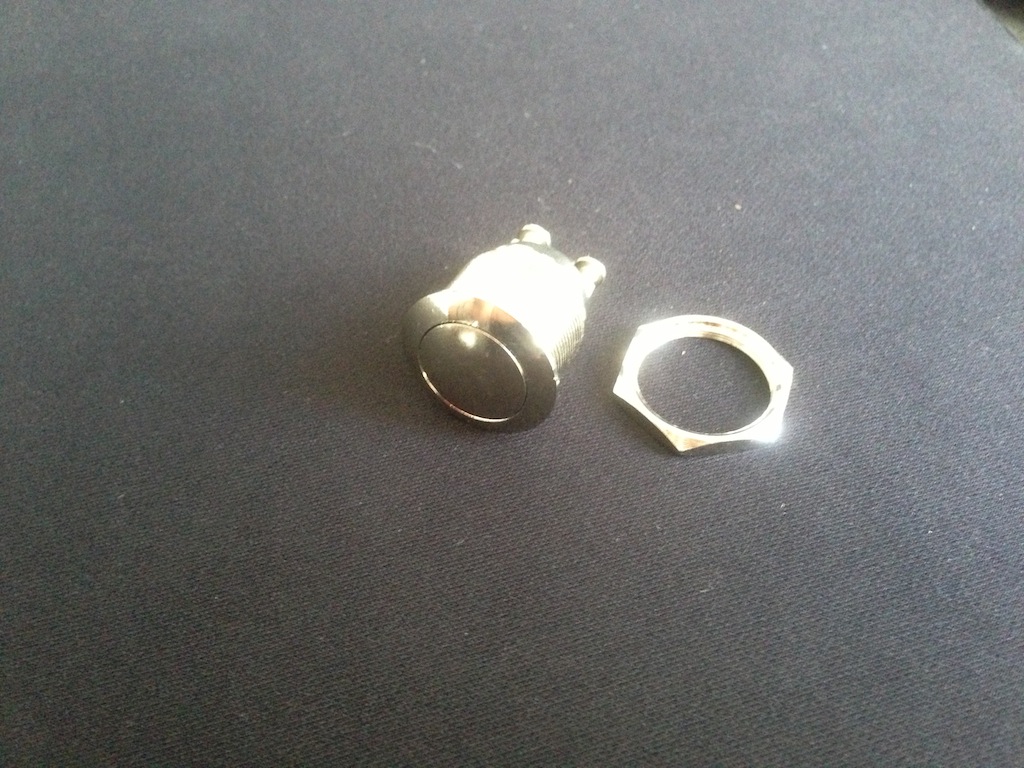
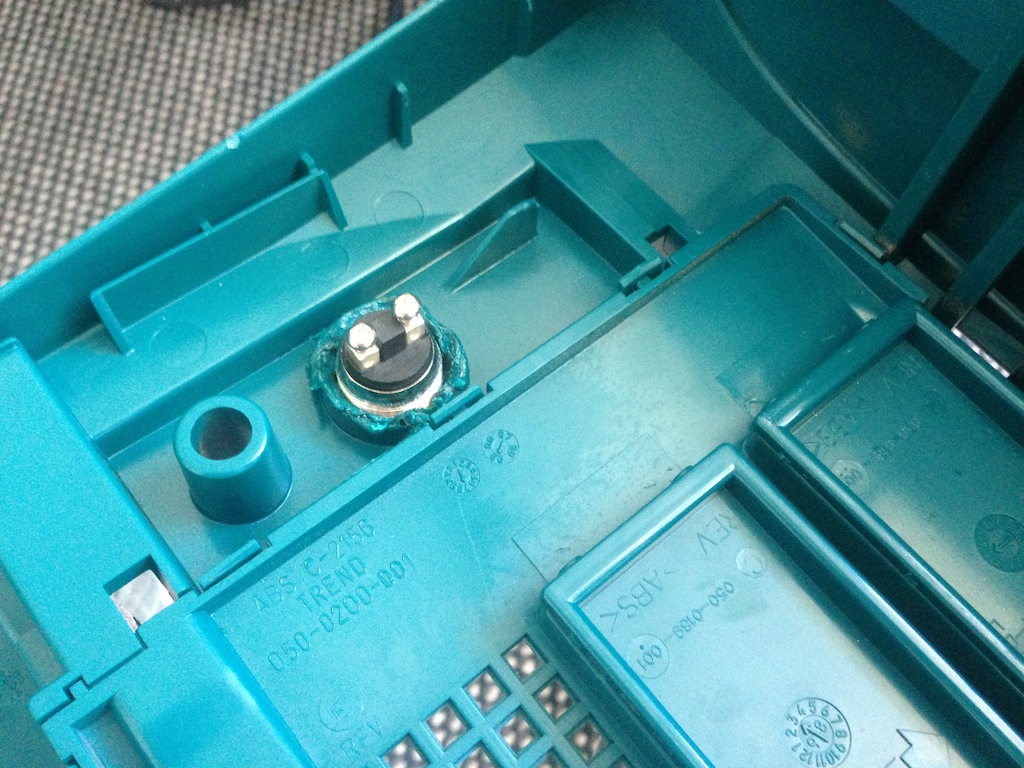
Fitting it in, it looks like it was meant to be!
The other side is a bit ugly, I had to melt out the original button using an old soldering iron.
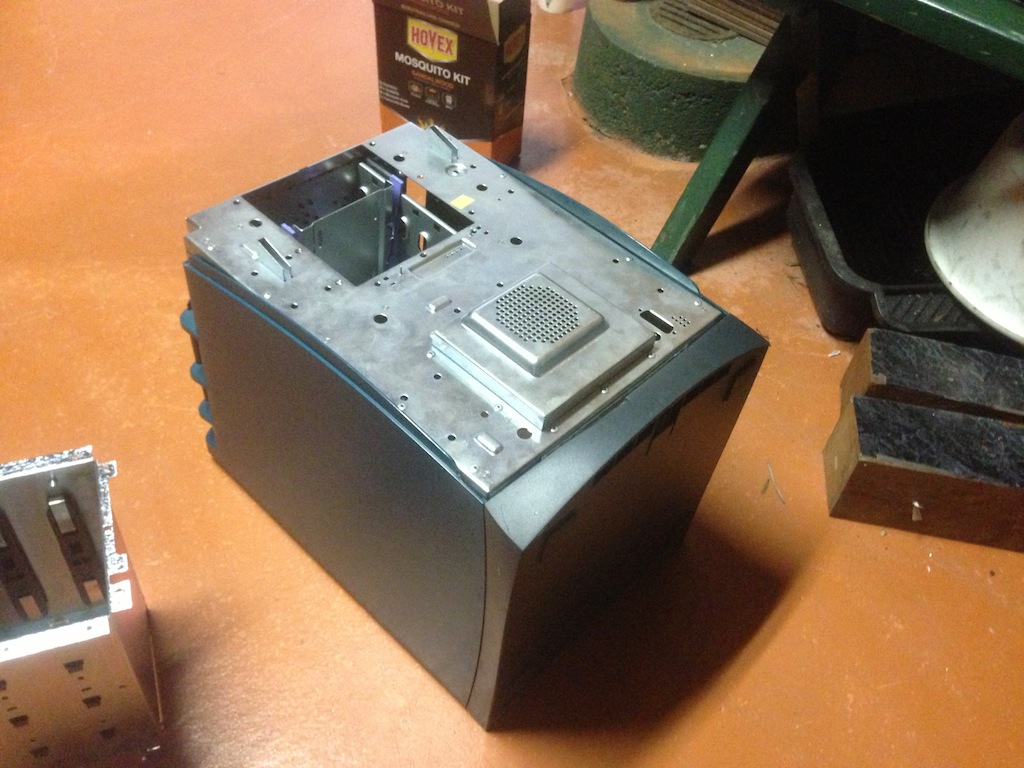
One more thing I had to do for the case was remove the SCSI cage from the front panel.
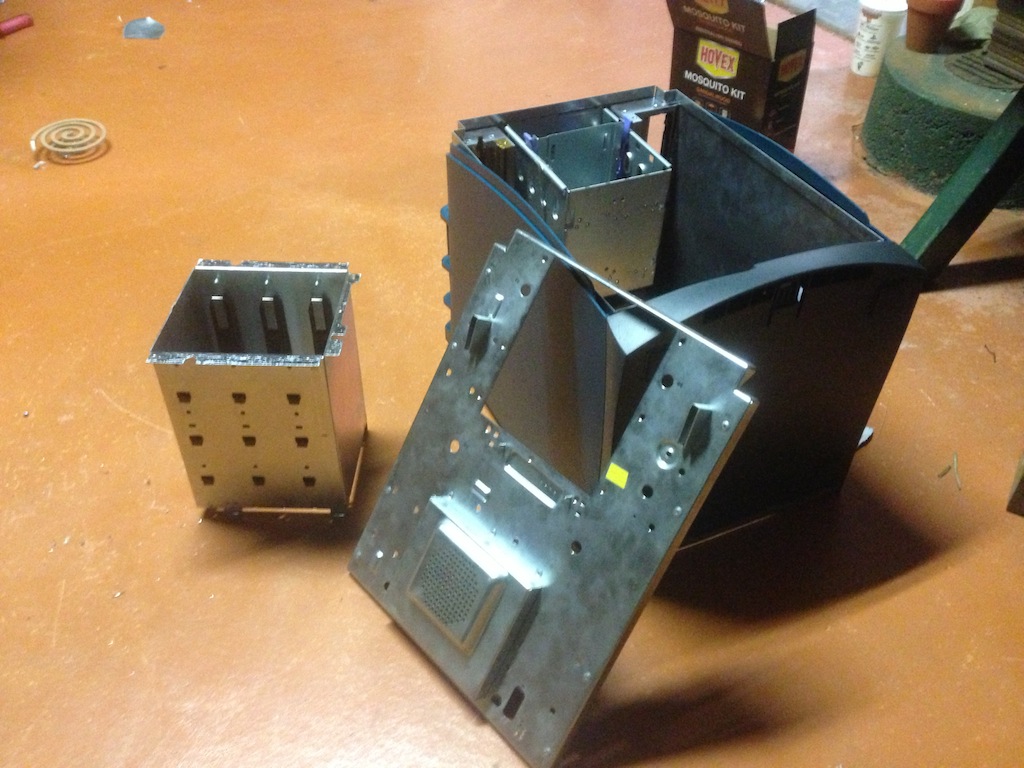
This allowed me to use the front panel again, which makes the case a bit more sturdy.
Now the mod is almost completed, the only bits remaining are to design and make the entire back panel. The SGI didn't have a separate back panel due to its modular design. My plan is to use acrylic to do the job here. Also I want to fit some acrylic inside the case to direct the airflow to the hard disk cage better. Once these are completed, I will write it up on part 3 of this series.
Part 3 is here: Modding a SGI Octane to use as a Hackintosh - Part 3 - Fan vent and rear panel
-i
