At this point the case is empty and the front panel has the correct wiring, however to fit standard components into it, the case has to be modified, and that means cutting into it to remove the old Mac back plate and add a standard back plate in it's place.
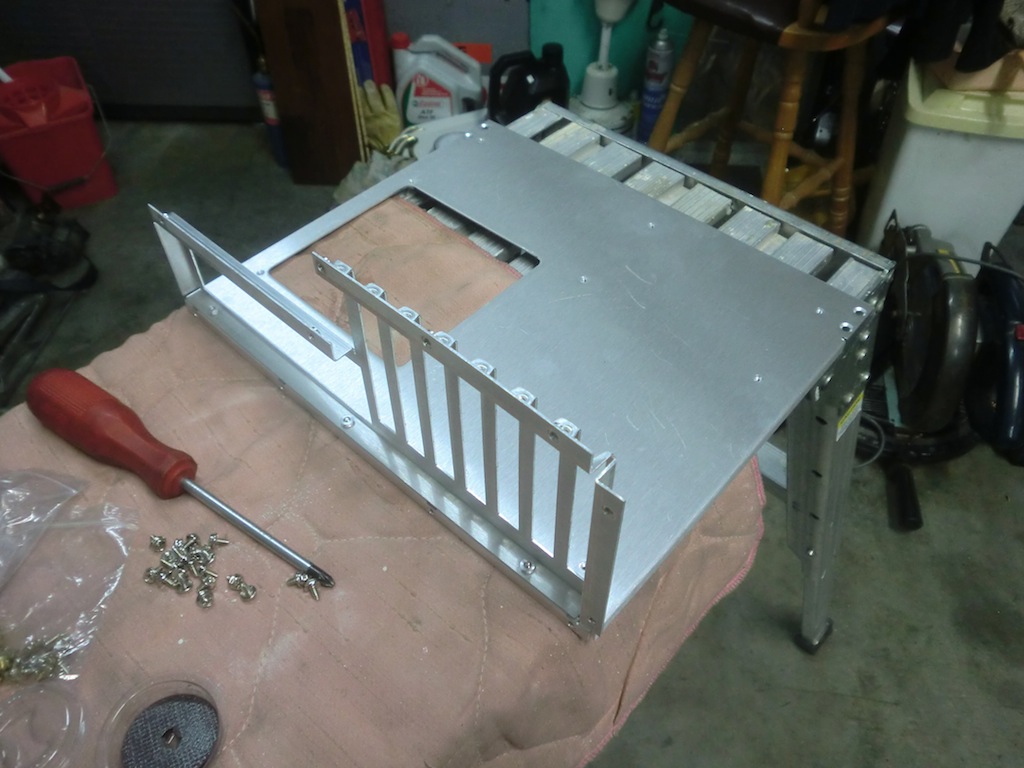
The easiest option was to get the Mountain Mods Modular Removable Motherboard Tray. I read somewhere that the 2x80mm fan version was the one to get for a MacPro case because the 120mm version doesn't fit.
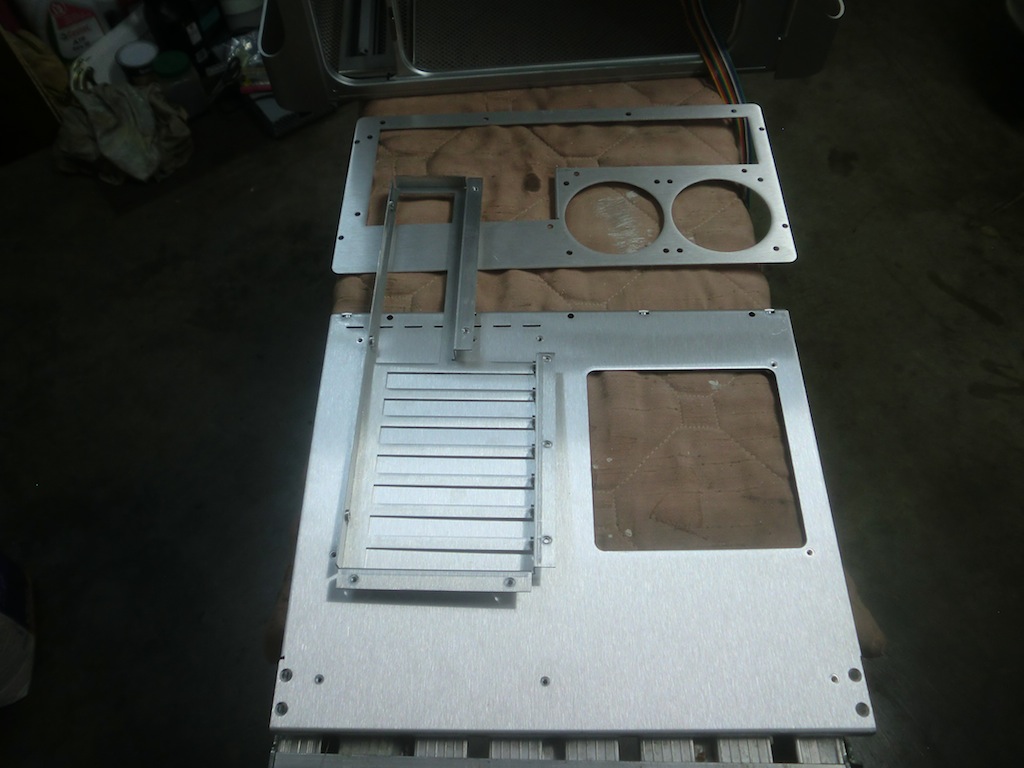
So here's the motherboard tray as it arrived.
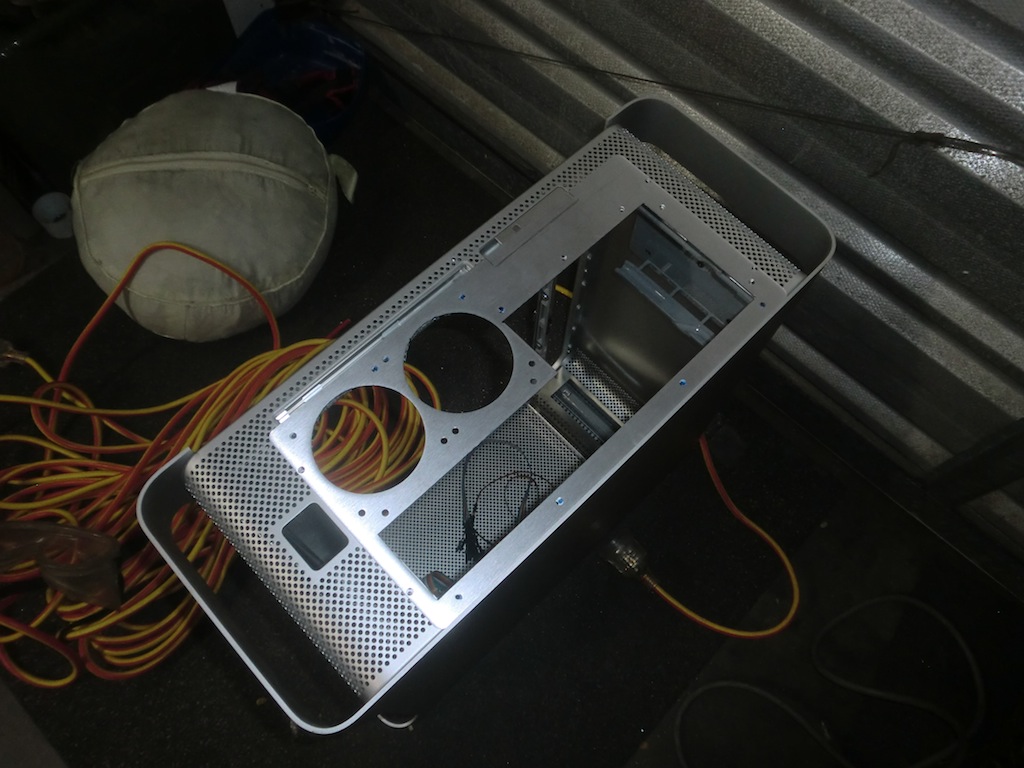
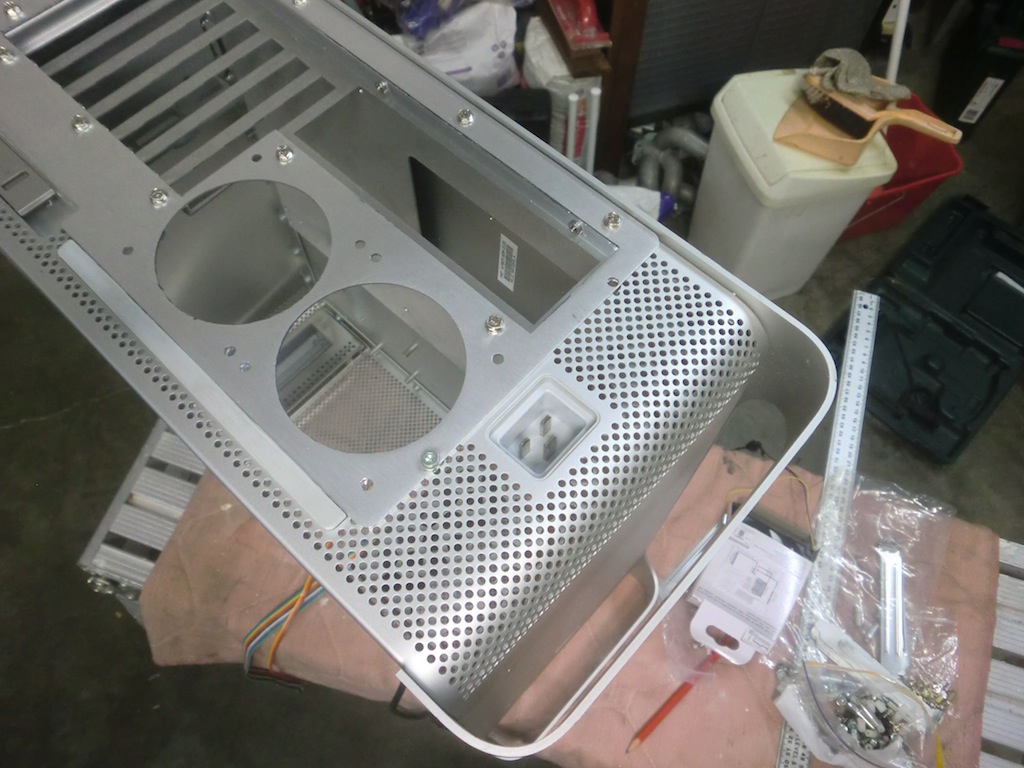
Laying the back plate on the Mac Pro case to see how it lines up. I wanted to keep the original power plug in its place, so had to line up with that properly.
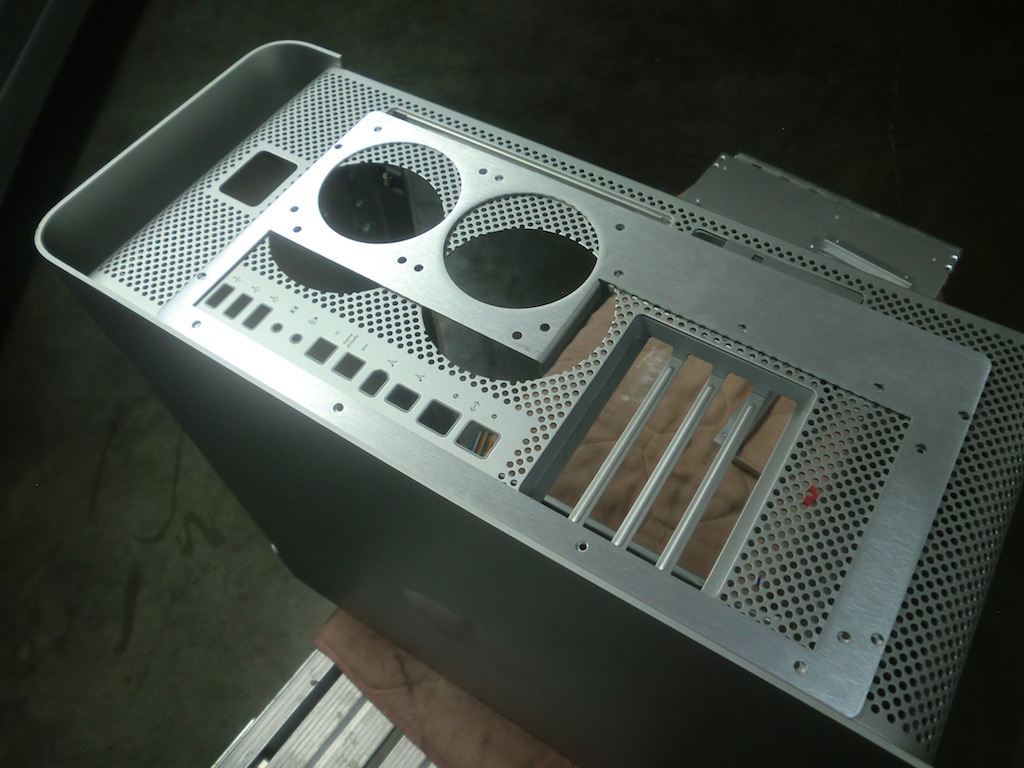
The case is marked out with a blue marker to see where I need to cut.
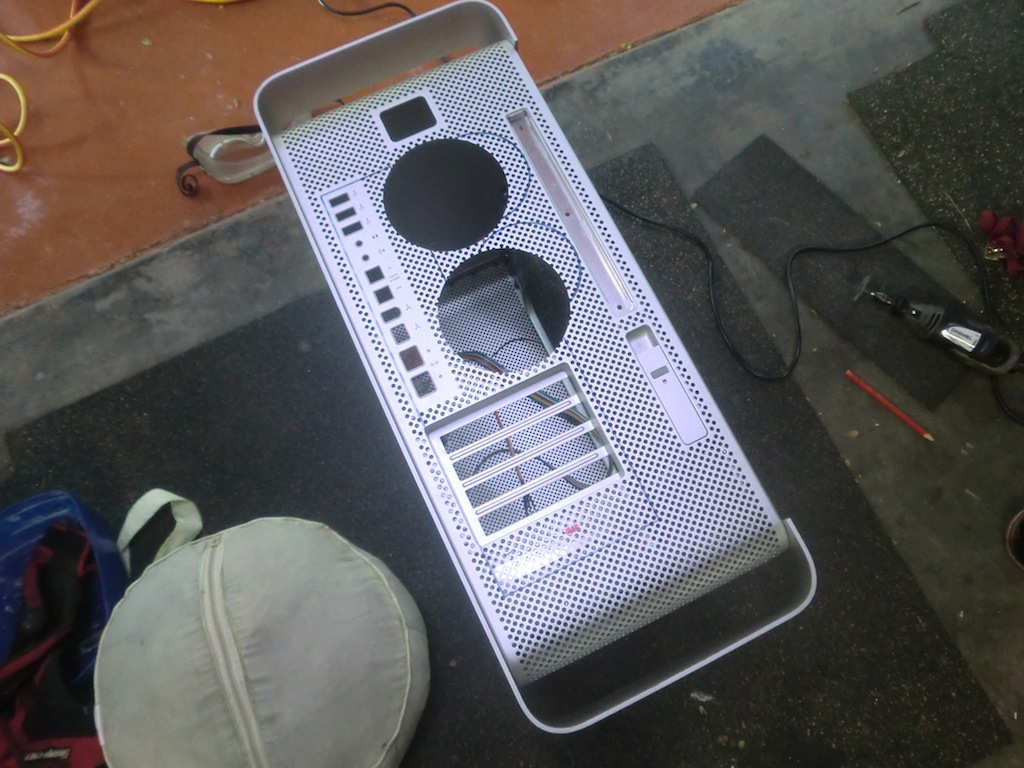
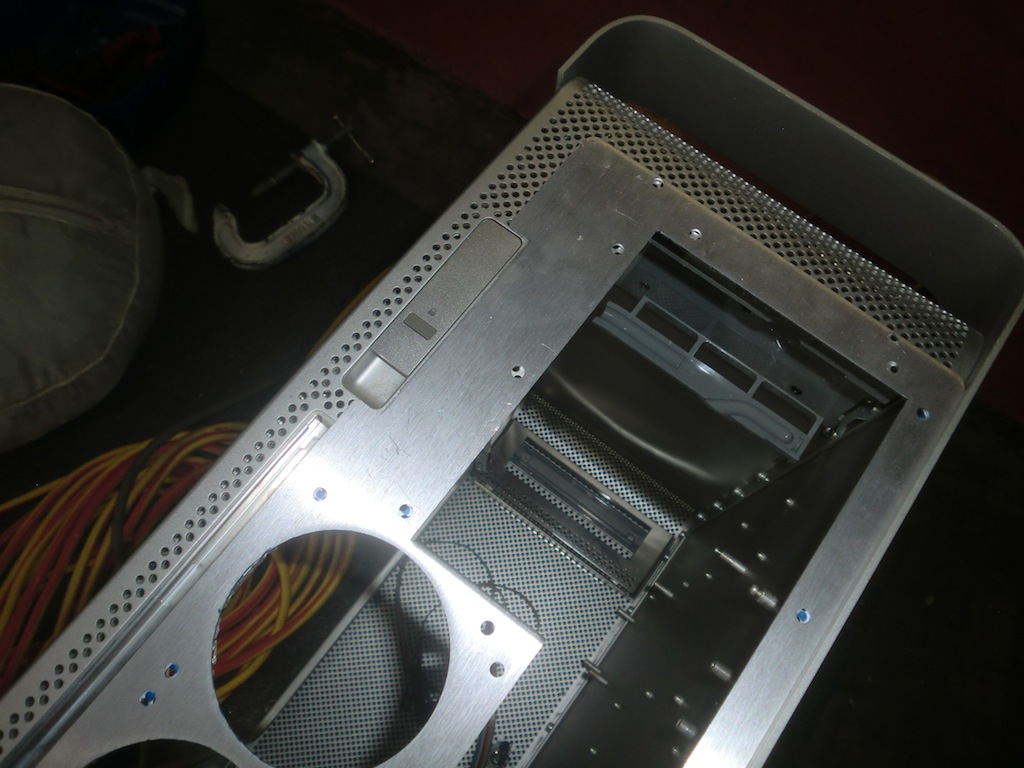
We used a dremel to cut the unwanted bits out, but if I had to do it again, I would just use an angle grinder. The dremel is a little too delicate for this kind of cutting. I had to use the angle grinder anyway to clean up some of the edges later.
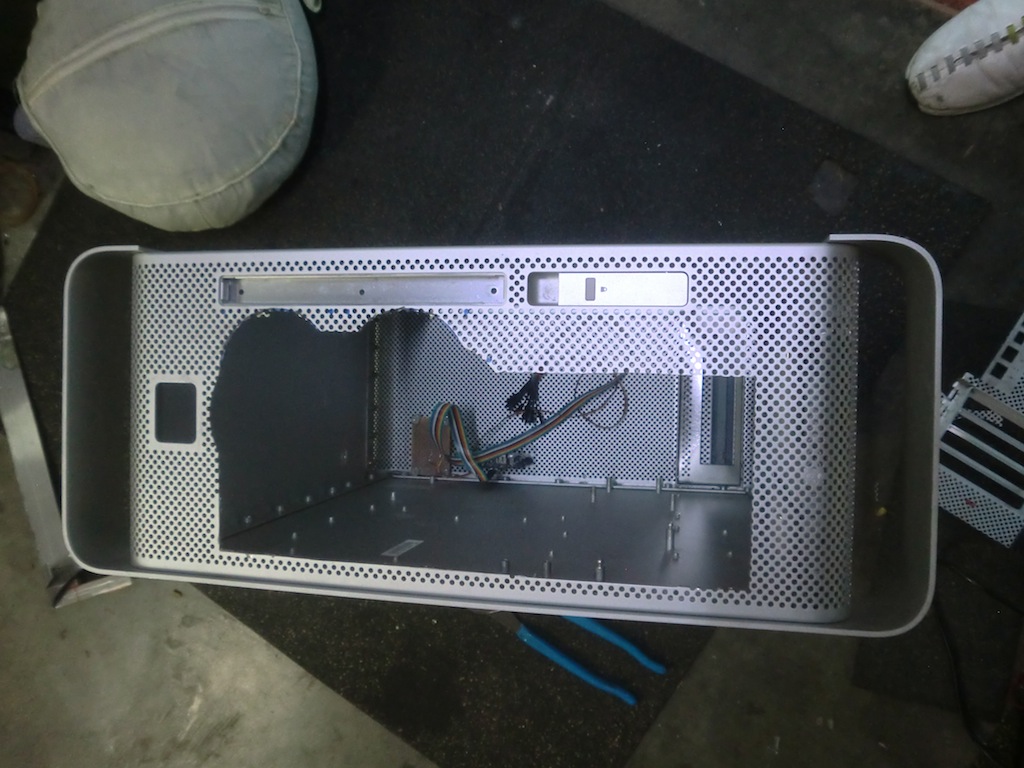
This is the rough cut out.
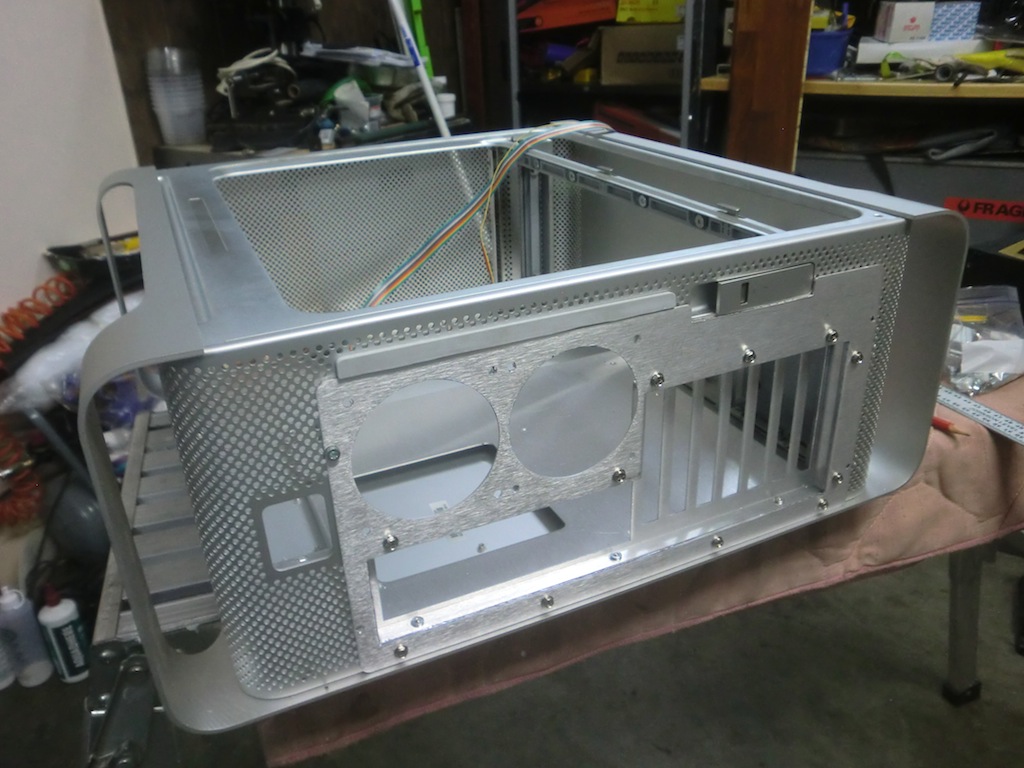
Assembling the motherboard tray before fixing it into place.
Fits pretty well!
I had to cut away a part of the back plate on the tray so that the open lever on the case can still be used.
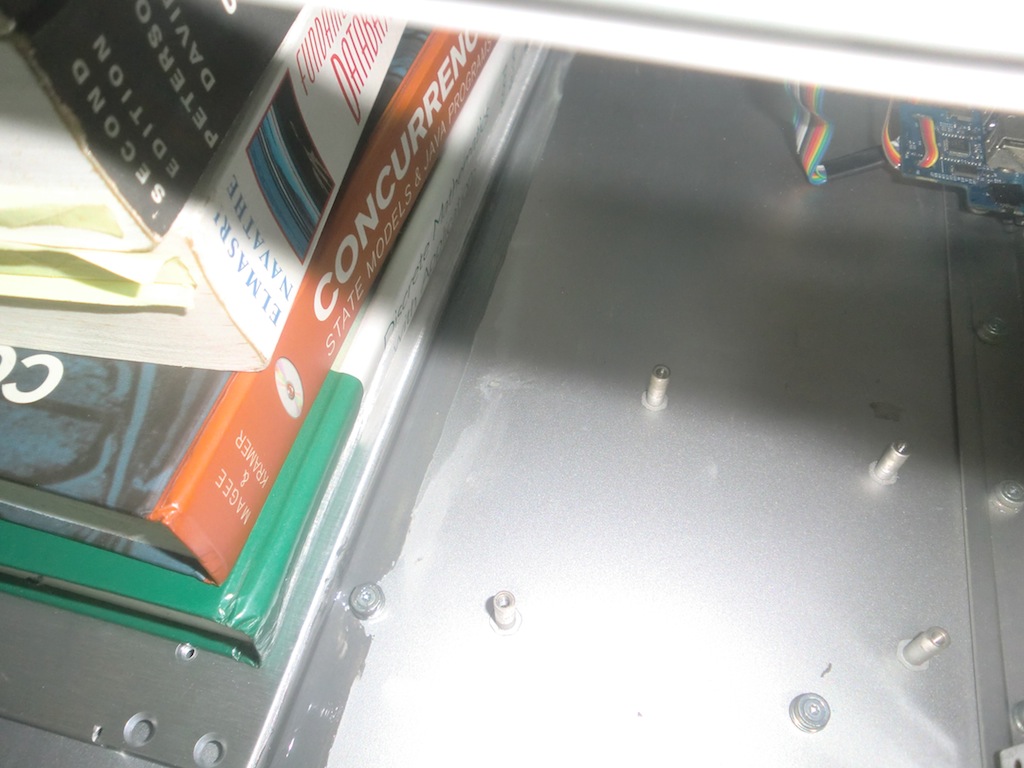
The tray is fixed into place now, even cut away the wifi antenna cover to make it fit.
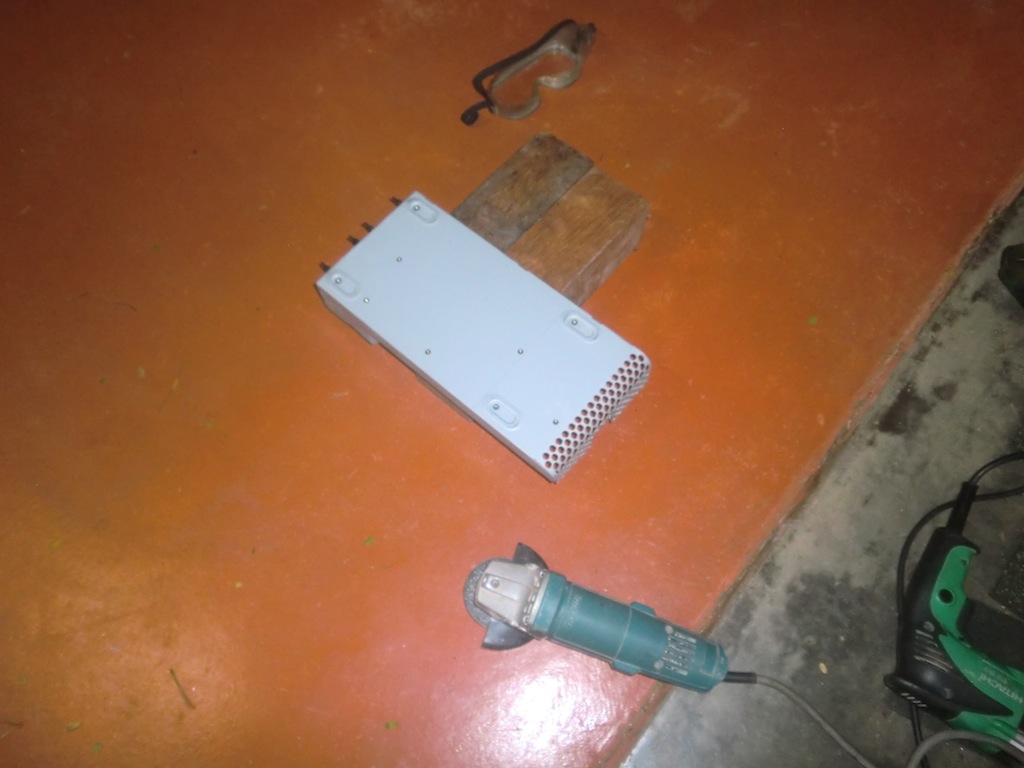
To keep the power plug on the back required the power supply to be mounted, however if I did that, it would leave no room for other components in the case, so I made the decision to cut the power supply housing.
The original power supply was cut off just past the first lot of mounting bolt holes.
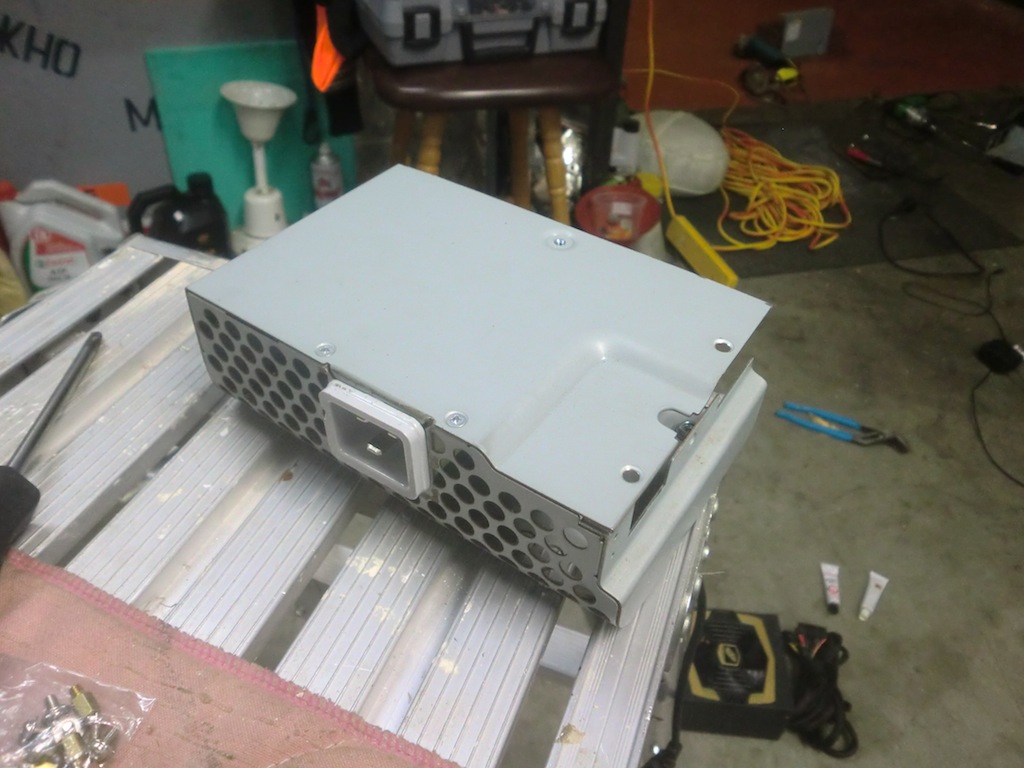
Fitting the cut off power supply in the case.
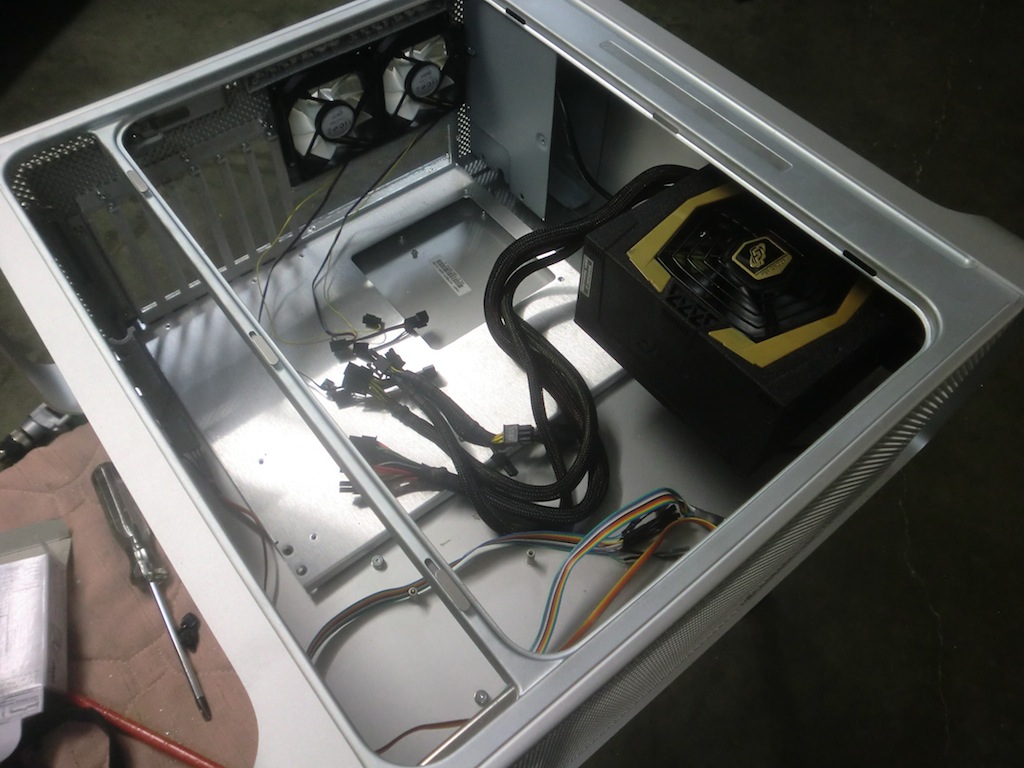
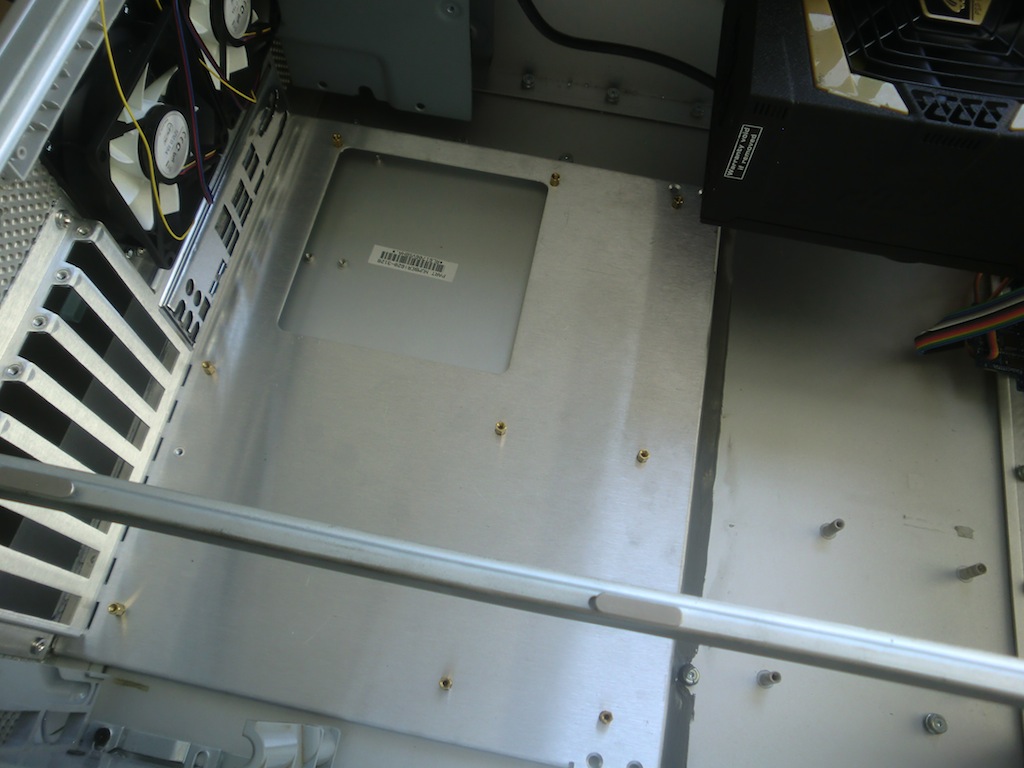
Inside view with the cut off power supply mounted and the new power supply mounted as well. The plug from the old power supply goes to the new one and connects around the front side of the case (still inside the case).
I had to drill some holes in the bottom of the case to mount the new power supply.

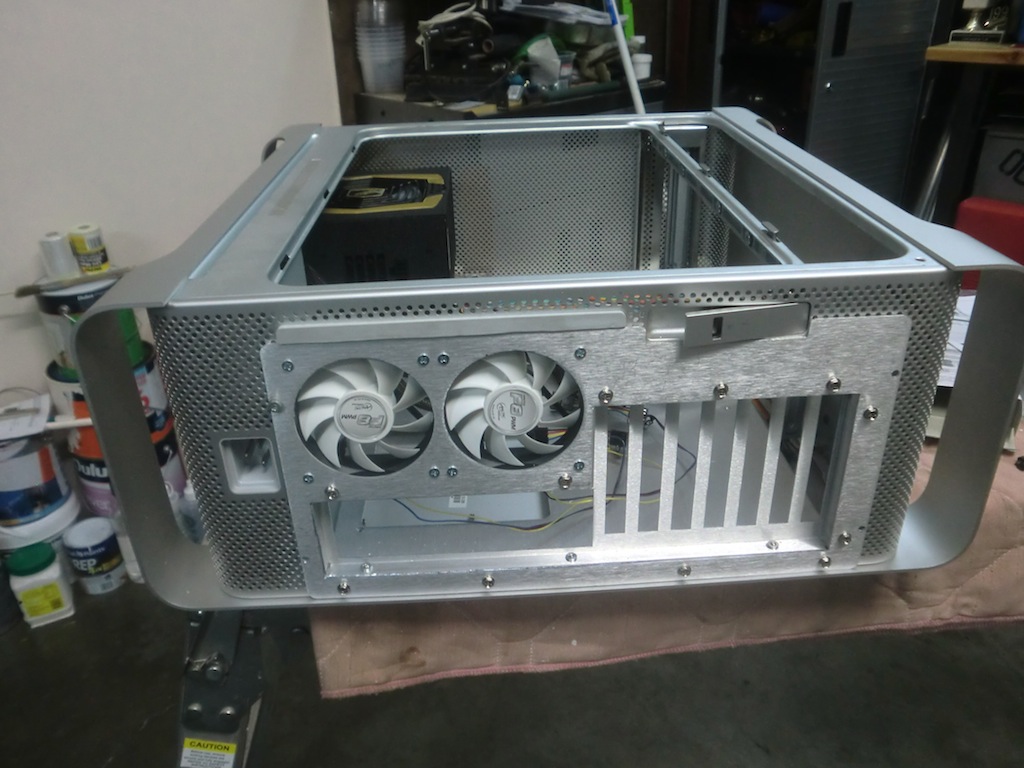
Everything mounted including the power supply and exhaust fans. Later on I added some fan grilles (not shown in these photos).
At this point the motherboard tray is only holding on by the screws on the back plate of the case, which left the edge of the tray flopping around the case.
I used some Pro Weld cold welding epoxy to fasten the tray to the case.
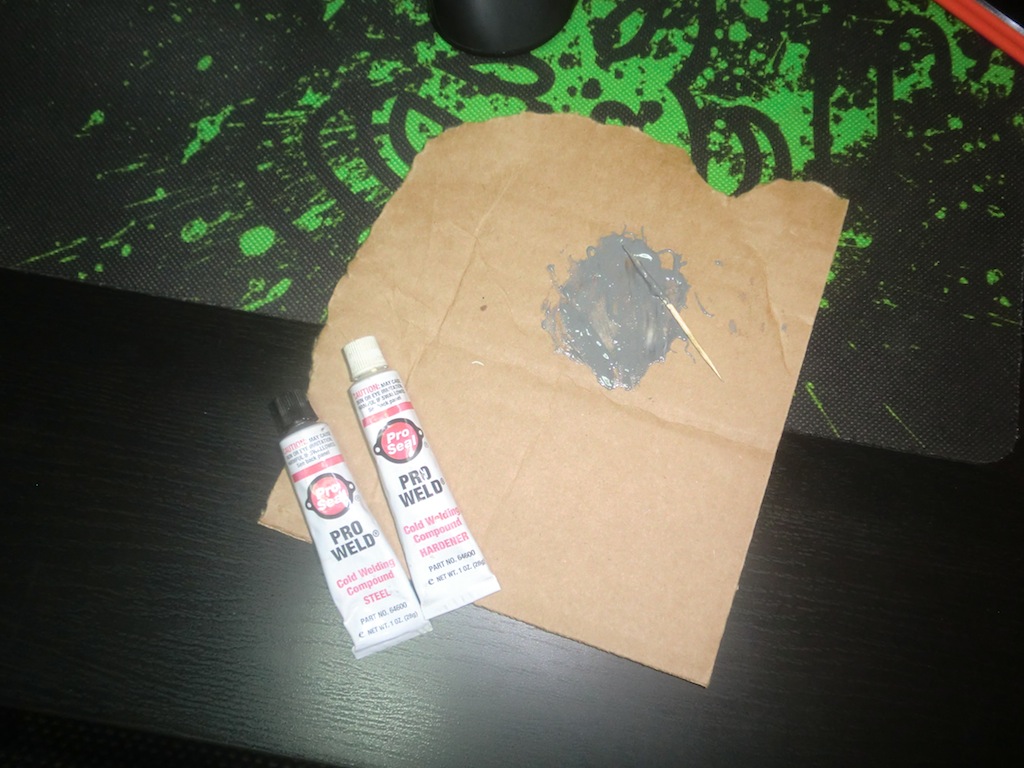
The Pro Weld went around the edge of the motherboard tray, some weight on top of the tray to keep it in place for 24 hours and it's done.
Continue reading the next part of this post: Building a Mac Pro Hackintosh - Part 3 - Fitting all the off the shelf components
-i
