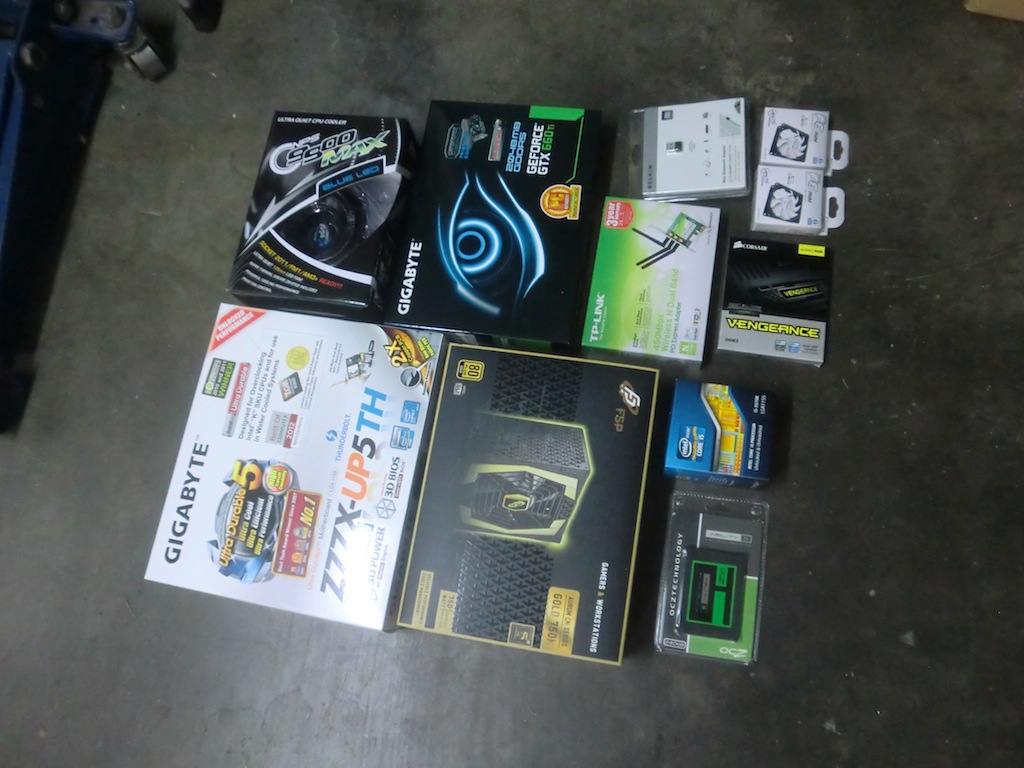
Now that the case is all ready to go it's time to fit all of the components inside. Here's a list of components, including the already mounted power supply and fans:
- Belkin Mini Bluetooth Adapter
- Corsair 16G (4x4GB) Vengeance CMZ16GX3M4A1600C9 DDR3
- OCZ Agility 3 240G SATA3 SSD
- FSP 750W Aurum Aurum Series Modular PSU, 80PLUS Gold
- Intel Core i5 3570K LGA1155 CPU 3.4Ghz 6Mb Cache Ivy Bridge
- Gigabyte GTX 660Ti WF2 EDITION PCI-E 3.0 2GB DDR5 2x DVI , HDMI, DP, Fan
- Gigabyte GA-Z77X-UP5-TH/Z77/4 x DDR3/3 x PCI-E3.0 x 16/3 x SATA3/10 x USB3.0/2x THUNDERBOLT/HDMI/D-S
- 2x Arctic Cooling, Ultra Quiet Case Fan F8 PWM, 700-2000 RPM
- TP-LINK TL-WDN4800 - 450Mbps Wireless N Dual Band and PCI Express Adapter
- Zalman CNPS9900MAX-B CPU Cooler with Blue LED
- Samsung SH-224BB SATA Black Internal 24x Speed Plus DVD/RW Drive
First step is getting the motherboard ready and mounting the heat sink supports.
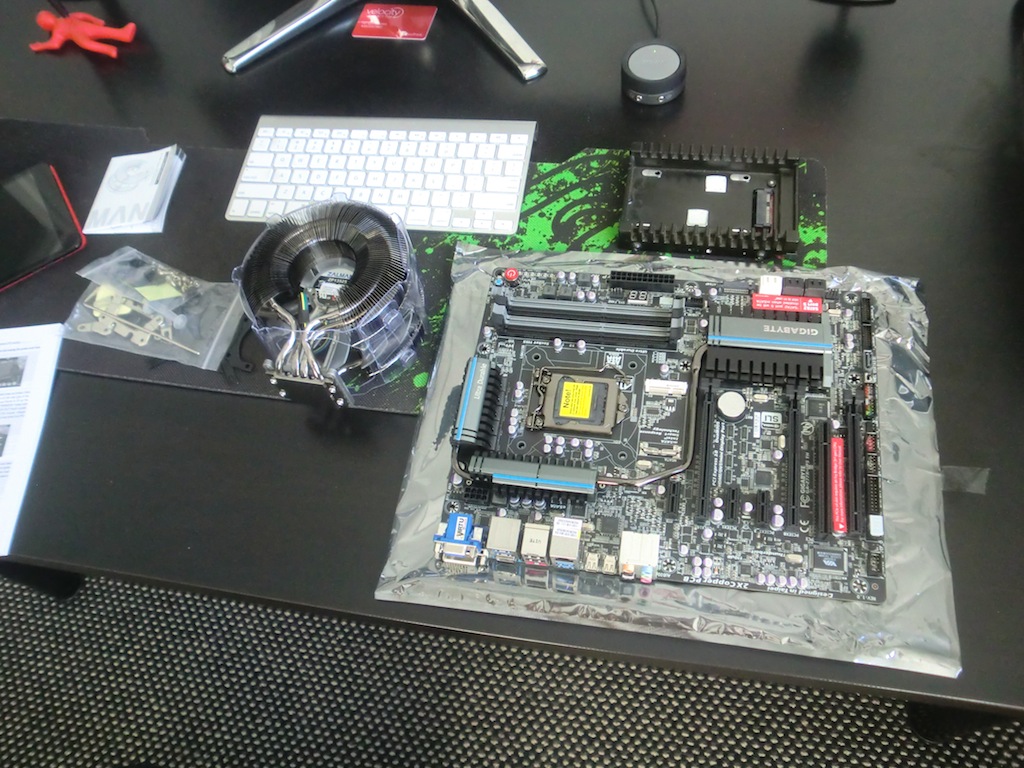
The heatsink support is mounted on the underside of the motherboard.

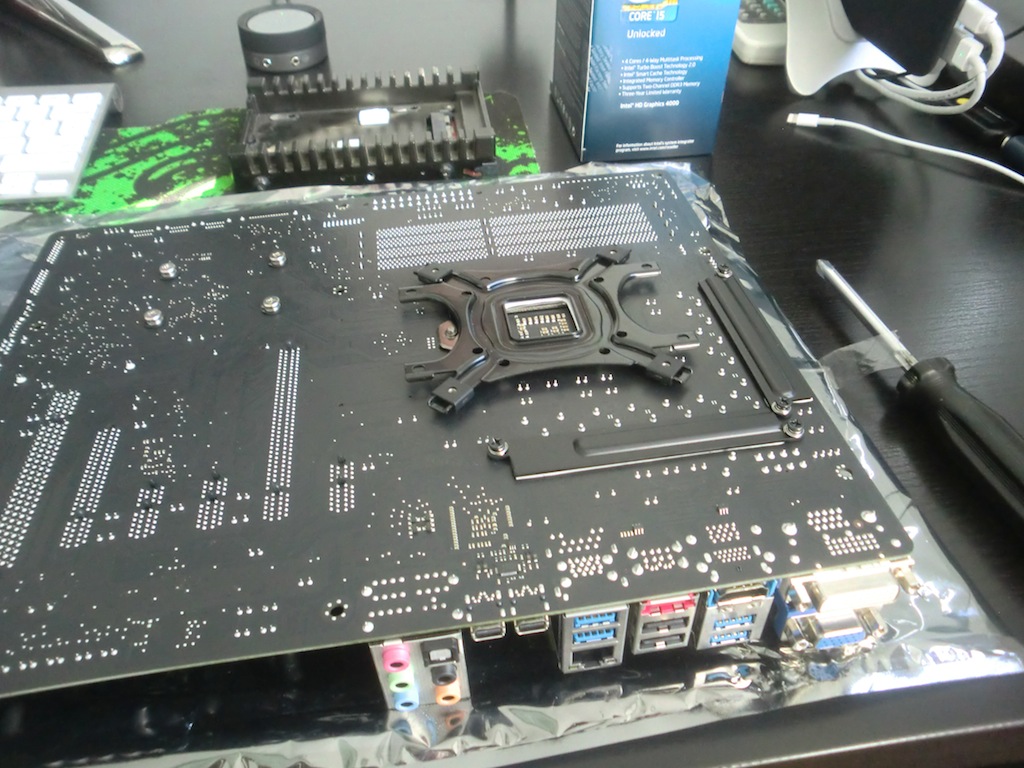
Turning the board over the heatsink bolt holes are visible around the CPU bracket.
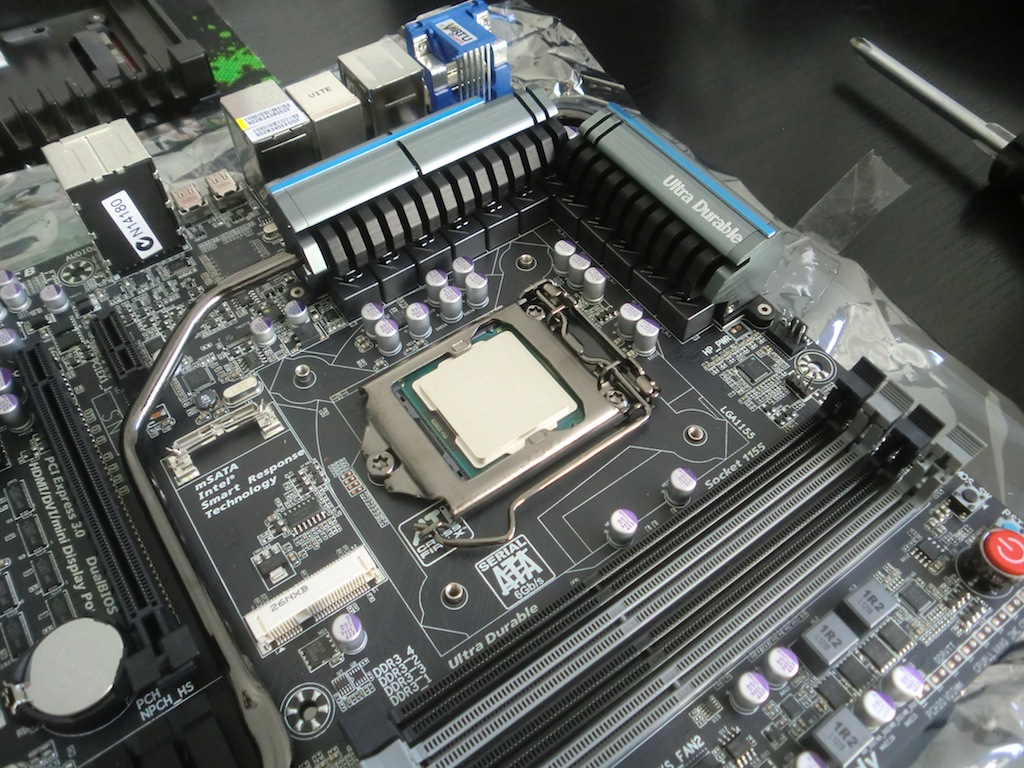
The CPU goes in next and thermal paste goes on top. I used some Arctic Silver that I've already had lying around. It's important to cover the whole CPU, but not to have too much of the compound.
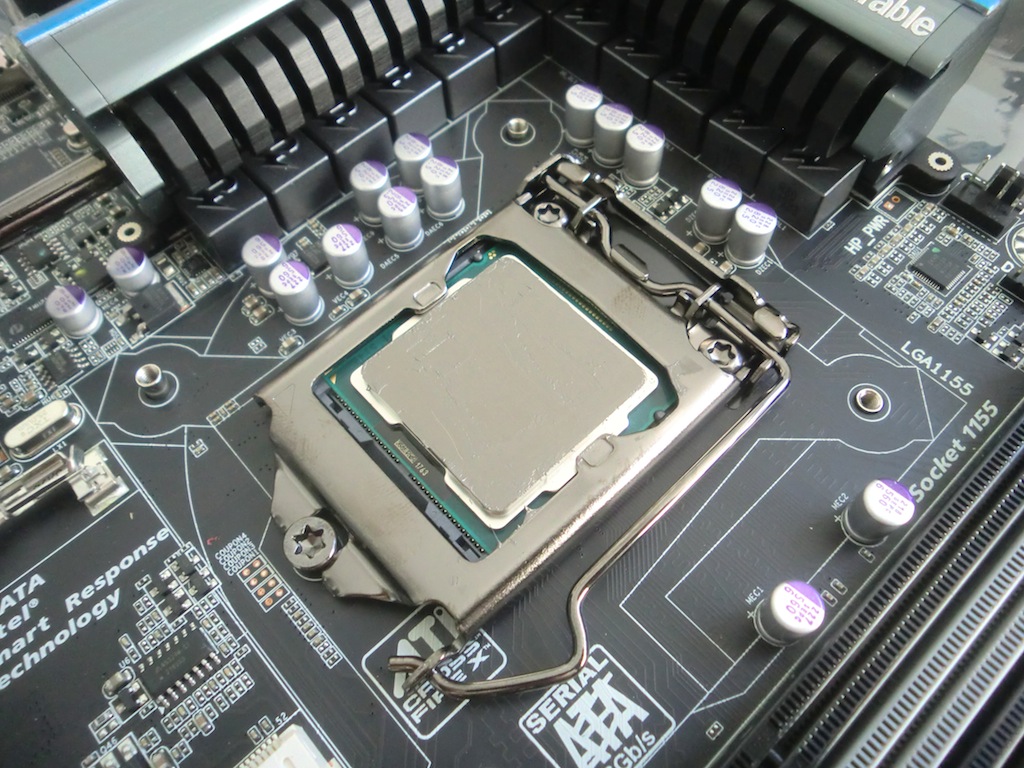
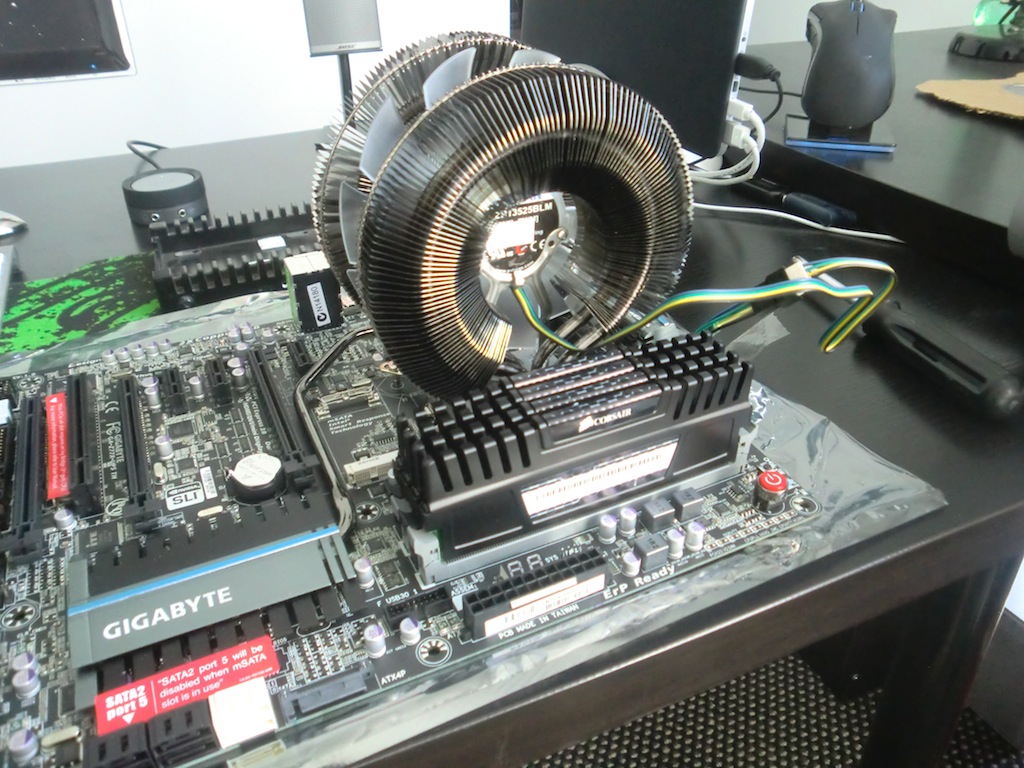
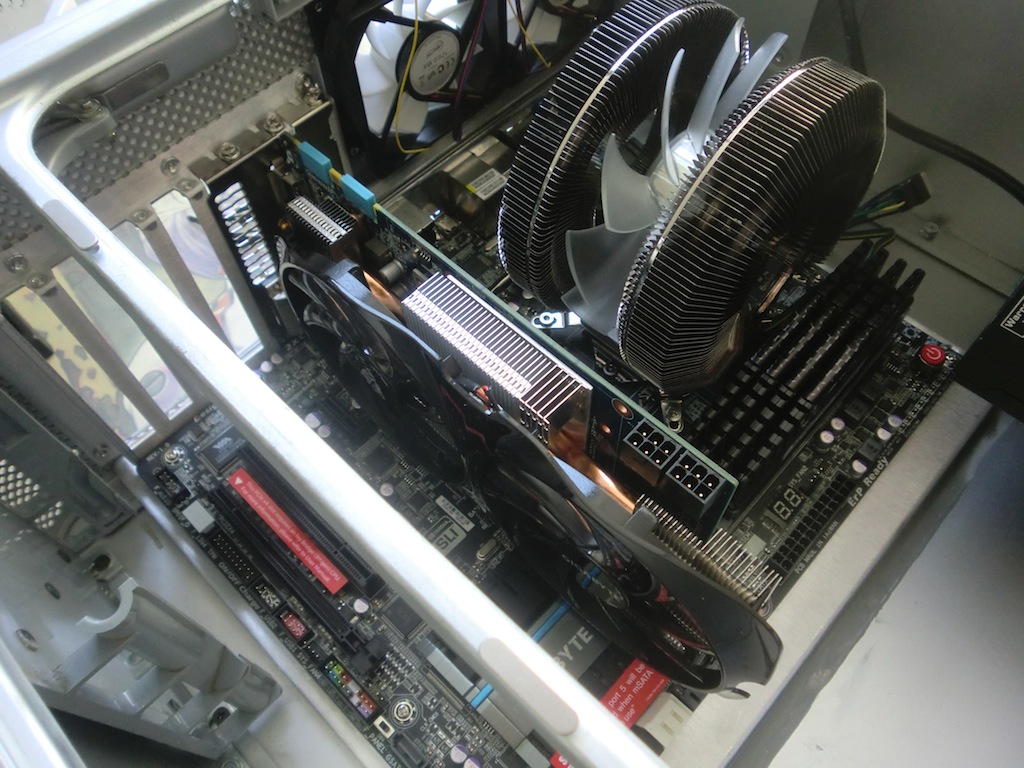
Heat sink goes on top of the CPU and is screwed into place.
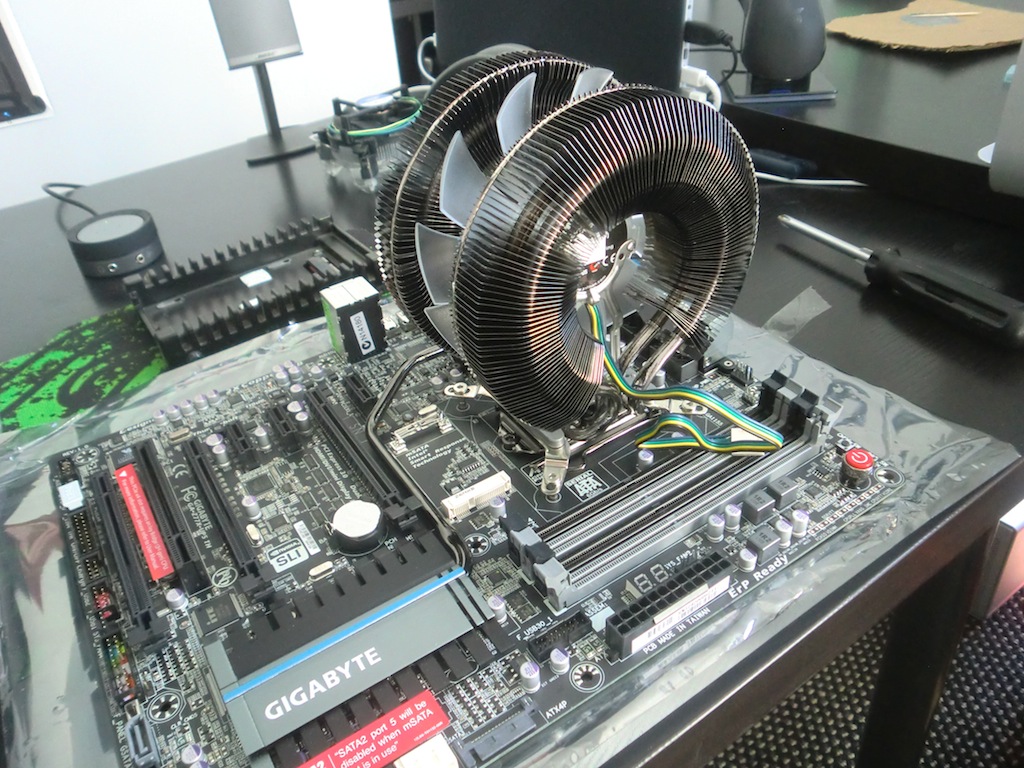
The RAM is next.
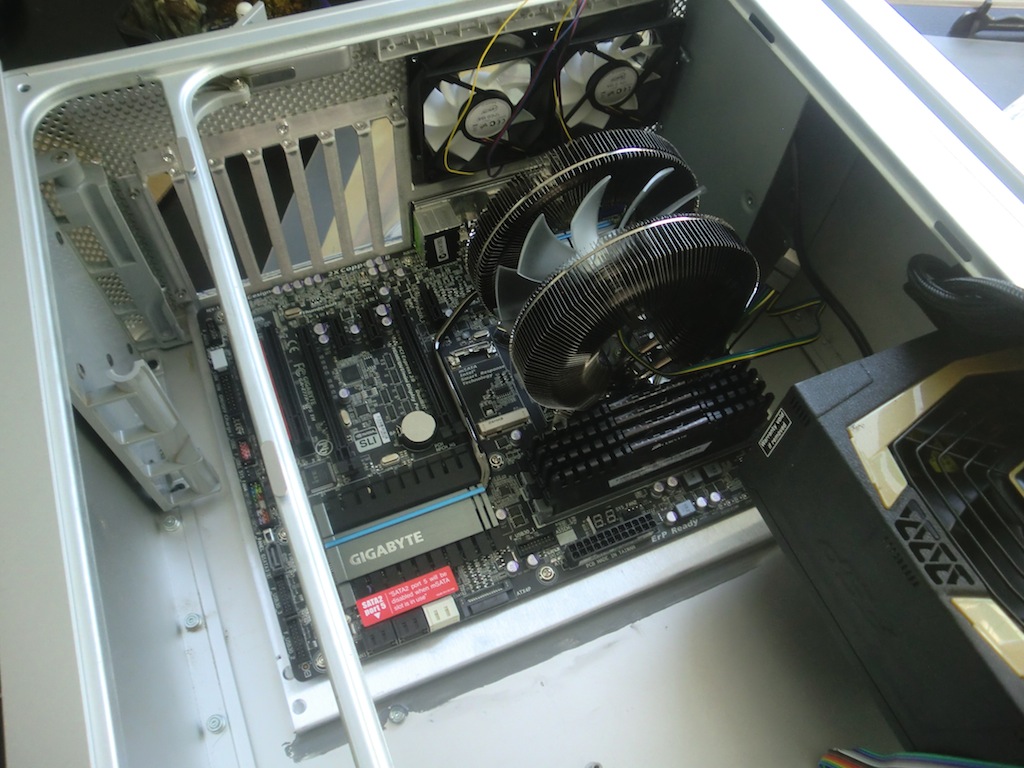
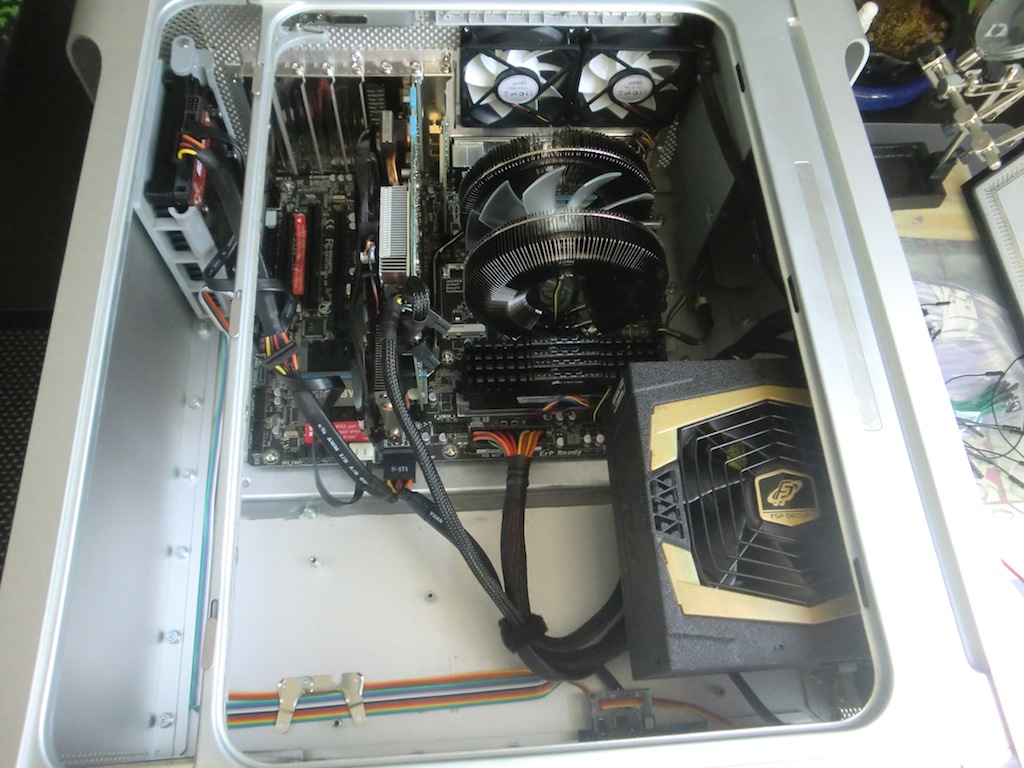
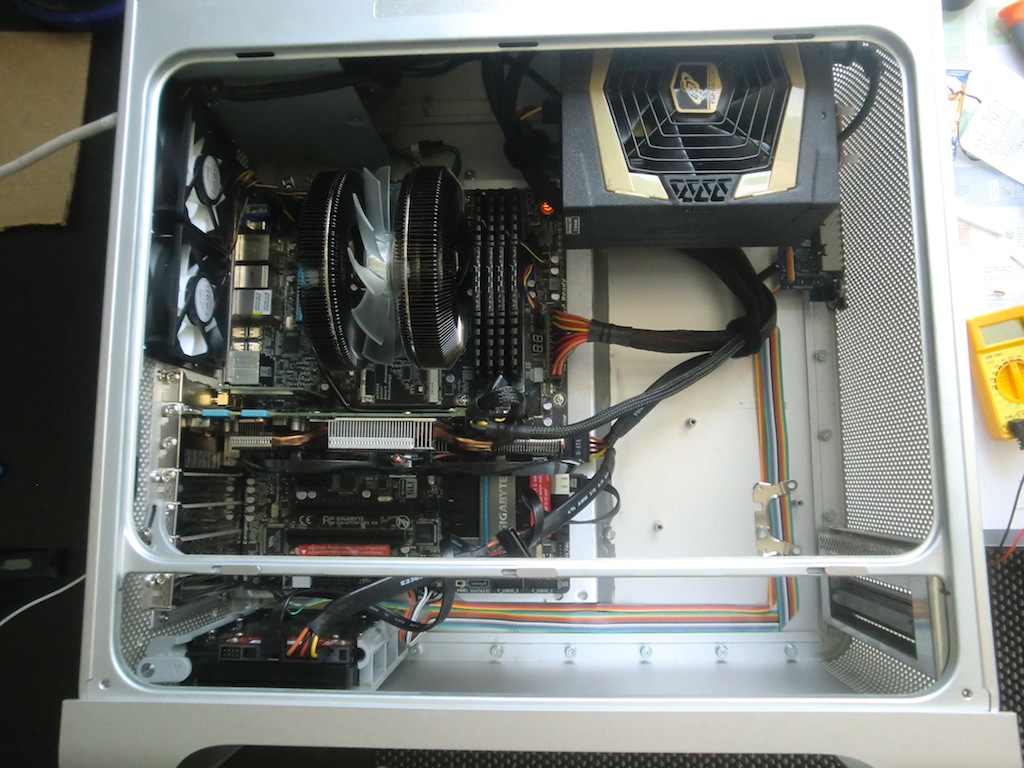
The motherboard goes into the case.
The network card is plugged in.
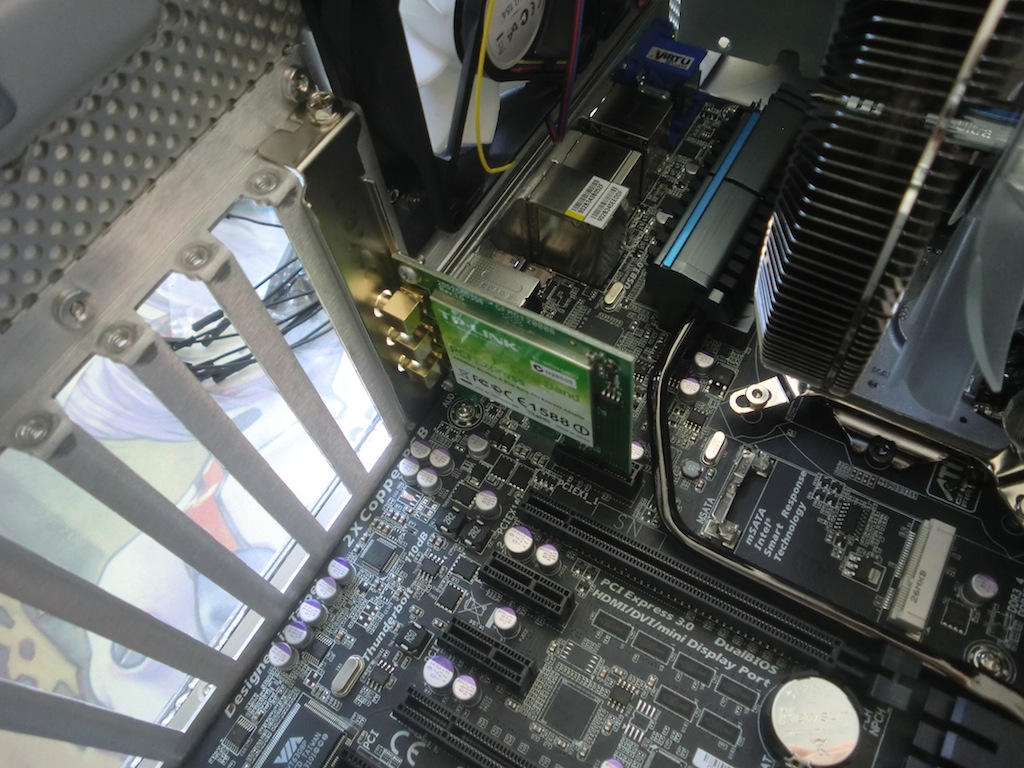
Graphics card is plugged in.
The antennae for the network card are screwed in from the outside.
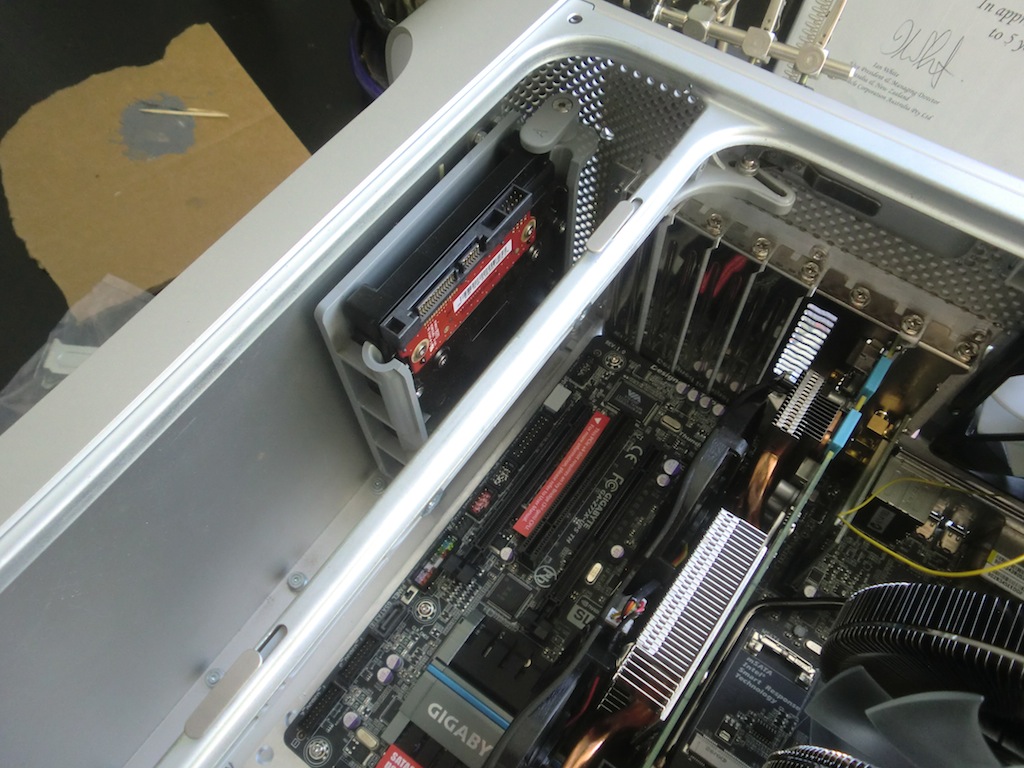
The SSD is mounted into the existing HDD mount that was in the Mac Pro case when I bought it.
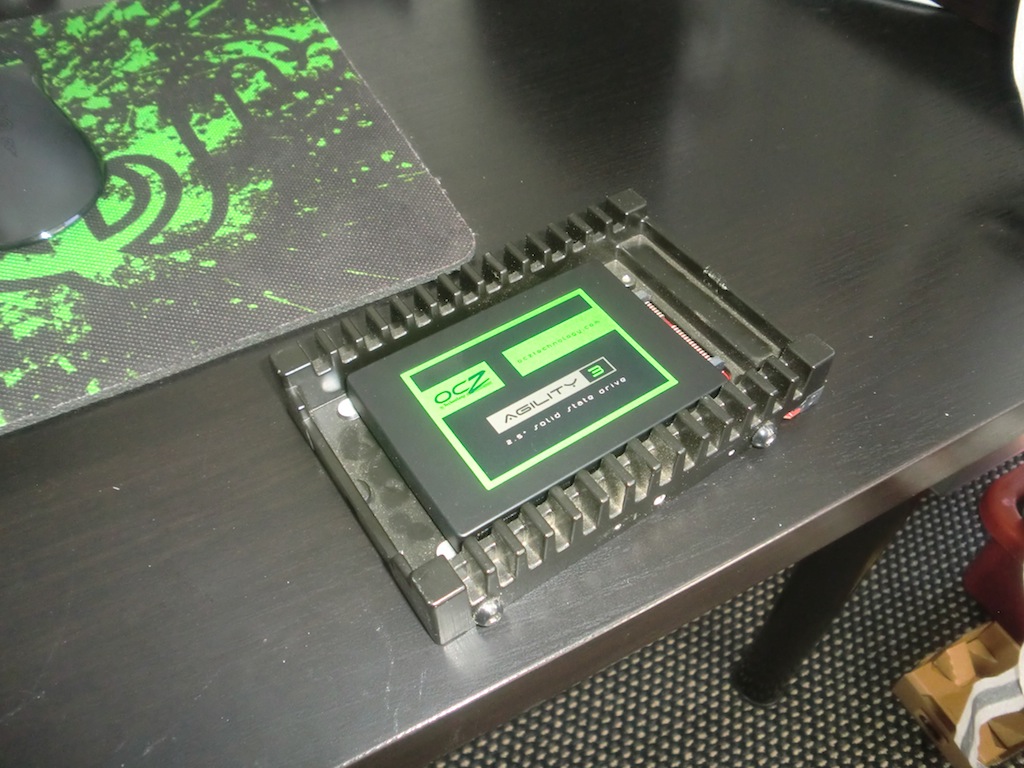
The SSD simply slides into the HDD mounting bracket that I left in the same original spot in the case.
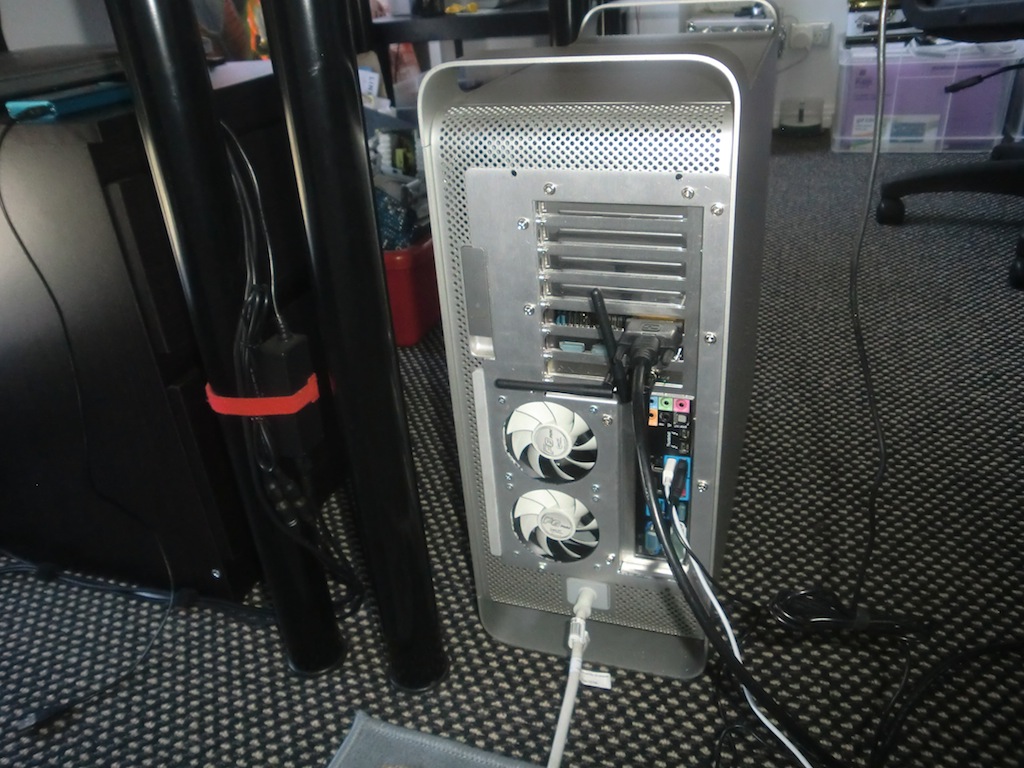
All the wiring connected and arranged neatly.
This bit actually happened later, but I've decided to add a DVD burner to the case, this required cutting the top mounting plate in the case so it stops short of the motherboard but can still hold the DVD drive. The angle grinder did the trick and the DVD is mounted in the usual spot.
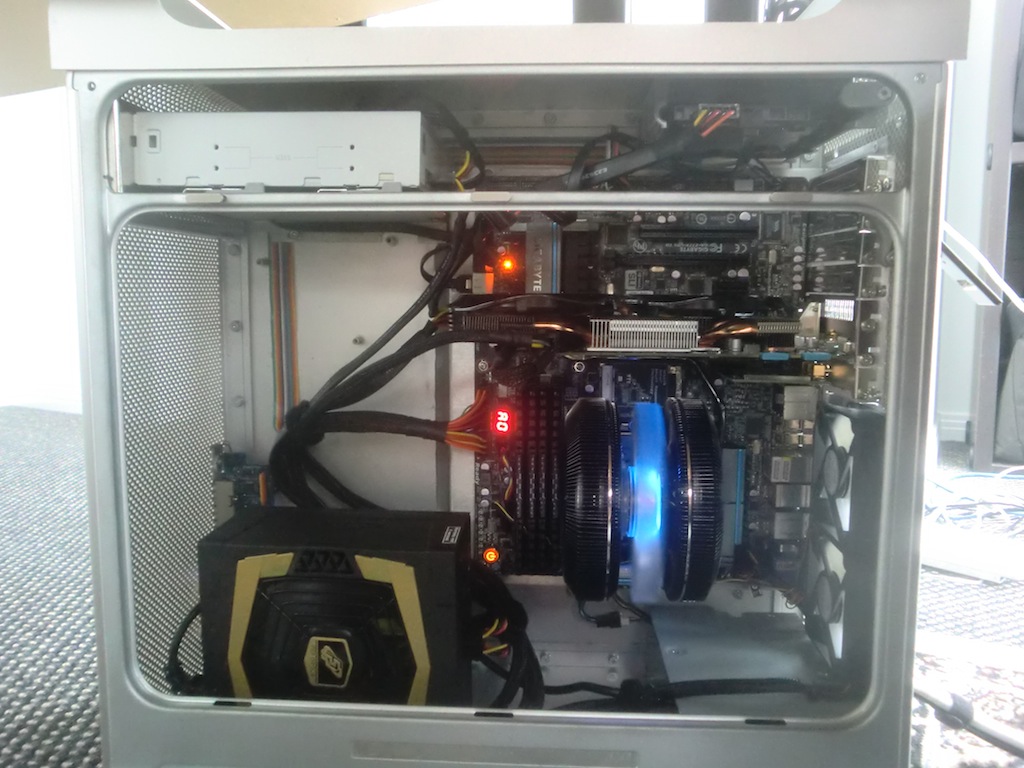
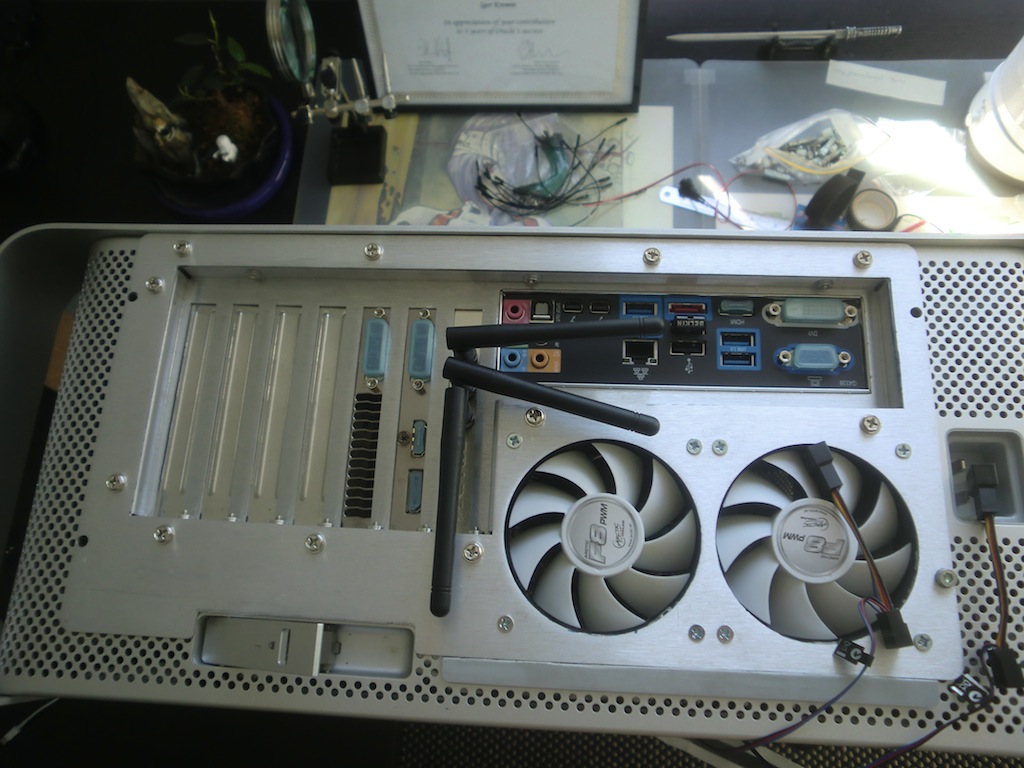
The case is closed and all the peripherals are connected to the back.
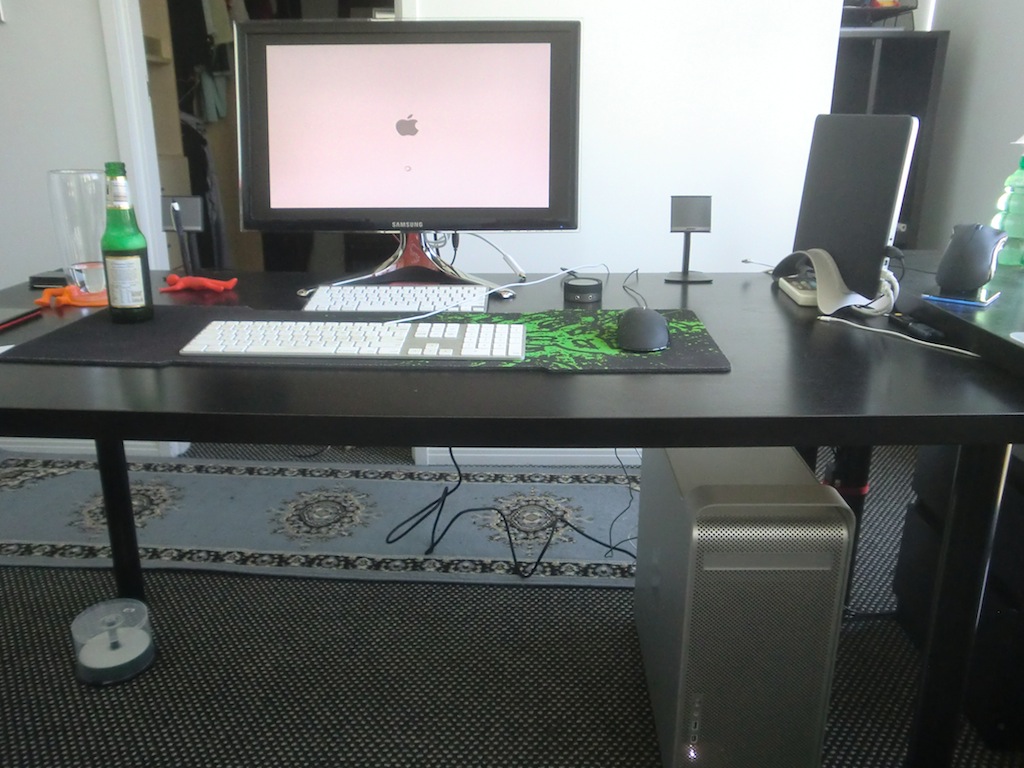
A little later after doing the OS X Mountain Lion install and restoring a backup of my Macbook Pro using Migration Assistant and we have a bootable system.
-i
