This time around I went for a variety in terms of the colours of chillies rather than the hotness. I ended up getting the following:
- Orange Habanero
- Black Pearl
- Amigo Diablo
- Yellow Siam

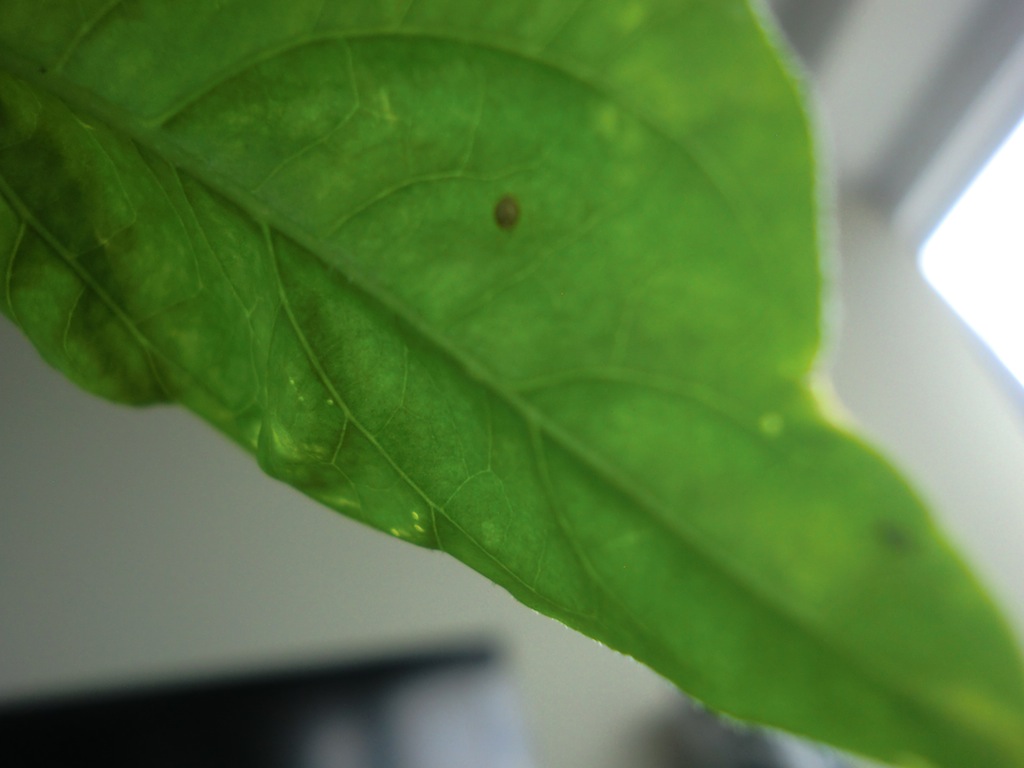
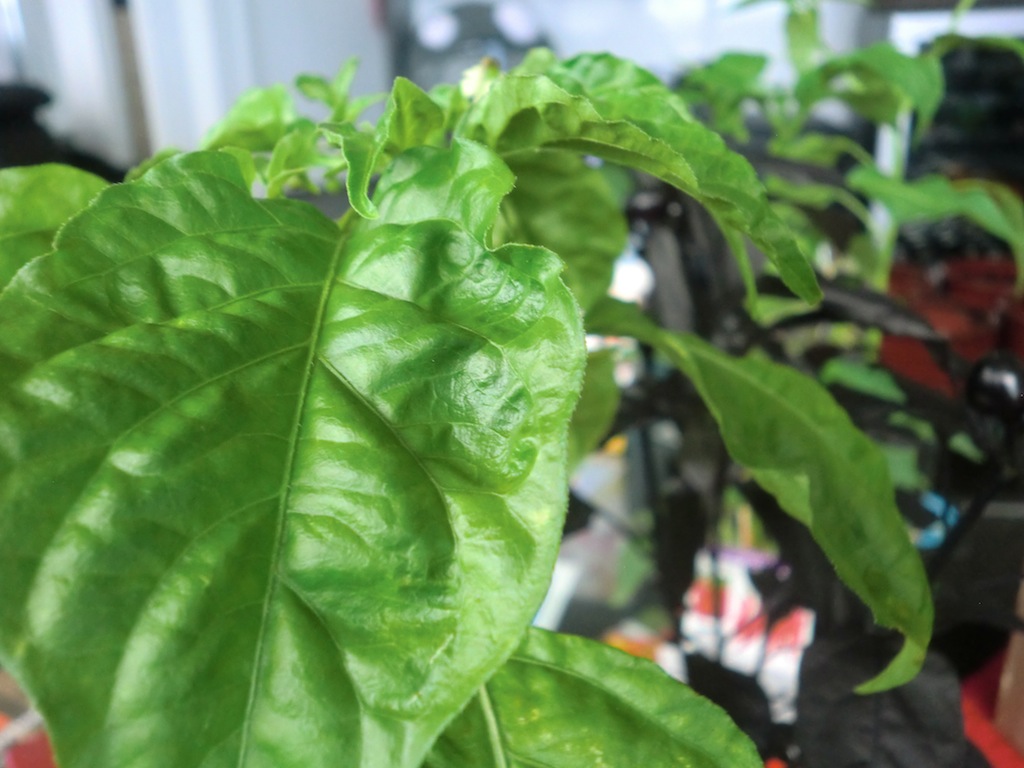
These plants were already of a decent size and had some fruits on them, unfortunately they also had some other surprises riding along with them.
Aphids! Yep, it seems like every single plant I manage to get at Bunnings has them, it's very noticeable on some plants by looking at their crumpled leaves.
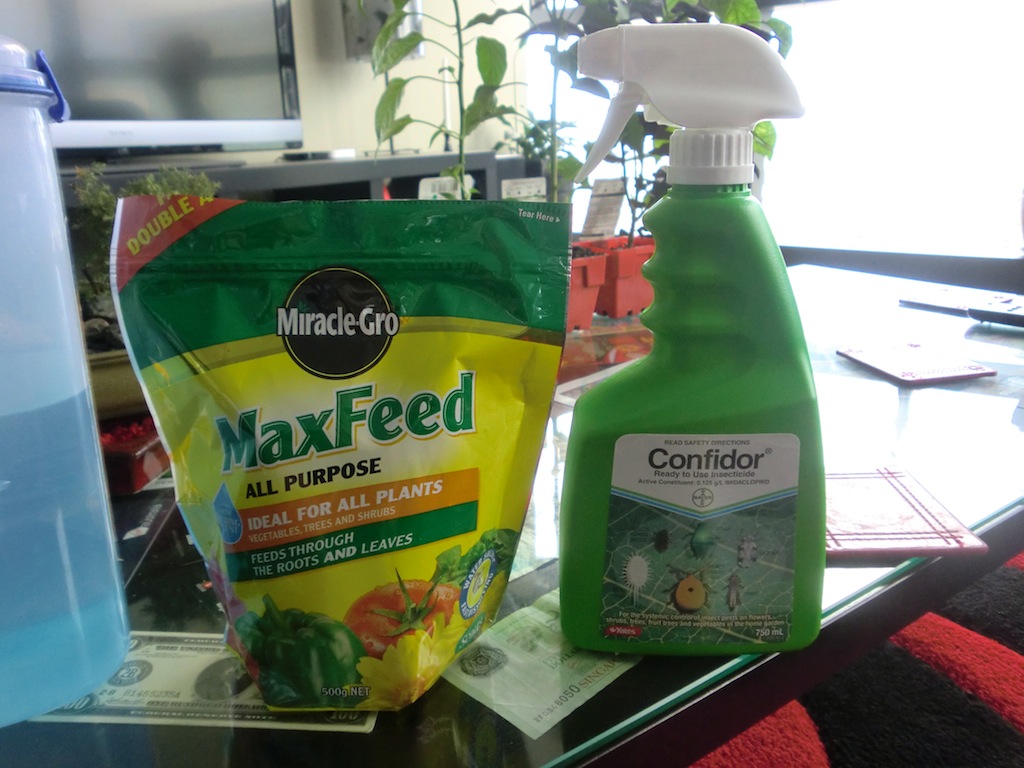
No big deal because this time I was prepared, insecticide to the rescue! Also the fertiliser to help the plants along at the start, I mix a bit of that in the water I use for the first time after transplantation.
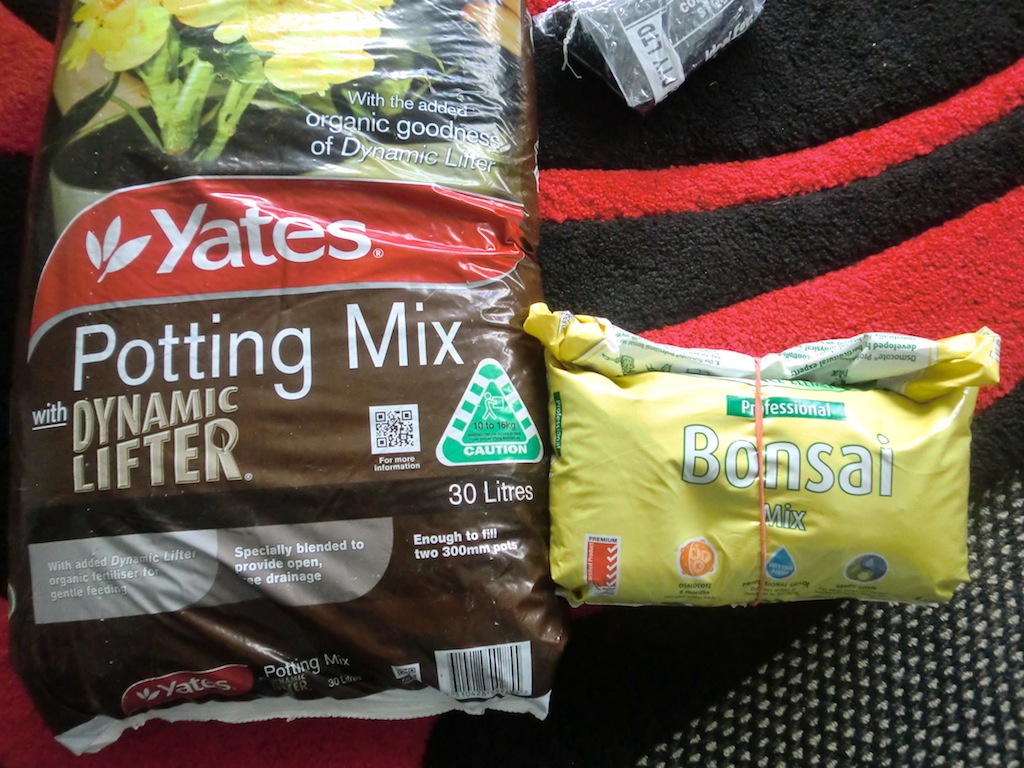
This is the potting mix I used. I like to use two types for my indoor plants, the normal stuff and the Bonsai mix. Bonsai mix is quite a lot less chunky, which I find easter to plant into and it would be better for the plant initially while it spreads its roots.
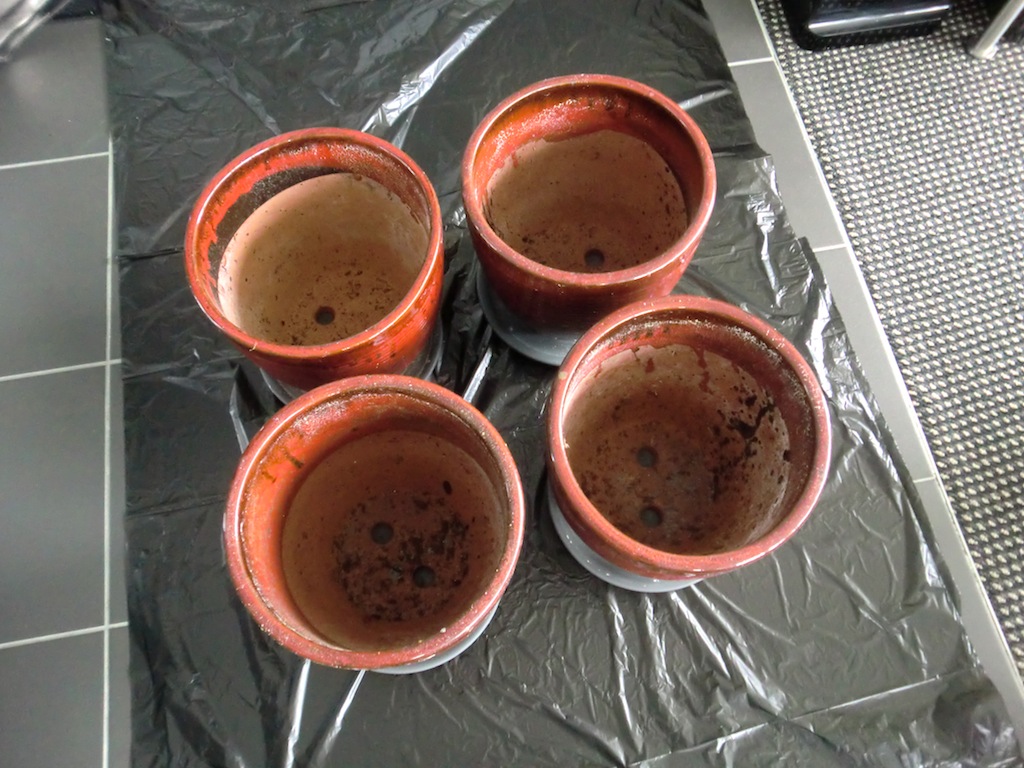
So I started off with my 4 empty pots.
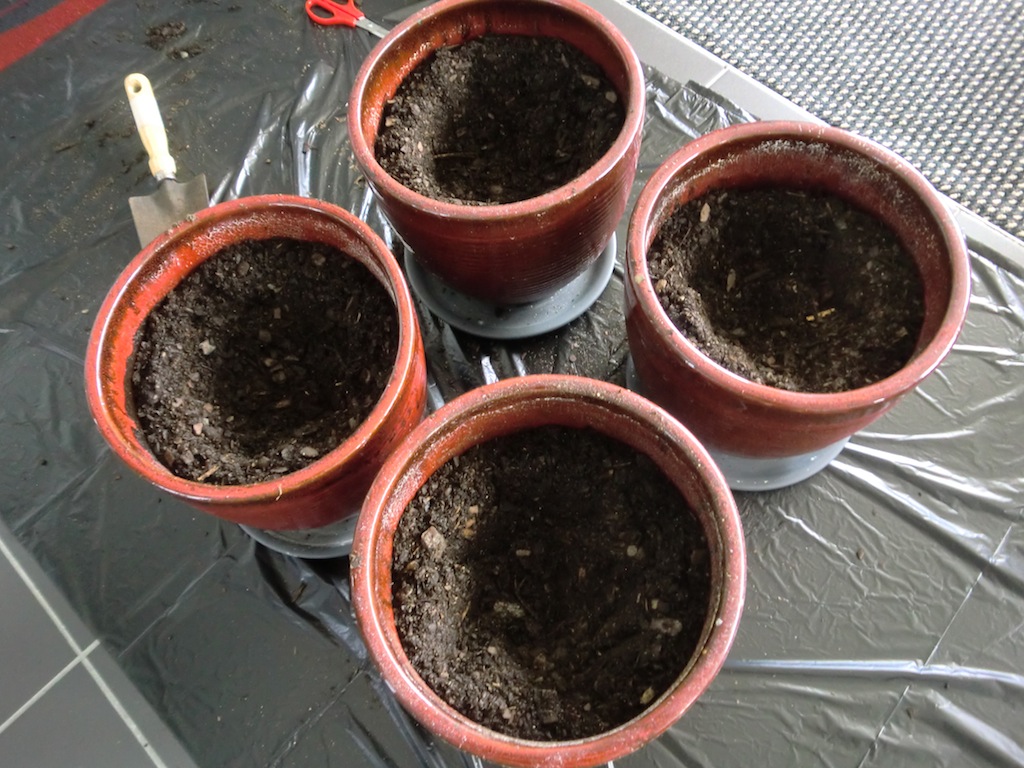
Filled these up about 3/4 full with the normal mix.
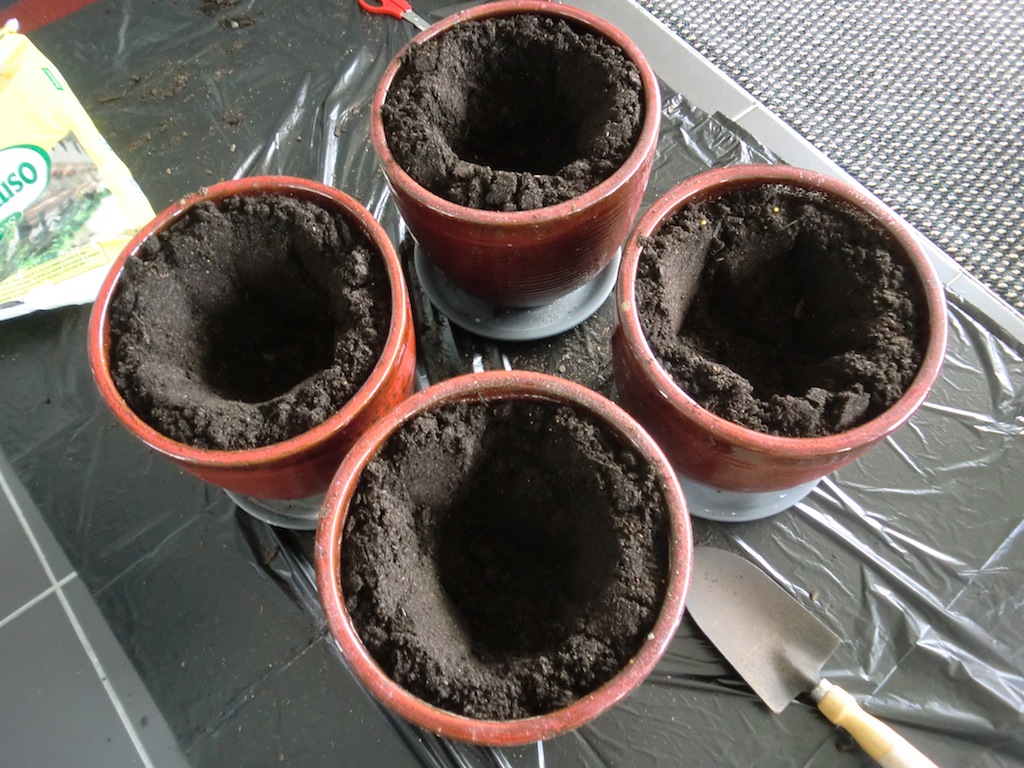
Then I filled the rest of the pot up with the Bonsai mix and made a hole for the plant to go into.
It's important to loosen up the roots of the plants before sticking them into the soil, this lets the plant adapt much quicker to the new pot.
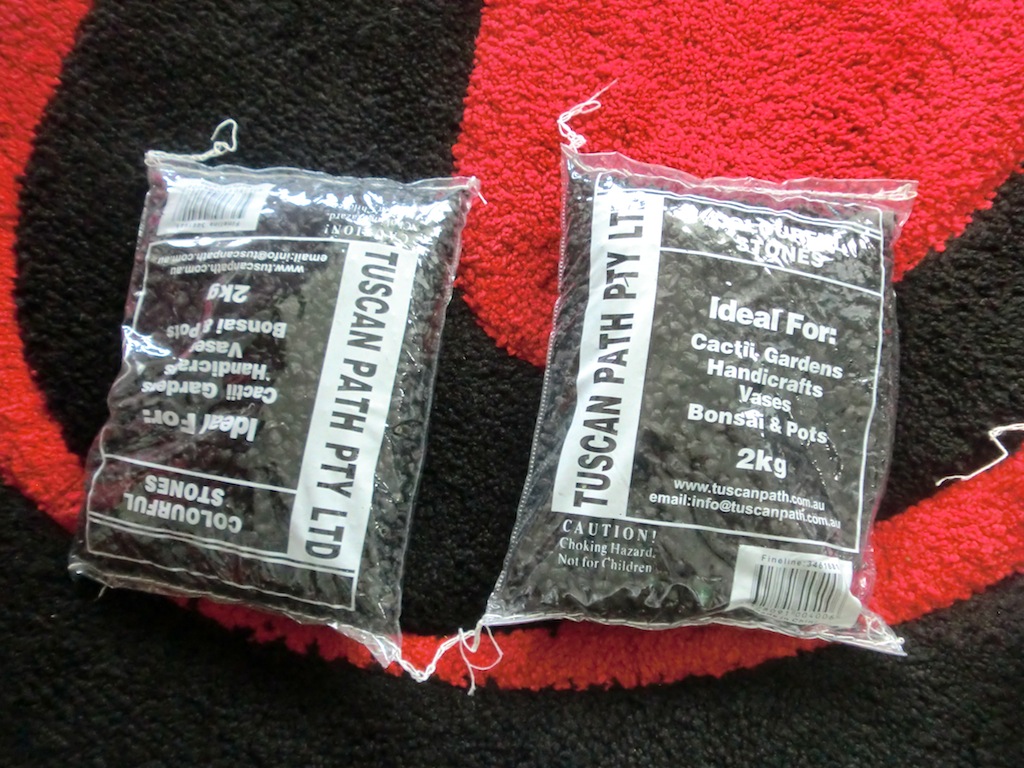
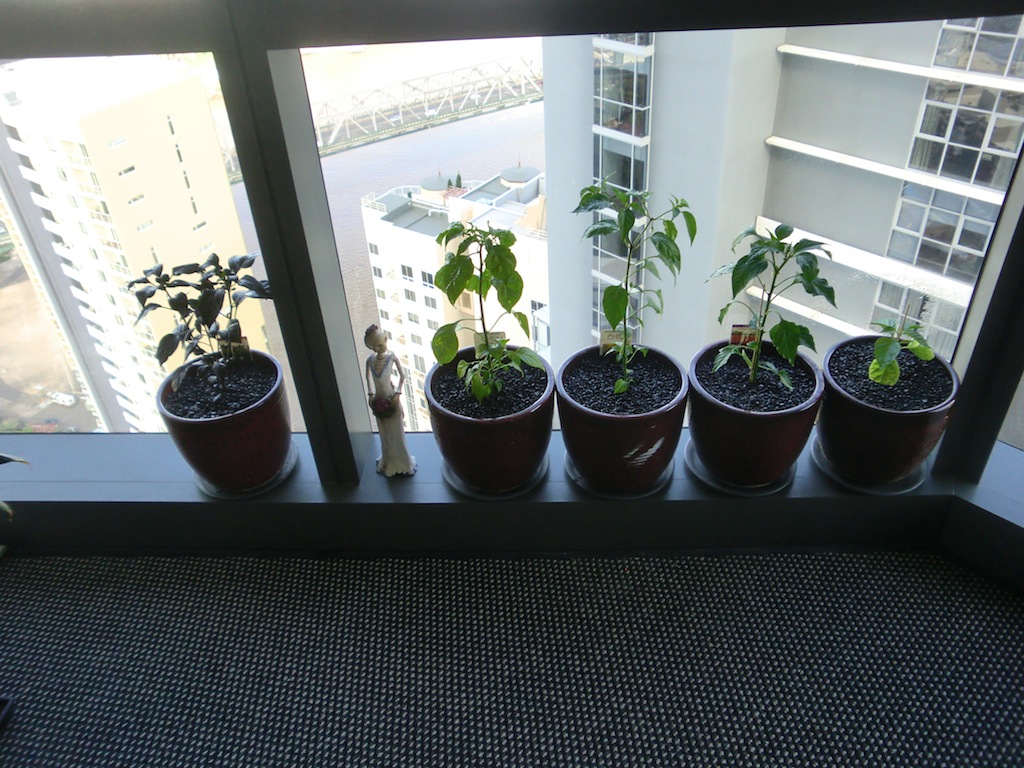
Since I am planting these chillies to grown on an apartment window (we have no balcony), I like to finish off by using decorative pebbles on top of the soil. These go in after the plant is planted and watered.
All done and sitting on the window now.
The next thing I will do is add soil moisture sensors for each of the plants and monitor these with a Raspberry Pi.
-i
