The light bar is a part of the original SGI Octane case that uses incandescent bulbs to light a strip of plastic that runs horizontally across the case. It also houses a red LED that lights up for HDD access.
The original light bar looks like this:

There are a couple of issues to solve:
- those bulbs burn out and the bar doesn't light up any more (except for the HDD light)
- when replacing the bulbs with LEDs, the light is not spread as well so the LEDs need to be repositioned a little, meaning that the original circuit board mounts can't be used
- original circuit only uses 3 pins whereas on an ATX motherboard the power LED and HDD LEDs have separate pins, I didn't want to mess with that
So to get started, I pulled out the light bar and got all my components together: 3 wide angle red LEDs and a Dupont connector ribbon cable.
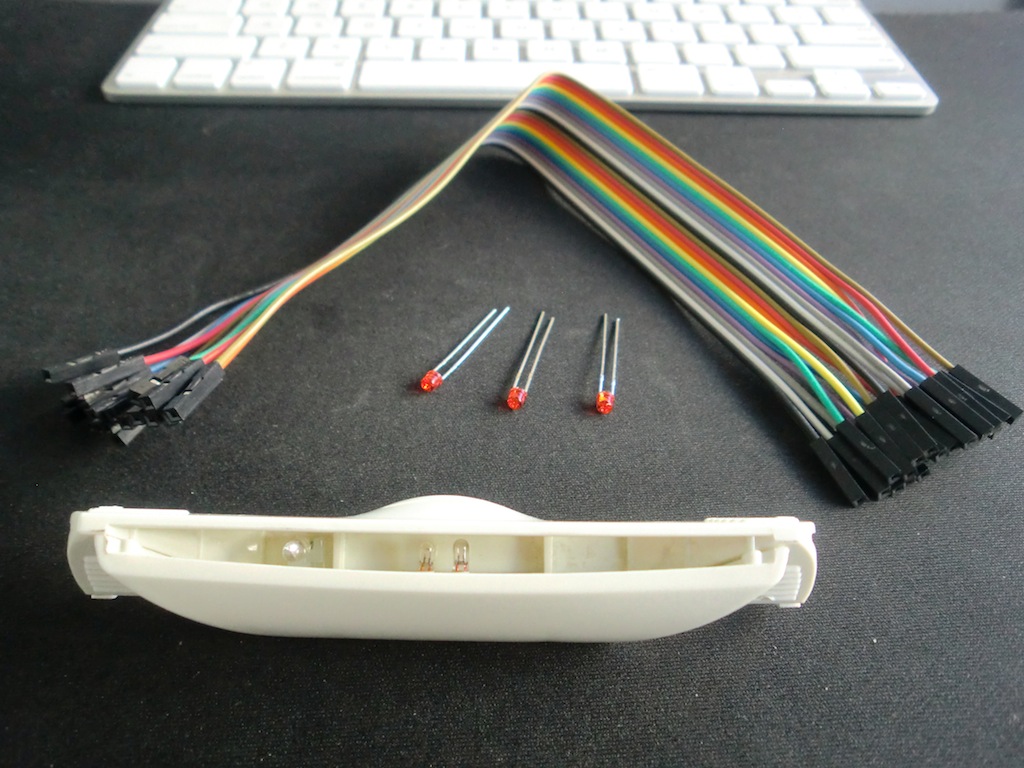
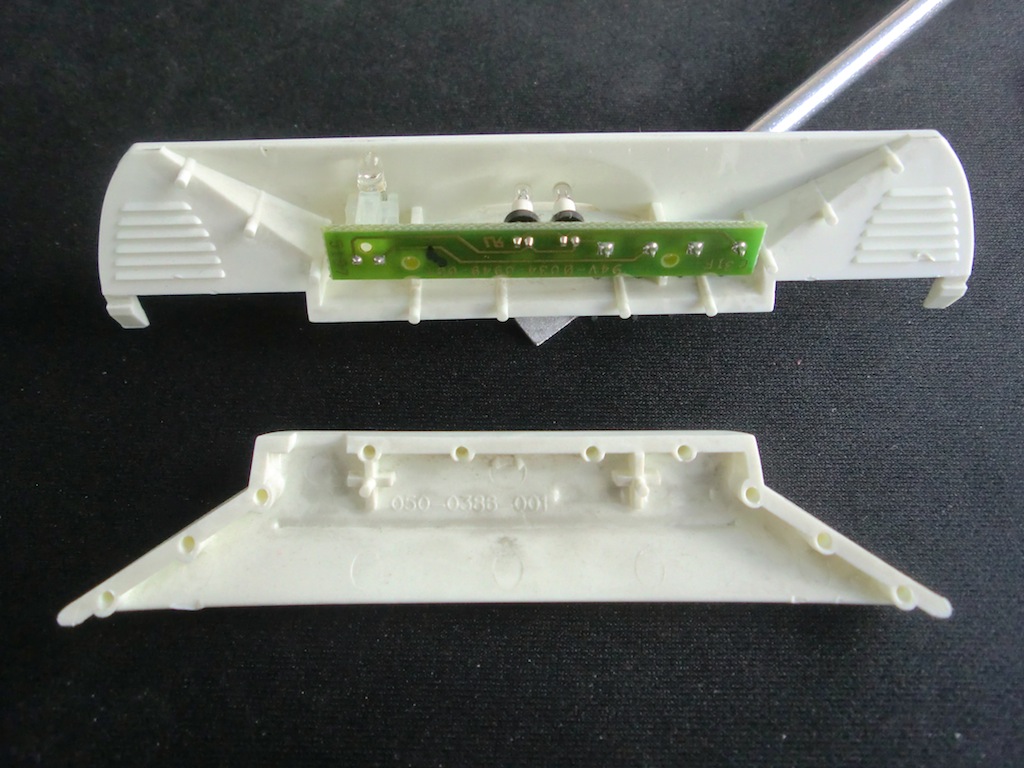
Pulling the light bar apart is quite easy, but needs to be done carefully to avoid snapping off the plastic supports. A flathead screwdriver works pretty well for this. This is what it looks like when pried apart:
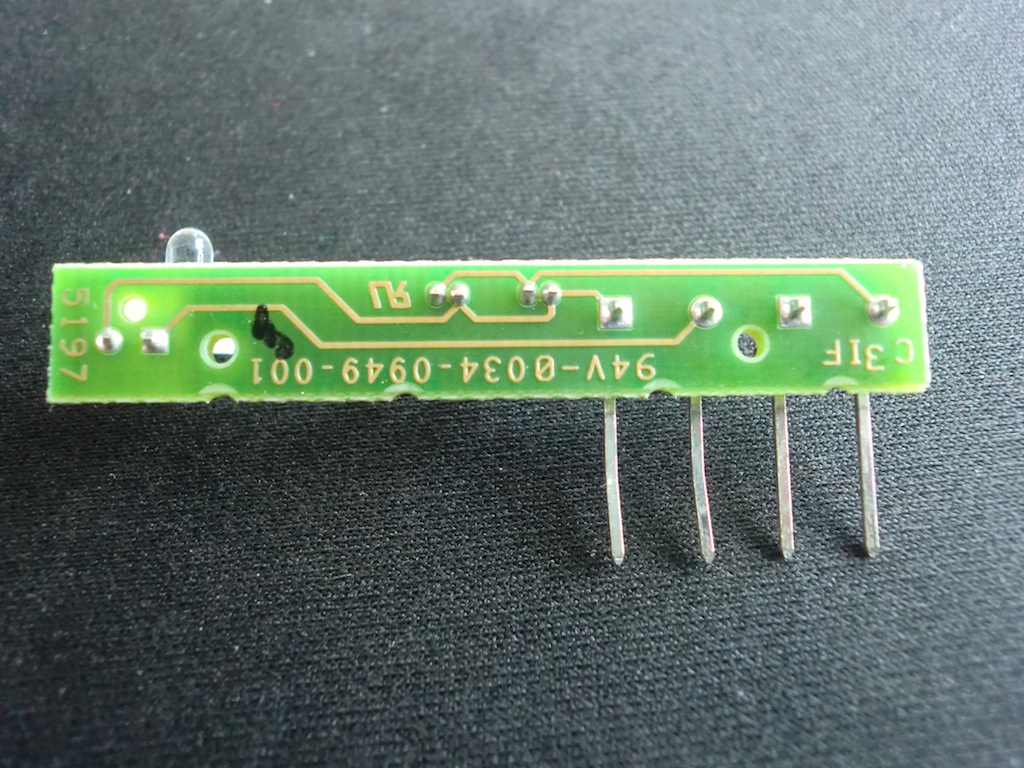
The actual circuit board comes out pretty easily, on the bottom side it's clear that the pin one from the edge is soldered in but is not connected to anything.
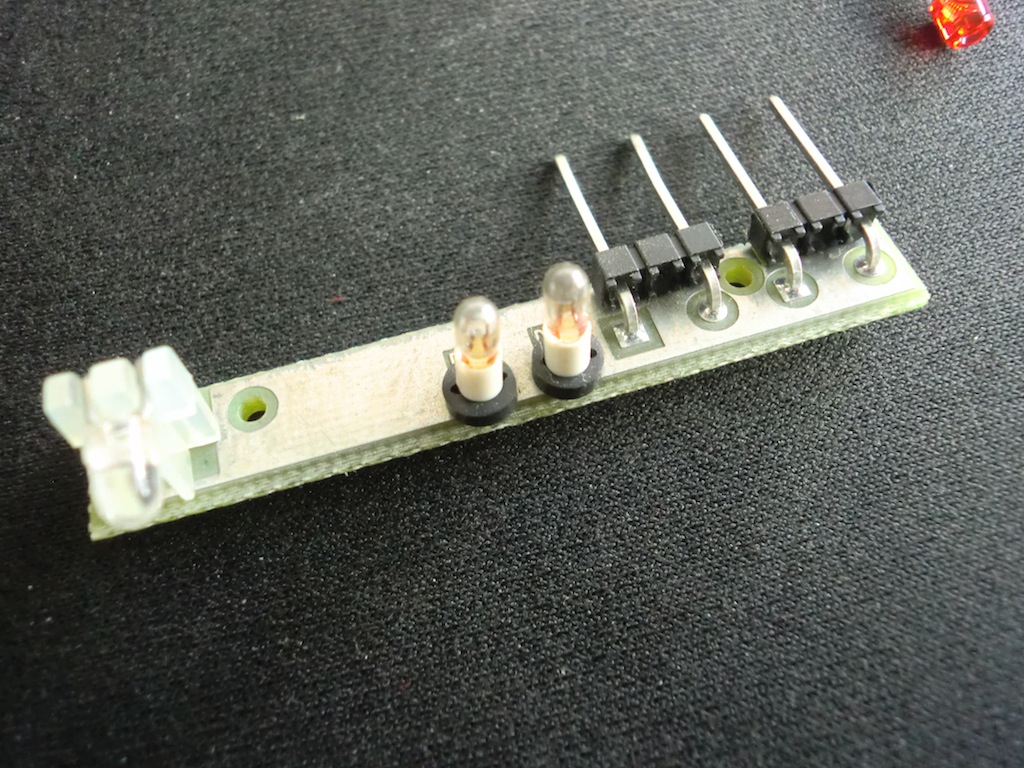
I started off by desoldering the bulbs. My plan was to desolder the original red LED but since it was working still I decided to keep it.
Because I wasn't going to use the original circuit board as is, I had to play around with how the LEDs would be mounted. Basically I wanted to have the HDD and the power LEDs to be independent and to use all four pins to connect them.
The plan was to use the inner 2 pins for the HDD LED and the outer 2 pins for the power LEDs. Since I kept the original HDD LED in place, the inner two pins were already taken care of, so all I needed was to solder in the two power LEDs in parallel to the outer two pins.
This meant I had to bend the legs of the LEDs in various ways:
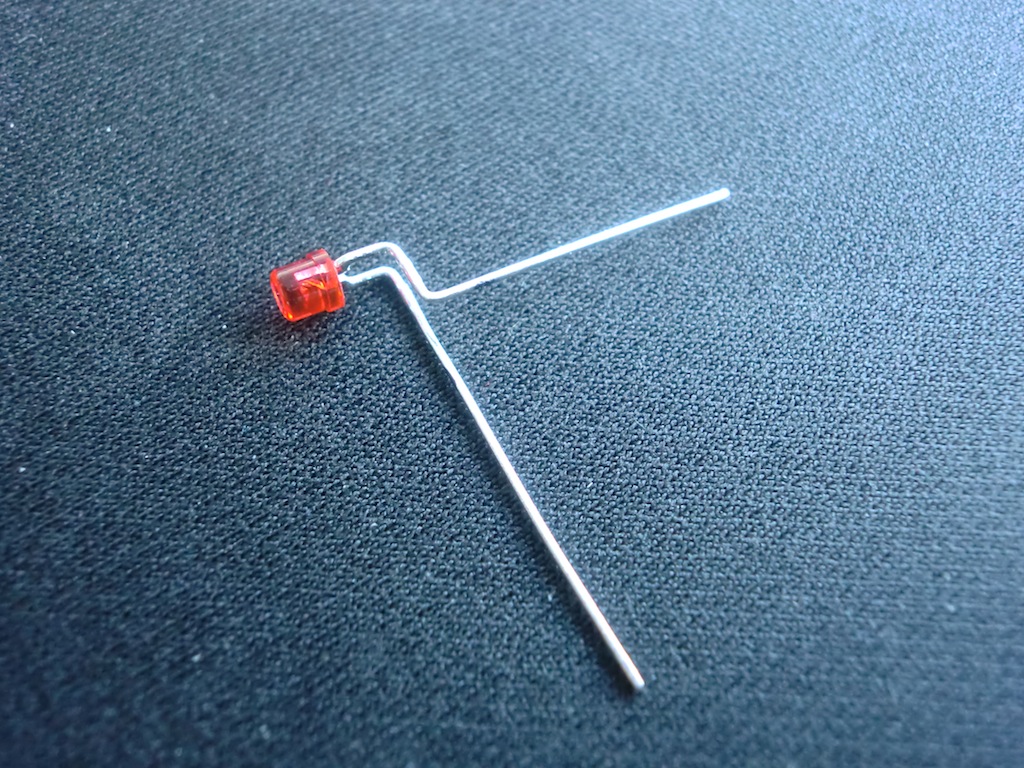
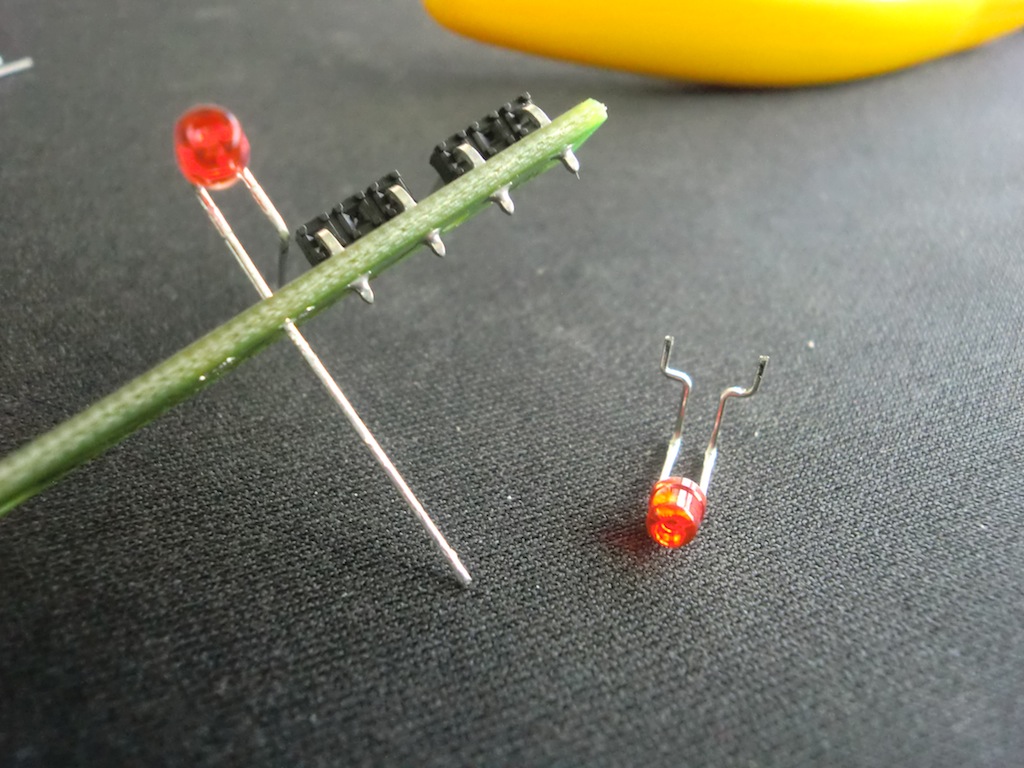
The middle LED had one of it's pins soldered into the board and the other one bent.
Soldering all the LEDs together, this was the final result. It's important to get the polarity of both the LEDs right otherwise only one of them will light up.

Putting it all back together, I had to use a bit of force to get the circuit board into place, which ripped some of the soldering off due to lack of space inside the light bar mount, so I took it apart again and re-soldered with the LEDs legs being slightly closer to the edge of the circuit board rather than on the original mounting pin as they were at the start.
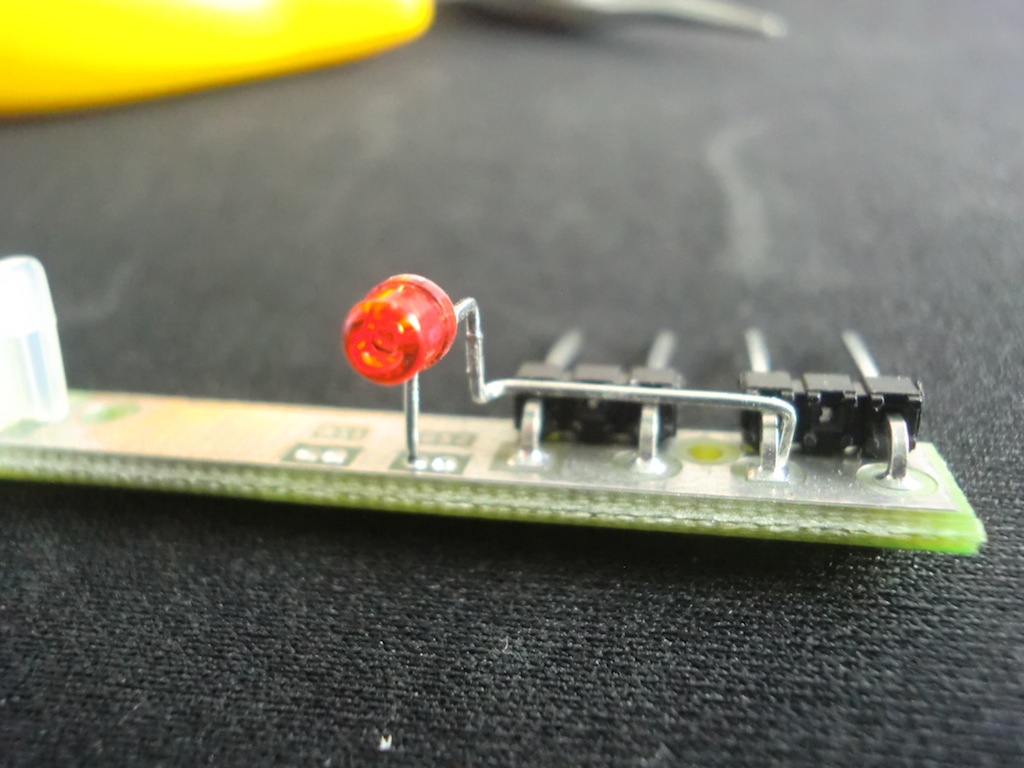
So when it came together, the light bar looked like this (note that the LEDs are more or less spaced apart evenly):
I am not going into the details of connecting it to the ATX motherboard, basically using the ribbon cable from the start of this post, the four pins were connected to the correct headers on the motherboard.
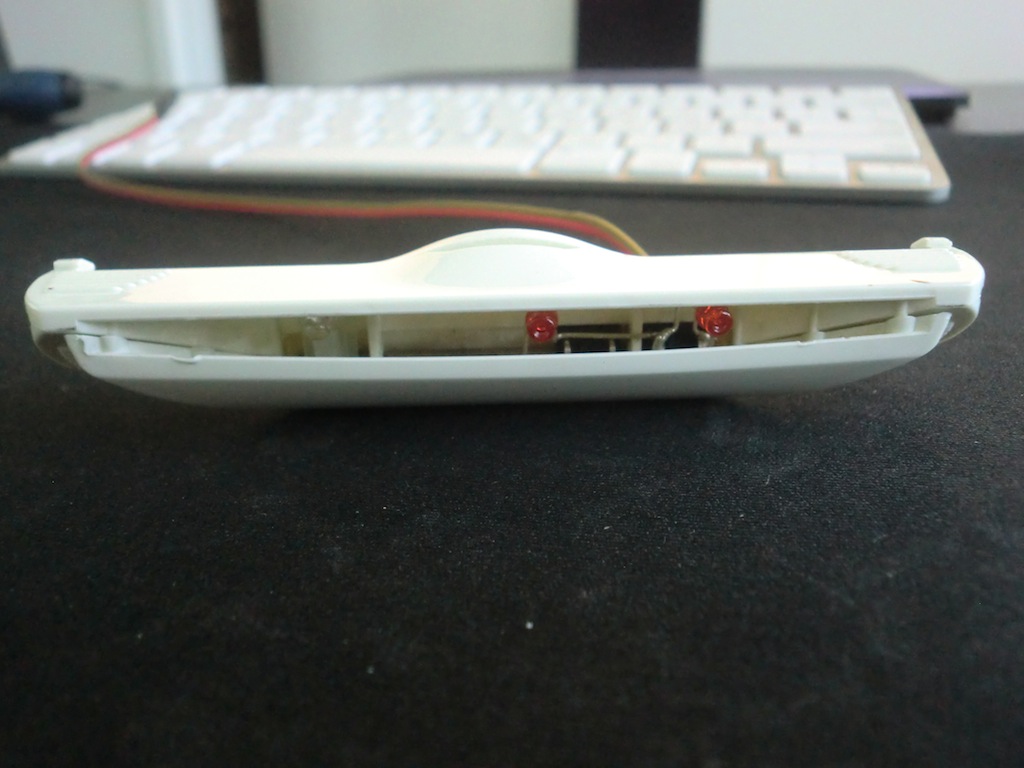
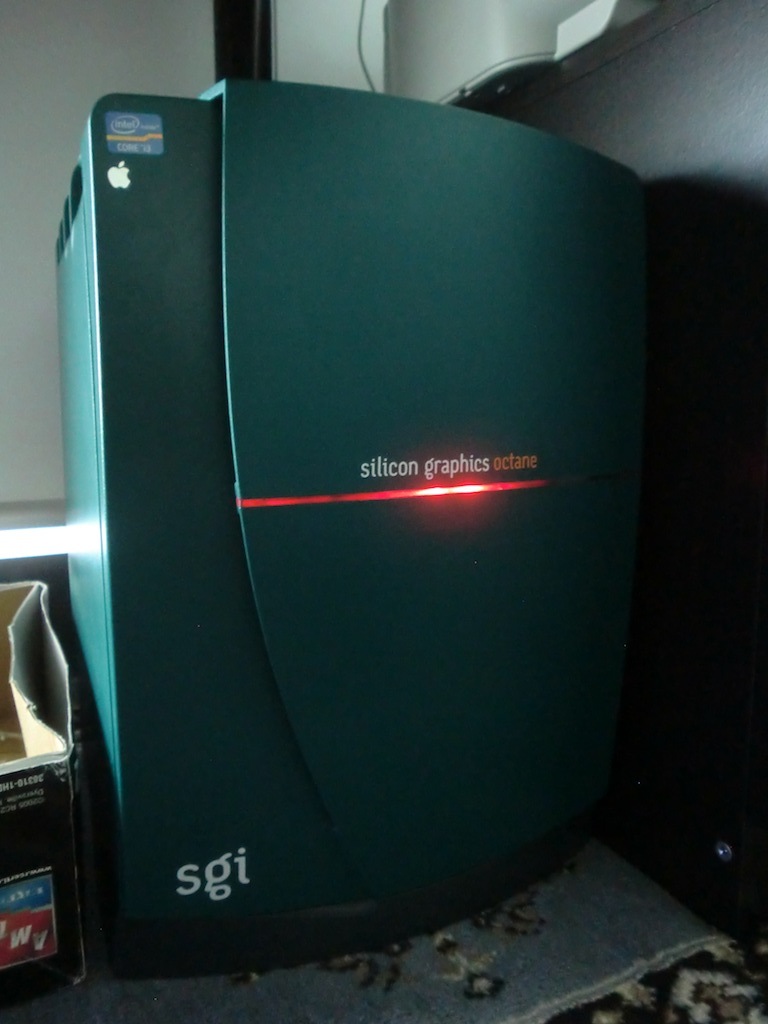
Switching the power on, this is the new look Octane light bar without HDD activity:
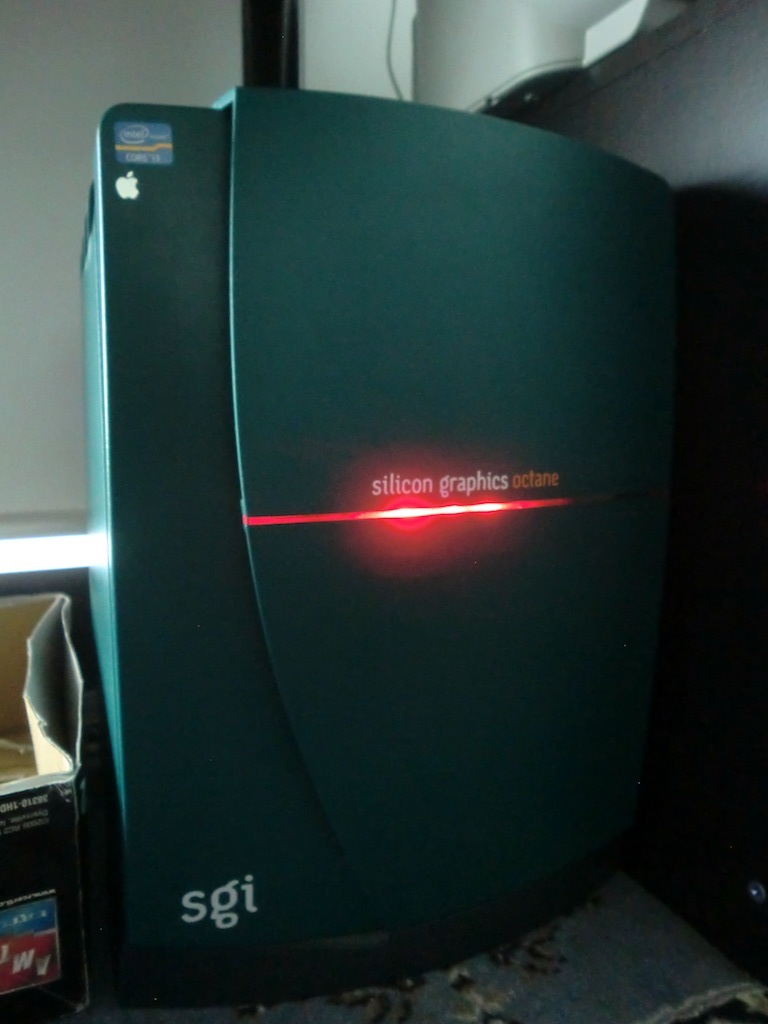
...and with HDD activity:
Overall it looks OK, but I'm not quite happy with it. Due to the positioning of the LEDs the bar doesn't light very evenly, that is, the HDD LED is on the edge and the power LEDs in the centre. In the coming months I plan to experiment with tricolour LEDs instead. These will be lighting the whole light bar all the times, however during HDD access the colour will vary from green to yellow/red, depending on the amount of HDD activity.
-i
