I had a few features in mind for this photo frame. Primarily I wanted it to display random photos, but I also wanted it to show time and if possible the weather. I also wanted it to be wireless (WiFi) and accessible via Windows and OS X. In addition, I wanted it to switch off at night and back on in the mornings. I was able to achieve all of these. Here's how.
This post is pretty much a follow-on from the DisplayLink monitor post from the link above, so I won't be covering OS installation or configuration on the most part, except the additional packages I've had to install and set up.
Since I wrote this article, I've gone back to revisit the photo frame design. I've also switched to using my jPhotoFrame software instead of the the Conky scripts I present in this series of articles.
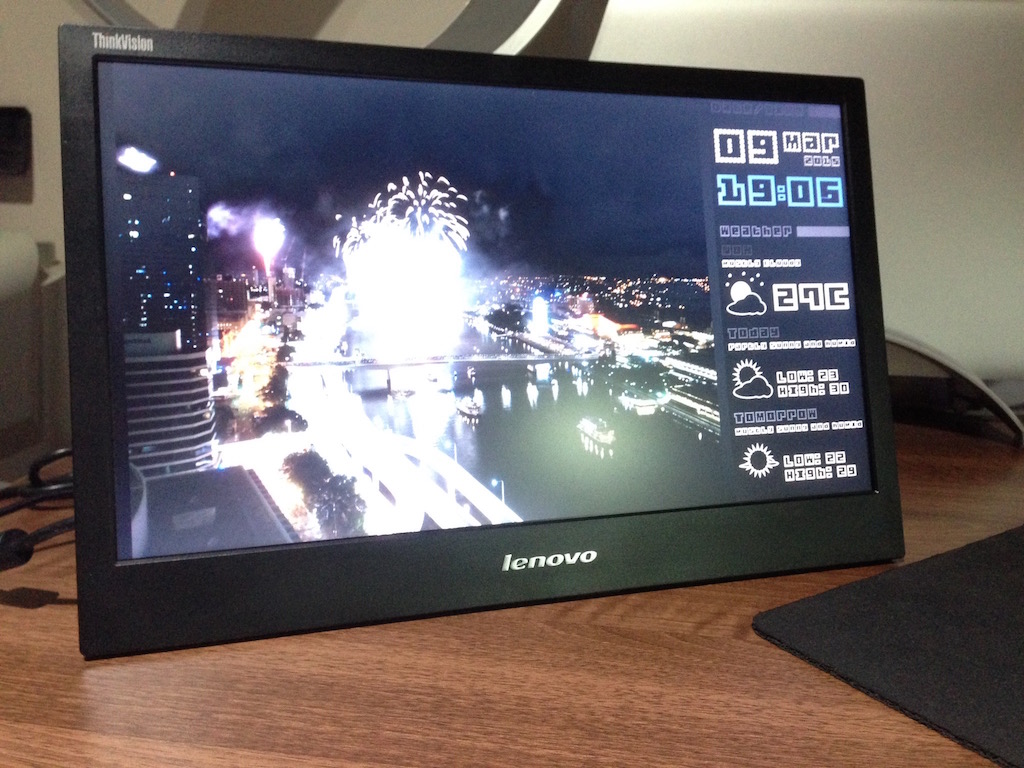
Before getting into the details, here's the end result...
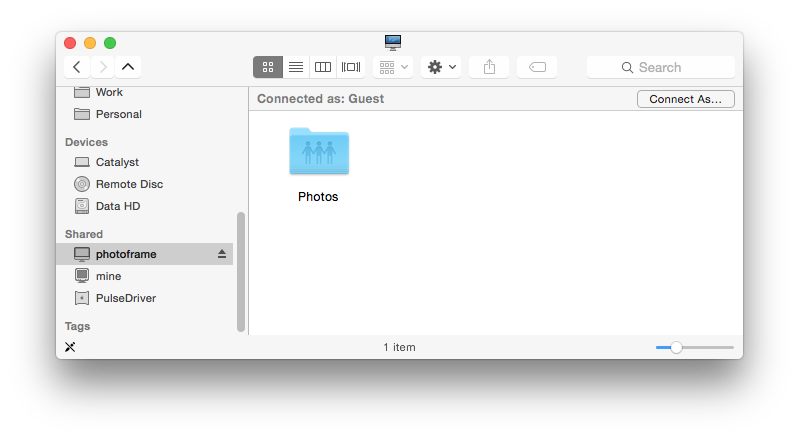
Now the very first thing I set up was file sharing. I needed to have both AFP and SMB working, so I installed the following packages: netatalk, samba, samba-common-bin.
AFP configuration was next:
/etc/avahi/services/afp.service
<?xml version="1.0" standalone='no'?><!--*-nxml-*-->
<!DOCTYPE service-group SYSTEM "avahi-service.dtd">
<service-group>
<name replace-wildcards="yes">%h</name>
<service>
<type>_afpovertcp._tcp</type>
<port>548</port>
</service>
<service>
<type>_device-info._tcp</type>
<port>0</port>
<txt-record>model=iMac</txt-record>
</service>
</service-group>
To allow guest users to connect via AFP, some extra config was required. The default parameters were replaced with the below (in the /etc/netatalk/afpd.conf file):
- -tcp -noddp -uamlist uams_dhx.so,uams_dhx2.so,uams_guest.so -nosavepassword
I also created a directory to store my photos as /photos and set up a share like so (guest access allowed):
/etc/netatalk/AppleVolumes.default
/photos Photos allow:nobody options:usedots,upriv
Now it was a matter of restarting AFP related services and the share was available to my Mac.
commands
sudo service netatalk restart
sudo service avahi-daemon restart
Once AFP was set up, setting up Samba was next. This is considerably easier, just add a share and restart.
/etc/samba/smb.conf
wins support = yes
server string = %h
[photos]
comment=Photos
path=/photos
browsable=Yes
writable=Yes
only guest=Yes
public=Yes
That's it for the file sharing. Next was a very important feature to set up: disabling screen blanking and power save options. For this a number of files are edited:
/etc/kbd/config
...
BLANK_TIME=0
...
POWERDOWN_TIME=0
...
and...
/etc/lightdm/lightdm.conf
...
[SeatDefaults]
xserver-command=X -s 0 dpms
...
While on the power options, I set up the photo frame to turn off at 22:00 every evening and then turn back on at 6:00 every morning. This was done using cron, the jobs were set up as follows:
crontab -e
0 22 * * * xset dpms force off -display :0
0 6 * * * xset dpms force on -display :0
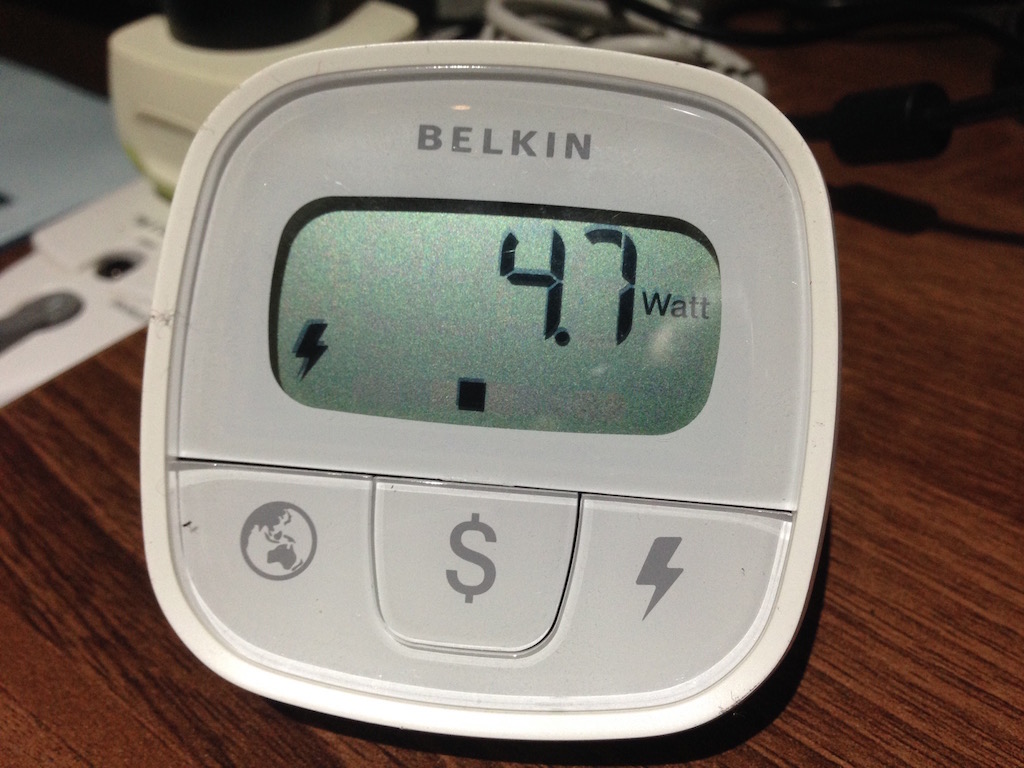
I measured the power consumption of this setup with the screen both on and off, this turned out to be 8.5 and 4.7 Watts. This is around $20 a year to run for me.

That's it for this part, tune in soon to read more about setting up the scripts that do the work to make the monitor look like an actual photo frame.
Part two is posted now, check it out here: https://www.igorkromin.net/index.php/2015/04/07/raspberrypi-and-a-usb-monitor-combined-to-make-a-photo-frame-part-2/.
-i
