This is part two of this blog post, if you haven't seen the first part, you can find it here: https://www.igorkromin.net/index.php/2015/04/06/raspberrypi-and-a-usb-monitor-combined-to-make-a-photo-frame-part-1/.
In the first part I got as far as setting up file sharing and disabling screen blanking on the photo frame. This post deals with the setup required for the display of the photo frame and selection of random photos from a directory. Here's a screenshot of the final result that my custom scripts have achieved:
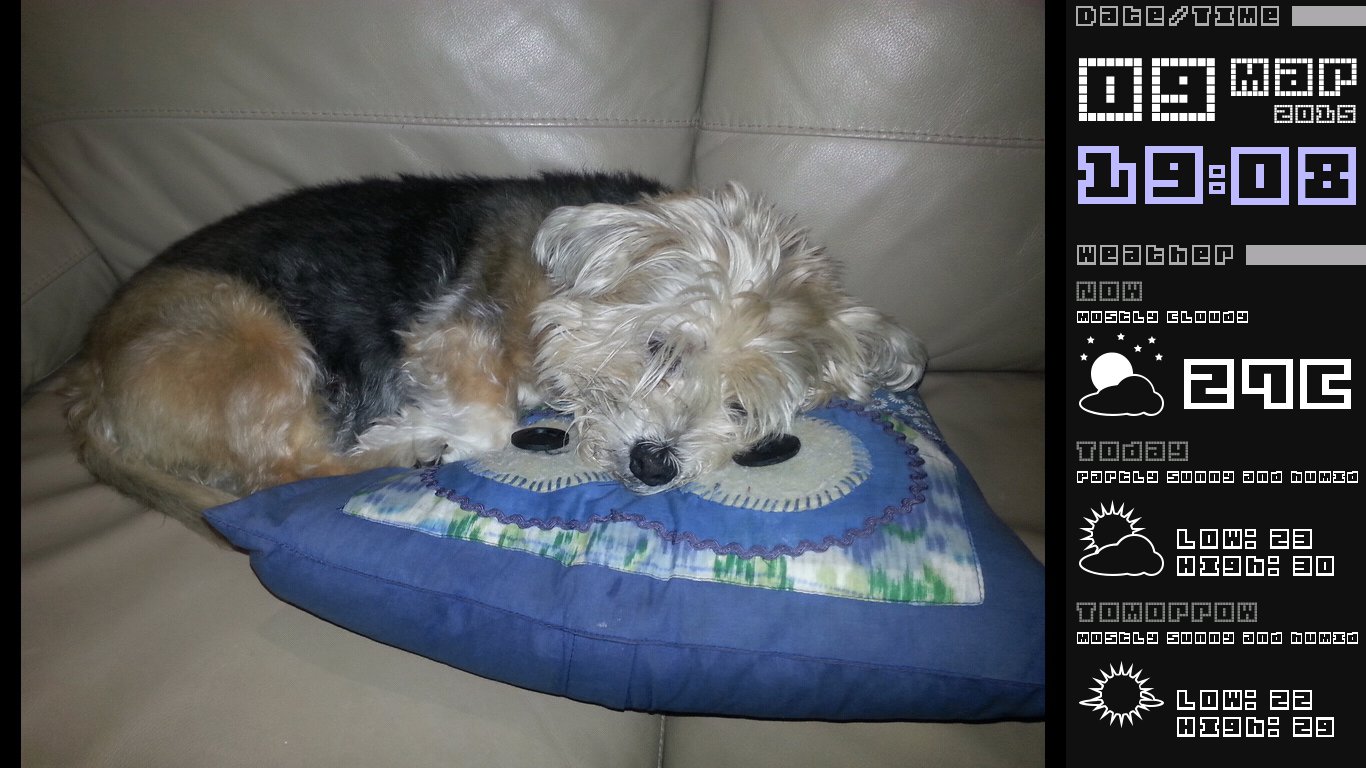
It's important to note that the scripts assume a certain resolution for the display and may not work correctly on a different resolution. This resolution is 1366x768. So far I've not been able to figure out how to make Conky resolution independent.
I thought about how I would display the photo frame content and in the end decided that the easiest way would be to stick with Xorg and lightdm as they come out of the box with Raspbian, but I added Conky to the mix. I also decided on ImageMagick to manipulate images and threw in unclutter so that the mouse cursor would not be visible (it always gives me a chuckle whenever I see a mouse cursor on those big advert screens).
Using apt-get, I installed the following packages: conky, unclutter, imagemagick.
Once unclutter is installed, it will hide the mouse cursor automatically the next time the OS is restarted so there is no configuration required for that, however lightdm has a panel that is usually visible, this is easily hidden by editing some configuration like this:
~/.config/lxpanel/LXDE-pi/panels/panel
Global {
...
autohide=1
heightwhenhidden=0
...
When I first set up Conky, I was using a default font, this looked quite ugly, so I took to the web and had a look around and found a nicer font to use: Origami Mommy. It's simply a matter of copying the .ttf file to the ~/.fonts directory to install the font.
Next I set up a shell script that would select the next photo to display on the photo frame. This script picks a random photo from the /photos directory, resizes and pads the photo as needed, caches the result and copies the selected photo as /photos/caches/current.jpg. Caching is quite important because displaying large photos can take considerable amount of time on the Raspberry Pi, it also saves energy in the long run as the CPU is not being maxed out. ImageMagick is used to do the resizing and padding of the photos. The script will not pick the same photo twice in a row, so it is important to have at least 2 photos in the /photos directory or it will get stuck in an infinite loop.
Here's the script:
select.sh
#!/bin/bash
PHOTO_DIR=/photos
CACHE_DIR=/photos/cache
CURRENT_PHOTO=`cat $CACHE_DIR/current.txt`
cd $PHOTO_DIR
files=(*.*)
# get new random photo
randphoto=$CURRENT_PHOTO
until [ $randphoto != $CURRENT_PHOTO ]; do
randphoto=$(printf "%s\n" "${files[RANDOM % ${#files[@]}]}")
done
# keep track of selected photo for next run
echo $randphoto > $CACHE_DIR/current.txt
if [ ! -f "$CACHE_DIR/$randphoto" ]
then
convert "$PHOTO_DIR/$randphoto" -gravity center -background black -resize 1066x768 -extent 1066x768 "$CACHE_DIR/$randphoto"
fi
# swap in new photo file
cp "$CACHE_DIR/$randphoto" $CACHE_DIR/_current.jpg
mv $CACHE_DIR/_current.jpg $CACHE_DIR/current.jpg
I set this script to run every 3 minutes using cron.
crontab -e
*/3 * * * * /photos/cache/select.sh
That's it for this post, the next post is coming soon so stay tuned. Next time around I will describe the Conky setup and will show the resource file used.
Part 3 is posted now, check it out here: https://www.igorkromin.net/index.php/2015/04/12/raspberrypi-and-a-usb-monitor-combined-to-make-a-photo-frame-part-3/.
-i
