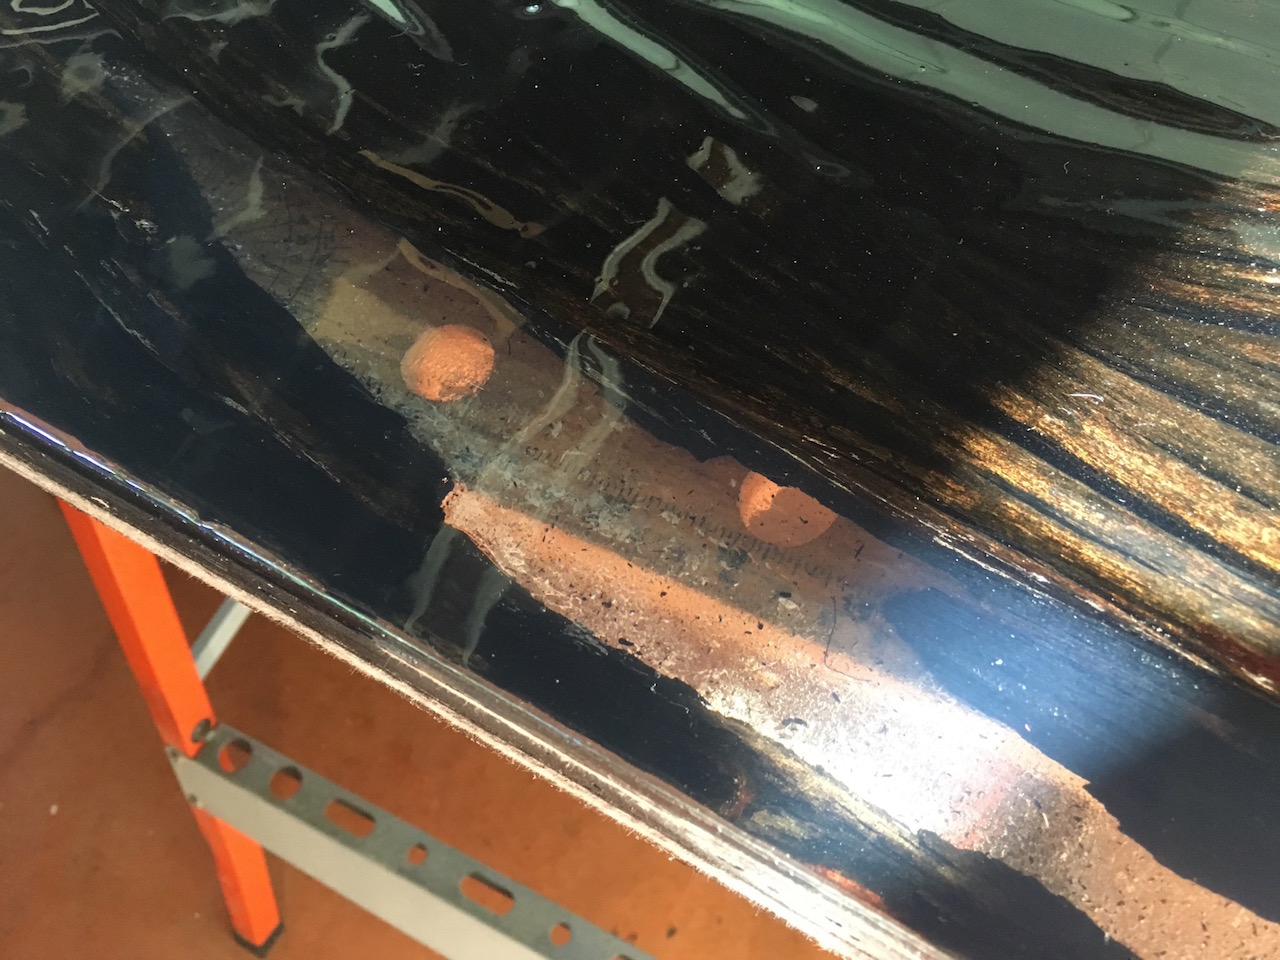
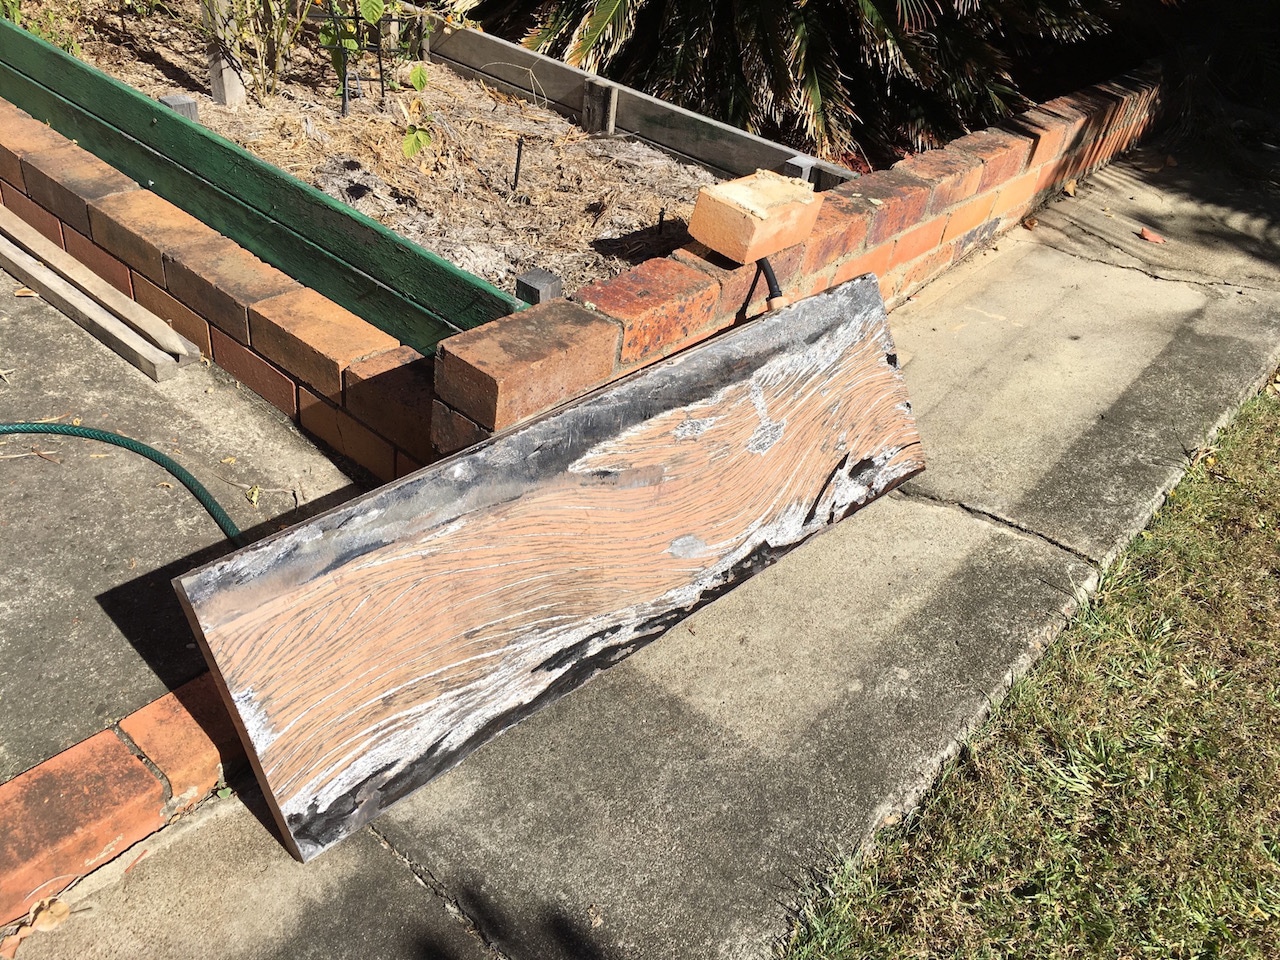
This is what the piece looked like.
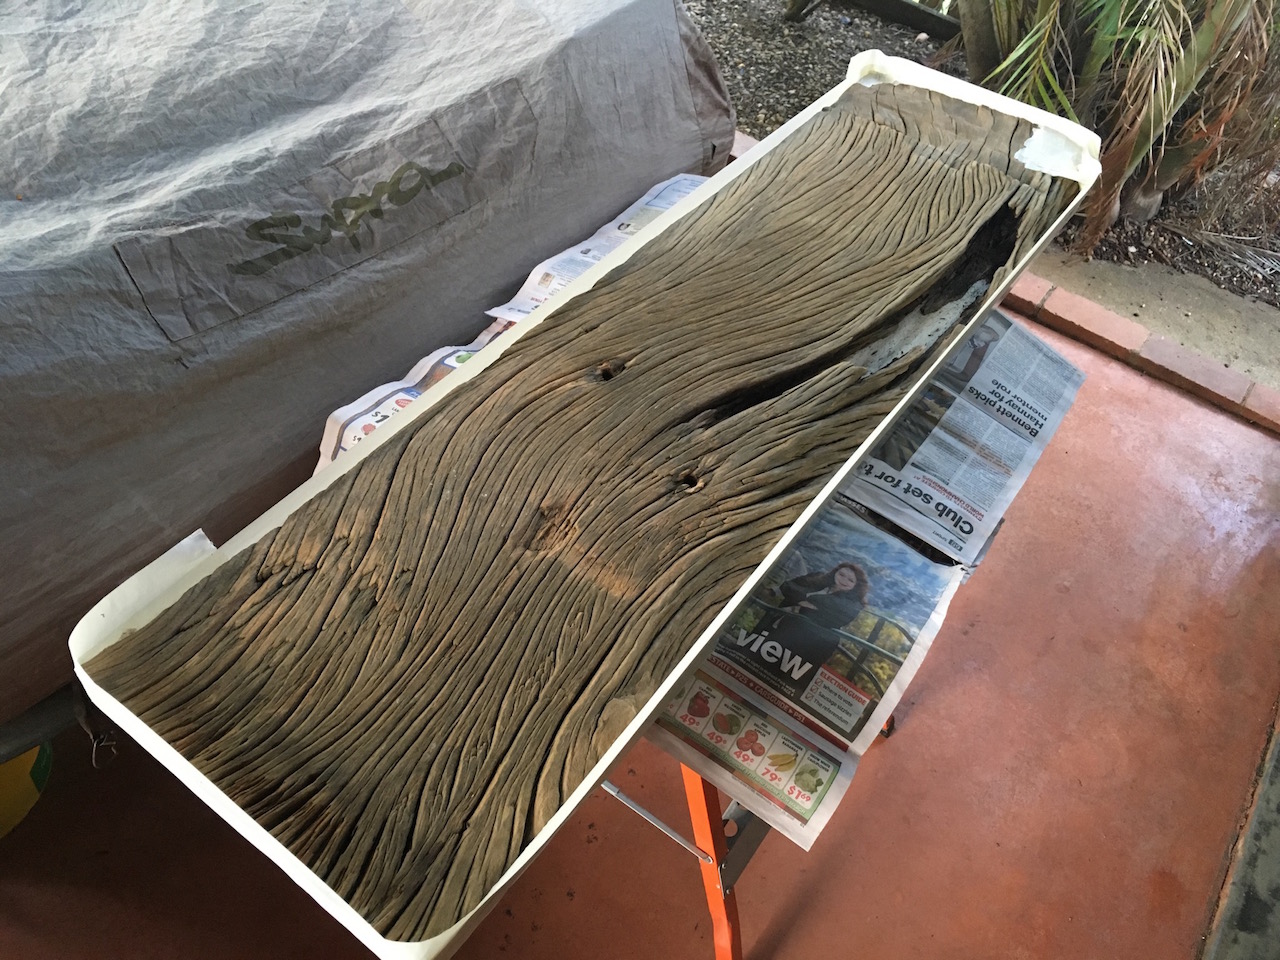
The void went from top to bottom on one part of the wood, it was close to 2 inches deep. I used masking tape and some 50mm aluminium angle to put a makeshift mould around it. This mould would remain on the wood for close to three months as I slowly filled the void.

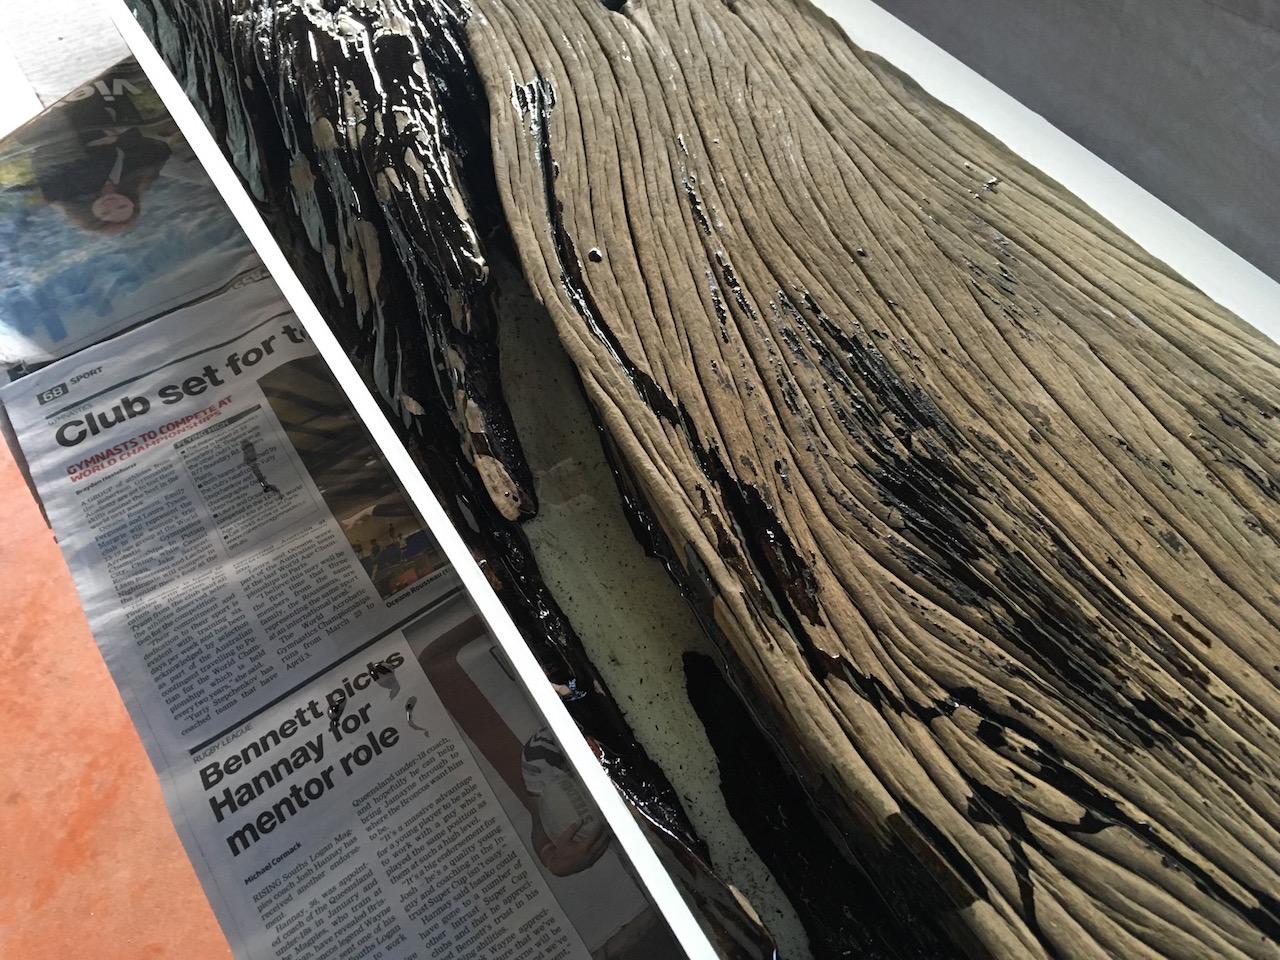
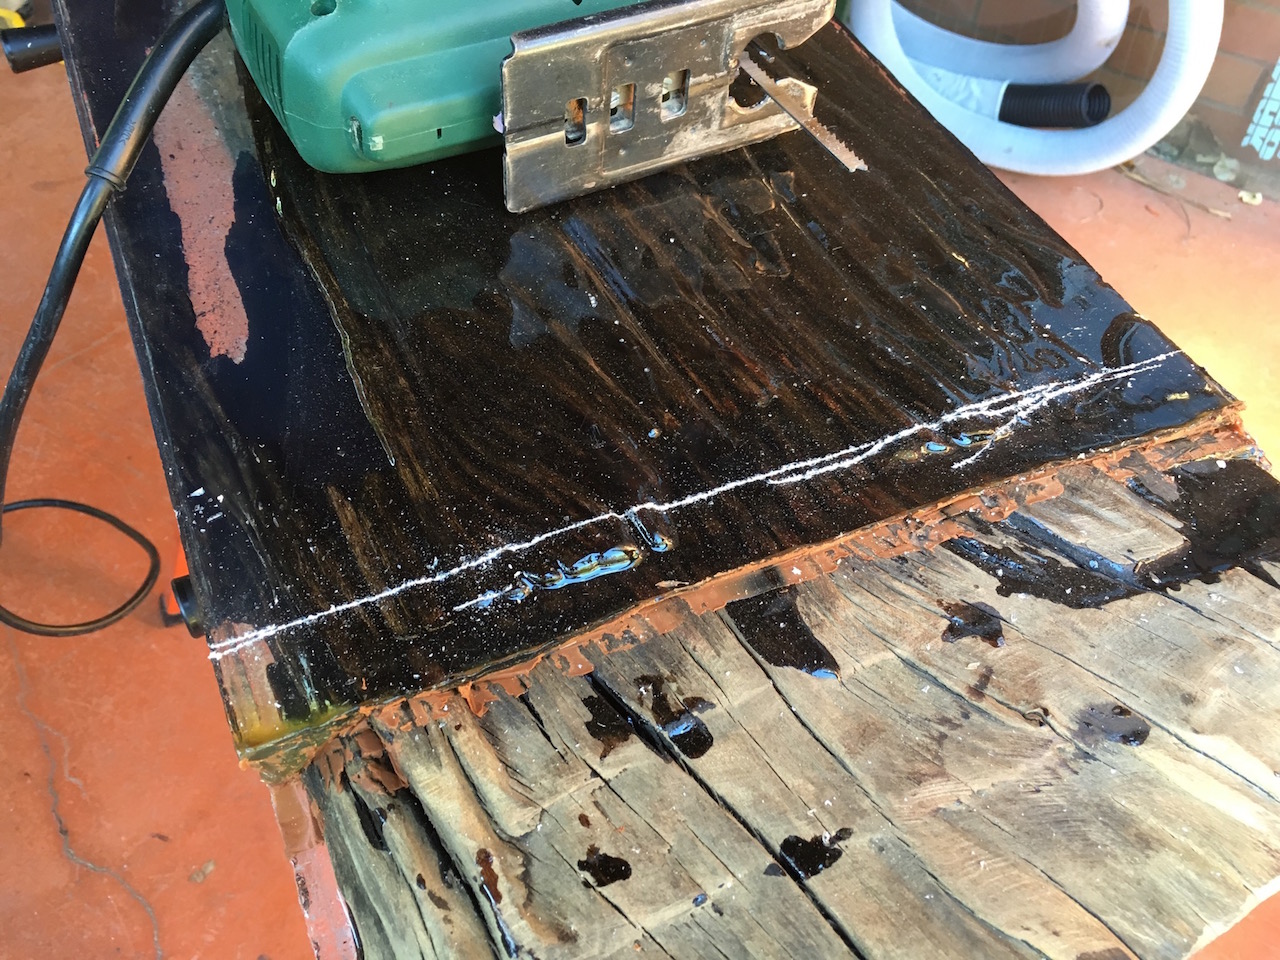
I ended up using about 5 kg of resin to fill the void and all the other gaps in the wood. Each layer was about 5 mm and took several days to cure. I didn't sand in between layers, just cleaned dust that collected before putting the next layer on. I did end up trapping some specs of dusk at the earlier layers unfortunately so they are visible in the finished product.
It took about 3 months to fill this void (I wasn't working on it every weekend though).
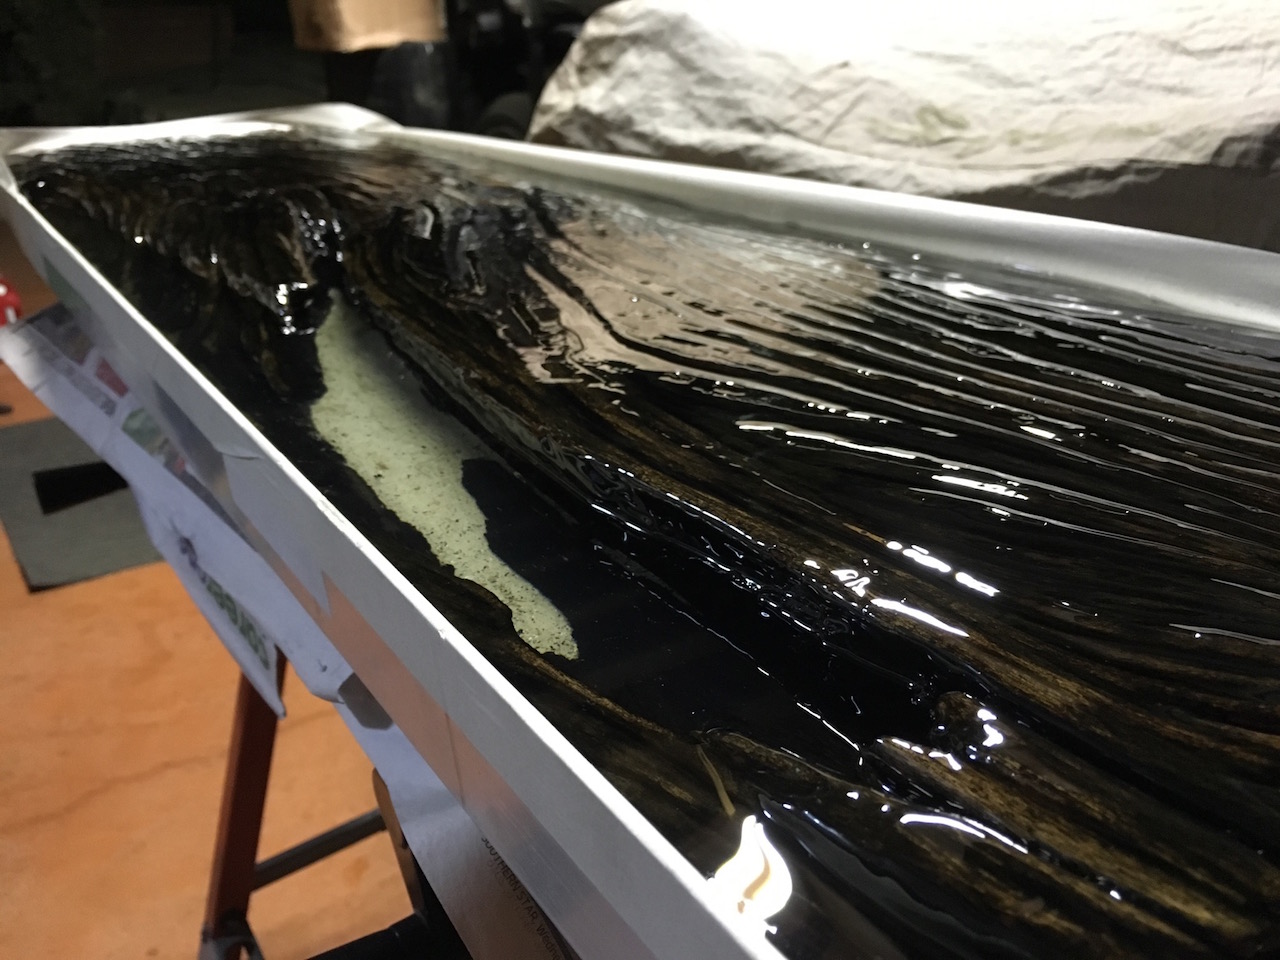
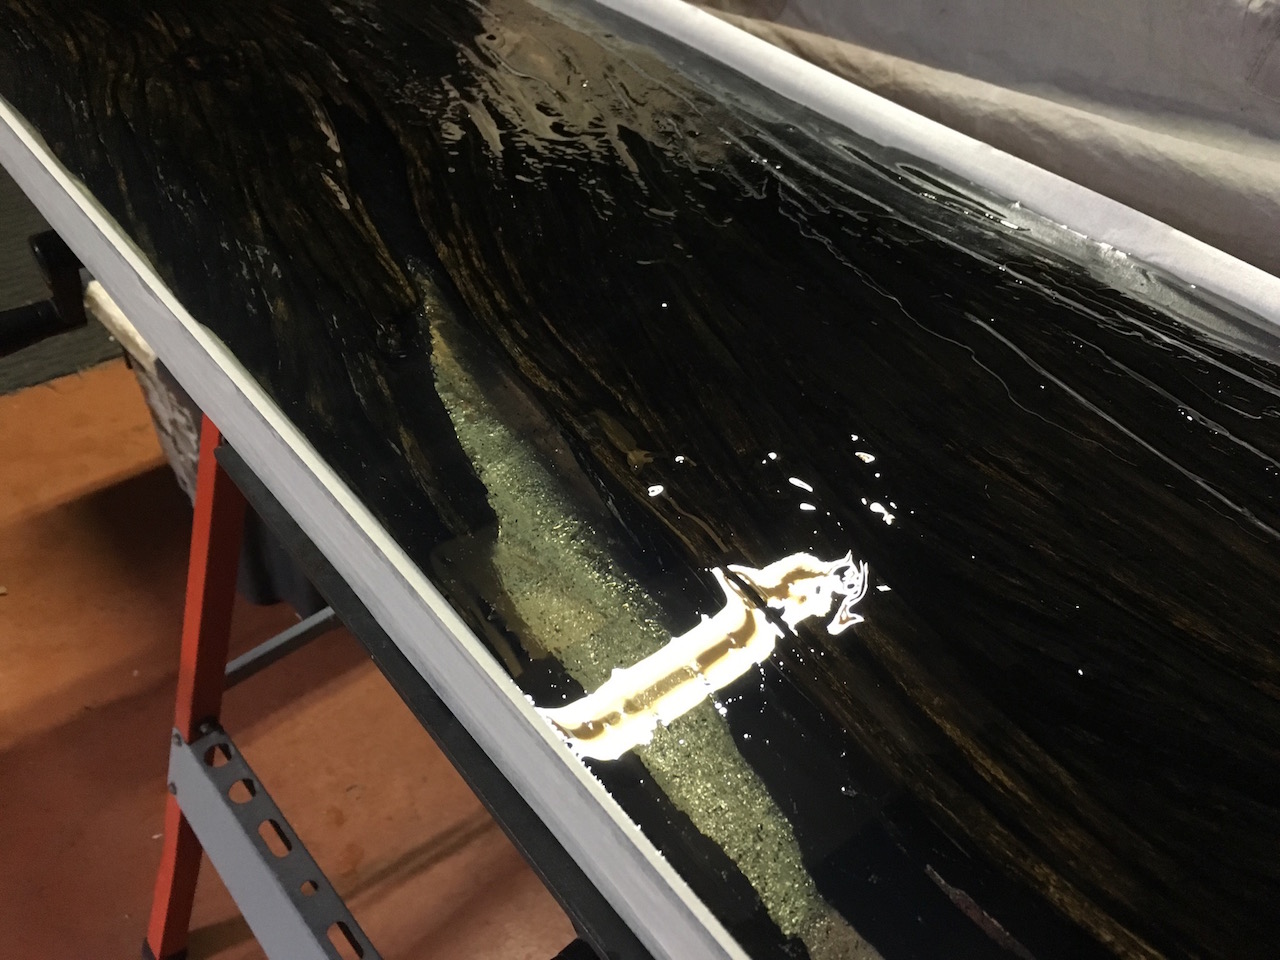
Eventually the resin was level with the top of the wood and the void was completely filled in. At the same time all the other gaps were filled too. Even at this early stage the resin was quite transparent.
After the mould and all the masking tape were off, I left the whole thing to dry and cure for two weeks because some of the resin around the inner parts of the mould was still tacky.
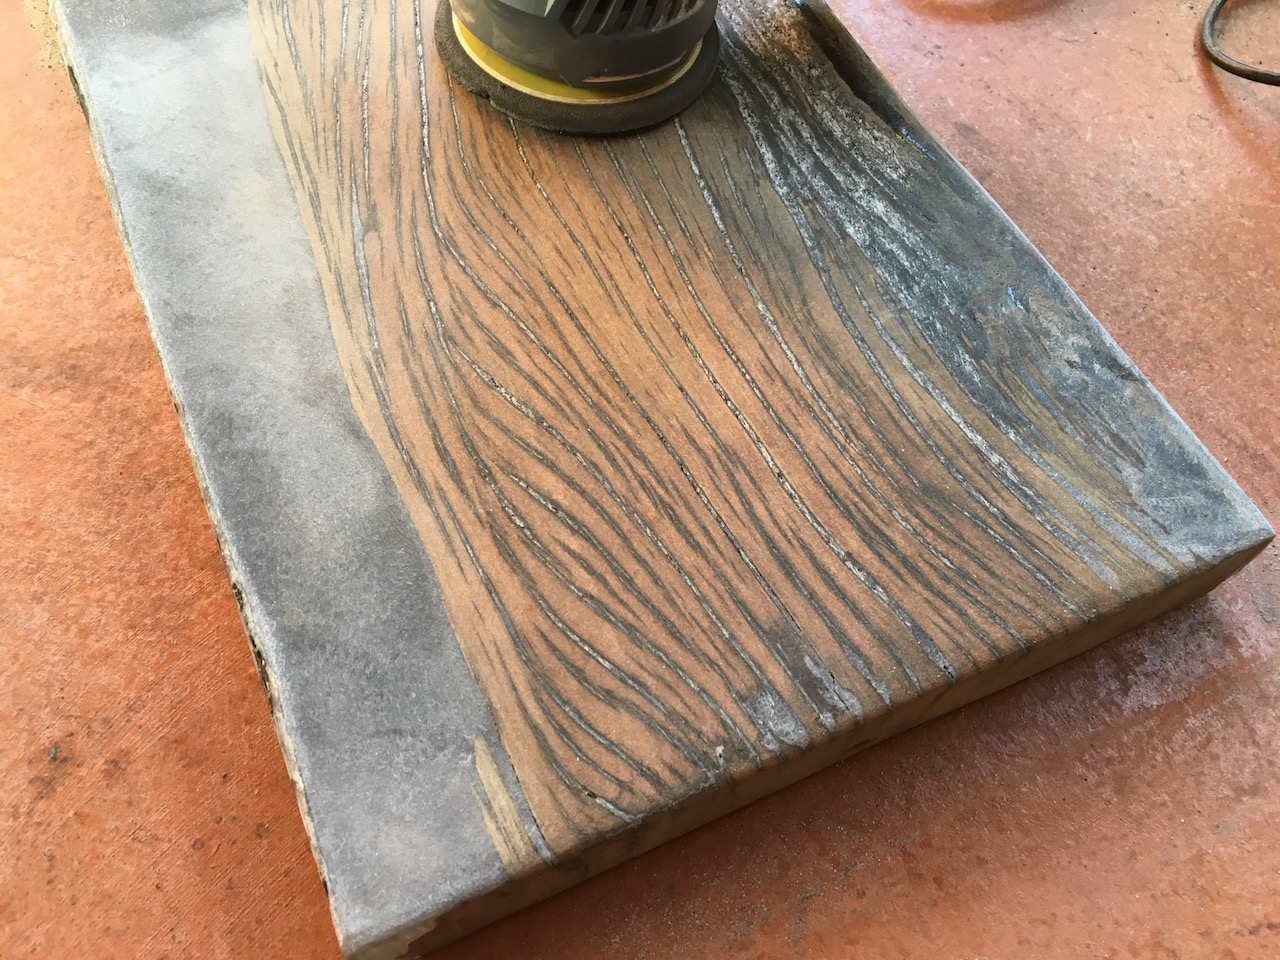
When all the resin was cured it was time to cut the wood down to size.
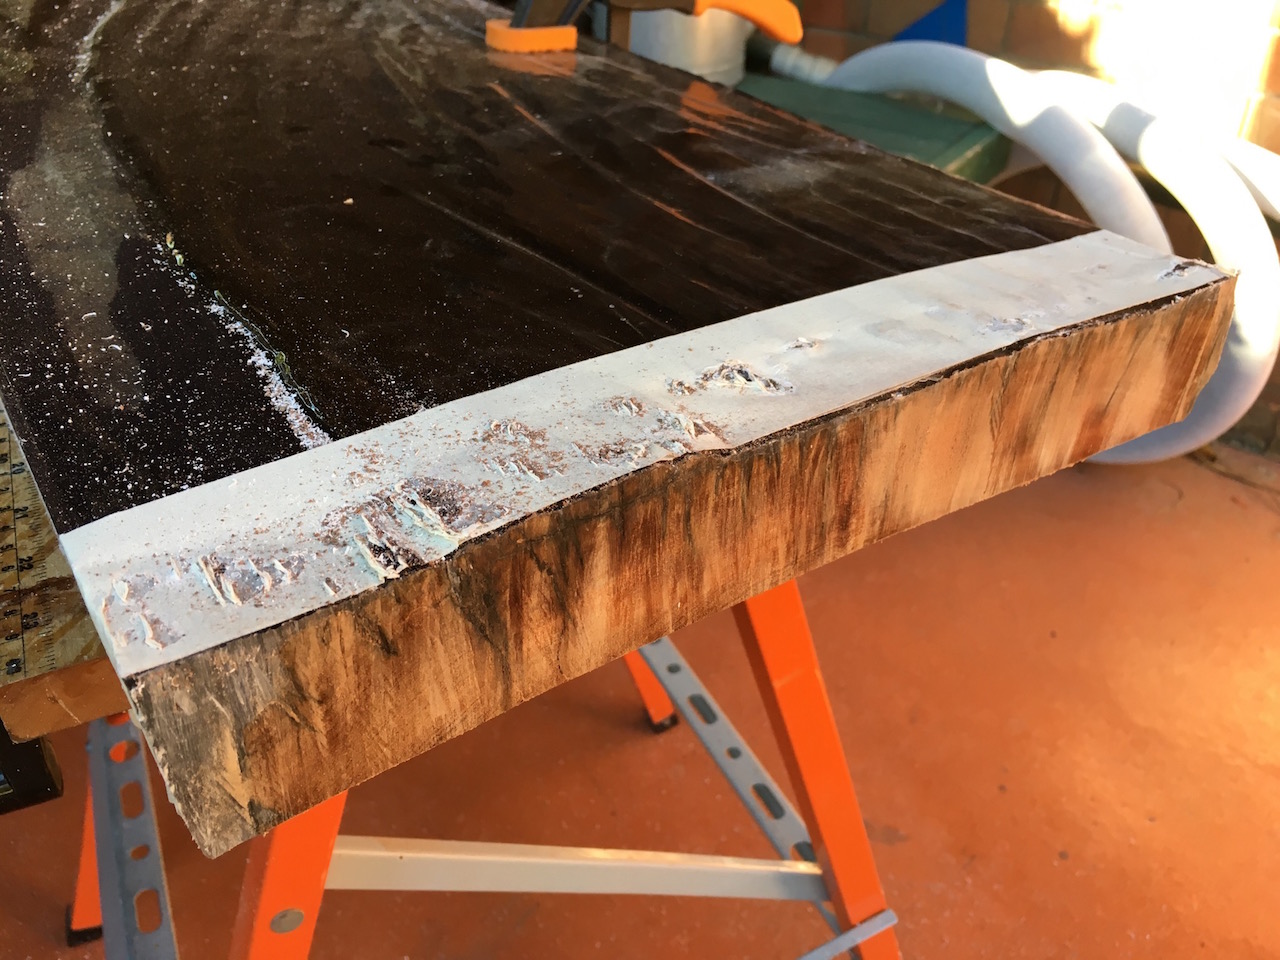
Based on my previous experience with the TV unit sanding, I decided to take on a different approach. Instead of sanding all the resin I used a power plane to cut all the excess off. It looked quite ugly after this because lots of resin chipped, but that wasn't going to affect the final piece too much so I wasn't worried.
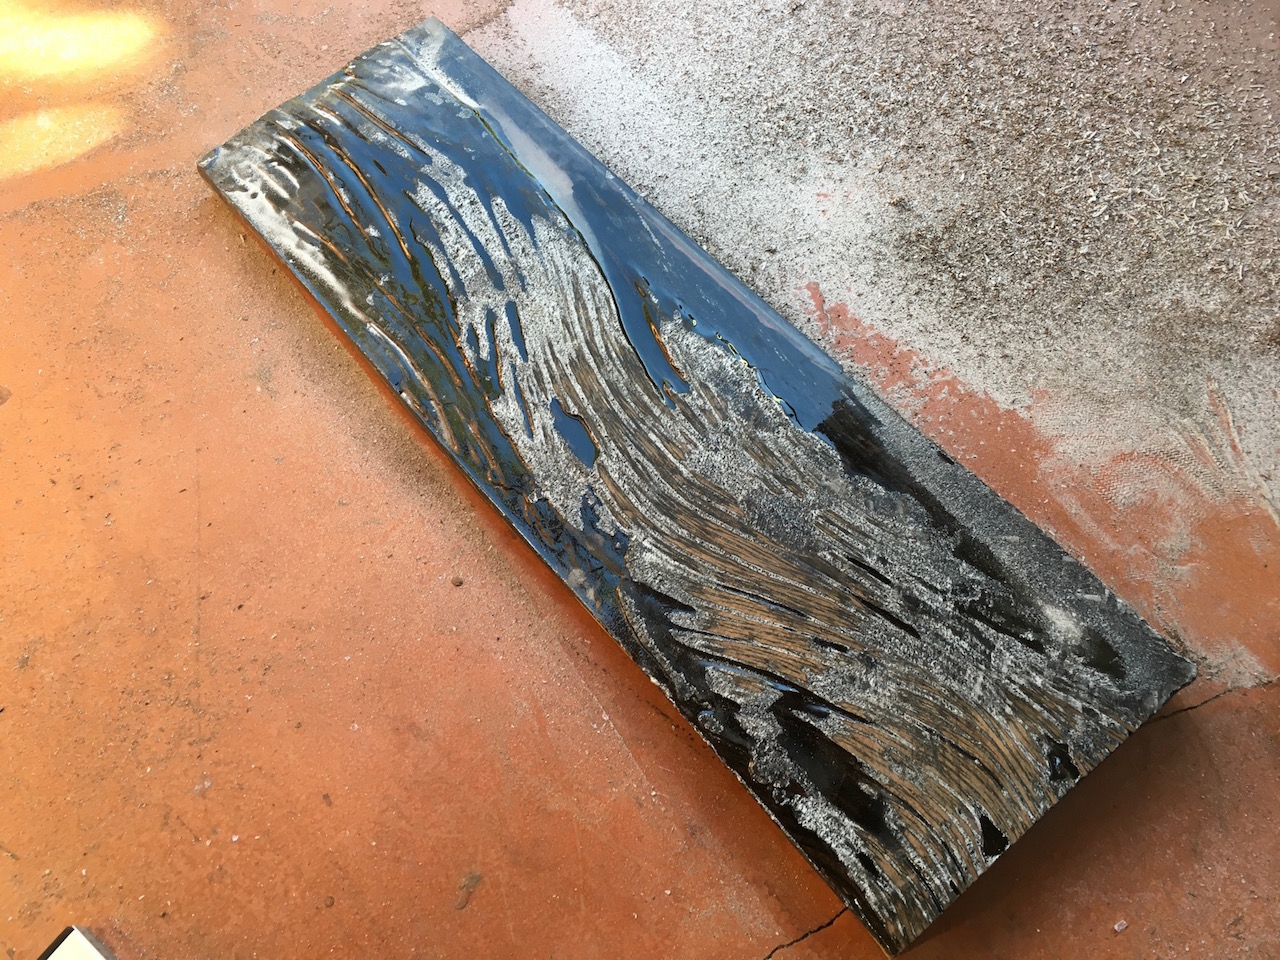
After plaining I noticed that some of the resin was still not cured properly so I let it cure for another week before continuing.
Finally it was time to sand it. Most of the chipped resin started to disappear after sanding.
This is it for now, I'll put up part two in the next couple of days. Part two wraps up the sanding and lacquer application as well as attaching legs and shows off the final product.
-i
