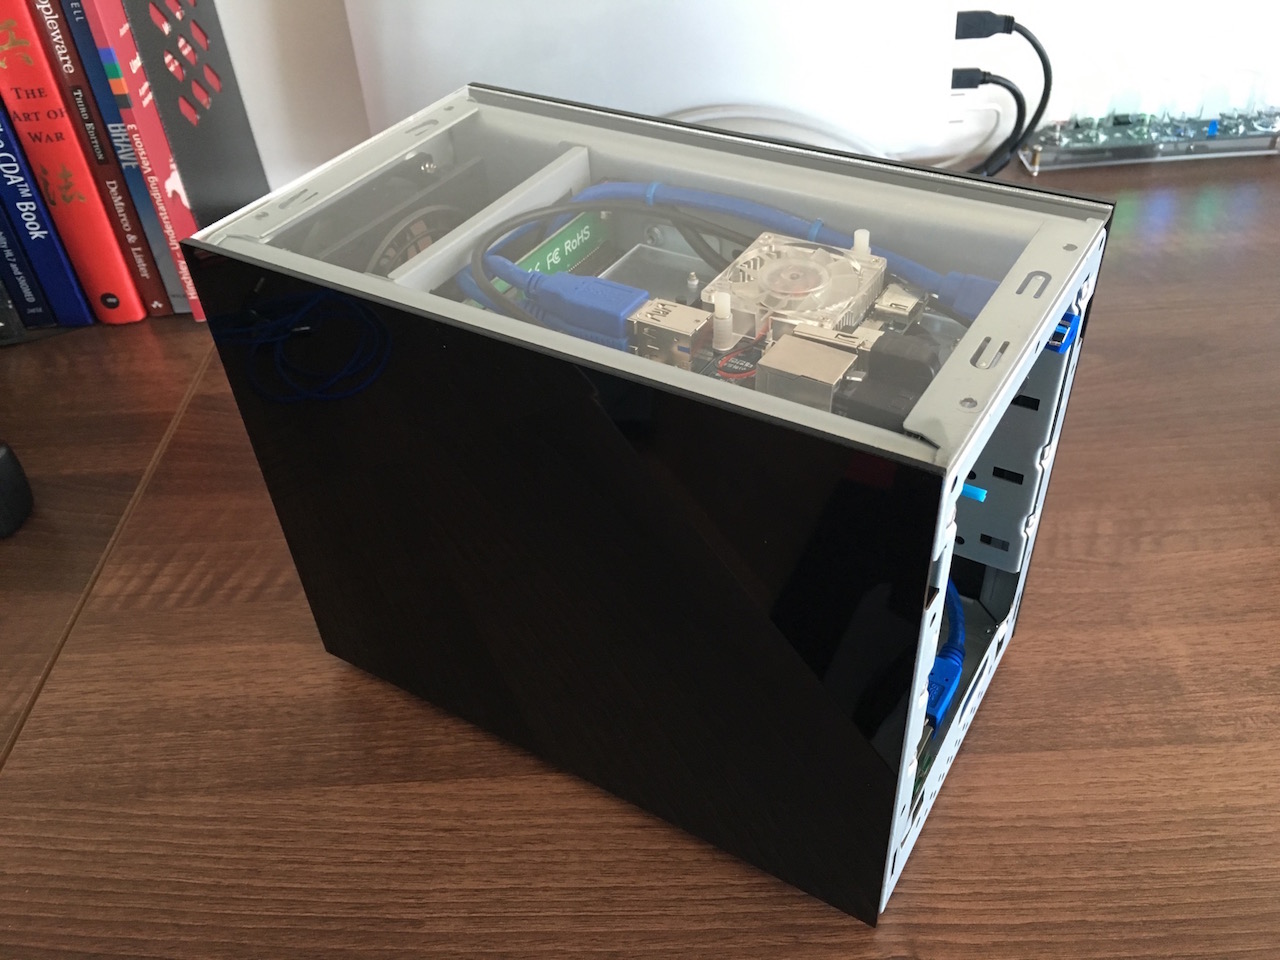
At this point I am not fitting the front panel however. This is due to a problem I had with the laser cutters - more on that later.
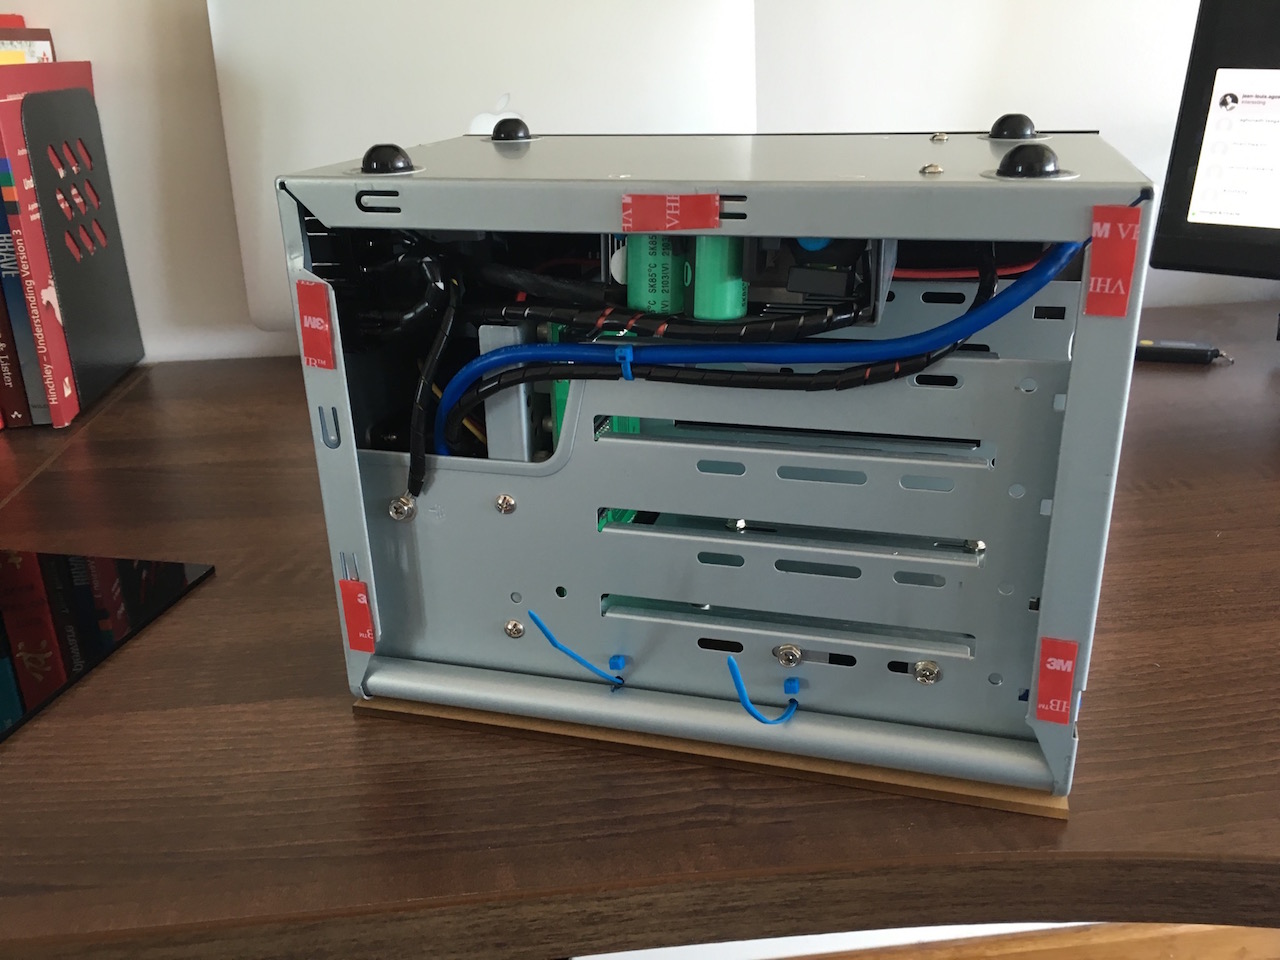
The new server looks more or less like this now...
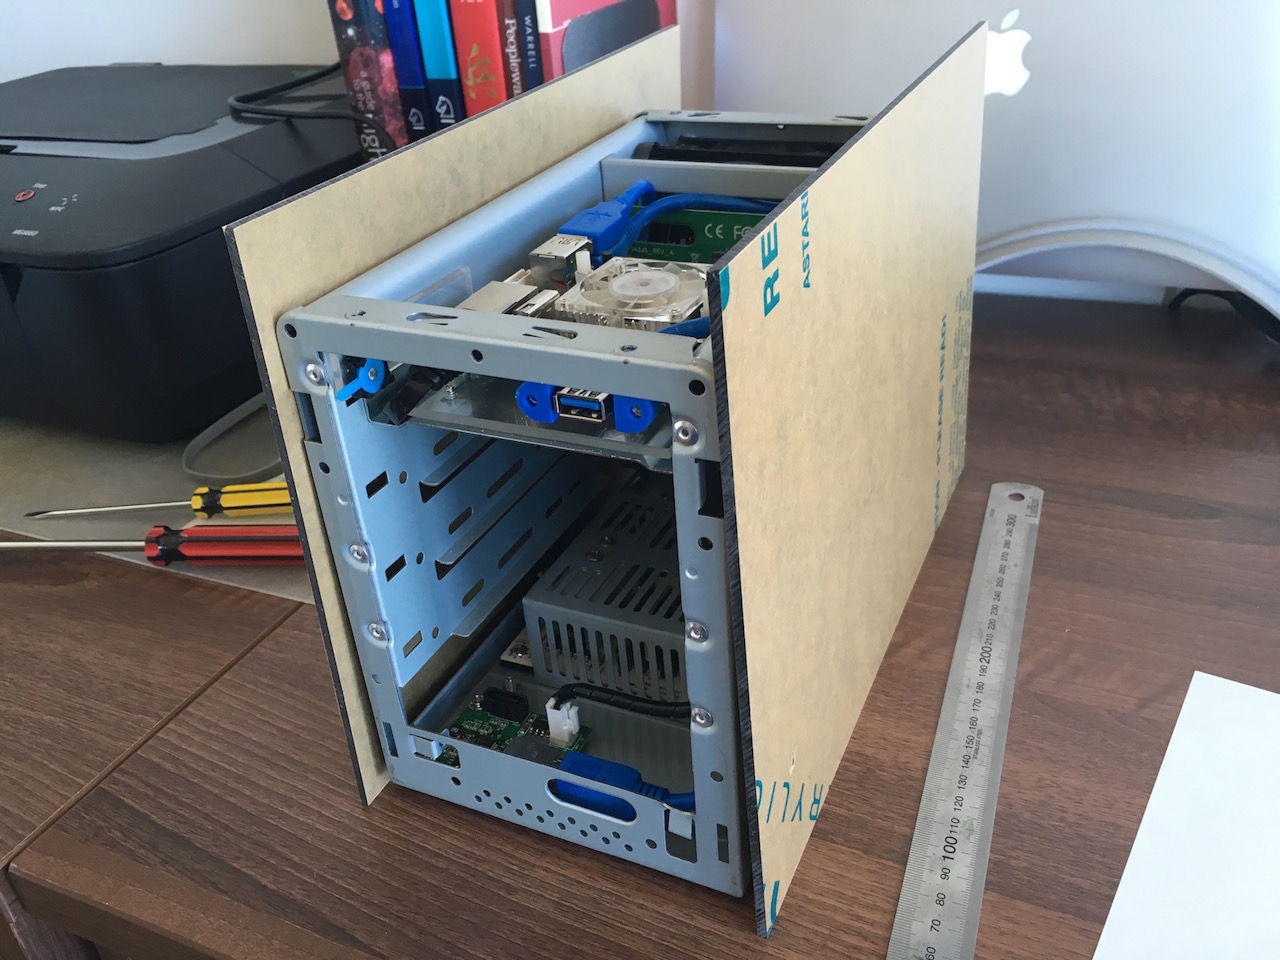
Lets go back a few steps and pick up where I left off after I externalised the network port. After all the internal wiring was completed, I measured all the box dimensions, accounting for the thickness of the double sided tape I was going to use to hold the panels in place. With all the dimensions in hand, I drew diagrams of what the side, top and front panels should look like. The design was very straight forward really.
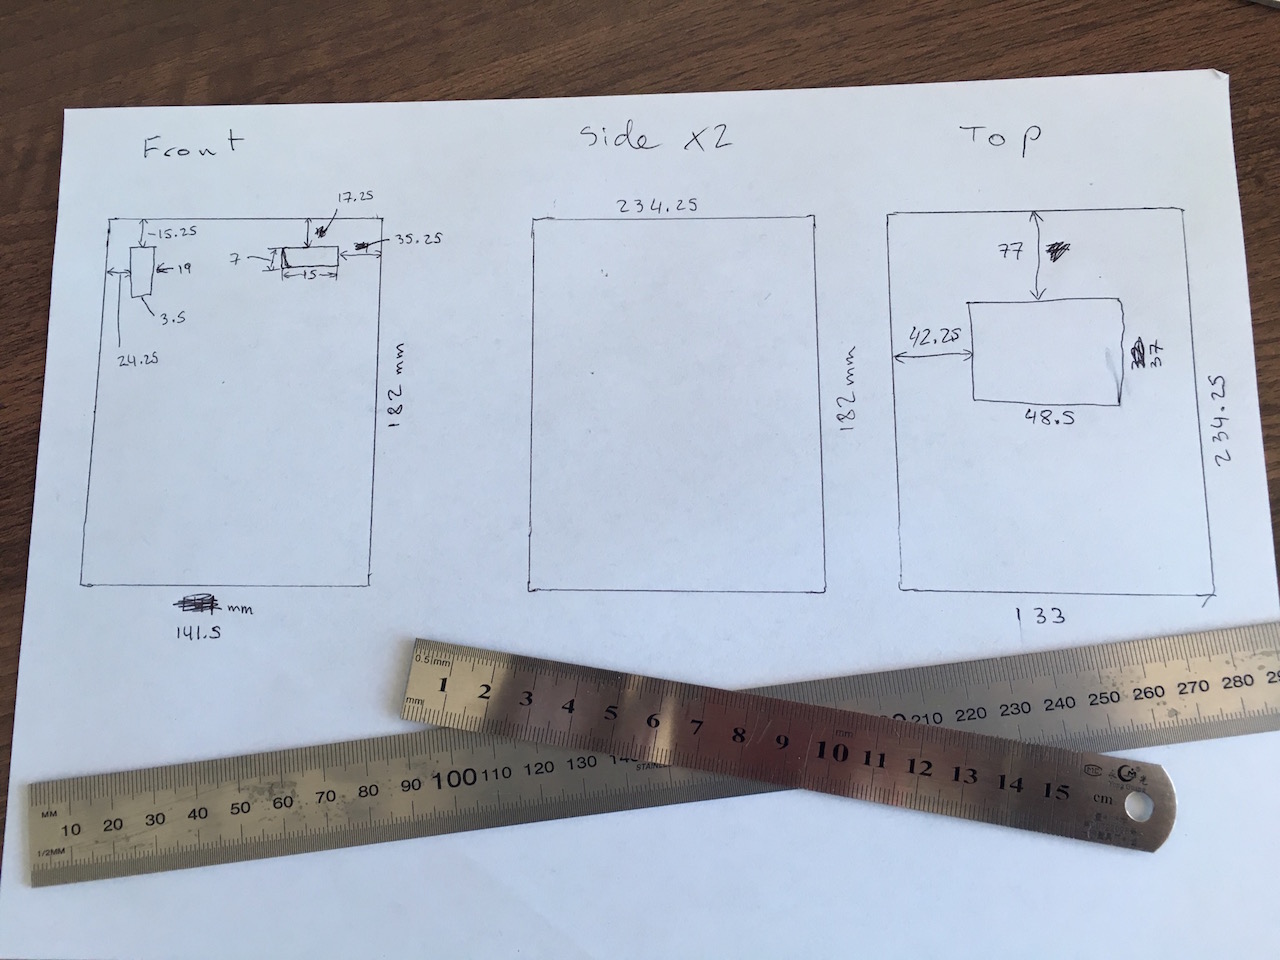
I was going to have two black side panels and a black top panel with a cut out for the screen. In the last minute I decided to have an additional clear panel cut out for the top without the hole for the screen. The design went off to the laser cutters and I picked it up the next day. Err - what came back was very different to what I actually drew...
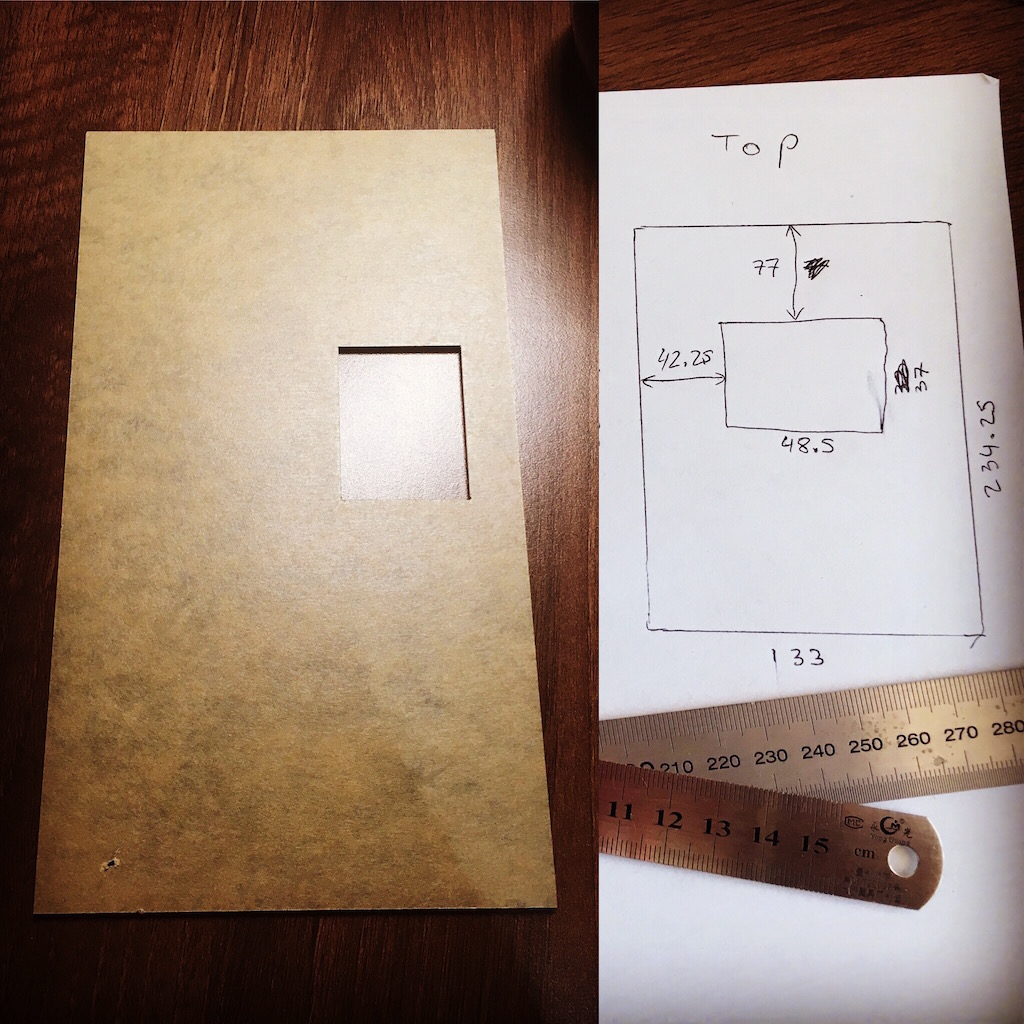
The only usable panels were the sides and the clear top. Both the black top with the screen cutout and the front panel didn't match the drawings I made. It was disappointing, but I had little choice so just went with what I had. The last minute decision to include the clear top panel really saved this project. The front panel wasn't so urgently needed at this point since I'd be swapping disks in/out quite often at the beginning anyway.
I used clear double sided tape to secure the side panels first.

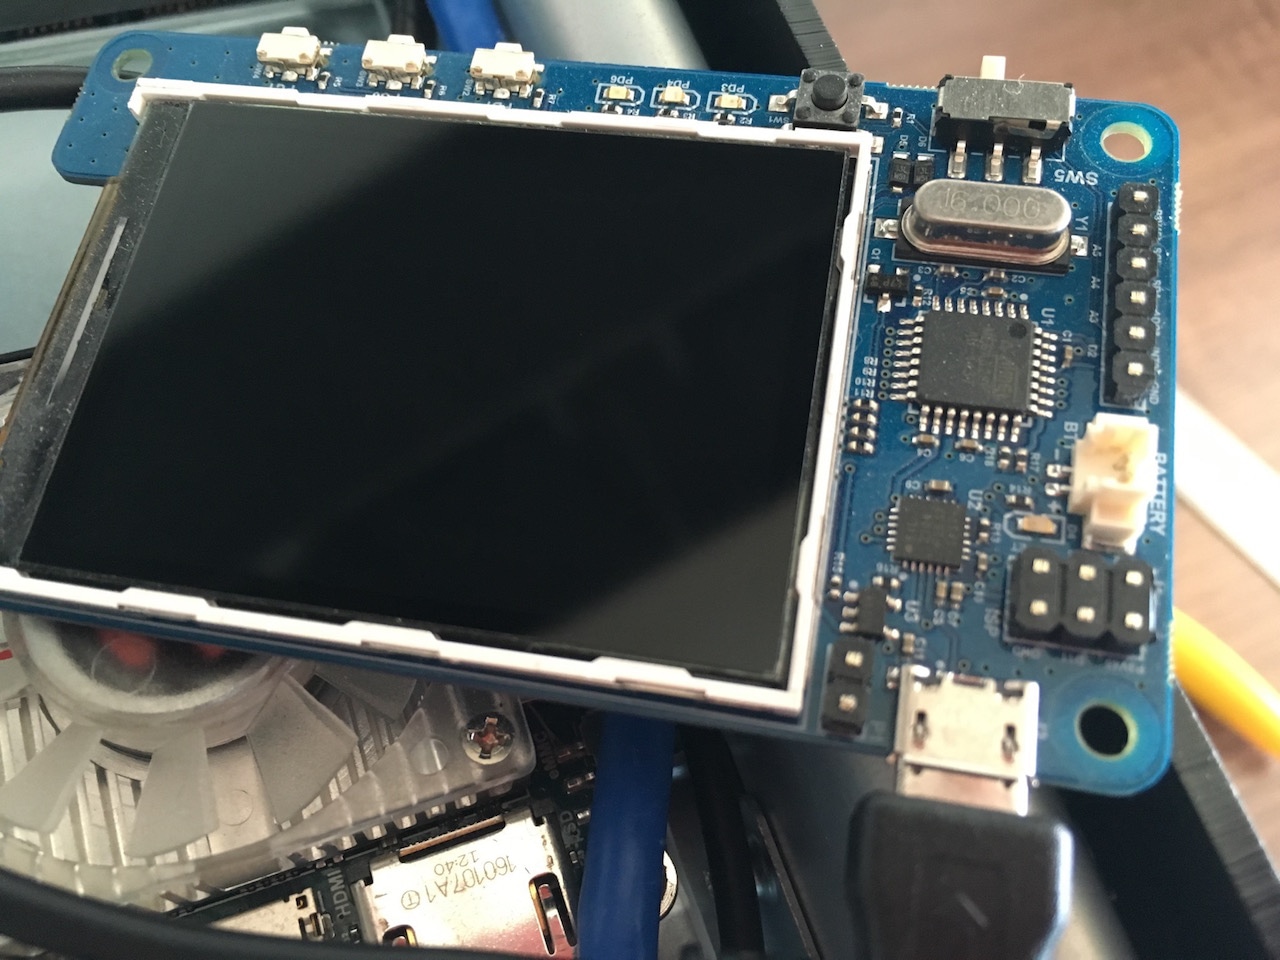
The Odroid-Show2 that I was going to use as a system status display wasn't going to fit as it was due to all the pins it had. I simply cut these off because I'd not have any use for them in the future anyway.
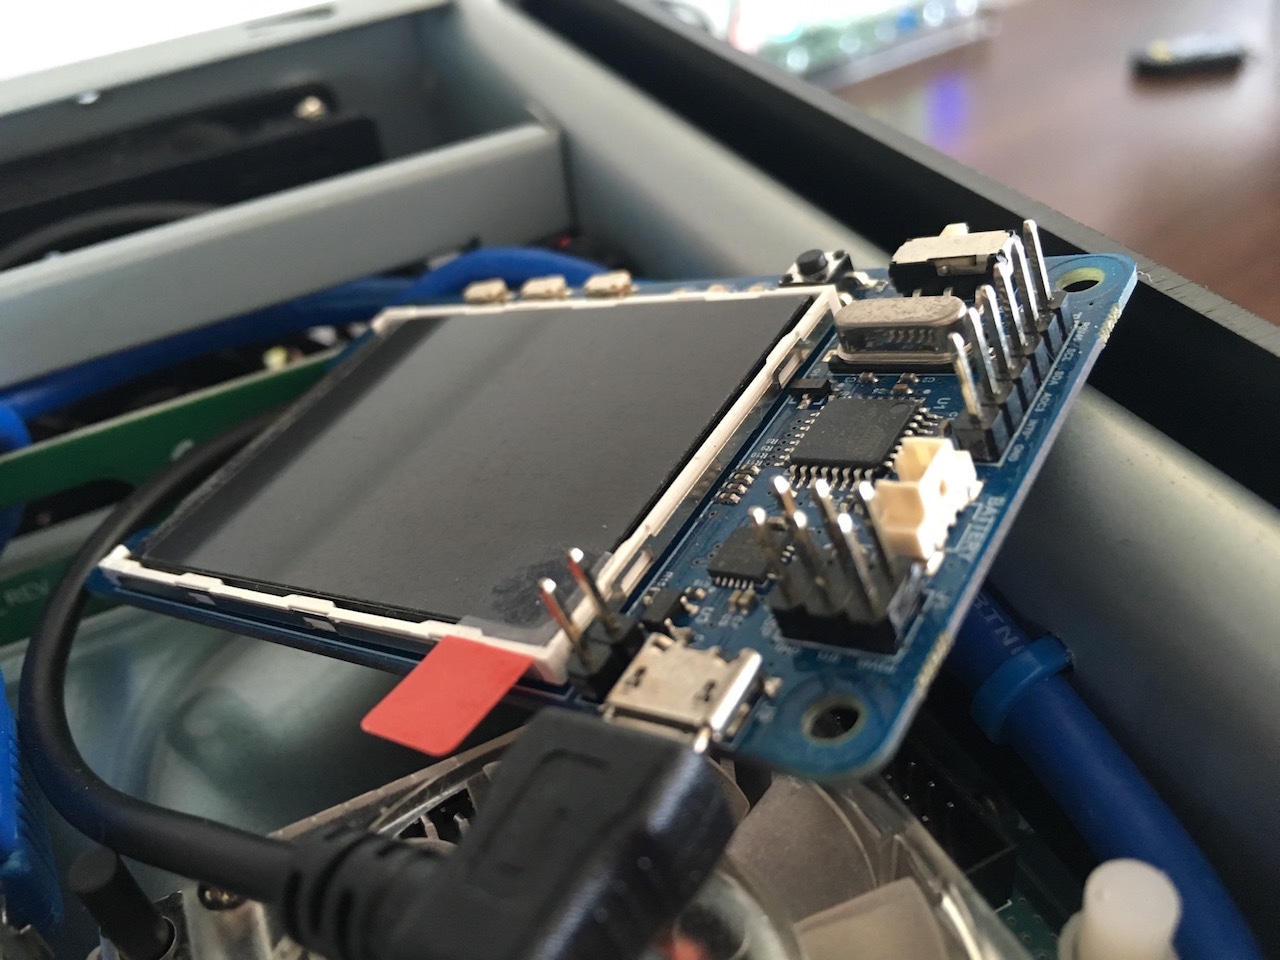
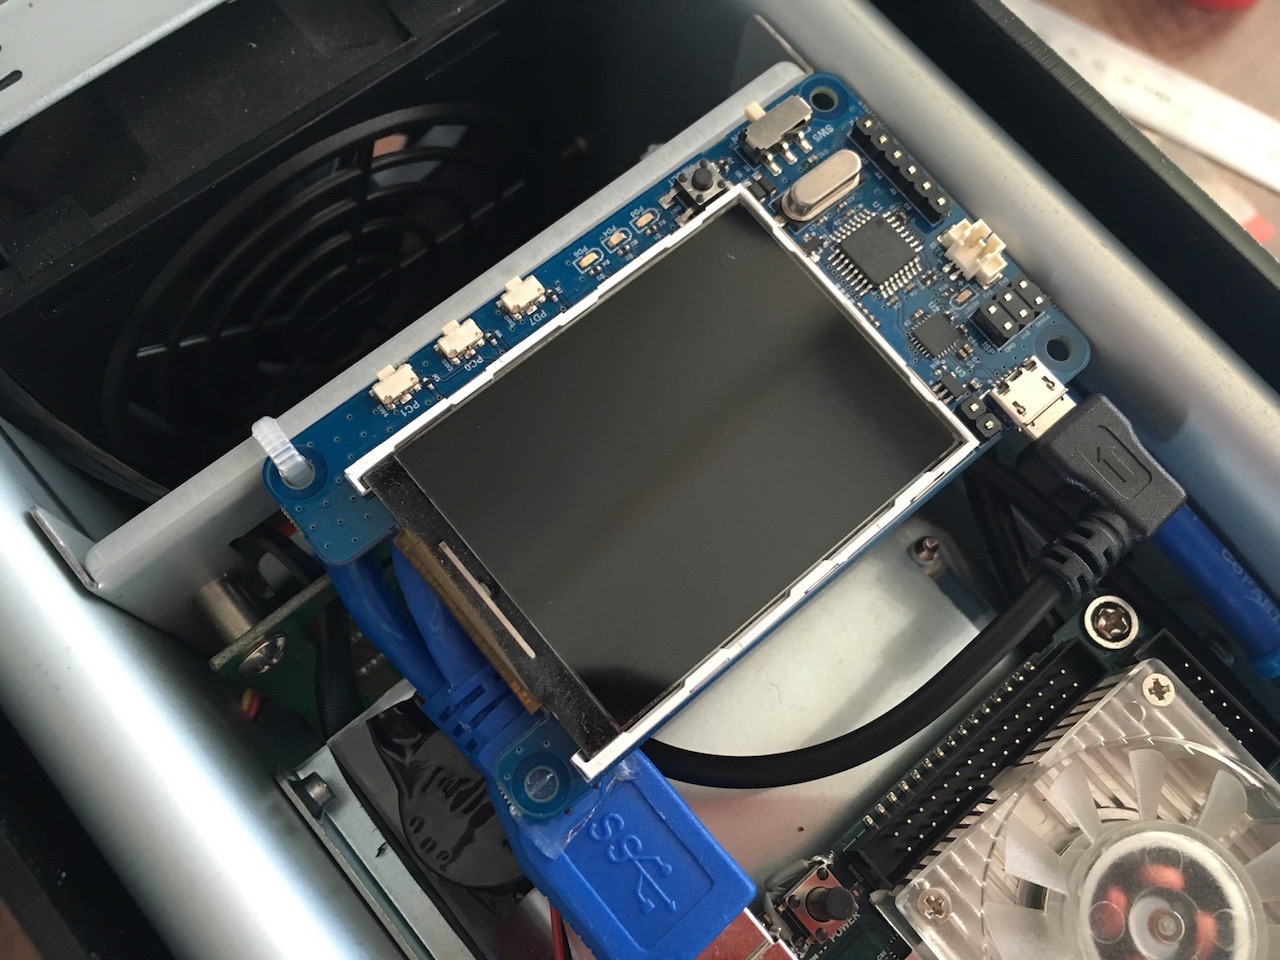
Using some double sided tape and a zip tie, the display was secured in place at the top of the enclosure.
The clear panel was attached the same way as the sides, with strips of clear double sided tape. I actually jumped the gun on attaching this because the correct OS wasn't installed on the eMMC card at that point. Since the eMMC card is at the bottom of the XU4, with the top panel secured I had no easy way of accessing it. However since it was possible to boot off the SD card, I ended up using a paper clip to flip the boot switch, booted from the SD card and then copied the correct OS to the eMMC card that way.
The next step was to get all my storage in and start copying data from my current server. At first I started to do this over WiFi but realised that it would take days to copy 3Tb+ of data, so canned that idea and instead removed the HFS+ disks from my Hackintosh server and copied data from disk to disk.
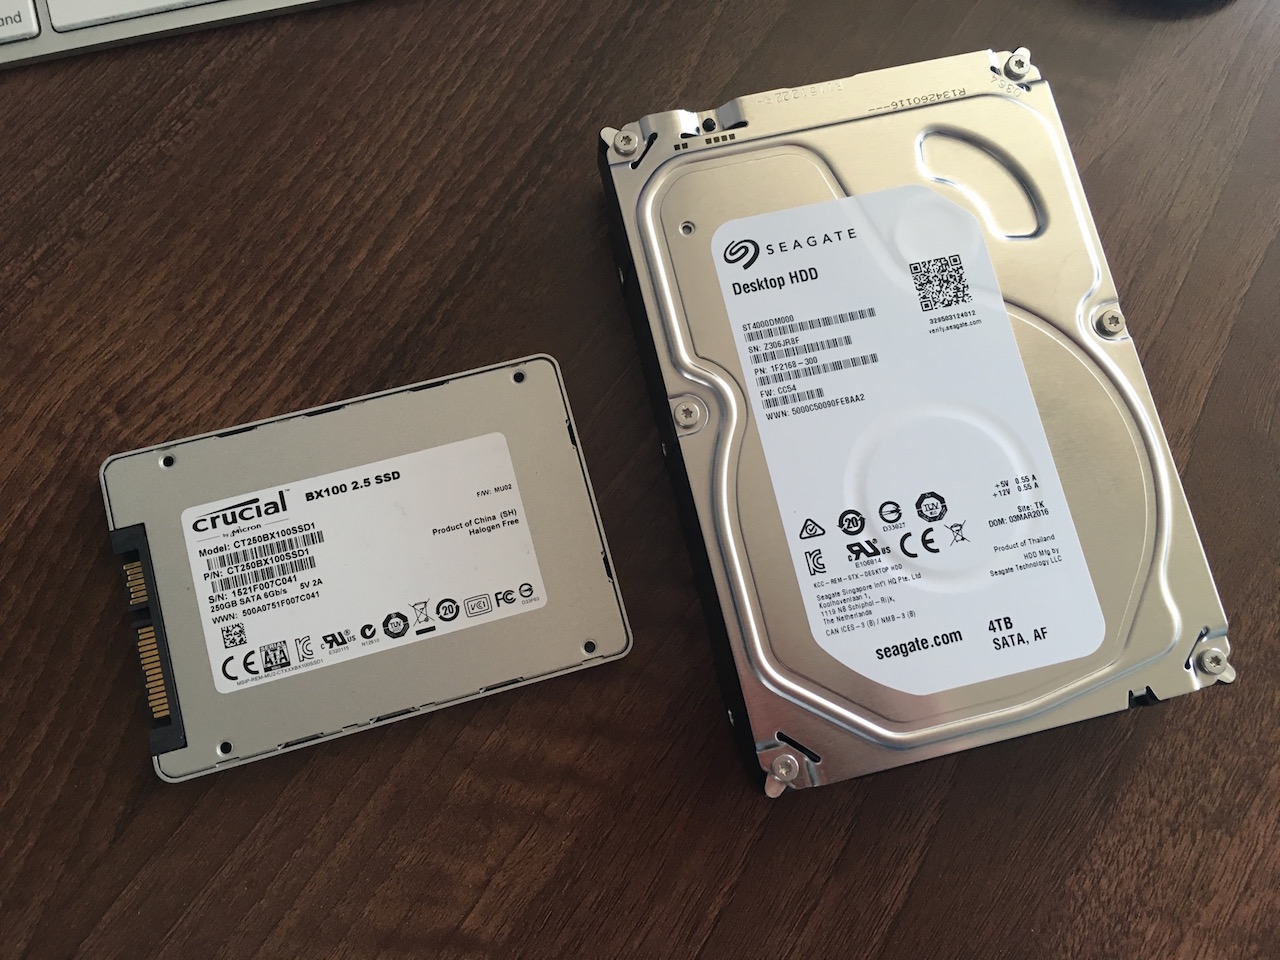
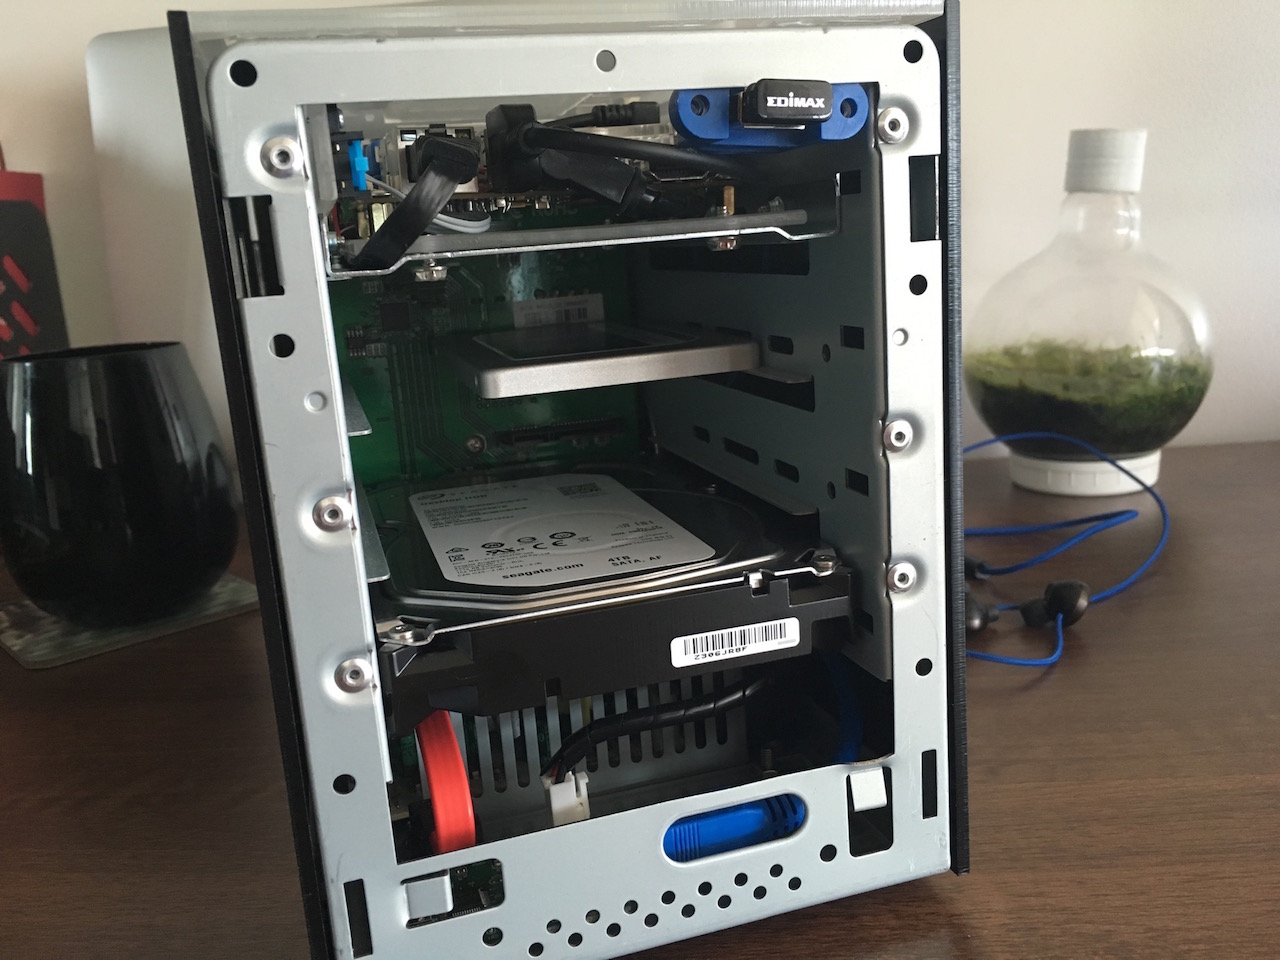
The 4Tb drive was for all the media and the SSD was for temporary and support files e.g. downloads and Plex metadata directories.
The OS setup will be covered in the next post. The OS setup post is available to read here.
-i
