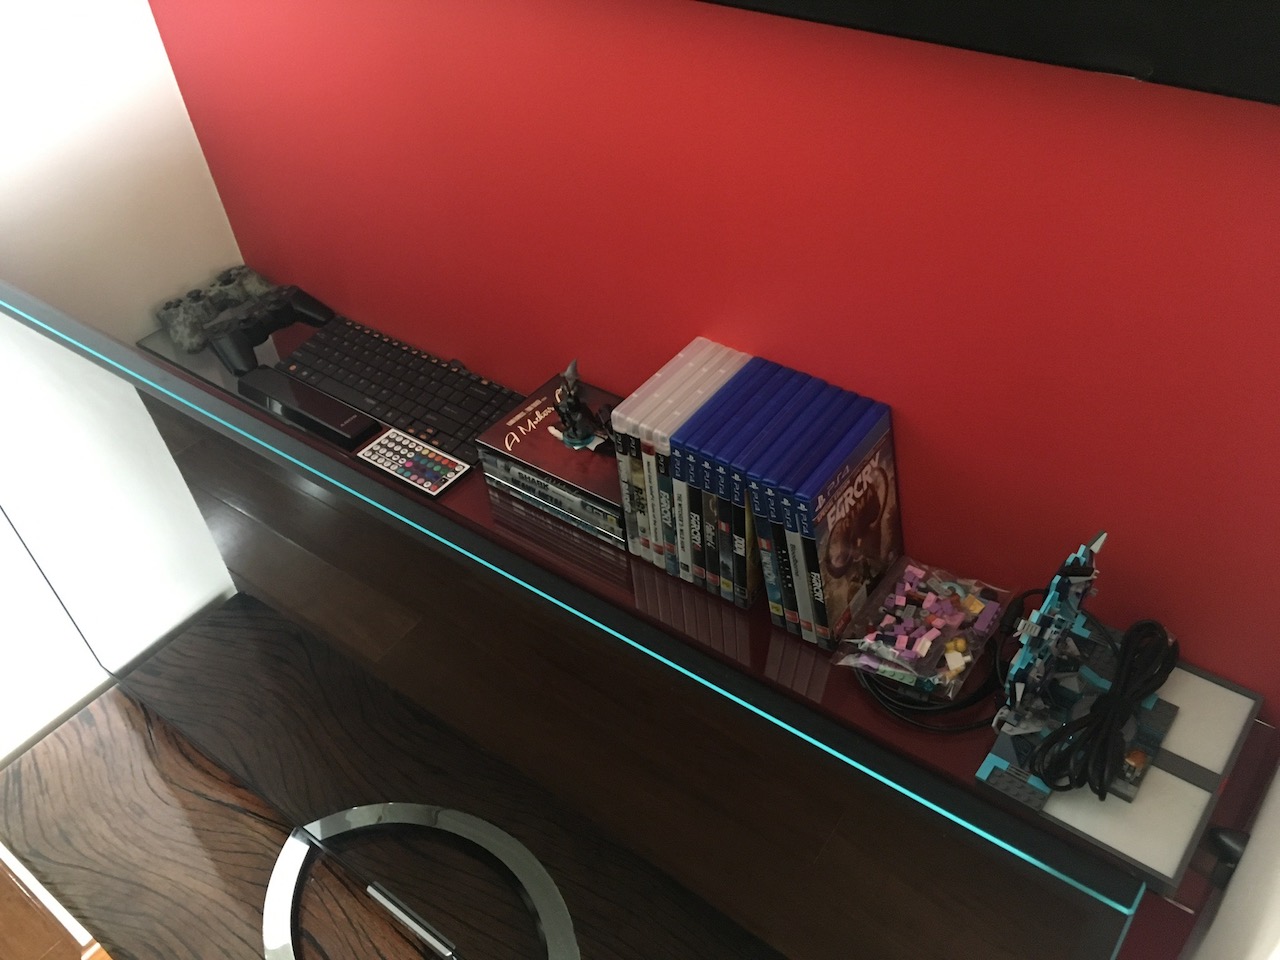
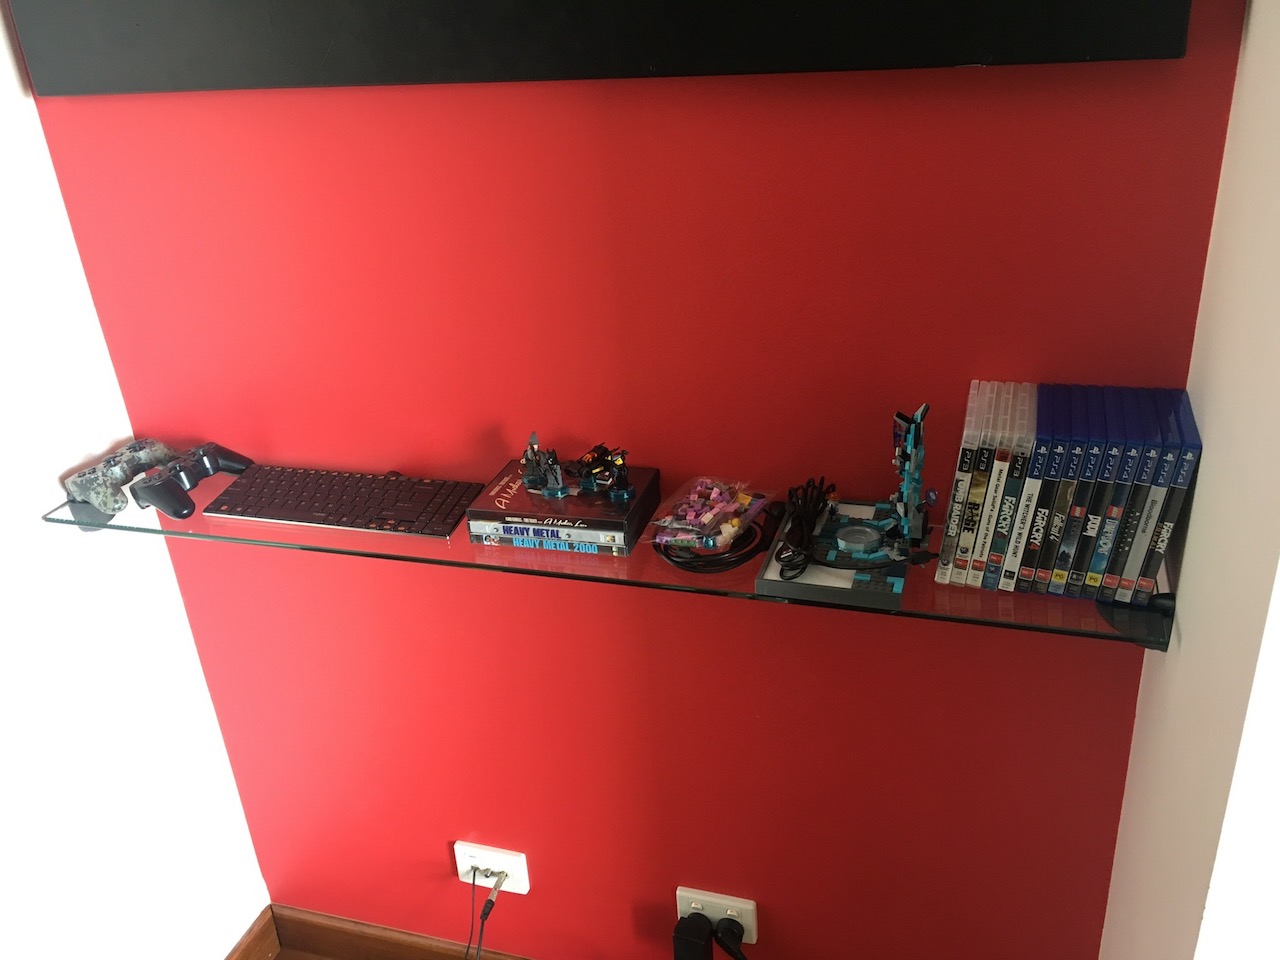
Below are a before and after photos of the space behind the TV. Games, DVDs, remotes and controllers can now be stored out of the way but still within reach. In terms of organising this made a huge difference.
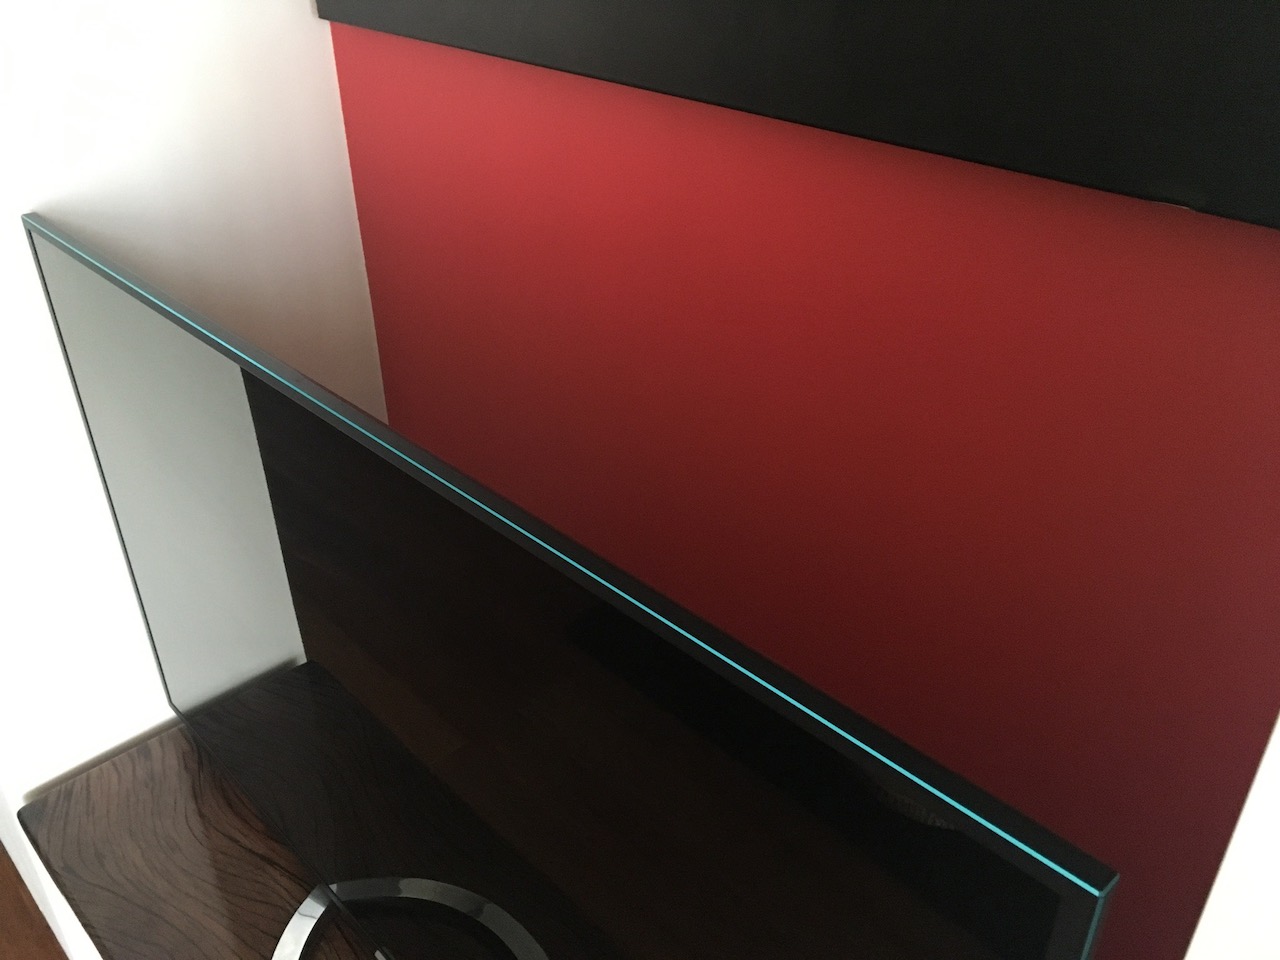
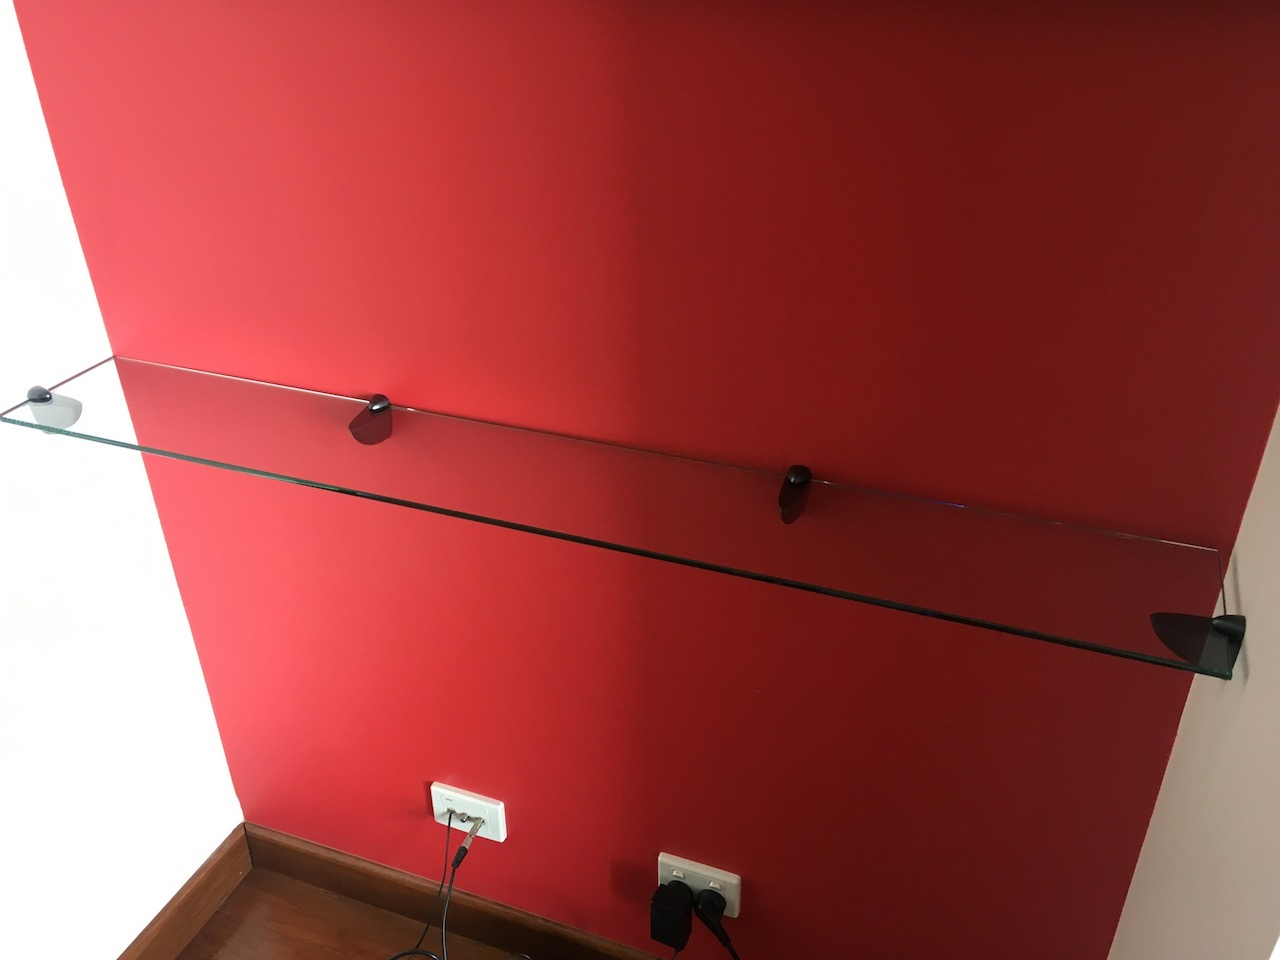
The shelf was made out of 8mm clear float glass with polished edges. The cost was around the $30 mark from a local glass cutter and it was made and ready for pick up within hours of me placing the order.
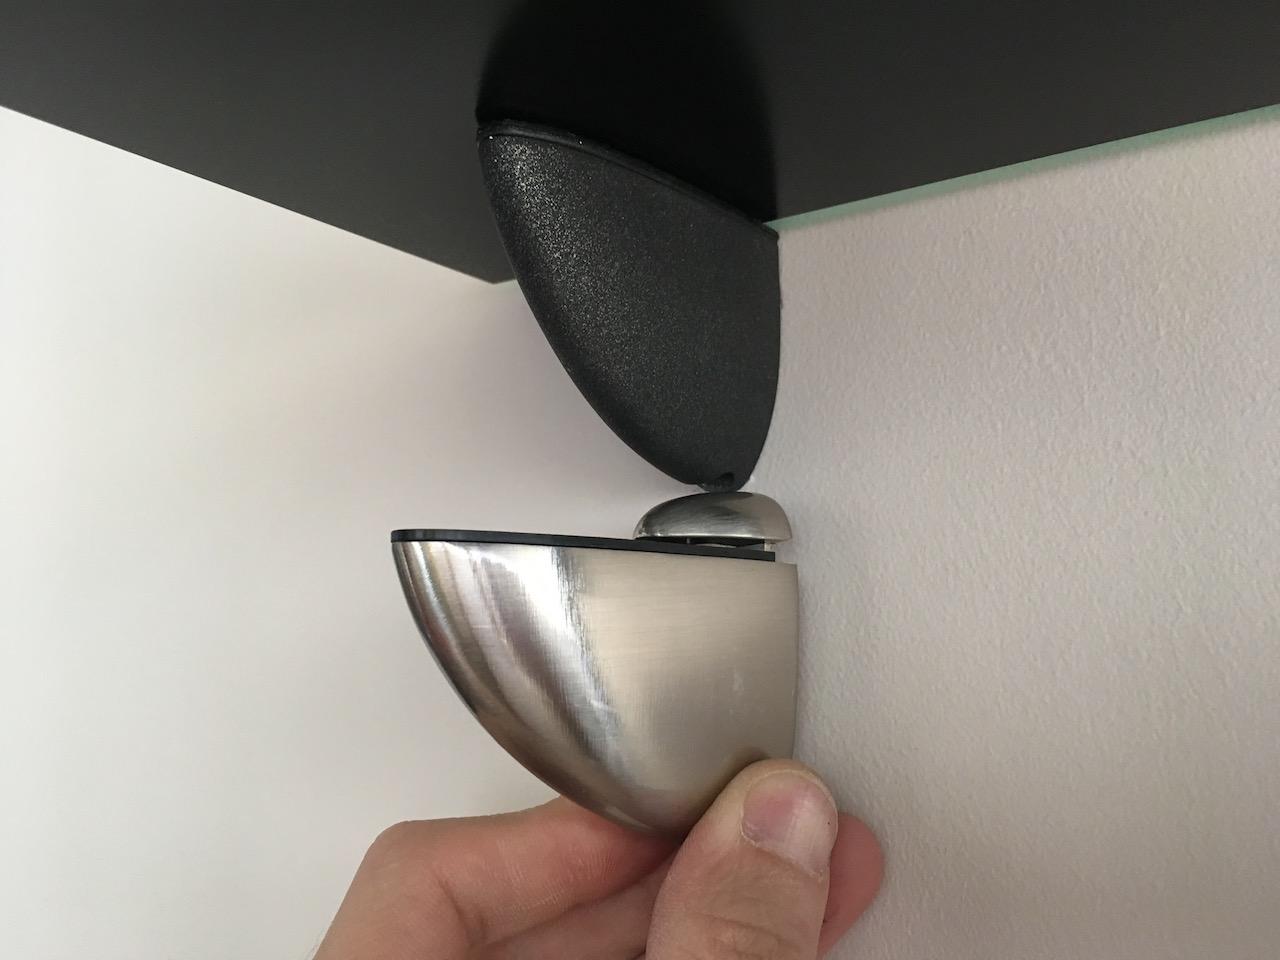
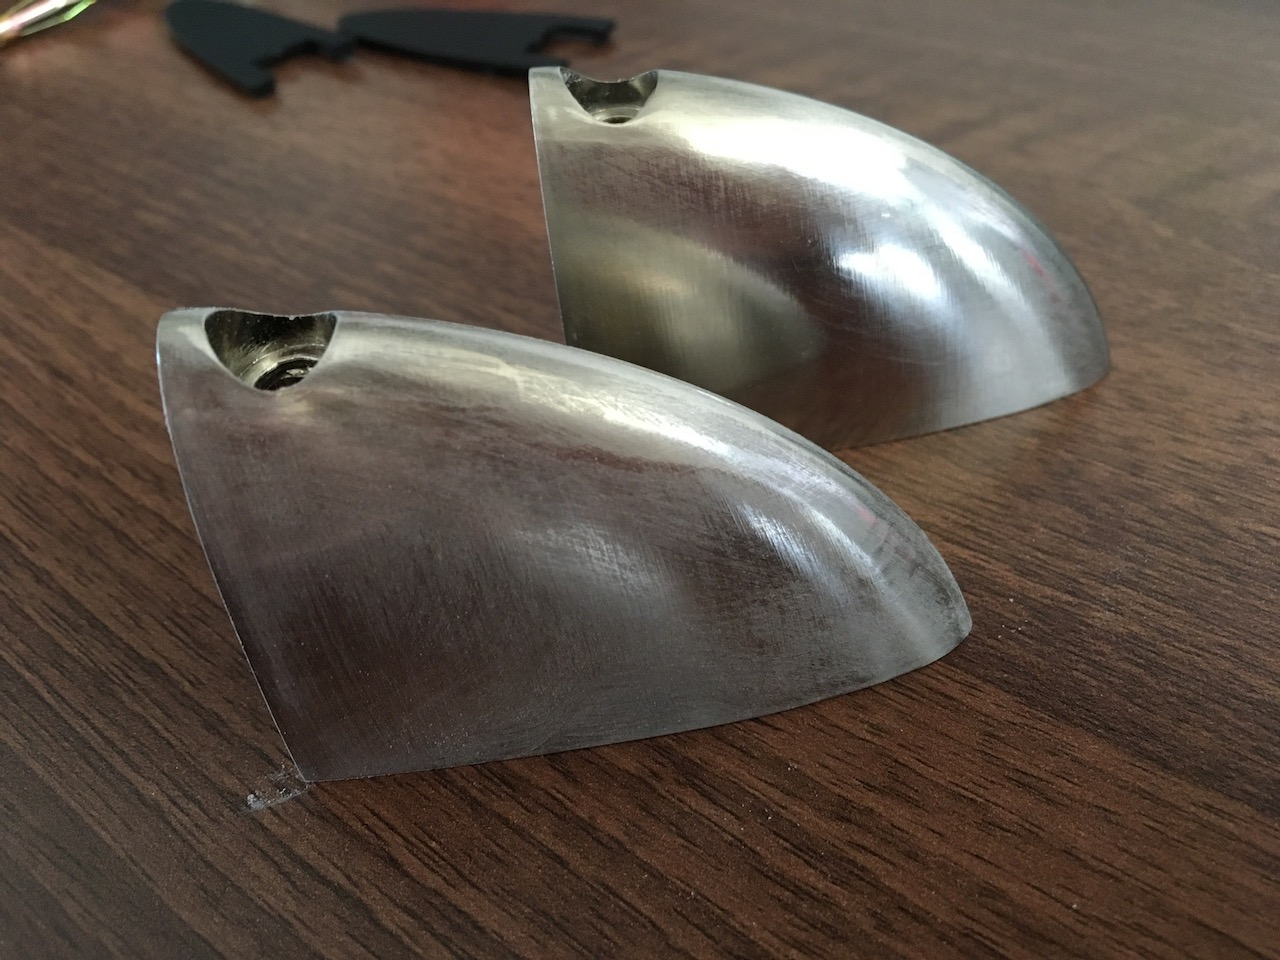
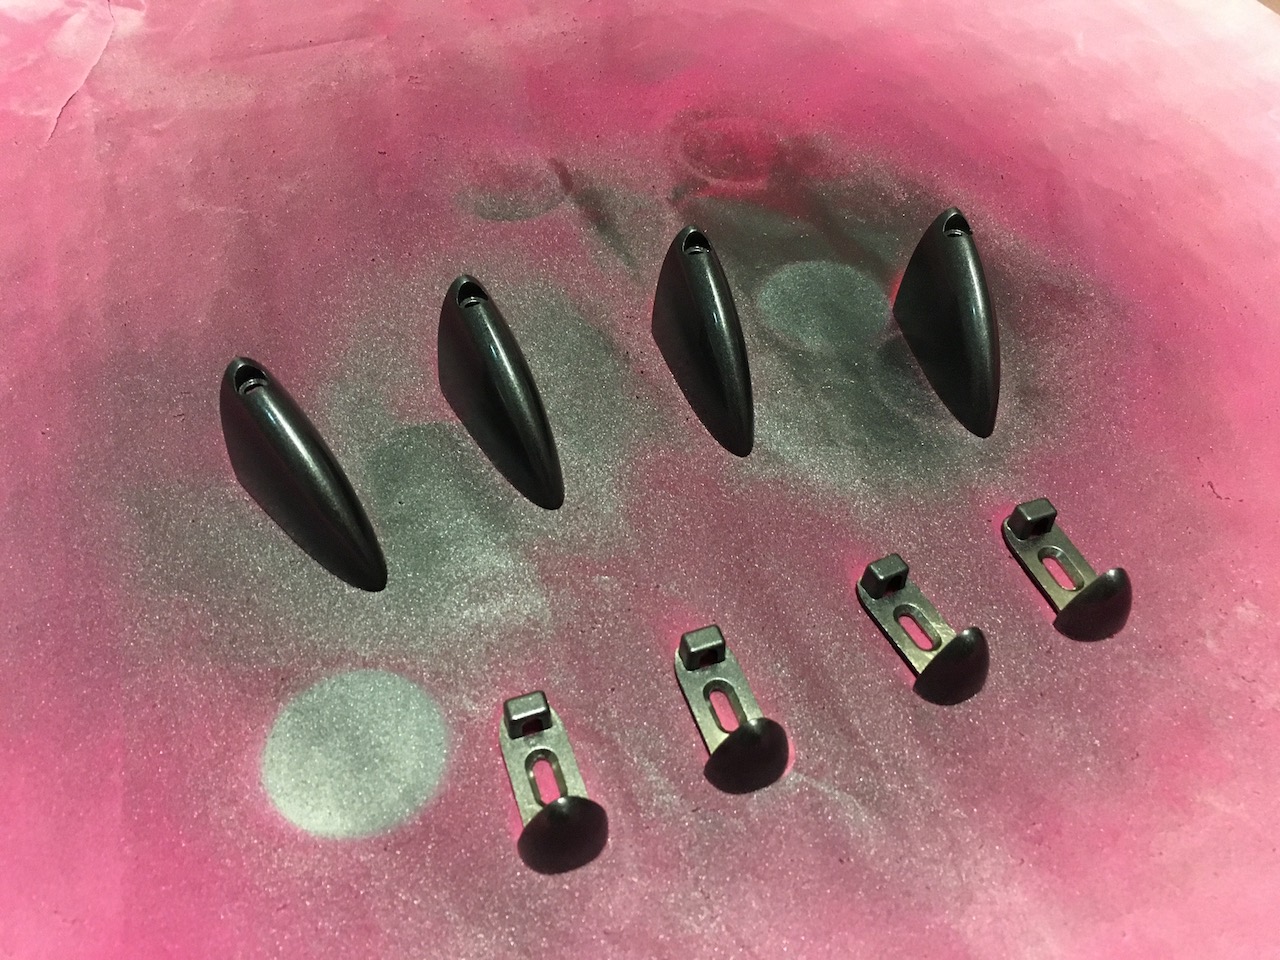
To support the shelf I wanted to use the same kind of discreet brackets that my other black glass floating shelves have, unfortunately I could not find anywhere that sold them (or sold them at a reasonable price). I ended up buying similar brackets from Bunnings and painting them myself (using some automotive paint). It wasn't a perfect match, but it was close enough, anyway the shelf was meant to be hidden!

To paint the brackets, I roughened them up with some sandpaper first and then just spray painted them with two coats, giving the first a couple of hours to dry. The next day they were ready for mounting.
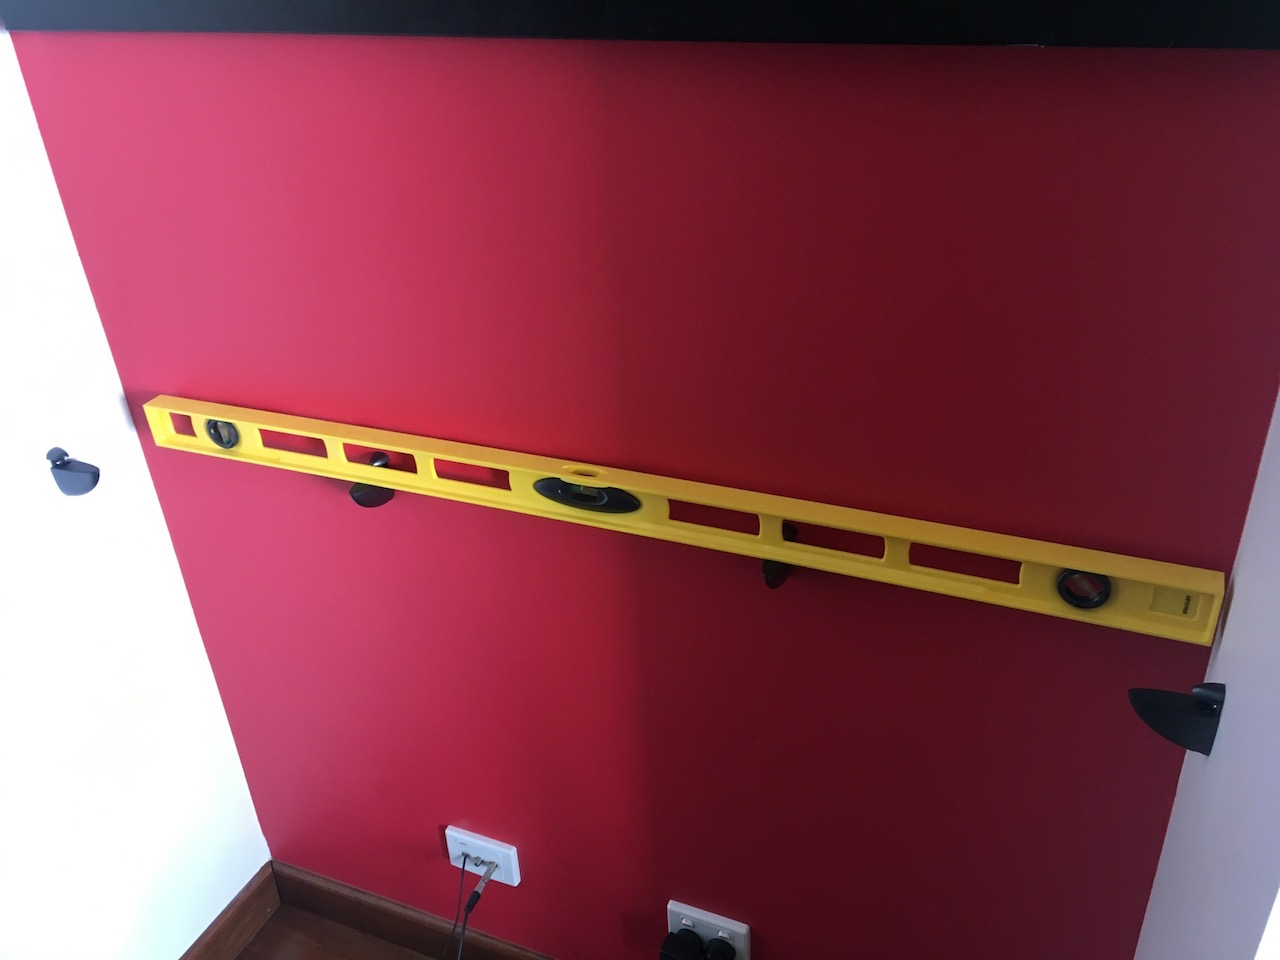
I wasn't exactly sure where the brackets should go but figured that most of the weight would be supported by the rear and the side brackets would only offer minor support. I laid them out symmetrically with what I thought would be a good weight distribution.

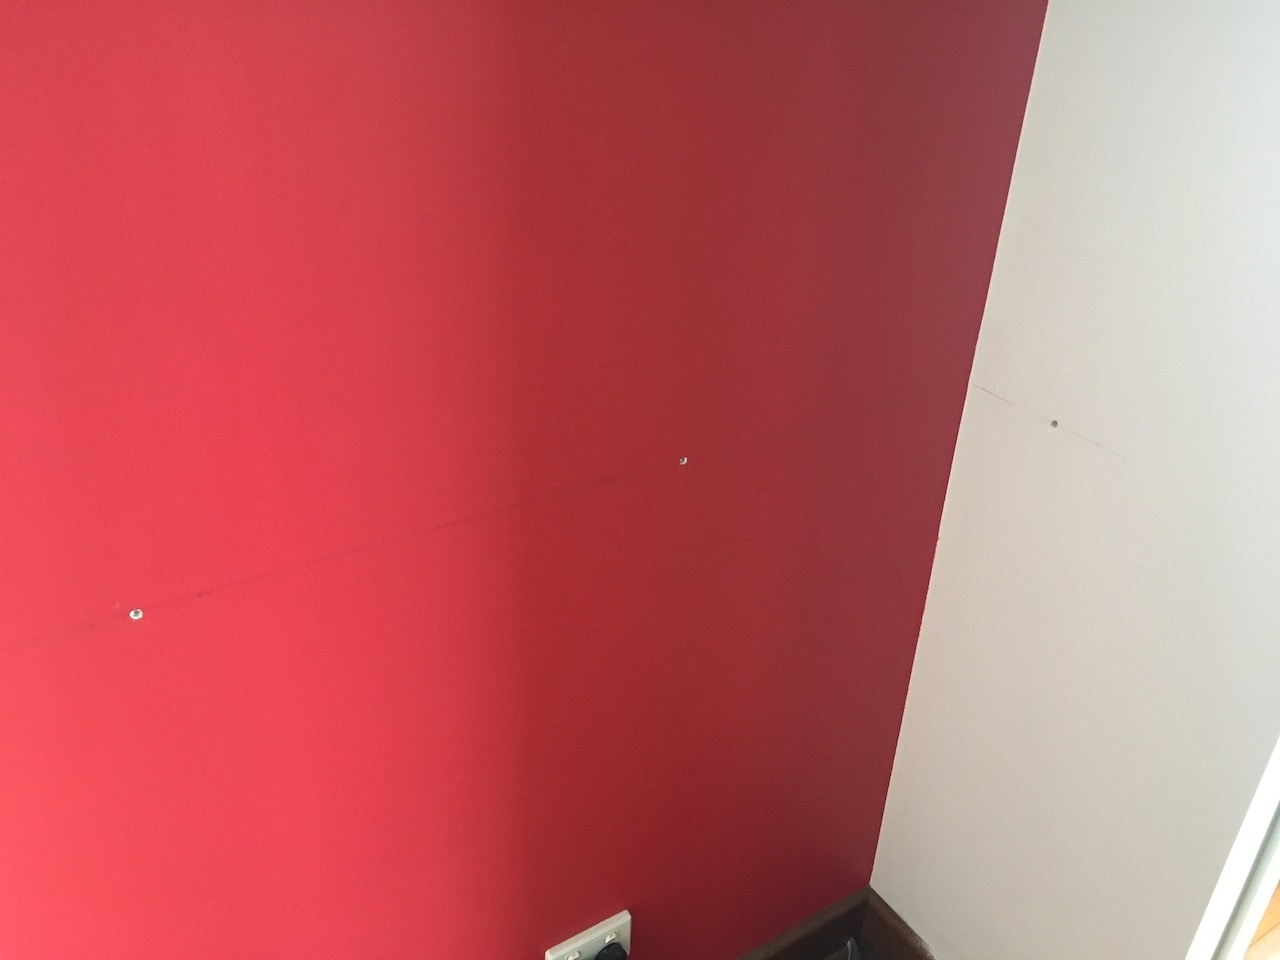
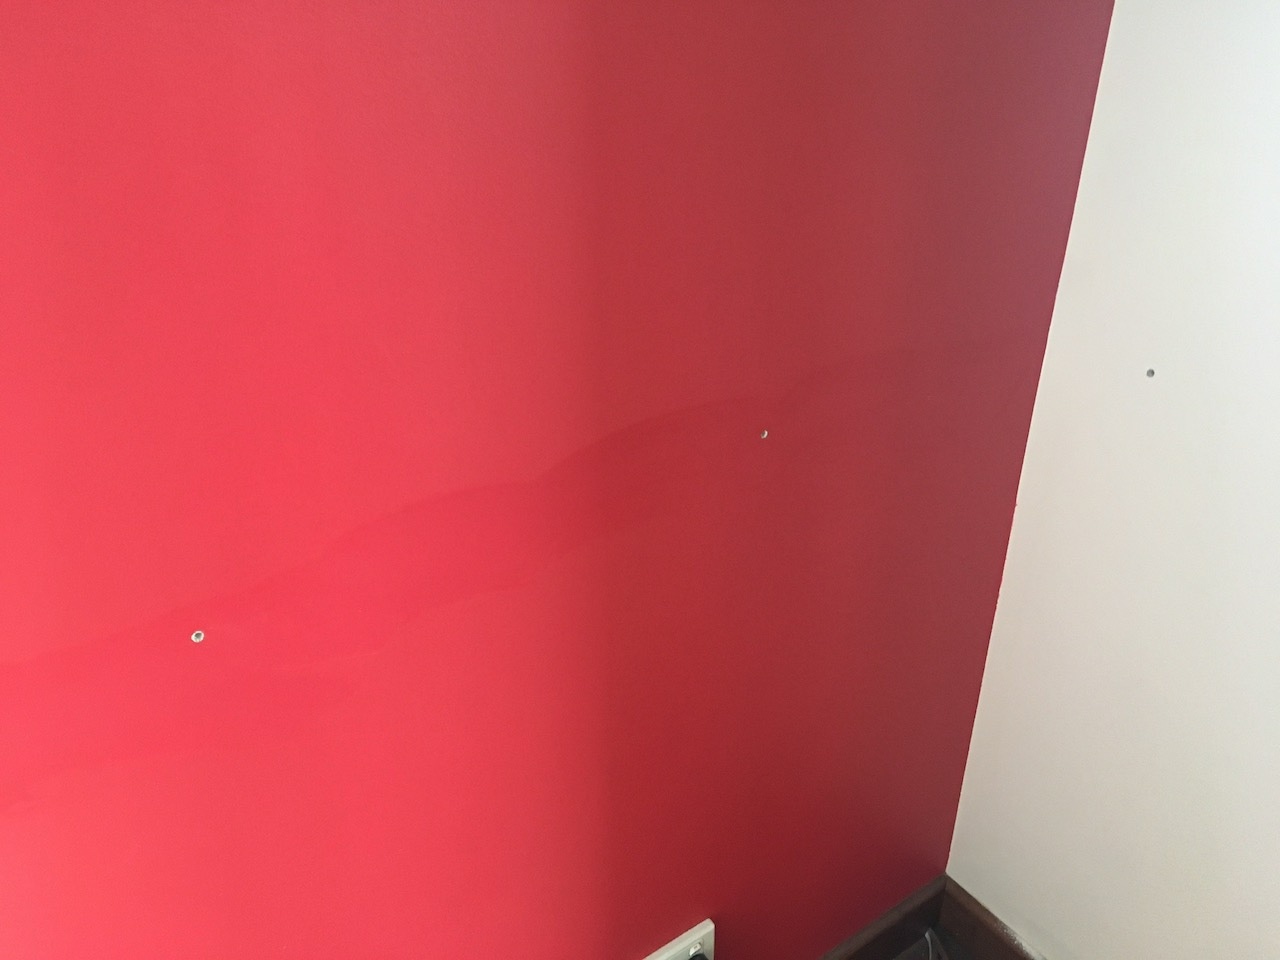
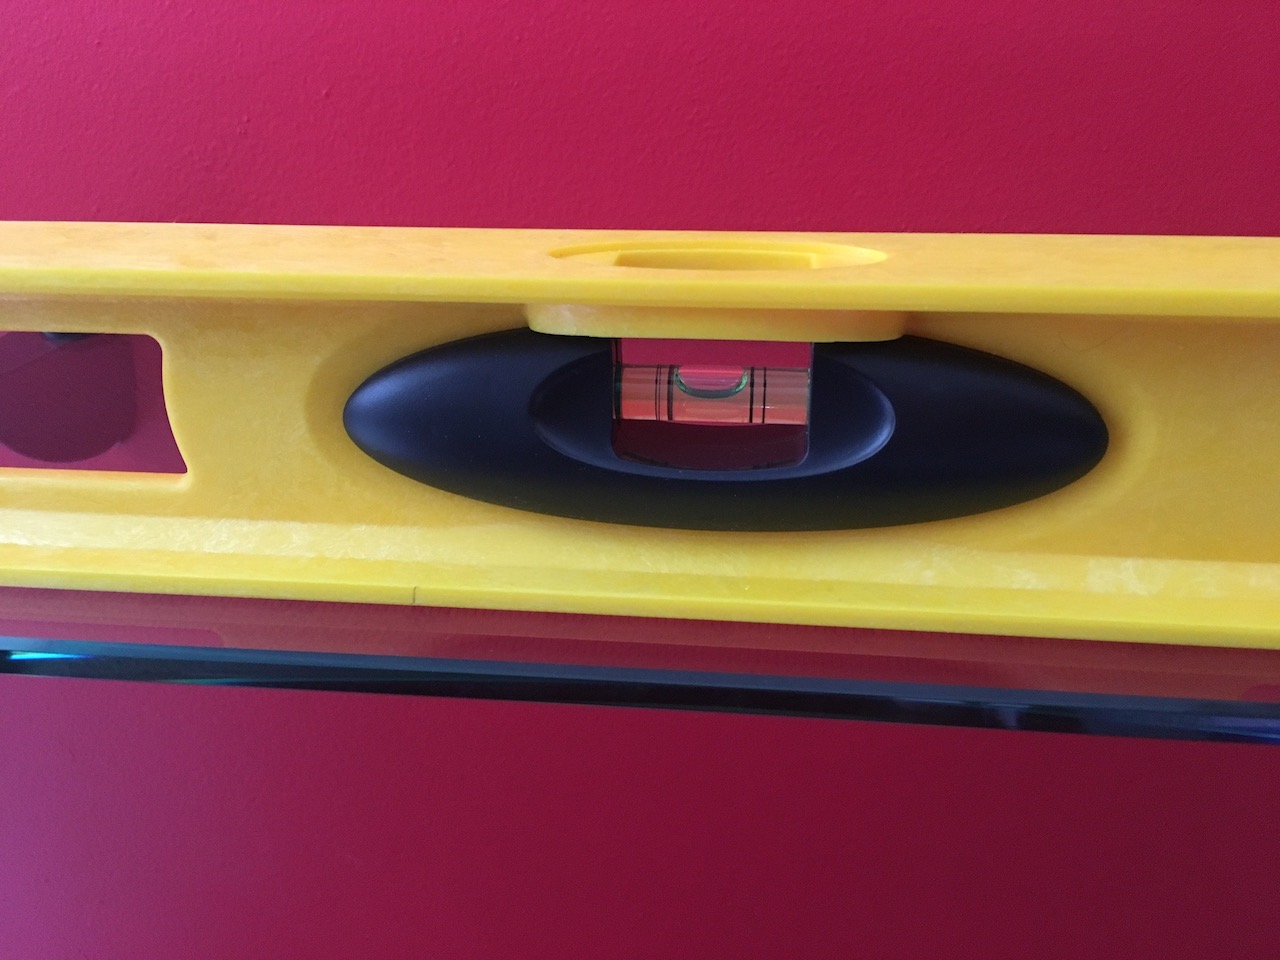
Then I marked (with a level ruler) and drilled the holes according to my earlier layout. The holes were just large enough for the wall anchors that I was going to use. At this time I also cleaned up all of the pencil markings I made on the wall with some sugar soap.
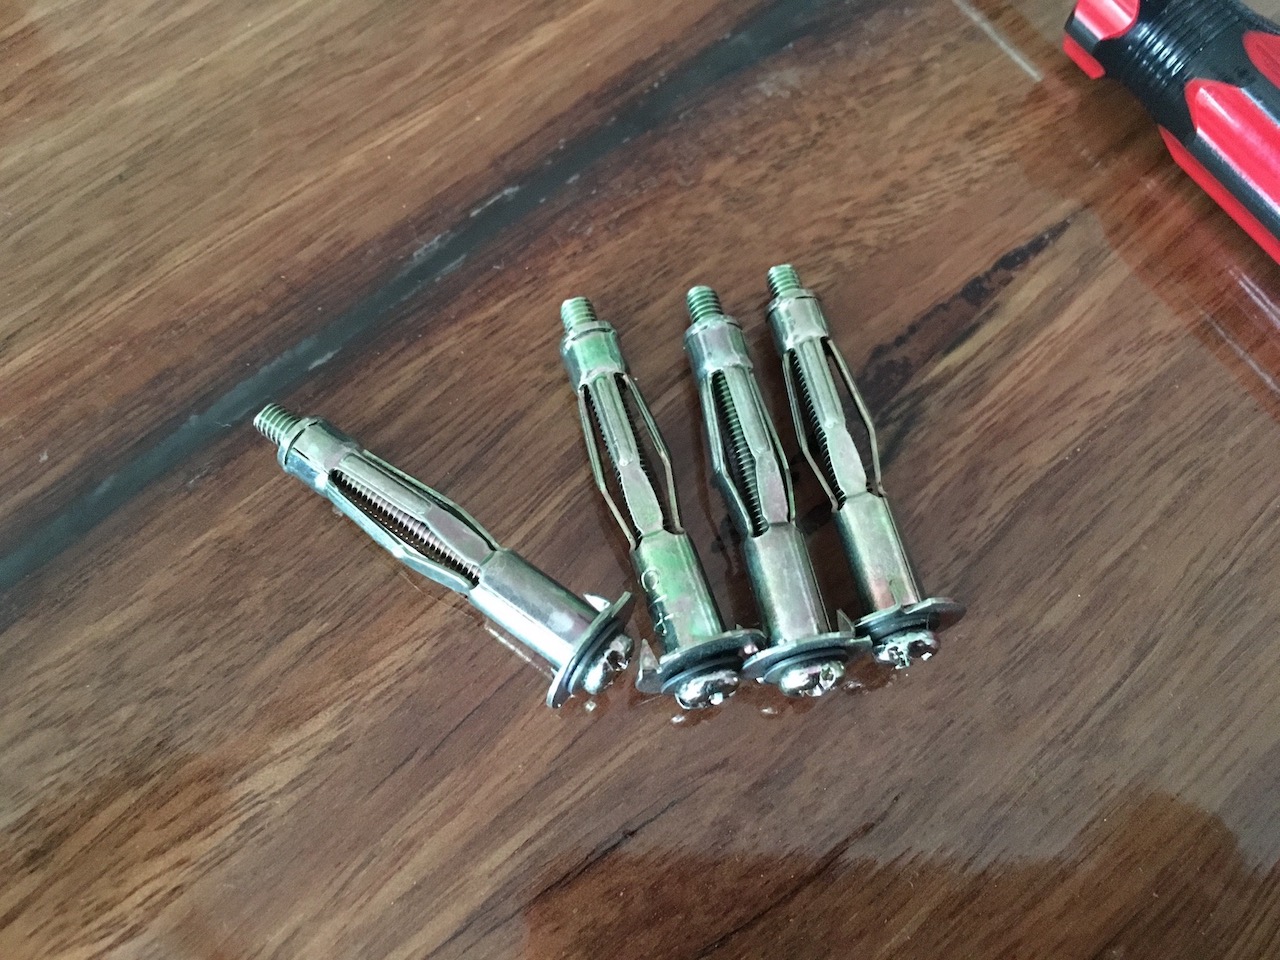
These were my wall anchors, just something I had laying around already. These aren't anything special and are easy to install and use - just push them through the holes and tighten the bolt to expand the anchor on the inside of the wall, then unscrew the bolt and screw it in through the shelf bracket.
The test fit was all level!
Worked out pretty well this way I think.
Test fit with all my gaming junk before the TV went back into place.
So there you go. Overall the project cost me around $70, that's for the glass shelf, brackets, anchors and paint. Money very well spent in my opinion. I've got a few more small renovation projects to write about, when that's ready, I'll link them below.
Here's another project I've completed at the apartment to improve the space situation: Pedestal fan transformed into a ceiling fan.
-i
