16-Oct-2017
Taking a screenshot of a window in macOS is easy, even if it is a bit of a hand-twister key combination. It's done by by pressing
Shift-Command-4 and then
Space bar and clicking the window you want to screenshot. If you've got a Mac with the Touch Bar, you can
customise it to always display a screenshot shortcut. Both these methods add a 56 pixel shadow to the window you're taking a screenshot of. This shadow may add a cool visual effect to the UI but is a pain to deal with when it's a part of the screenshot. Read on for how to disable it.
If you don't want to make a permanent change to your Mac's configuration, simply hold down the
Alt/Option key after pressing
Space and clicking on the window. This will disable the shadow for that one screenshot.
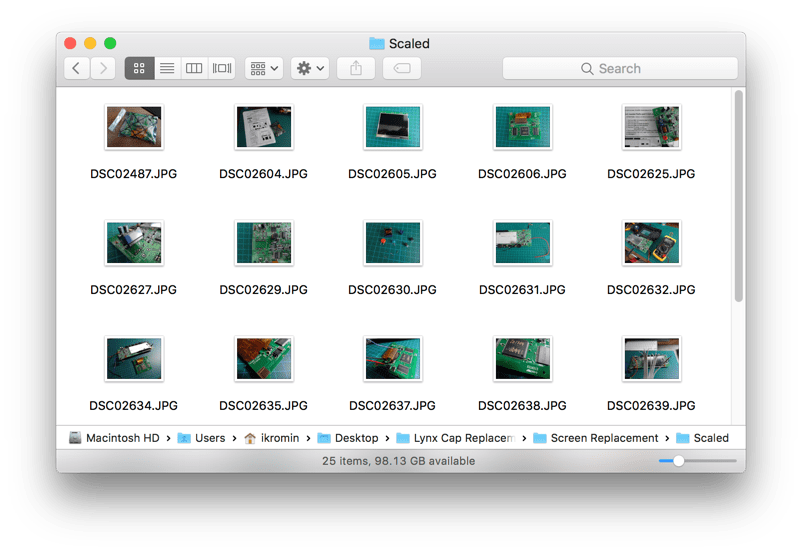
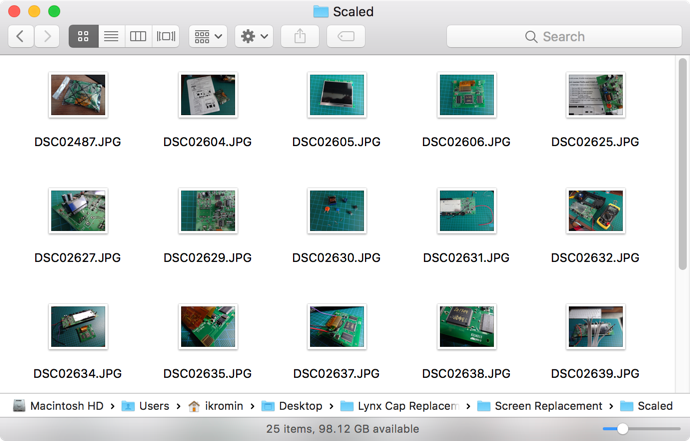
Here's what the same window looks like with a shadow and then without.
If you want to make sure that all window screenshots never include a shadow, open the
Terminal App and type these commands in (press enter after each one)...
To restore the default setting use these commands...
That's all there is to it.
-i
A quick disclaimer...
Although I put in a great effort into researching all the topics I cover, mistakes can happen.
Use of any information from my blog posts should be at own risk and I do not hold any liability towards any information misuse or damages caused by following any of my posts.
All content and opinions expressed on this Blog are my own and do not represent the opinions of my employer (Oracle).
Use of any information contained in this blog post/article is subject to
this disclaimer.
Igor Kromin