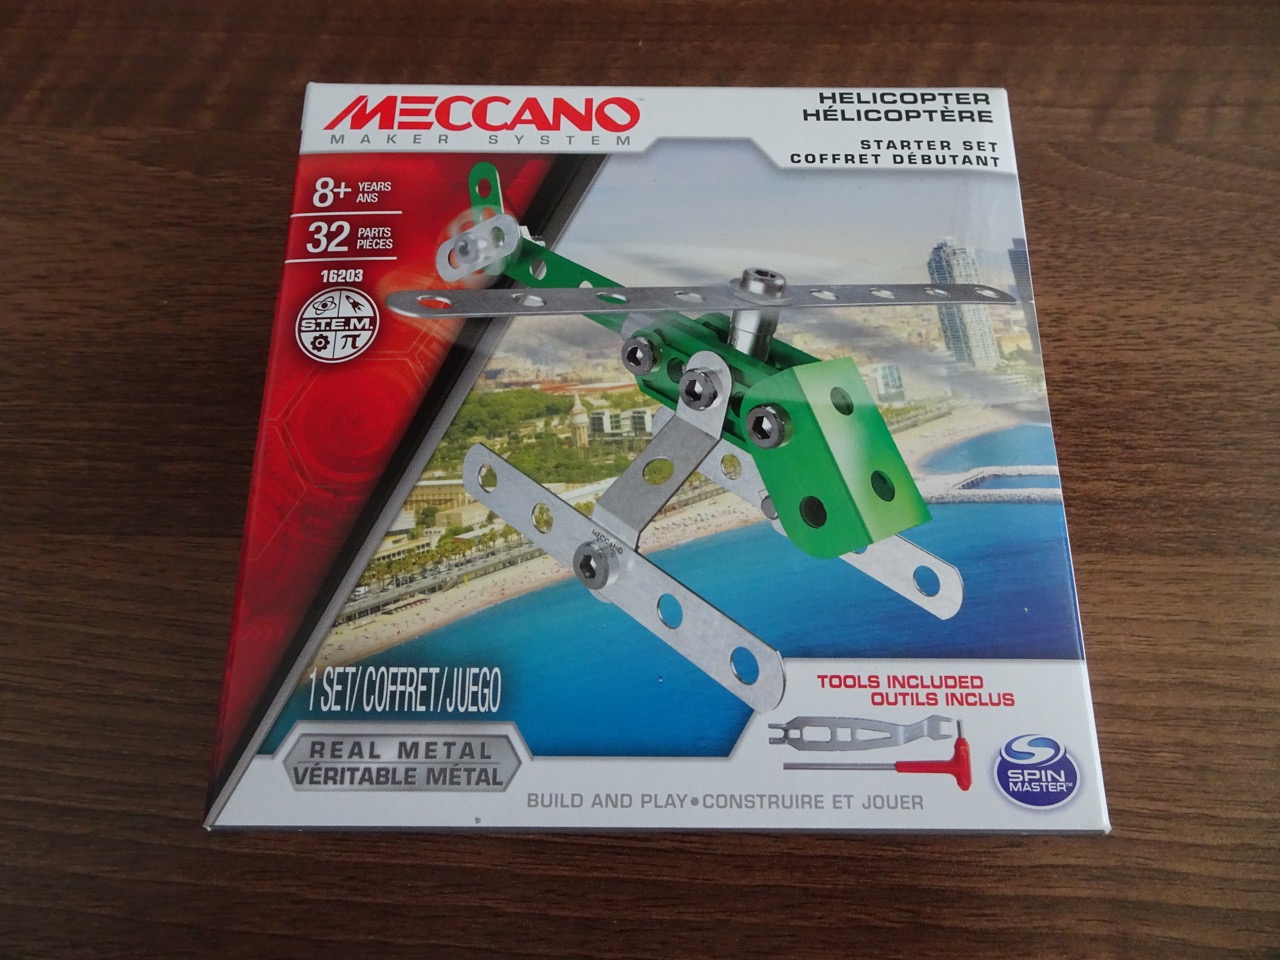
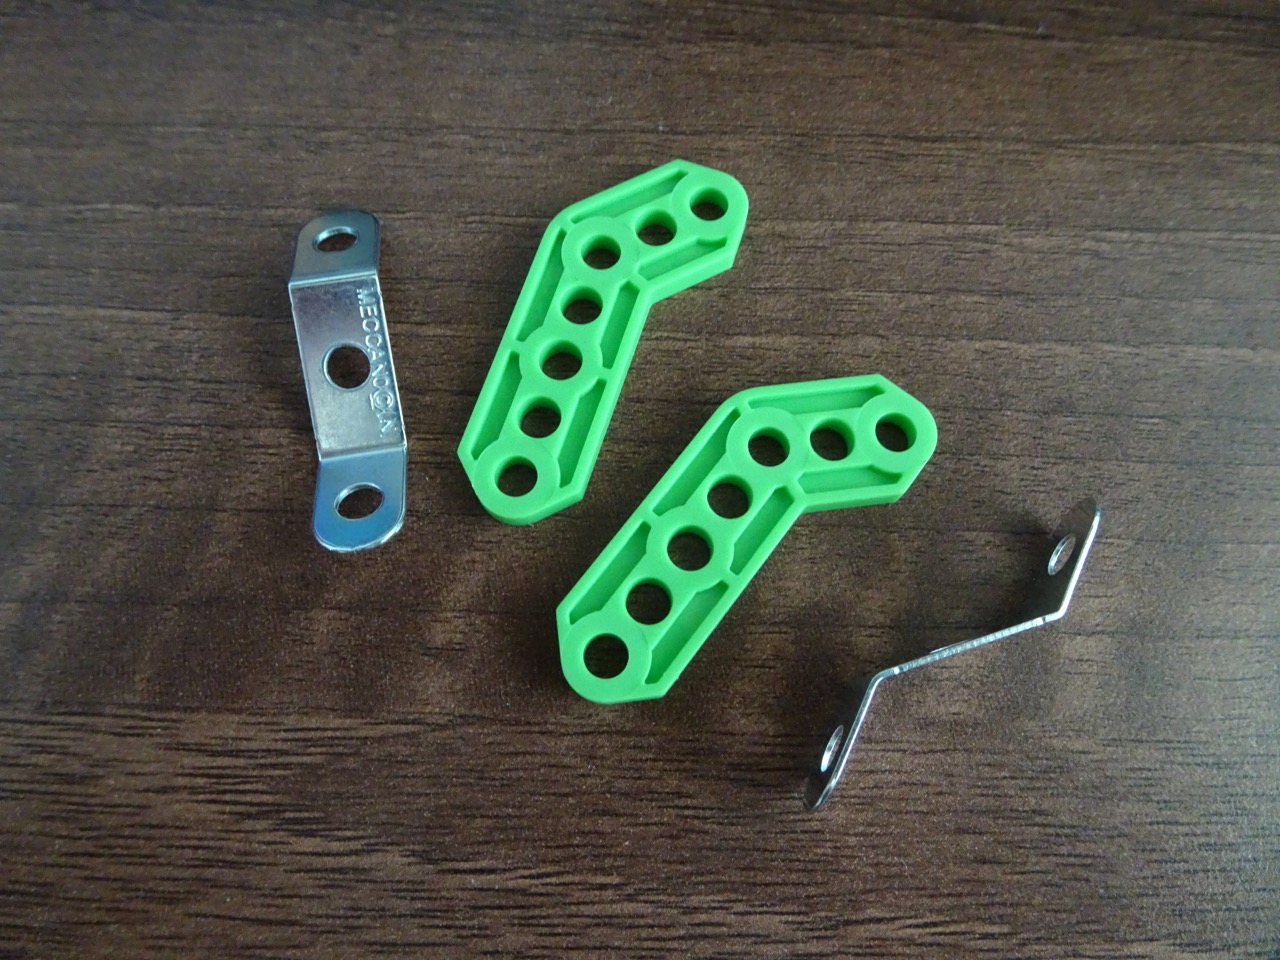
The kit was as basic as you could get with only 32 pieces. This is what the box looked like...
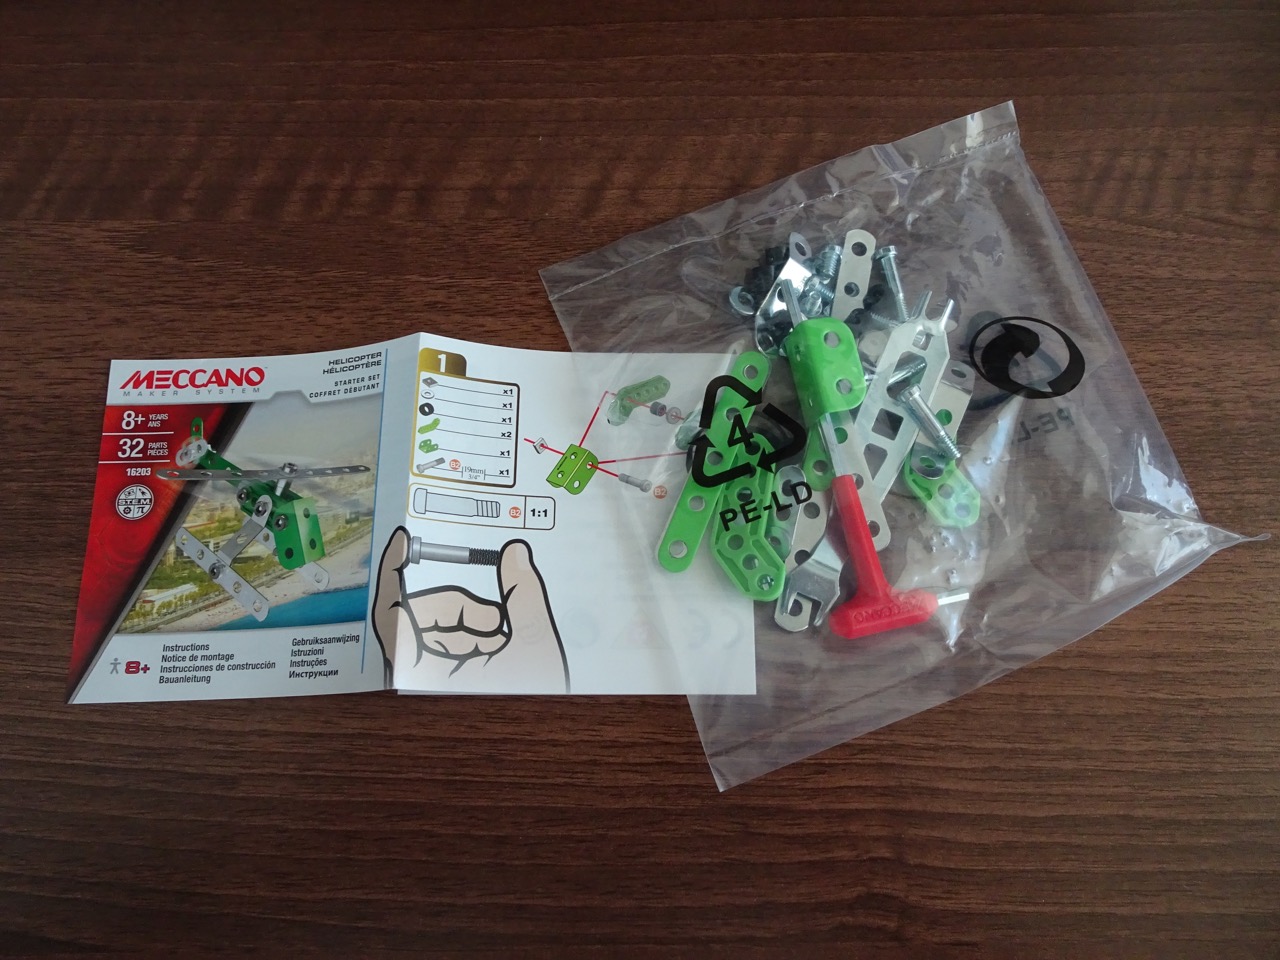
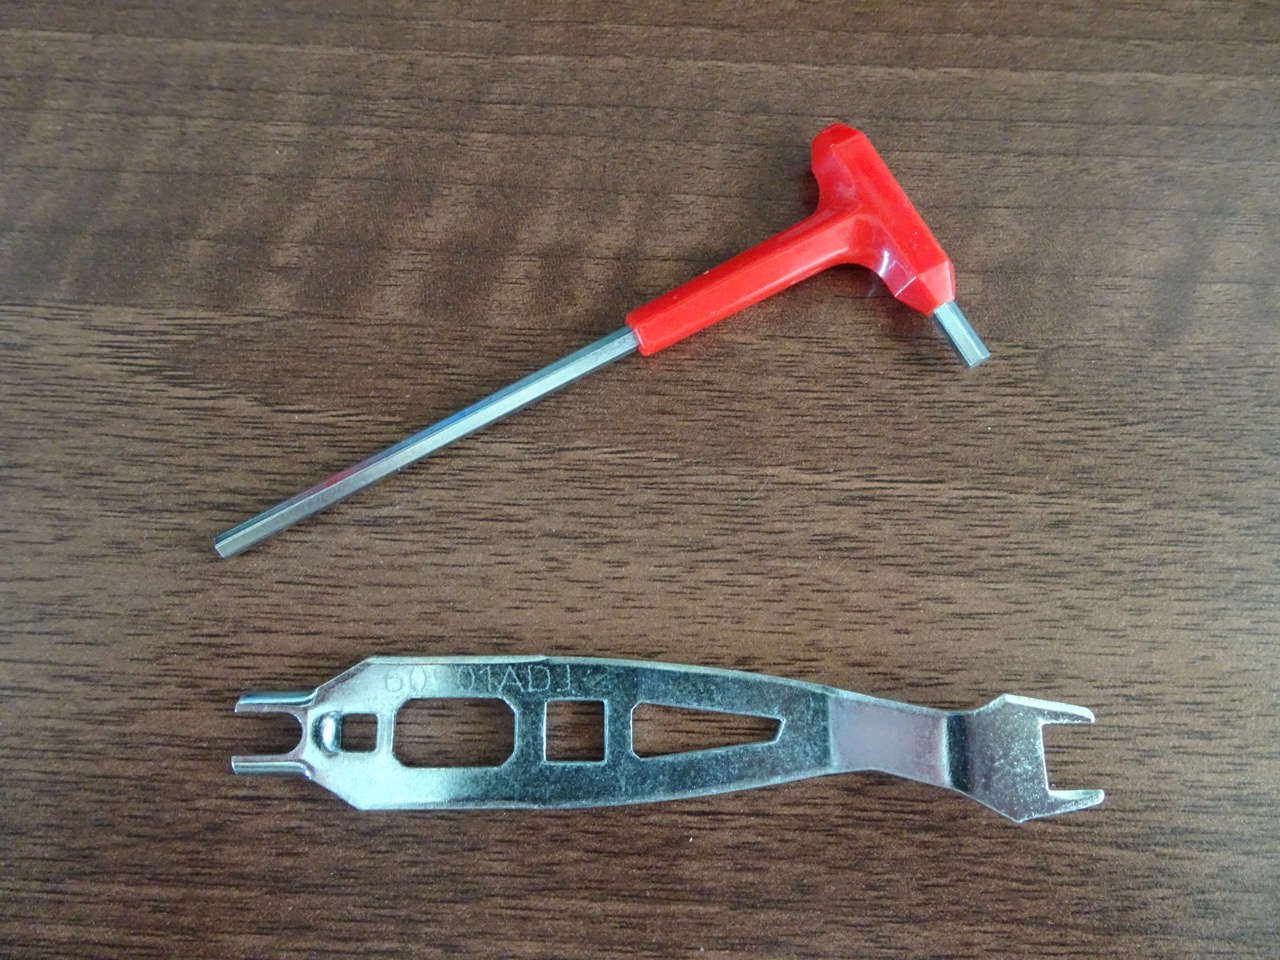
Inside there were the instructions on a single folded piece of paper, the parts in a sealed plastic bag and a couple of tools. Some Lego kits also come with tools like the block remover, I've never really had a need for those so figured this would be the same case here...I was wrong.
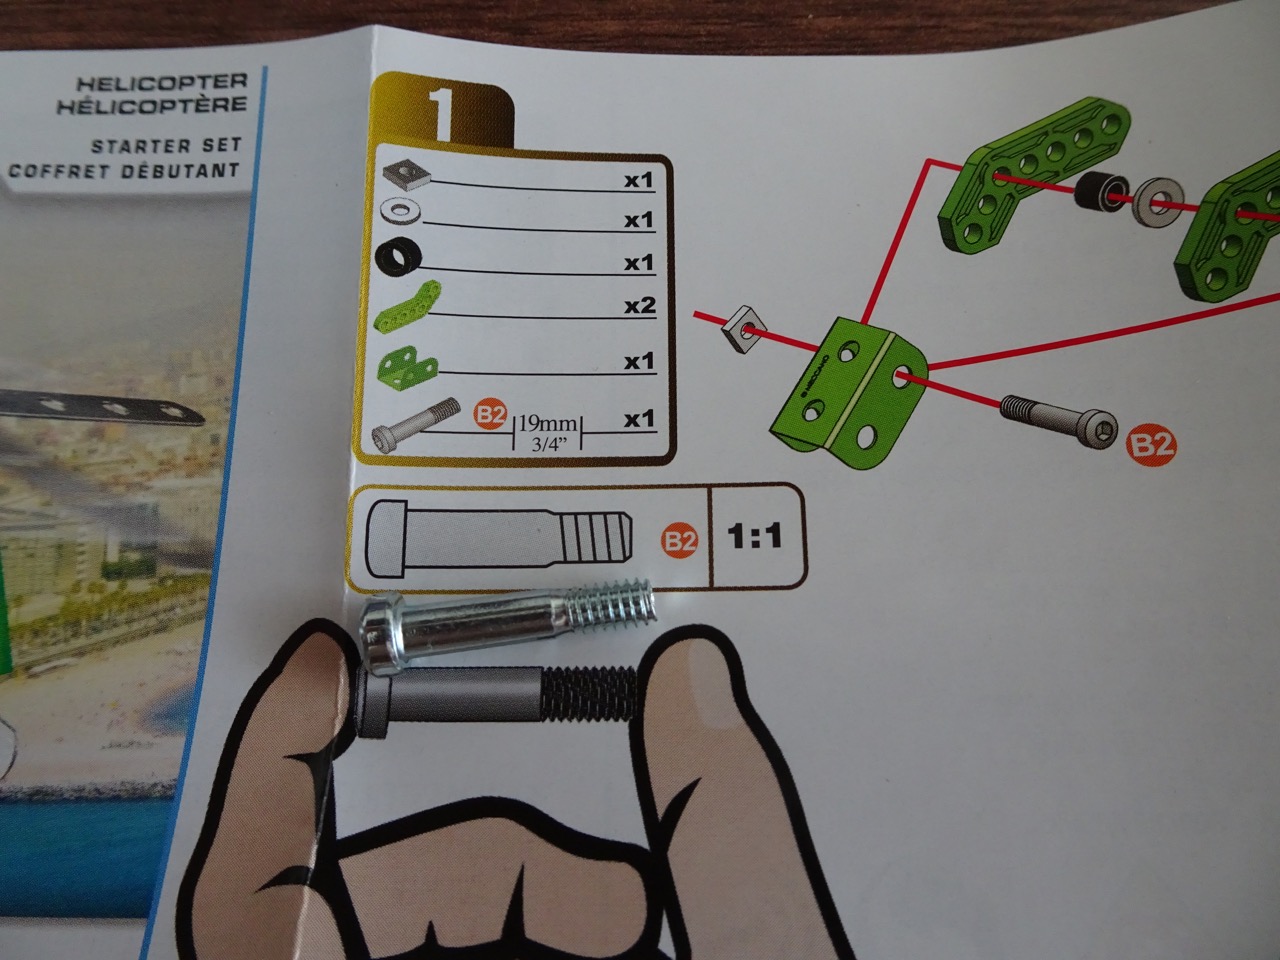
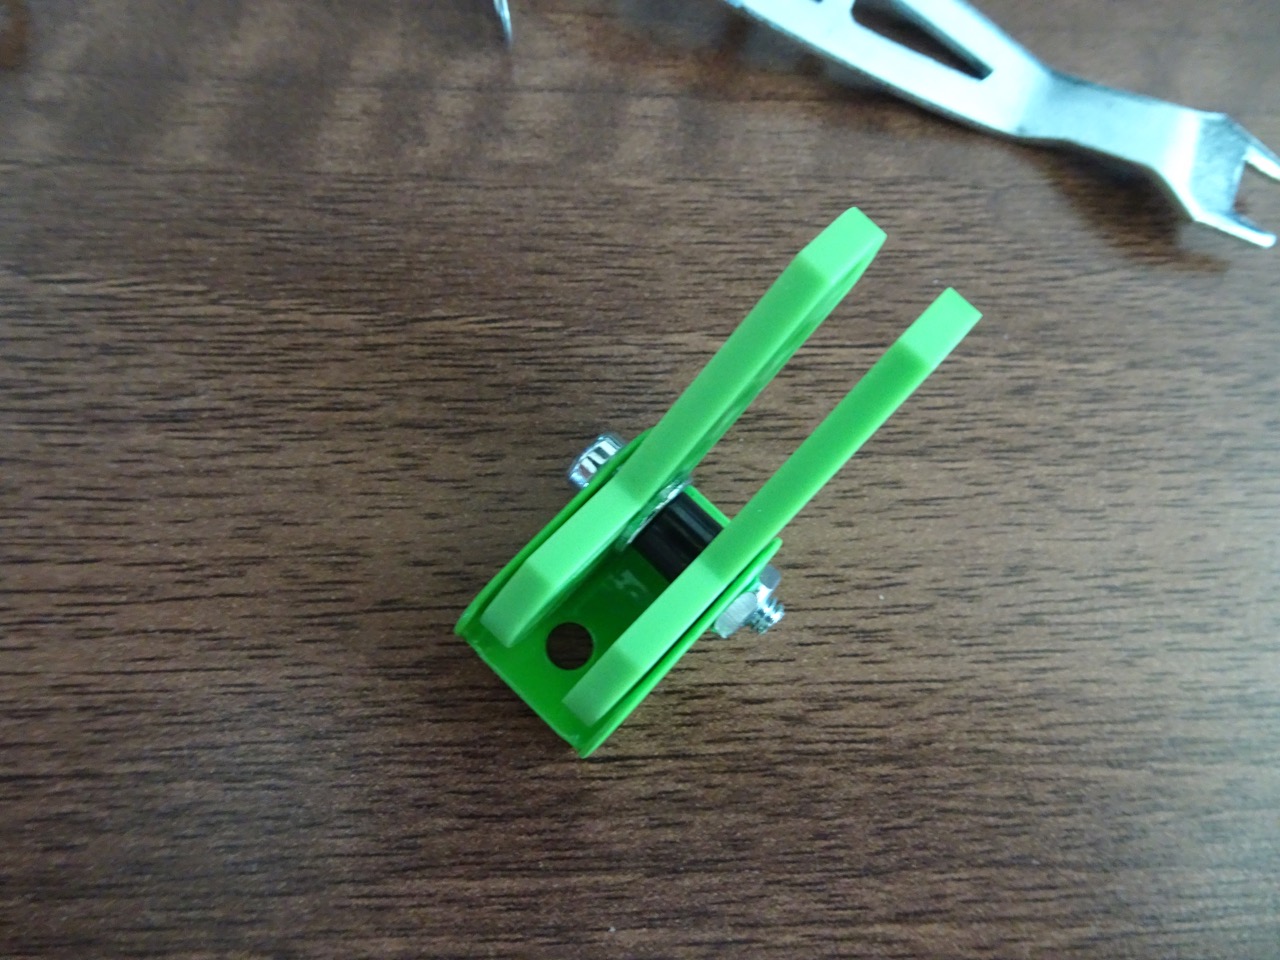
The instructions had handy 1:1 ratio images of some of the parts required, similar to Lego. Overall each step is very much similar to what you would find in any brick assembly kind of kit too - list of parts you need for each step and instructions showing how to assemble those parts. What I found interesting was Meccano wasn't purely metal! There were plastic components as well, this took my by surprise.
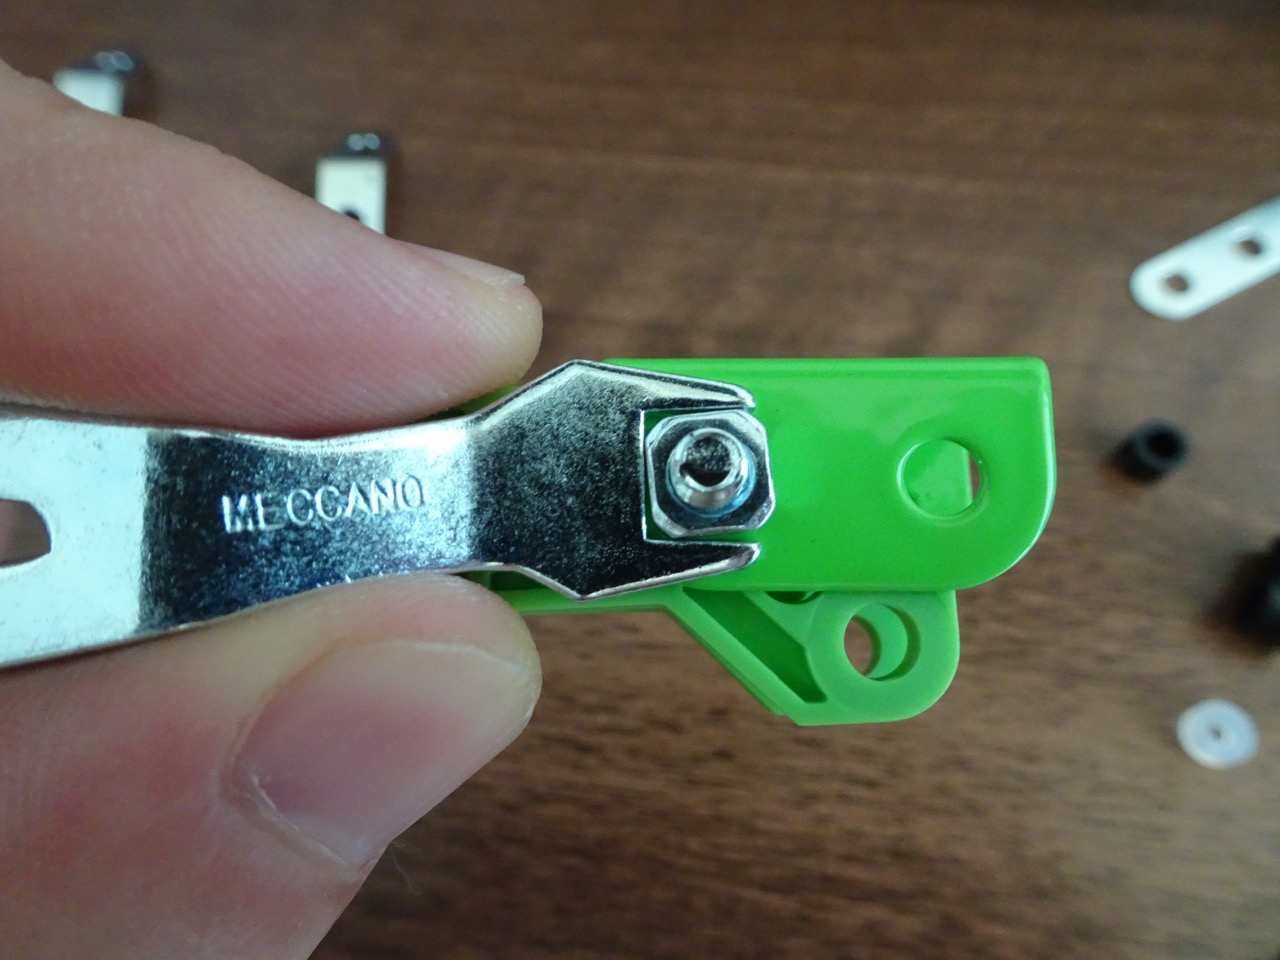
Assembly can be a bit tricky in certain places, especially when you have U shaped pieces that house other pieces inside of them. Those tools I mentioned earlier...they're definitely required to tighten each of the nuts/bolts.
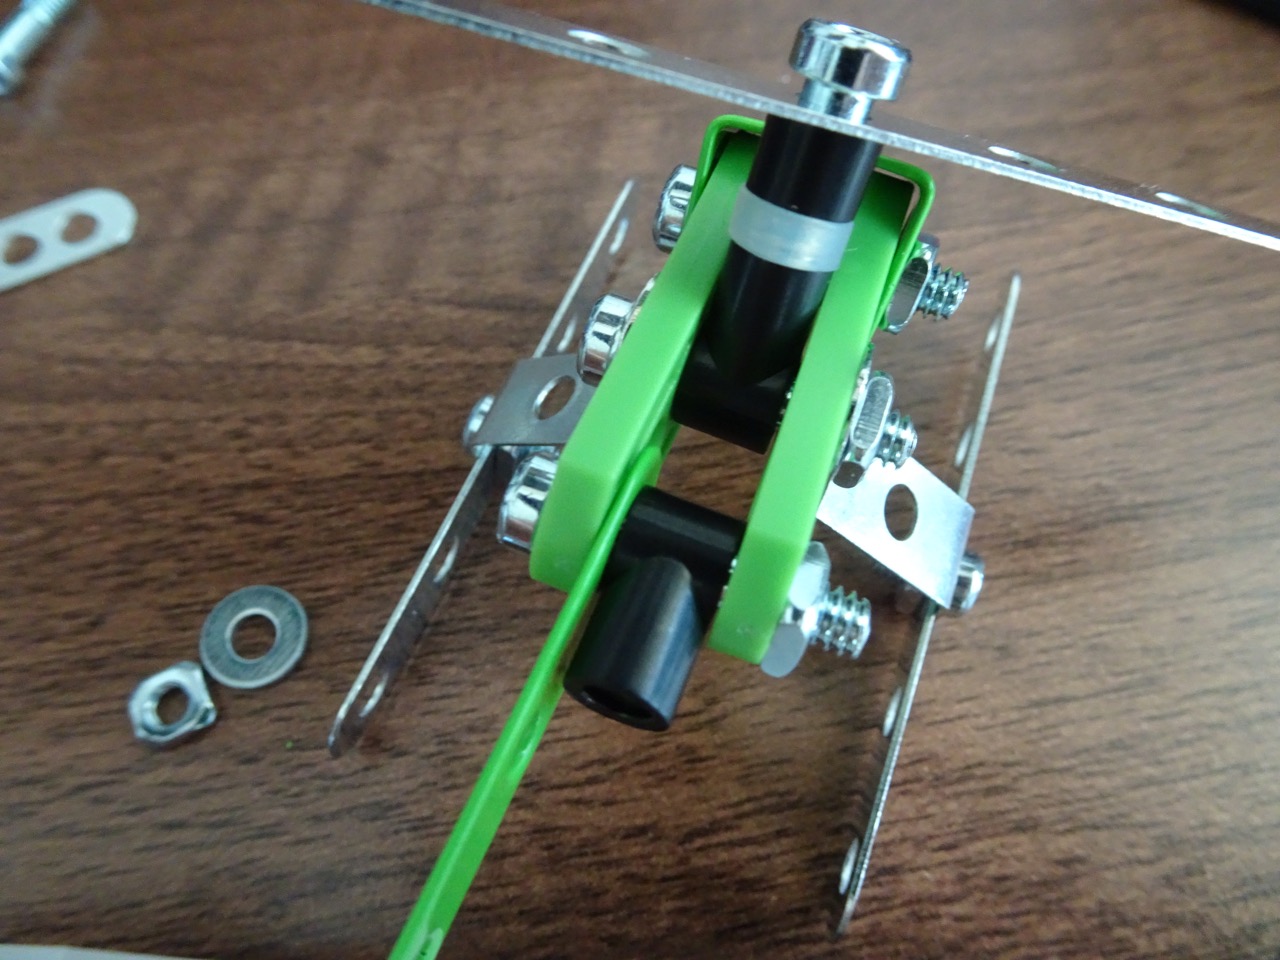
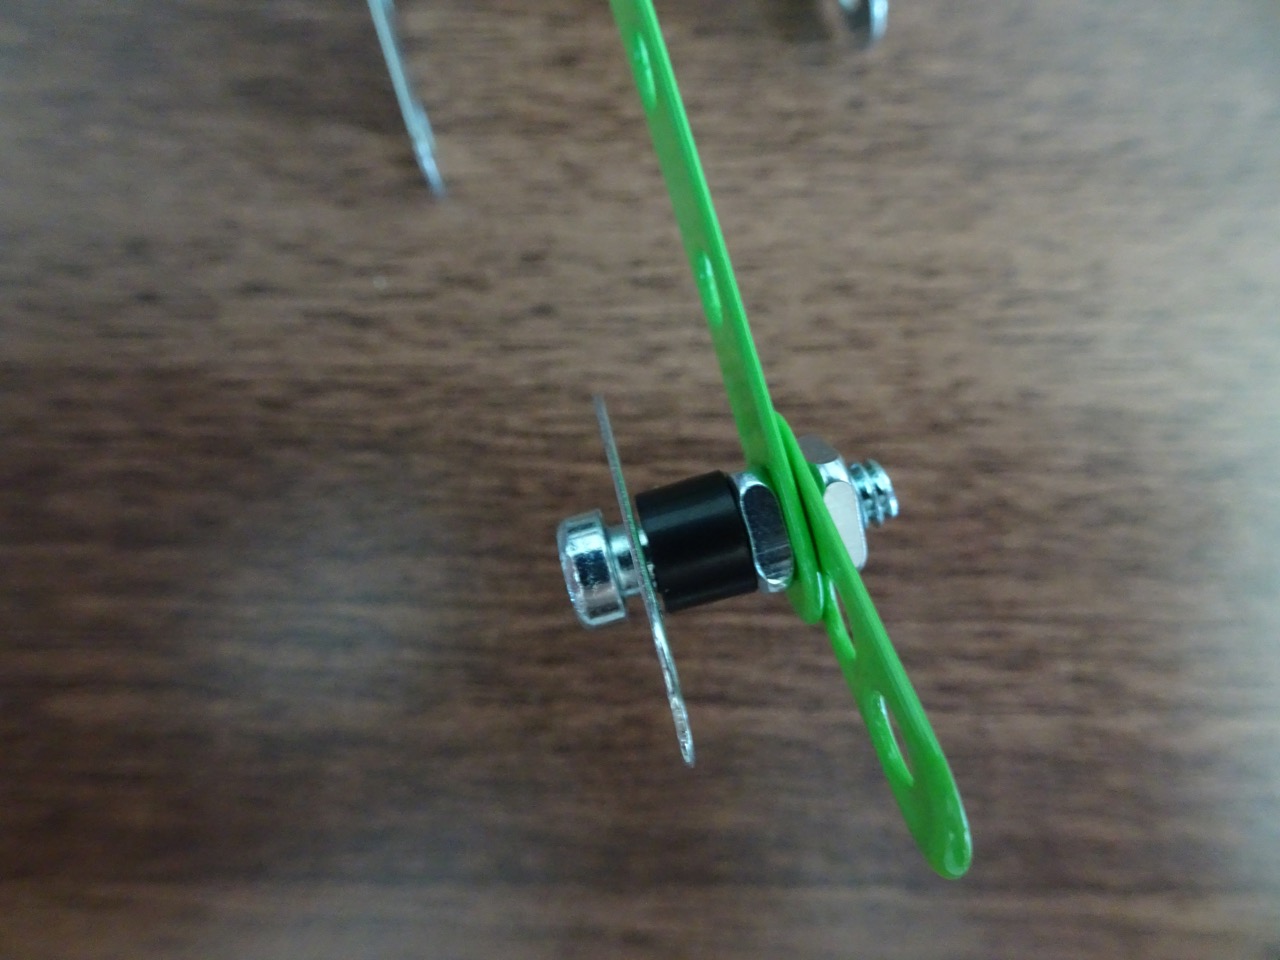
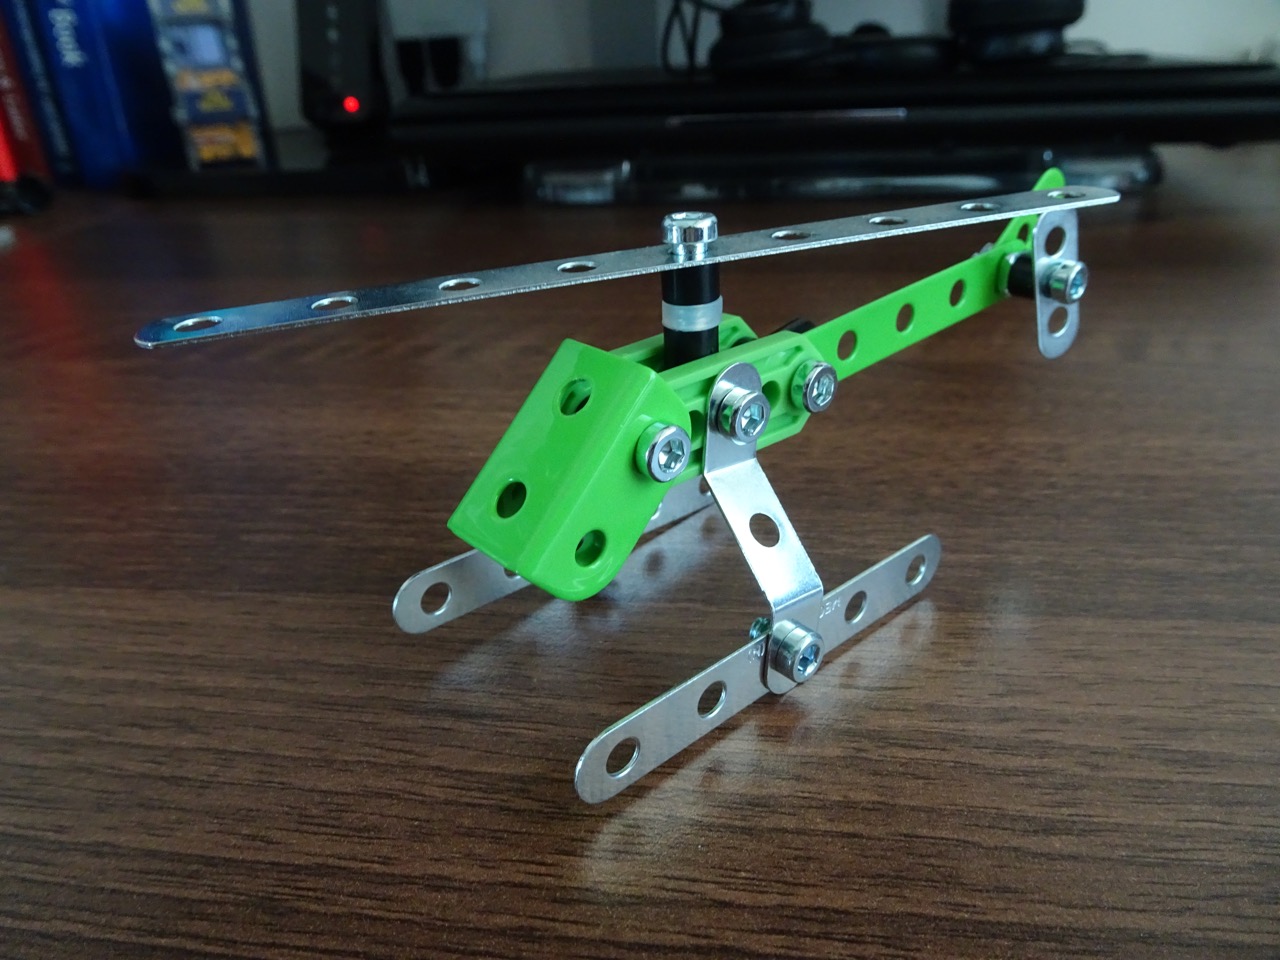
I found it interesting that not all connections could be tightened all the way. This was on the helicopter rotors. There was a good 1-2mm free area where the metal parts could rotate around. This wasn't something I was used to coming from my Lego kit experiences. I also found it odd that some parts of the kit ask you to jam in components that make the overall shape not square e.g. the rear rotor assembly arm is pushed in where it clearly should not be - I had to un-tighten the main rotor assembly to make it fit.
It only took me about 10 minutes to assemble the whole thing, but that's expected since it's such a beginner kit. The end result was nice I thought. I'll definitely be getting more Meccano in the future.
I actually took this kit apart right after assembly because I wanted to use its components to build a mod to a cheap HDD dock so that I could keep the disks cool.
-i
